Articles
How To Fix Water Pressure In Bathroom Sink
Modified: October 21, 2024
Learn effective techniques and tips to fix low water pressure in your bathroom sink with our informative articles. Improve your plumbing skills and enjoy a powerful water flow.
(Many of the links in this article redirect to a specific reviewed product. Your purchase of these products through affiliate links helps to generate commission for Storables.com, at no extra cost. Learn more)
Introduction
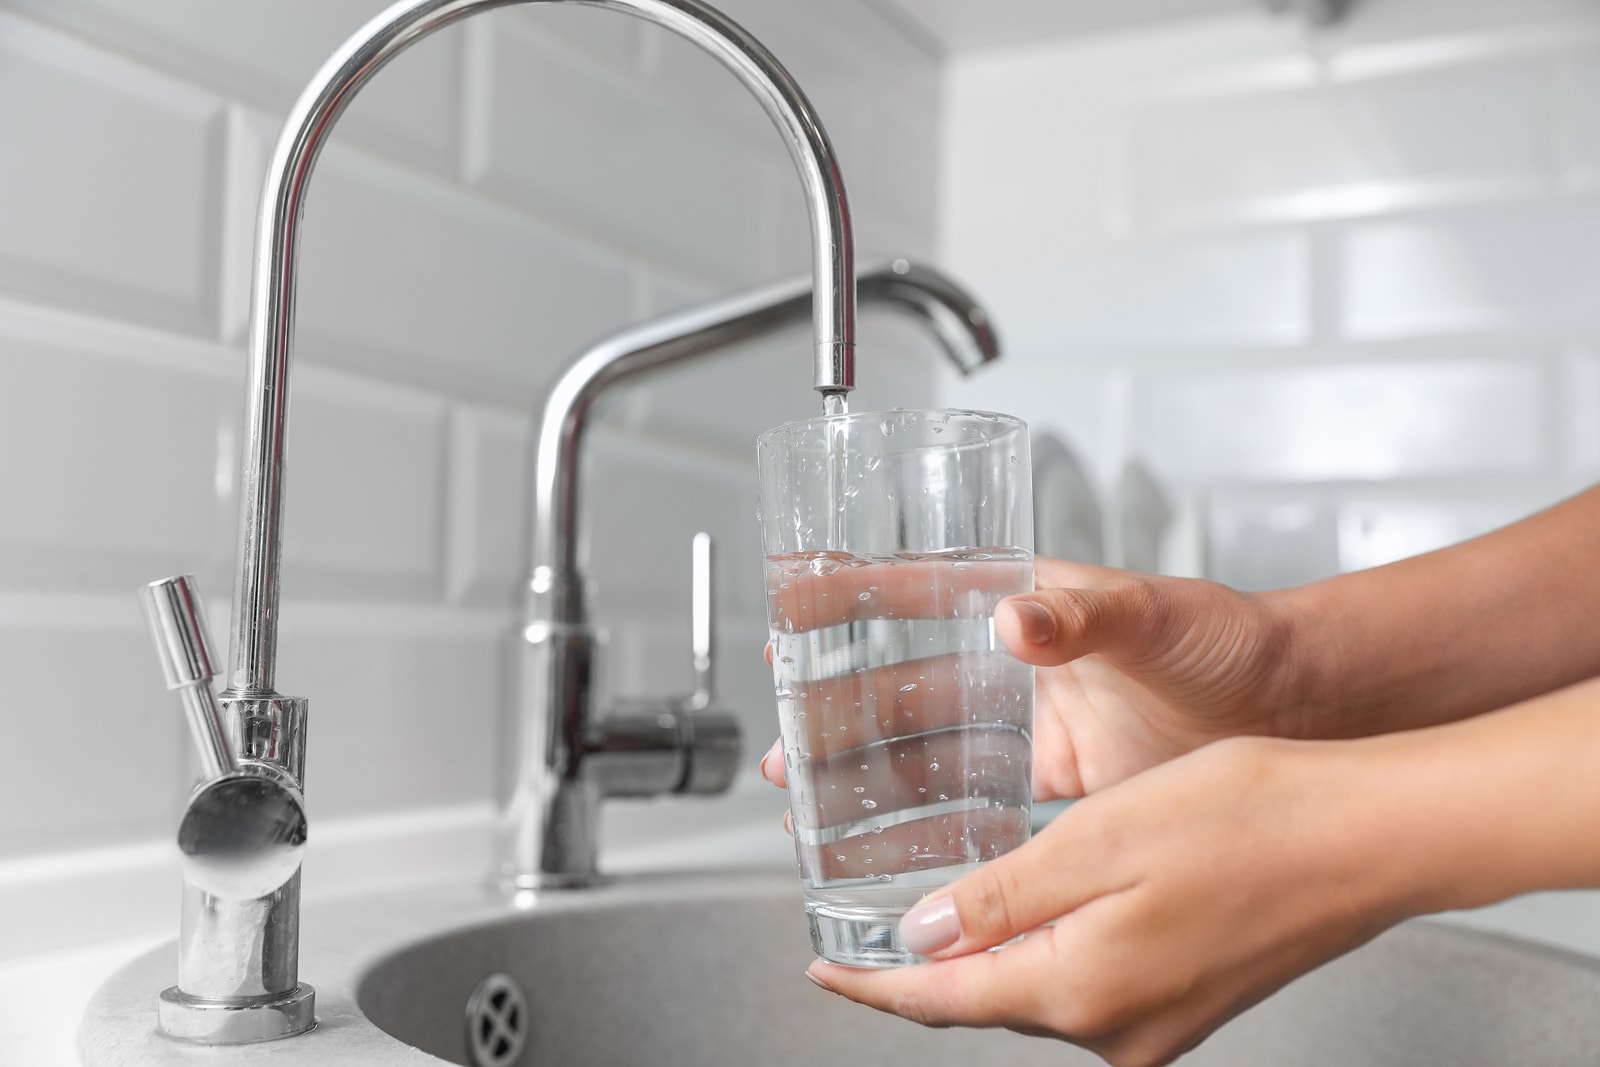
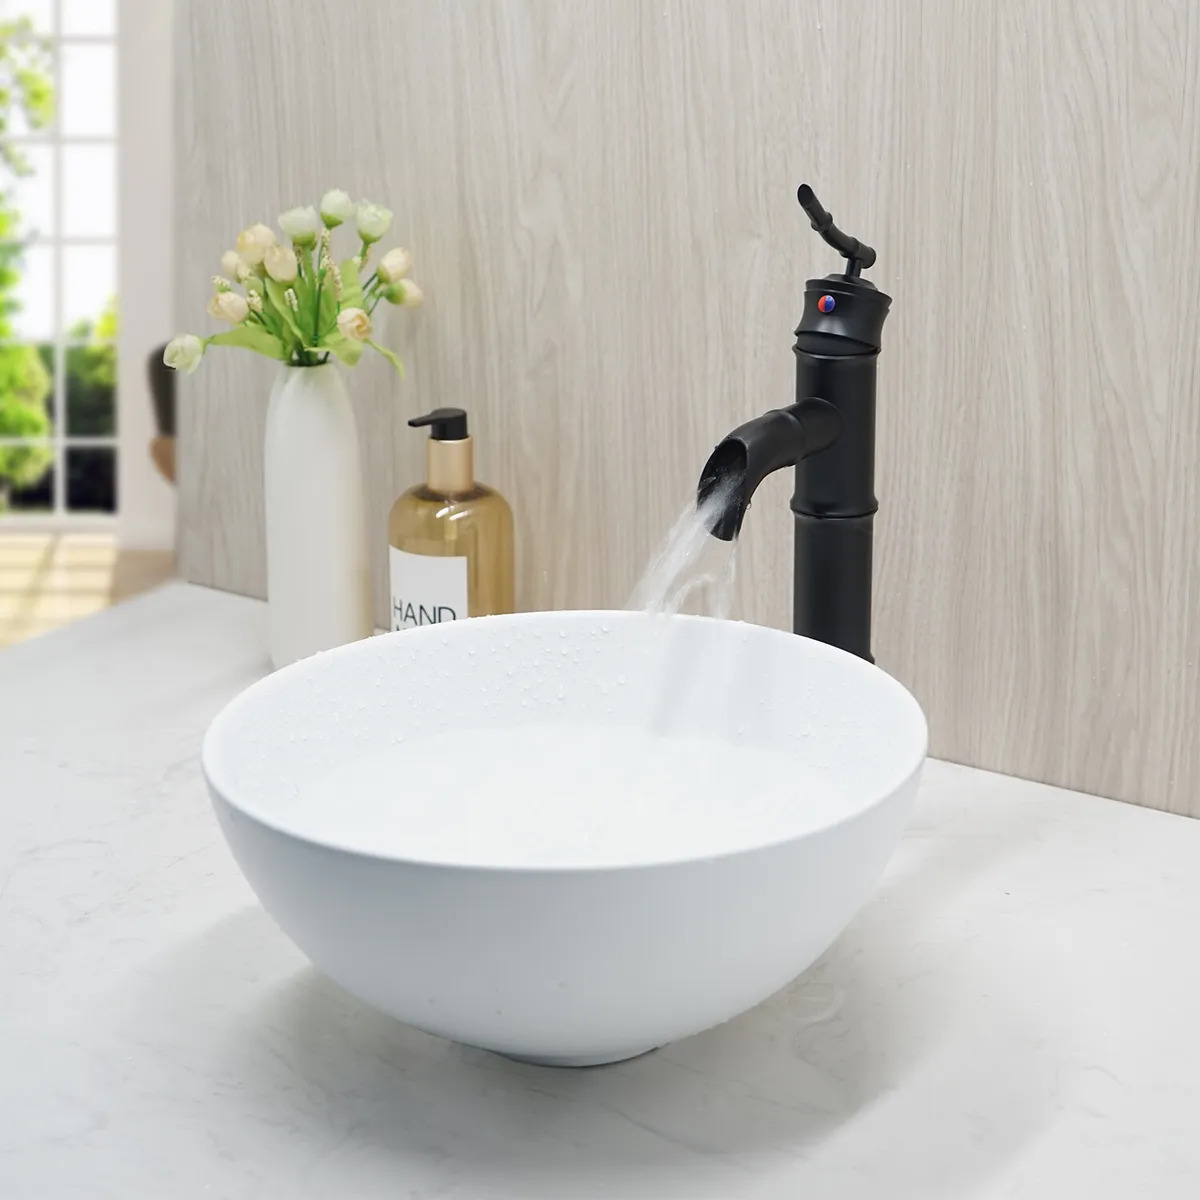
When you turn on the faucet in your bathroom sink, you expect a steady stream of water at a comfortable pressure. However, there may be times when you notice a decrease in water pressure, making it difficult to perform daily tasks like washing your hands or brushing your teeth. Low water pressure in the bathroom sink can be frustrating, but fortunately, there are steps you can take to fix this issue.
In this article, we will discuss common causes of low water pressure in a bathroom sink and provide you with practical solutions to address the problem. By following these steps, you can regain the water pressure you need in your bathroom sink and ensure a more efficient and enjoyable experience.
Key Takeaways:
- Regularly cleaning the aerator and checking the shut-off valve can help restore water pressure in your bathroom sink, ensuring a steady and efficient flow for daily tasks.
- Clearing clogs and fixing leaks are essential steps to maintain optimal water pressure, contributing to a sustainable and enjoyable plumbing system.
Common Causes of Low Water Pressure in Bathroom Sink
Before you can address the issue of low water pressure in your bathroom sink, it’s important to understand the underlying causes. Here are some common reasons why you may be experiencing a decrease in water pressure:
- Clogged aerator: The aerator is the small attachment at the end of the faucet spout that mixes air with water to create a smooth flow. Over time, mineral deposits and debris can accumulate in the aerator, causing it to become clogged and restrict the water flow.
- Sediment build-up in pipes: Sediment, such as rust, sand, or debris, can accumulate in the pipes leading to your bathroom sink. This build-up can restrict the flow of water and result in lower water pressure.
- Issues with the water supply line: If there is a problem with the main water supply line or the specific line that feeds water to the bathroom sink, it can cause a decrease in water pressure. This could be due to a leak, a blockage, or a problem with the valves.
- Leaking pipes: A leak in the pipes leading to your bathroom sink can not only waste water but also reduce water pressure. Leaks can occur due to wear and tear, corrosion, or improper installation.
- Clogs in the pipes: Stubborn clogs can develop in the pipes over time, causing water pressure issues. These clogs can be caused by hair, soap scum, mineral deposits, or other debris that accumulates in the pipes.
Identifying the specific cause of low water pressure in your bathroom sink is crucial for determining the appropriate solution. In the next sections, we will explore various steps you can take to fix the issue and restore proper water pressure.
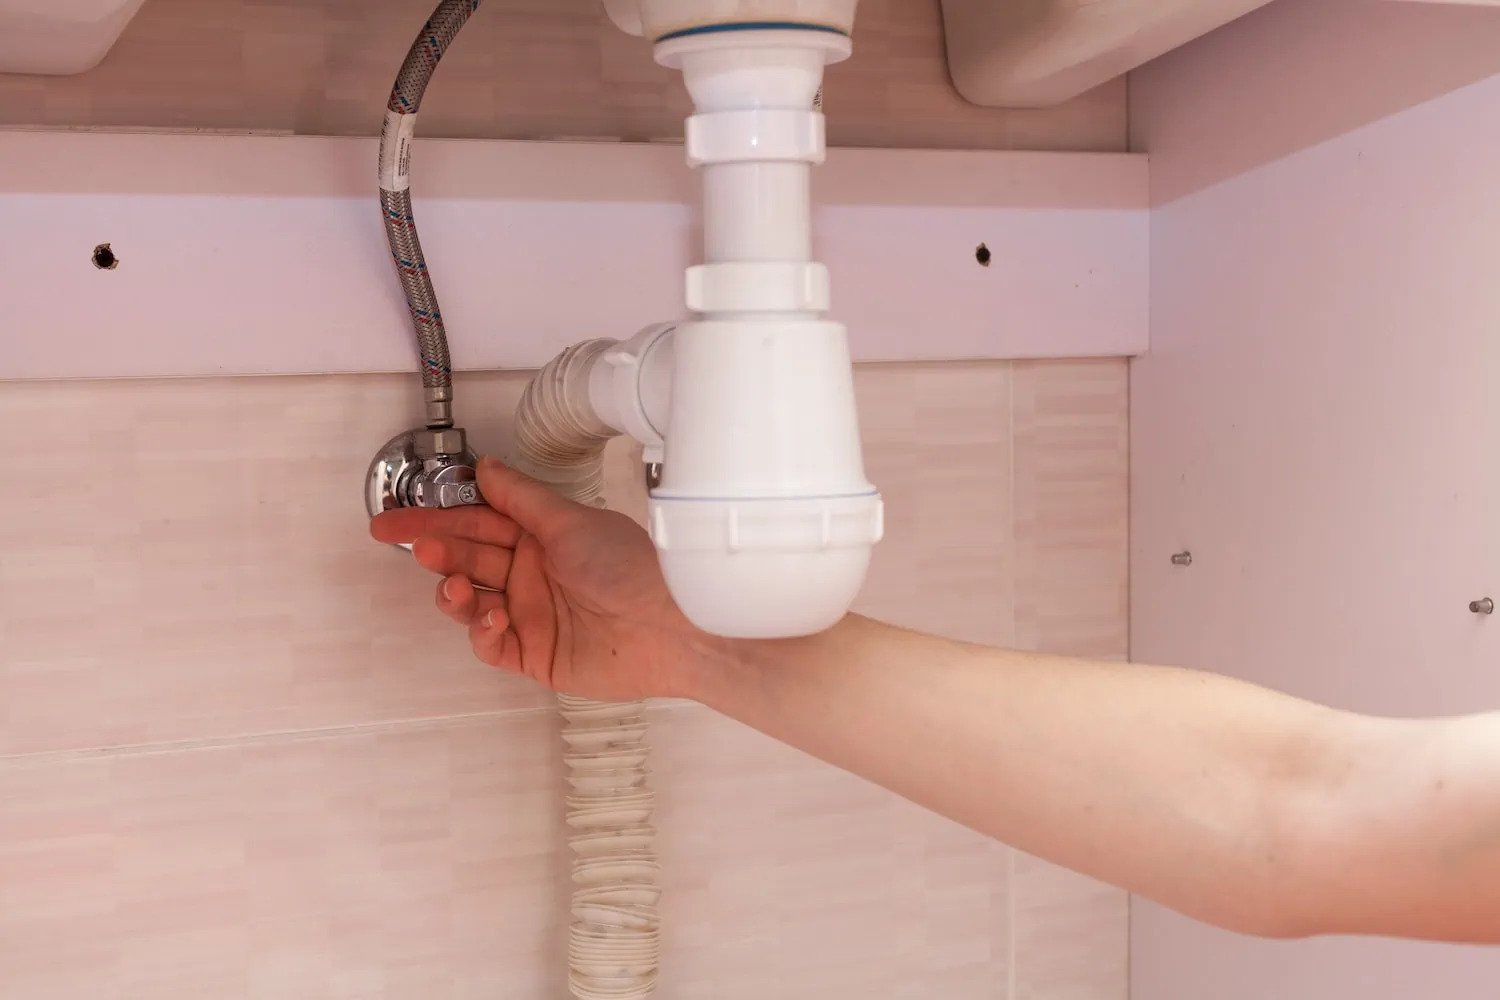
Checking Water Supply Lines
One of the first steps you can take to address low water pressure in your bathroom sink is to check the water supply lines. These lines are responsible for carrying water from the main supply to your sink. Here’s how you can check them:
- Turn off the water supply: Before inspecting the water supply lines, it’s important to turn off the water supply. Locate the shut-off valve under the sink and turn it clockwise to shut off the water.
- Inspect the supply lines: Examine the water supply lines for any visible signs of damage or leaks. Check for loose connections, kinks, or corrosion. If you notice any issues, tighten loose connections or replace damaged supply lines.
- Clear debris or blockages: Sometimes, debris or mineral deposits can accumulate in the water supply lines, causing a decrease in water pressure. Use a cloth or a small brush to gently remove any obstructions. If the blockage is severe, you may need to replace the supply lines.
- Turn on the water supply: Once you have inspected and cleared the water supply lines, it’s time to turn on the water supply. Slowly turn the shut-off valve counterclockwise to allow water to flow back into the sink.
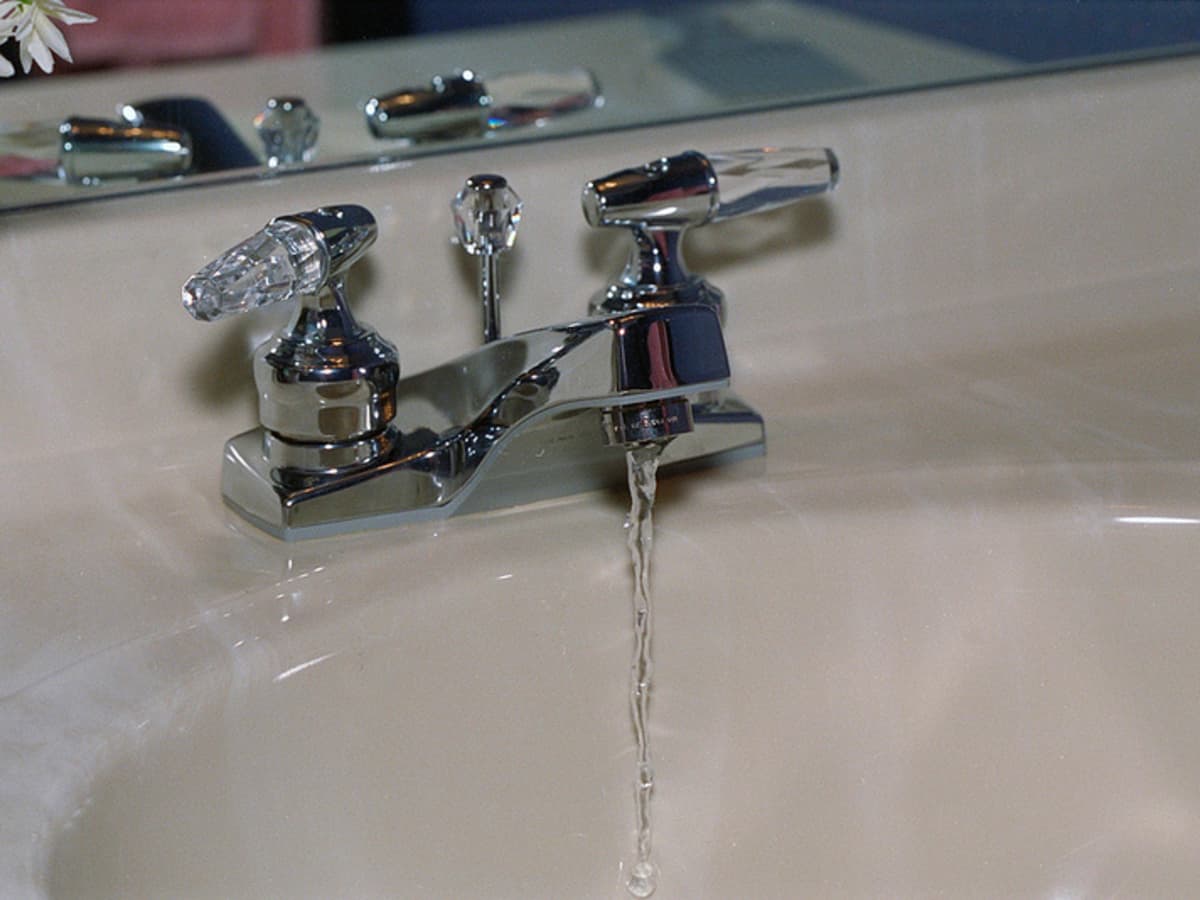
- Check the water pressure: Turn on the faucet in your bathroom sink and check if the water pressure has improved. If the water pressure is still low, you may need to explore other potential causes and solutions.
By checking the water supply lines and ensuring they are in good condition, you can eliminate any potential issues that might be causing low water pressure in your bathroom sink. If the problem persists, it may be necessary to investigate further.
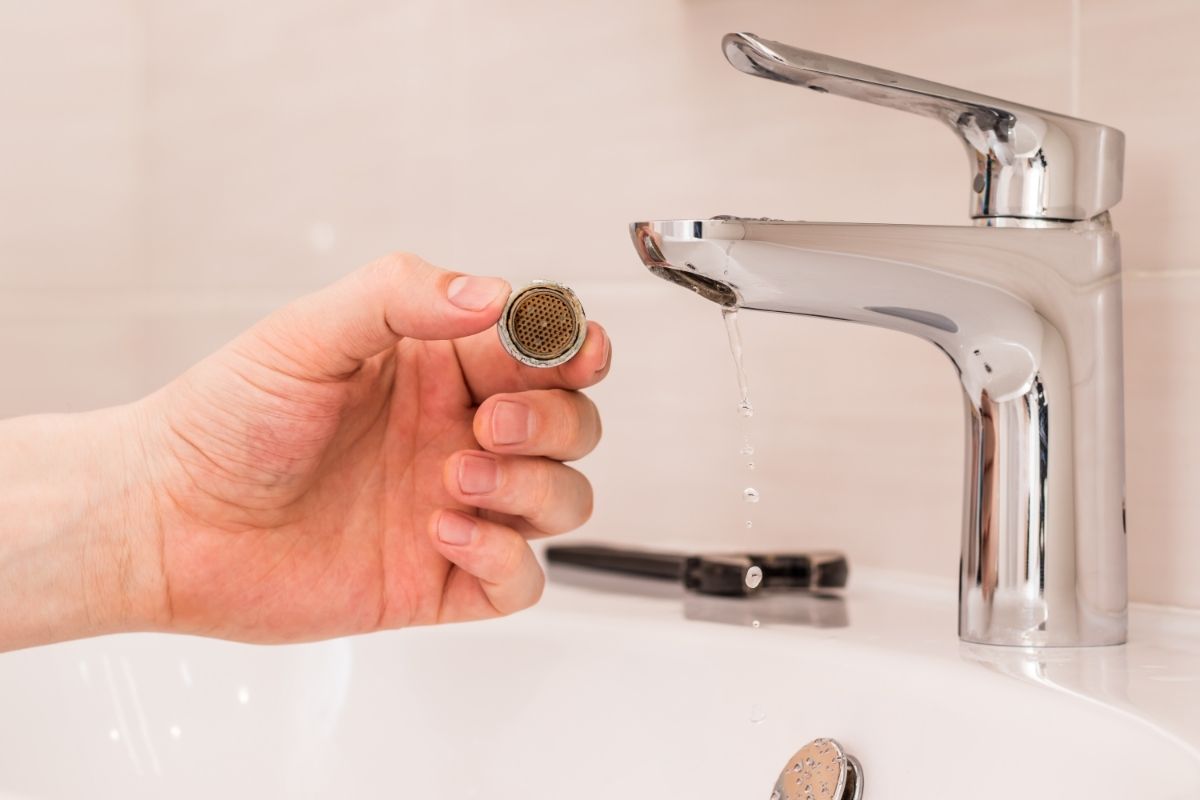
Cleaning the Aerator
A clogged aerator is a common culprit for low water pressure in bathroom sinks. The aerator is a small device located at the end of the faucet that controls the water flow and helps to reduce splashing. Over time, mineral deposits and debris can accumulate in the aerator, causing it to become clogged and restrict the water flow. Here’s how you can clean the aerator:
- Turn off the water supply: Before you begin cleaning the aerator, make sure to turn off the water supply. Locate the shut-off valve under the sink and turn it clockwise to shut off the water.
- Remove the aerator: The aerator is typically screwed onto the end of the faucet. Use a pair of pliers or a wrench to unscrew it in a counterclockwise direction. Be careful not to damage the aerator during this process.
- Inspect the aerator: Once you have removed the aerator, carefully examine it for any visible signs of debris or mineral deposits. If you notice any blockages, it’s time to clean the aerator.
- Soak in vinegar solution: Fill a bowl or container with equal parts white vinegar and water. Submerge the aerator in the vinegar solution and let it soak for about 30 minutes. Vinegar helps to dissolve the mineral deposits and loosen any debris.
- Scrub and rinse: After soaking, use a small brush or toothbrush to scrub the aerator and remove any remaining debris. Pay special attention to the tiny openings and the screens inside the aerator. Rinse the aerator thoroughly with water to remove any vinegar residue.
- Reinstall the aerator: Once the aerator is clean and free from any blockages, screw it back onto the faucet in a clockwise direction. Make sure it is tightened securely but avoid over-tightening to prevent any damage.
- Turn on the water supply: Finally, turn on the water supply by turning the shut-off valve counterclockwise. Test the faucet to see if the water pressure has improved. You should notice a difference in the flow and pressure of the water.
By cleaning the aerator regularly, you can prevent the build-up of debris and mineral deposits, ensuring a consistent and steady water flow in your bathroom sink. If cleaning the aerator doesn’t resolve the low water pressure issue, it’s time to explore other potential solutions.
Removing Sediment from the Pipes
Sediment build-up in the pipes leading to your bathroom sink can be a common cause of low water pressure. Over time, rust, sand, debris, and other particles can accumulate in the pipes, obstructing the flow of water. Here’s how you can remove sediment from the pipes:
- Turn off the water supply: Before you start removing sediment from the pipes, turn off the water supply. Locate the shut-off valve under the sink and turn it clockwise to shut off the water.
- Prepare a bucket: Place a bucket or a towel underneath the pipes to catch any water or debris that may come out during the process. This will help prevent any mess or damage to your surroundings.
- Disconnect the pipes: Using a wrench or pliers, carefully loosen and disconnect the pipes underneath the sink. Start with the P-trap, which is the curved pipe that traps debris and prevents foul odors. Remove it and inspect it for any clogs or sediment.
- Flush the pipes: With the P-trap removed, use a flashlight to inspect the pipes and check for any visible sediment or blockages. If you notice any obstructions, use a brush or a long, flexible wire to gently dislodge the sediment and flush it out with water.
- Clean the P-trap: While the pipes are disconnected, take the opportunity to clean the P-trap thoroughly. Use a scrub brush and warm, soapy water to remove any residue or sediment that may have accumulated.
- Reassemble the pipes: Once you have flushed the pipes and cleaned the P-trap, carefully reassemble the pipes, making sure they are tightly connected. Double-check all the connections to ensure there are no leaks.
- Turn on the water supply: Finally, turn on the water supply by turning the shut-off valve counterclockwise. Test the faucet to see if the water pressure has improved. You should notice a difference in the flow and pressure of the water.
By removing sediment from the pipes, you can restore proper water flow and pressure to your bathroom sink. If sediment build-up continues to be a recurring issue, you may need to consider installing a water filtration system to prevent further sediment accumulation.
Check the aerator on the faucet for clogs or debris. Remove and clean it, then reattach. This can often improve water pressure in a bathroom sink.
Read more: How To Increase Water Pressure In Sink
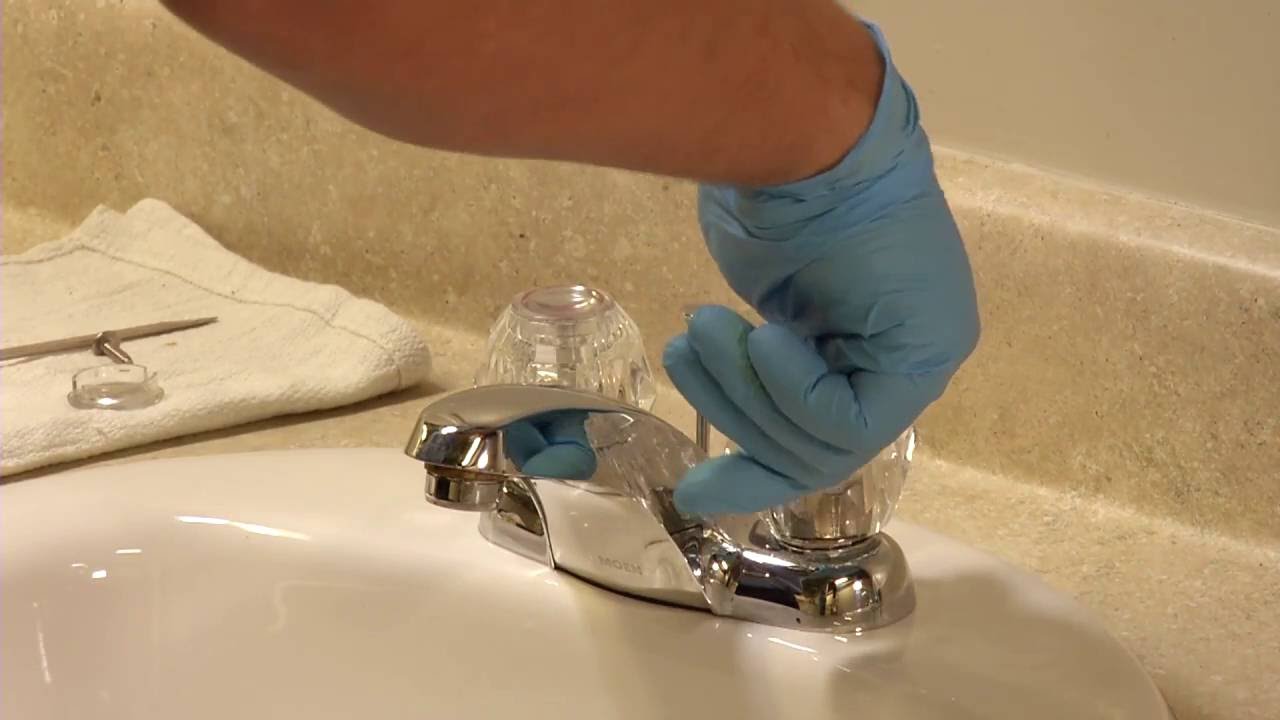
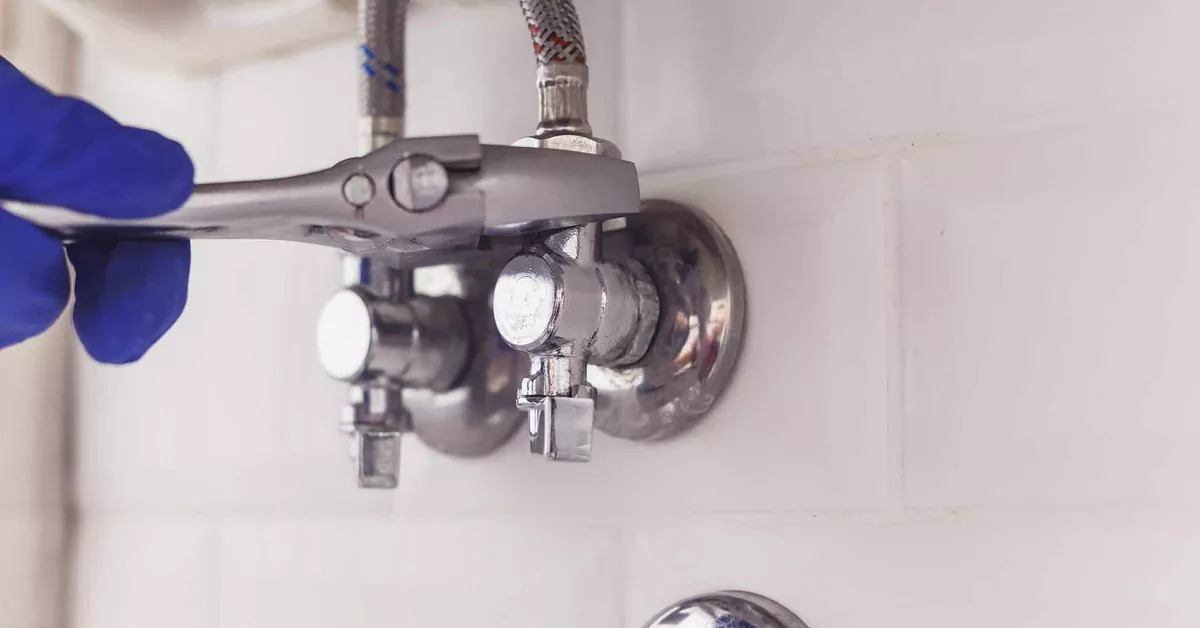
Checking the Shut-off Valve
The shut-off valve is an essential component that controls the flow of water to your bathroom sink. If there is a problem with the shut-off valve, it can cause a decrease in water pressure. Here’s how you can check the shut-off valve:
- Locate the shut-off valve: The shut-off valve is typically located underneath the sink, close to the water supply lines. It is usually a small valve with a handle that you can turn to control the water flow.
- Turn off the water supply: Before inspecting the shut-off valve, turn off the water supply by turning the handle clockwise. This will ensure that no water is flowing through the pipes.
- Check the valve position: Take a look at the shut-off valve and observe its current position. It should be fully open, allowing water to flow freely. If the valve is only partially open or completely closed, it may be causing low water pressure in your bathroom sink.
- Test the valve: Slowly turn the shut-off valve counterclockwise to open it fully. It should turn smoothly without any resistance. If the valve is difficult to turn or if you notice any leaks, it may be defective and in need of replacement.
- Inspect the supply lines: While you’re checking the shut-off valve, inspect the water supply lines for any visible signs of damage or leaks. Tighten any loose connections and replace any damaged supply lines if necessary.
- Turn on the water supply: Once you have inspected and tested the shut-off valve, turn on the water supply by turning the handle counterclockwise. Test the faucet to see if the water pressure has improved. You should notice a difference in the flow and pressure of the water.
By checking the shut-off valve and ensuring it is fully open and functioning properly, you can eliminate any potential issues that might be causing low water pressure in your bathroom sink. If the problem persists, it may be necessary to explore other potential causes and solutions.
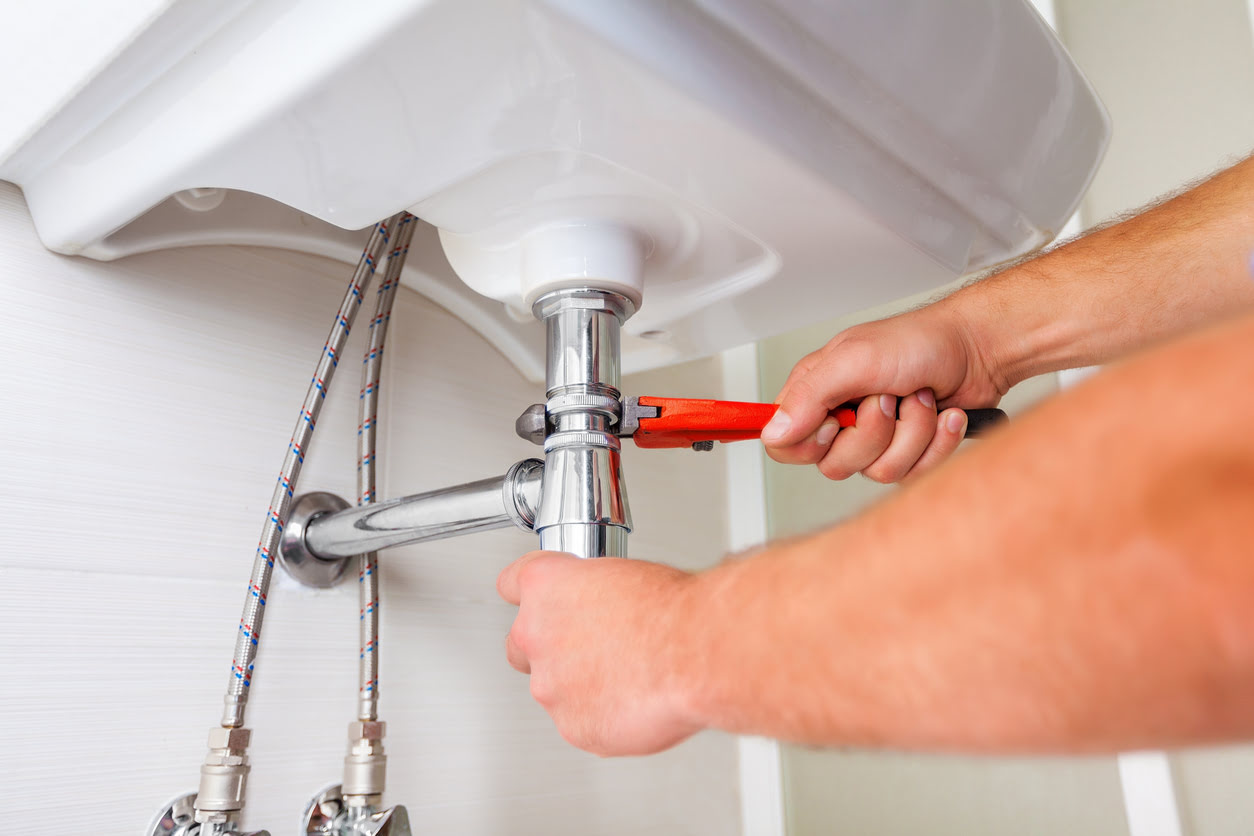
Fixing Leaks
Leaking pipes can not only waste water but also result in low water pressure in your bathroom sink. Identifying and fixing any leaks is crucial for restoring proper water flow. Here’s how you can fix leaks:
- Inspect for leaks: Carefully examine the pipes underneath your bathroom sink for any visible signs of leaks. Look for dripping water, wet spots, or puddles. Pay close attention to the connections, joints, and valves.
- Tighten loose connections: If you discover any loose connections, use a wrench or pliers to tighten them. Ensure that the connections are secure, but be careful not to overtighten, as it may cause damage.
- Replace damaged pipes or fittings: If you notice any cracked or damaged pipes or fittings, they may need to be replaced. Turn off the water supply, disconnect the damaged section, and install new pipes or fittings using appropriate plumbing techniques.
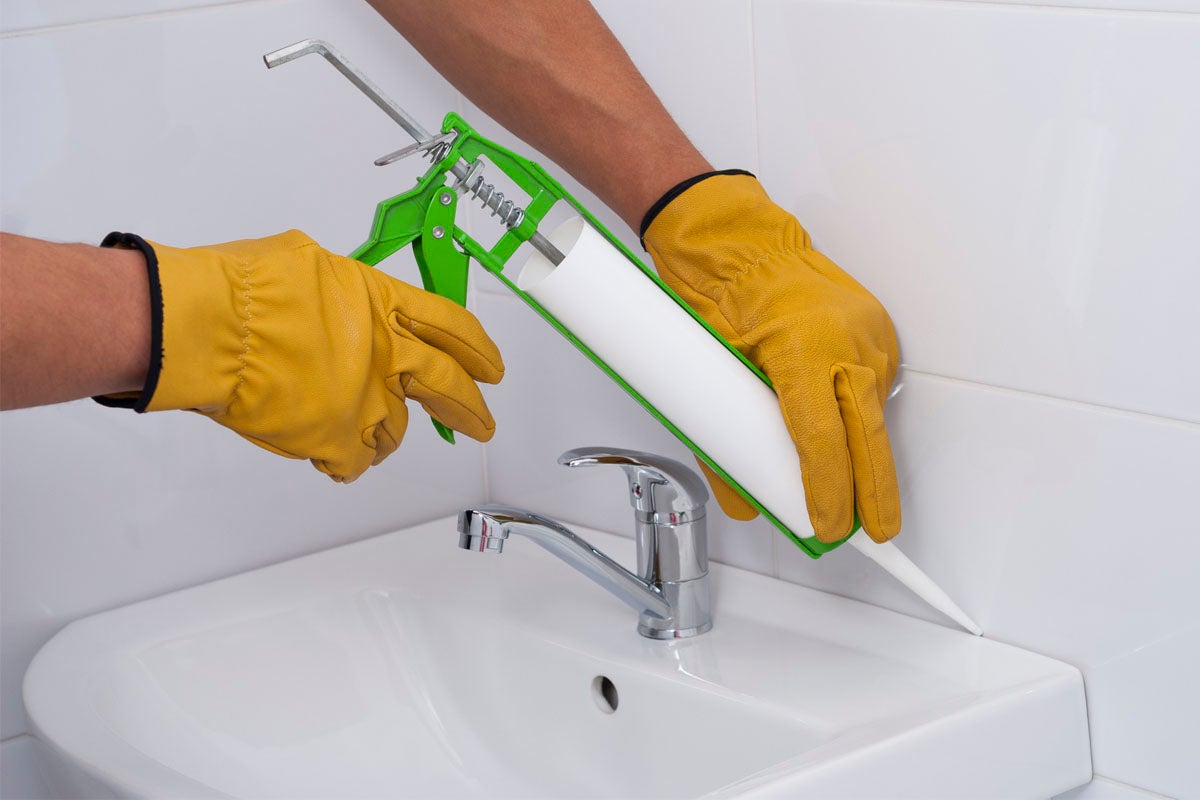
- Use pipe sealant: Apply plumber’s tape or pipe sealant to the threaded connections before reassembling or reconnecting the pipes. This helps create a watertight seal and prevent future leaks.
- Inspect the faucet: Leaks can also occur within the faucet itself. Check for any drips or persistent leaks when the faucet is turned off. If you notice a leaky faucet, you may need to replace the faulty cartridge or repair the internal components.
- Turn on the water supply: Once you have fixed any leaks and made the necessary repairs, turn on the water supply by turning the shut-off valve counterclockwise. Test the faucet to see if the water pressure has improved. The absence of leaks should contribute to better water flow.
Fixing leaks in your bathroom sink is essential for preventing water wastage and maintaining optimal water pressure. By properly inspecting and repairing any leaks, you can ensure a more efficient and sustainable plumbing system.
Clearing Clogs
Clogs in the pipes can significantly impact water pressure in your bathroom sink. A buildup of hair, soap scum, mineral deposits, or other debris can cause blockages that restrict the flow of water. Here’s how you can clear clogs:
- Remove the drain stopper: Start by removing the drain stopper from your bathroom sink. Depending on the type of stopper, you may need to unscrew it or lift it out using a pair of pliers.
- Use a plunger: Place a plunger over the drain opening and push it down firmly to create a seal. Pump the plunger up and down a few times to create suction and dislodge the clog. Repeat this process several times until the water starts flowing freely.
- Try a drain snake: If the plunger doesn’t effectively clear the clog, you can use a drain snake or a flexible plumbing auger. Insert the snake into the drain and rotate it clockwise while pushing it further into the pipe. This will help break up and retrieve the clog.
- Apply a mixture of baking soda and vinegar: Another effective method is to pour a mixture of baking soda and vinegar down the drain. Start by pouring half a cup of baking soda, followed by half a cup of vinegar. Let the mixture foam and work its way through the pipes for about 15 minutes. Rinse it with hot water to flush away the clog.
- Use a chemical drain cleaner: If the clog persists, you can try using a chemical drain cleaner as a last resort. However, be cautious and follow the manufacturer’s instructions carefully, as these cleaners can be harsh and may damage pipes if not used properly.
- Replace the drain stopper and test the water flow: After successfully clearing the clog, replace the drain stopper and test the water flow in your bathroom sink. You should notice a significant improvement in water pressure.
Clearing clogs in your bathroom sink is crucial for maintaining proper water flow and preventing low water pressure. By using these methods, you can effectively remove common clogs and enjoy a fully functional and efficient plumbing system.
Conclusion
Dealing with low water pressure in your bathroom sink can be frustrating, but there are several steps you can take to address the issue. By identifying the underlying causes and implementing the appropriate solutions, you can restore proper water flow and enjoy an efficient and reliable plumbing system.
In this article, we discussed common causes of low water pressure in a bathroom sink, including clogged aerators, sediment build-up in pipes, issues with the water supply lines, leaking pipes, and clogs. We explored various solutions, such as cleaning the aerator, removing sediment from the pipes, checking the shut-off valve, fixing leaks, and clearing clogs. Each step is essential in troubleshooting and rectifying the problem.
Remember to approach these troubleshooting methods with caution and follow proper safety procedures. If you are unsure or uncomfortable with any of the steps, it’s best to consult a professional plumber for assistance.
By regularly maintaining and inspecting your plumbing system, you can prevent future issues with water pressure in your bathroom sink. Additionally, using water-efficient fixtures and being mindful of water usage can contribute to a sustainable and environmentally-friendly approach.
With the knowledge and tips provided in this article, you can now confidently tackle low water pressure issues in your bathroom sink. Enjoy a steady stream of water and a more comfortable and convenient bathroom experience.
Frequently Asked Questions about How To Fix Water Pressure In Bathroom Sink
Was this page helpful?
At Storables.com, we guarantee accurate and reliable information. Our content, validated by Expert Board Contributors, is crafted following stringent Editorial Policies. We're committed to providing you with well-researched, expert-backed insights for all your informational needs.


0 thoughts on “How To Fix Water Pressure In Bathroom Sink”