Articles
How To Fix Low Water Pressure In Kitchen Sink
Modified: October 20, 2024
Learn how to fix low water pressure in your kitchen sink with these helpful articles. Increase water flow and improve functionality.
(Many of the links in this article redirect to a specific reviewed product. Your purchase of these products through affiliate links helps to generate commission for Storables.com, at no extra cost. Learn more)
Introduction
Having low water pressure in your kitchen sink can be incredibly frustrating. It can affect your ability to rinse dishes, fill pots, and even interfere with basic kitchen tasks. Understanding the common causes of low water pressure and how to fix them can help you resolve the issue and restore the water flow to your kitchen sink.
There are several factors that can contribute to low water pressure in your kitchen sink. It could be an issue with the water supply, a clogged faucet aerator, a faulty water supply valve, a leaky or damaged pipe, or even a problem with the pressure regulator. Identifying the root cause is the first step towards solving the problem.
In this article, we will discuss the common causes of low water pressure in a kitchen sink and provide step-by-step instructions on how to fix them. By following these troubleshooting steps, you can tackle the issue and enjoy normal water pressure in your kitchen once again.
Key Takeaways:
- Don’t let low water pressure ruin your kitchen experience. Check the water supply, clear the faucet aerator, and inspect the pipes to restore optimal water flow. Remember, a clogged aerator is a common culprit!
- If DIY troubleshooting doesn’t fix the issue, consider replacing the pressure regulator or adjusting the water pressure reducing valve. Flushing the water lines can also help remove sediment buildup. When in doubt, consult a professional plumber for expert assistance.
Read more: How To Fix Water Pressure In Bathroom Sink
Common Causes of Low Water Pressure
Low water pressure in the kitchen sink can be caused by various factors. Understanding these common causes can help you diagnose the issue and find an appropriate solution. Here are some of the most frequent culprits:
- Water Supply Issues: Sometimes, low water pressure in your kitchen sink is a result of a problem with the water supply itself. This can occur if there is a water main break or if there is maintenance work happening in your area that affects water flow. In such cases, the issue is temporary and will likely resolve once the water supply is restored.
- Clogged Faucet Aerator: Over time, minerals and debris can accumulate and clog the faucet aerator. This restricts water flow and leads to low water pressure. The solution is to remove the aerator, clean it thoroughly, and reattach it to the faucet.
- Water Supply Valve Issues: If the water supply valve is not fully open or is partially blocked, it can affect the water pressure. Check the valve near the kitchen sink and ensure it is fully open. If it is clogged or faulty, you may need to clean or replace it.
- Leaky or Damaged Pipe: A leak or damage in the water pipe can cause a drop in water pressure. Inspect the pipes under the sink for any signs of leakage or damage. If you find any, repair or replace the affected section of the pipe to restore water pressure.
- Pressure Regulator Issues: The pressure regulator is responsible for maintaining a steady water pressure throughout your plumbing system. If it malfunctions, it can cause low water pressure. If you suspect a problem with the pressure regulator, it is best to consult a professional plumber to assess and repair the issue.
- Water Pressure Reducing Valve Adjustment: In some cases, the water pressure reducing valve may need to be adjusted. This valve regulates the overall water pressure in your home. Consult the manufacturer’s instructions or seek professional help to make the necessary adjustments.
- Flushing the Water Lines: Over time, sediment and debris can build up in the water lines, leading to reduced water pressure. Flushing the water lines can help remove these deposits and restore water flow. This can be achieved by turning off the main water supply, opening all faucets to drain the remaining water, and then turning the water supply back on.
Identifying the specific cause of low water pressure in your kitchen sink is crucial for effective troubleshooting and repair. By understanding these common causes, you can take the necessary steps to fix the issue and enjoy adequate water pressure for all your kitchen needs.
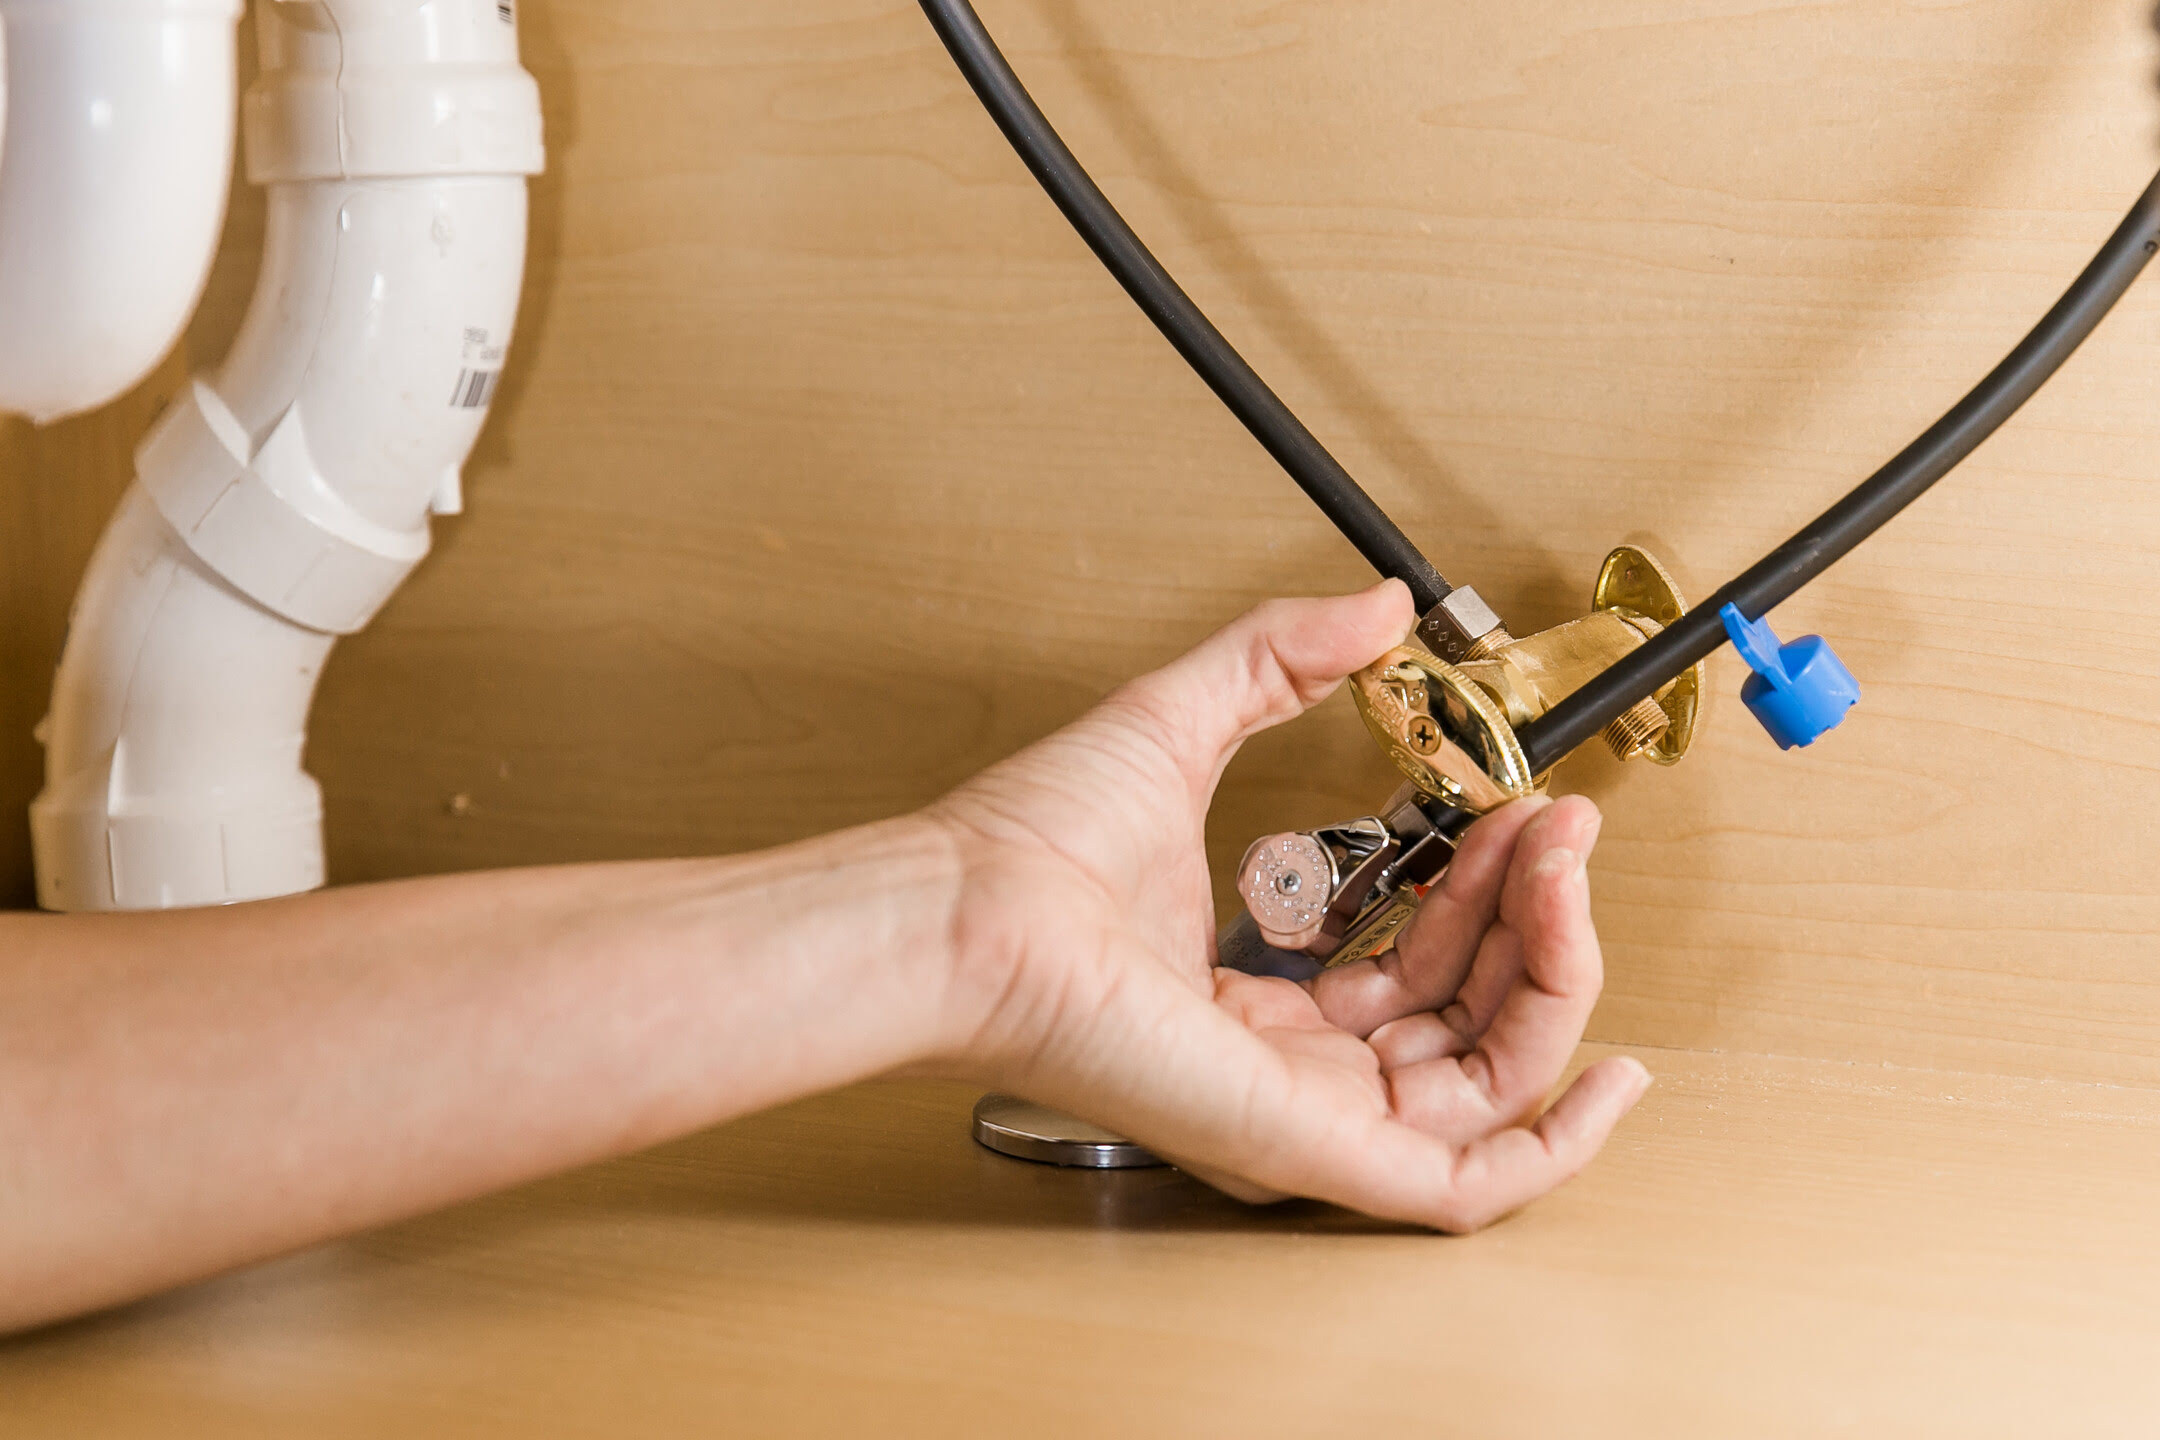
Checking the Water Supply
When faced with low water pressure in your kitchen sink, the first step is to check the water supply. This helps determine if the issue is related to the water supply system or if it is specific to your kitchen sink.
Here’s how you can check the water supply:
- 1. Check other faucets: Turn on the faucets in other areas of your house, such as the bathroom or laundry room. If all the faucets have low water pressure, it indicates a problem with the main water supply. In such cases, reach out to your water provider to inquire about any ongoing maintenance or issues with the water line in your area.
- 2. Test other fixtures: Check other fixtures that are connected to the same water supply line as your kitchen sink, such as the dishwasher or refrigerator water dispenser. If these fixtures also have low water pressure, then the problem is likely due to a supply line issue. Consider consulting a professional plumber to assess and fix the problem.
- 3. Inspect the shut-off valves: Locate the shut-off valves under the sink—both the main water supply valve and the individual valve for the kitchen sink. Ensure that these valves are fully open. If they are partially closed, it can restrict the water flow and result in low water pressure. Turn the valves clockwise to fully open them.
- 4. Check for obstructions: Inspect the supply line and make sure it is not kinked or twisted. Any obstructions, such as debris or sediment, can also hinder water flow. Clear away any obstructions and ensure that the supply line is properly connected.
By checking the water supply and ruling out any issues with the main supply or supply line, you can focus your troubleshooting efforts on the specific components of your kitchen sink. If the water supply appears to be functioning normally, move on to the next step of troubleshooting.
Clearing Clogged Faucet Aerator
If the water pressure in your kitchen sink is still low after checking the water supply, the next step is to check the faucet aerator. Over time, mineral deposits and debris can accumulate in the aerator, leading to a restricted water flow and low water pressure. Clearing the clogged aerator can often resolve the issue.
Follow these steps to clear a clogged faucet aerator:
- 1. Start by turning off the water supply to the kitchen sink. Look for the shut-off valves under the sink and turn them clockwise to close them.
- 2. Next, locate the aerator at the tip of the faucet head. It is usually a small mesh screen or a circular device that screws onto the faucet.
- 3. Use a pair of pliers or a wrench to unscrew the aerator in a counterclockwise direction. Be careful not to apply too much force, as it could damage the aerator or faucet.
- 4. Once removed, inspect the aerator for any signs of debris or mineral buildup. You may notice small particles or a coating of sediment on the screen.
- 5. Rinse the aerator under running water to remove any loose debris. If the buildup is stubborn, you can soak the aerator in a mixture of vinegar and water for a few hours, as vinegar helps dissolve mineral deposits.
- 6. Use a toothbrush or a small brush to gently scrub the aerator, making sure to remove any remaining buildup.
- 7. Once clean, reattach the aerator by screwing it back onto the faucet, tightening it with your hand. Be cautious not to overtighten, as it may cause damage.
- 8. Finally, turn on the water supply and test the water pressure in the kitchen sink. You should notice an improvement in the water flow and pressure after clearing the clogged aerator.
If clearing the aerator does not resolve the low water pressure issue, continue troubleshooting using the next steps to identify and fix other potential causes.
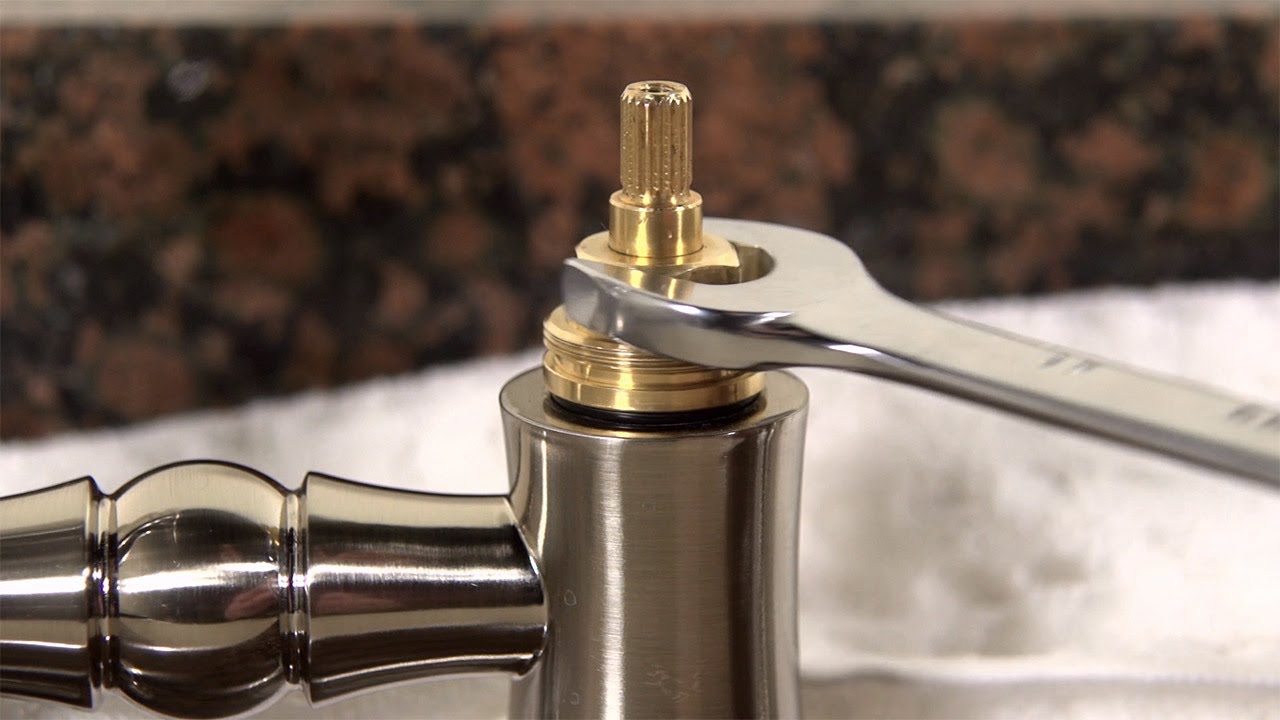
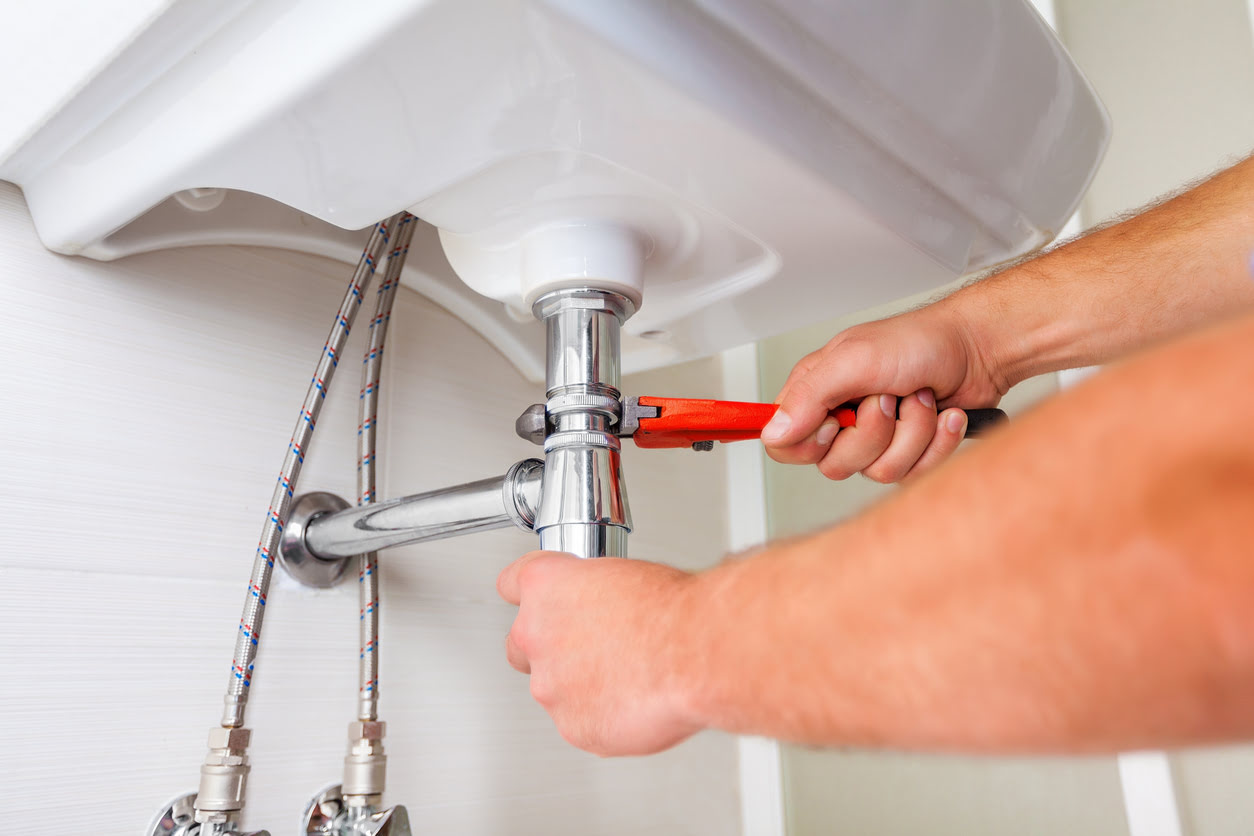
Cleaning or Replacing the Water Supply Valve
If clearing the faucet aerator doesn’t fix the low water pressure issue in your kitchen sink, the next step is to check and clean the water supply valve. The water supply valve is responsible for controlling the flow of water into your kitchen sink. Over time, it can become clogged or faulty, leading to low water pressure.
Here are the steps to clean or replace the water supply valve:
- 1. Start by turning off the main water supply to your house. Locate the main shut-off valve, usually found near the water meter or where the main water line enters your home. Turn the valve clockwise to close it and stop the water flow.
- 2. Next, locate the water supply valve specific to your kitchen sink. It is usually found under the sink, near the pipes that connect to the faucet.
- 3. Using a wrench or pliers, carefully loosen and remove the supply line connected to the water supply valve. Keep a bucket or towel handy to catch any water that may spill out.
- 4. Once the supply line is disconnected, inspect the water supply valve for any signs of debris or mineral buildup. Use a brush or cloth to clean the valve thoroughly.
- 5. If cleaning the valve doesn’t improve water flow, consider replacing the valve. To do this, turn off the main water supply and consult a professional plumber for assistance. They can help you choose and install a new valve that meets your needs.
- 6. If you choose to replace the valve yourself, follow the manufacturer’s instructions for installation. Ensure that all connections are tight and secure.
- 7. Once the new valve is installed or if you’ve successfully cleaned the existing valve, reconnect the supply line to the valve and tighten it with a wrench or pliers.
- 8. Turn on the main water supply and test the water pressure in your kitchen sink. The flow should be improved, and the water pressure should be back to normal.
If cleaning or replacing the water supply valve doesn’t solve the low water pressure issue, you may need to investigate other potential causes such as leaky or damaged pipes, a faulty pressure regulator, or a problem with the water pressure reducing valve.
Remember that if you’re unsure or uncomfortable performing these tasks yourself, it’s always best to consult a professional plumber for assistance.
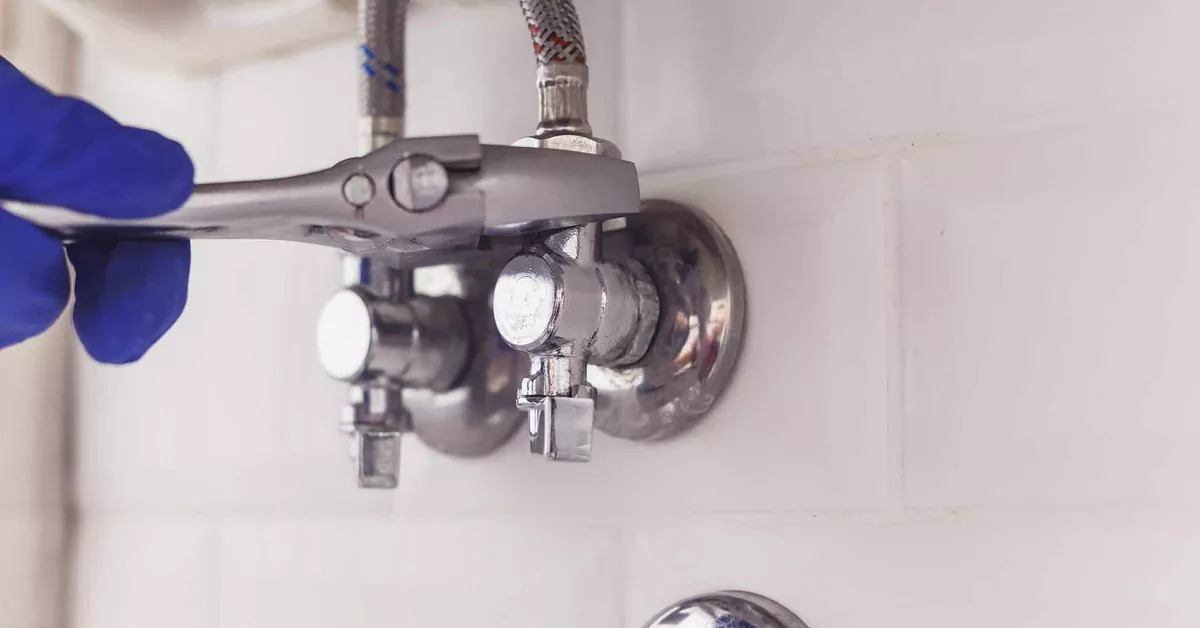
Check the aerator on the faucet for clogs or debris. Remove and clean it to improve water flow. If the problem persists, check the water shut-off valve under the sink to ensure it is fully open.
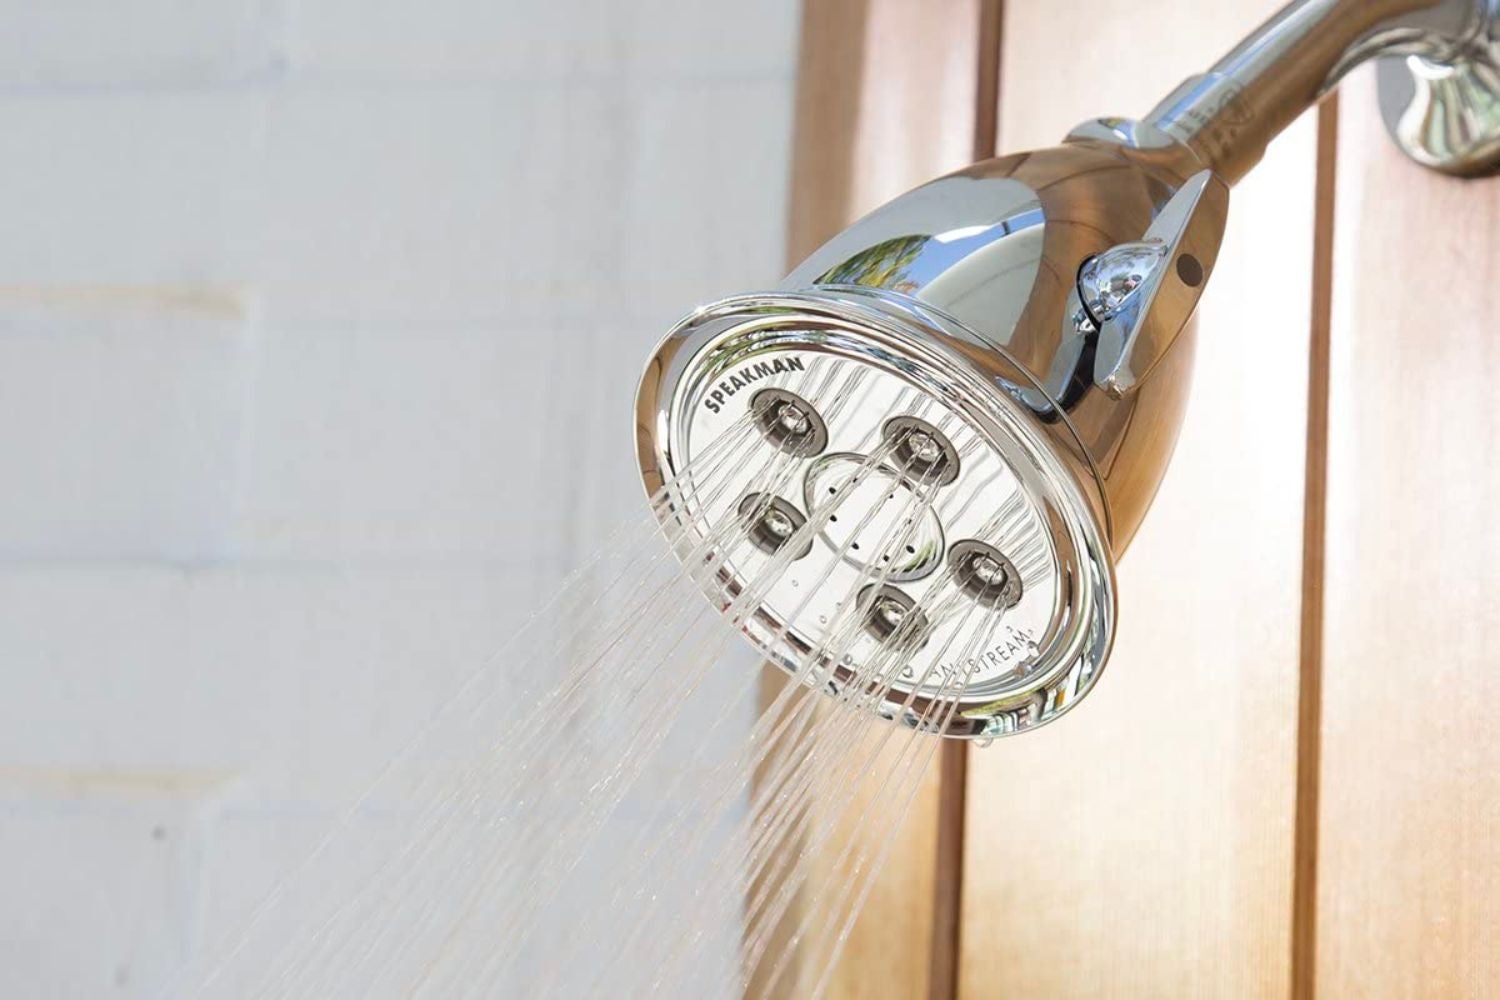
Read more: How To Fix Low Showerhead Pressure
Fixing a Leaky or Damaged Pipe
If you’re still experiencing low water pressure in your kitchen sink after checking the water supply and cleaning or replacing the water supply valve, the next step is to inspect for any leaky or damaged pipes. A leak or damage in the pipes can cause a drop in water pressure and should be addressed promptly.
Here’s how you can fix a leaky or damaged pipe:
- 1. Start by turning off the main water supply to your house. Locate the main shut-off valve and turn it clockwise to close it. This will stop the flow of water.
- 2. Once the water is turned off, inspect the pipes under your kitchen sink for any signs of leakage or damage. Look for water stains, dampness, or visible cracks in the pipes.
- 3. If you notice a leak, try tightening any loose connections or joints using a pipe wrench or pliers. Be careful not to overtighten, as it can cause further damage.
- 4. If the pipe is damaged or has significant leaks, you may need to replace the affected section. Measure the size and length of the damaged portion and purchase a replacement pipe of the same dimensions.
- 5. Using a pipe cutter or a hacksaw, carefully cut out the damaged section of the pipe. Ensure that the cut is straight and clean.
- 6. Prepare the replacement pipe by cleaning the ends and applying plumber’s tape or pipe joint compound to create a watertight seal.
- 7. Connect the replacement pipe to the existing pipes using appropriate fittings or couplings. Follow the manufacturer’s instructions for proper installation.
- 8. Once the replacement pipe is securely in place, turn on the main water supply and check for any leaks. Inspect the connection points for any signs of water leakage.
- 9. If there are no leaks, turn on the kitchen sink faucet to test the water pressure. The flow should be restored, and the water pressure should be back to normal.
It’s important to properly fix any leaky or damaged pipes as soon as possible to prevent further water damage and ensure optimal water pressure in your kitchen sink. If you’re unsure about your plumbing skills or the extent of the damage, it’s recommended to seek the assistance of a licensed plumber.
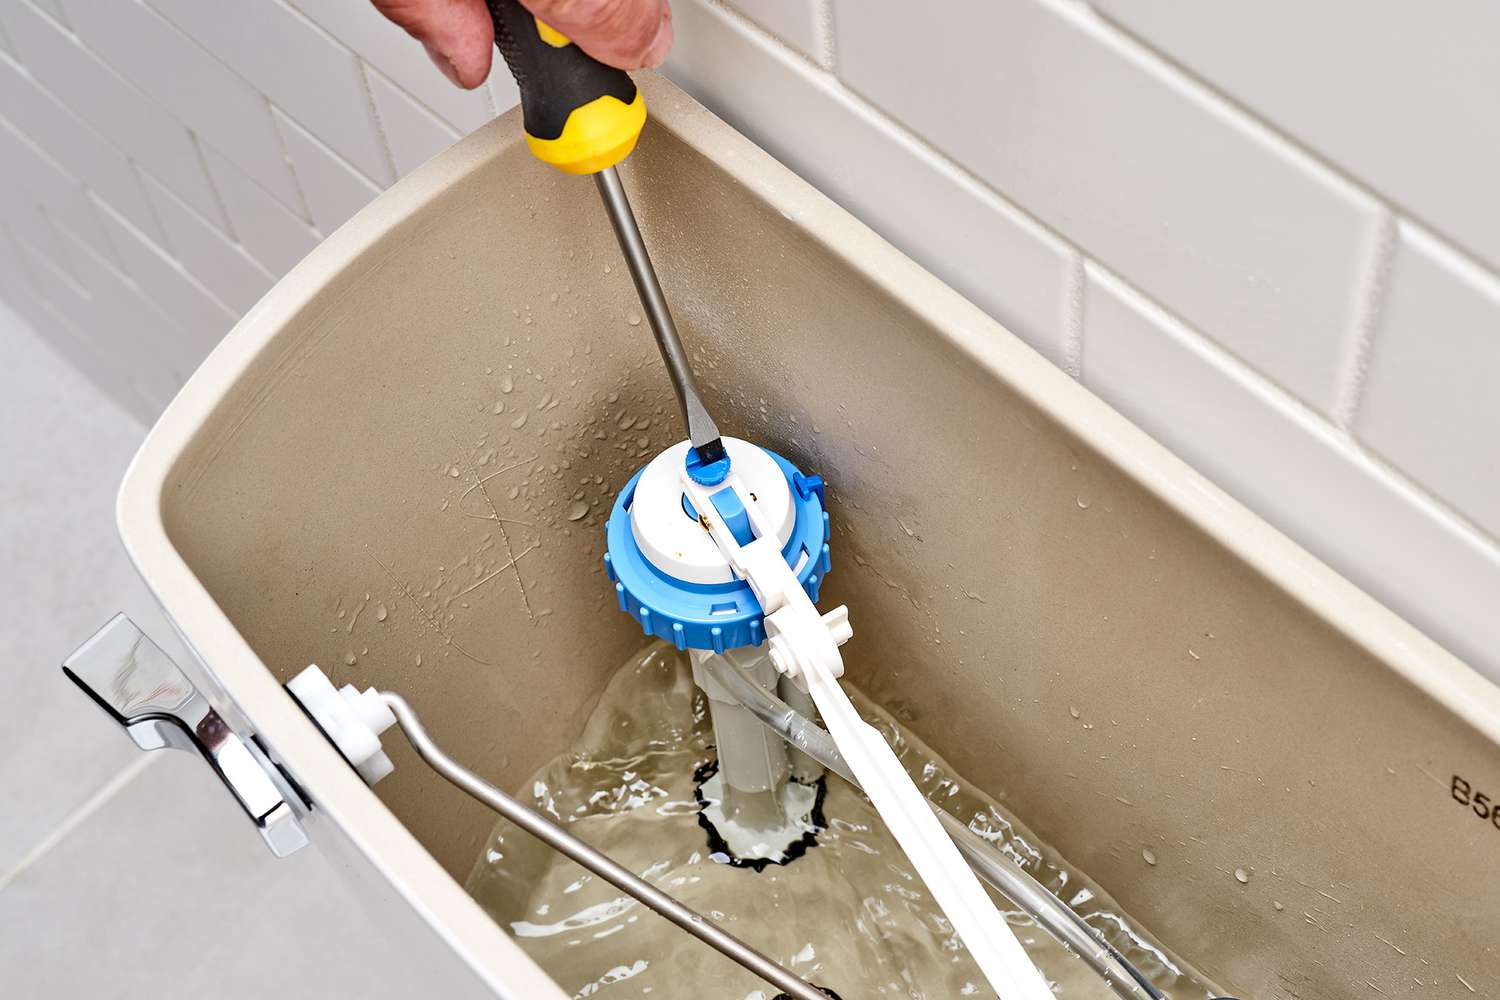
Replacing the Pressure Regulator
If you have checked the water supply, cleared the faucet aerator, and inspected the pipes without resolving the low water pressure issue in your kitchen sink, the pressure regulator may be the culprit. The pressure regulator is responsible for maintaining a steady water pressure throughout your plumbing system. If it is faulty or malfunctioning, it can cause low water pressure.
Here’s how you can replace the pressure regulator:
- 1. Start by turning off the main water supply to your house. Locate the main shut-off valve and turn it clockwise to close it. This will stop the flow of water.
- 2. Once the water is shut off, locate the pressure regulator. It is typically located near the main water supply entry point or near the water meter.
- 3. Carefully disconnect the pressure regulator from the plumbing system. Depending on the type of installation, you may need to unscrew it or use a wrench to disconnect the fittings.
- 4. Take note of the current pressure regulator’s specifications, including the size and pressure range, to ensure you select an appropriate replacement.
- 5. Purchase a new pressure regulator of the same specifications as the old one. Consult a plumbing professional or refer to local building codes for guidance.
- 6. Once you have the replacement pressure regulator, prepare the installation area by cleaning and inspecting the plumbing connections for any damage or leaks.
- 7. Install the new pressure regulator by following the manufacturer’s instructions. Ensure that all fittings are securely tightened, but avoid overtightening, which can cause damage.
- 8. Once the new pressure regulator is installed, turn on the main water supply and check for any leaks. Inspect the connections carefully, both near the pressure regulator and throughout your plumbing system.
- 9. Test the water pressure in your kitchen sink by turning on the faucet. You should notice an improvement in water flow and pressure.
Replacing the pressure regulator can be a more advanced plumbing task, so if you’re unsure about your skills or if the installation seems complex, it’s best to consult a licensed plumber for assistance. They will ensure that the replacement is done correctly and that your kitchen sink water pressure is restored safely.
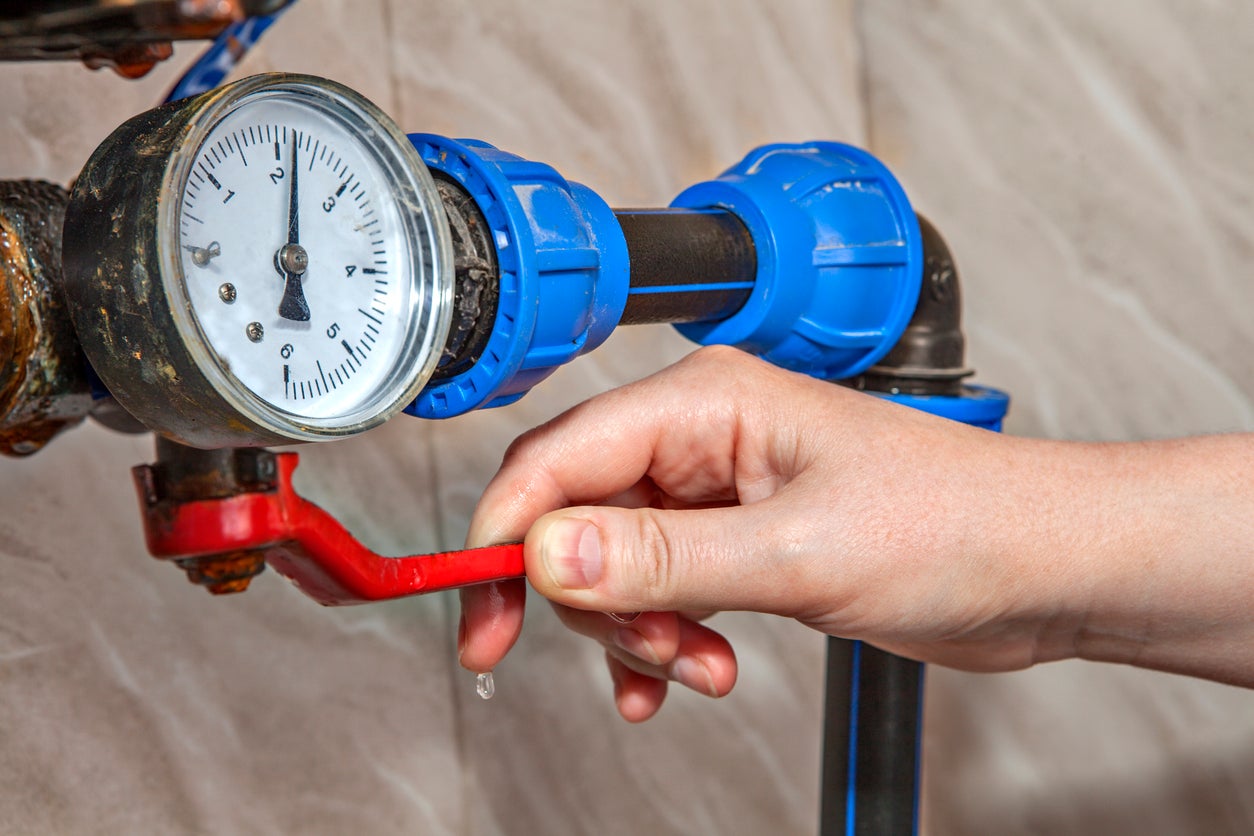
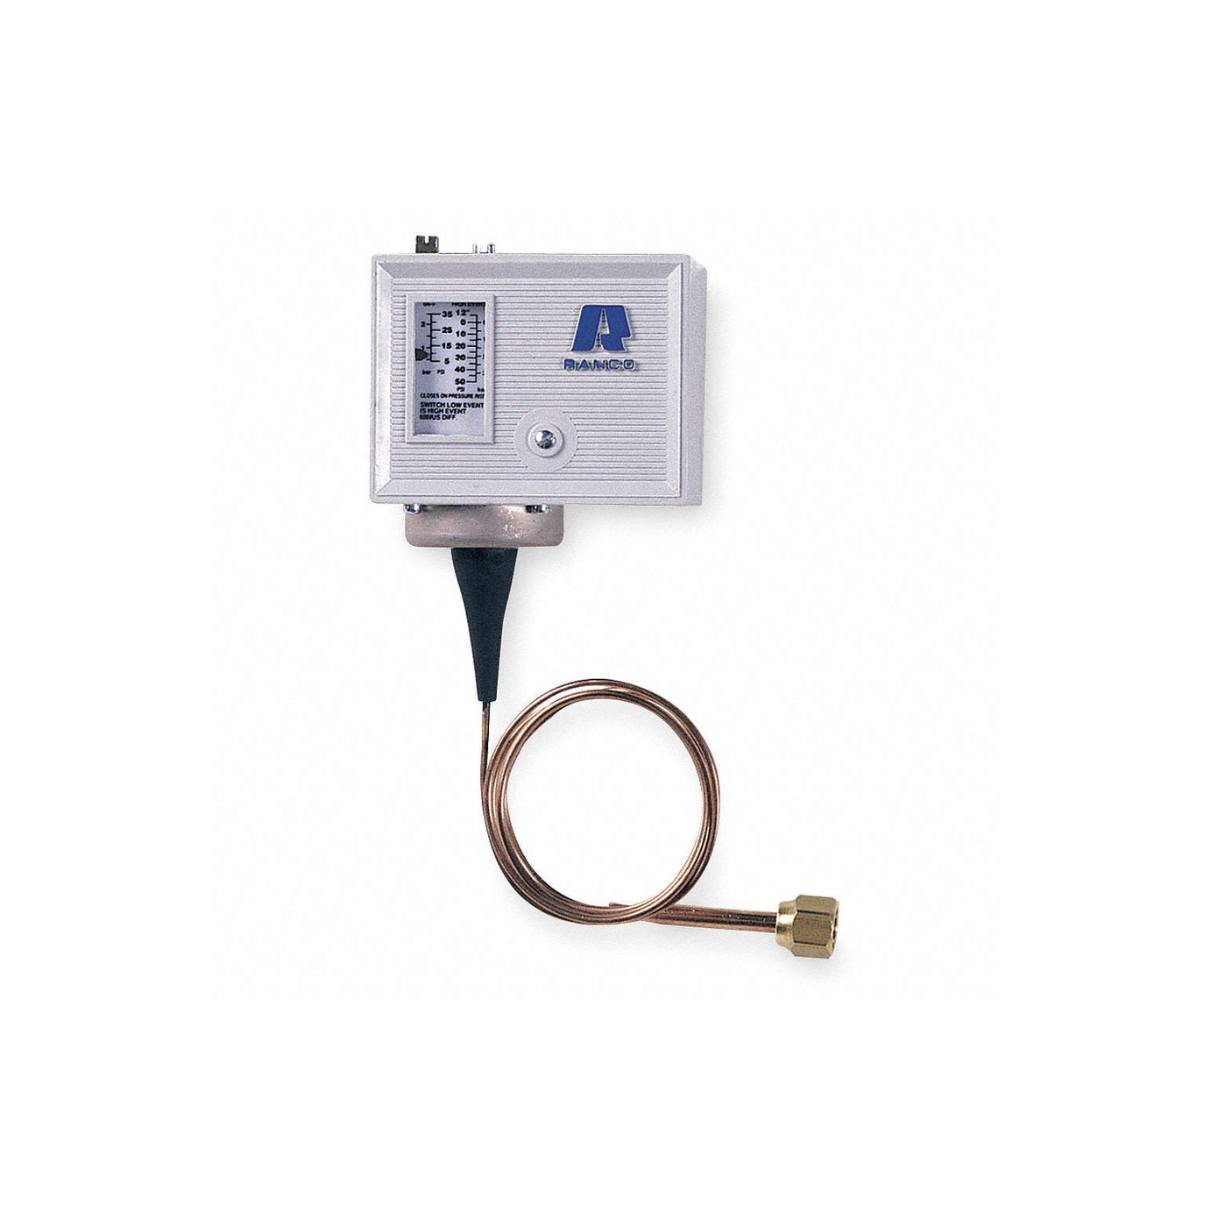
Adjusting the Water Pressure Reducing Valve
If you’re experiencing low water pressure in your kitchen sink, another potential cause could be an issue with the water pressure reducing valve. The water pressure reducing valve controls the overall water pressure in your home’s plumbing system. If it is not set correctly, it can result in low water pressure throughout the house, including the kitchen sink.
Here’s how you can adjust the water pressure reducing valve:
- 1. Locate the water pressure reducing valve. It is usually positioned near the main water supply entry point or near the water meter.
- 2. Remove the valve’s bonnet cover, which typically involves loosening a screw or nut holding it in place. Use a wrench or pliers as needed, being careful not to damage the valve.
- 3. Once the bonnet cover is removed, locate the adjustment screw or adjustment nut. This is typically found on the top or side of the valve.
- 4. To increase the water pressure, turn the adjustment screw or nut in a clockwise direction. To decrease the pressure, turn it in a counterclockwise direction. Make small adjustments to avoid sudden pressure changes.
- 5. As you adjust the pressure, have someone monitor the water pressure in the kitchen sink. Test it periodically to determine the impact of each adjustment.
- 6. Keep in mind that the recommended water pressure for residential homes is typically around 40-60 psi (pounds per square inch). Check your local building codes or consult a professional if you’re unsure about the appropriate pressure range for your area.
- 7. Once you’ve found the desired water pressure, secure the bonnet cover back onto the valve, ensuring a proper seal.
- 8. Test the water pressure in the kitchen sink to confirm that the adjustment has improved the water flow. Make any further adjustments as needed.
It’s important to note that adjusting the water pressure reducing valve requires caution and precision. If you’re unsure about your ability to make the adjustment correctly, it’s best to consult a licensed plumber. They have the expertise and experience to adjust the valve accurately, ensuring optimal water pressure throughout your home.
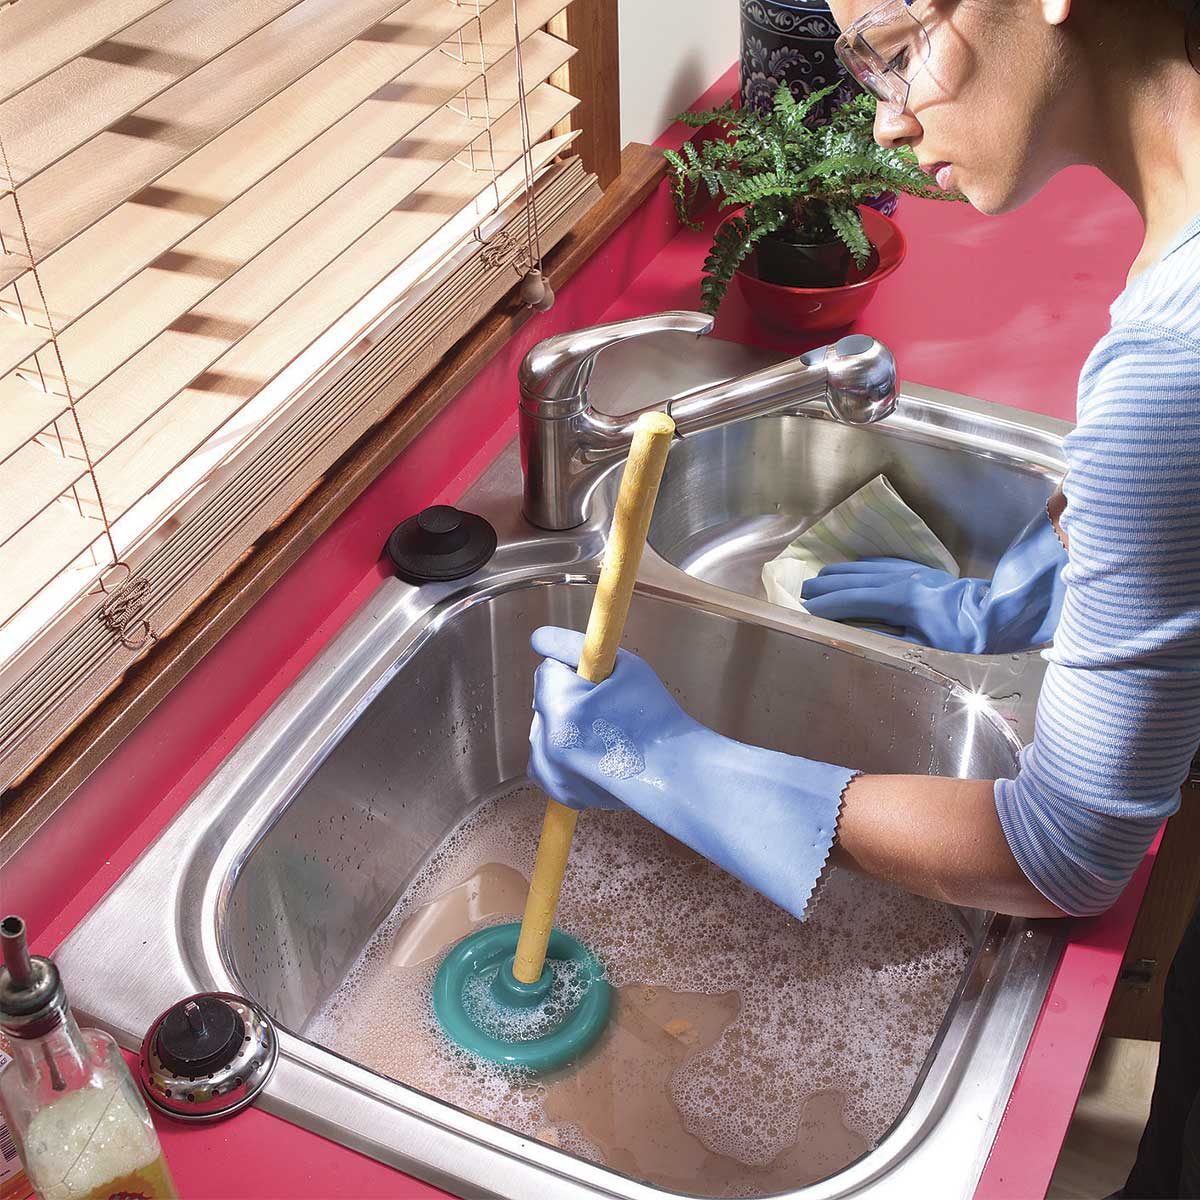
Flushing the Water Lines
If you’ve tried other troubleshooting steps and are still experiencing low water pressure in your kitchen sink, it may be due to sediment or debris buildup in the water lines. Flushing the water lines can help remove these deposits and restore proper water flow.
Here’s how you can flush the water lines:
- 1. Begin by turning off the main water supply to your house. Locate the main shut-off valve and turn it clockwise to close it. This will stop the flow of water.
- 2. Next, open all the faucets in your house, including the kitchen sink faucet. This will drain any remaining water and relieve pressure in the system.
- 3. Once the faucets are open and the system is depressurized, locate the lowest faucet in your house. This is typically in the basement or on the ground floor.
- 4. Place a bucket or container under the faucet to catch any water that comes out during the flushing process.
- 5. Carefully remove the aerator or any other attachments from the faucet. Sediment or debris may have collected in these fixtures.
- 6. Slowly turn on the main water supply. This will start flushing the water lines.
- 7. Let the water run for several minutes, allowing it to flow freely and carry away any sediment or debris. You may notice discolored water initially, but it should clear up as the lines are flushed.
- 8. After a few minutes, turn off the faucet starting from the lowest one in your house and moving upward. This will help remove any remaining sediment from the lines.
- 9. Once all the faucets are closed, slowly turn on the main water supply again and check the kitchen sink faucet for improved water pressure.
Flushing the water lines helps remove accumulated sediment and debris that can restrict water flow and cause low water pressure. However, if the issue persists even after flushing the lines, it may be necessary to consult a professional plumber to inspect your plumbing system for any underlying issues.
Remember to exercise caution and follow safety guidelines when working with your plumbing system. If you’re unsure or uncomfortable performing these tasks, it’s best to seek the assistance of a licensed plumber.
Read more: How To Increase Water Pressure In Sink
Conclusion
Experiencing low water pressure in your kitchen sink can be a major inconvenience, but with the right troubleshooting steps, you can resolve the issue and restore adequate water flow. Throughout this article, we’ve discussed the common causes of low water pressure in the kitchen sink and provided step-by-step instructions on how to fix them.
First, it’s important to check the water supply to ensure there are no external factors affecting the water pressure. Clearing a clogged faucet aerator can often solve the problem, as mineral deposits and debris can restrict water flow. Cleaning or replacing the water supply valve is crucial if it is clogged or faulty, while fixing a leaky or damaged pipe can also help restore proper water pressure.
If the issue persists, it may be necessary to replace the pressure regulator or adjust the water pressure reducing valve to ensure optimal water flow. Flushing the water lines is another effective method to remove sediment or debris buildup that may be obstructing the water flow.
Remember to exercise caution when working with your plumbing system and consult a professional plumber if you’re uncertain or uncomfortable performing these tasks.
By following the troubleshooting steps outlined in this article, you can effectively address low water pressure in your kitchen sink and enjoy adequate water flow for all your kitchen needs. Don’t let low water pressure dampen your kitchen experience – take action and restore optimal water pressure today.
Frequently Asked Questions about How To Fix Low Water Pressure In Kitchen Sink
Was this page helpful?
At Storables.com, we guarantee accurate and reliable information. Our content, validated by Expert Board Contributors, is crafted following stringent Editorial Policies. We're committed to providing you with well-researched, expert-backed insights for all your informational needs.

0 thoughts on “How To Fix Low Water Pressure In Kitchen Sink”