Home>Articles>How To Install A Bathroom Fan Without Attic Access
Articles
How To Install A Bathroom Fan Without Attic Access
Modified: October 19, 2024
Learn how to install a bathroom fan without attic access with these step-by-step articles. Ensure proper ventilation in your bathroom for a healthier environment.
(Many of the links in this article redirect to a specific reviewed product. Your purchase of these products through affiliate links helps to generate commission for Storables.com, at no extra cost. Learn more)
Introduction
Welcome to the ultimate guide on how to install a bathroom fan without attic access. A bathroom fan is an essential component in maintaining proper ventilation and preventing the build-up of moisture in your bathroom. While installing a bathroom fan can seem like a daunting task, especially if you don’t have access to the attic, with the right tools and techniques, it can be done successfully.
Having a bathroom fan not only helps eliminate unpleasant odors but also helps prevent mold and mildew growth, which can lead to health issues and damage to your home. So, if you’re ready to take on the challenge of installing a bathroom fan without attic access, let’s get started!
Key Takeaways:
- Proper ventilation in the bathroom is crucial for a healthy environment. Installing a bathroom fan without attic access is achievable with the right tools and techniques, ensuring improved air quality and moisture control.
- Following the step-by-step process outlined in the guide, you can confidently install a bathroom fan without attic access. Enjoy the benefits of a well-ventilated bathroom and a more pleasant and comfortable experience.
Step 1: Gather necessary tools and materials
Before you begin the installation process, it’s important to gather all the necessary tools and materials. Here’s a list of what you’ll need:
- Measuring tape
- Pencil
- Utility knife or drywall saw
- Screwdriver or drill
- Wire strippers
- Wire connectors
- Ceiling fan mounting kit
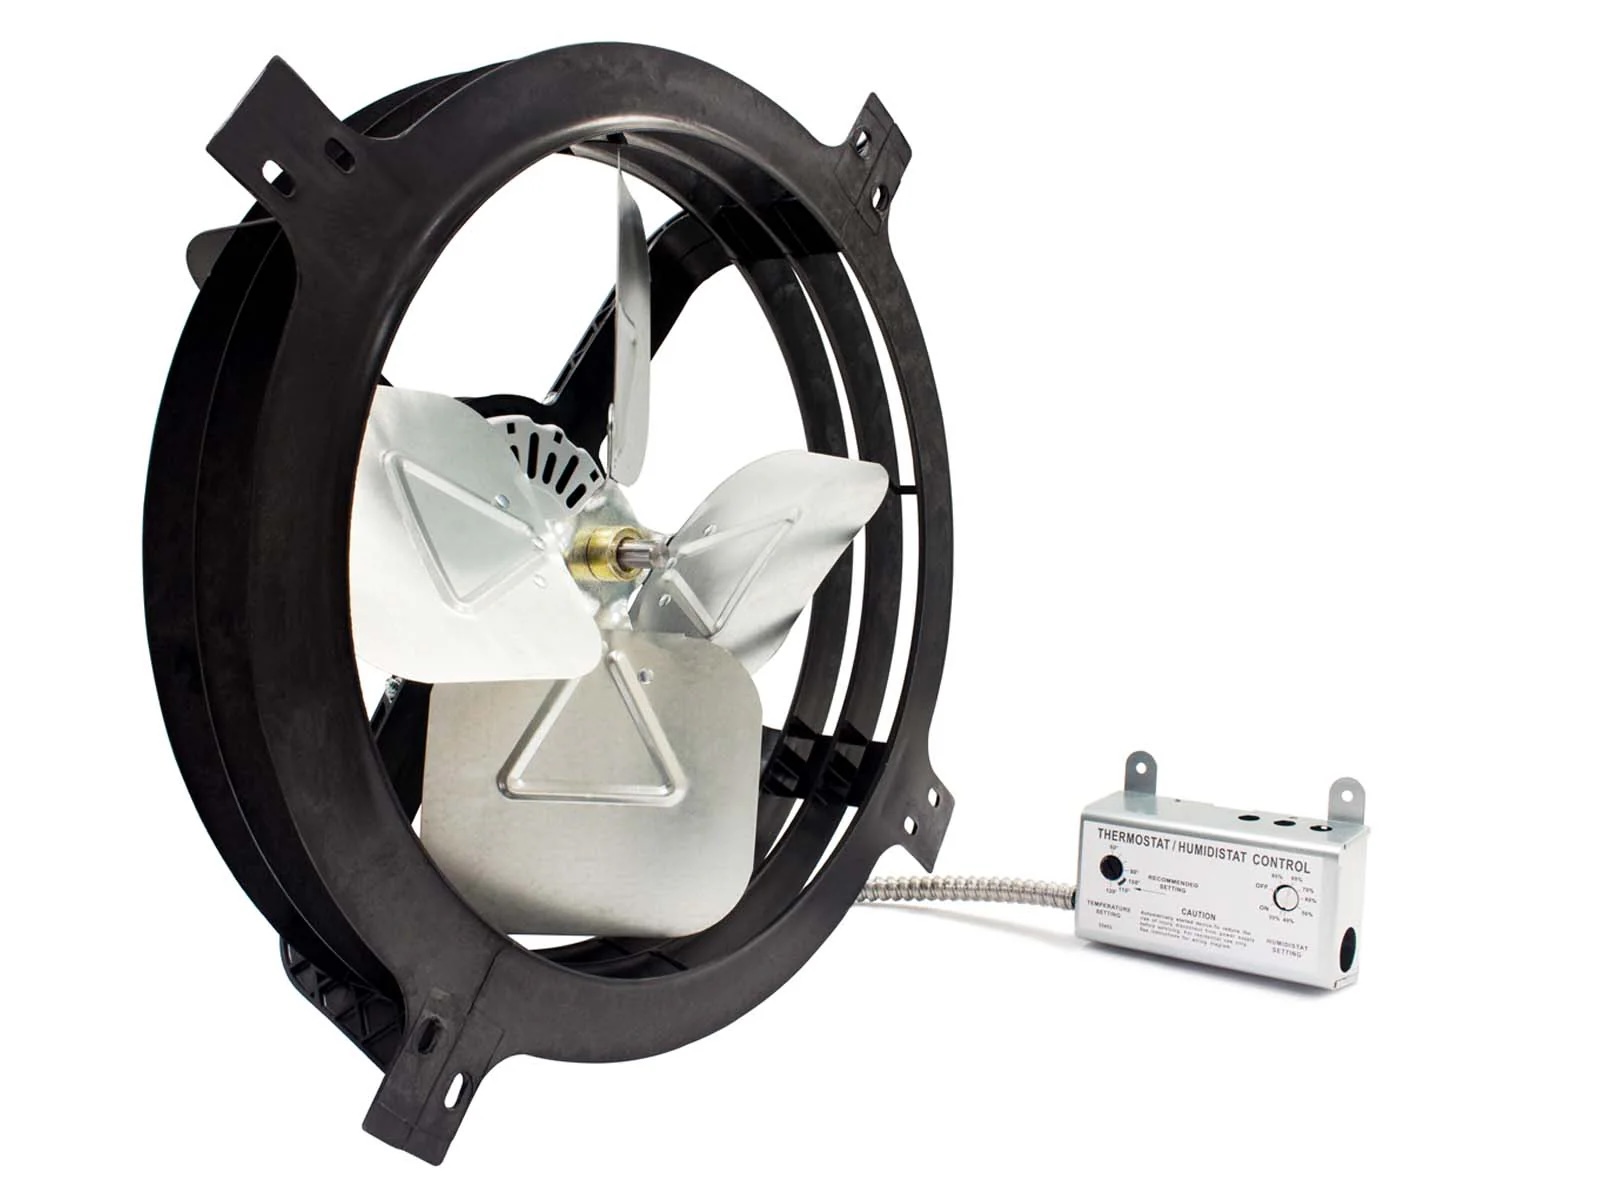
- Bathroom fan unit
- Electrical wiring
- Protective eyewear and gloves
- Ladder or step stool (if needed)
Once you have all the tools and materials ready, you’re one step closer to installing your bathroom fan without attic access.
Step 2: Locate the ideal spot for installing the bathroom fan
The next step in installing a bathroom fan without attic access is to determine the perfect location for your fan. Ideally, the fan should be placed in a spot where it can effectively extract moist air and odors from the bathroom.
To locate the ideal spot, follow these steps:
- Stand inside your bathroom and assess the layout. Look for a location that is closest to the moisture source, such as the shower or bathtub.
- Check for obstructions in the ceiling, such as beams or pipes. Choose a spot that allows for sufficient clearance without interfering with any structural components.
- Use a measuring tape and mark the selected spot with a pencil. Ensure that the location is centralized and provides enough space for the fan to fit properly.
Once you’ve determined the ideal spot, you’re ready to move on to the next step: cutting a hole in the bathroom ceiling.
Step 3: Cut a hole in the bathroom ceiling
Now that you have identified the ideal spot for your bathroom fan, it’s time to cut a hole in the ceiling to accommodate the fan. Follow these steps:
- Put on your protective eyewear and gloves to ensure safety during the cutting process.
- Using a utility knife or drywall saw, carefully cut along the marked lines you made in Step 2. Take your time to ensure a clean and precise cut.
- Remove the cut-out portion of the ceiling to create an opening for the fan.
Make sure to measure the dimensions of the fan unit and adjust the size of the hole accordingly to ensure a snug fit.
It’s important to note that if your bathroom ceiling is made of plaster or a different material that requires specialized cutting tools, you may need to consult with a professional or opt for an alternative installation method.
Now that you have a suitable opening in the ceiling, it’s time to move on to the next step: installing the necessary wiring for the fan.
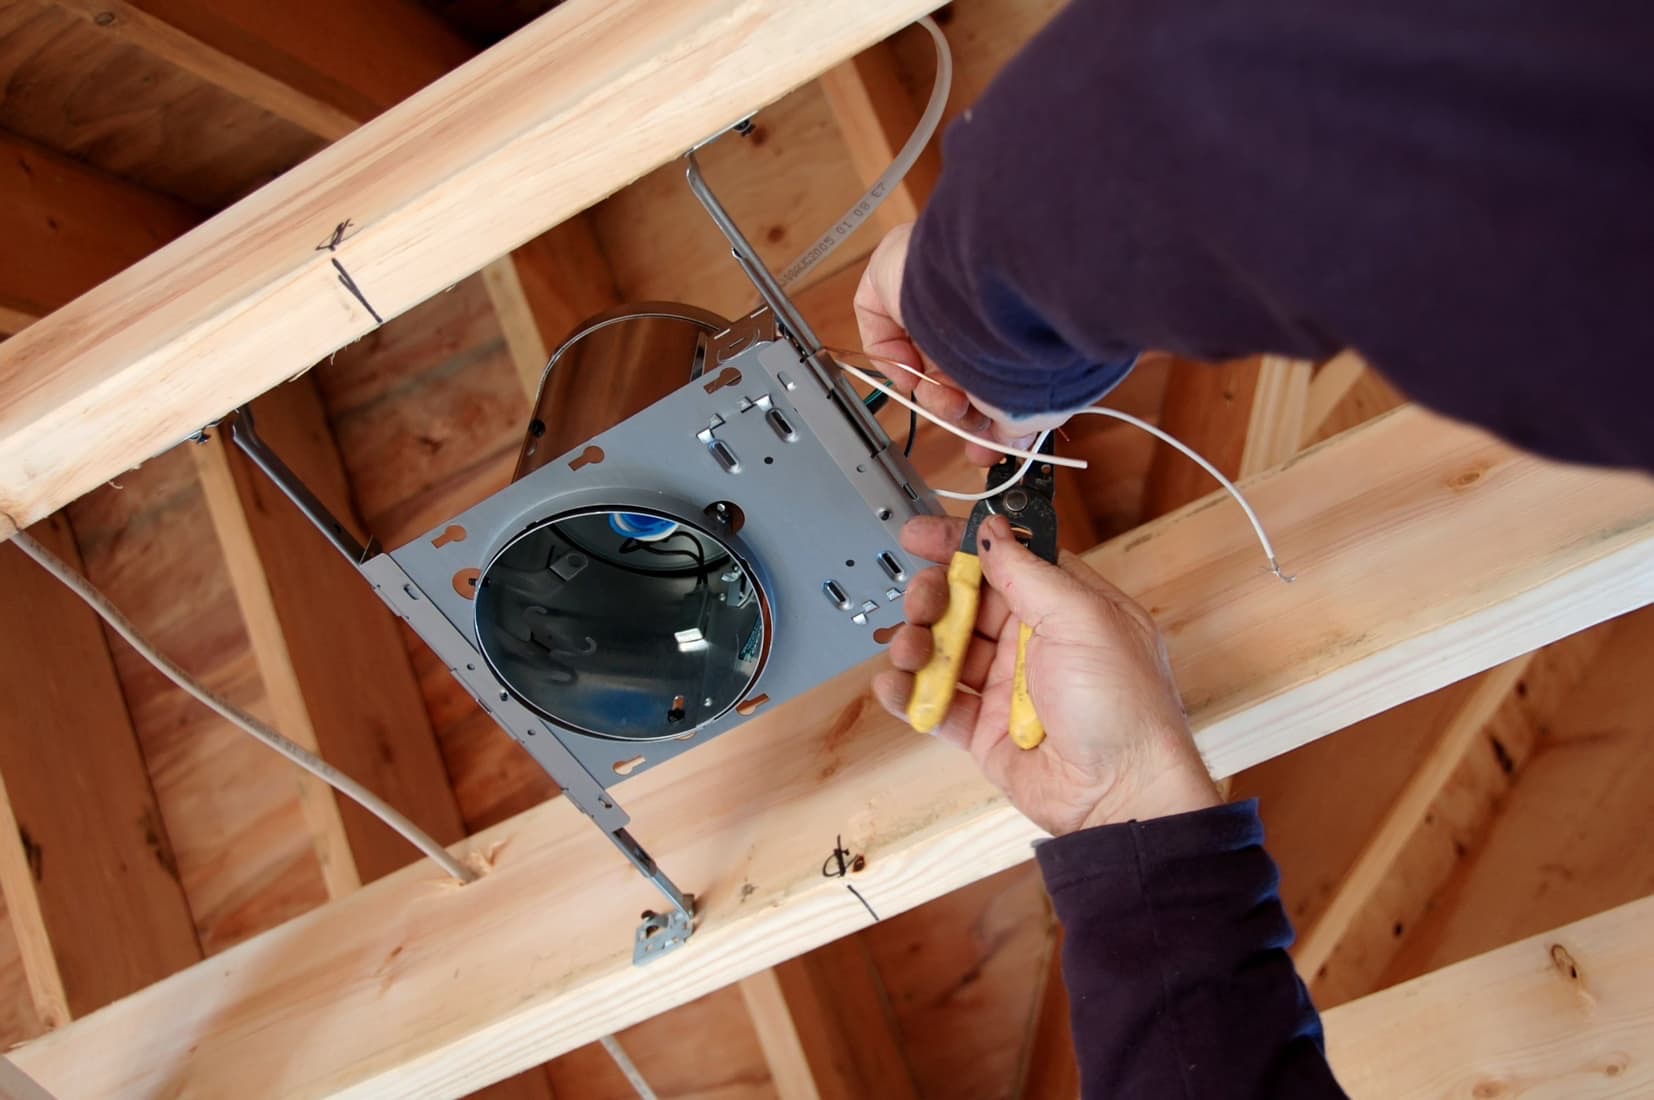
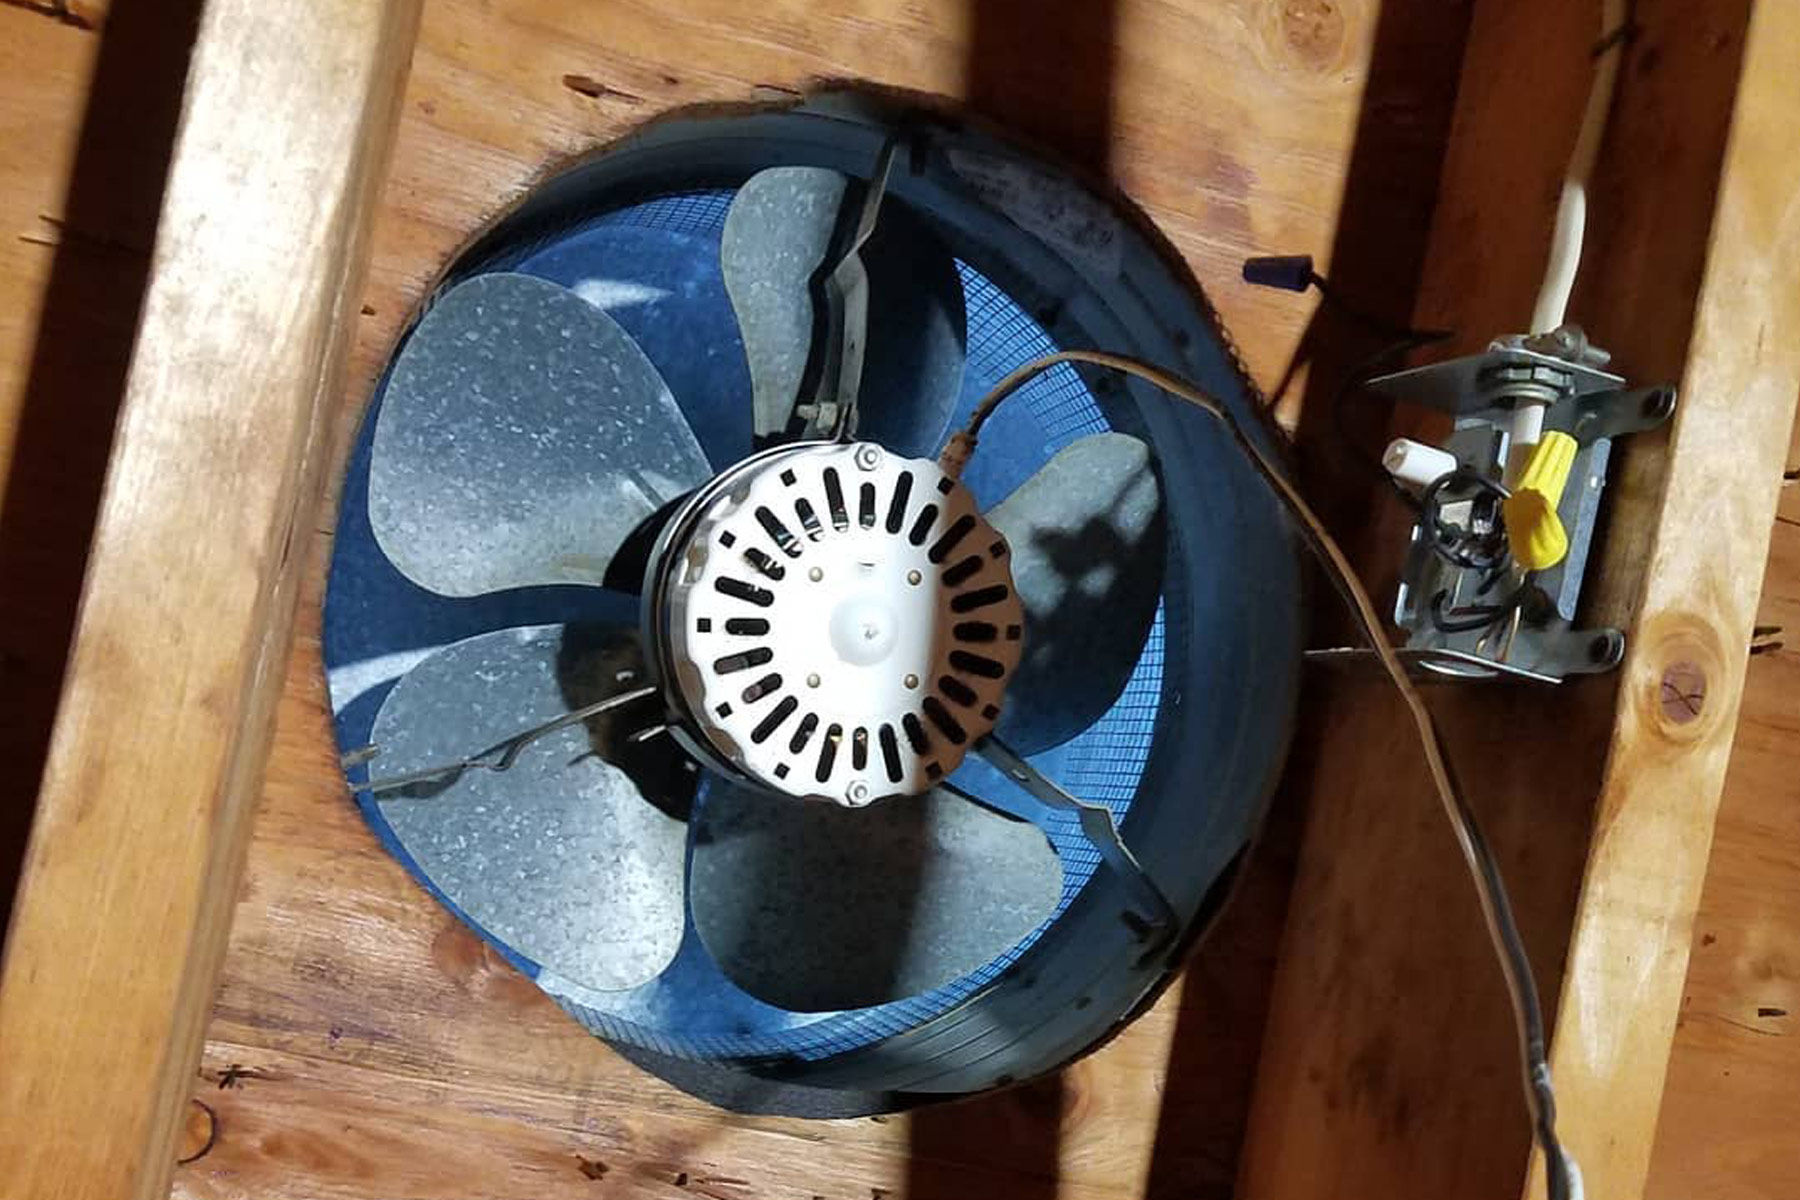
Step 4: Install necessary wiring for the fan
Now that you have cut a hole in the bathroom ceiling, it’s time to install the necessary wiring for the fan. This step is crucial to ensure the proper functioning of the fan. Follow these steps:
- Turn off the power supply to the bathroom from the main electrical panel to ensure your safety during the wiring process.
- Determine the route for the electrical wiring. It’s important to run the wires from the fan to the nearest power source.
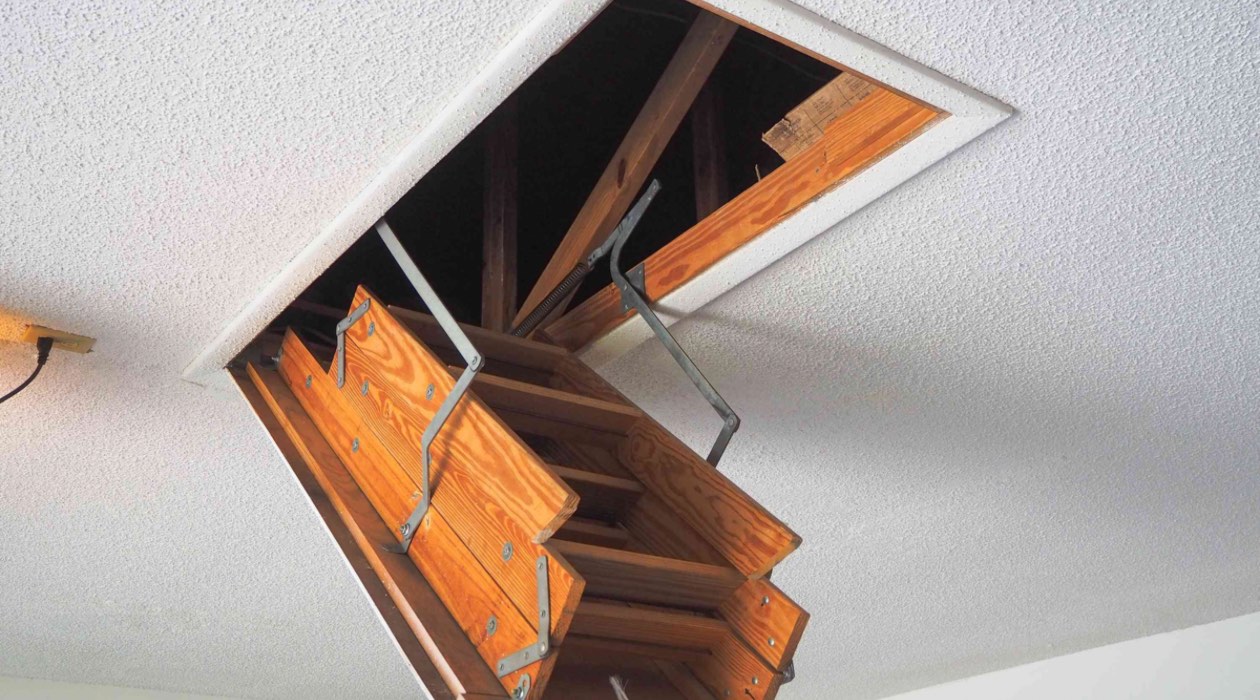
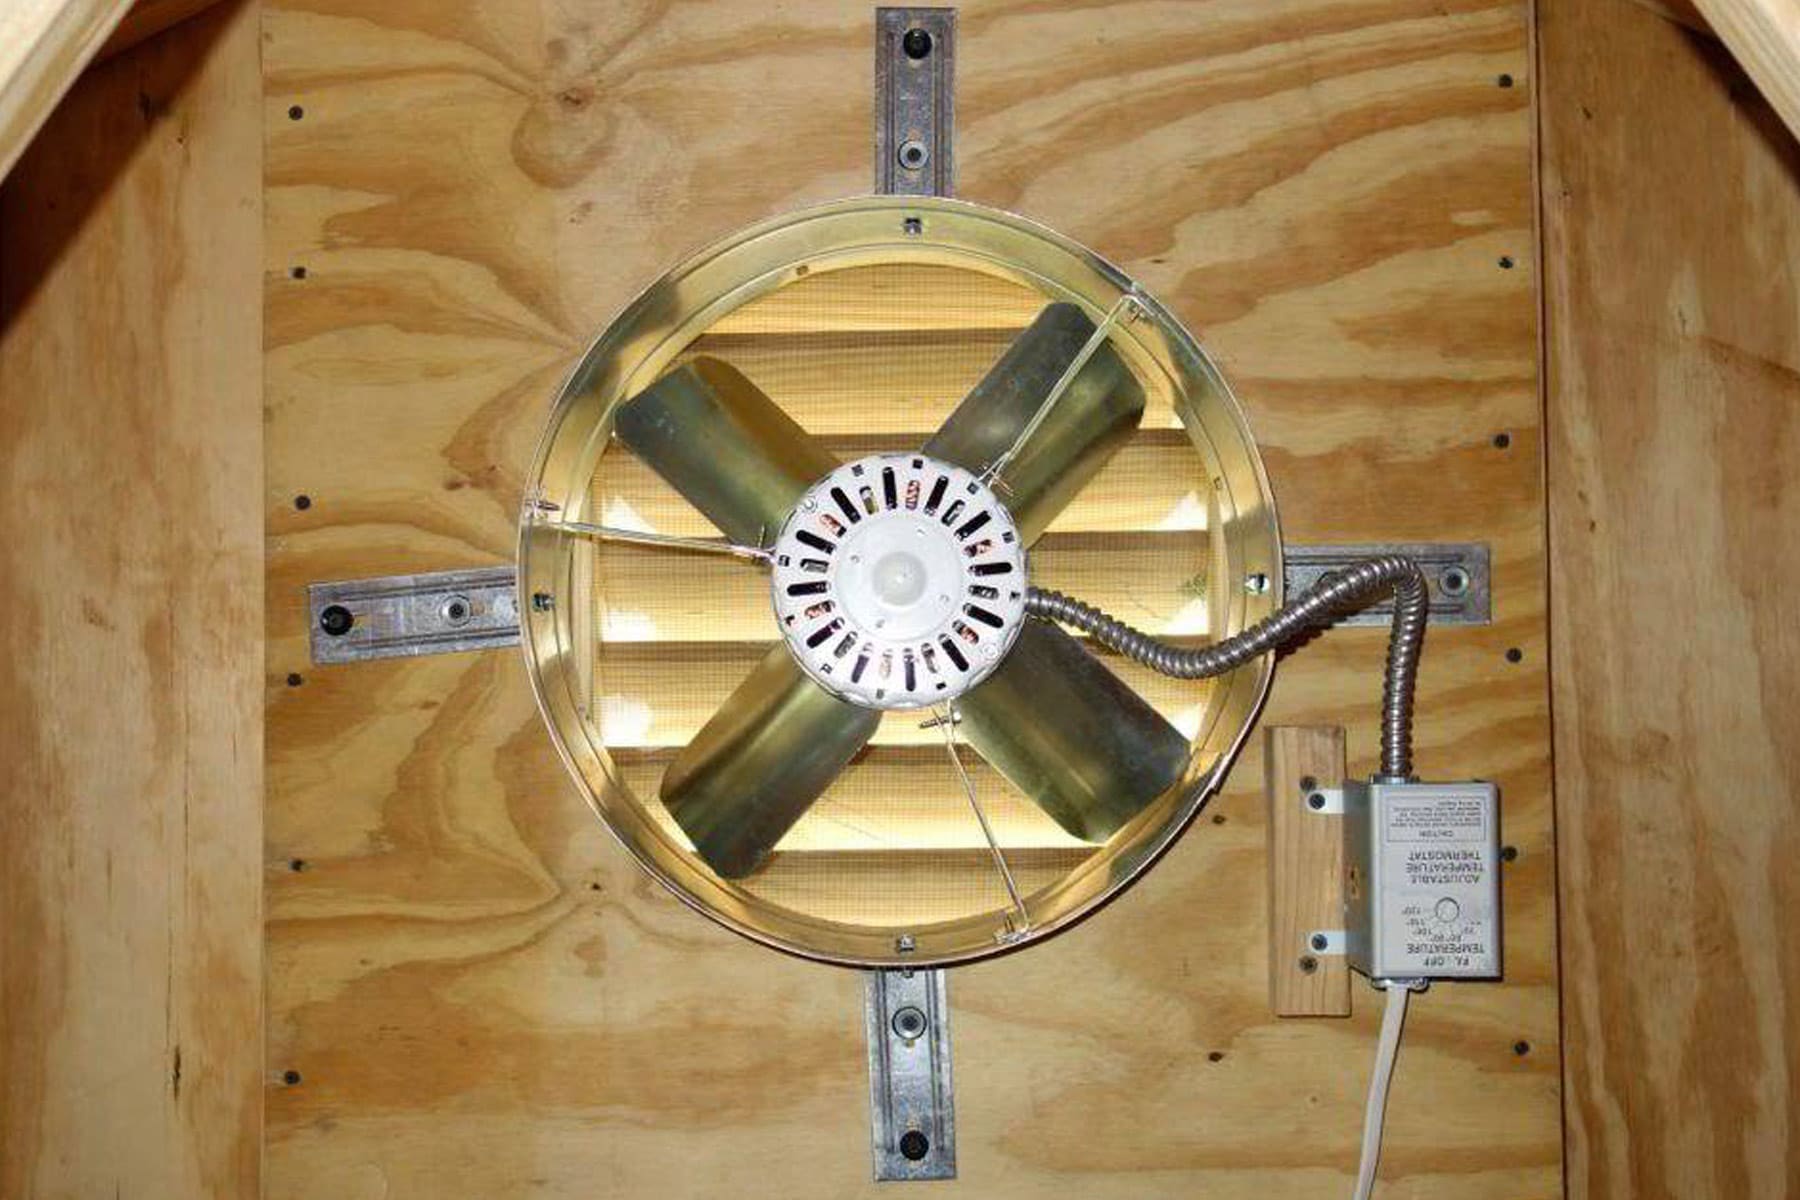
- If you have access to the attic or crawl space above the bathroom, you can run the wiring through there. If not, consider using conduit to hide and protect the wiring along the surface of the ceiling.
- Using wire strippers, remove the insulation from the electrical wires, exposing the bare copper ends.
- Connect the wires from the fan to the corresponding wires in the power source. Use wire connectors to securely fasten the connections.
- Double-check all the connections to ensure they are properly secured and insulated.
After completing these steps, you can proceed to the next step: mounting the bathroom fan.
Consider installing a through-the-wall bathroom fan if you don’t have attic access. This type of fan can be mounted directly on an exterior wall, allowing for ventilation without the need for attic space.
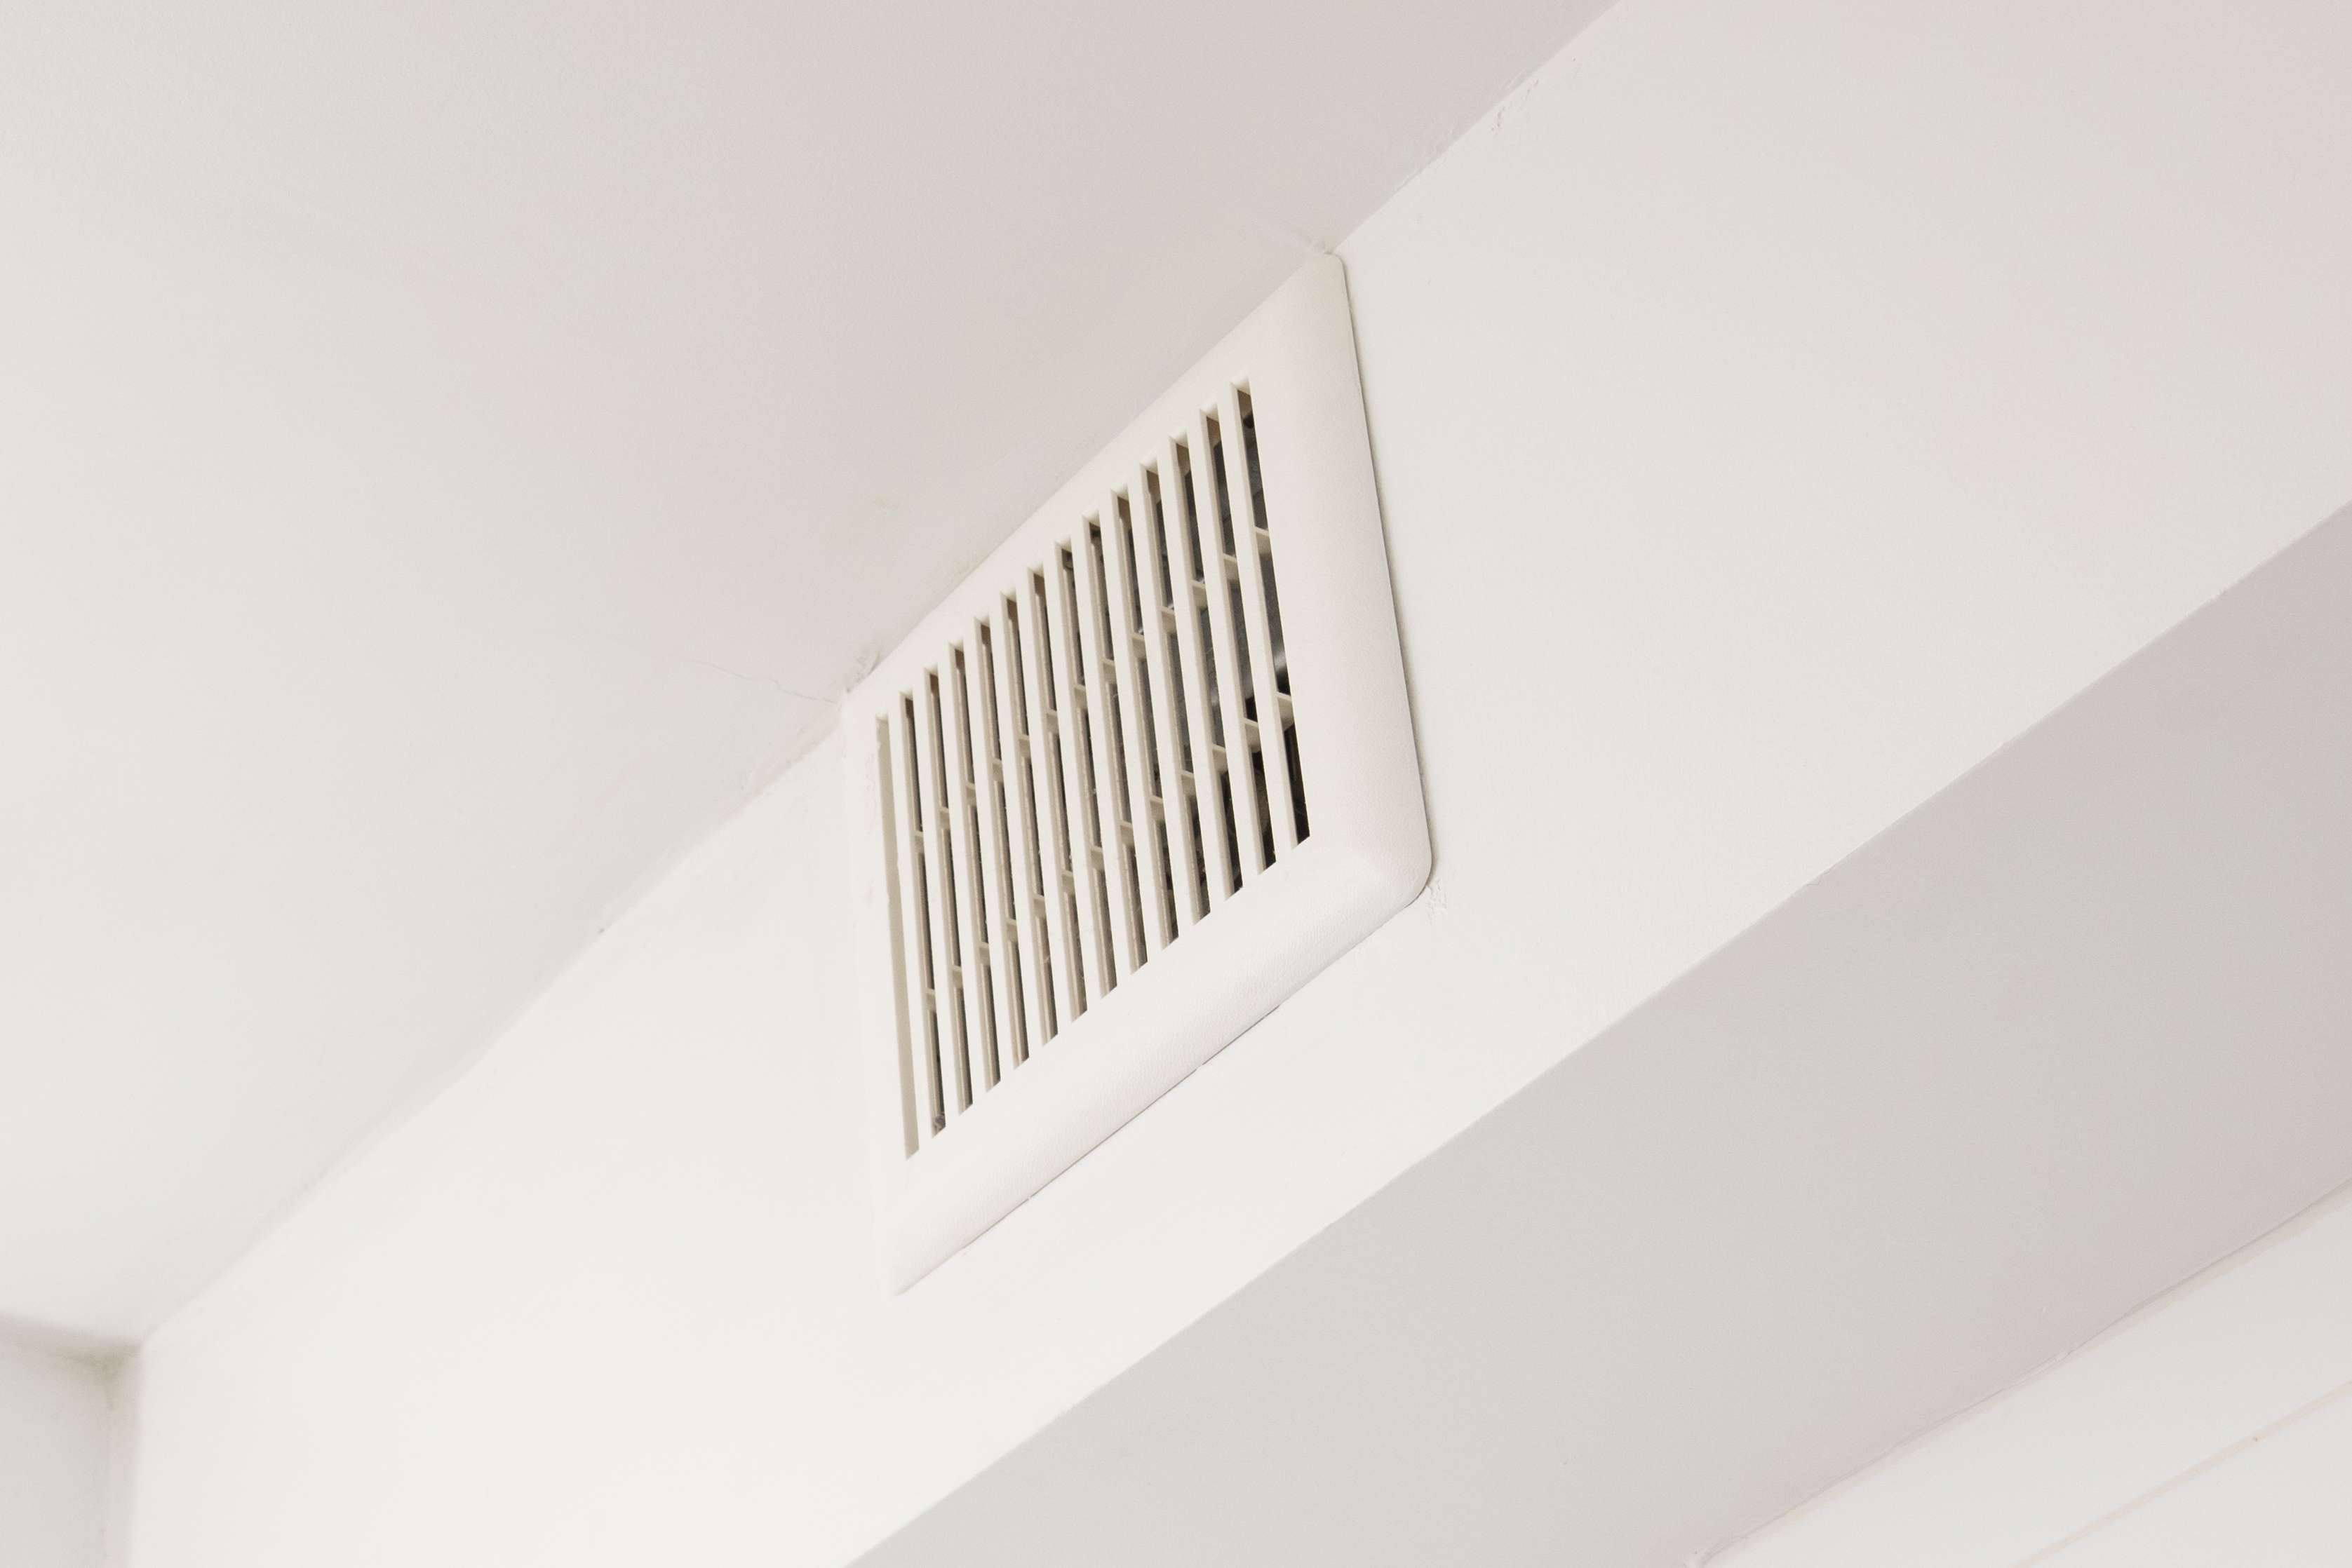
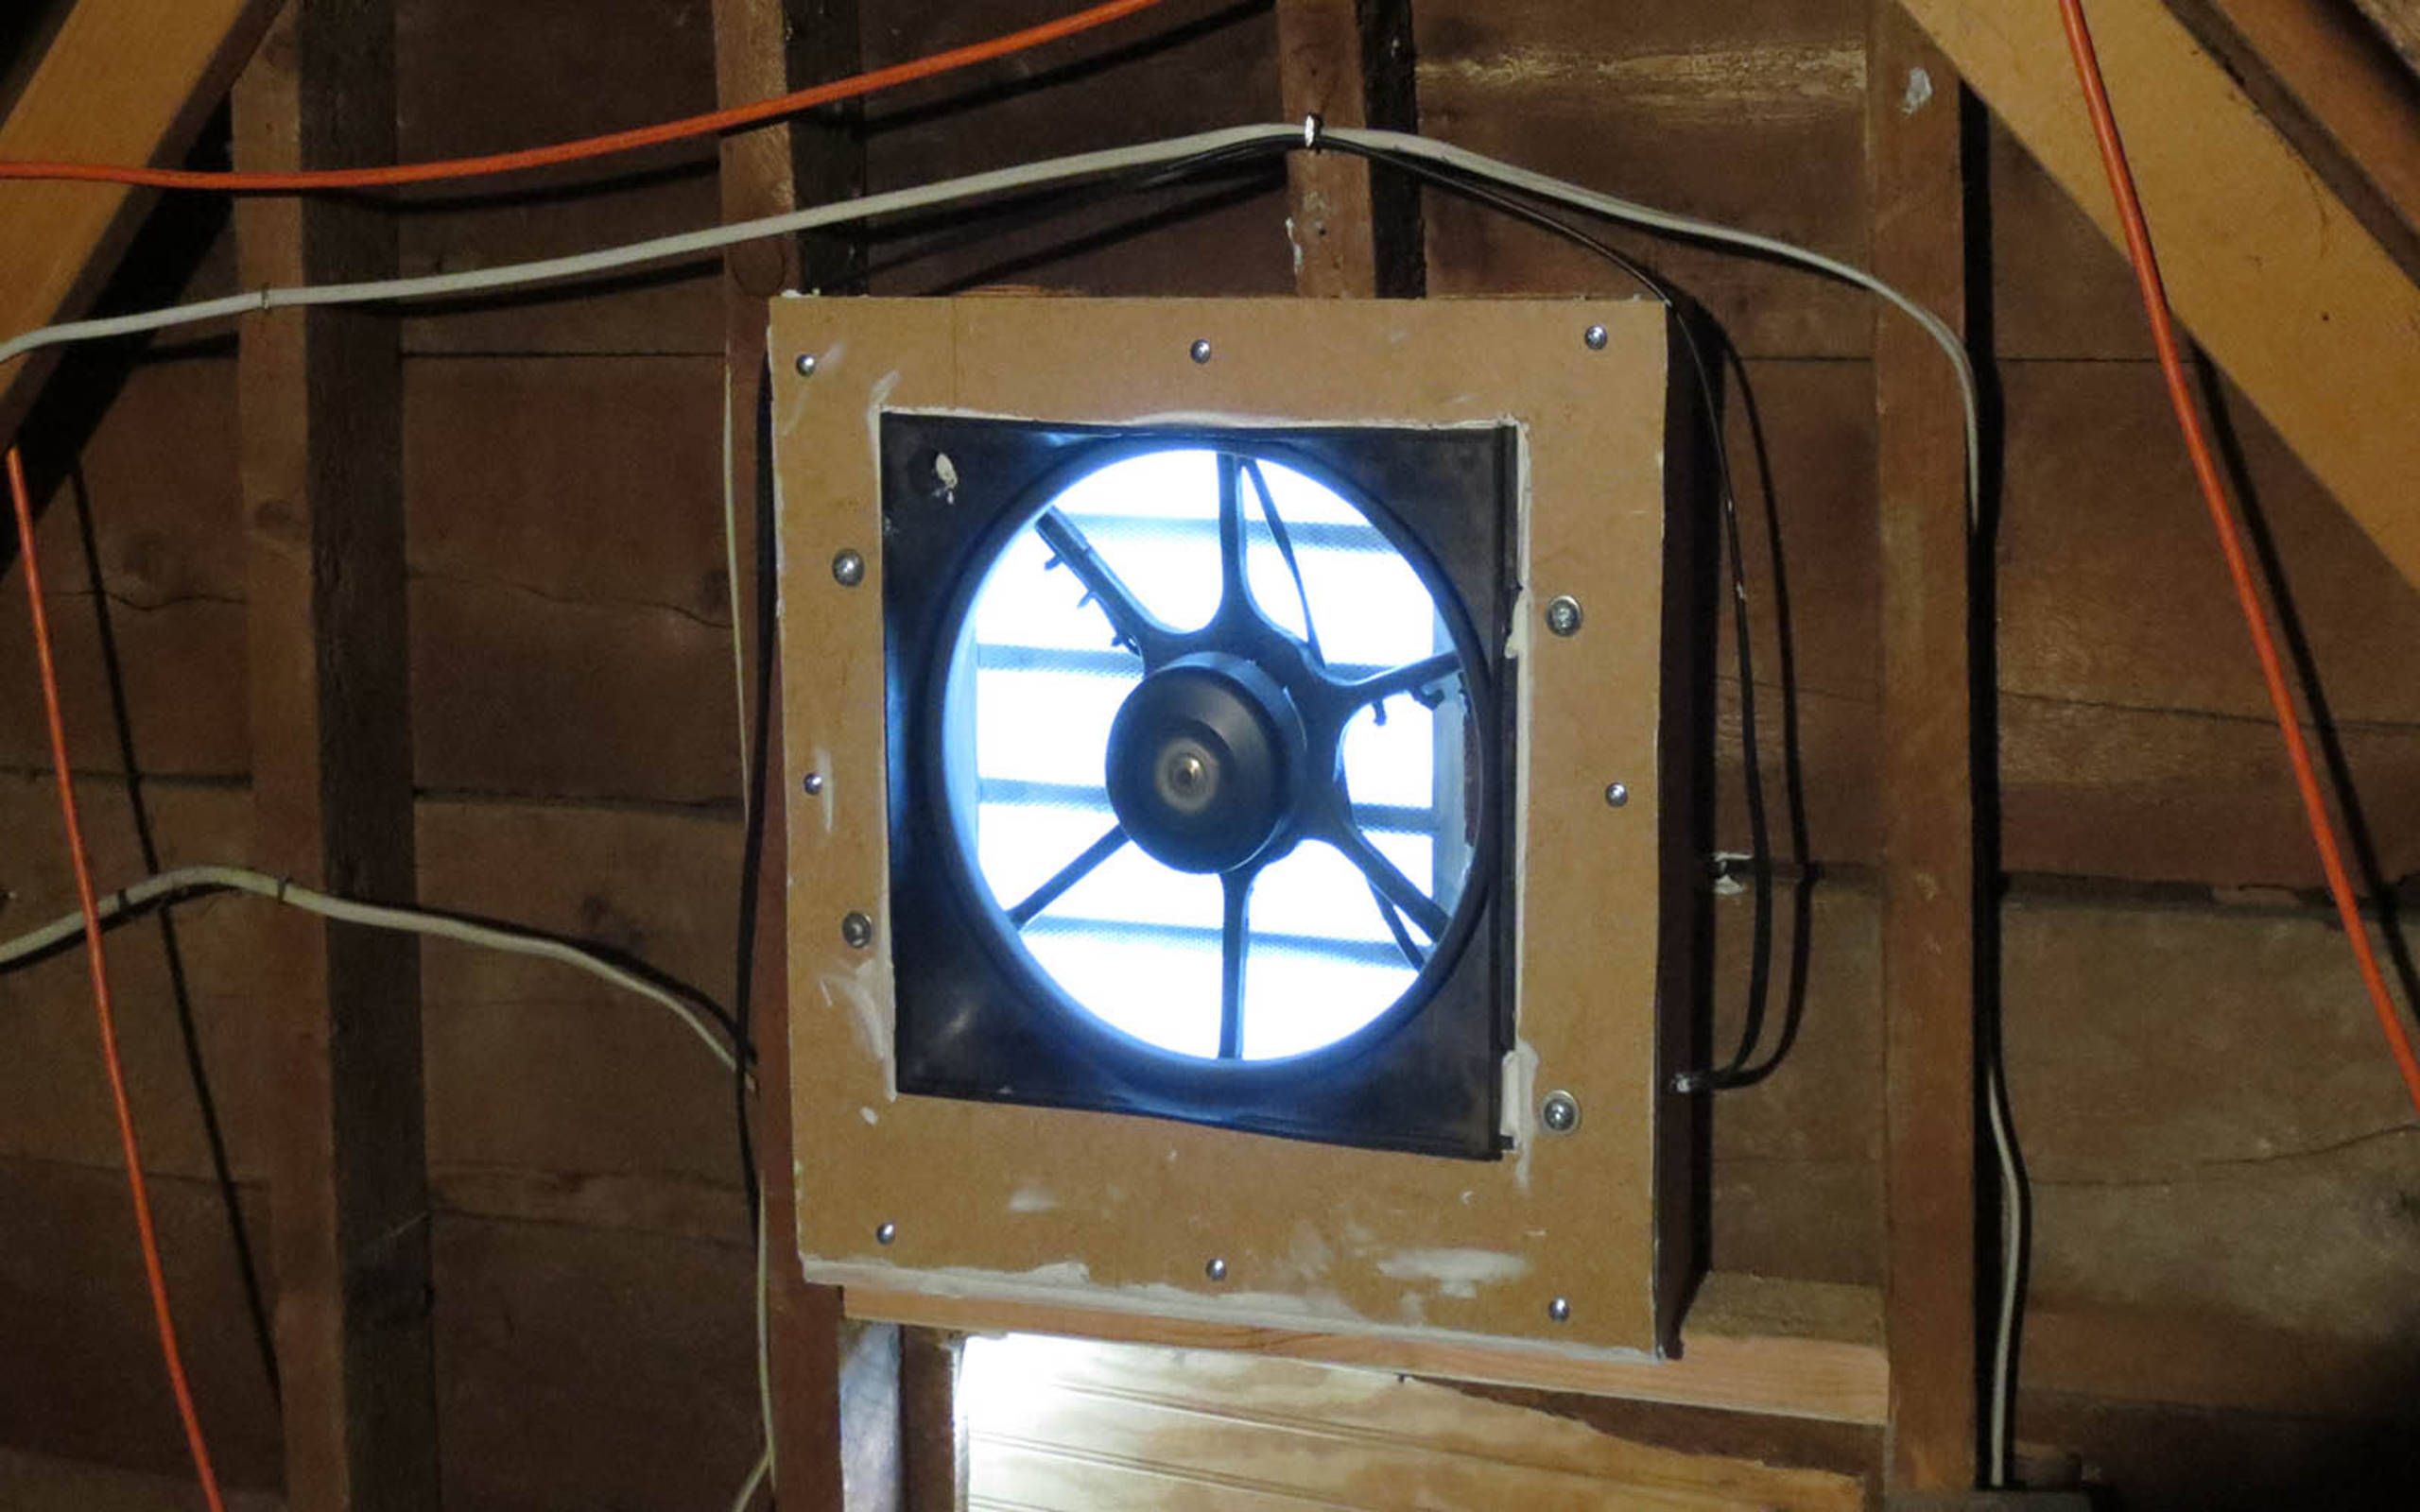
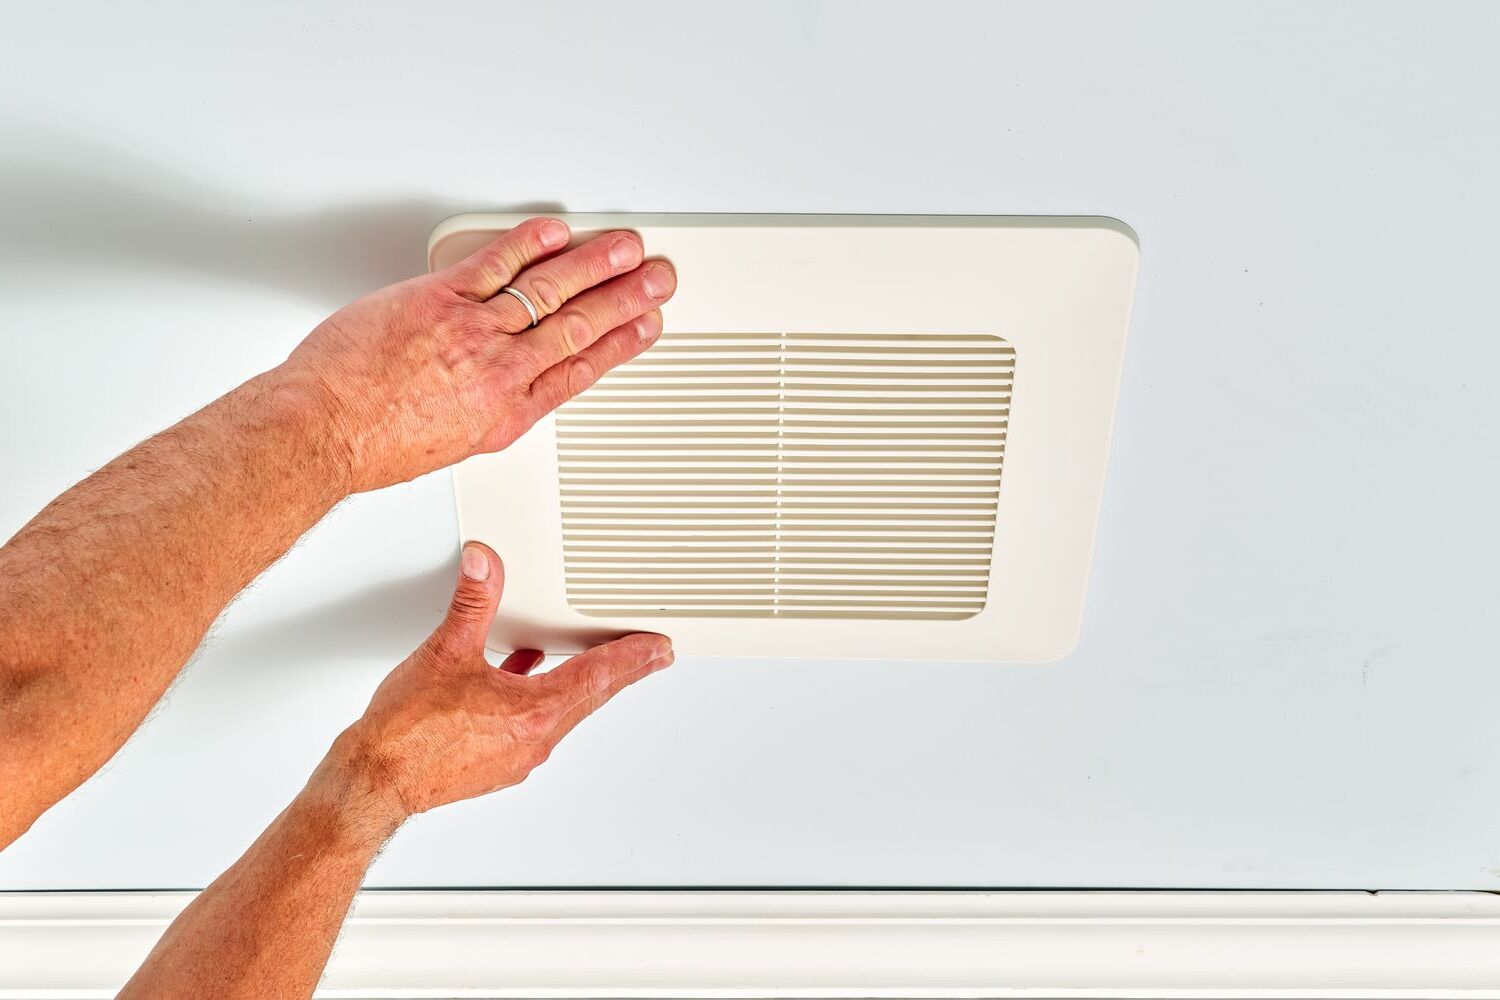
Step 5: Mount the bathroom fan
Now that you have installed the necessary wiring, it’s time to mount the bathroom fan. Follow these steps to ensure a secure and sturdy installation:
- Take out the bathroom fan unit from its packaging and familiarize yourself with its components.
- Align the mounting brackets of the fan unit with the opening in the ceiling that you created in Step 3.
- Secure the fan unit in place by using the provided screws or brackets. Make sure the unit is level and flush with the ceiling surface.
- Ensure that the fan unit fits securely and does not wobble. Tighten the mounting screws if necessary.
- If your fan unit has adjustable brackets, adjust them to fit the thickness of your ceiling and secure them in place.
Once the fan unit is properly mounted, move on to the next step: connecting the electrical wiring to the fan.
Step 6: Connect the electrical wiring to the fan
Now that the bathroom fan is mounted, the next step is to connect the electrical wiring to the fan unit. Properly connecting the wiring ensures that the fan functions safely and effectively. Follow these steps:
- Check the manufacturer’s instructions for specific wiring details and guidelines for your fan model.
- Locate the electrical wiring coming from the power source that you connected in Step 4.
- Match the colors of the wires together: black to black, white to white, and green or bare copper to the grounding wire.
- Use wire connectors to securely fasten the connections. Make sure they are tightly twisted and insulated to prevent any exposed wiring.
- Carefully tuck the connected wires into the electrical box or wiring compartment of the fan unit.
It’s important to perform a final check to ensure that all wiring connections are secure and insulated before moving on to the next step.
Once the electrical wiring is properly connected, you can proceed to the final step: securing the fan in place and testing its functionality.
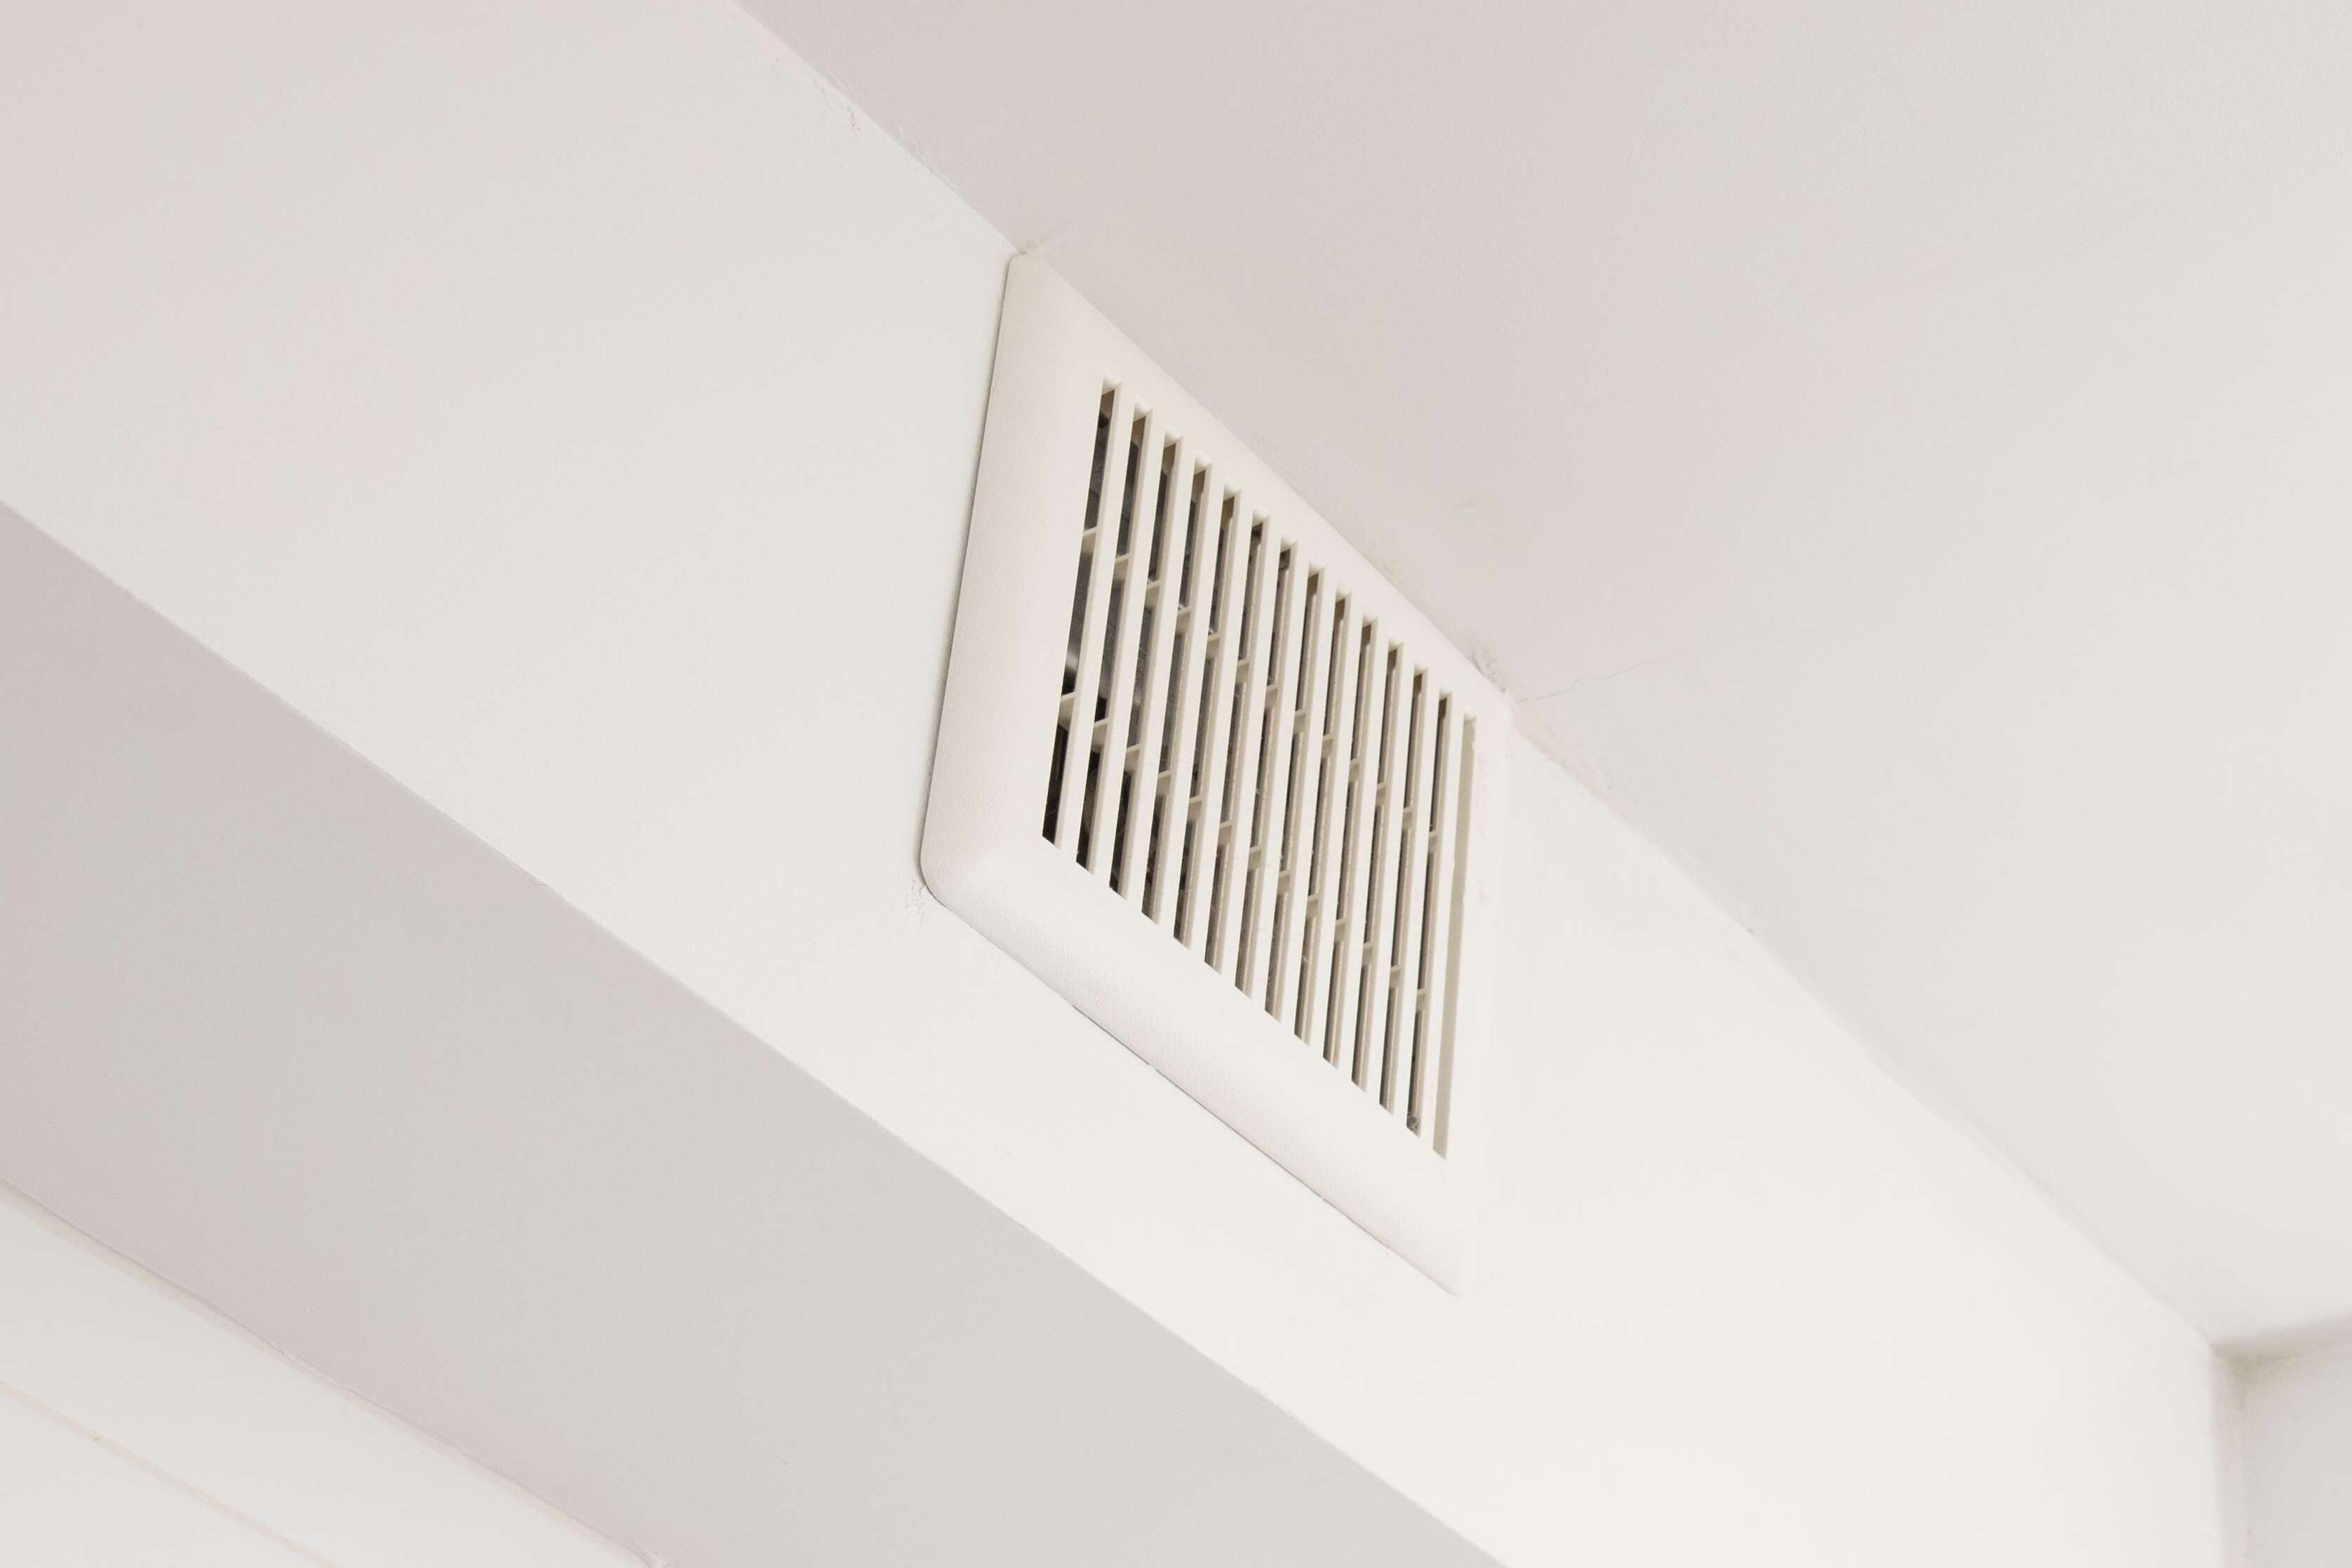
Step 7: Secure the fan in place and test its functionality
Now that you have completed the installation and wiring of the bathroom fan, it’s time to secure it in place and test its functionality. Following these steps will ensure that your fan is properly installed and ready to efficiently ventilate your bathroom:
- Double-check that all screws and brackets holding the fan unit in place are tight and secure.
- Ensure that the fan blades are clean and unobstructed, as any debris can hinder its performance.
- Turn the power supply back on from the main electrical panel.
- Switch on the fan and check if it is operating smoothly. Listen for any strange noises that may indicate a loose component or faulty installation.
- Observe the airflow and ensure that proper ventilation is occurring. If necessary, adjust the fan settings to the desired level of airflow.
- Check if the fan is effectively removing moisture and odors from the bathroom. This will indicate that the fan is functioning properly.
If you notice any issues or abnormalities during the testing process, it may be necessary to troubleshoot or consult with a professional. Remember to always follow the manufacturer’s instructions and guidelines for your specific fan model.
Congratulations! You have successfully installed a bathroom fan without attic access. Enjoy the benefits of improved ventilation and a fresher bathroom environment.
Remember to periodically clean and maintain your bathroom fan to ensure long-lasting performance. Regular maintenance will prevent the accumulation of dirt and debris, allowing the fan to operate at its optimum efficiency.
Conclusion
Installing a bathroom fan without attic access may initially seem like a challenging task, but with the right tools, materials, and guidance, it can be accomplished successfully. Proper ventilation in your bathroom is crucial for maintaining a healthy and comfortable environment, and a well-installed bathroom fan plays a significant role in achieving that.
Throughout this comprehensive guide, we have covered the step-by-step process of installing a bathroom fan without attic access. From gathering the necessary tools and locating the ideal installation spot, to cutting a hole in the ceiling, installing the wiring, mounting the fan, and connecting the electrical wiring – each step is crucial to ensure a safe and effective installation.
By following the instructions outlined in this guide, you can confidently install a bathroom fan without the need for attic access. Remember to always prioritize safety, turn off the power supply during the installation process, and consult the manufacturer’s instructions for your specific fan model.
Once your bathroom fan is securely installed, don’t forget to periodically clean and maintain it to ensure optimal performance. Regular maintenance will prevent the build-up of dirt and debris, allowing the fan to effectively remove moisture and odors from your bathroom.
Enjoy the benefits of a well-ventilated bathroom, including improved air quality, moisture control, and a more pleasant and comfortable bathroom experience. Installing a bathroom fan without attic access may require some effort, but the positive impact it will have on your bathroom and overall well-being is definitely worth it.
Frequently Asked Questions about How To Install A Bathroom Fan Without Attic Access
Was this page helpful?
At Storables.com, we guarantee accurate and reliable information. Our content, validated by Expert Board Contributors, is crafted following stringent Editorial Policies. We're committed to providing you with well-researched, expert-backed insights for all your informational needs.


0 thoughts on “How To Install A Bathroom Fan Without Attic Access”