Articles
How To Install A Vent Fan In Bathroom
Modified: January 21, 2024
Looking for step-by-step articles on how to install a vent fan in your bathroom? Our expert guides will help you through the process effortlessly.
(Many of the links in this article redirect to a specific reviewed product. Your purchase of these products through affiliate links helps to generate commission for Storables.com, at no extra cost. Learn more)
Introduction
Welcome to our step-by-step guide on how to install a vent fan in your bathroom. Proper ventilation is crucial in any bathroom to eliminate excess moisture, prevent mold and mildew growth, and maintain air quality. Installing a vent fan can effectively remove steam, odors, and humidity from your bathroom, creating a more comfortable and healthy environment.
In this article, we will walk you through the installation process, from gathering the necessary tools and materials to testing the vent fan operation. Whether you are a seasoned DIY enthusiast or a beginner, you can follow our instructions to successfully install a vent fan, ensuring your bathroom remains fresh and dry.
Before we get started, it’s essential to note that electrical work can be dangerous if not done correctly, and it is always advisable to consult a professional if you are unsure or uncomfortable with any step of the process. Safety should always be a top priority when working with electricity.
Now, let’s dive into the step-by-step guide on how to install a vent fan in your bathroom! Make sure to gather all the necessary tools and materials before beginning the installation process.
Key Takeaways:
- Proper bathroom ventilation is crucial for a healthy environment. Installing a vent fan effectively removes excess moisture, odors, and humidity, creating a comfortable and mold-free space.
- Safety is paramount when installing a vent fan. Consult a professional if unsure about electrical work. Regular maintenance ensures the vent fan operates efficiently and prolongs its lifespan.
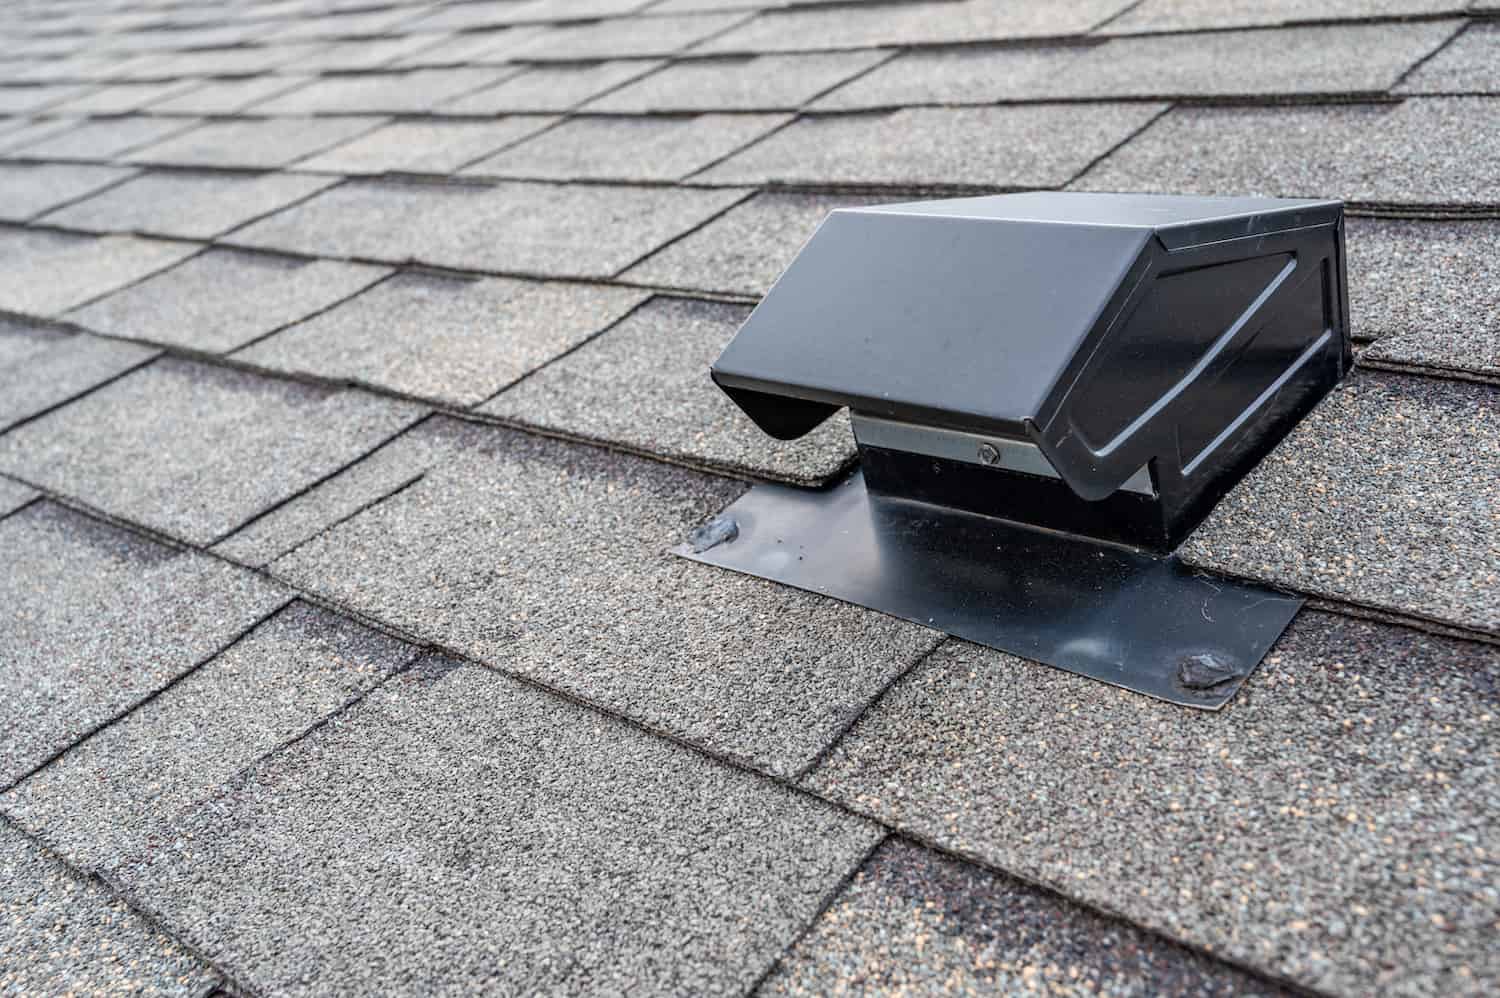
Read more: How To Install Roof Vent For Bathroom Fan
Step 1: Gather the necessary tools and materials
Before starting the installation process, it is important to have all the required tools and materials at hand. This will help ensure a smooth and efficient installation. Here is a list of what you will need:
- Power drill
- Hole saw attachment
- Screwdriver
- Adjustable wrench
- Wire strippers
- Electrical tape
- Eyewear and gloves
- Measuring tape
- Pencil or marker
- Pry bar (if removing an existing vent fan)
- Vent fan kit (including the fan housing, grille, and ducting)
- Electrical wiring and connectors (if not included in the kit)
Ensure that you have all the necessary tools and materials before proceeding to the next step. It’s best to purchase a vent fan kit that includes all the components you need for the installation. This will save you time and ensure compatibility between the fan housing, grille, and ducting.
Once you have gathered all the tools and materials, you are ready to move on to the next step: choosing the right location for the vent fan in your bathroom.
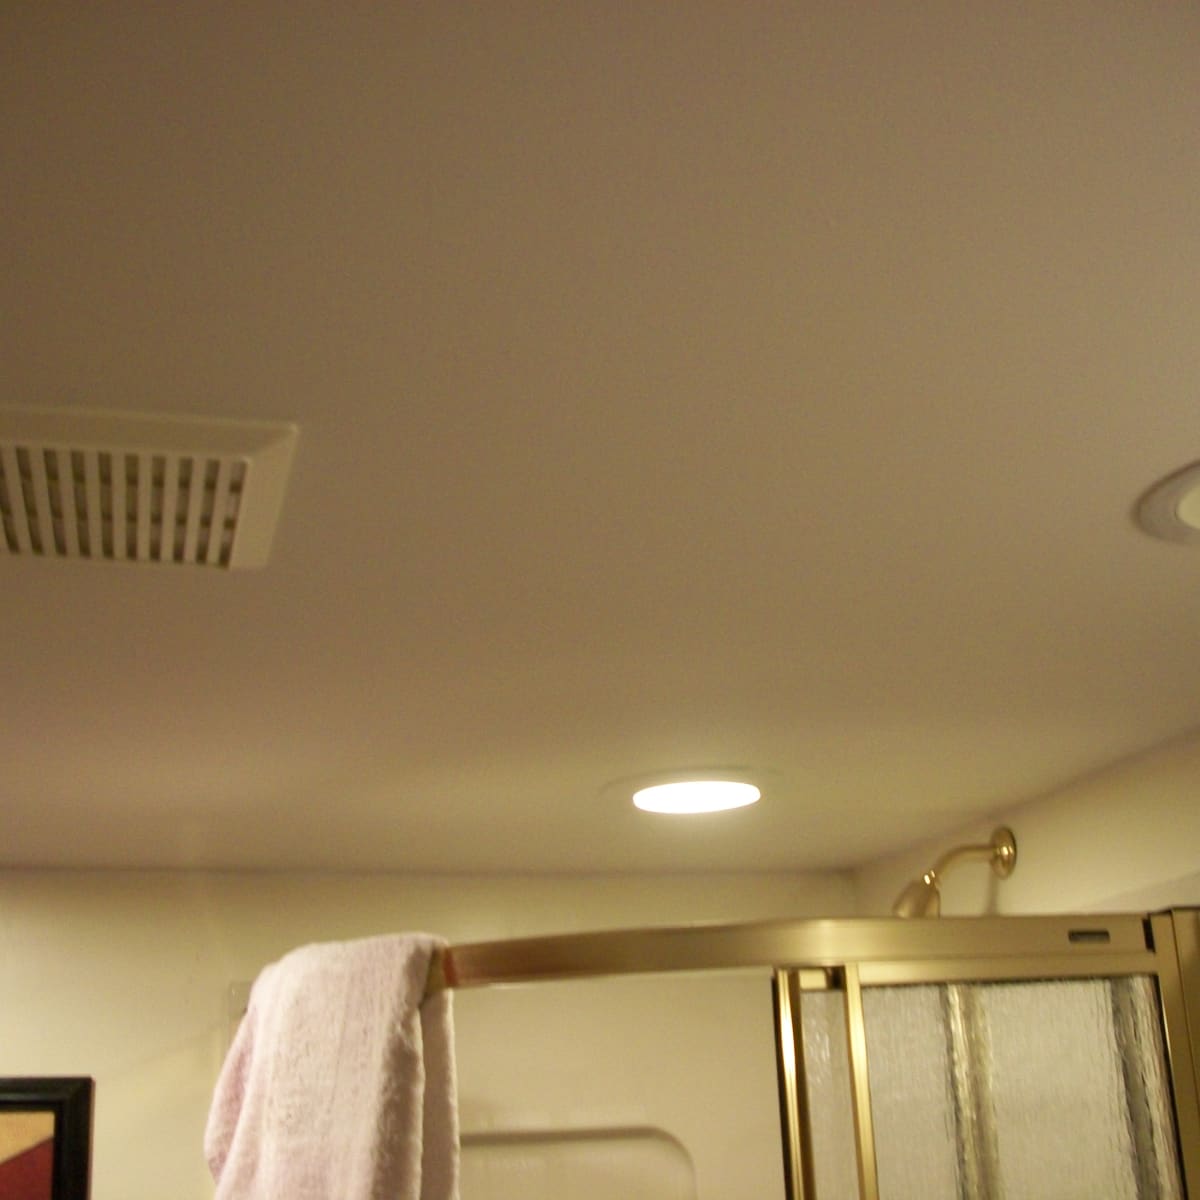
Step 2: Choose the right location for the vent fan
Choosing the right location for your vent fan is crucial for its effectiveness in maintaining proper air circulation and moisture removal in your bathroom. Here are a few considerations to keep in mind when selecting the location:
- Proximity to the shower or bathtub: Ideally, the vent fan should be installed near the source of steam and humidity. This means placing it near the shower or bathtub area.
- Clearance from obstacles: Ensure that there is enough space around the chosen location to accommodate the vent fan housing and allow for proper airflow. Avoid installing the fan too close to walls, light fixtures, or other obstructions.
- Access to electrical wiring: The vent fan will require electricity to operate. It is crucial to choose a location that provides easy access to electrical wiring. If there is no existing wiring in the desired location, you may need to consult an electrician to install the necessary electrical connections.
- Structural considerations: Take into account the structure of your bathroom walls and ceiling. It is easier to install a vent fan in a flat, accessible area rather than a sloped or vaulted ceiling. If your bathroom has a sloped ceiling, you may need to install the vent fan in the wall instead.
Once you have considered these factors and identified the ideal location for your vent fan, you can proceed to the next step: measuring and marking the installation area.
Step 3: Measure and mark the installation area
In this step, you will measure and mark the specific area where the vent fan will be installed in your bathroom. Follow these steps to ensure accurate measurements:
- Measure the width and height of the vent fan housing. Use a measuring tape to determine the dimensions of the fan housing. This will help you determine the exact size of the hole that needs to be cut in the wall or ceiling.
- Mark the center point of the installation area. Use a pencil or marker to mark the center point of where the vent fan will be placed. This will serve as a reference point for cutting the hole.
- Align the vent housing with the center mark. Position the vent fan housing against the wall or ceiling, aligning it with the center mark you made. This will give you a visual representation of where the hole needs to be cut.
- Trace the outline of the vent housing. With the vent housing held in place, trace around the exterior edge of the housing onto the wall or ceiling. This will provide a clear outline of the area that needs to be cut out.
Once you have measured and marked the installation area, you are ready to move on to the next step: cutting the hole for the vent fan.
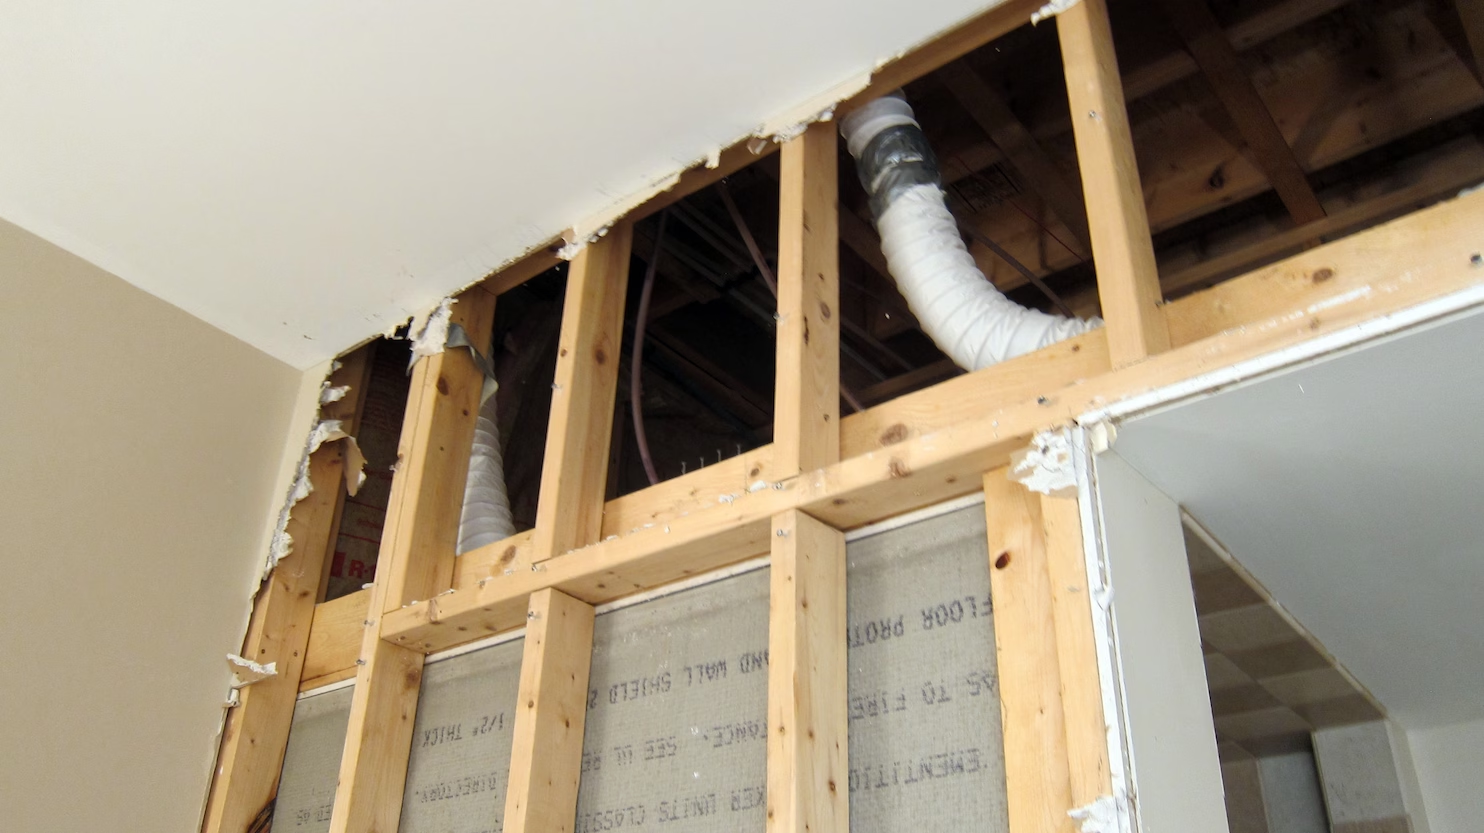
Step 4: Cut the hole for the vent fan
With the installation area marked, it’s time to cut the hole for the vent fan. Follow these steps carefully to ensure a precise and clean cut:
- Put on safety goggles and gloves. Before using any cutting tools, make sure you are properly protected with safety goggles and gloves to prevent any potential accidents.
- Using a power drill, create a pilot hole. Start by using a power drill with a small drill bit (slightly larger than the diameter of the hole saw attachment). This will act as a pilot hole for the hole saw.
- Attach the hole saw to the power drill. Install the appropriate-sized hole saw attachment into the power drill. Make sure it matches the diameter of the vent fan housing.
- Align the hole saw with the marked outline. Position the hole saw so that it aligns perfectly with the traced outline of the vent fan housing. Double-check the alignment before proceeding.
- Slowly start drilling the hole. Begin drilling with the hole saw attachment, applying steady and even pressure. Keep the drill perpendicular to the surface to ensure a straight cut.
- Continue drilling until you cut through the wall or ceiling. Work carefully and slowly, letting the hole saw pass through the material. Take breaks if needed to prevent overheating the drill or damaging the surrounding area.
- Remove the cut section. Once you have completed the cut, carefully remove the cut section of the wall or ceiling. Ensure the area is clear of any debris.
Once you have successfully cut the hole for the vent fan, you are ready to move on to the next step: installing the vent fan housing.
Step 5: Install the vent fan housing
Now that you have cut the hole for the vent fan, it’s time to install the vent fan housing into the wall or ceiling. Follow these steps to securely install the housing:
- Position the vent fan housing into the cut hole. Carefully insert the vent fan housing into the hole you have cut. Ensure it fits snugly and aligns properly with the surrounding area.
- If necessary, secure the housing with screws. Depending on the design of the vent fan housing, you may need to use screws to secure it in place. Follow the manufacturer’s instructions and use the provided screws to attach the housing to the wall or ceiling.
- Check for level and adjust if needed. Use a level to ensure the vent fan housing is perfectly level. If it is not level, make any necessary adjustments to align it correctly.
- Ensure a tight and secure fit. The vent fan housing should fit tightly and securely into the hole. This will prevent any air leaks and ensure optimal performance.
Once the vent fan housing is properly installed, you are ready to move on to the next step: connecting the wiring.
When installing a vent fan in a bathroom, make sure to choose the right size fan for the room, properly seal the fan to the ceiling to prevent air leaks, and vent it to the outside to avoid moisture buildup.
Step 6: Connect the wiring
Connecting the wiring for your vent fan is an important step to ensure it operates safely and efficiently. Follow these steps to connect the wiring:
- Turn off the power. Before working with any electrical components, make sure to turn off the power supply to the area where the vent fan will be installed. Locate the circuit breaker or fuse box and switch off the corresponding circuit.
- Access the existing electrical wiring. If there is already electrical wiring in the installation area, remove the electrical junction box cover or any other coverings to access the wiring.
- Prepare the wiring. Strip the insulation from the ends of the electrical wires, exposing about half an inch of bare copper. Use wire strippers to carefully remove the insulation.
- Connect the wires. Match the corresponding wires from the vent fan to the existing electrical wires. Connect the black (hot) wire to the black wire, the white (neutral) wire to the white wire, and the green or copper (ground) wire to the bare copper wire.
- Secure the connections. Use wire connectors or twist the wires together, ensuring a tight and secure connection. Wrap the connections with electrical tape to provide additional protection.
- Place the wiring in the electrical junction box. Carefully tuck the connected wires into the electrical junction box. Make sure there is enough space for the wiring and that it does not interfere with any moving parts of the vent fan.
- Reattach the electrical junction box cover. Once the wiring is safely secured, reattach the electrical junction box cover or any other coverings that were removed earlier to access the wiring.
After connecting the wiring, it’s important to double-check all connections and ensure they are secure. You can then proceed to the next step: securely mounting the vent fan.
Step 7: Securely mount the vent fan
Securing the vent fan in place is crucial to ensure its stability and proper functioning. Follow these steps to securely mount the vent fan:
- Position the vent fan housing. Place the vent fan housing into the installed vent fan housing, ensuring it fits snugly and aligns properly.
- Secure the housing with screws or brackets. Depending on the design of your vent fan, use screws or brackets to securely attach the housing to the surrounding structure. Follow the manufacturer’s instructions for proper installation.
- Ensure a tight fit. Check that the vent fan housing is tightly and securely mounted. This will help prevent any movement or vibration during operation.
- Double-check all connections. Before proceeding, double-check that all wiring connections are secure and properly insulated. This will ensure safe operation.
- Test the vent fan. Turn on the power supply and test the vent fan to ensure it is working properly. Check for any unusual noises or vibrations that may indicate an issue.
Once the vent fan is securely mounted and tested, you can then proceed to the next step: installing the vent cover grille.
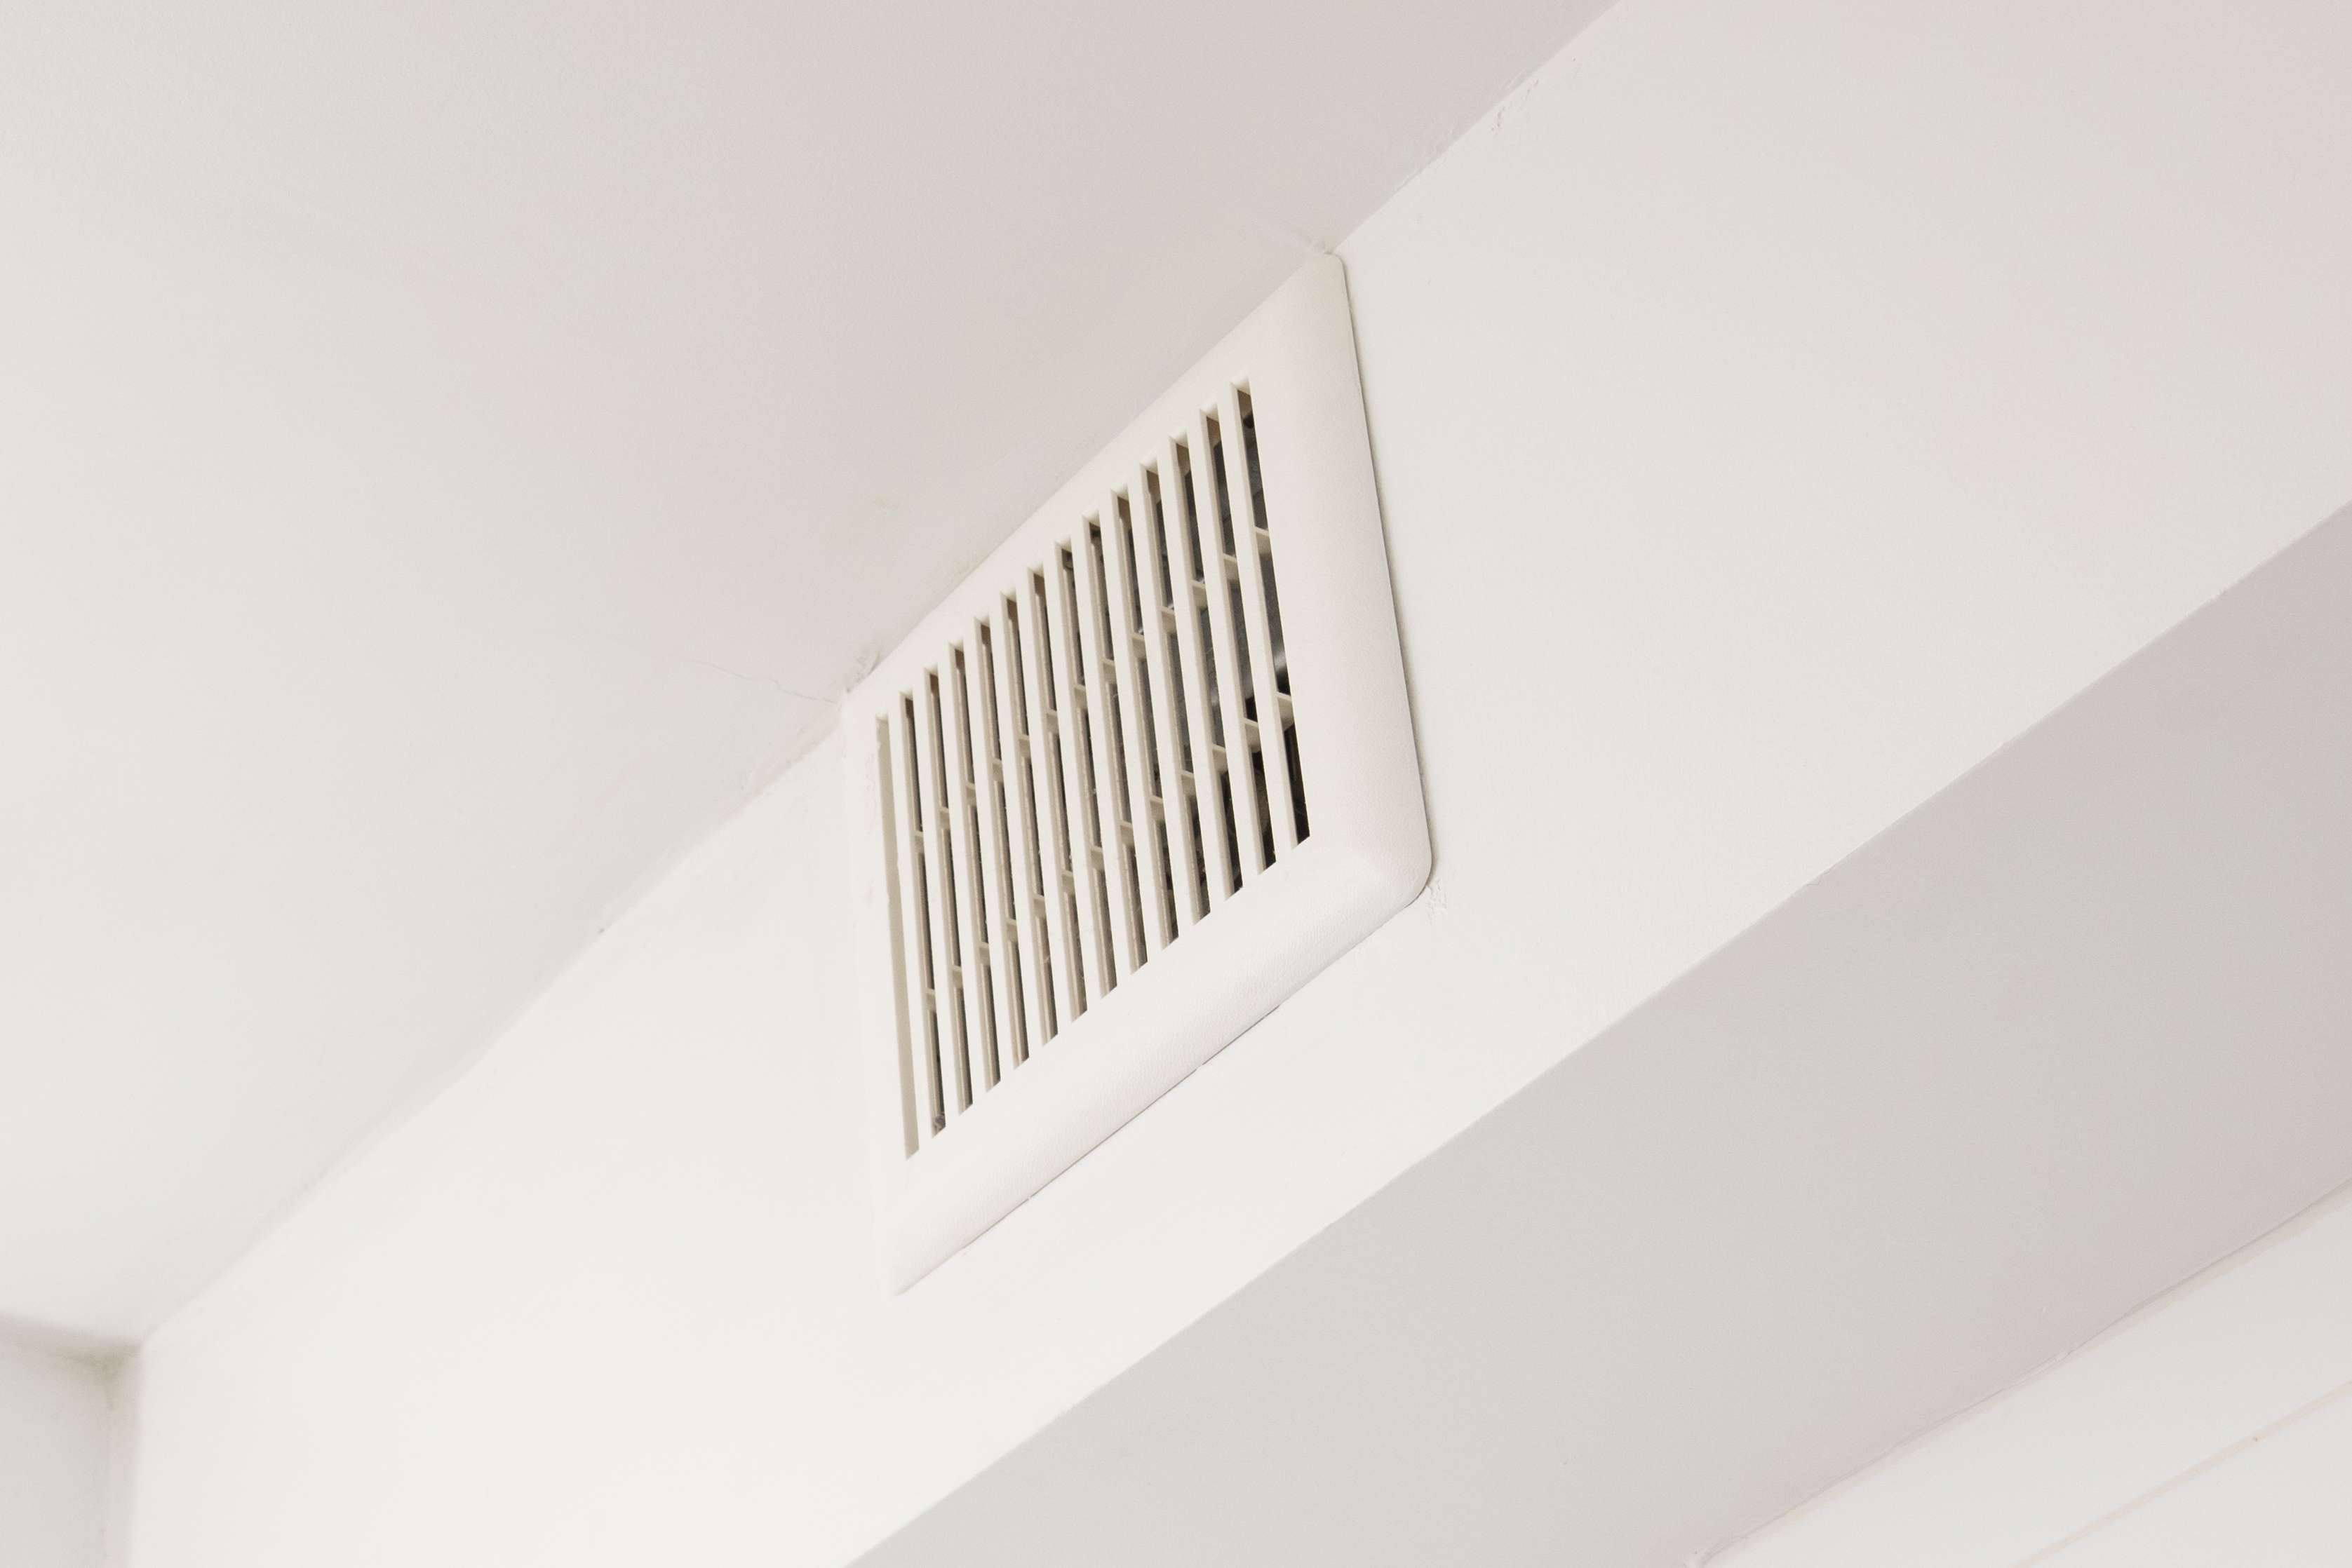
Step 8: Install the vent cover grille
The vent cover grille is an essential component of the vent fan that helps to direct airflow and protect the fan blades. Follow these steps to install the vent cover grille:
- Align the vent cover grille with the vent fan housing. Place the vent cover grille onto the vent fan housing, aligning it properly and ensuring it fits securely.
- Secure the grille in place. Depending on the design of the vent cover grille, it may require screws or clips to secure it in place. Follow the manufacturer’s instructions to correctly attach the grille to the vent fan housing.
- Check for proper airflow. Ensure that the vent cover grille does not restrict the airflow from the vent fan. It should allow for smooth and unobstructed passage of air.
- Clean and maintain the vent cover grille. Regularly clean the vent cover grille to prevent dust and debris from accumulating. This will help maintain optimal airflow and prevent any blockages.
Installing the vent cover grille is the final step in the physical installation of the vent fan. With the grille securely in place, the vent fan is ready to function effectively in removing moisture and improving air circulation in your bathroom.
Next, we will move on to the next step: testing the vent fan operation.
Read more: Where To Vent Bathroom Fan
Step 9: Test the vent fan operation
After completing the installation of your vent fan, it’s important to test its operation to ensure everything is working correctly. Follow these steps to test the vent fan:
- Turn on the power supply. Ensure that the power to the vent fan is turned on at the circuit breaker or fuse box.
- Activate the vent fan. Switch on the vent fan using the controls or switches provided. It may be a simple on/off switch, or it could have additional settings such as speed control or a timer.
- Observe the fan blades. Watch the fan blades to ensure they are spinning smoothly and without any wobbling or unusual noises. An improperly balanced fan can cause vibrations and noise issues.
- Check the airflow. Place your hand or a piece of paper near the vent cover grille to verify if the vent fan is producing airflow. You should feel a noticeable breeze or see the paper being pulled towards the grille.
- Listen for any unusual noises. Pay attention to any unusual or excessive noise coming from the vent fan. Rattling or grinding noises may indicate a problem with the fan motor or loose components.
- Test different settings (if applicable). If your vent fan has multiple settings, test each one to ensure they are all working properly. This includes adjusting the speed control or setting a timer function if available.
If everything is functioning as expected, congratulations! Your vent fan is successfully installed and operational. If you encounter any issues or notice any abnormalities during the testing process, it may be necessary to troubleshoot or seek professional assistance to resolve the problem.
With the vent fan tested and working properly, we can now proceed to the final step: finalizing the installation.
Step 10: Finalize the installation
In the final step of the vent fan installation process, you’ll complete a few important tasks to ensure everything is properly finished and ready for long-term use. Follow these steps to finalize the installation:
- Make any necessary adjustments. Take a final look at the vent fan and surrounding area to check for any adjustments that may be needed. This includes ensuring all screws are tightened, wires are neatly organized, and no components are loose.
- Seal any gaps or openings. Use caulk or weatherstripping to seal any gaps or openings around the vent fan housing. This will help prevent air leakage and improve insulation.
- Clean up the work area. Remove any tools, debris, or packaging materials used during the installation. Clean up the surrounding area to leave your bathroom clean and clutter-free.
- Review the manufacturer’s instructions. Take a final look at the manufacturer’s instructions to verify that all installation steps have been completed correctly. This will help ensure that you have followed all the necessary guidelines.
- Document the installation details. It can be helpful to document the installation details for future reference. This may include noting the model and serial numbers of the vent fan, recording any modifications made, and keeping any warranty information.
- Keep up with maintenance. Regular maintenance is essential to keep your vent fan operating efficiently. This includes cleaning or replacing the vent cover grille, checking the fan blades for dust buildup, and inspecting the wiring for any signs of wear or damage.
With the installation finalized, you can now enjoy the benefits of a properly installed vent fan in your bathroom. Proper ventilation will help remove excess moisture, eliminate odors, and improve air quality, creating a more comfortable and healthy environment.
Congratulations on successfully installing a vent fan in your bathroom! Remember to follow all safety precautions and consult a professional if you encounter any difficulties or are unsure about any aspect of the installation process.
Conclusion
Proper bathroom ventilation is essential for maintaining a healthy and comfortable environment. Installing a vent fan is a practical and effective way to eliminate excess moisture, prevent mold and mildew growth, and improve air quality. By following the step-by-step guide outlined in this article, you can successfully install a vent fan in your bathroom.
Throughout the installation process, we covered important steps such as gathering the necessary tools and materials, choosing the right location for the vent fan, measuring and marking the installation area, cutting the hole for the vent fan, installing the vent fan housing, connecting the wiring, securely mounting the vent fan, installing the vent cover grille, testing the vent fan operation, and finalizing the installation.
Remember, safety should always be a top priority when working with electricity. If you are unsure or uncomfortable with any step of the installation process, it is best to consult a professional electrician for assistance.
Once your vent fan is successfully installed, it is important to maintain it regularly. Clean or replace the vent cover grille, check the fan blades for dust buildup, and inspect the wiring for any signs of wear or damage. These simple maintenance tasks will ensure your vent fan operates efficiently and prolong its lifespan.
Enjoy the benefits of a well-ventilated bathroom, including reduced humidity, improved air quality, and a more comfortable space. With the proper installation of a vent fan, you can create an environment that is not only pleasant but also promotes good health and well-being.
Frequently Asked Questions about How To Install A Vent Fan In Bathroom
Was this page helpful?
At Storables.com, we guarantee accurate and reliable information. Our content, validated by Expert Board Contributors, is crafted following stringent Editorial Policies. We're committed to providing you with well-researched, expert-backed insights for all your informational needs.


0 thoughts on “How To Install A Vent Fan In Bathroom”