Articles
How To Install Carpet On Concrete
Modified: October 28, 2024
Learn how to install carpet on concrete with our comprehensive articles. Find step-by-step guides, tips, and tricks for a successful installation.
(Many of the links in this article redirect to a specific reviewed product. Your purchase of these products through affiliate links helps to generate commission for Storables.com, at no extra cost. Learn more)
Introduction
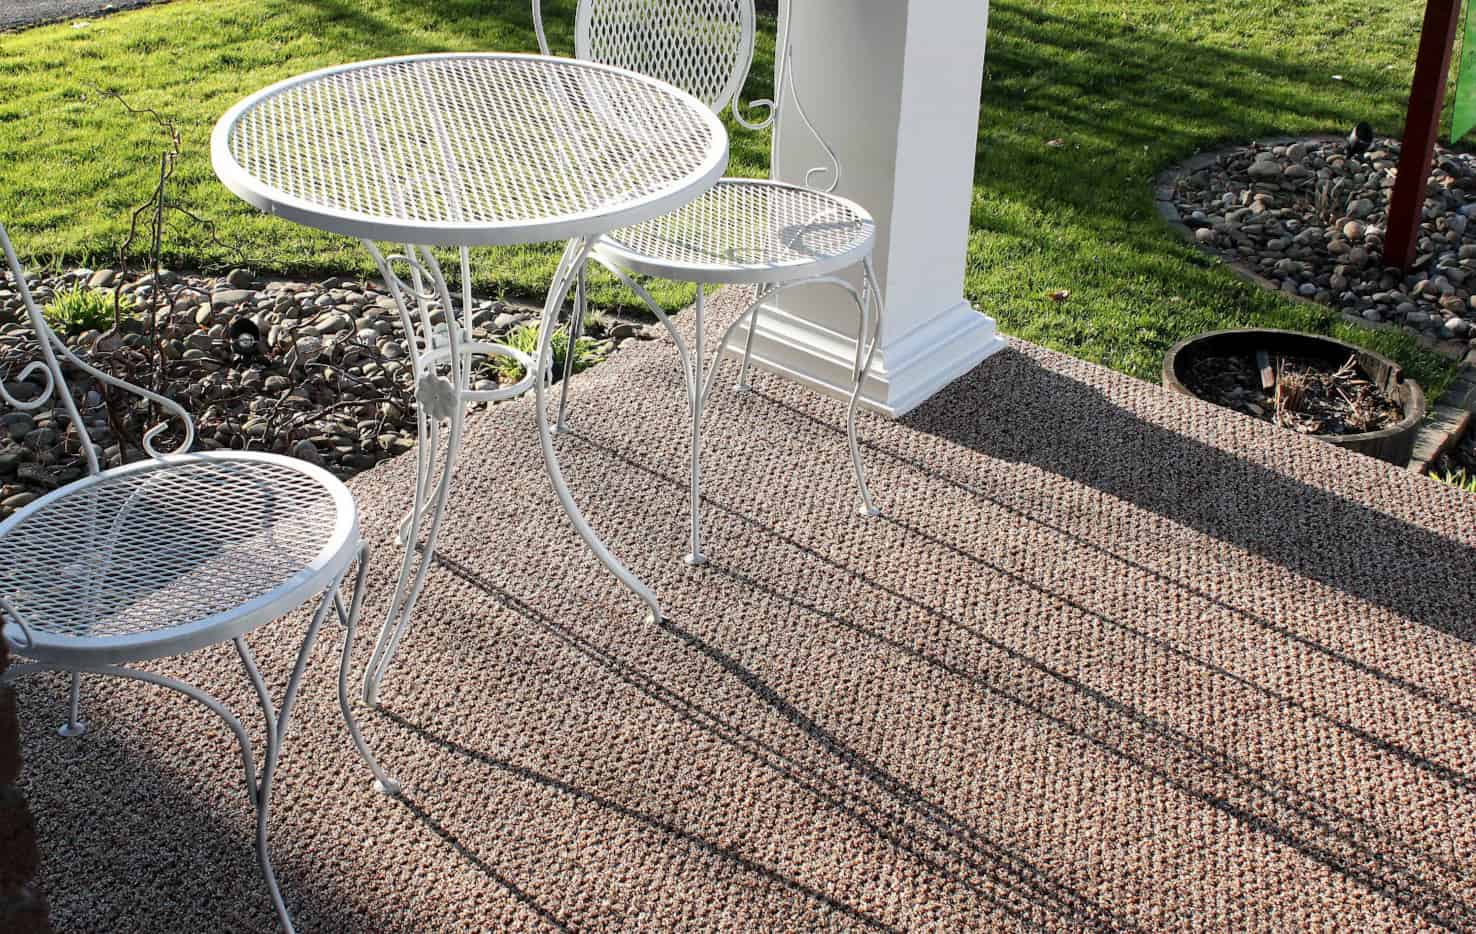
Installing carpet on a concrete surface can completely transform the look and feel of a room. Whether you’re updating your basement, office space, or even a concrete patio, adding carpet can provide insulation, comfort, and enhance the overall aesthetic appeal. However, the process of installing carpet on concrete requires careful preparation and attention to detail.
In this article, we will guide you through the step-by-step process of installing carpet on concrete, from preparing the surface to applying the adhesive and installing the carpet itself. We will also provide you with tips and considerations to ensure a successful and long-lasting installation.
Before we dive into the specifics, it’s important to gather the necessary tools and materials for the job. Having everything ready beforehand will help streamline the installation process and ensure that you have everything you need at hand.
Key Takeaways:
- Transform your space with comfort and style by installing carpet on concrete. Proper preparation, precise cutting, and secure adhesion are key for a successful and long-lasting installation.
- Ensure ventilation, regular maintenance, and consider eco-friendly options for a beautiful and sustainable carpet installation. Seek professional assistance if needed and enjoy your newly transformed space!
Read more: How To Install Outdoor Carpet On Concrete
Tools and Materials Needed
Before beginning the carpet installation process, gather the following tools and materials:
- Carpet roll or carpet tiles – Measure the area where you plan to install the carpet to determine the amount of carpet you need.
- Carpet adhesive – Ensure that the adhesive is suitable for use on concrete surfaces.
- Tape measure – Accurately measure the dimensions of the area to be carpeted.
- Straightedge or chalk line – Use these tools to create straight guidelines for cutting the carpet.
- Utility knife – A sharp utility knife will be necessary for cutting the carpet to the desired size.
- Rubber mallet – Use a rubber mallet to ensure a secure bond between the carpet and the concrete surface.
- Trowel – A trowel is required to evenly spread the carpet adhesive.
- Notched trowel – This tool is used for spreading adhesive in a consistent pattern.
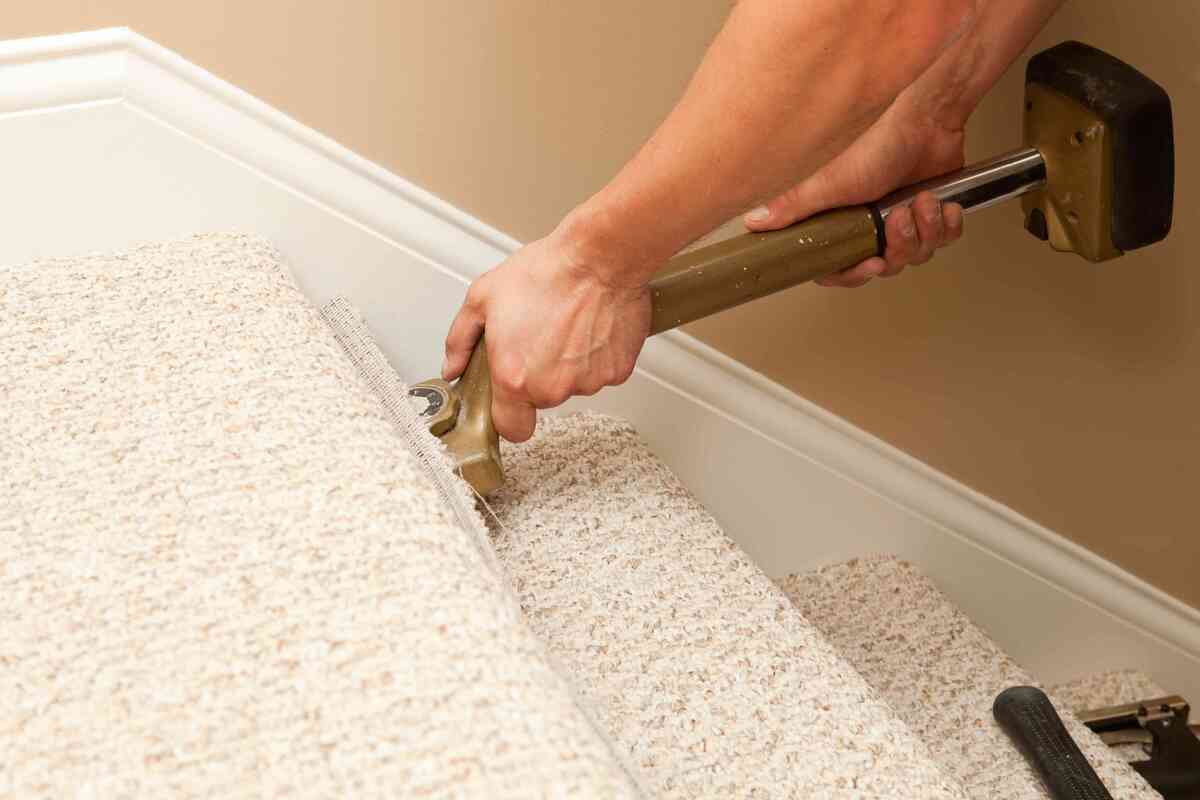
- Knee kicker – A knee kicker is used to stretch the carpet and secure it in place.
- Carpet stretcher – This tool is essential for ensuring a tight and wrinkle-free installation.
- Seam roller – A seam roller helps to flatten and secure the seams of the carpet.
- Duct tape – Use duct tape to secure the edges of the carpet and prevent it from moving during installation.
- Gloves and safety glasses – Proper safety gear is essential to protect yourself during the installation process.
By gathering these tools and materials, you’ll be well-prepared to tackle the carpet installation project and achieve professional-looking results.
Preparing the Concrete Surface
Before installing carpet on a concrete surface, it’s crucial to properly prepare the area to ensure a successful and long-lasting installation. Follow these steps to prepare the concrete surface:
- Clean the surface: Start by thoroughly cleaning the concrete surface. Remove any dirt, dust, or debris using a broom or vacuum cleaner. Ensure that the surface is free from any loose particles or contaminants.
- Repair cracks and imperfections: Inspect the concrete surface for any cracks, holes, or uneven areas. Use a concrete patching compound to fill in any cracks or holes and level out any uneven spots. Allow the patching compound to dry completely before proceeding.
- Smooth rough areas: If there are any rough or uneven areas on the concrete, use a grinder or sander to smoothen them out. A smooth surface will ensure better adhesive bonding and prevent the carpet from snagging or tearing.
- Check for moisture: Concrete can sometimes retain moisture, which can affect the durability and performance of the carpet. Perform a moisture test by taping a plastic sheet on the concrete surface for 24 hours. If there is condensation or moisture buildup on the underside of the plastic, it’s important to address the moisture issue before proceeding with the installation. Consult a professional if necessary.
- Apply a concrete primer: To enhance the adhesion between the carpet and the concrete surface, consider applying a concrete primer. Follow the manufacturer’s instructions to apply the primer evenly over the entire surface. Allow the primer to dry completely.
By properly preparing the concrete surface, you’ll create a solid foundation for the carpet installation. This will help ensure a smooth and long-lasting result.
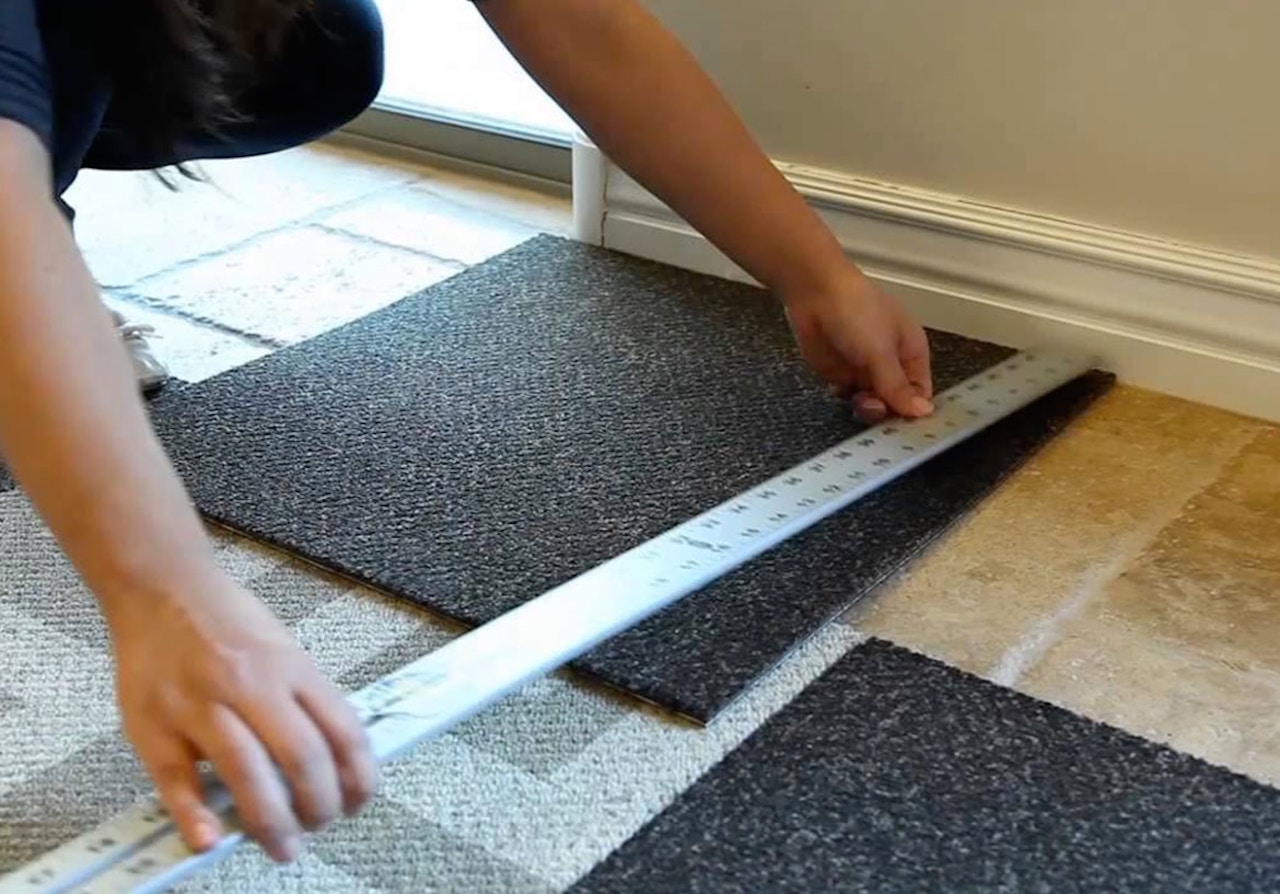
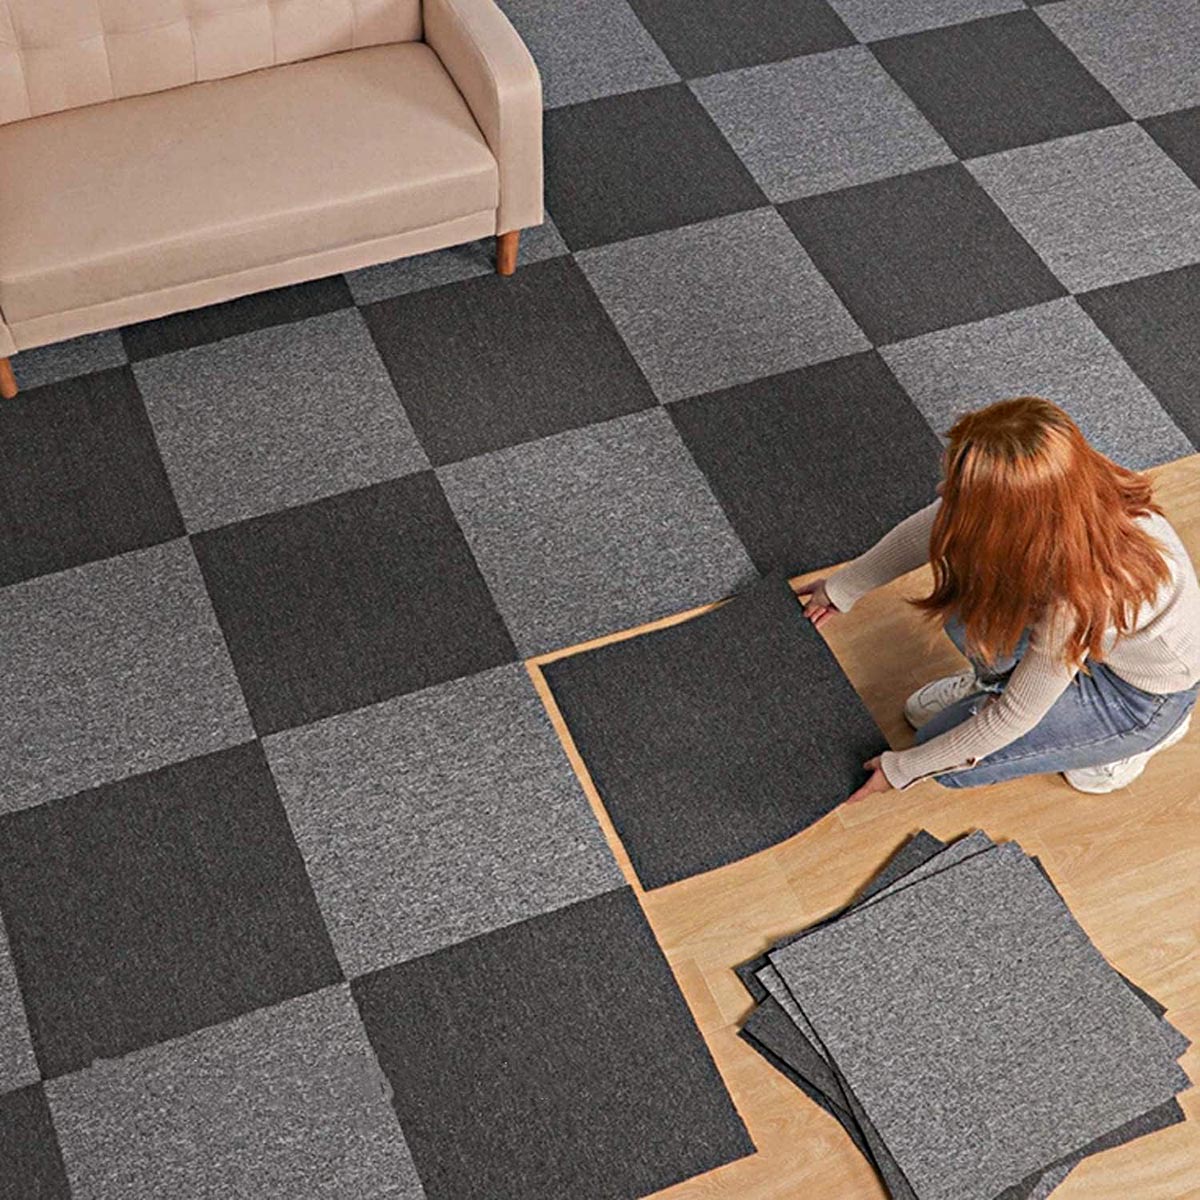
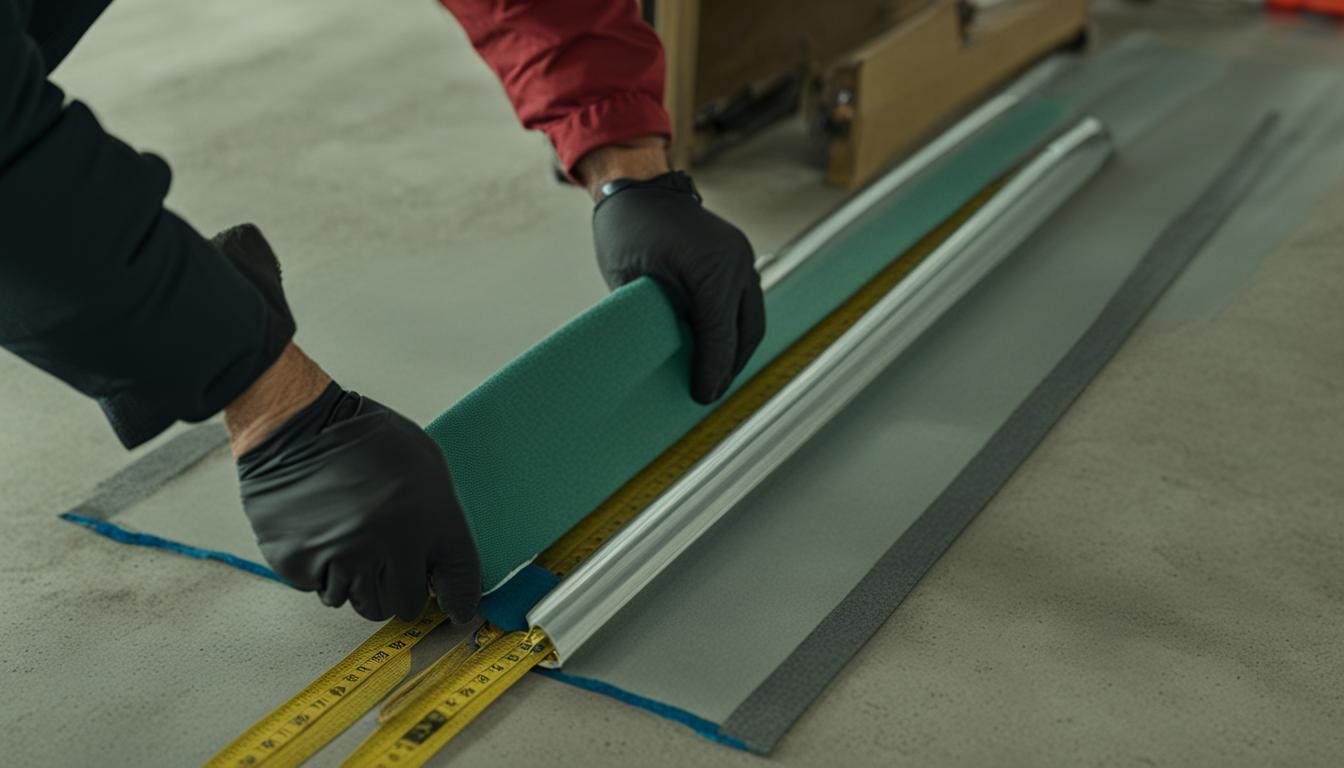
Measuring and Cutting the Carpet
Accurate measurements and precise cutting are critical to achieving a seamless and professional carpet installation. Follow these steps to measure and cut the carpet:
- Measure the area: Use a tape measure to determine the dimensions of the area where you’ll be installing the carpet. Measure both the length and width of the space, and add a few extra inches to each measurement to account for any adjustments or trimming.
- Create guidelines: Use a straightedge or chalk line to create guidelines on the floor based on your measurements. These guidelines will serve as reference lines for cutting the carpet.
- Lay out the carpet: Roll out the carpet in the installation area, keeping it aligned with the guidelines. Allow the carpet to rest for a little while to allow it to acclimate to the room’s temperature and humidity.
- Trim excess carpet: Using a utility knife, cut off any excess carpet along the edges of the room. Follow the guidelines you created to ensure straight and clean cuts.
- Make necessary cuts: If there are any obstacles in the room, such as columns or doorways, make the necessary cuts in the carpet to accommodate them. Carefully measure and mark the areas that need to be trimmed, then use a utility knife to make the cuts.
It’s important to be precise and take your time when measuring and cutting the carpet. A properly measured and cut carpet will fit snugly and give the installation a polished and professional appearance.
Before installing carpet on concrete, make sure the surface is clean, dry, and level. Use a moisture barrier to prevent mold and mildew, and consider using a carpet pad for added comfort and insulation.
Applying the Carpet Adhesive
Applying the right adhesive is crucial for ensuring a secure and long-lasting bond between the carpet and the concrete surface. Follow these steps to apply the carpet adhesive:
- Read the manufacturer’s instructions: Different carpet adhesives may have specific application instructions, so be sure to carefully read and follow the manufacturer’s guidelines.
- Prepare the adhesive: Mix the adhesive according to the manufacturer’s instructions, ensuring that it is well-blended and free from lumps or clumps.
- Apply the adhesive: Use a trowel or notched trowel to spread the adhesive evenly over the concrete surface. Work in small sections to ensure that the adhesive does not dry too quickly.
- Spread the adhesive consistently: Use the notched side of the trowel to create consistent ridges or grooves in the adhesive. This will help improve the adhesion between the carpet and the concrete surface.
- Allow the adhesive to set: Follow the manufacturer’s instructions regarding the drying time of the adhesive. It’s important to allow the adhesive to set properly before moving on to the next step.
During the adhesive application process, it’s important to work efficiently and avoid spreading the adhesive too far ahead of the carpet installation. This will help ensure that the adhesive remains tacky and ready for the next steps.
Remember to wear gloves and safety glasses while working with the adhesive to protect your skin and eyes.
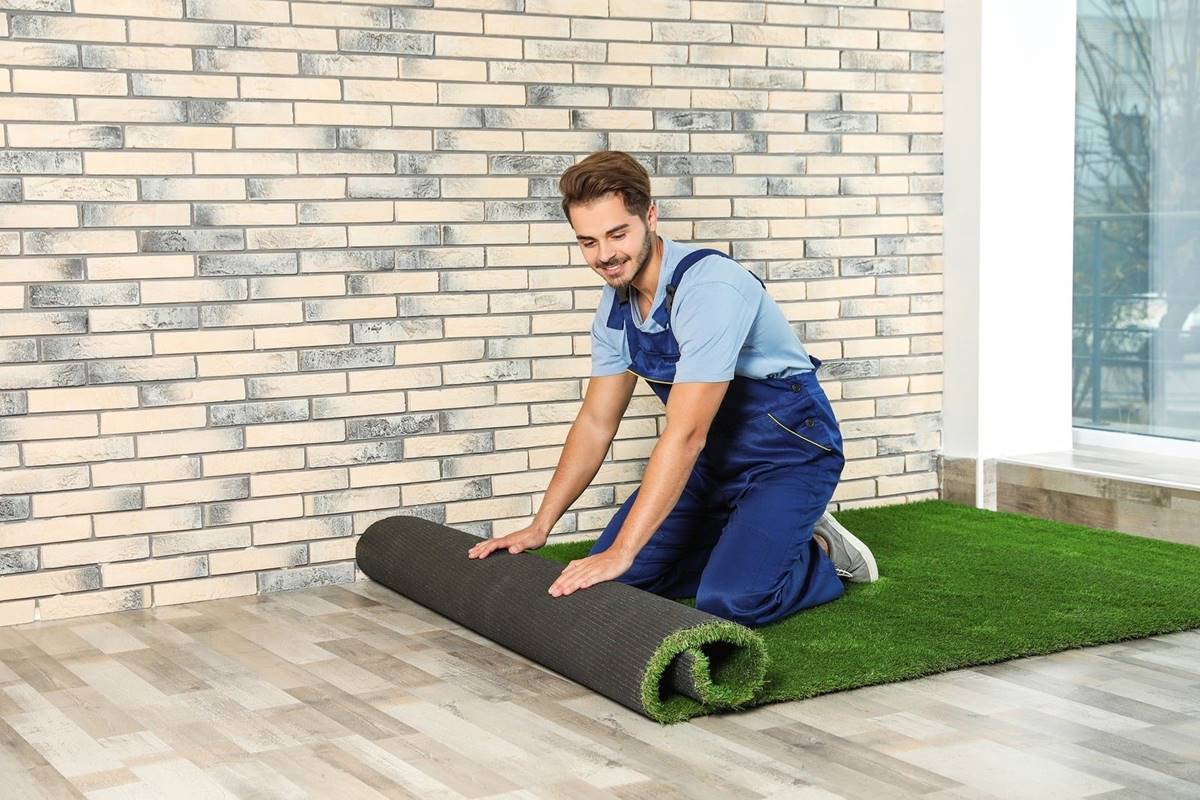
Installing the Carpet
With the concrete surface prepared and the adhesive applied, it’s time to install the carpet. Follow these steps to ensure a smooth and successful installation:
- Start from a corner: Begin by placing one corner of the carpet in the designated corner of the room. Ensure that the carpet is aligned with the guidelines you created earlier.
- Roll out the carpet: Slowly unroll the carpet along the length of the room, keeping it aligned with the guidelines. Avoid pulling or stretching the carpet excessively.
- Trim excess carpet: Once the carpet is in place, trim any excess material along the edges using a utility knife. Cut along the walls or baseboards to create clean and precise edges.
- Secure the edges: Use duct tape to secure the edges of the carpet, ensuring that it remains in place during the installation process.
- Stretch the carpet: Use a knee kicker and carpet stretcher to stretch the carpet, ensuring a tight and wrinkle-free installation. Start from the center of the room and work your way out towards the edges.
- Press down firmly: Use a rubber mallet to press down firmly on the carpet and ensure a secure bond with the adhesive. This will help remove any air pockets and enhance the overall adhesion.
- Check for any visible seams: If you’re installing carpet tiles or if your room requires multiple pieces of carpet, carefully align the seams and use a seam roller to flatten and secure them.
Take your time during the installation process to ensure that the carpet is properly aligned, stretched, and securely bonded to the concrete surface. Make any necessary adjustments along the way to achieve a flawless and professional result.
Trimming and Finishing Touches
After the carpet is installed, it’s time to focus on trimming and adding the finishing touches to complete the project. Follow these steps for a polished and professional look:
- Trim excess carpet: Use a utility knife to trim any remaining excess carpet along the edges of the room. Make clean and precise cuts for a neat appearance.
- Secure transitions: If there are any transitions between the carpet and other flooring surfaces, such as tile or hardwood, install transition strips or edging to create a seamless and smooth transition.
- Install baseboards: If the room has baseboards, reinstall or install new baseboards to cover the edges of the carpet. This will provide a clean and finished look.
- Remove any adhesive residue: Use a solvent recommended by the adhesive manufacturer to remove any adhesive residue from the surface of the carpet or surrounding areas. Follow the instructions carefully and ensure proper ventilation.
- Allow the carpet to settle: Give the newly installed carpet some time to settle and acclimate to the room’s environment. Avoid heavy foot traffic and furniture placement for at least 24 hours.
- Vacuum the carpet: Once the carpet has settled, thoroughly vacuum the entire area to remove any loose fibers or debris. Regular vacuuming will help maintain the carpet’s appearance and longevity.
- Enjoy your new carpet: With the trimming and finishing touches complete, it’s time to enjoy the comfort, beauty, and functionality that the carpet adds to your space.
By taking care of these final steps, you will ensure that your carpet installation is not only visually appealing but also durable and long-lasting.
Final Thoughts and Considerations
As you wrap up your carpet installation on a concrete surface, here are some final thoughts and considerations to keep in mind:
- Proper ventilation: Ensure that the area has proper ventilation during and after the installation process. This will help the carpet adhesive to cure properly and reduce any potential odors.
- Maintenance: Regular maintenance is essential to keep your carpet looking its best. Vacuum the carpet regularly to remove dirt and debris, and promptly clean up any spills or stains to prevent permanent damage.
- Professional assistance: If you’re uncomfortable or unsure about any step of the installation process, it’s best to seek professional assistance. Professional carpet installers have the experience and knowledge to ensure a smooth and flawless installation.
- Environmental considerations: Consider using eco-friendly and sustainable carpet options that are better for the environment and contribute to a healthier indoor environment.
- Warranty and guarantees: Check if the carpet manufacturer or installer provides any warranties or guarantees for the product and installation. This can give you peace of mind and protection in case of any unforeseen issues.
Remember, a well-installed carpet can enhance the comfort, aesthetics, and value of your space. With careful preparation, accurate measurements, and proper installation techniques, you can enjoy a beautiful and long-lasting carpet on your concrete surface.
Now that you have all the information and steps necessary for installing carpet on concrete, you’re ready to embark on your carpet installation journey. Good luck and enjoy your newly transformed space!
Frequently Asked Questions about How To Install Carpet On Concrete
Was this page helpful?
At Storables.com, we guarantee accurate and reliable information. Our content, validated by Expert Board Contributors, is crafted following stringent Editorial Policies. We're committed to providing you with well-researched, expert-backed insights for all your informational needs.