Articles
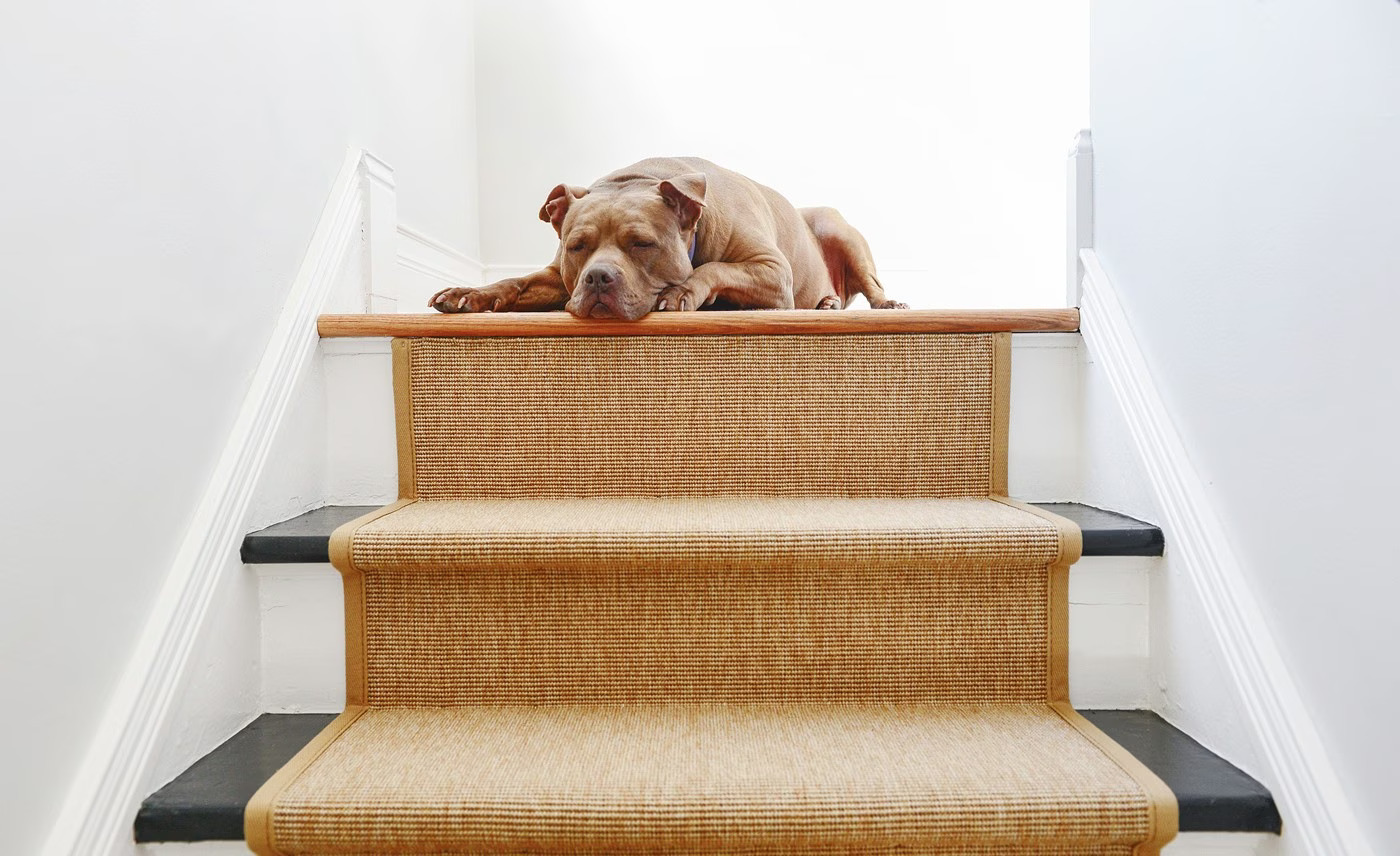
How To Install A Carpet On Steps
Modified: October 20, 2024
Learn how to install a carpet on steps with our informative articles. Get step-by-step instructions and expert tips to create a stylish and safe staircase.
(Many of the links in this article redirect to a specific reviewed product. Your purchase of these products through affiliate links helps to generate commission for Storables.com, at no extra cost. Learn more)
Introduction
Installing a carpet on steps can be a great way to enhance the aesthetic appeal and safety of your staircase. Not only does carpet provide a soft and comfortable surface to walk on, but it also acts as a noise dampener and prevents slipping. Whether you’re looking to update the look of your staircase or add a layer of protection, installing carpet on steps is a fairly straightforward process that can be accomplished with the right tools and a little know-how.
In this article, we will guide you through the step-by-step process of installing carpet on steps. From measuring and preparing the steps to cutting and attaching the carpet, we will cover each stage in detail to ensure a successful installation.
Before we begin, it’s important to note that while installing carpet on steps can be a DIY project, it does require some basic tools and skills. If you’re not comfortable with using power tools or if you have a complex staircase design, it’s always a good idea to consult with a professional carpet installer. They have the expertise to ensure a flawless installation and can help you navigate any challenges that may arise.
Now, let’s dive into the step-by-step process of installing carpet on steps and transform your staircase into a stylish and functional feature of your home.
Key Takeaways:
- Transform your staircase with a professional and durable carpet installation that enhances both safety and aesthetic appeal. Follow the step-by-step guide for a flawless result.
- Enjoy the process of transforming your staircase into a stunning focal point with attention to detail and the right tools. Add warmth and elegance to your home with a beautiful and durable carpet installation.
Step 1: Measure and prepare the steps
The first step in installing carpet on steps is to accurately measure and prepare the steps for the installation process. This is crucial to ensure that you have the right amount of carpet and that it fits properly.
Here’s how to measure and prepare the steps:
- Start by measuring the width and depth of each step. Use a tape measure to measure the width from one side of the step to the other, and the depth from the front of the step to the back.
- Take note of any irregularities or variations in the measurements. Steps may vary in size, especially in older homes, so it’s important to measure each step individually.
- Next, calculate the total square footage of carpet needed for the steps. Multiply the width by the depth of each step to get the square footage of each step, and then add up the square footage of all the steps to get the total.
- Once you have the measurements, you can either visit a carpet store or use an online calculator to determine how much carpet you will need. Remember to account for any seams or pattern matching if you’re using patterned carpet.
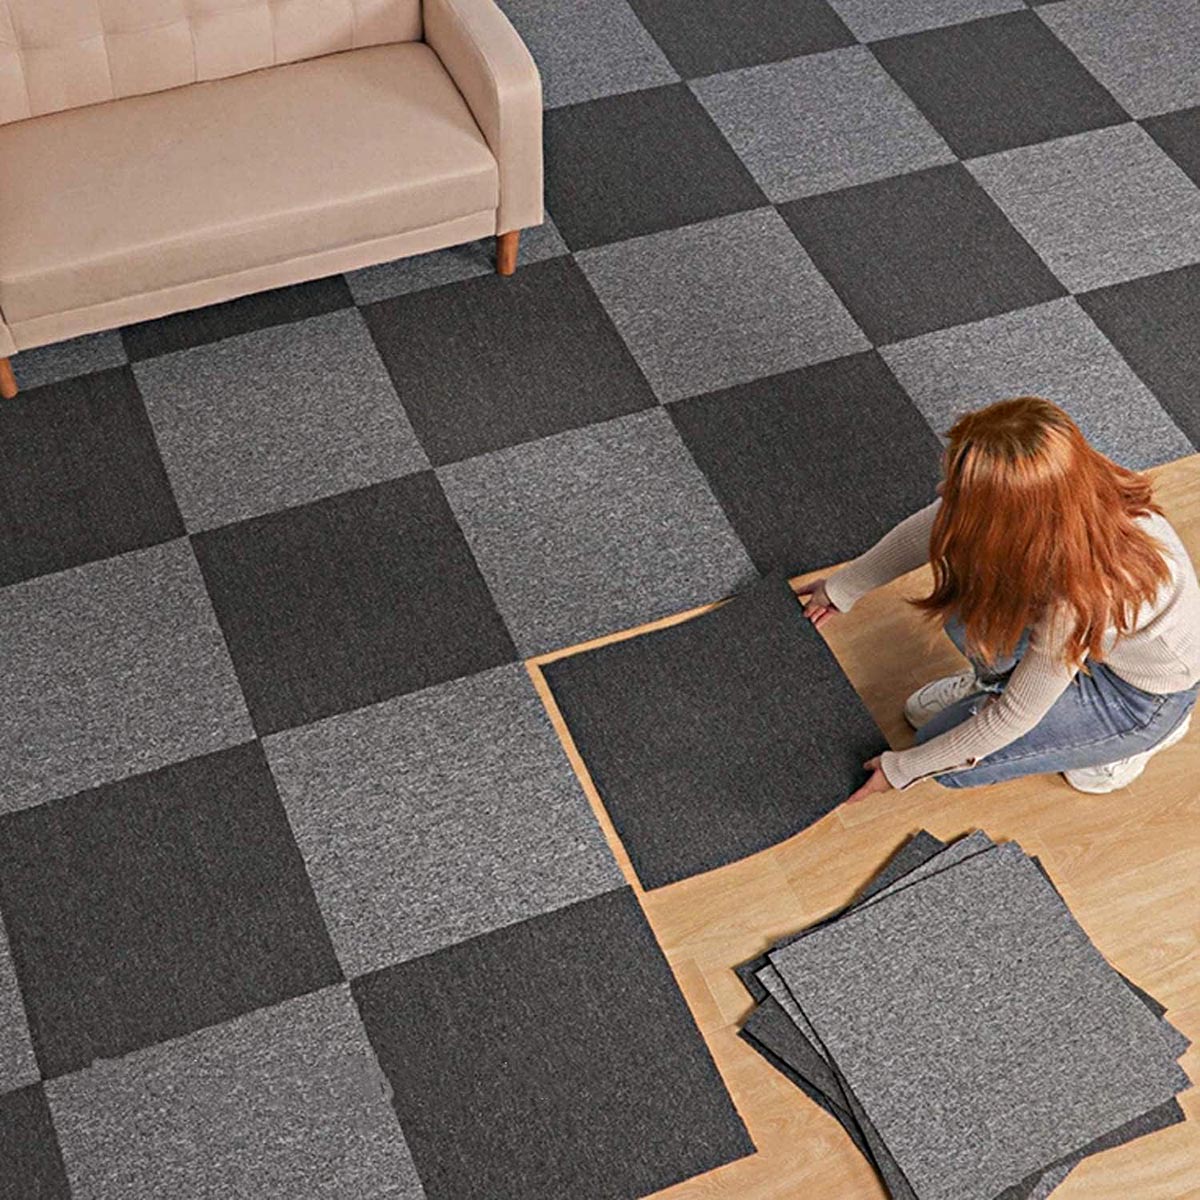
- Prepare the steps by removing any existing carpet or flooring. Use a utility knife to cut the carpet into manageable sections and carefully pull it away from the steps. If there is any adhesive or residue left behind, use a scraper or adhesive remover to clean the surface.
- If the steps are bare wood, check for any loose boards or damaged areas. Repair or replace any damaged sections and ensure that the steps are sturdy and level.
- Lastly, thoroughly clean the steps to remove any dust, dirt, or debris. Use a broom, vacuum, or damp cloth to clean the surface, ensuring a clean and smooth base for the carpet installation.
By accurately measuring and preparing the steps, you will ensure a precise and successful carpet installation. This will help you avoid any unnecessary wastage of materials and make the installation process go smoothly.
Step 2: Gather the necessary tools and materials
Before you begin installing carpet on steps, it’s important to gather all the necessary tools and materials. Having everything you need at hand will make the installation process much smoother and more efficient.
Here’s a list of the tools and materials you’ll need:
- Carpet: Measure the total square footage of carpet needed for the steps, as determined in Step 1. Choose a carpet style and color that complements your home’s decor and personal preferences. Make sure the carpet is designed for stairs to ensure durability and safety.
- Carpet pad: A carpet pad provides additional cushioning and support, enhancing the overall comfort of the carpeted steps. Measure and cut the carpet pad to fit each step, slightly smaller than the dimensions of the step to allow for the carpet installation.
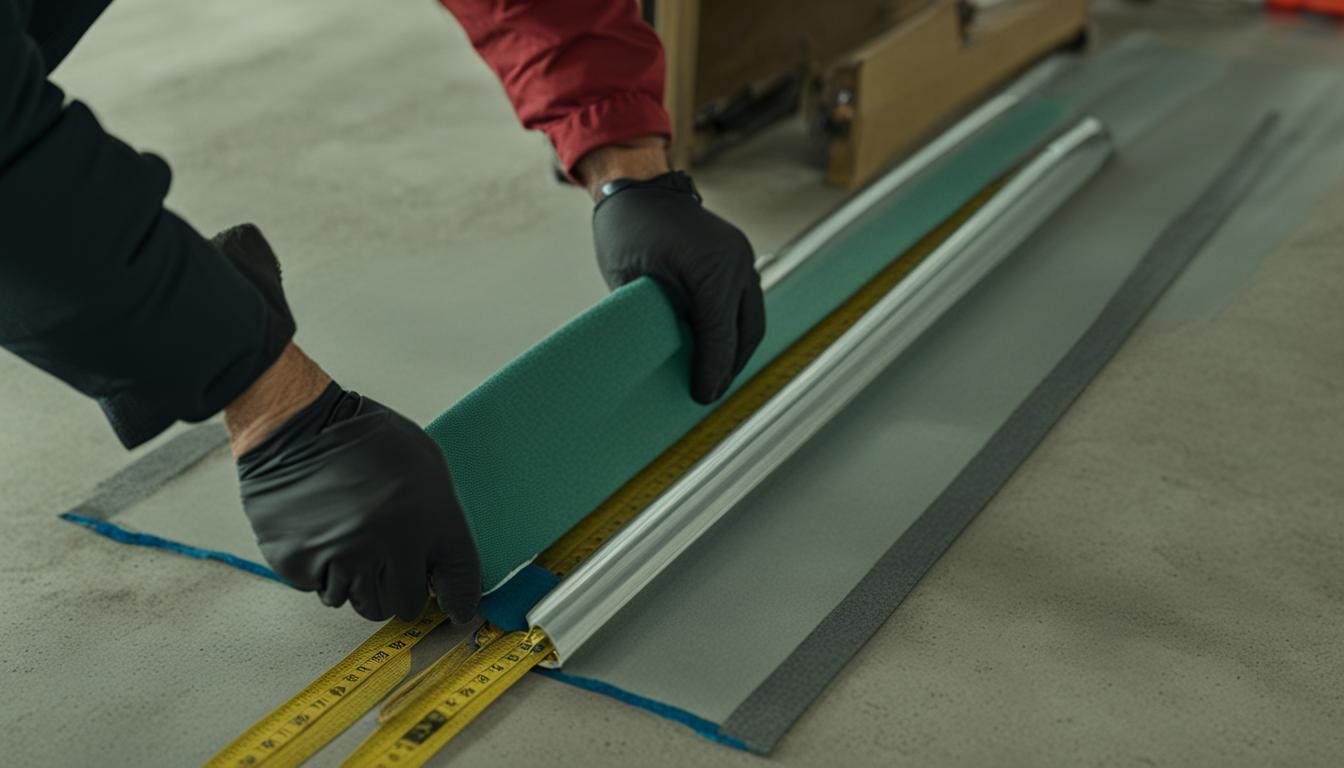
- Tack strips: Tack strips are thin strips of wood with sharp nails that grip the carpet and hold it in place. Measure and cut the tack strips to fit the width and depth of each step. They should be placed around the perimeter of each step and at the back edge, ensuring a secure attachment for the carpet.
- Staple gun or hammer and nails: A staple gun or a hammer and nails are used to secure the carpet pad and the carpet to the steps. Depending on the thickness of your carpet, you may need longer or shorter nails or staples.
- Utility knife: A sharp utility knife will come in handy for cutting the carpet, carpet pad, and making any necessary adjustments during the installation process.
- Straightedge or ruler: Use a straightedge or ruler to ensure straight and precise cuts when trimming the carpet and carpet pad.
- Tape measure: A tape measure is essential for accurately measuring the dimensions of each step and calculating the amount of carpet needed.
- Safety equipment: Protect yourself during the installation process by wearing safety goggles and work gloves.
By gathering all the necessary tools and materials in advance, you’ll be well-prepared to tackle the installation process without any delay. This will ensure a smooth and efficient installation, and you’ll have everything you need to achieve professional-looking results.
Step 3: Remove old carpet or flooring
Before you can install new carpet on your steps, you’ll need to remove any existing carpet or flooring. This step is essential to provide a clean and smooth surface for the new carpet to adhere to.
Here’s how to remove old carpet or flooring:
- Start by removing any visible staples, nails, or tacks from the carpet using a pair of pliers. Carefully pull up the carpet from one corner or edge using a utility knife or carpet knife to cut it into manageable sections. Roll up each section as you go for easy disposal.
- If the old carpet was secured with adhesive, you may need to use a scraper or adhesive remover to loosen and remove the residue. Be cautious with the scraper to avoid damaging the underlying surface.
- After removing the carpet, inspect the steps for any remaining padding or adhesive. Use a scraper or adhesive remover to remove any remaining padding or residue.
- If there is old flooring or treads beneath the carpet, you can remove them by prying them up with a pry bar or chisel. Be careful not to damage the steps during this process.
- Once the old carpet and flooring are removed, thoroughly clean the steps to remove any dust, debris, or adhesive remnants. Use a broom, vacuum, or damp cloth to clean the surface, ensuring a smooth and clean base for the new carpet installation.
Removing the old carpet or flooring is an important step to prepare the steps for the new carpet installation. It ensures a clean and smooth surface for the carpet to adhere to, allowing for a professional-looking and durable finished result.
Step 4: Clean and repair the surface of the steps
Once you’ve removed the old carpet or flooring, it’s important to thoroughly clean and repair the surface of the steps. This will provide a solid and stable base for the installation of the new carpet.
Here’s how to clean and repair the surface of the steps:
- Inspect the steps for any damage or imperfections, such as cracks, chips, or unevenness. If you notice any issues, it’s important to repair them before proceeding. Fill in cracks or chips with a suitable filler and use sandpaper to smooth out any uneven areas.
- Once the repairs are complete, vacuum or sweep the steps to remove any dust, dirt, or debris. Pay close attention to the corners and edges where dirt tends to accumulate. This will ensure a clean surface for the installation.
- If the steps are made of wood, consider sanding them lightly with fine-grit sandpaper to create a smooth and even surface. Be sure to remove any dust or residue after sanding.
- If the steps are made of concrete or another non-porous material, clean them with a suitable cleaner or degreaser. Use a stiff brush or a scrub brush to remove any stains or residue. Rinse the steps thoroughly with water and allow them to dry completely.
- Inspect the steps for any protruding nails or loose boards. Use a hammer to secure loose boards and remove any nails that may cause a problem for the carpet installation.
- Lastly, check the overall condition of the steps to ensure they are stable and structurally sound. If you have any concerns, it’s best to consult a professional to assess the stability of the steps before proceeding.
By cleaning and repairing the surface of the steps, you’ll create a solid and stable foundation for the installation of the new carpet. This will help ensure a smooth and long-lasting finish that not only looks great but also enhances the safety of your staircase.
Read more: How To Install Wainscoting Step-by-Step
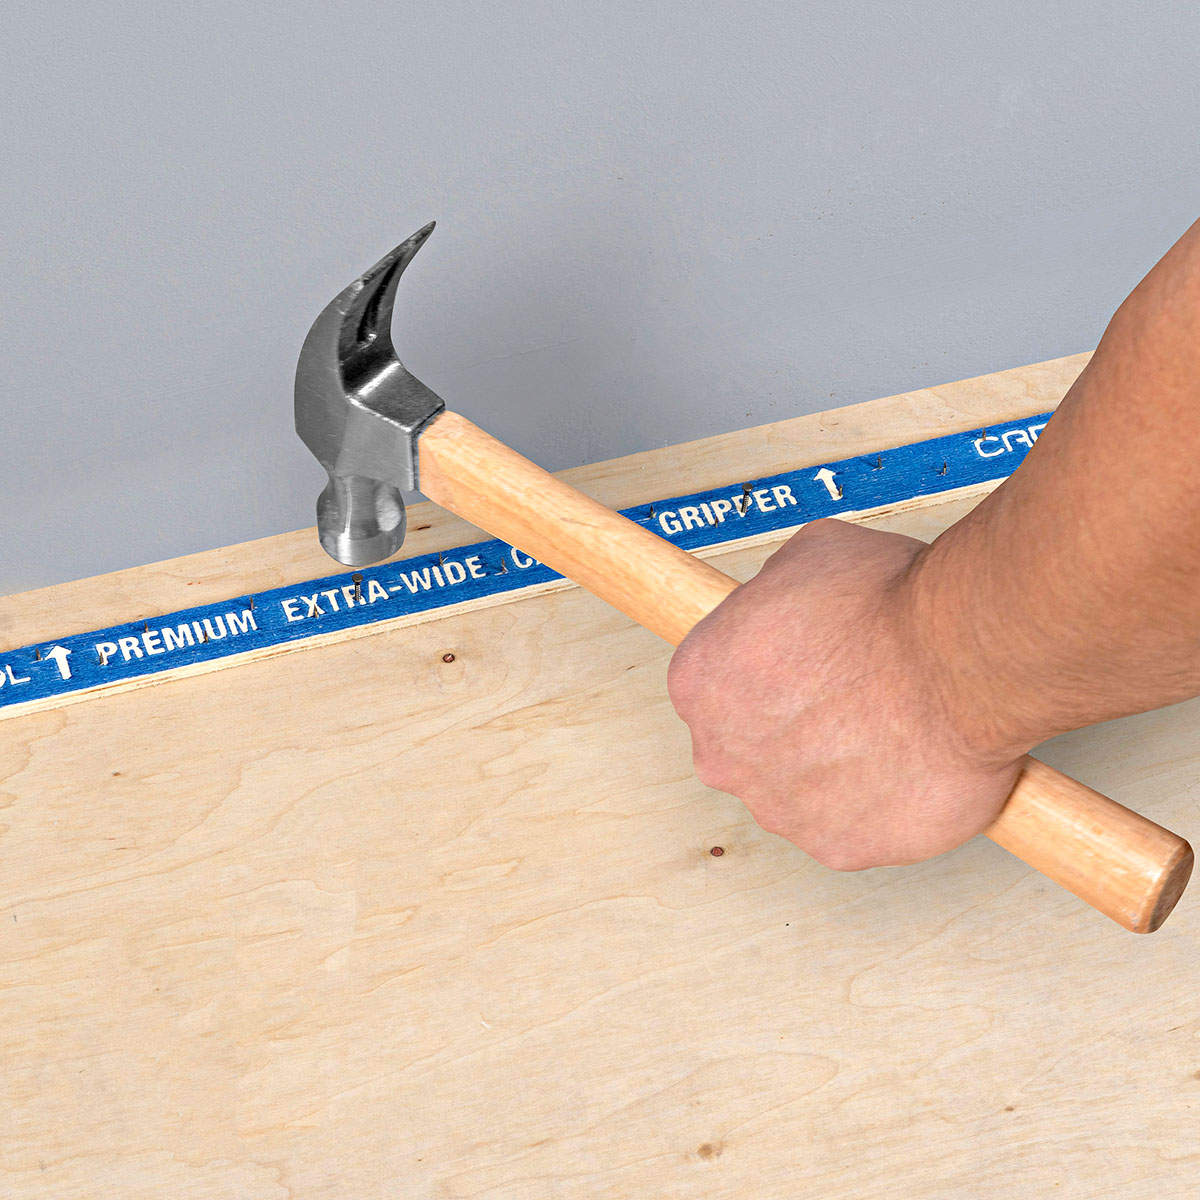
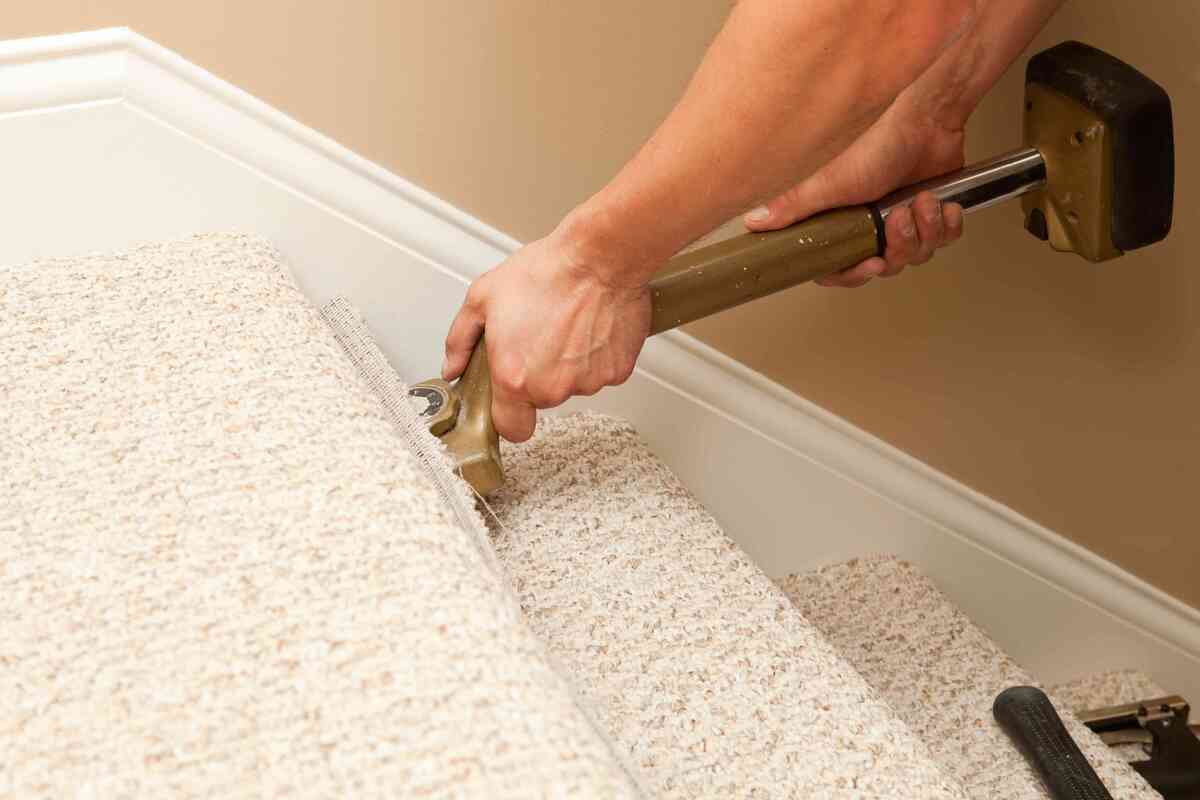
Step 5: Install tack strips
Installing tack strips is an essential step to securely hold the carpet in place on the steps. Tack strips are thin strips of wood with sharp nails that grip the carpet and prevent it from slipping or shifting. Properly installing tack strips ensures a professional and durable carpet installation.
Here’s how to install tack strips:
- Measure and cut the tack strips to fit the width and depth of each step. The tack strips should be placed around the perimeter of each step and at the back edge. Leave a small gap between the strips and the wall, about the thickness of the carpet, to allow for the carpet installation.
- Position the tack strips on the step, with the sharp nails facing towards the back. Ensure that the nails are angled slightly towards the center of the step. Use a hammer or a staple gun to secure the tack strips to the step, driving the nails into the wood. Repeat this process for each step.
- Double-check the placement and alignment of the tack strips to ensure they are straight and properly secured. This will help ensure a seamless and tight carpet installation.
- If you have a curved or rounded step, you may need to use flexible or malleable tack strips designed for curved edges. These strips can be bent to fit the contour of the step and provide a secure attachment for the carpet.
Installing tack strips is an important step to ensure that the carpet is securely held in place on each step. The sharp nails on the tack strips grip the carpet backing, providing a tight and secure fit. Proper installation of the tack strips will contribute to a professional-looking and long-lasting carpet installation.
Before installing carpet on steps, make sure to thoroughly clean and prepare the surface by removing any old adhesive or debris. This will ensure a smooth and secure installation.
Step 6: Cut and lay carpet padding
Carpet padding, also known as underlay, provides cushioning and support to the carpet, enhancing its comfort and durability. Installing carpet padding on steps helps to absorb impact, reduce noise, and add a layer of insulation. Here’s how to cut and lay carpet padding:
- Measure and cut the carpet padding to fit the dimensions of each step. The padding should be slightly smaller than the dimensions of the step to allow for a snug fit.
- Place the cut pieces of padding on each step, ensuring that they cover the entire surface. If needed, you can use a straightedge or ruler to trim the padding for a precise fit.
- Secure the padding in place by stapling it along the edges of each step. Use a staple gun or hammer and staples to attach the padding securely.
- Overlap the padding slightly at the edges and corners of each step to ensure a seamless transition and prevent any gaps.
- Applying adhesive or carpet tape between the steps and the padding can further enhance the stability and prevent any shifting or movement.
- Once the padding is securely laid on each step, walk on it to ensure that it feels comfortable and properly cushions your steps.
By cutting and laying carpet padding, you provide a soft and supportive layer beneath the carpet, enhancing comfort and minimizing wear and tear. The padding not only improves the overall feel of the carpeted steps but also adds to the longevity and performance of the carpet.
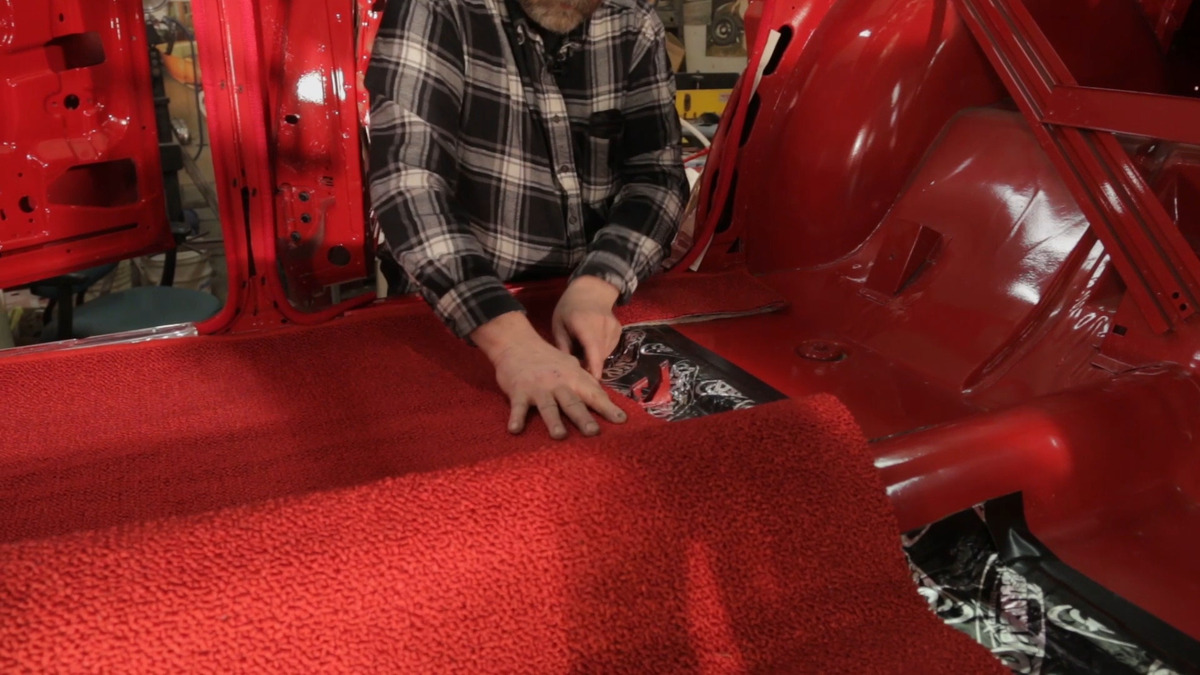
Step 7: Cut and attach the carpet to each step
Now that you have prepared the steps by installing the tack strips and laying the carpet padding, it’s time to cut and attach the carpet to each step. This step requires careful measurement and precision to ensure a perfect fit and professional finish.
Here’s how to cut and attach the carpet to each step:
- Measure the width and depth of each step, taking into account any irregularities or variations. Add a few inches to the measurements to allow for trimming and securing the carpet.
- Transfer the measurements to the backside of the carpet using a straightedge or ruler. Use a pencil or chalk to mark the dimensions for each step.
- Double-check the measurements and adjust if needed. Ensure all the markings are accurate to avoid any unnecessary waste of carpet material.
- Carefully cut along the marked lines using a sharp utility knife. Take your time and use slow, deliberate strokes to ensure clean and precise cuts.
- Once you have cut the carpet for each step, position it onto the step, aligning it with the edges and corners. Make sure the carpet overlaps the tack strips and extends slightly onto the vertical rise of the step.
- Starting from the center of the step, press the carpet firmly onto the tack strips using your hand or a knee kicker tool. Work your way towards the edges, ensuring the carpet is snugly attached to the tack strips and there are no wrinkles or bulges.
- Use a carpet tucker or a flat-edged tool to push the carpet firmly into the corners and edges of the step. This will create a neat and professional-looking finish.
- If necessary, trim any excess carpet along the edges using a sharp utility knife. Make clean and precise cuts, following the shape and contour of the step.
- Repeat this process for each step, cutting and attaching the carpet one step at a time.
Cutting and attaching the carpet to each step requires precision and attention to detail. By ensuring accurate measurements and taking the time to properly position and secure the carpet, you will achieve a seamless and professional-looking installation.
Step 8: Stretch and secure the carpet
With the carpet attached to each step, it’s time to stretch and secure it to ensure a tight and wrinkle-free installation. Properly stretching and securing the carpet will help prevent any tripping hazards and ensure a smooth and professional finish.
Here’s how to stretch and secure the carpet:
- Starting at the bottom step, use a knee kicker tool to stretch the carpet towards the back of the step. Place the knee kicker about 2-3 inches from the edge of the carpet and forcefully kick it with your knee to push the carpet onto the tack strips.
- Move along the width of the step, alternating between the left and right sides, and continue to use the knee kicker to stretch and secure the carpet. Pay attention to any excess carpet in the middle of the step and use the knee kicker to eliminate any wrinkles or bulges.
- Once the bottom step is stretched and secure, move up to the next step and repeat the process. Start by stretching the carpet towards the back of the step using the knee kicker and then work your way towards the edges.
- Continue this process for each step, stretching and securing the carpet across the width of the step. Make sure the carpet is tightly stretched without being overly taut.
- If necessary, use a power stretcher tool for larger steps or if the carpet is difficult to stretch with the knee kicker alone. The power stretcher will provide additional tension to ensure a tight and secure fit.
- As you stretch and secure the carpet, periodically check for any wrinkles, bulges, or shifting. Smooth out any imperfections by pressing down on the carpet and adjusting the tension as needed.
- Use a carpet trimmer or a sharp utility knife to trim any excess carpet along the edges, leaving a clean and straight finish. Make sure to be cautious when cutting to avoid damaging the carpet or the surface of the steps.
By properly stretching and securing the carpet on each step, you ensure a tight and wrinkle-free installation. This not only improves the appearance of the carpeted steps but also enhances safety by eliminating potential tripping hazards.
Step 9: Trim excess carpet and finish the edges
After stretching and securing the carpet on each step, it’s time to trim any excess carpet and finish the edges for a clean and polished look. Properly trimming and finishing the carpet edges will give your staircase a professional and finished appearance.
Here’s how to trim excess carpet and finish the edges:
- Start by using a straightedge or ruler to guide your cuts along the edges of each step. This will help ensure straight and even cuts.
- Using a sharp utility knife, carefully trim the excess carpet along the edges of each step. Make clean and precise cuts, following the contour of the step.
- Be cautious when cutting, especially near the tack strips, to avoid damaging the carpet or the surrounding surface.
- After trimming the excess carpet, inspect the edges for any frayed or uneven areas. Use a pair of sharp scissors to carefully trim any loose fibers or imperfections to create a neat and clean edge.
- If desired, you can use a carpet edge trim or binding tape to finish the edges. These materials provide a professional and neat finish, preventing the carpet from fraying and enhancing its durability.
- Follow the manufacturer’s instructions to apply the carpet edge trim or binding tape. Typically, it involves applying adhesive to the edge of the carpet and folding it over the trim or tape, creating a clean and finished look.
- Alternatively, you can tuck the carpet edges under the baseboard if it’s present, creating a clean and hidden finish.
By trimming excess carpet and finishing the edges, you achieve a polished and professional-looking installation. These final touches give your carpeted steps a refined appearance and ensure longevity by preventing fraying or unraveling of the carpet edges.
Step 10: Final touches and maintenance tips
With the carpet installed and the edges trimmed, it’s time to add some final touches and learn about proper maintenance to keep your carpeted steps looking their best for years to come.
Here are some final touches and maintenance tips:
- Inspect the carpeted steps to ensure everything looks smooth and secure. Adjust any areas that may have shifted or loosened during the installation process.
- Consider adding stair rods or stair treads for an extra decorative touch and added durability. Stair rods can be placed across the width of the step, securing the carpet and giving it an elegant look. Stair treads are protective covers that can be added to high-traffic areas to prevent excessive wear and tear.
- Vacuum your carpeted steps regularly to remove any dust, dirt, or debris that may accumulate. Use a brush attachment or a handheld vacuum cleaner for precise cleaning.
- Deal with spills or stains promptly. Blot the affected area with a clean cloth or paper towel to absorb as much liquid as possible. Avoid rubbing or scrubbing the stain, as it may cause it to spread. Use a carpet cleaner or a mixture of mild detergent and water to gently clean the stain, following the manufacturer’s instructions.
- Consider using carpet protectors or runners on heavily-used areas to minimize wear and extend the life of your carpet. These protective coverings can be easily removed and cleaned.
- Regularly check the tack strips for any signs of damage or loose nails. If you notice any issues, repair or replace the tack strips as necessary to maintain the carpet’s secure attachment.
- Periodically inspect the carpet for any signs of wear, fading, or unraveled edges. Address any issues promptly to prevent further damage.
- Re-stretch the carpet if you notice any significant loosening or wrinkles over time. Use a knee kicker or a power stretcher to readjust and tighten the carpet as needed.
- Consider having your carpet professionally cleaned or deep cleaned every 12-18 months to remove deep-seated dirt and maintain its appearance and longevity.
- Lastly, continue to practice regular maintenance and care for your overall staircase, including keeping the steps clean and free of clutter to minimize wear and tear on the carpeted areas.
By paying attention to these final touches and following proper maintenance practices, you can ensure that your carpeted steps remain pristine and beautiful for years to come. Regular maintenance and care will help preserve the appearance and extend the life of your carpeted staircase.
Conclusion
Installing carpet on steps is a rewarding project that can transform the look and feel of your staircase. By following the step-by-step process outlined in this guide, you can achieve a professional-looking and durable carpet installation that enhances both the aesthetic appeal and safety of your home.
From measuring and preparing the steps to cutting and attaching the carpet, each step is important in creating a flawless result. By taking the time to properly measure, prepare, and clean the steps, you lay the foundation for a successful installation. Installing tack strips, laying carpet padding, and stretching the carpet ensure a secure and comfortable fit.
Trimming excess carpet and finishing the edges add the final touches, giving your carpeted steps a polished and refined appearance. And by practicing proper maintenance, such as regular vacuuming, prompt stain removal, and periodic professional cleaning, you can preserve the beauty and longevity of your newly installed carpet.
Whether you’re updating your staircase or adding a layer of comfort and safety, installing carpet on steps is an excellent choice. With attention to detail and the right tools, you can achieve a beautiful and durable carpet installation that adds warmth and elegance to your home.
So, roll up your sleeves, gather your tools, and embark on this exciting project. Enjoy the process of transforming your staircase into a stunning focal point that will be admired by all who visit your home.
Frequently Asked Questions about How To Install A Carpet On Steps
Was this page helpful?
At Storables.com, we guarantee accurate and reliable information. Our content, validated by Expert Board Contributors, is crafted following stringent Editorial Policies. We're committed to providing you with well-researched, expert-backed insights for all your informational needs.