Articles
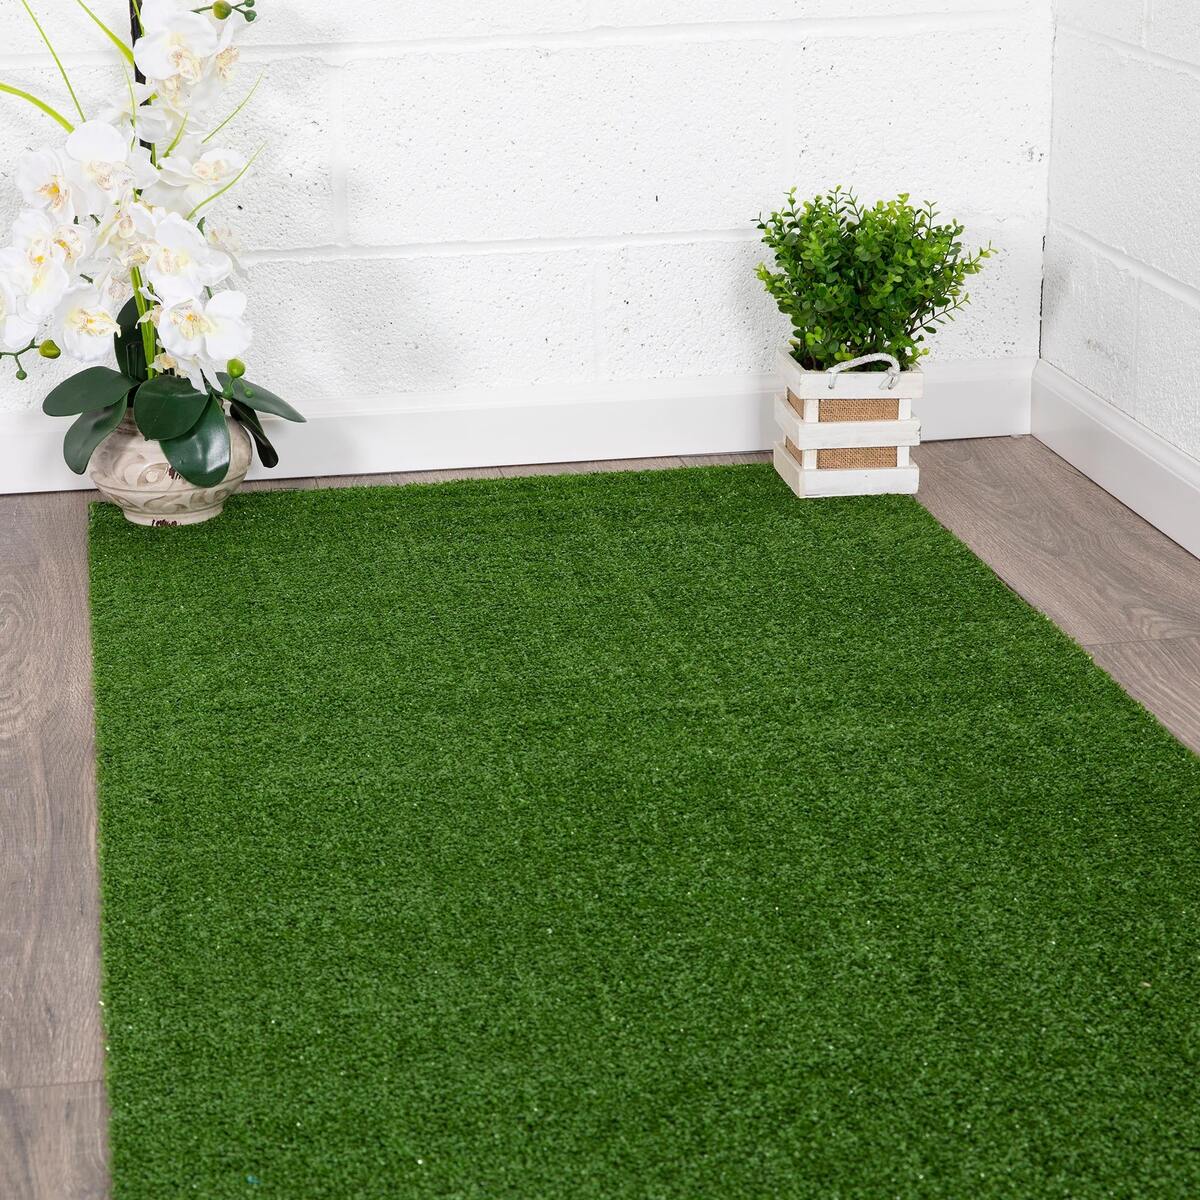
How To Install A Grass Carpet
Modified: February 25, 2024
Learn how to install a grass carpet with our informative articles. Transform your space with easy step-by-step instructions and expert tips.
(Many of the links in this article redirect to a specific reviewed product. Your purchase of these products through affiliate links helps to generate commission for Storables.com, at no extra cost. Learn more)
Introduction
Welcome to this comprehensive guide on how to install a grass carpet! Whether you want to spruce up your backyard, create a green play area for your kids, or simply add a touch of nature to your indoor space, installing a grass carpet is a fantastic solution. Not only does it provide a lush and vibrant look, but it also requires minimal maintenance compared to natural grass.
However, before you dive into the installation process, it’s essential to understand the steps involved and ensure you have all the necessary tools and materials at hand. In this article, we will walk you through each step, from measuring and preparing the area to finishing touches and maintenance tips.
So, let’s get started with step one: measuring and preparing the area.
Key Takeaways:
- Transform your space with a lush, low-maintenance grass carpet. Follow the step-by-step guide for precise installation and regular maintenance to enjoy a vibrant green area hassle-free.
- Ensure a seamless and professional finish by measuring, preparing, and securing your grass carpet. Proper drainage and careful maintenance will keep your space inviting and visually appealing.
Step 1: Measure and Prepare the Area
Before you begin installing a grass carpet, it’s crucial to measure and prepare the area where you want to lay it. This step will ensure that you have the correct size of grass carpet and that the installation process goes smoothly.
Here’s how to measure and prepare the area:
- Determine the area: Start by measuring the length and width of the space where you want to install the grass carpet. Multiply the length by the width to calculate the total square footage. This will help you determine how much grass carpet you need to purchase.
- Clear the area: Remove any debris, rocks, or existing vegetation from the area. This includes weeds, grass, and other plants. Use a rake or a shovel to level the ground and ensure it is smooth and free from any obstacles that may interfere with the installation.
- Address any drainage issues: If the area tends to hold water or has poor drainage, it’s important to address this before installing the grass carpet. Improper drainage can cause the grass to become waterlogged and lead to issues such as mold or mildew. Consider adding a drainage system or creating a slope to allow water to flow away from the area.
- Apply a weed barrier: To prevent weeds from germinating and growing through the grass carpet, it’s recommended to install a weed barrier. Lay a geotextile fabric over the cleared area, ensuring that it covers the entire surface. This will create a barrier that prevents weeds from penetrating the carpet.
- Compact the soil: Use a lawn roller or a tamper to compact the soil. This will create a firm and even surface that will provide a stable foundation for the grass carpet. Pay extra attention to any uneven areas and make sure they are properly compacted.
Once you have measured and prepared the area, you are ready to move on to the next step: clearing the existing surface. This step is crucial to ensure a smooth installation and prevent any unwanted growth from underneath the grass carpet.
Step 2: Clear the Existing Surface
Now that you have measured and prepared the area, it’s time to clear the existing surface before installing the grass carpet. This step is essential to ensure a smooth and even base for your new carpet.
Here’s how to clear the existing surface:
- Remove any vegetation: Start by clearing away any grass, weeds, or other plants that are present in the area. Use a shovel or a garden hoe to dig out the vegetation, making sure to remove the entire root system. Inspect the cleared area to ensure that no growth remains.
- Eliminate any debris: Next, remove any sticks, rocks, or other debris from the surface. These can create uneven spots and discomfort under the grass carpet. Rake the area thoroughly to remove all debris, ensuring a clean and smooth surface.
- Address any uneven areas: If you notice any low or high spots in the cleared area, it’s important to address them before proceeding. Level out any low areas by adding soil and compacting it with a tamper. For high spots, remove the excess soil and ensure the surface is even.
- Check for proper drainage: Take this opportunity to assess the drainage of the area. Ensure that the slope is adequate for water to run off and not accumulate on the surface. Adjust the slope if needed to prevent waterlogging and promote proper drainage.
Clearing the existing surface is crucial for a successful grass carpet installation. By removing vegetation, debris, and addressing any unevenness, you are creating an optimal base for the carpet to be laid on. Once you have cleared the surface, it’s time to move on to the next step: preparing the base.
Step 3: Prepare the Base
After clearing the existing surface, it’s time to prepare the base for your grass carpet installation. This step focuses on creating a stable and well-draining foundation that will ensure the longevity and functionality of your grass carpet.
Here’s how to prepare the base:
- Add a layer of crushed stone: Start by adding a layer of crushed stone to the cleared area. This layer will provide stability and help with drainage. Spread the crushed stone evenly, ensuring a thickness of about 2-4 inches. Use a rake or shovel to level the layer and compact it with a tamper.
- Install a weed barrier: To prevent weeds from growing through the base, lay a weed barrier over the crushed stone layer. This barrier will help maintain the integrity of your grass carpet by preventing weed growth and minimizing the risk of unwanted vegetation appearing underneath.
- Apply a layer of sand: Next, spread a layer of sand over the weed barrier. This layer acts as a cushioning material and promotes even weight distribution across the grass carpet. Aim for a sand layer thickness of about 1 inch and use a rake to evenly distribute and level the sand.
- Compact the base: Use a lawn roller or a plate compactor to compact the entire base, including the crushed stone and sand layers. This step is crucial for achieving a firm and stable surface that will support the grass carpet. Ensure that the base is uniformly compacted and free from any inconsistencies.
Preparing the base is a vital step in the grass carpet installation process. By adding layers of crushed stone, a weed barrier, and sand, and compacting the base, you create a strong and well-drained foundation for your carpet. Once the base is properly prepared, you can proceed to the next step: laying the grass carpet.
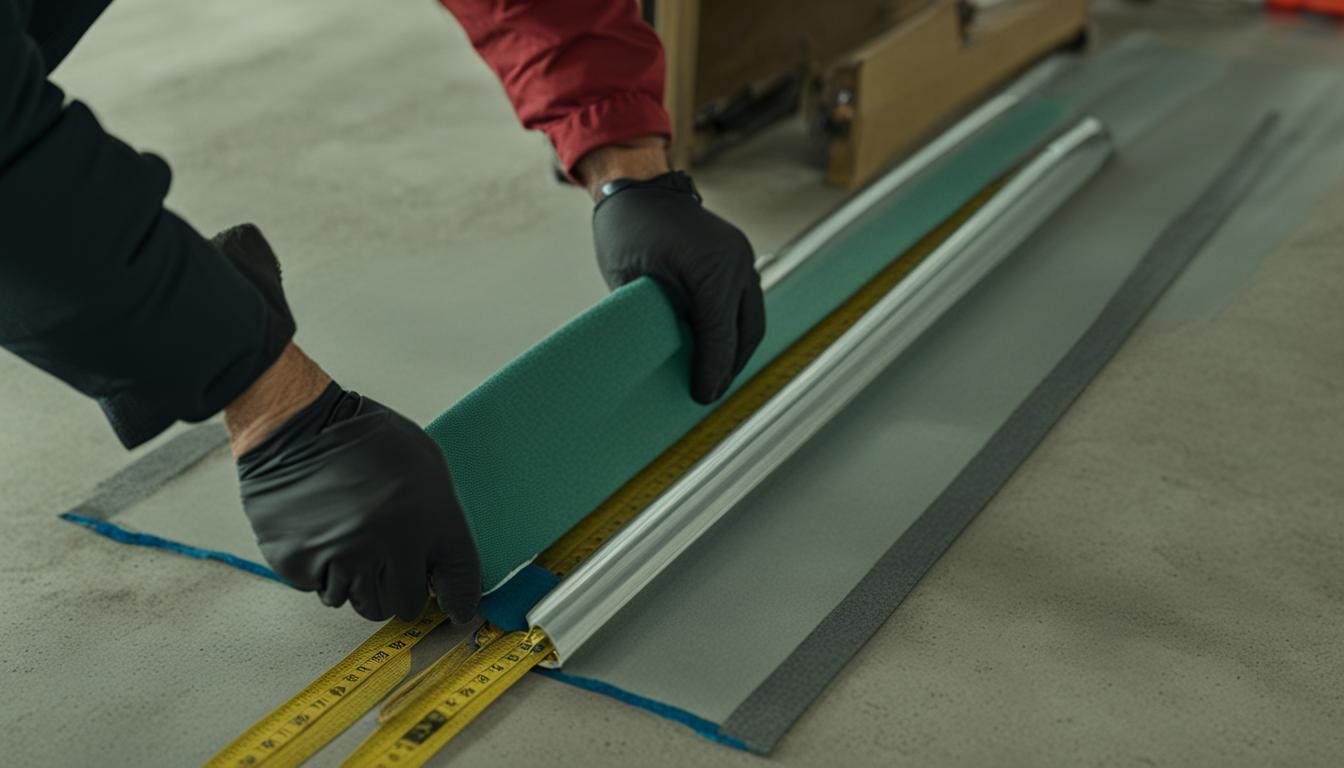
Step 4: Lay the Grass Carpet
Now that you have prepared the base, it’s time to lay the grass carpet! This step involves carefully positioning and securing the carpet to ensure a smooth and flawless installation.
Here’s how to lay the grass carpet:
- Position the carpet: Start by unrolling the grass carpet over the prepared base, making sure it is centered and aligned with the area. Allow the carpet to relax for a few hours to eliminate any wrinkles or folds that may have formed during storage.
- Trim excess carpet: Use a sharp utility knife to trim any excess carpet that extends beyond the desired area. This will help achieve a clean and precise installation.
- Join multiple rolls: If your area requires multiple rolls of grass carpet, overlap the edges by a few inches. Use landscape fabric staples or adhesive to secure the overlapped edges, ensuring they are firmly joined together.
- Smooth out the carpet: Use a garden rake or a broom to gently smooth out the surface of the grass carpet. This will help eliminate any remaining wrinkles and ensure an even and natural-looking appearance.
When laying the grass carpet, take your time to ensure proper positioning and alignment. Smooth out any wrinkles and trim excess carpet to achieve a neat and professional finish. Once the carpet is securely laid, you are ready to move on to the next step: securing the edges and seams.
Before installing a grass carpet, make sure the surface is clean and smooth. Use a carpet knife to trim the edges and seams for a seamless finish.
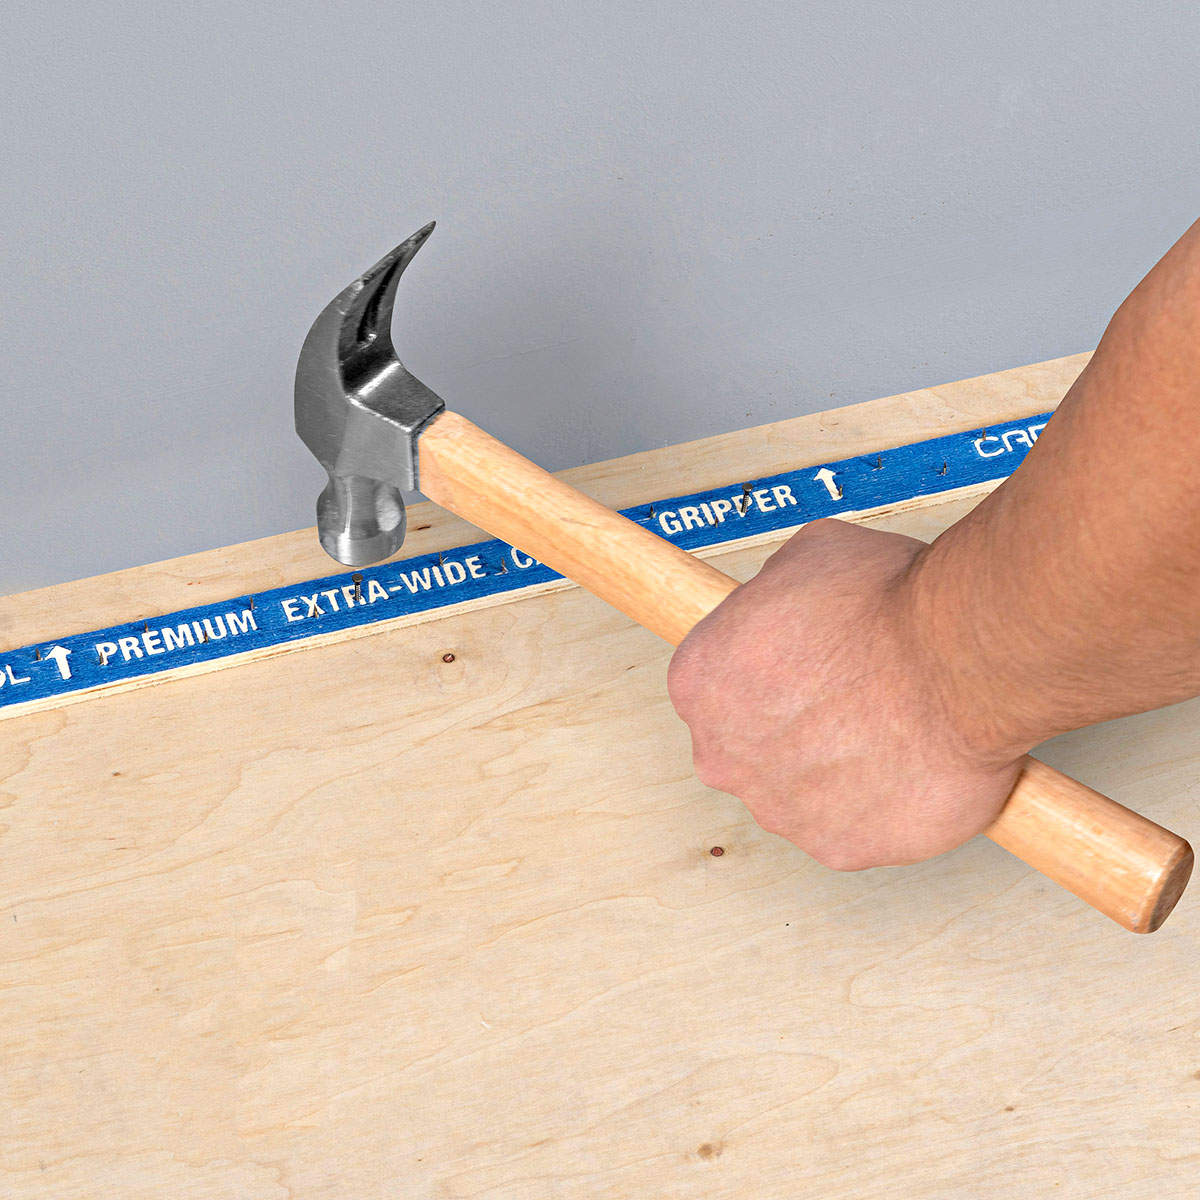
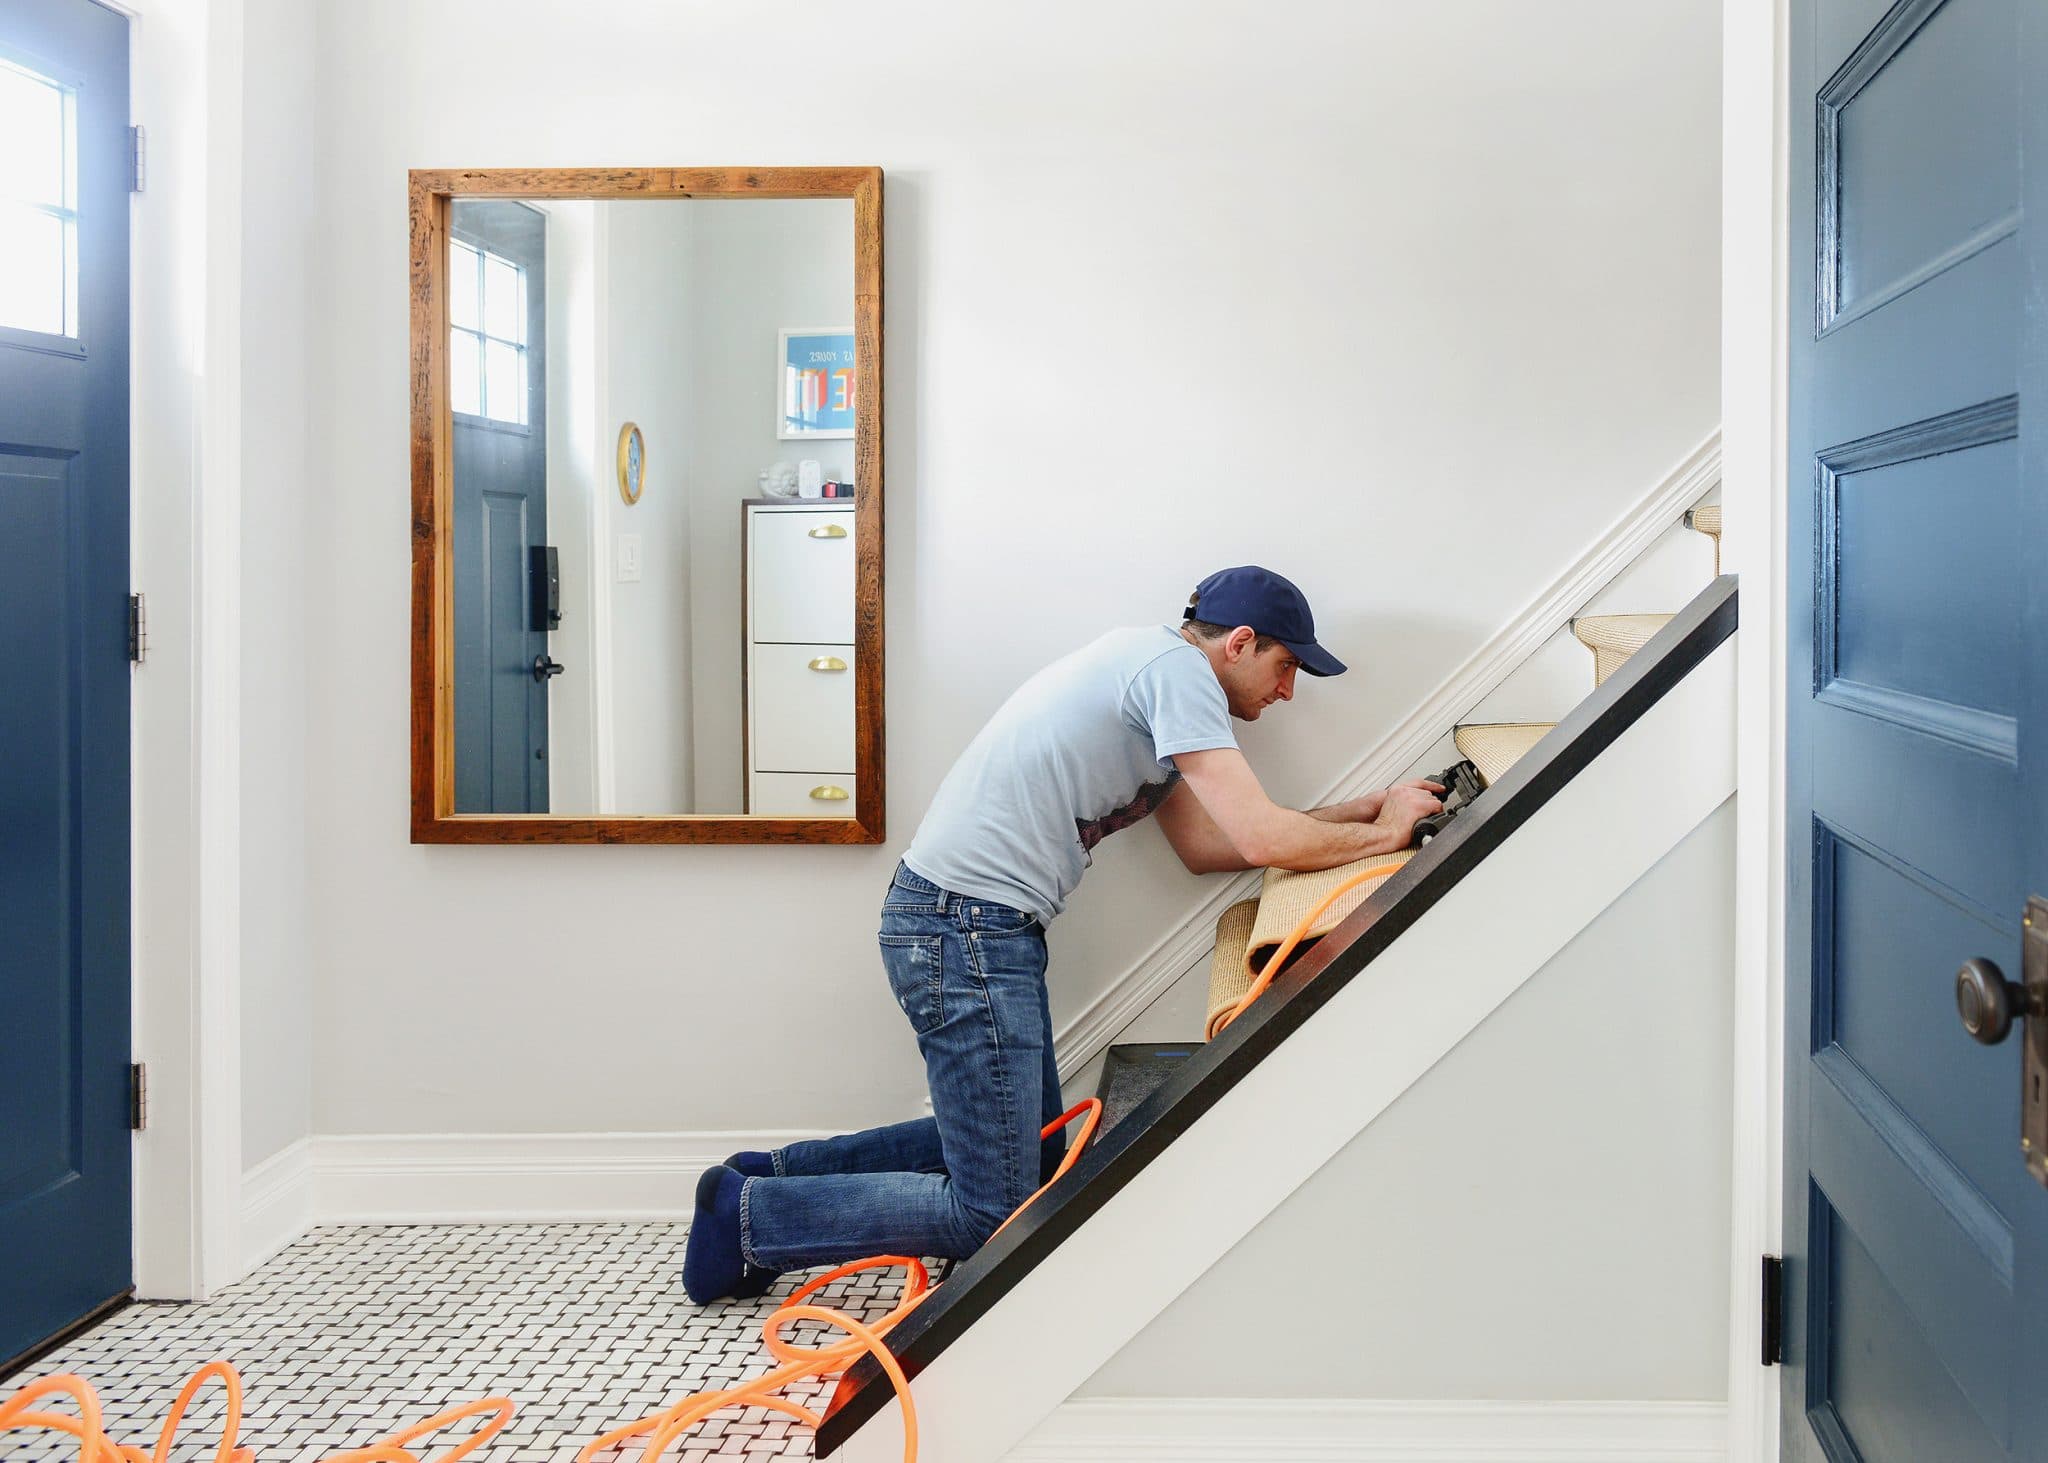
Step 5: Secure the Edges and Seams
After laying the grass carpet, it’s important to secure the edges and seams to ensure that the carpet stays in place and maintains its integrity over time. This step involves properly anchoring the carpet and connecting any seams for a seamless appearance.
Here’s how to secure the edges and seams:
- Anchor the edges: Secure the edges of the grass carpet by using landscape fabric staples or nails. Place them approximately every 6 to 12 inches along the perimeter of the carpet. Make sure to drive them through the backing of the carpet and into the base beneath.
- Join the seams: If you have multiple rolls of grass carpet and need to join seams, follow the manufacturer’s instructions for seam joining. Typically, this involves applying seam tape along the edges of the carpet and using adhesive to bond the two pieces together. Use a carpet roller to ensure a firm and secure connection.
- Trim excess seam tape: Once the seams are joined, trim any excess seam tape that may be visible. Use a sharp utility knife to carefully cut along the seam, ensuring a seamless and unnoticeable transition.
- Inspect the edges and seams: After securing the edges and joining the seams, thoroughly inspect the entire carpet installation. Check for any loose edges, gaps, or inconsistencies. If you notice any issues, re-anchor the edges or rejoin the seams as needed.
Securing the edges and seams of the grass carpet is crucial for maintaining its stability and longevity. By properly anchoring the edges and joining the seams, you can ensure that the carpet stays in place and looks seamless. Once the edges and seams are secured, you can proceed to the next step: trimming excess grass.
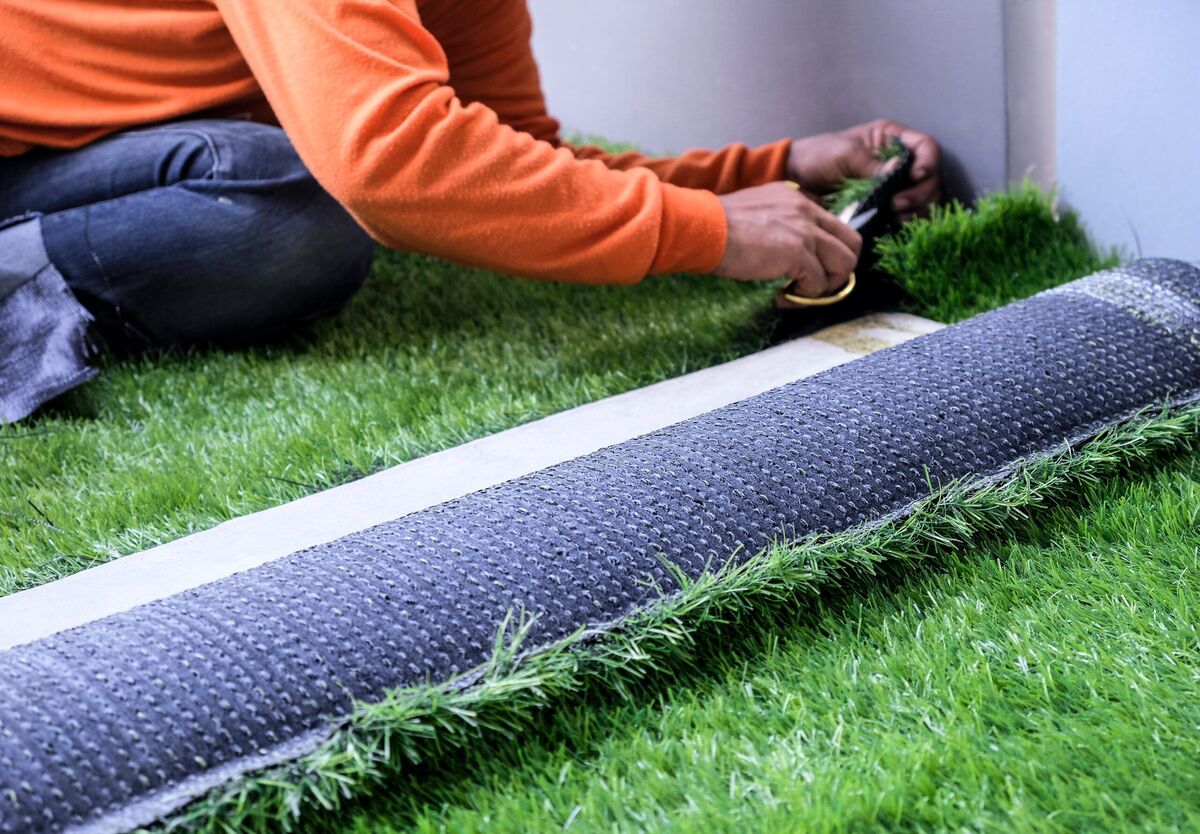
Step 6: Trim Excess Grass
Trimming excess grass is an important step to achieve a polished and professional look after installing a grass carpet. This step involves carefully cutting and shaping the grass to ensure that it fits perfectly within the designated area and provides a seamless appearance.
Here’s how to trim excess grass:
- Use a sharp utility knife: Grab a sharp utility knife and ensure it is in good condition. A dull blade might result in uneven cuts or damage to the grass carpet.
- Identify the trimming areas: Observe the areas where the grass carpet exceeds the desired boundaries or overlaps onto other surfaces like walkways or flower beds. These are the areas that need to be trimmed.
- Make precise cuts: Carefully trim the excess grass by making precise vertical cuts along the edge of the designated area. Take your time and use smooth, steady motions to avoid any jagged or uneven edges.
- Shape the grass: If necessary, shape the grass to fit around obstacles or curves in the area. Make curved or angled cuts as needed to create a seamless and natural appearance.
- Inspect and make adjustments: After trimming, step back and inspect the entire installation. Ensure that the grass fits evenly and neatly within the designated space. Make any final adjustments or touch-ups as required.
Trimming excess grass is a crucial step to achieve a clean and professional finish. Take your time and be meticulous during this process, as it will greatly enhance the overall appearance of your grass carpet installation. Once you’ve trimmed the excess grass, you can move on to the next step: installing drainage (if required).
Step 7: Install Drainage (if required)
While many grass carpets have built-in drainage systems, some areas may require additional drainage to prevent water accumulation and ensure the longevity of your grass carpet. Installing drainage is an important step that helps maintain the health and integrity of the carpet.
Here’s how to install drainage if required:
- Assess the drainage needs: Evaluate the area and determine if there are any drainage issues or if water tends to accumulate on the surface. Signs of poor drainage include puddles or waterlogged areas after rainfall or irrigation. If you notice these issues, installing drainage is recommended.
- Choose the appropriate drainage system: Depending on the specific needs of your area, select the most suitable drainage system. This may include installing a French drain, creating a slope to redirect water, or adding a perforated pipe system.
- Excavate the area: Dig a trench along the perimeter or in the problem areas where the drainage system will be installed. The depth and width of the trench will depend on the specific requirements of your chosen drainage system. Ensure that the trench is sloped to allow water to flow away from the grass carpet area.
- Install the drainage system: Place the drainage system components, such as the French drain pipe or perforated pipe, in the trench according to the manufacturer’s instructions. Connect the pieces securely and ensure proper alignment.
- Backfill and level the area: Once the drainage system is installed, backfill the trench with gravel or other suitable drainage materials. Ensure that the surface is level and smooth.
Installing drainage can greatly improve the health and durability of your grass carpet by preventing water accumulation and potential damage. If you notice any drainage issues in your area, it’s important to address them during the installation process. Once you have installed the drainage system, you can move on to the next step: adding the finishing touches and following maintenance tips.
Step 8: Finishing Touches and Maintenance Tips
Now that you have completed the installation of your grass carpet, it’s time to add the finishing touches and learn how to properly maintain it. These final steps will ensure that your grass carpet looks beautiful and stays in optimal condition for years to come.
Here’s what you need to do for the finishing touches and maintenance:
- Brush and groom the grass: Use a stiff bristle brush or a rake to periodically brush and groom the grass. This helps to maintain its upright position, prevent matting, and ensure a natural appearance.
- Water the grass: While artificial grass carpets don’t require watering like natural grass, it’s recommended to occasionally hose down the grass to remove dust and debris and keep it looking fresh. Avoid overwatering, as excess moisture can lead to mold or mildew growth.
- Remove stains and spills: Promptly clean up any spills or stains on the grass carpet. Use a gentle cleaner and rinse thoroughly with water. Avoid using harsh chemicals or abrasive cleaning tools that might damage the carpet fibers.
- Regularly inspect for damage: Periodically inspect the grass carpet for any signs of damage, such as tears, loose edges, or vegetation growth. If you notice any issues, address them promptly to prevent further damage.
- Keep heavy objects off the carpet: Avoid placing heavy objects, furniture, or vehicles on the grass carpet for extended periods. This can cause the carpet to flatten and potentially leave impressions on the surface.
- Protect from sharp objects: Be cautious when using sharp objects, such as gardening tools or equipment, near the grass carpet. Avoid accidental cuts or punctures that can damage the carpet and compromise its appearance.
- Regularly remove debris: Sweep or rake the grass carpet regularly to remove leaves, twigs, and other debris. This helps to maintain its appearance and prevent any blockage or damage to the drainage system (if installed).
- Follow manufacturer’s instructions: Always refer to the specific maintenance guidelines provided by the manufacturer of your grass carpet. They may have specific recommendations or precautions that are tailored to the product you have installed.
By following these tips for finishing touches and maintenance, you can ensure that your grass carpet remains visually appealing and in excellent condition over time. Taking proper care of your grass carpet will extend its lifespan and provide you with a beautiful and hassle-free landscape solution for years to come.
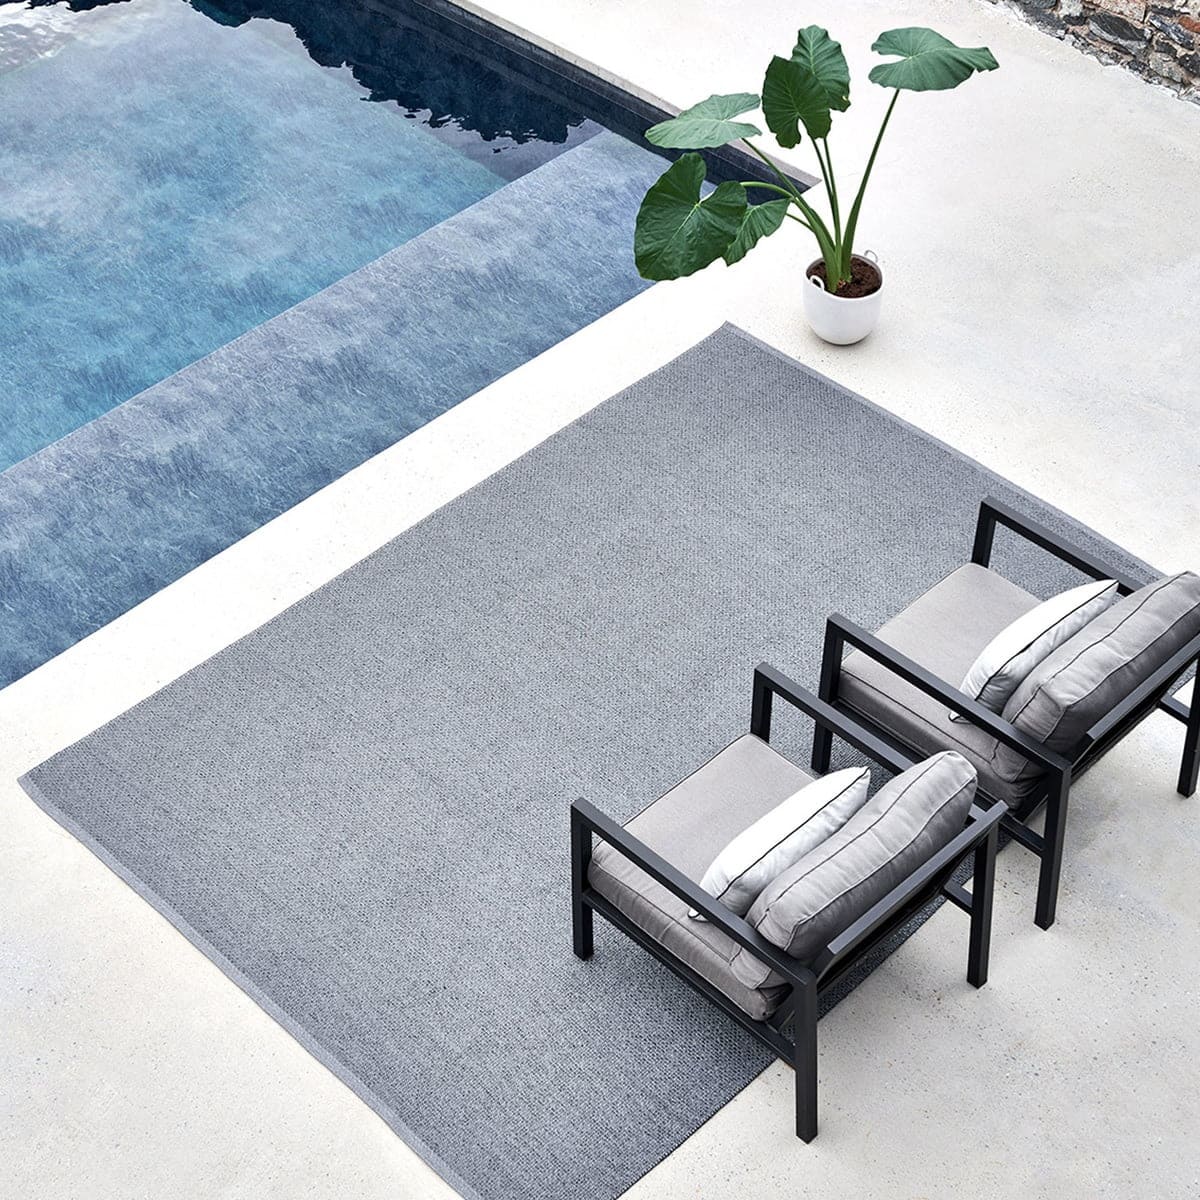
With the completion of the finishing touches and maintenance, you have successfully installed and learned how to maintain your grass carpet. Enjoy your lush and vibrant green space!
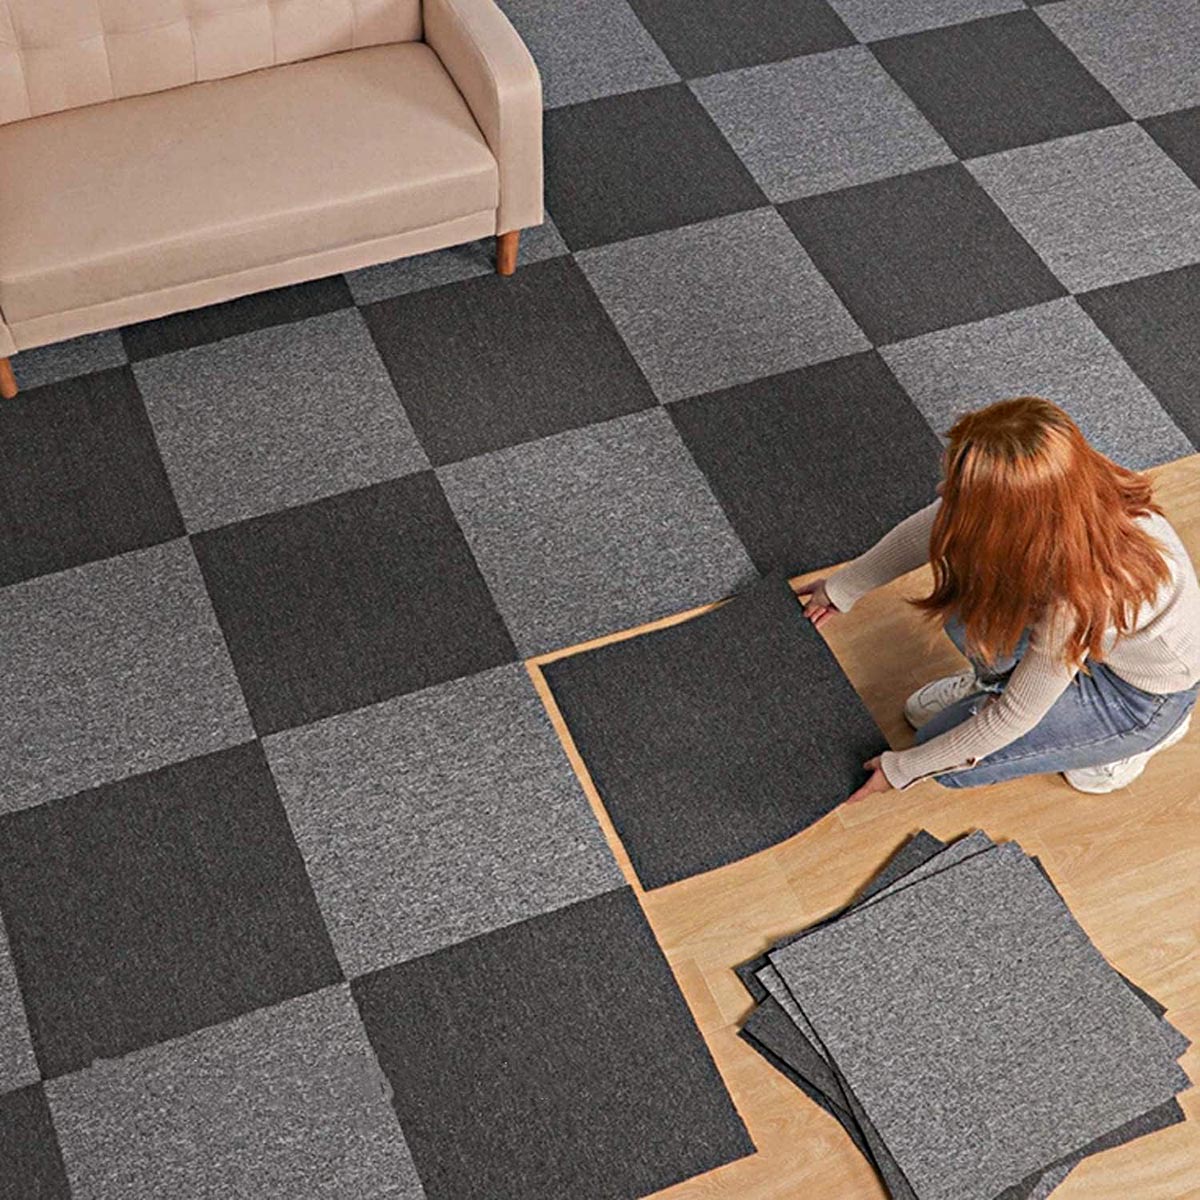
Read more: How To Install Carpet Squares
Conclusion
Congratulations on successfully installing your grass carpet! By following the step-by-step guide provided in this article, you have transformed your outdoor or indoor space into a beautiful and low-maintenance area. The careful preparation, precise installation, and regular maintenance will ensure that your grass carpet remains vibrant and durable for years to come.
Remember, measuring and preparing the area, clearing the existing surface, and preparing the base are crucial steps that lay the foundation for a successful installation. Laying the grass carpet, securing the edges and seams, and trimming excess grass are key aspects that contribute to a seamless and professional finish.
If your area requires it, installing proper drainage will help prevent water accumulation and maintain the health of your grass carpet. Finally, don’t forget the finishing touches and maintenance tips, which will keep your grass carpet looking fresh, clean, and inviting.
While artificial grass offers low maintenance compared to natural grass, it still requires some care to ensure its longevity. Regular brushing, occasional watering, prompt stain removal, and careful handling are essential for preserving the appearance and condition of your grass carpet.
We hope that this comprehensive guide has provided you with the knowledge and confidence to install and maintain your grass carpet successfully. Enjoy the beauty of a lush green space without the hassle of constant mowing, watering, and fertilizing!
Should you have any further questions or need additional assistance, don’t hesitate to consult the manufacturer’s guidelines or seek professional advice. Now, go ahead and enjoy your newly installed grass carpet!
Frequently Asked Questions about How To Install A Grass Carpet
Was this page helpful?
At Storables.com, we guarantee accurate and reliable information. Our content, validated by Expert Board Contributors, is crafted following stringent Editorial Policies. We're committed to providing you with well-researched, expert-backed insights for all your informational needs.