Articles
How To Install A Wired Ring Doorbell
Modified: October 20, 2024
Learn how to install a wired ring doorbell with our comprehensive articles. Step-by-step instructions and tips for a successful installation.
(Many of the links in this article redirect to a specific reviewed product. Your purchase of these products through affiliate links helps to generate commission for Storables.com, at no extra cost. Learn more)
Introduction
Welcome to this comprehensive guide on how to install a wired Ring doorbell! With Ring doorbells becoming increasingly popular for enhancing home security, installing one can provide you with peace of mind and convenient access to your front door. A wired Ring doorbell offers several advantages over its wireless counterparts, including a constant power supply and reliable connectivity. Whether you’re upgrading from a wireless doorbell or starting from scratch, this step-by-step guide will walk you through the installation process.
Before we dive into the installation steps, let’s take a moment to understand why a wired Ring doorbell is a great investment. The wired option ensures a consistent power supply, eliminating the need to constantly recharge the battery. It also offers a more stable and reliable connection, ensuring that you never miss a visitor or a motion alert. Additionally, the wired Ring doorbell integrates seamlessly with your existing doorbell system, allowing you to utilize the chime and other features.

Now that you have a better understanding of the benefits, let’s gather the necessary supplies before we begin the installation process. Having all the required tools and materials readily available will help streamline the process and ensure a successful installation.
Key Takeaways:
- Installing a wired Ring doorbell offers consistent power, reliable connectivity, and seamless integration with existing doorbell systems. Follow the step-by-step guide for a smooth installation process and enjoy enhanced home security and convenience.
- After installing the wired Ring doorbell, customize settings such as video quality, motion detection zones, and notification preferences to personalize your experience. Stay connected and in control of your home’s entrance with added security and peace of mind.
Read more: How To Install Wired Nest Doorbell
Step 1: Gather the necessary supplies
Before you embark on the installation of your wired Ring doorbell, it’s important to gather all the necessary supplies to ensure a smooth and efficient process. Here’s a list of the items you’ll need:
- Wired Ring doorbell: Select the model that best suits your needs and preferences. Ensure that the doorbell is compatible with your existing wiring system.
- Mounting bracket: This is typically included with the Ring doorbell. The mounting bracket helps secure the doorbell to the wall or doorframe.
- Doorbell wires: You’ll need low-voltage doorbell wires to connect the doorbell to your existing wiring system. The length of the wires will depend on the distance between your doorbell location and the chime unit.
- Electrical tape: This will be used to secure and insulate the wire connections.
- Screwdriver: A Phillips-head screwdriver is usually required to remove existing doorbell fixtures and install the Ring doorbell. Check the model-specific instructions to confirm the type of screwdriver needed.
- Drill and drill bits: These will be necessary if you need to create new holes for mounting the doorbell.
- Level: To ensure that the doorbell is mounted straight, a level is essential.
- Chime unit: If your current doorbell chime is not compatible with the Ring doorbell, you may need to purchase a compatible chime unit.
- Wire stripper: This tool is used to remove insulation from the doorbell wires, exposing the copper for proper connections.
- Masonry drill bit (if applicable): If you’re mounting the doorbell on brick or concrete, a masonry drill bit will be necessary to create the necessary holes.
These supplies should cover all the essentials required to successfully install your wired Ring doorbell. It’s always a good idea to double-check your specific model’s instructions as there may be additional requirements or recommendations.
Now that you’ve gathered all the necessary supplies, you’re ready to move on to the next step: preparing for the installation process.
Step 2: Prepare for installation
Now that you have all the necessary supplies gathered, it’s time to prepare for the installation of your wired Ring doorbell. Before starting the installation process, there are a few important steps to follow:
- Turn off the power: Safety should always be a top priority. Locate the breaker that controls the power to your existing doorbell and switch it off to avoid any electrical accidents during the installation process.
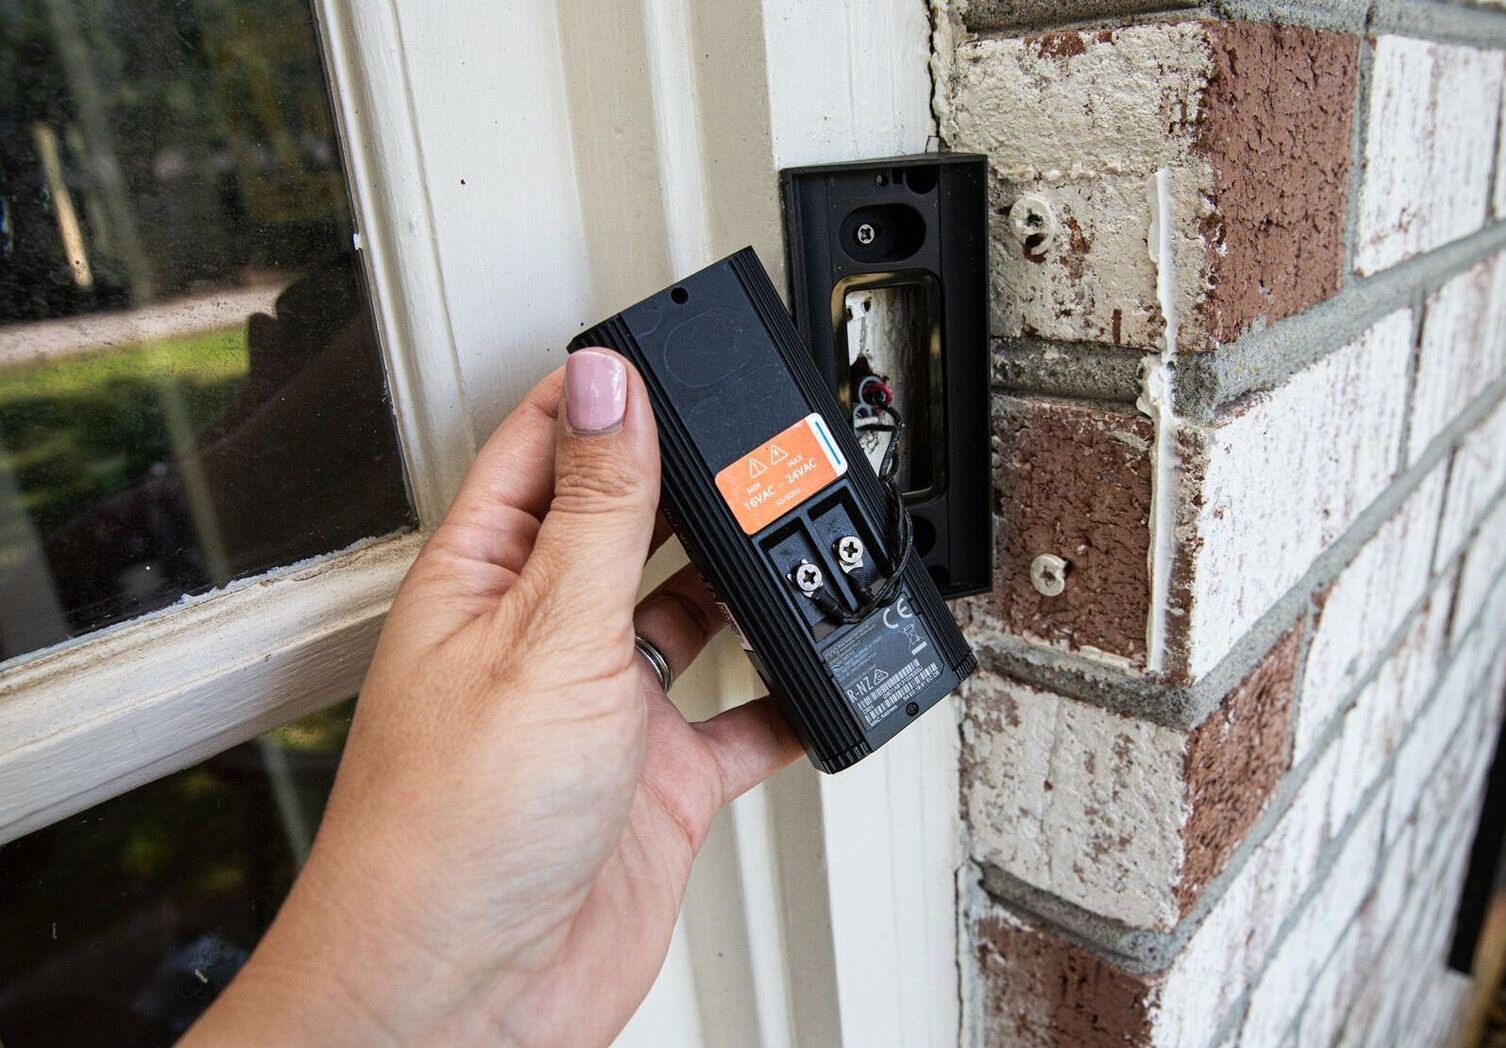
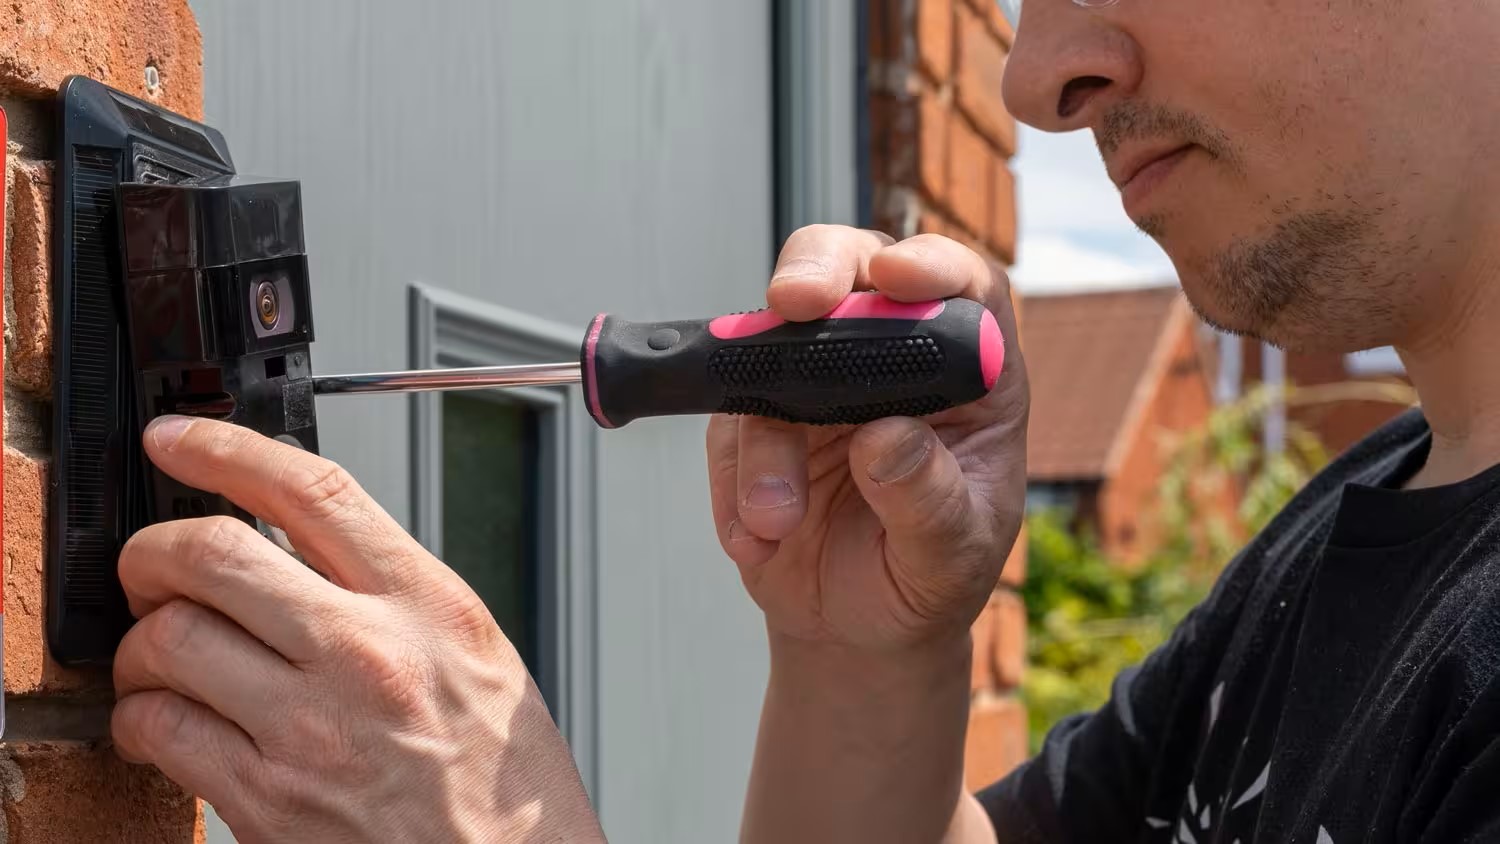
- Remove the existing doorbell: If you have an existing doorbell, you’ll need to remove it before installing the wired Ring doorbell. Use a screwdriver to carefully remove the screws that secure the existing doorbell to the wall or doorframe. Once loosened, gently disconnect the wires from the terminals at the back of the doorbell.
- Assess the wiring: Take a close look at the wiring behind the old doorbell. Check for any signs of damage or frayed wires. If you notice any issues, it’s best to address them before proceeding with the installation. Ensure that the wires are long enough to connect to the new Ring doorbell, or be prepared to extend them if needed.
- Check the mounting surface: Examine the area where you plan to mount the Ring doorbell. Ensure that it is clean, flat, and secure. If you need to make any adjustments or repairs to the surface, do so before proceeding.
- Read the Ring doorbell instructions: Each model may have specific installation instructions or requirements. Take the time to carefully read the instruction manual or refer to the manufacturer’s website to familiarize yourself with the installation process specific to your model.
By following these preparation steps, you’ll ensure that your installation process goes smoothly and efficiently. Taking the time to assess the wiring and mounting surface beforehand will help prevent any issues or delays during the actual installation.
Once you have successfully completed the preparation steps, you’re ready to move on to the next phase: attaching the mounting bracket.
Step 3: Attach the mounting bracket
With the necessary preparations completed, it’s time to attach the mounting bracket for your wired Ring doorbell. The mounting bracket provides a secure and stable base for your doorbell. Follow these steps for a successful installation:
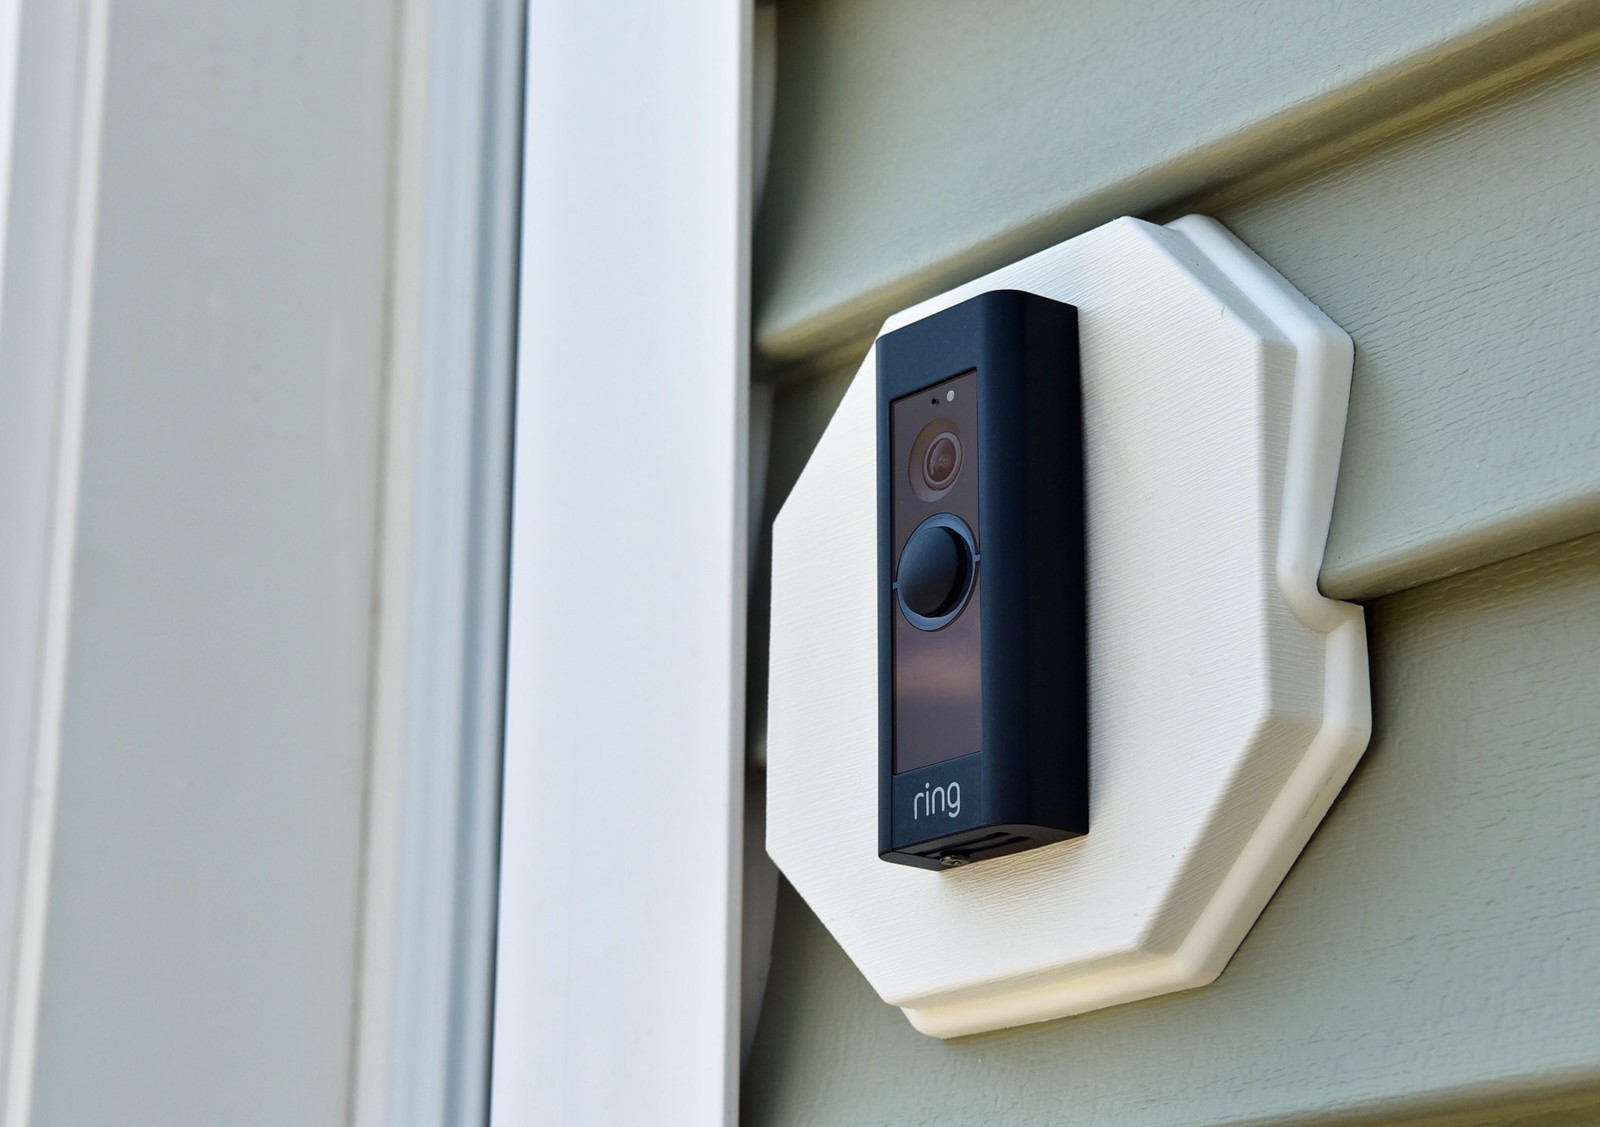
- Select the mounting location: Choose a suitable location for your Ring doorbell. It should be easily accessible and provide a clear view of your front door. Ensure that it is aligned with your existing wiring system.
- Position the mounting bracket: Hold the mounting bracket against the wall or doorframe in the desired location. Use a level to ensure it is straight. Mark the mounting holes with a pencil or marker.
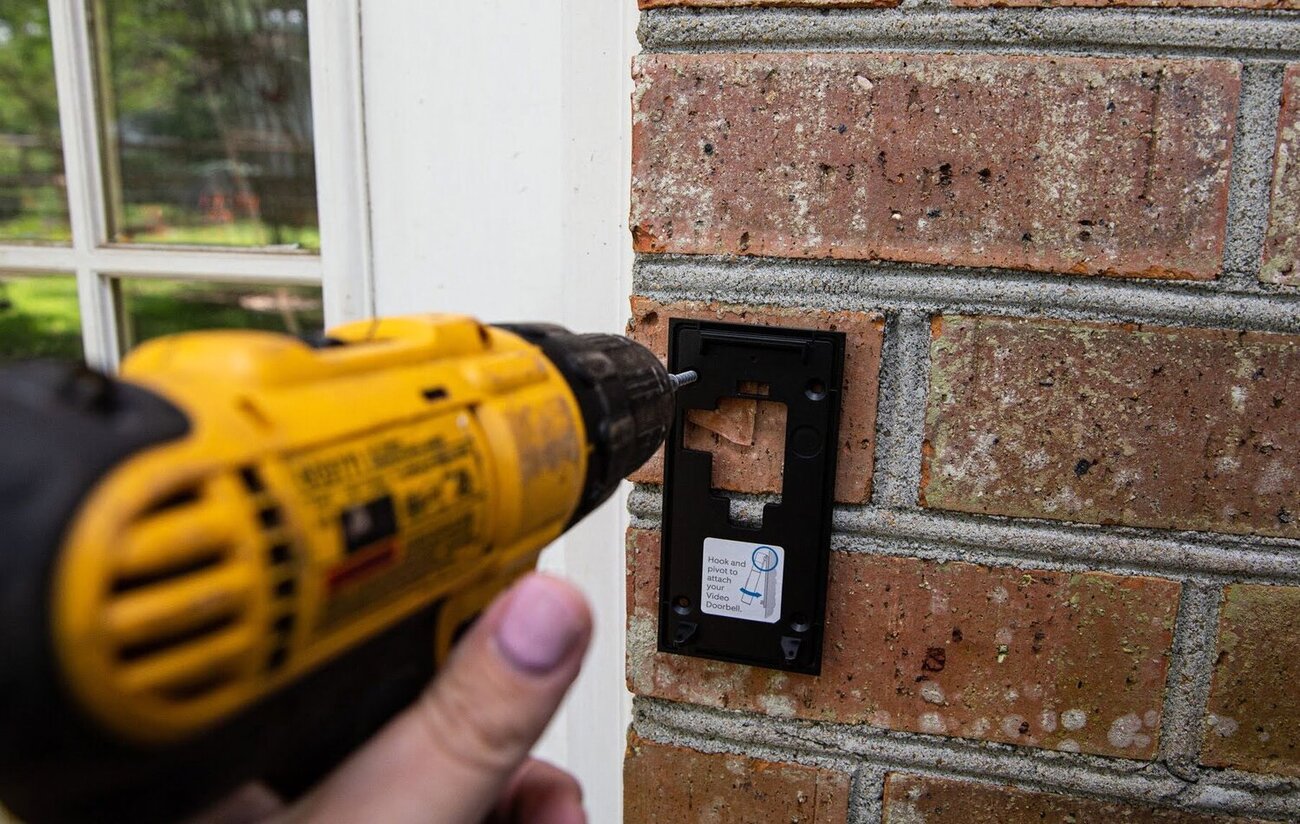
- Pre-drill the holes (if necessary): Depending on the mounting surface, you may need to pre-drill the holes. Use a drill and the appropriate drill bit to create pilot holes where you marked the mounting holes.
- Secure the mounting bracket: Align the mounting bracket with the pre-drilled holes and insert the screws provided with the Ring doorbell. Use a screwdriver to tighten the screws and securely attach the bracket to the wall or doorframe.
Ensure that the mounting bracket is level and firmly attached. The stability of the bracket is crucial for the proper functioning of your Ring doorbell.
Once the mounting bracket is securely in place, you’re ready to move on to the next step: connecting the wires to your wired Ring doorbell.
Step 4: Connect the wires
Now that the mounting bracket is secure, it’s time to connect the wires to your wired Ring doorbell. Properly connecting the wires ensures a continuous power supply and allows for the functionality of your doorbell. Follow these steps to connect the wires:
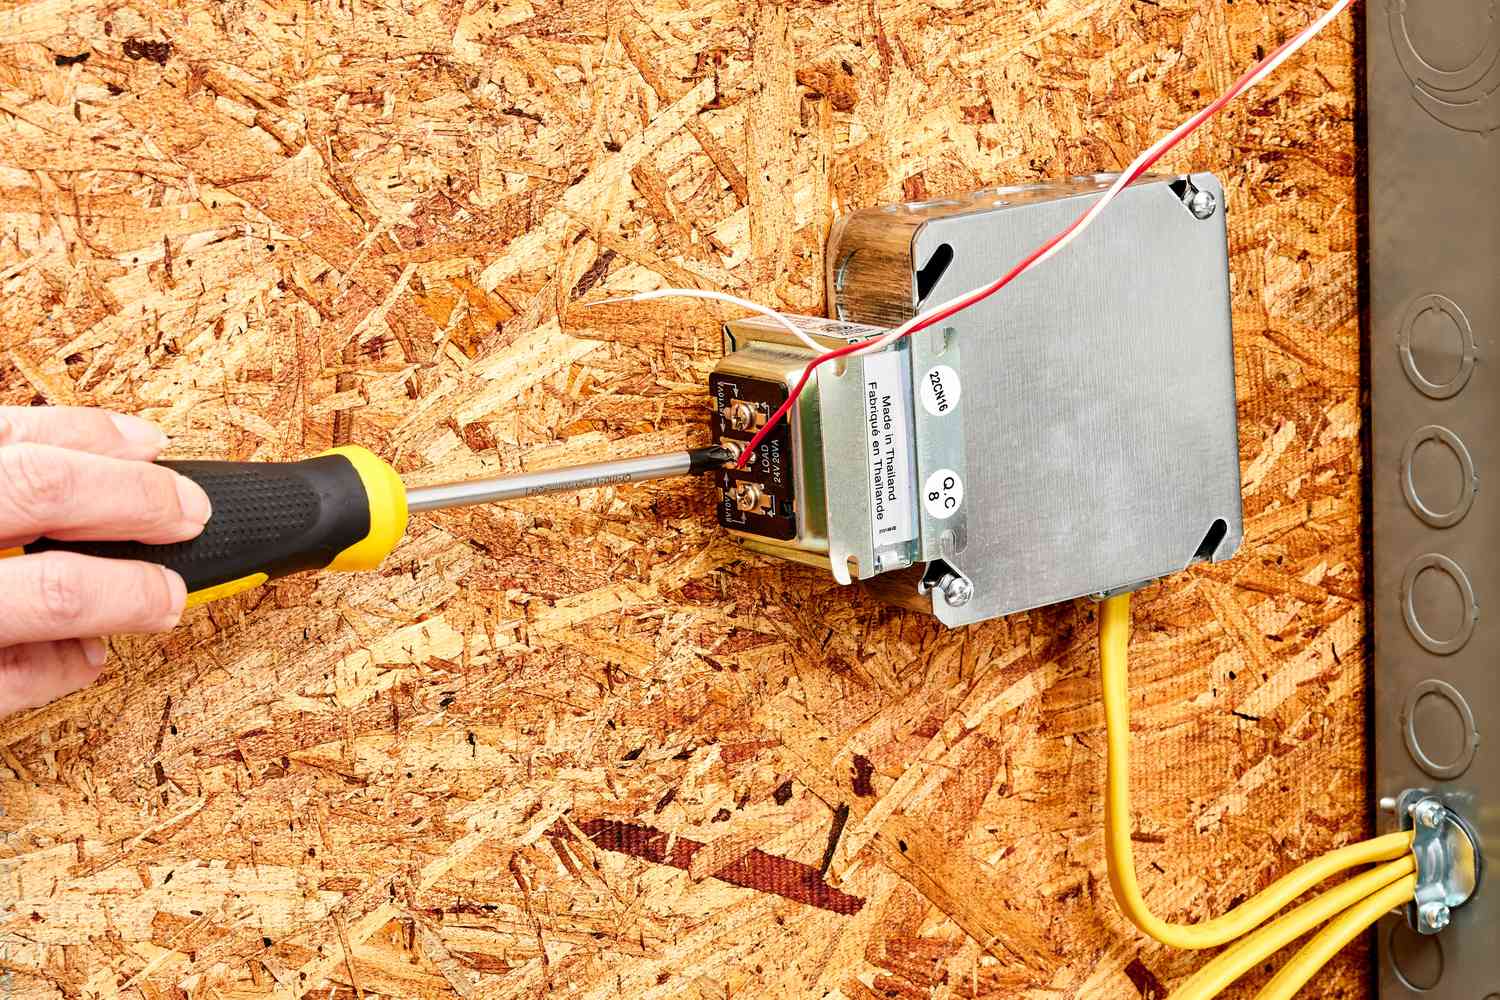
- Locate the wires: Identify the two wires that were connected to your previous doorbell. Typically, these wires are color-coded with one wire being labeled “Front” or “Trans” and the other as “Transformer” or “Rear”.
- Strip the wire ends: Use a wire stripper to remove approximately 1/4 inch of insulation from the ends of the two wires. This will expose the copper wire.
- Connect the wires to the Ring doorbell: Insert the stripped ends of the wires into the appropriate terminals on the back of the Ring doorbell. The “Front” or “Trans” wire should be connected to the “Front” or “Trans” terminal, while the “Transformer” or “Rear” wire should be connected to the “Transformer” or “Rear” terminal.
- Tighten the terminals: Once the wires are inserted correctly, tighten the terminals using a screwdriver. Ensure that the wires are securely fastened to the Ring doorbell.
- Check the wire connections: Give the wires a gentle tug to make sure they are firmly secured. Additionally, check that the wire connections are not touching or crossing over each other, as this could cause a short circuit.
It’s important to follow the wiring diagram or instructions provided with your specific model of the wired Ring doorbell. This will ensure that you connect the wires correctly and avoid any potential issues with the functionality of your doorbell.
Once the wires are securely connected, you’re ready to move on to the next step: securing the doorbell to the mounting bracket.
When installing a wired Ring doorbell, make sure to turn off the power to the existing doorbell before beginning the installation process to avoid any electrical hazards.
Read more: How To Install Ring Doorbell In An Apartment
Step 5: Secure the doorbell
With the wires properly connected, it’s time to secure your wired Ring doorbell to the mounting bracket. This step ensures that your doorbell is stable and properly positioned for optimal functionality. Follow these steps to secure the doorbell:
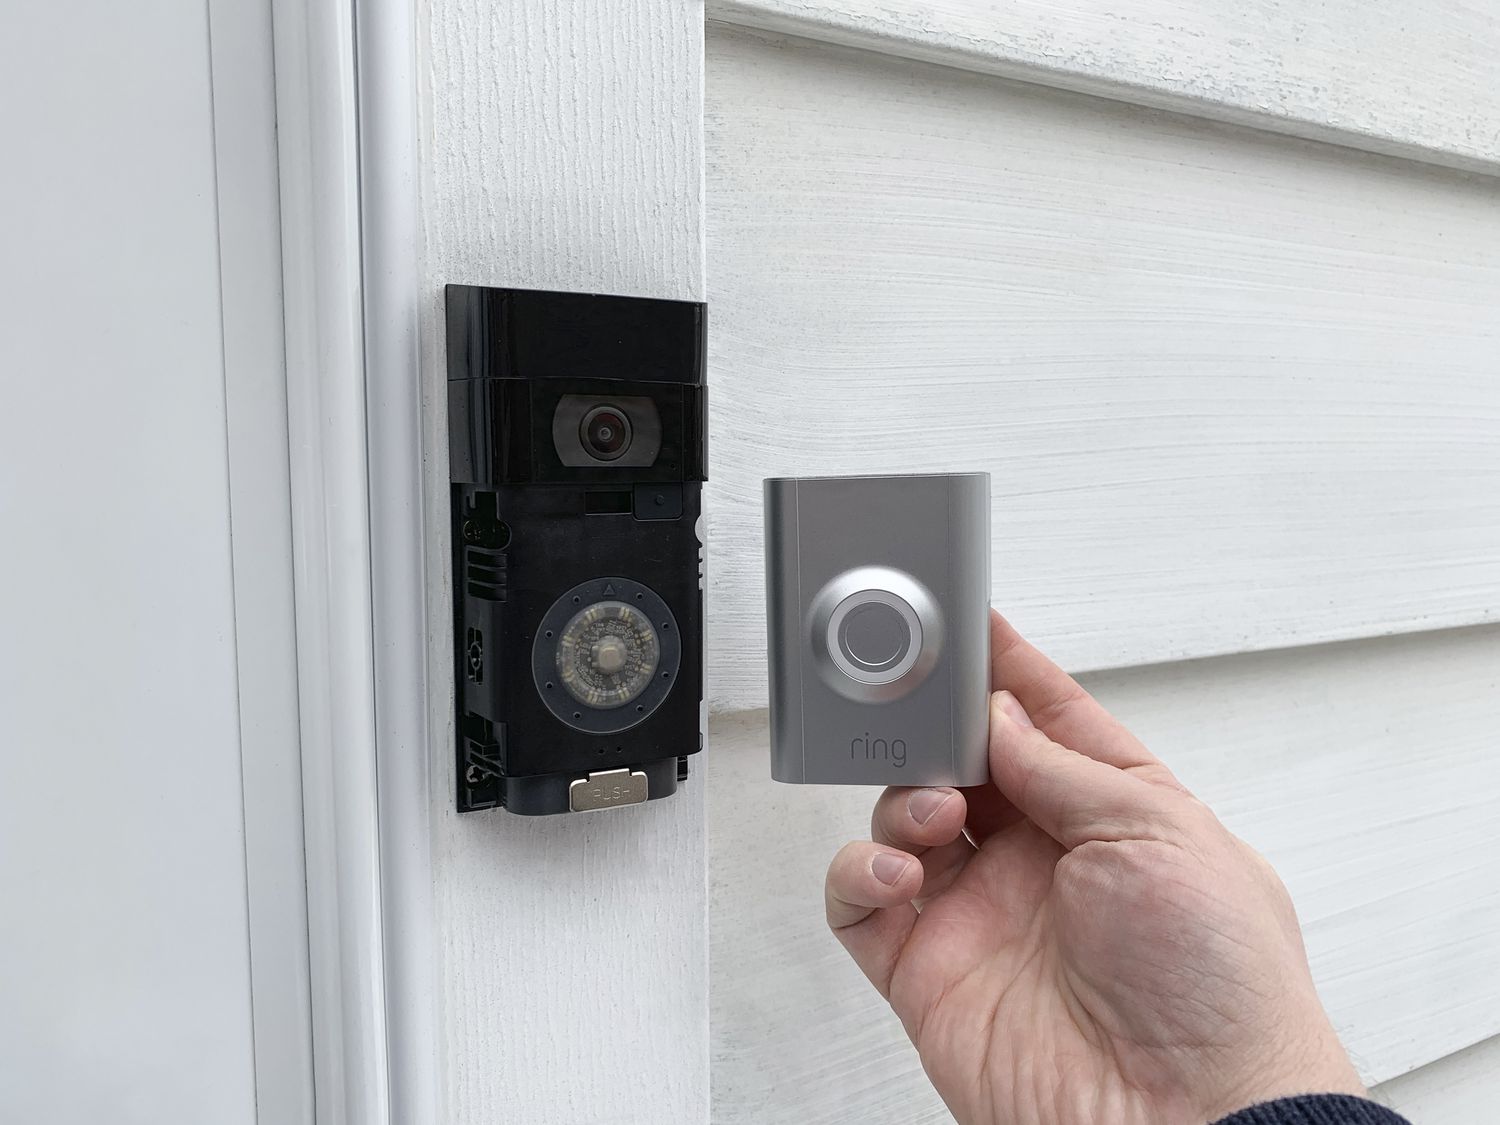
- Align the doorbell: Place the wired Ring doorbell onto the mounting bracket, aligning it with the screw holes on the bracket.
- Insert the screws: Insert the provided screws into the screw holes on the sides or bottom of the doorbell and thread them through the corresponding holes on the mounting bracket.
- Tighten the screws: Use a screwdriver to tighten the screws, securing the doorbell to the mounting bracket. Be careful not to overtighten, as it may damage the doorbell or the bracket.
Ensure that the doorbell is level and straight. If necessary, readjust the positioning before fully tightening the screws to ensure a professional and aesthetically pleasing installation.
Once the doorbell is securely in place, you’re ready to move on to the next step: testing the doorbell to confirm proper functioning.
Step 6: Test the doorbell
Now that the wired Ring doorbell is securely mounted, it’s time to test its functionality. Testing the doorbell ensures that everything is working properly before finalizing the installation. Follow these steps to test your doorbell:
- Turn on the power: If you had turned off the power during the installation process, switch it back on at the breaker to restore power to the doorbell.
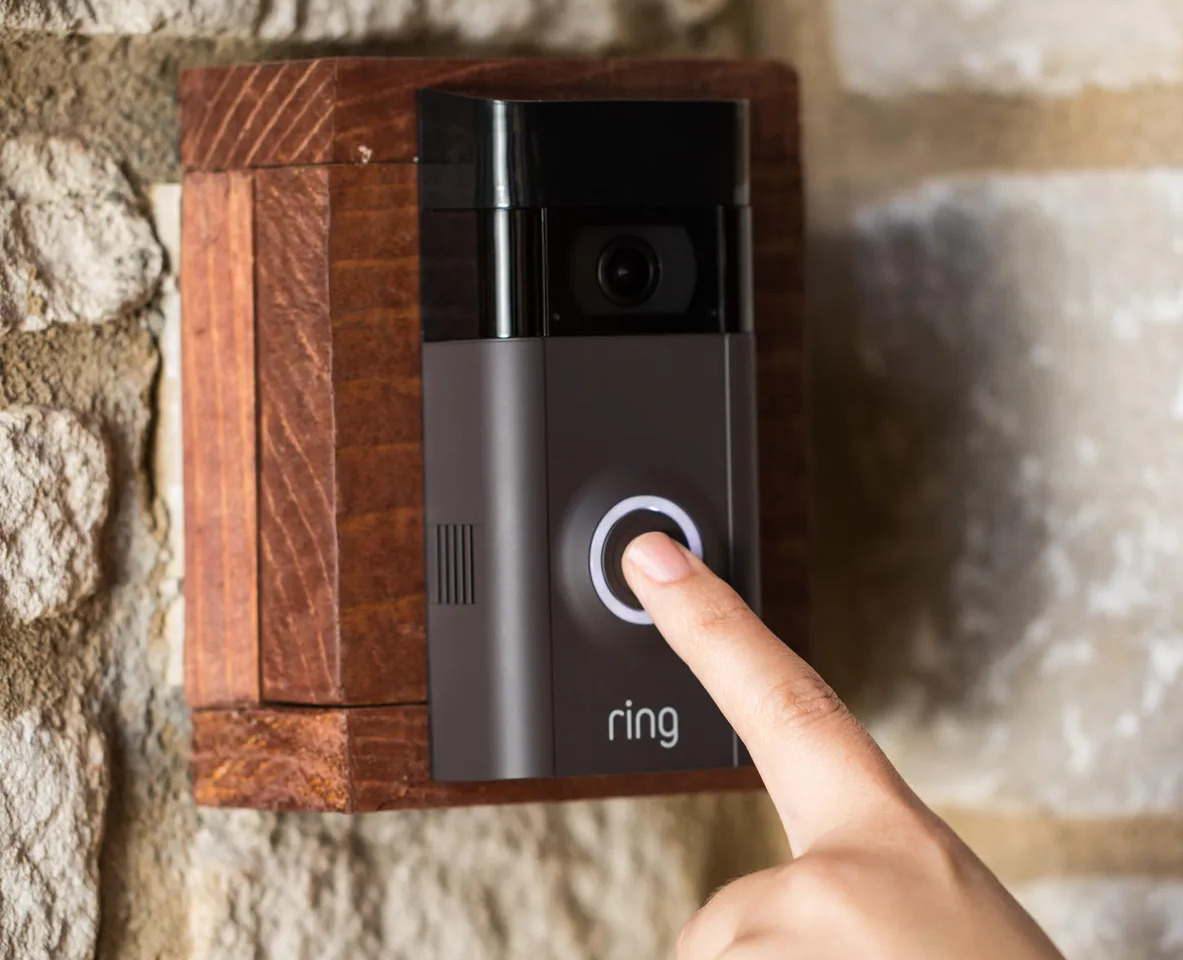
- Press the doorbell button: Press the doorbell button to check if it triggers the chime unit. Listen for a sound or melody that confirms the doorbell is functioning correctly. If you don’t hear the chime, you may need to adjust or replace your chime unit.
- Test the video and audio: Using the Ring mobile app or any compatible device, check if the video feed from the doorbell camera is displayed properly. Attempt a video call to see if the audio between the doorbell and your device is clear and audible.
- Check motion detection: Walk in front of the doorbell’s motion sensor to ensure that it detects movement and triggers motion alerts. Adjust the motion sensitivity settings in the Ring app if necessary.
- Verify app notifications: Test if you are receiving push notifications on your smartphone or other devices when someone rings the doorbell or when motion is detected. Make sure you have the Ring app installed and properly configured for notifications.
If any issues arise during the testing phase, consult the troubleshooting guide provided by Ring or visit their support website for assistance. It’s essential to ensure that all features of the doorbell are working correctly to maximize your home security and convenience.
After successfully testing your wired Ring doorbell and confirming its functionality, you’re now ready for the final step: adjusting the settings according to your preferences.
Step 7: Adjust the settings
With the wired Ring doorbell installed and tested, the final step is to adjust the settings to customize your experience and ensure optimal performance. Here are some settings you may want to consider:
- Video quality: Depending on your internet connection and personal preferences, you can adjust the video quality settings in the Ring app. Higher video quality may result in better image clarity but may require more bandwidth.
- Motion detection zones: Use the Ring app to define specific areas within the doorbell’s field of view where you want motion detection to be active. This allows you to ignore areas with frequent movement, reducing unnecessary notifications.
- Notification preferences: Customize the notification settings in the Ring app to receive alerts for specific events, such as when someone rings the doorbell or when motion is detected. You can also specify quiet hours when you don’t want to be disturbed.
- Integration with other devices: Explore options to integrate your Ring doorbell with other smart home devices, such as smart locks or security systems. This allows you to create automated actions or receive alerts across multiple platforms.
- Shared access: If you have multiple household members or want to grant access to others, you can set up shared access to the Ring doorbell through the app. This allows others to receive notifications and have access to the doorbell’s features.
- Additional features: Depending on the specific model of your wired Ring doorbell, explore any additional features it offers, such as two-way audio, night vision, or the ability to save video recordings to the cloud. Familiarize yourself with these features and adjust the settings accordingly.
Take some time to explore the settings available in the Ring app and customize them according to your preferences. Fine-tuning these settings will enhance your overall experience with the wired Ring doorbell and ensure it is tailored to your specific needs.
Congratulations! You have successfully installed your wired Ring doorbell and adjusted the settings. Enjoy the added security, convenience, and peace of mind that your Ring doorbell provides.
If you have any further questions or encounter any issues, consult the Ring support website or reach out to their customer service for assistance. Happy doorbell monitoring!
Conclusion
Installing a wired Ring doorbell can significantly enhance the security and convenience of your home. By following the step-by-step guide outlined in this article, you have successfully learned how to install a wired Ring doorbell. From gathering the necessary supplies to adjusting the settings, each step plays a crucial role in ensuring a smooth installation process.
A wired Ring doorbell offers numerous benefits, such as a constant power supply, reliable connectivity, and integration with your existing doorbell system. By following the proper installation steps, you can take full advantage of these features and enjoy the peace of mind that comes with enhanced home security.
Remember to gather all the necessary supplies, prepare for the installation, attach the mounting bracket securely, and connect the wires following the provided instructions. After securing the doorbell and testing its functionality, adjust the settings according to your preferences. This includes video quality, motion detection zones, notification preferences, and other features to personalize your experience.
As technology continues to evolve, it’s important to stay updated with the latest advancements and enhancements in smart home security. Keep an eye out for updates and new features from Ring to make the most out of your wired doorbell.
With your wired Ring doorbell installed and properly adjusted, you can now enjoy the convenience of monitoring your front door, communicating with visitors, and receiving alerts right from your smartphone or other devices. The added security and peace of mind that a wired Ring doorbell provides are invaluable, allowing you to always stay connected and in control of your home’s entrance.
If you encounter any issues or have further questions, don’t hesitate to consult the Ring support website or reach out to their customer service for assistance. Now, it’s time to sit back, relax, and enjoy the enhanced security and convenience that your wired Ring doorbell brings to your home!
Excited about getting your new Ring doorbell up and running? Don't stop there! If your home features siding, understanding the nuances of Ring Doorbell Installation on different surfaces is next on your DIY list. Or perhaps you're keen on upgrading more than just your doorbell. For those interested in a smarter, more efficient home, dive into our Home Automation guide for the hottest trends in 2024. And for homeowners expanding their space, learning about Electrical Wiring for projects like running lines to a garage is invaluable. Each guide is packed with practical advice to make your home upgrades smooth and successful.
Frequently Asked Questions about How To Install A Wired Ring Doorbell
Was this page helpful?
At Storables.com, we guarantee accurate and reliable information. Our content, validated by Expert Board Contributors, is crafted following stringent Editorial Policies. We're committed to providing you with well-researched, expert-backed insights for all your informational needs.


0 thoughts on “How To Install A Wired Ring Doorbell”