Articles
How To Install Ring Doorbell In An Apartment
Modified: August 26, 2024
Learn how to properly install a Ring Doorbell in your apartment with our comprehensive articles. Get all the tips and tricks you need to ensure a successful installation.
(Many of the links in this article redirect to a specific reviewed product. Your purchase of these products through affiliate links helps to generate commission for Storables.com, at no extra cost. Learn more)
Introduction
Welcome to a comprehensive guide on how to install a Ring Doorbell in an apartment. The Ring Doorbell is a popular smart home security device that allows you to monitor and answer your door from anywhere using your smartphone or tablet. It provides peace of mind and convenience, making it a great addition to any apartment.
Installing a Ring Doorbell in an apartment may seem daunting, especially if you’re not familiar with electrical work or drilling into walls. However, with the right tools, materials, and step-by-step instructions, you’ll be able to have your Ring Doorbell up and running in no time.
In this guide, we will walk you through the installation process, from gathering the required tools and materials to setting up and customizing your Ring Doorbell features. Whether you’re a tech enthusiast or a novice DIYer, this guide will provide you with the knowledge and confidence to successfully install your Ring Doorbell in your apartment.
Before we dive into the installation steps, it’s important to note that every apartment may have slightly different setups and limitations. Make sure to consult with your landlord or property management before making any modifications to your apartment’s exterior or electrical wiring.
Now, without further ado, let’s get started on installing your Ring Doorbell in your apartment!
Key Takeaways:
- Transform your apartment into a smart and secure space by installing a Ring Doorbell. Enjoy convenience, peace of mind, and personalized features through a seamless installation process.
- Ensure optimal functionality by carefully adjusting the doorbell angle, customizing features, and thoroughly testing its performance. Embrace the convenience and security of a fully installed Ring Doorbell.
Read more: How To Install A Wired Ring Doorbell
Step 1: Gather the Required Tools and Materials
Before you begin the installation process, it’s essential to gather all the necessary tools and materials. Having everything prepared in advance will ensure a smooth and efficient installation. Here’s a list of items you will need:
- Ring Doorbell: This is the main device that you will be installing. Make sure you have the correct model for your apartment.
- Mounting Bracket: The mounting bracket is used to secure the Ring Doorbell to the wall or door frame.
- Screwdriver: Depending on the model of your Ring Doorbell, you may need either a Phillips screwdriver or a Torx screwdriver.
- Drill and Drill Bits: If your apartment doesn’t have existing holes or a doorbell setup, you will need a drill and suitable drill bits for drilling into the wall or door frame.
- Screws and Anchors: These are used to secure the mounting bracket to the wall. Make sure to choose the appropriate size for your wall type.
- Level: A level is useful for ensuring that the Ring Doorbell is aligned correctly.
- Wi-Fi Network and Password: You will need the details of your Wi-Fi network to connect the Ring Doorbell to the internet.
- Smartphone or Tablet: You will need a smartphone or tablet to download the Ring app and set up the Ring Doorbell.
Once you have gathered all the necessary tools and materials, you’re ready to move on to the next step: determining the placement of your Ring Doorbell.
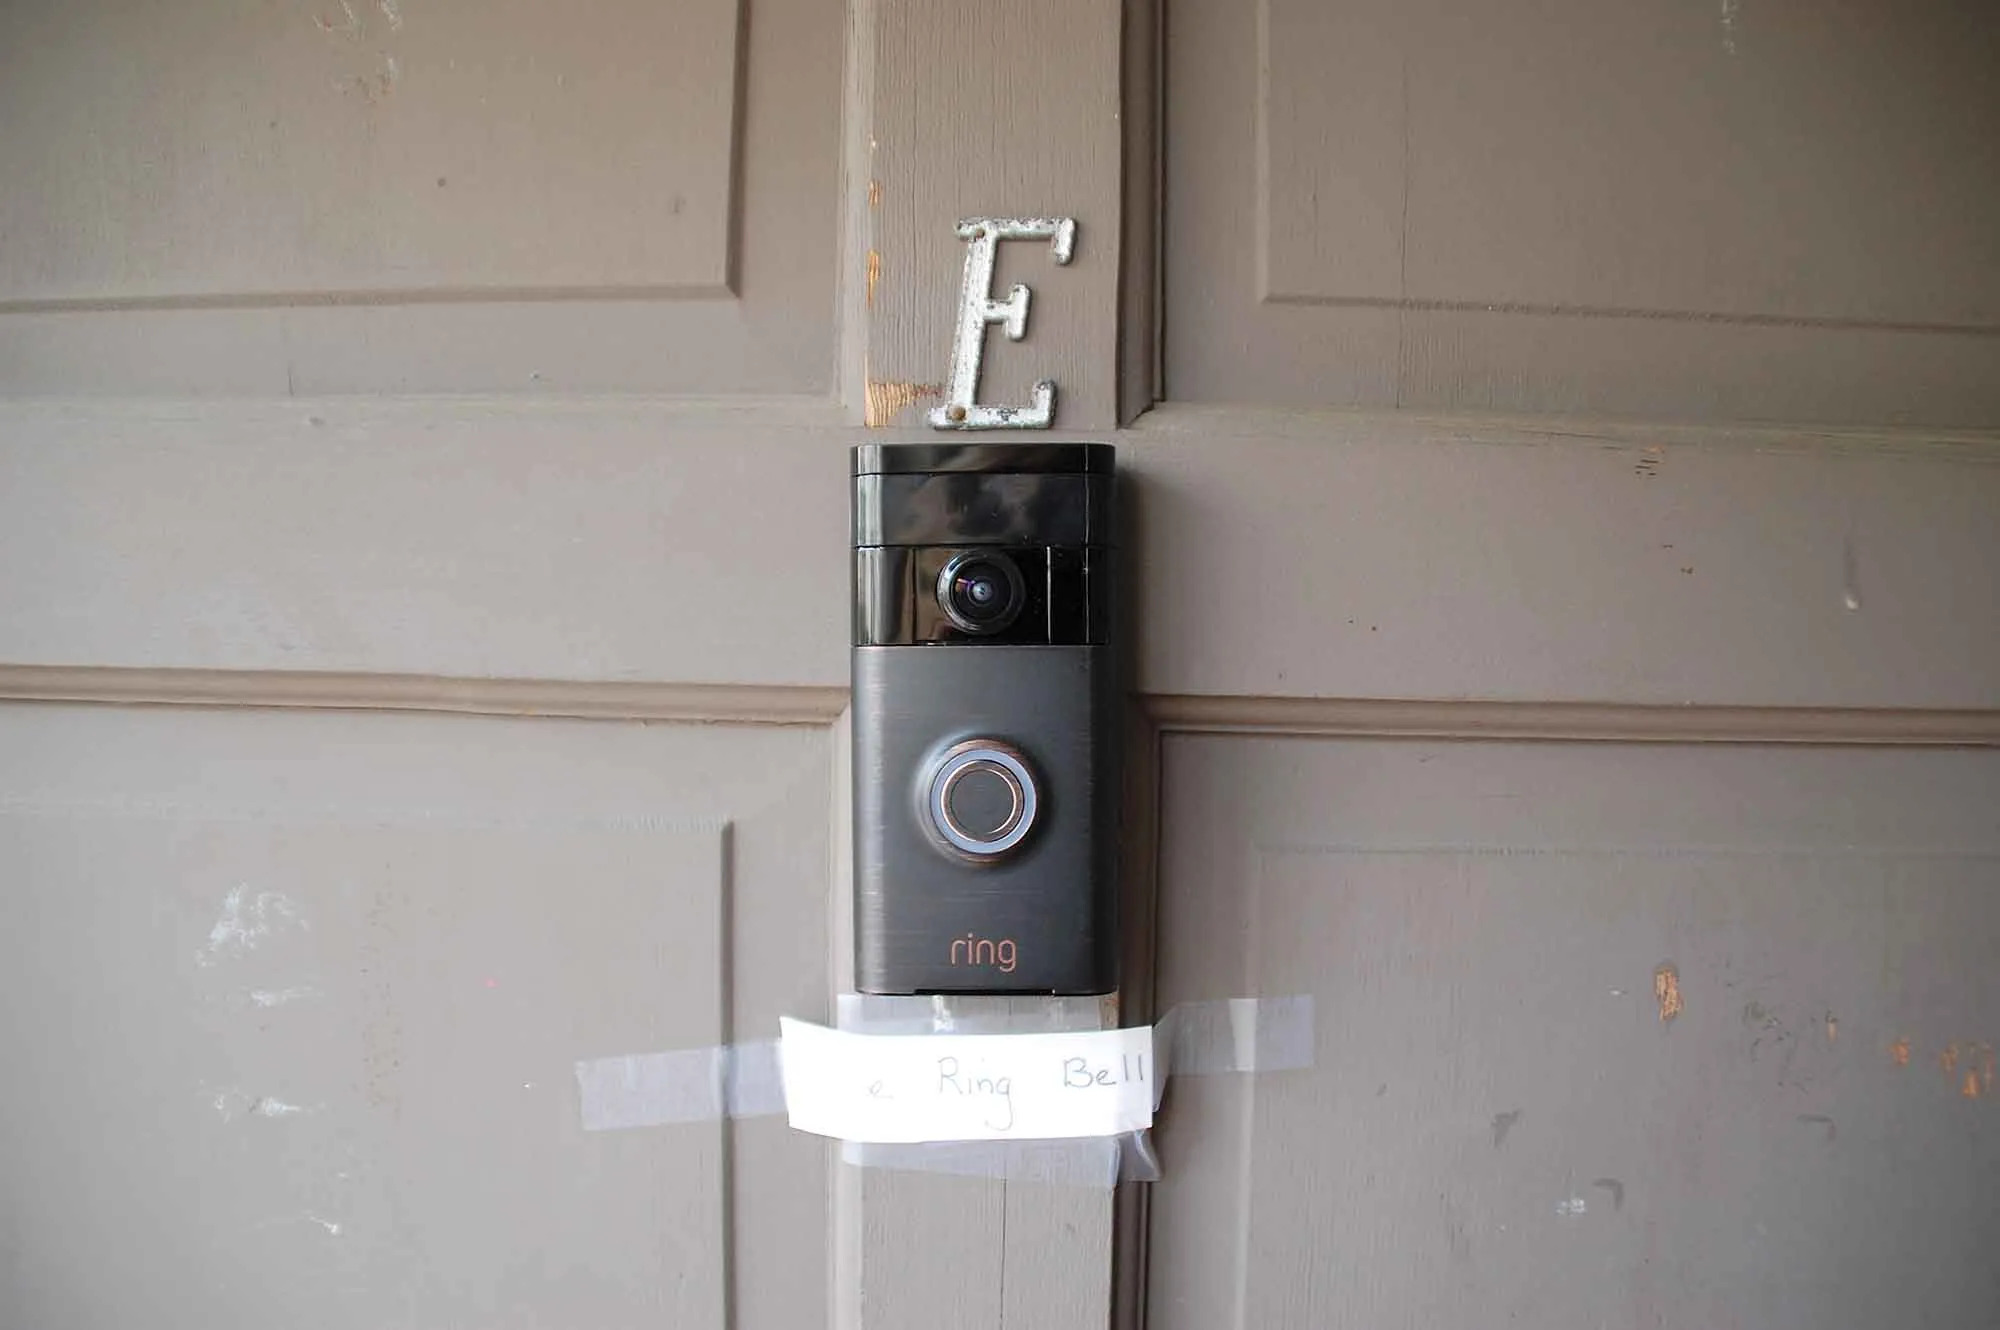
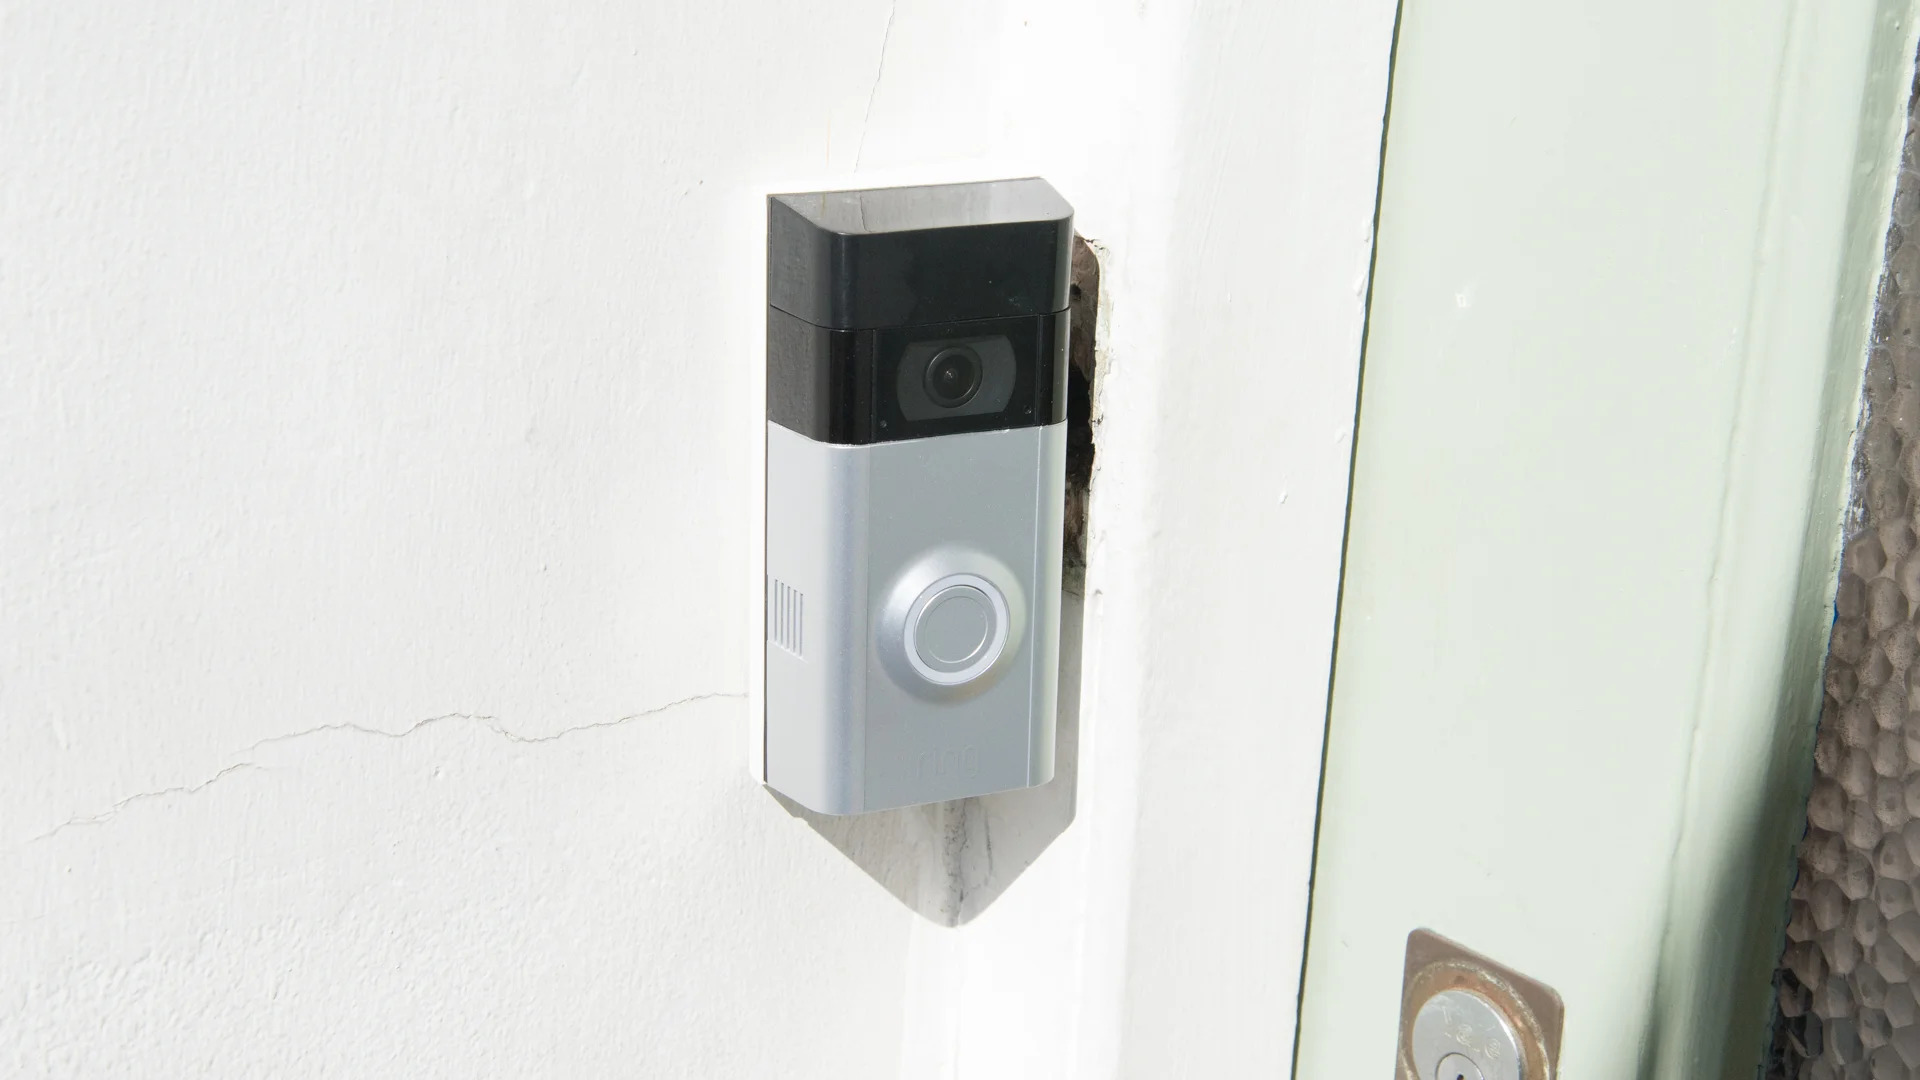
Step 2: Determine Doorbell Placement
Choosing the right placement for your Ring Doorbell is crucial for optimal functionality and security. Here are a few factors to consider when determining the placement:
- Height and Angle: The ideal height for your Ring Doorbell is typically between 48 and 56 inches off the ground. This provides a clear view of visitors’ faces and minimizes false motion alerts. Additionally, make sure to angle the doorbell slightly downwards to capture the best footage.
- Power Source: If you have an existing doorbell with electrical wiring, it’s recommended to install the Ring Doorbell in the same location to utilize the power source. However, if you don’t have an existing doorbell or prefer a different placement, you can opt for a battery-powered Ring Doorbell.
- Wi-Fi Signal: Ensure that the chosen location has a strong Wi-Fi signal. If the signal is weak, consider using a Wi-Fi extender or relocating your router to improve signal strength.
- Accessibility: Make sure the Ring Doorbell is easily accessible for visitors to press the doorbell button. Avoid placing it behind obstacles or in areas with limited visibility.
- Landlord Approval: If you’re renting an apartment, it’s crucial to consult with your landlord or property management before making any modifications to the exterior. They may have specific guidelines or restrictions regarding installing devices like the Ring Doorbell.
Once you’ve taken these factors into account, decide on the placement of your Ring Doorbell. If you’re using a battery-powered model, you have more flexibility in choosing the location. However, if you’re utilizing electrical wiring, ensure that the chosen spot aligns with the existing wiring or that you have access to an electrical outlet nearby.
After determining the placement, proceed to the next step: installing the mounting bracket.
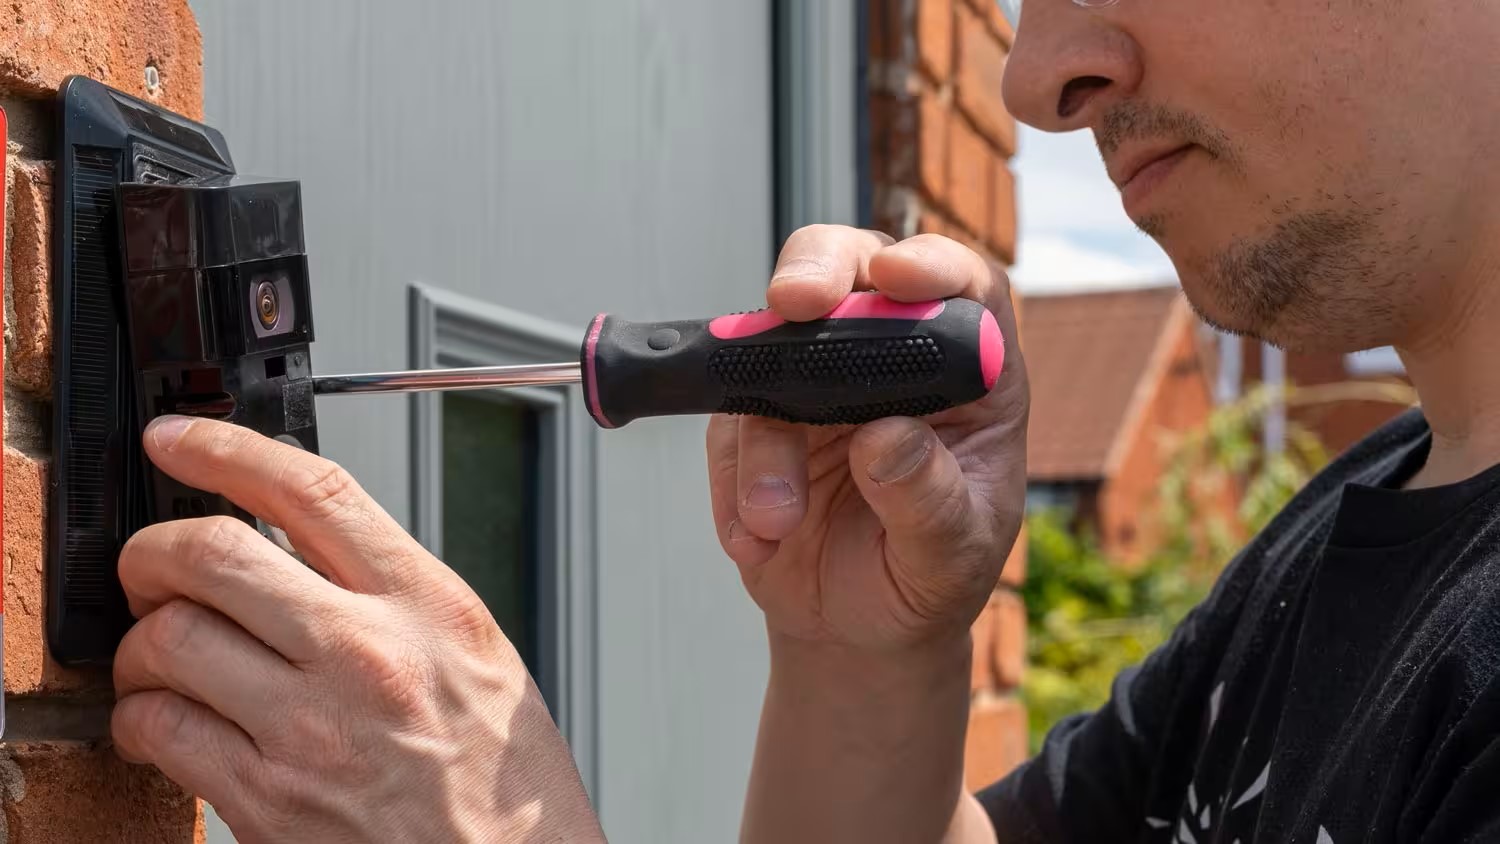
Step 3: Install the Mounting Bracket
Now that you have determined the placement of your Ring Doorbell, it’s time to install the mounting bracket. The mounting bracket serves as a secure base for your Ring Doorbell. Follow these steps:
- Prepare the Mounting Bracket: Start by removing the faceplate of the Ring Doorbell. You will find the mounting bracket inside the package. Take the mounting bracket and detach the backplate if necessary.
- Position the Mounting Bracket: Hold the mounting bracket against the wall or door frame, aligning it with the desired placement. Use a level to ensure it is straight.
- Mark the Drill Holes: With the mounting bracket in position, use a pencil or marker to mark the drill holes on the wall. Make sure to mark the appropriate holes based on your wall type (wood, concrete, or brick).
- Drill the Holes: Depending on your wall type, use the appropriate drill bit to drill the marked holes. Ensure that the holes are deep enough to accommodate the anchors.
- Insert Anchors: Insert the appropriate anchors into the drilled holes. Gently tap them with a hammer to secure them in place.
- Attach the Mounting Bracket: Align the mounting bracket with the drilled holes and slowly screw in the screws provided with the bracket. Do not overtighten them, as it might strip the holes or damage the bracket.
- Check the Stability: Once the mounting bracket is securely attached, give it a gentle tug to ensure it is stable and doesn’t wobble.
With the mounting bracket successfully installed, you’re ready to move on to the next step: connecting the Ring Doorbell to Wi-Fi.
Step 4: Connect the Doorbell to Wi-Fi
Now that the mounting bracket is installed, it’s time to connect your Ring Doorbell to your Wi-Fi network. This step is essential to enable remote access and receive notifications on your smartphone or tablet. Follow these steps to connect your Ring Doorbell to Wi-Fi:
- Download the Ring App: Open the app store on your smartphone or tablet and search for the Ring app. Download and install the app onto your device.
- Create an Account: Open the Ring app and create a new account using your email address and a secure password. If you already have an account, simply sign in.
- Add a Device: Tap on the “Add a Device” button in the app and select “Doorbells” from the options.
- Put Your Ring Doorbell in Setup Mode: Press and release the small button on the side or back of your Ring Doorbell to enter setup mode. The light on the front of the device will start flashing, indicating that it’s ready to connect to Wi-Fi.
- Connect to Wi-Fi: Follow the on-screen instructions in the Ring app to connect your smartphone or tablet to the Ring Doorbell’s temporary Wi-Fi network. Once connected, return to the Ring app.
- Select Your Wi-Fi Network: In the Ring app, select your home Wi-Fi network from the list of available networks. Enter your Wi-Fi network password when prompted.
- Wait for Setup: The Ring Doorbell will now attempt to connect to your Wi-Fi network. This process may take a few minutes. If the connection is successful, you will receive a notification in the app.
- Update Firmware (if necessary): If there is a firmware update available for your Ring Doorbell, the app will prompt you to update it. Follow the instructions to complete the firmware update.
Once your Ring Doorbell is successfully connected to Wi-Fi, you can proceed to the next step: attaching the doorbell to the mounting bracket.
When installing a Ring Doorbell in an apartment, make sure to check with your building management or landlord for any restrictions or guidelines. You may need permission to install it and may also need to consider the wiring and power source for the doorbell.
Read more: How To Install Ring Doorbell On Brick
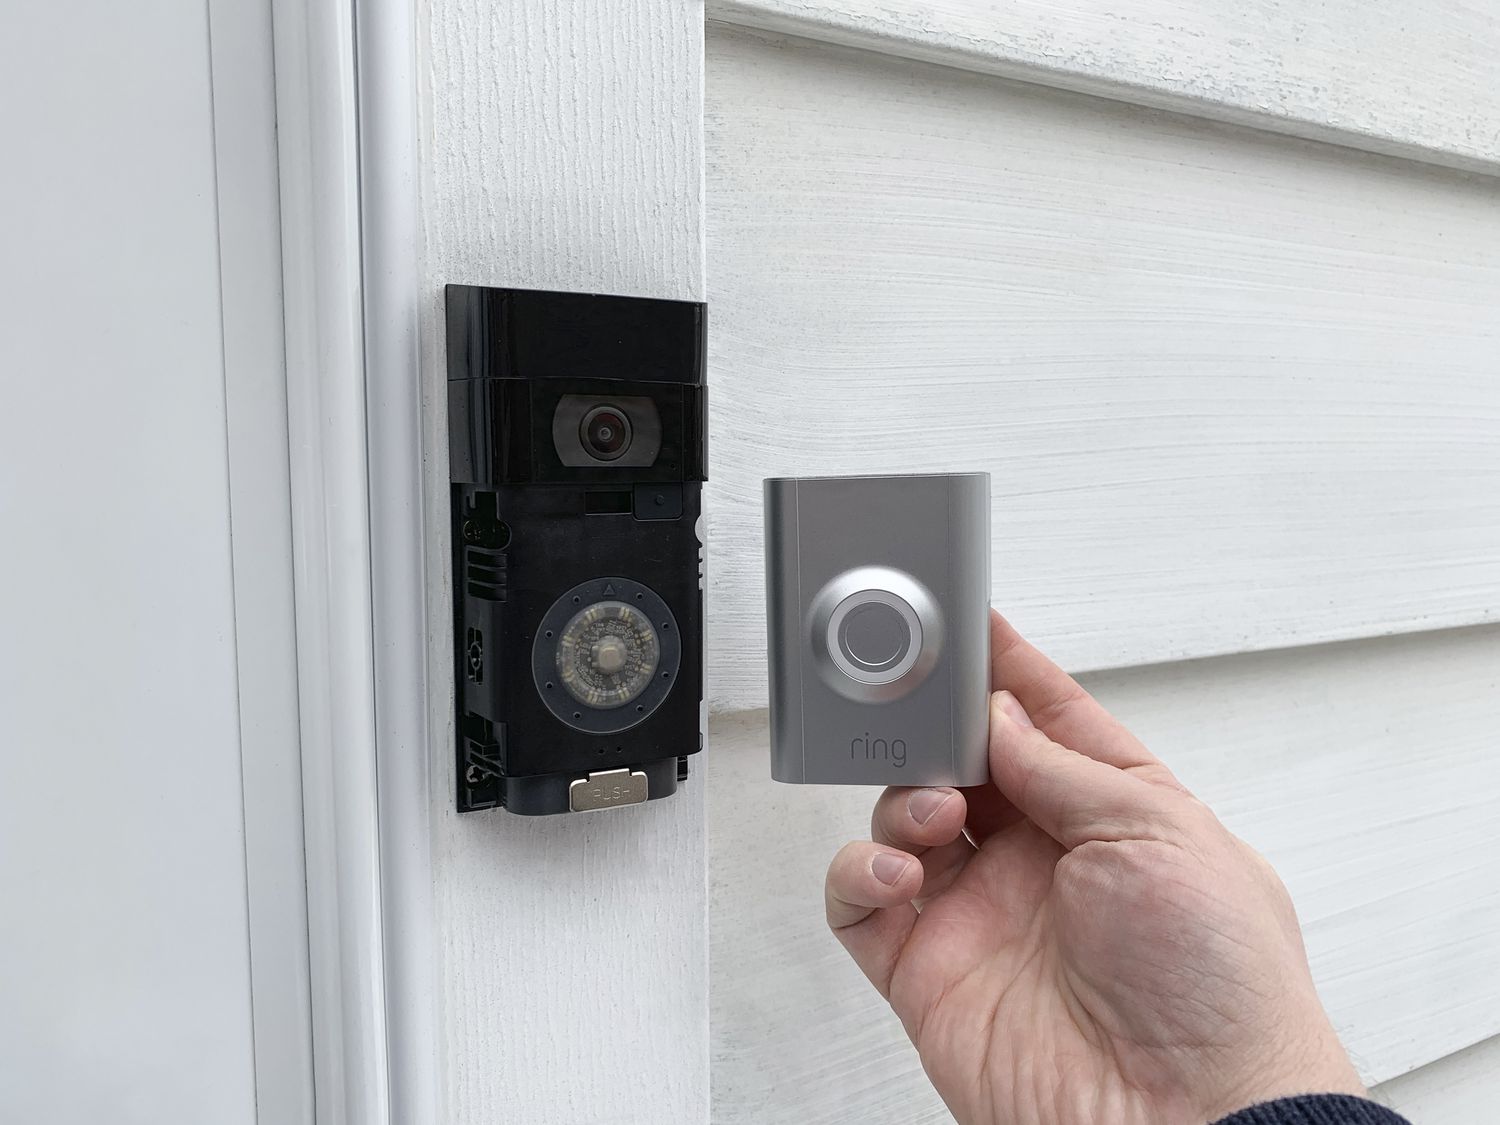
Step 5: Attach the Doorbell to the Mounting Bracket
With your Ring Doorbell connected to Wi-Fi, it’s time to attach it to the mounting bracket. This step will secure the doorbell in place, ensuring it is firmly attached to the wall or door frame. Follow these steps to attach your Ring Doorbell:
- Align the Doorbell: Hold the Ring Doorbell with the screen facing towards you and align it with the mounting bracket. Make sure the connectors on the back of the doorbell align with the corresponding slots on the mounting bracket.
- Slide the Doorbell onto the Bracket: Slide the Ring Doorbell onto the mounting bracket from the top, ensuring a snug fit. Apply gentle pressure to push the doorbell into place.
- Secure the Doorbell: Depending on the model of your Ring Doorbell, there may be security screws included. Use the appropriate screwdriver to tighten the security screws in place, securing the doorbell to the mounting bracket.
- Test the Doorbell: Once the doorbell is securely attached, give it a light press to test the functionality. If everything is working correctly, the doorbell should illuminate and notify you on your smartphone or tablet.
With the doorbell successfully attached to the mounting bracket, you’re one step closer to having a fully functional Ring Doorbell. Now, it’s time to move on to the next step: adjusting the doorbell angle for optimal view and coverage.
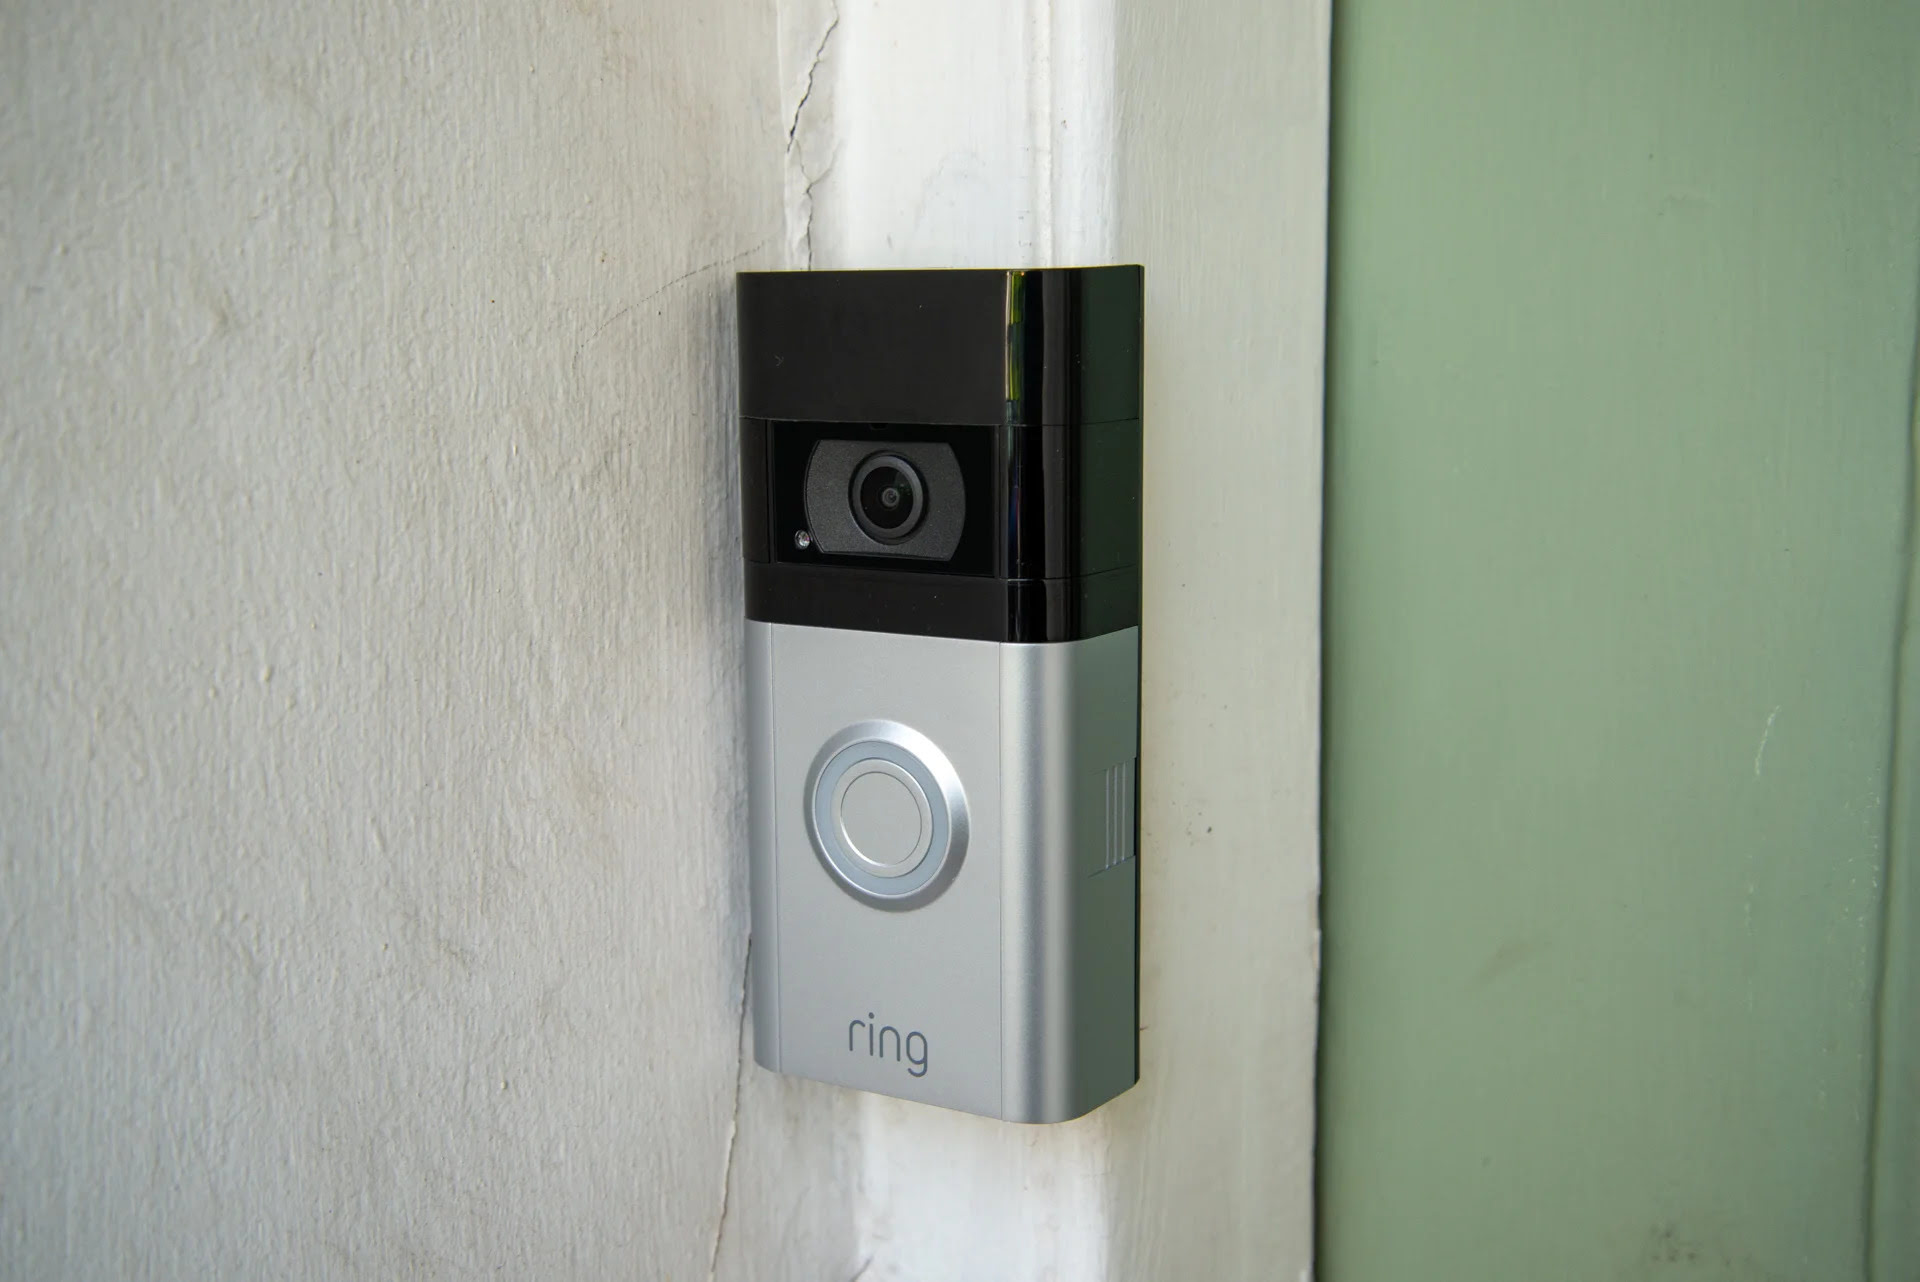
Step 6: Adjust the Doorbell Angle
Now that your Ring Doorbell is securely attached to the mounting bracket, it’s important to adjust its angle for optimal view and coverage. Properly angling the doorbell will ensure that it captures the desired area and reduces false motion alerts. Follow these steps to adjust the doorbell angle:
- Open the Ring App: Open the Ring app on your smartphone or tablet.
- Select the Doorbell: Tap on the doorbell icon in the app to access its settings.
- Choose Device Settings: Look for the “Device Settings” option and select it.
- Adjust the Angle: In the device settings, you’ll find options to adjust the doorbell angle. Use the live view in the app to see the camera feed in real-time as you adjust the angle.
- Test the View: After making adjustments, test the doorbell view by walking in front of it and ensuring that the desired area is captured. If needed, make further adjustments until you’re satisfied with the view.
- Save the Settings: Once you’re satisfied with the doorbell angle, save the settings in the app. This will ensure that the doorbell maintains the desired angle for future use.
Properly adjusting the doorbell angle is crucial for capturing clear video footage and receiving accurate motion alerts. Take your time to find the optimal angle that suits your specific needs.
With the doorbell angle adjusted, you’re ready to move on to the next step: setting up and customizing the Ring Doorbell features.
Step 7: Set Up and Customize Ring Doorbell Features
Now that your Ring Doorbell is installed and adjusted, it’s time to set up and customize its features according to your preferences. The Ring app offers a range of options that allow you to personalize your doorbell’s functionality. Follow these steps to set up and customize your Ring Doorbell:
- Open the Ring App: Open the Ring app on your smartphone or tablet.
- Access the Device Settings: Tap on the doorbell icon in the app to access the settings for your Ring Doorbell.
- Explore the Options: In the device settings, you’ll find various options to customize your doorbell’s features. This includes motion detection settings, notification preferences, and more.
- Adjust Motion Zones: By selecting “Motion Settings”, you can define motion zones to customize the areas that trigger motion alerts. This can help reduce false alarms caused by irrelevant movement.
- Enable Notifications: In the notification settings, you can choose to receive push notifications, email alerts, or both when there is activity detected by your Ring Doorbell.
- Set up Additional Users: If you want to grant access to other family members or tenants, you can invite them as users in the app. This allows them to receive notifications and access the doorbell’s features.
- Explore Advanced Features: Depending on the model of your Ring Doorbell, there may be additional advanced features available. These can include two-way audio, video recording, and integration with other smart home devices.
- Save and Apply the Settings: After customizing the features to your liking, make sure to save and apply the settings in the app.
By customizing your Ring Doorbell features, you can tailor its functionality to suit your specific needs and preferences. Take the time to explore the various options and make adjustments that enhance your overall experience with the device.
With the features set up and customized, you’re ready to move on to the final step: testing the functionality of your Ring Doorbell.
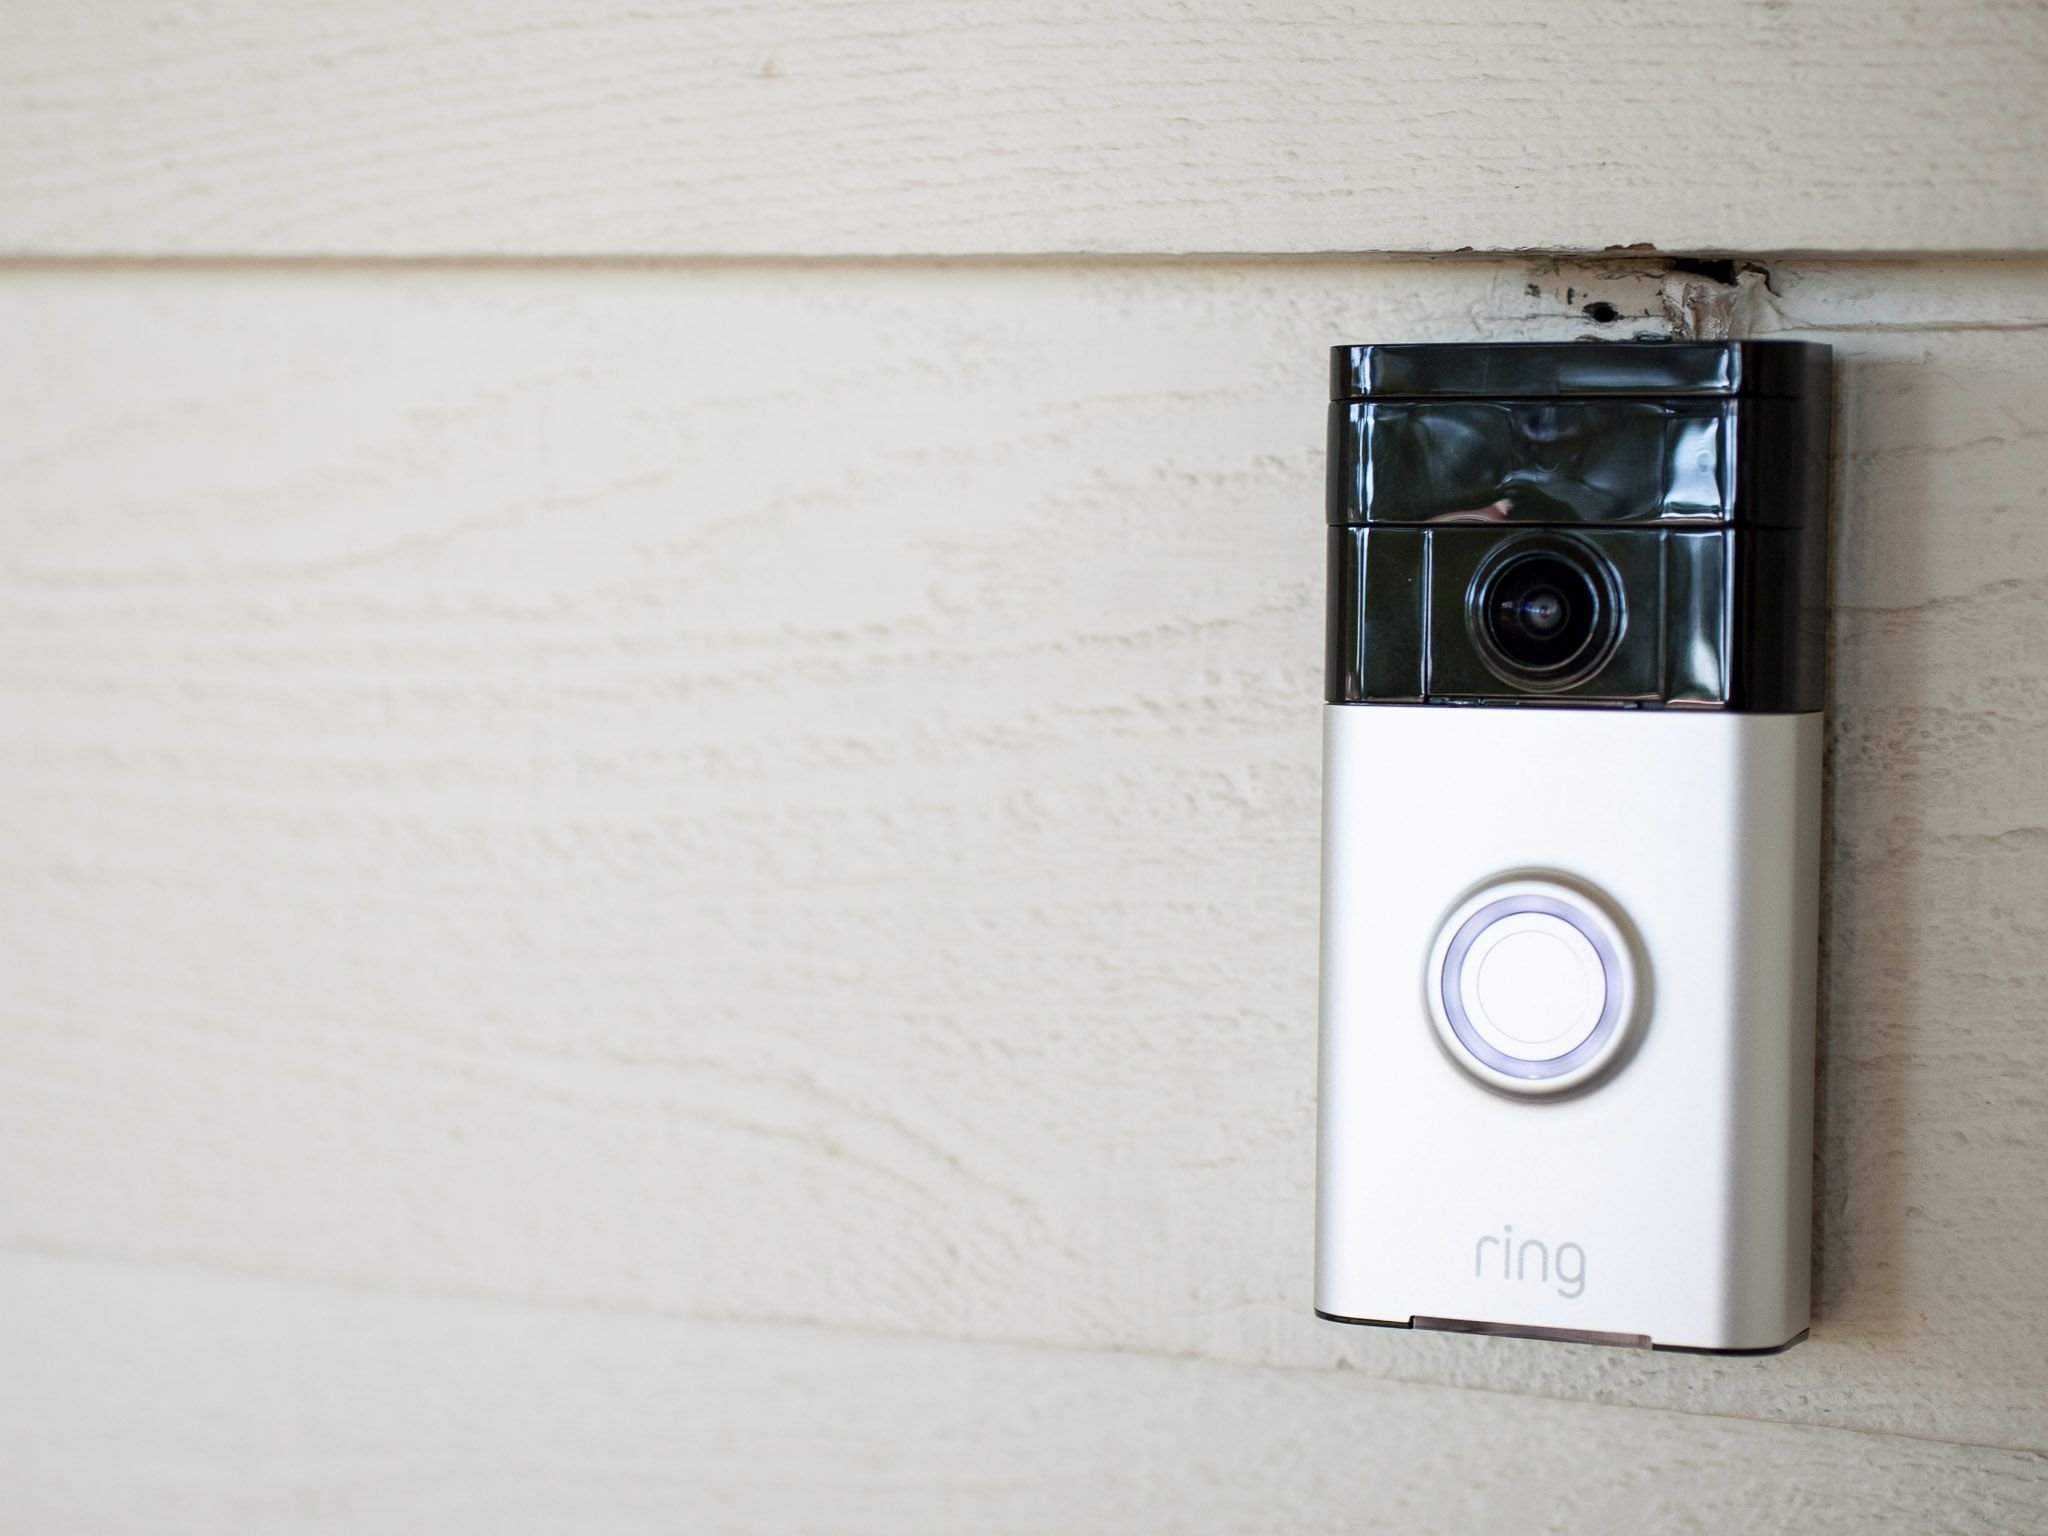
Step 8: Test the Doorbell Functionality
Now that your Ring Doorbell is fully installed and configured, it’s important to test its functionality to ensure everything is functioning as intended. Follow these steps to test the functionality of your Ring Doorbell:
- Walk Through the Motion Detection Zone: Step outside your apartment and walk through the motion detection zone you configured earlier. This will help you determine if the motion sensors are correctly detecting movement.
- Ring the Doorbell: Test the doorbell button by pressing it or having someone else do so. You should receive a notification on your smartphone or tablet, and the doorbell should emit a sound or chime.
- Check Live View: Open the Ring app and check the live view of your Ring Doorbell. Ensure that the camera feed is clear and that the angle captures the desired area.
- Test Two-Way Audio: If your Ring Doorbell supports two-way audio, try speaking through the app and listen for the audio output on the doorbell. This feature allows you to communicate with visitors or delivery personnel remotely.
- Review Recordings: If your Ring Doorbell has the recording feature enabled, review any captured footage to ensure it is recorded and saved correctly.
- Adjust Settings if Necessary: If you encounter any issues during the testing, go back to the app settings and make adjustments as needed. This may include fine-tuning the motion zones, adjusting sensitivity, or optimizing notifications.
By thoroughly testing the functionality of your Ring Doorbell, you can ensure that it is working properly and meeting your expectations. If you encounter any issues or have any questions, refer to the Ring app’s support resources or consult the Ring customer support team.
With the doorbell functionality successfully tested, you have now completed the installation process of your Ring Doorbell in your apartment. Enjoy the convenience and peace of mind that it provides!
Read more: How To Install A Wireless Ring Doorbell
Conclusion
Congratulations! You have successfully installed and set up your Ring Doorbell in your apartment. By following the step-by-step instructions in this guide, you have transformed your apartment into a smart and secure space. The Ring Doorbell allows you to monitor and interact with visitors from anywhere, providing convenience and peace of mind.
Remember, it’s essential to have the necessary tools and materials before starting the installation process. Take the time to determine the ideal placement for your Ring Doorbell, considering factors like height, power source, and Wi-Fi signal strength. Installing the mounting bracket securely ensures the doorbell’s stability.
Connecting your Ring Doorbell to Wi-Fi enables you to take advantage of its smart features, including remote access, motion detection, and real-time notifications. Adjusting the doorbell angle allows you to capture the desired area and minimize false alerts.
Customizing the features in the Ring app allows you to personalize and optimize your Ring Doorbell experience. Set up motion zones, notifications, and additional user access to tailor the device to your specific needs. Testing the functionality ensures that everything is working correctly and allows you to make any necessary adjustments.
By following these steps, you have transformed your apartment into a smart and secure space with the installation of the Ring Doorbell. Enjoy the convenience, security, and peace of mind that this device brings to your home.
If you ever need to make changes to your settings or have any questions or concerns, refer to the Ring app’s support resources or reach out to the Ring customer support team for assistance. Remember to consult with your landlord or property management regarding any modifications or permissions needed for installation.
Thank you for choosing Ring, and we hope you enjoy your new Ring Doorbell in your apartment!
Now that you've got your Ring Doorbell set up, why not step up your home's tech game even further? Our next article covers the latest in "home automation," providing a rundown of systems and gadgets that will transform your living space into a hub of convenience and innovation. Whether you're looking to control your environment with a simple tap or voice command, we have all the insights you need to make your home smarter.
Frequently Asked Questions about How To Install Ring Doorbell In An Apartment
Was this page helpful?
At Storables.com, we guarantee accurate and reliable information. Our content, validated by Expert Board Contributors, is crafted following stringent Editorial Policies. We're committed to providing you with well-researched, expert-backed insights for all your informational needs.


0 thoughts on “How To Install Ring Doorbell In An Apartment”