Articles
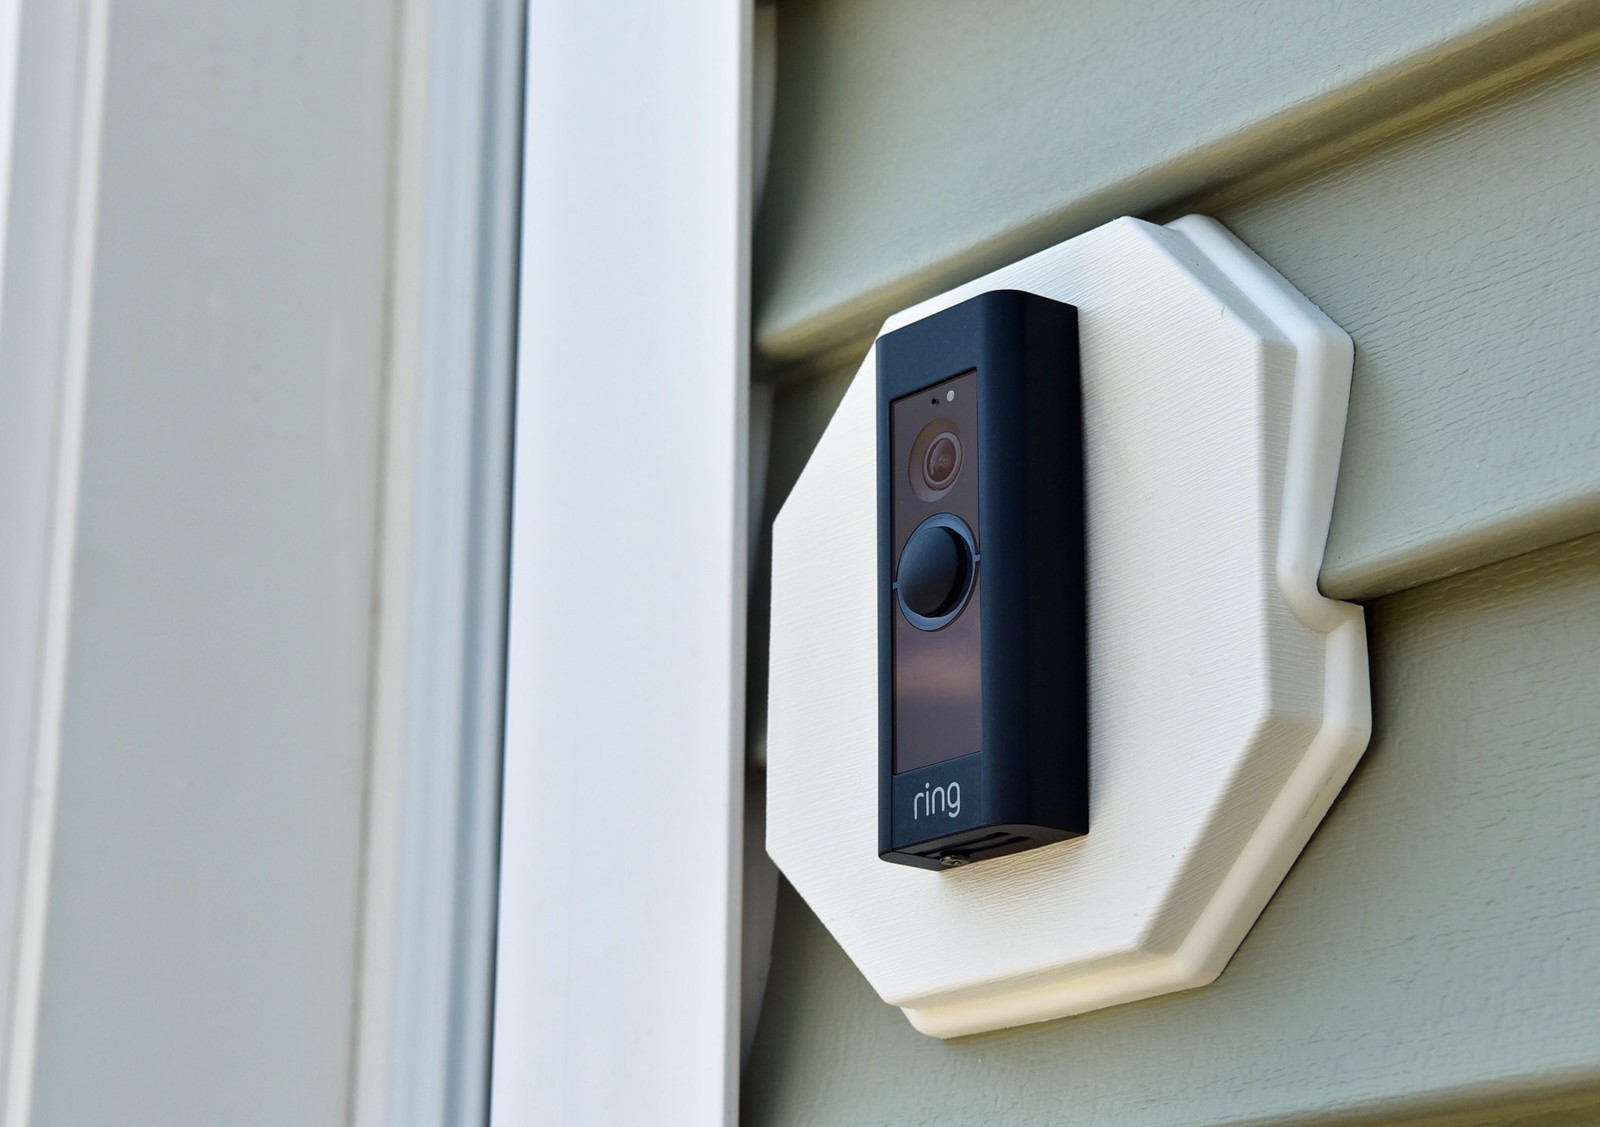
How To Install Ring Doorbell On Siding
Modified: August 31, 2024
Learn how to install a Ring doorbell on siding with our helpful step-by-step articles. Get expert advice and tips for a seamless installation process.
(Many of the links in this article redirect to a specific reviewed product. Your purchase of these products through affiliate links helps to generate commission for Storables.com, at no extra cost. Learn more)
Introduction
Welcome to this guide on how to install a Ring Doorbell on siding. The Ring Doorbell is a popular smart home device that allows you to monitor and communicate with visitors at your doorstep, even when you’re not at home. Installing the Ring Doorbell on siding can be a bit tricky, but with the right tools and a step-by-step approach, you can have it up and running in no time.
Before we get started, it’s important to gather all the necessary tools and materials for the installation process. This will ensure that you have everything you need and minimize any potential interruptions or delays. Let’s take a look at what you’ll need:
- Screwdriver (Phillips-head)
- Drill with a drill bit suitable for your siding
- Tape measure
- Level
- Pencil or marker
- Ring Doorbell and mounting bracket (included in the package)
- Optional: Low voltage transformer and doorbell wiring kit (if you’re installing a wired Ring Doorbell)
Once you have all the tools and materials ready, we can move on to the installation process itself. Follow the steps outlined below to ensure a successful installation of your Ring Doorbell on siding.
Key Takeaways:
- Installing a Ring Doorbell on siding requires careful preparation, accurate marking, and secure attachment of the mounting bracket. Proper wire connections and thorough testing ensure optimal functionality for enhanced home security.
- Choosing the right installation location, drilling pilot holes, and adjusting the device’s settings are crucial steps in the successful installation of a Ring Doorbell on siding. Thorough testing and frequent performance checks help maintain reliable security features.
Read more: How To Install A Wired Ring Doorbell
Tools and Materials Needed
Before you begin the installation process, make sure you have the following tools and materials ready:
Tools:
- Screwdriver (Phillips-head)
- Drill with a drill bit suitable for your siding
- Tape measure
- Level
- Pencil or marker
Materials:
- Ring Doorbell and mounting bracket (included in the package)
- Mounting screws (usually included with the Ring Doorbell)
- Optional: Low voltage transformer and doorbell wiring kit (if you’re installing a wired Ring Doorbell)
The screwdriver will be used to tighten the mounting screws and secure the Ring Doorbell in place. The drill with the appropriate drill bit will be necessary to create pilot holes in your siding before attaching the mounting bracket. The tape measure and level are essential for accurately marking the location of the mounting holes and ensuring that the Ring Doorbell is properly aligned.
Additionally, you’ll need a pencil or marker to mark the precise spots for drilling and mounting. This will help you maintain accuracy throughout the installation process.
Lastly, make sure you have the Ring Doorbell and its mounting bracket on hand. The mounting screws are usually included with the Ring Doorbell, but it’s always a good idea to double-check.
If you’re installing a wired Ring Doorbell, you may also need a low voltage transformer and doorbell wiring kit. These additional materials will be necessary for connecting the Ring Doorbell to your existing doorbell wiring.
With all the tools and materials gathered, you’re ready to move on to the installation steps. Let’s dive in!
Step 1: Preparing the Doorbell and Mounting Bracket
Before you start installing the Ring Doorbell on siding, it’s important to prepare the doorbell and mounting bracket for the installation. Follow these steps:
- First, carefully remove the Ring Doorbell from its packaging. Take a moment to familiarize yourself with the device and its components.
- Inspect the mounting bracket and ensure that it is in good condition. Check for any cracks, damage, or missing parts. If everything looks good, proceed to the next step.
- If you are installing a wired Ring Doorbell, locate the wiring terminals on the back of the device. Familiarize yourself with the wiring diagram provided in the user manual, as this will guide you in connecting the wires later on.
- Make sure the battery of the Ring Doorbell is fully charged if you are installing a battery-powered model. You can charge the battery using the provided USB cable and a power source, such as a computer or wall adapter.
- Take a moment to clean the area where the Ring Doorbell will be installed. Use a damp cloth to remove any dirt, dust, or debris that may affect the adhesive or mounting process.
By properly preparing the Ring Doorbell and mounting bracket, you ensure a smooth installation process and improve the longevity of the device. Take your time with this step to avoid any complications or issues later on.
Now that you’ve prepared the Ring Doorbell and mounting bracket, you’re ready to move on to the next step: choosing an installation location.
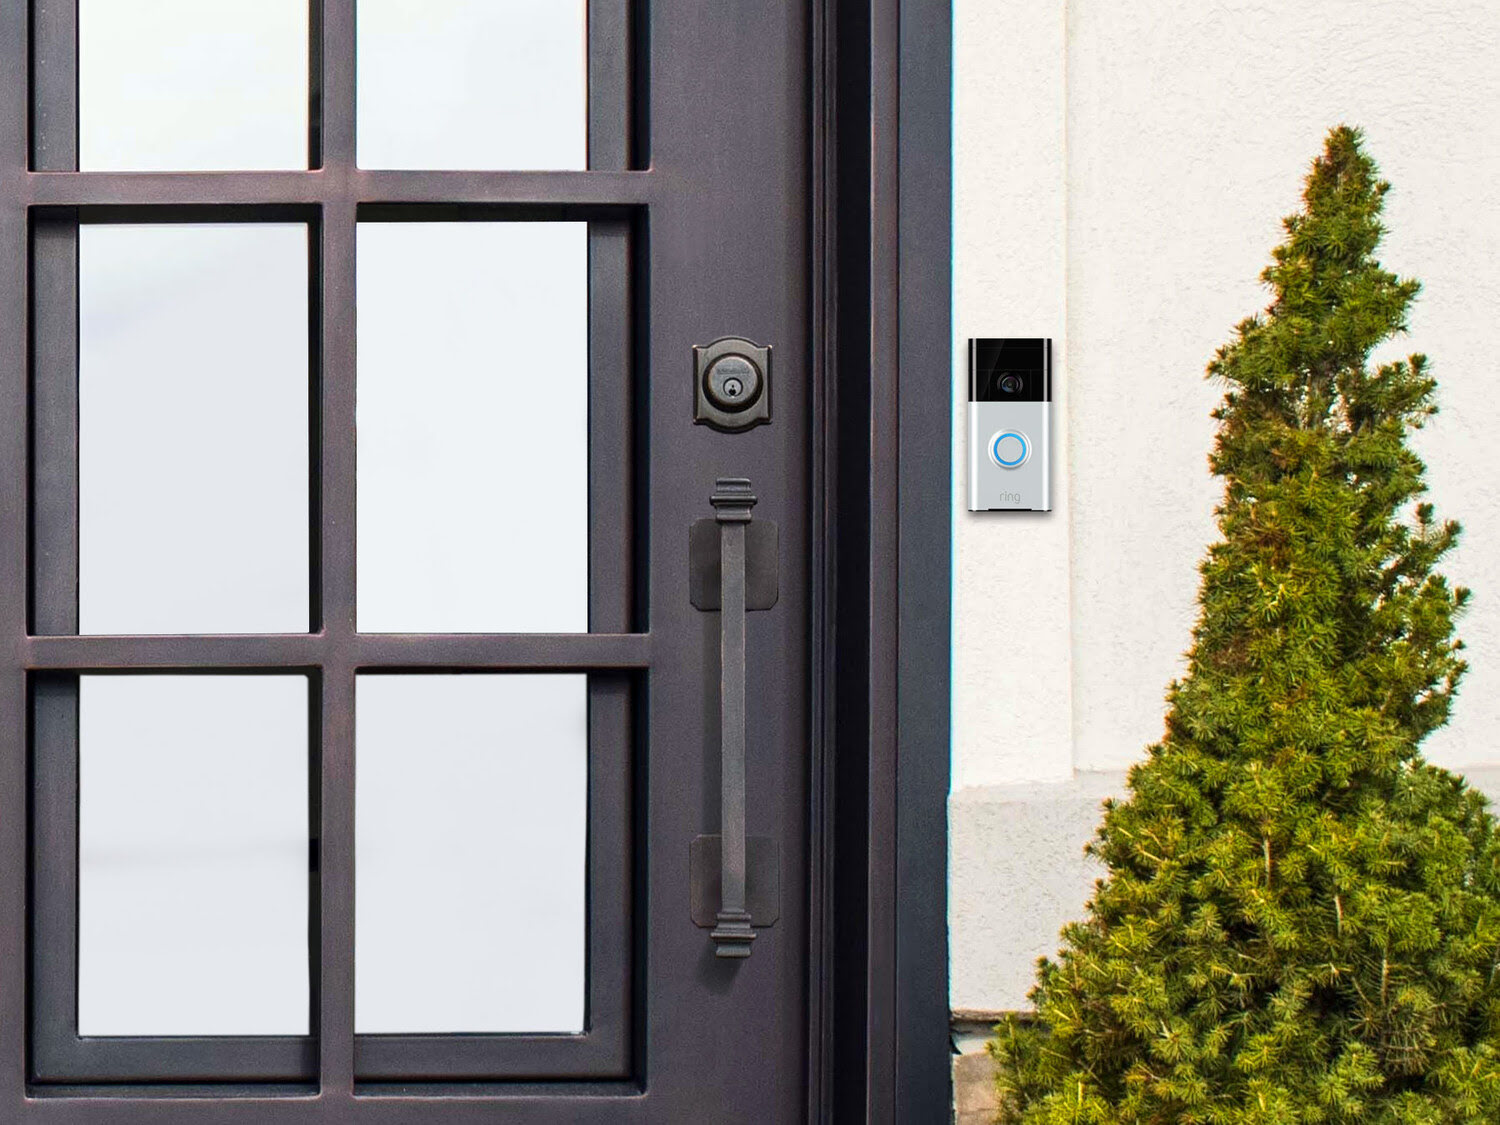
Step 2: Choosing an Installation Location
Choosing the right installation location for your Ring Doorbell is crucial for optimal functionality and security. Here are some factors to consider when selecting a suitable spot:
- Visibility: The Ring Doorbell should be easily visible to visitors approaching your door. This acts as a deterrent to potential intruders and ensures that your visitors can easily locate and use the doorbell.
- Coverage: The chosen location should provide a clear view of the area you want to monitor. Consider any blind spots or obstructions that may hinder the device’s field of view.
- Height: Install the Ring Doorbell at a height that is comfortable for most people to reach, typically around 48 inches (1.2 meters) from the ground. This allows for easy interaction with the device and prevents accidental damage or tampering.
- Power Source: If you’re installing a battery-powered Ring Doorbell, consider proximity to an accessible power source for occasional battery recharging. For wired installations, proximity to your existing doorbell wiring is important.
- Wi-Fi Signal: Ensure that the chosen location has a strong Wi-Fi signal to maintain a reliable connection for the Ring Doorbell’s live view and communication features.
- Weather Protection: Look for a location that provides some protection from the elements, such as overhangs or recessed areas. This will help prevent excessive exposure to rain, direct sunlight, and other harsh weather conditions.
Once you’ve considered these factors, take a moment to evaluate potential locations around your door. You may need to make adjustments or compromises based on the layout of your home and personal preferences.
Now that you have chosen an ideal installation location, mark the mounting holes in the next step: marking the mounting holes.
Step 3: Marking the Mounting Holes
After selecting the installation location for your Ring Doorbell, the next step is to mark the mounting holes. Follow these instructions to ensure precise placement:
- Hold the Ring Doorbell and align it with the chosen installation location. Ensure that the device is level and centered as desired.
- Using a pencil or marker, make small marks on the wall or siding through the holes in the mounting bracket. This will indicate where the mounting screws will go.
- Double-check the alignment and levelness of the marks before proceeding. Adjust if necessary.
It’s important to make accurate and visible marks to ensure that the Ring Doorbell is properly positioned. Take your time during this step to avoid any errors or misalignment.
If you’re unsure about the placement or have any concerns, you can use a sticky note or tape to temporarily attach the Ring Doorbell to the marked location. This will give you a better visual representation and allow you to adjust as needed before moving on.
With the mounting holes marked, you’re ready to proceed to the next step: drilling pilot holes.
Read more: How To Install Ring Doorbell In An Apartment
Step 4: Drilling Pilot Holes
Now that you have marked the mounting holes for your Ring Doorbell on the siding, it’s time to drill pilot holes. This step will ensure that the screws penetrate the siding smoothly and securely. Follow these instructions to drill pilot holes:
- Choose a drill bit appropriate for your siding material. It should be slightly smaller in diameter than the mounting screws provided with the Ring Doorbell.
- Attach the drill bit to your drill and set it to a low speed setting. This will help prevent any damage to the siding.
- Place the tip of the drill bit on one of the marked mounting hole spots.
- Apply gentle pressure and begin drilling, keeping the drill perpendicular to the siding surface. Gradually increase the pressure as needed, but be careful not to apply too much force.
- Continue to drill until you have reached the desired depth for the pilot hole, usually about 1 inch (2.5 cm). If you’re unsure, refer to the Ring Doorbell’s installation guide for specific instructions.
- Repeat the process for the remaining mounting hole spots.
Remember to exercise caution while drilling to avoid any damage to the siding or surrounding areas. If you’re uncertain about drilling into your siding, it’s advisable to consult a professional installer or handyman.
Once you have successfully drilled the pilot holes, you’re ready to move on to the next step: attaching the mounting bracket.
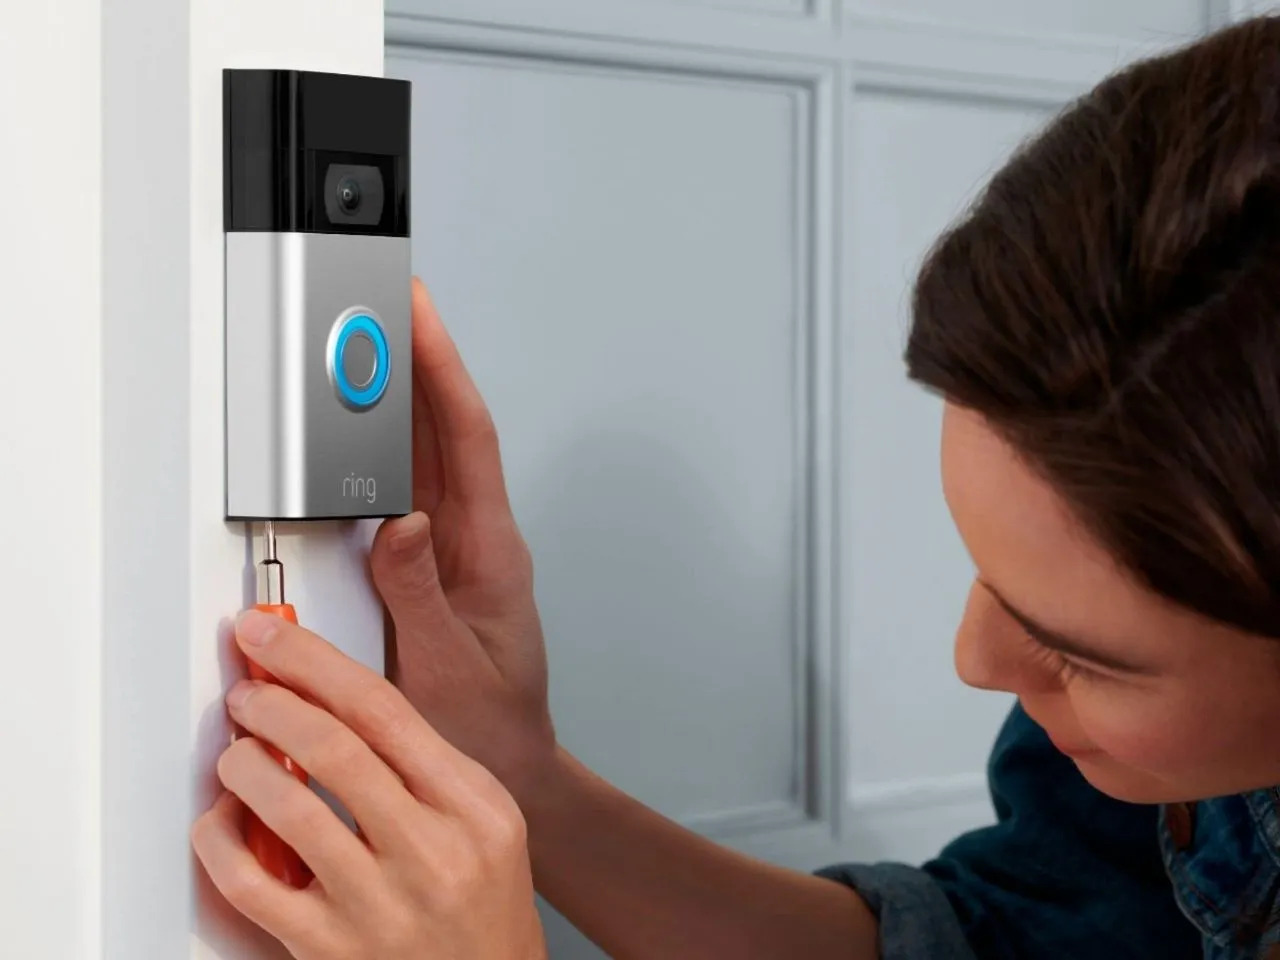
When installing a Ring doorbell on siding, use a level to ensure it is straight and mark the screw holes with a pencil. Pre-drill the holes to avoid splitting the siding, and use the provided anchors for a secure installation.
Step 5: Attaching the Mounting Bracket
Now that you have drilled the pilot holes, it’s time to attach the mounting bracket for your Ring Doorbell. The mounting bracket provides a secure base for the device. Follow these steps to properly attach the bracket:
- Take the mounting bracket and align it with the pilot holes you have drilled. Ensure that the bracket is level and centered on the marks.
- Insert the mounting screws through the holes in the bracket and into the pilot holes.
- Using a screwdriver, tighten the screws to securely attach the mounting bracket to the siding. Be careful not to overtighten, as it may damage the bracket or the siding.
- Double-check the levelness and alignment of the mounting bracket after tightening the screws. Make any necessary adjustments before proceeding.
By attaching the mounting bracket properly, you provide a stable foundation for your Ring Doorbell installation. Ensure that the bracket is securely fastened to prevent any movement or looseness of the device.
If you’re installing a wired Ring Doorbell, this is also the time to connect the doorbell wiring to the wiring terminals on the back of the device. Follow the instructions provided in the user manual to ensure proper wiring connections.
With the mounting bracket securely attached, you’re ready to move on to the next step: connecting wires (if applicable) or mounting the Ring Doorbell directly.
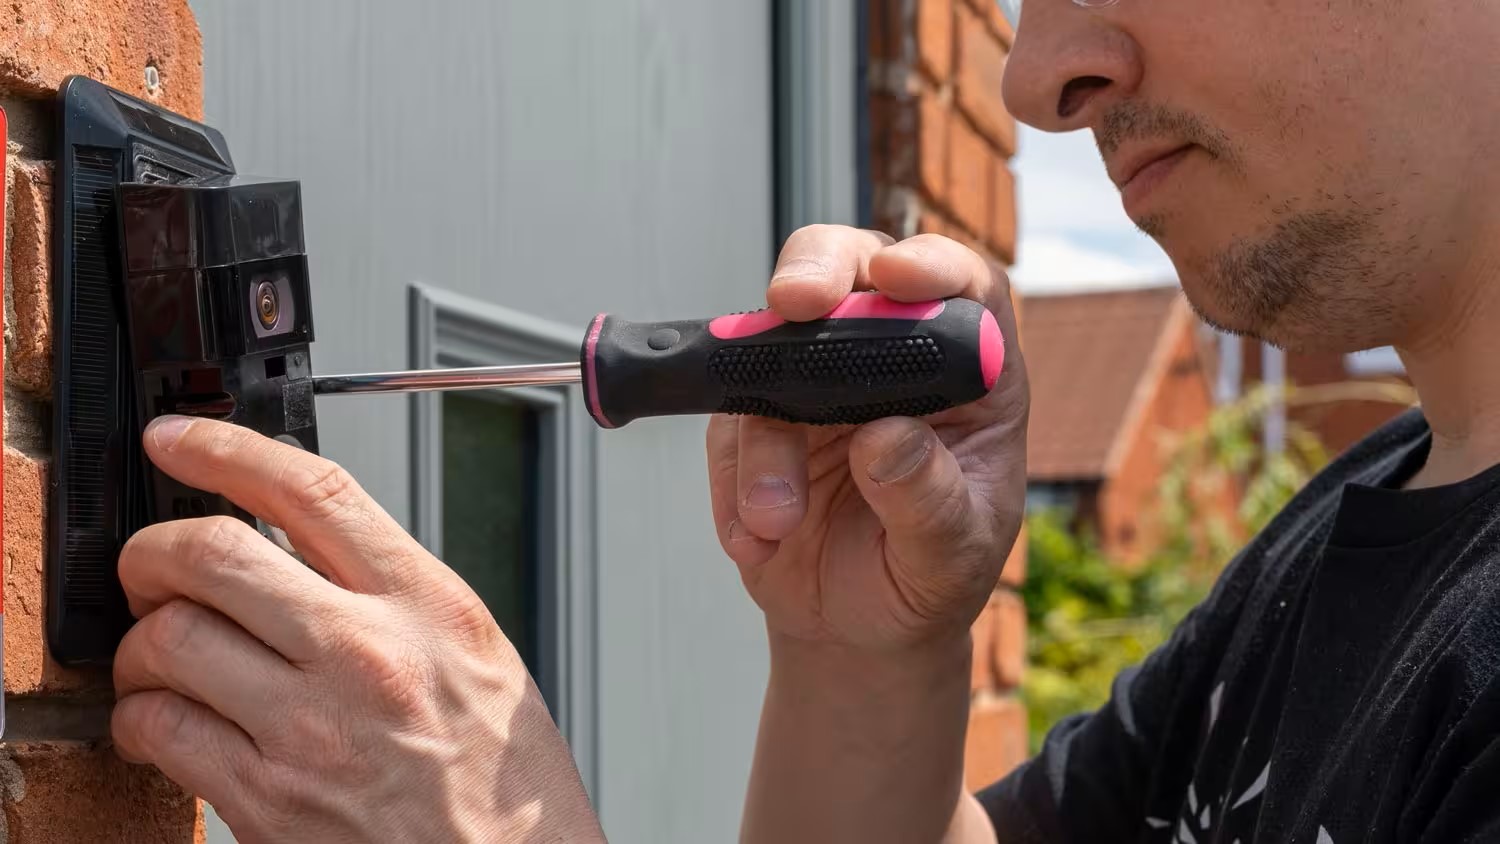
Step 6: Connecting Wires (if applicable)
If you’re installing a wired Ring Doorbell, this step is crucial for establishing the electrical connection. Follow these instructions to connect the doorbell wiring to the device:
- Start by turning off the power to the existing doorbell circuit at the breaker box. This will ensure your safety during the wiring process.
- Locate the doorbell transformer. It is usually mounted near the main electrical panel or in the attic. Disconnect the wires from the transformer and remove it from the mounting bracket. Replace it with the low voltage transformer provided with the Ring Doorbell, following the manufacturer’s instructions.
- Attach the doorbell wiring to the corresponding terminals on the low voltage transformer. The specific terminals may vary depending on the transformer model. Refer to the user manual for the correct wiring diagram.
- Route the other end of the doorbell wiring to the mounting bracket of the Ring Doorbell. Feed the wires through the provided hole or conduit, if available.
- Strip the ends of the doorbell wires to expose a small section of bare copper. Ensure that there is no fraying or damage to the wires.
- Connect each wire to its corresponding terminal on the back of the Ring Doorbell. Typically, this involves matching the colors or labels on the wires with the terminal markings.
- Ensure that the connections are tight and secure. Give the wires a gentle tug to confirm that they are firmly attached.
After connecting the wires, double-check that all the connections are correct and secure. Once confirmed, you can proceed to the next step: mounting the Ring Doorbell itself.
Note: If you’re not comfortable working with electrical wiring, it’s always best to seek the assistance of a qualified electrician or professional installer. Your safety should be the top priority during this step.
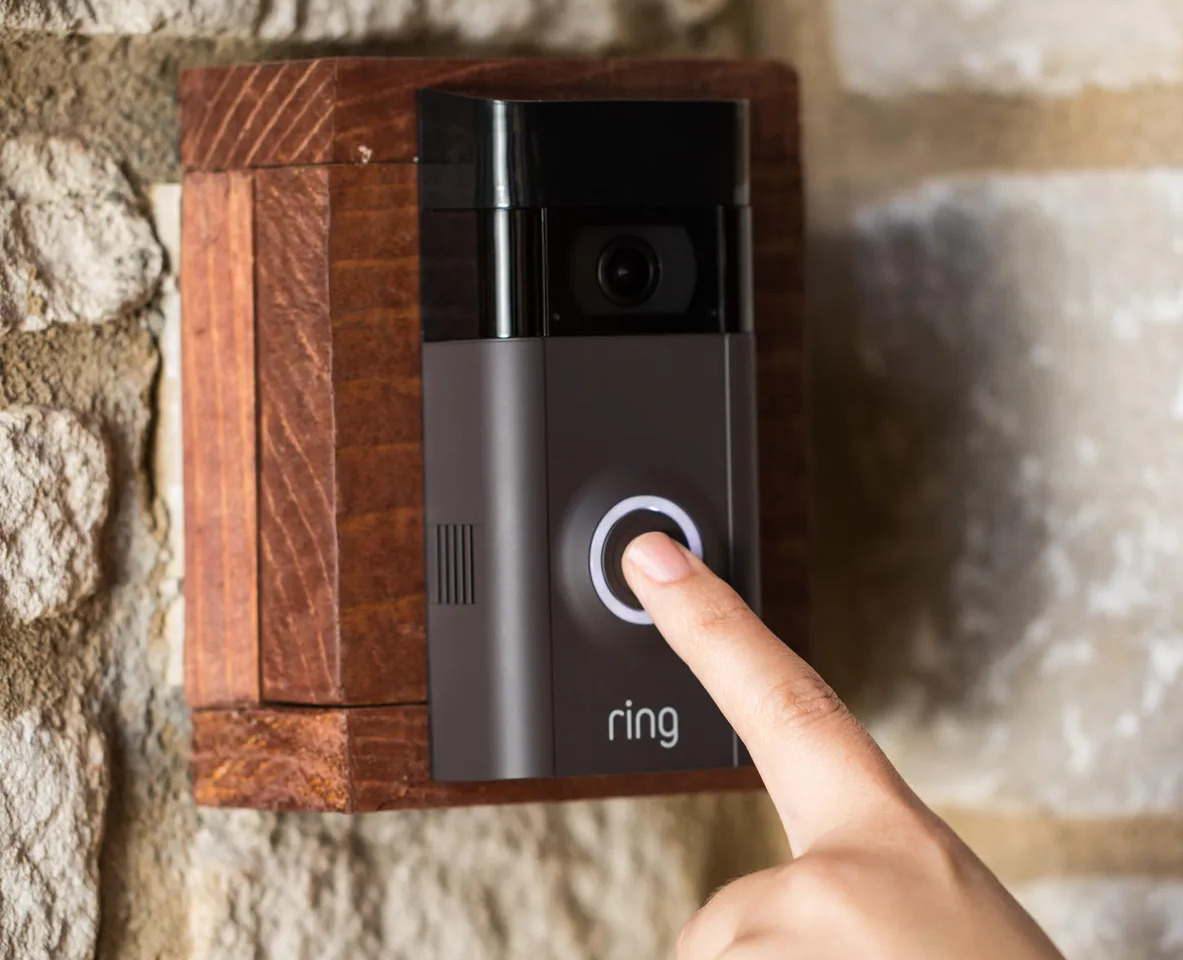
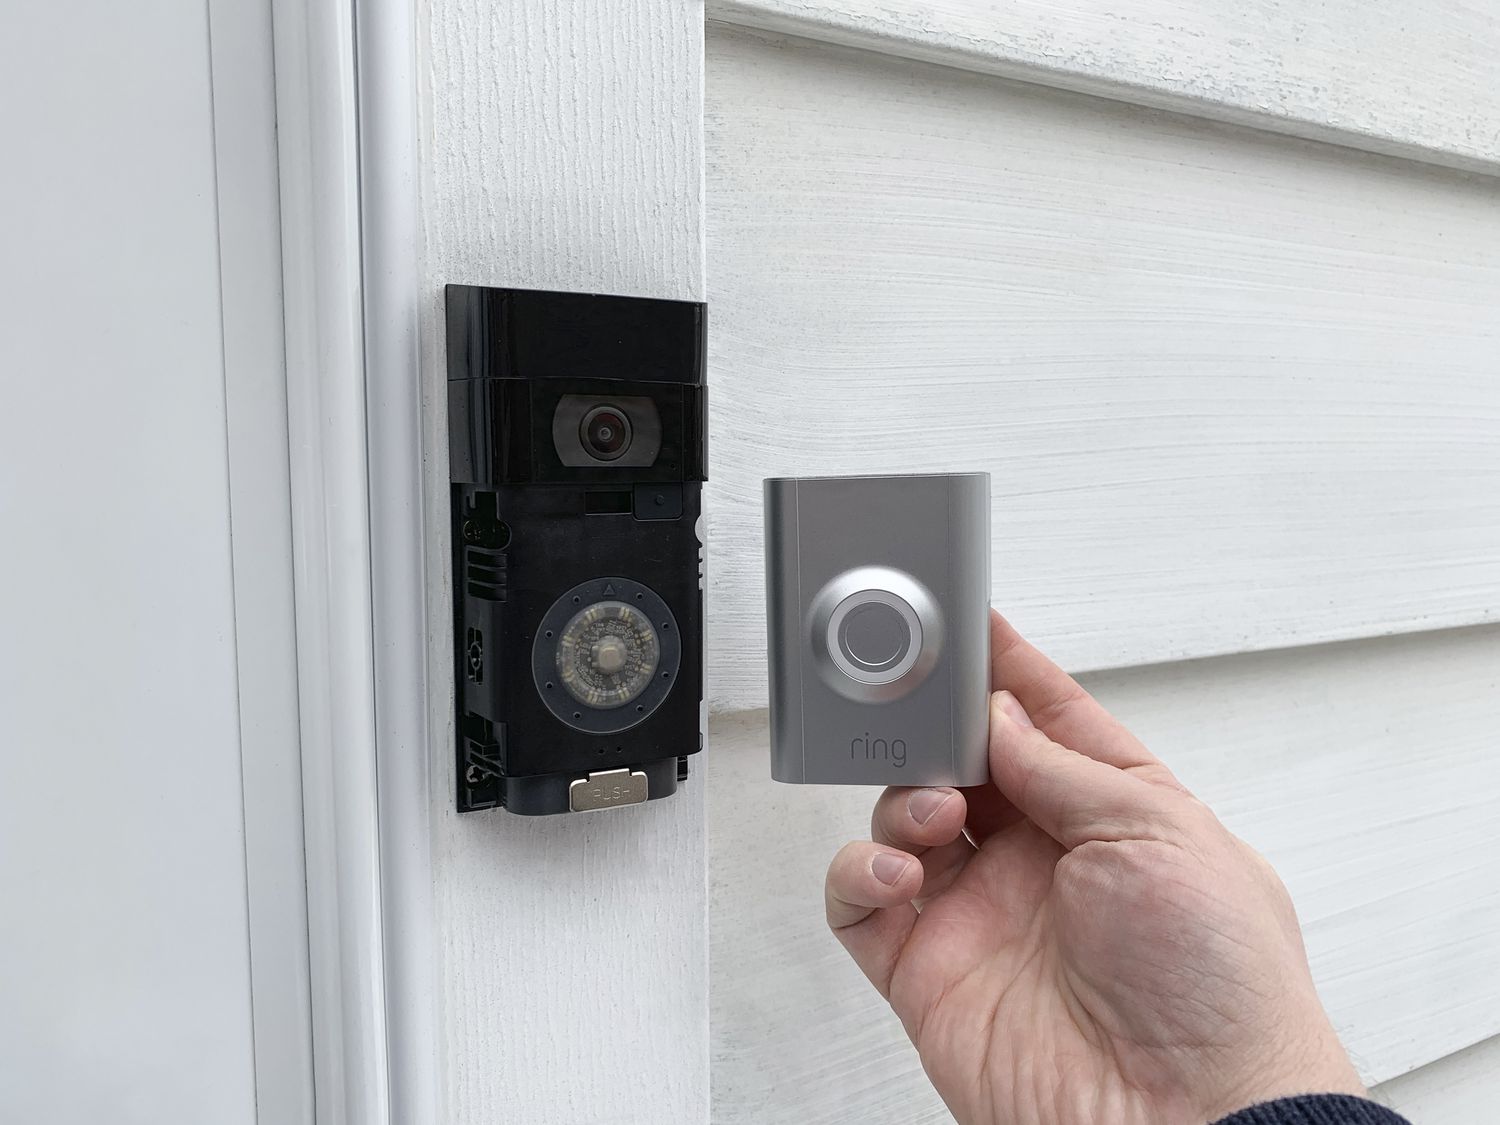
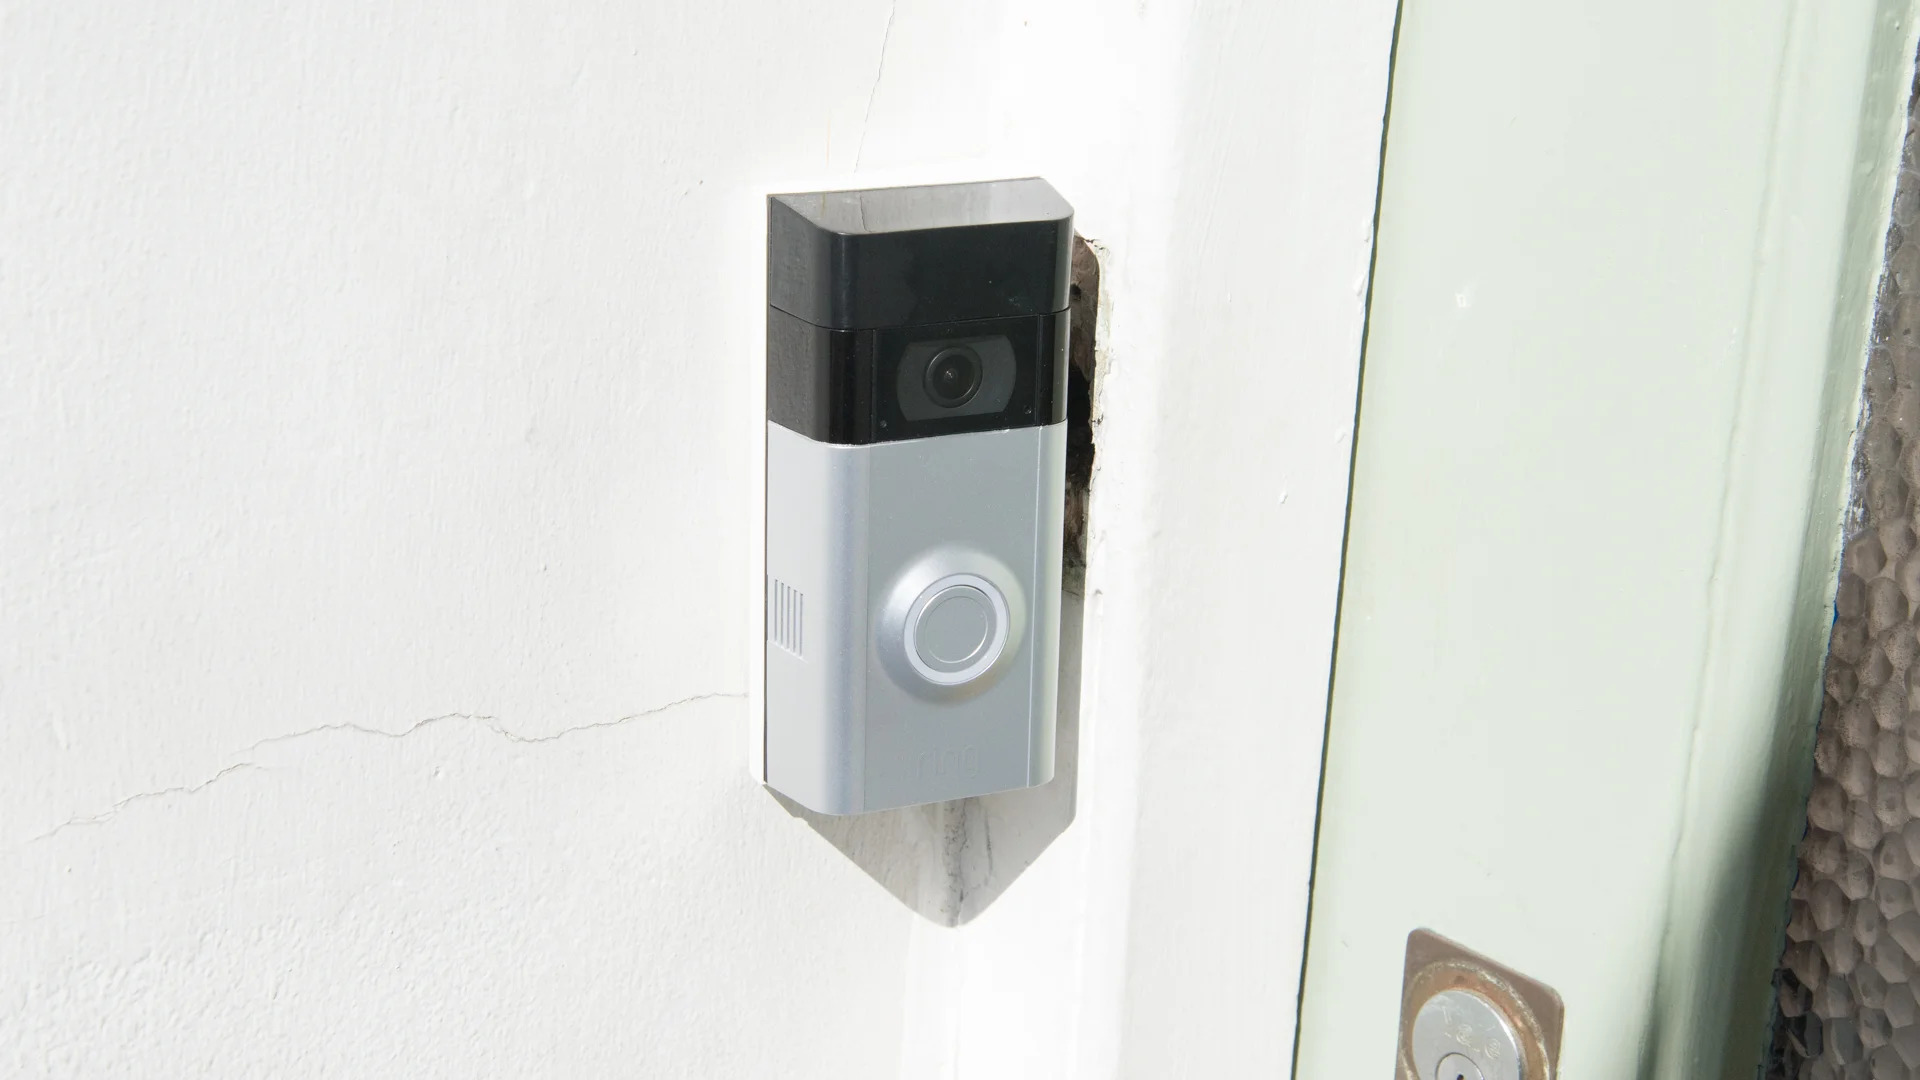
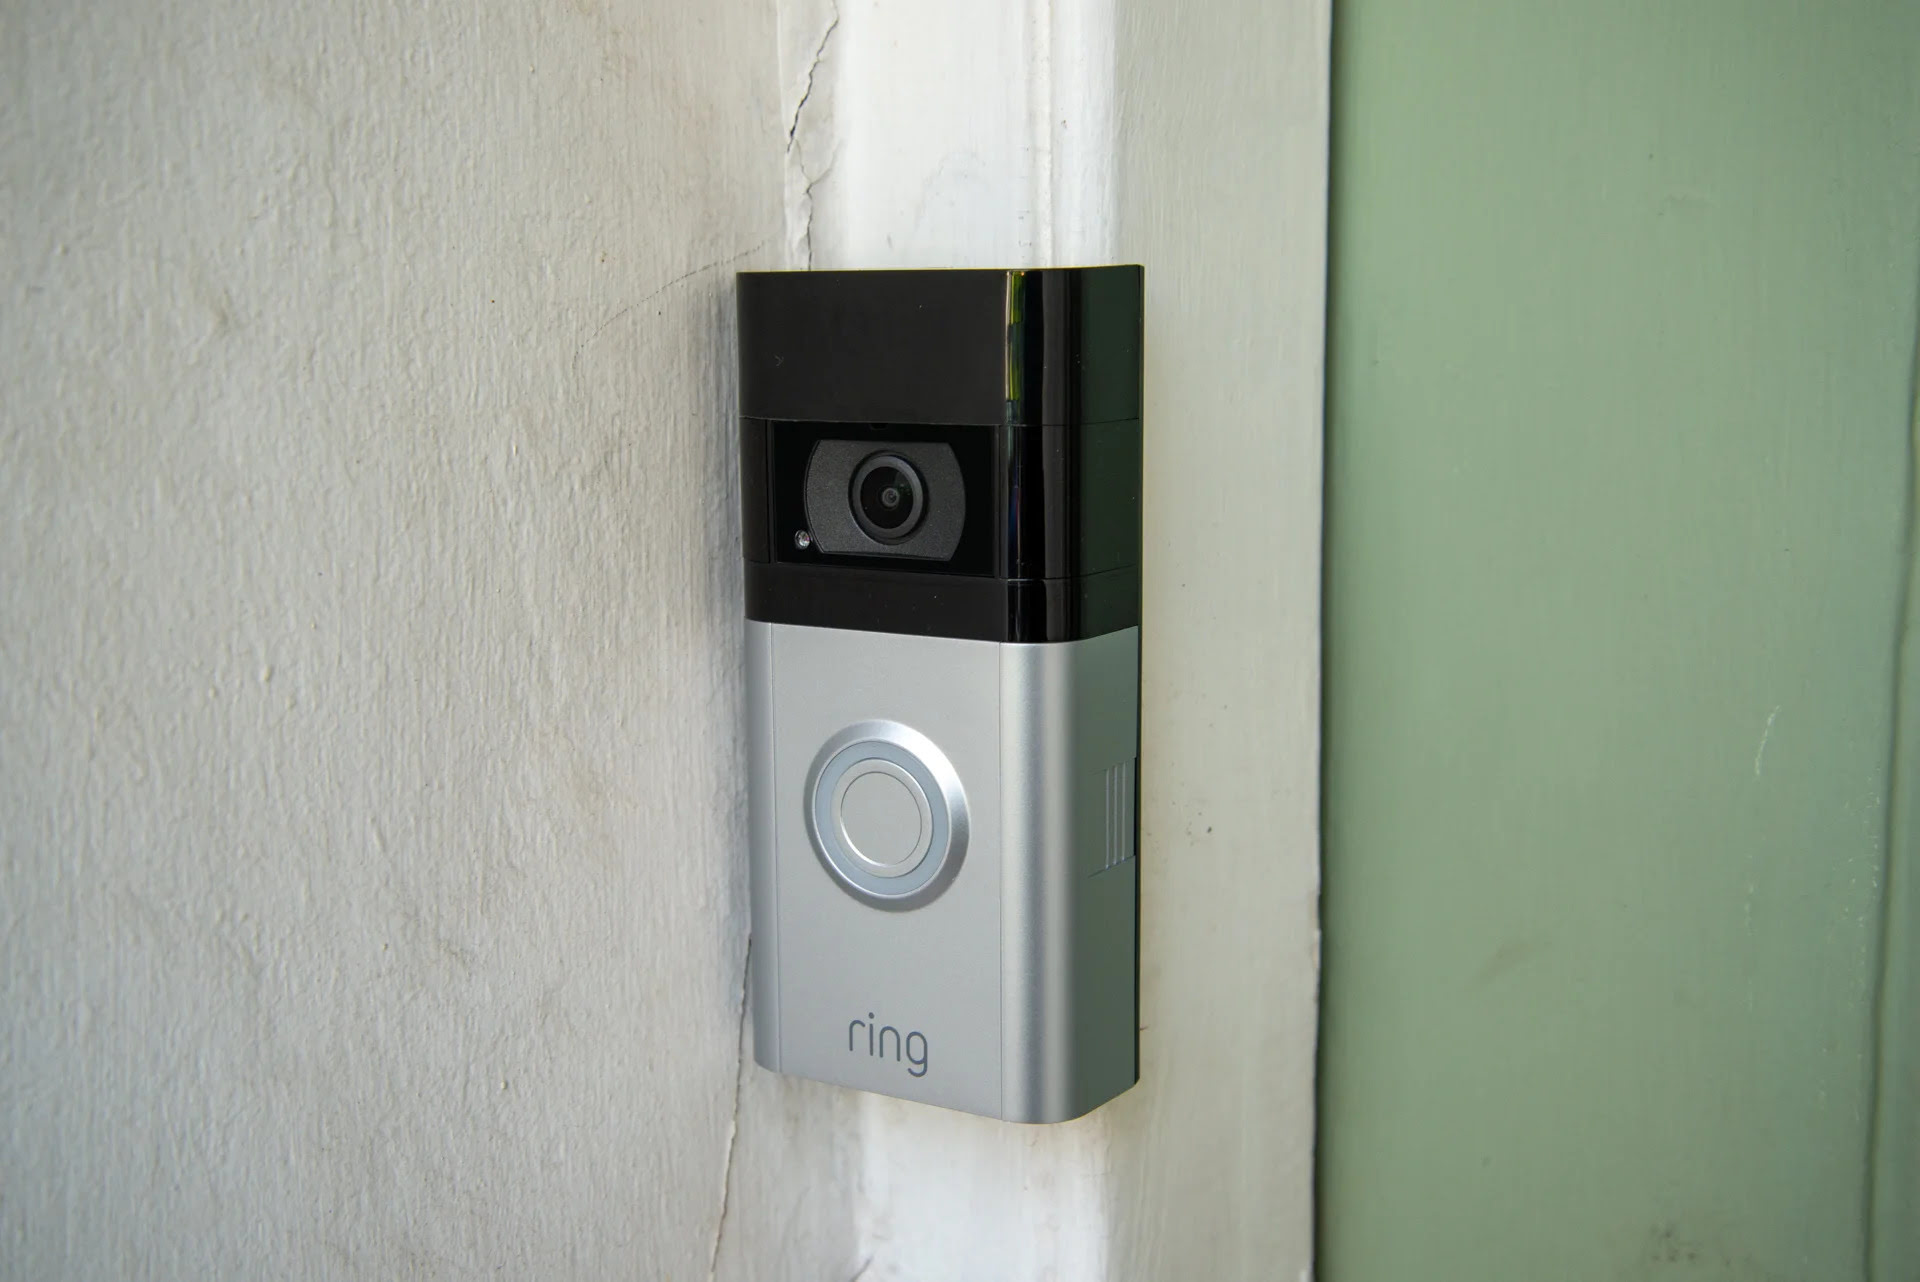
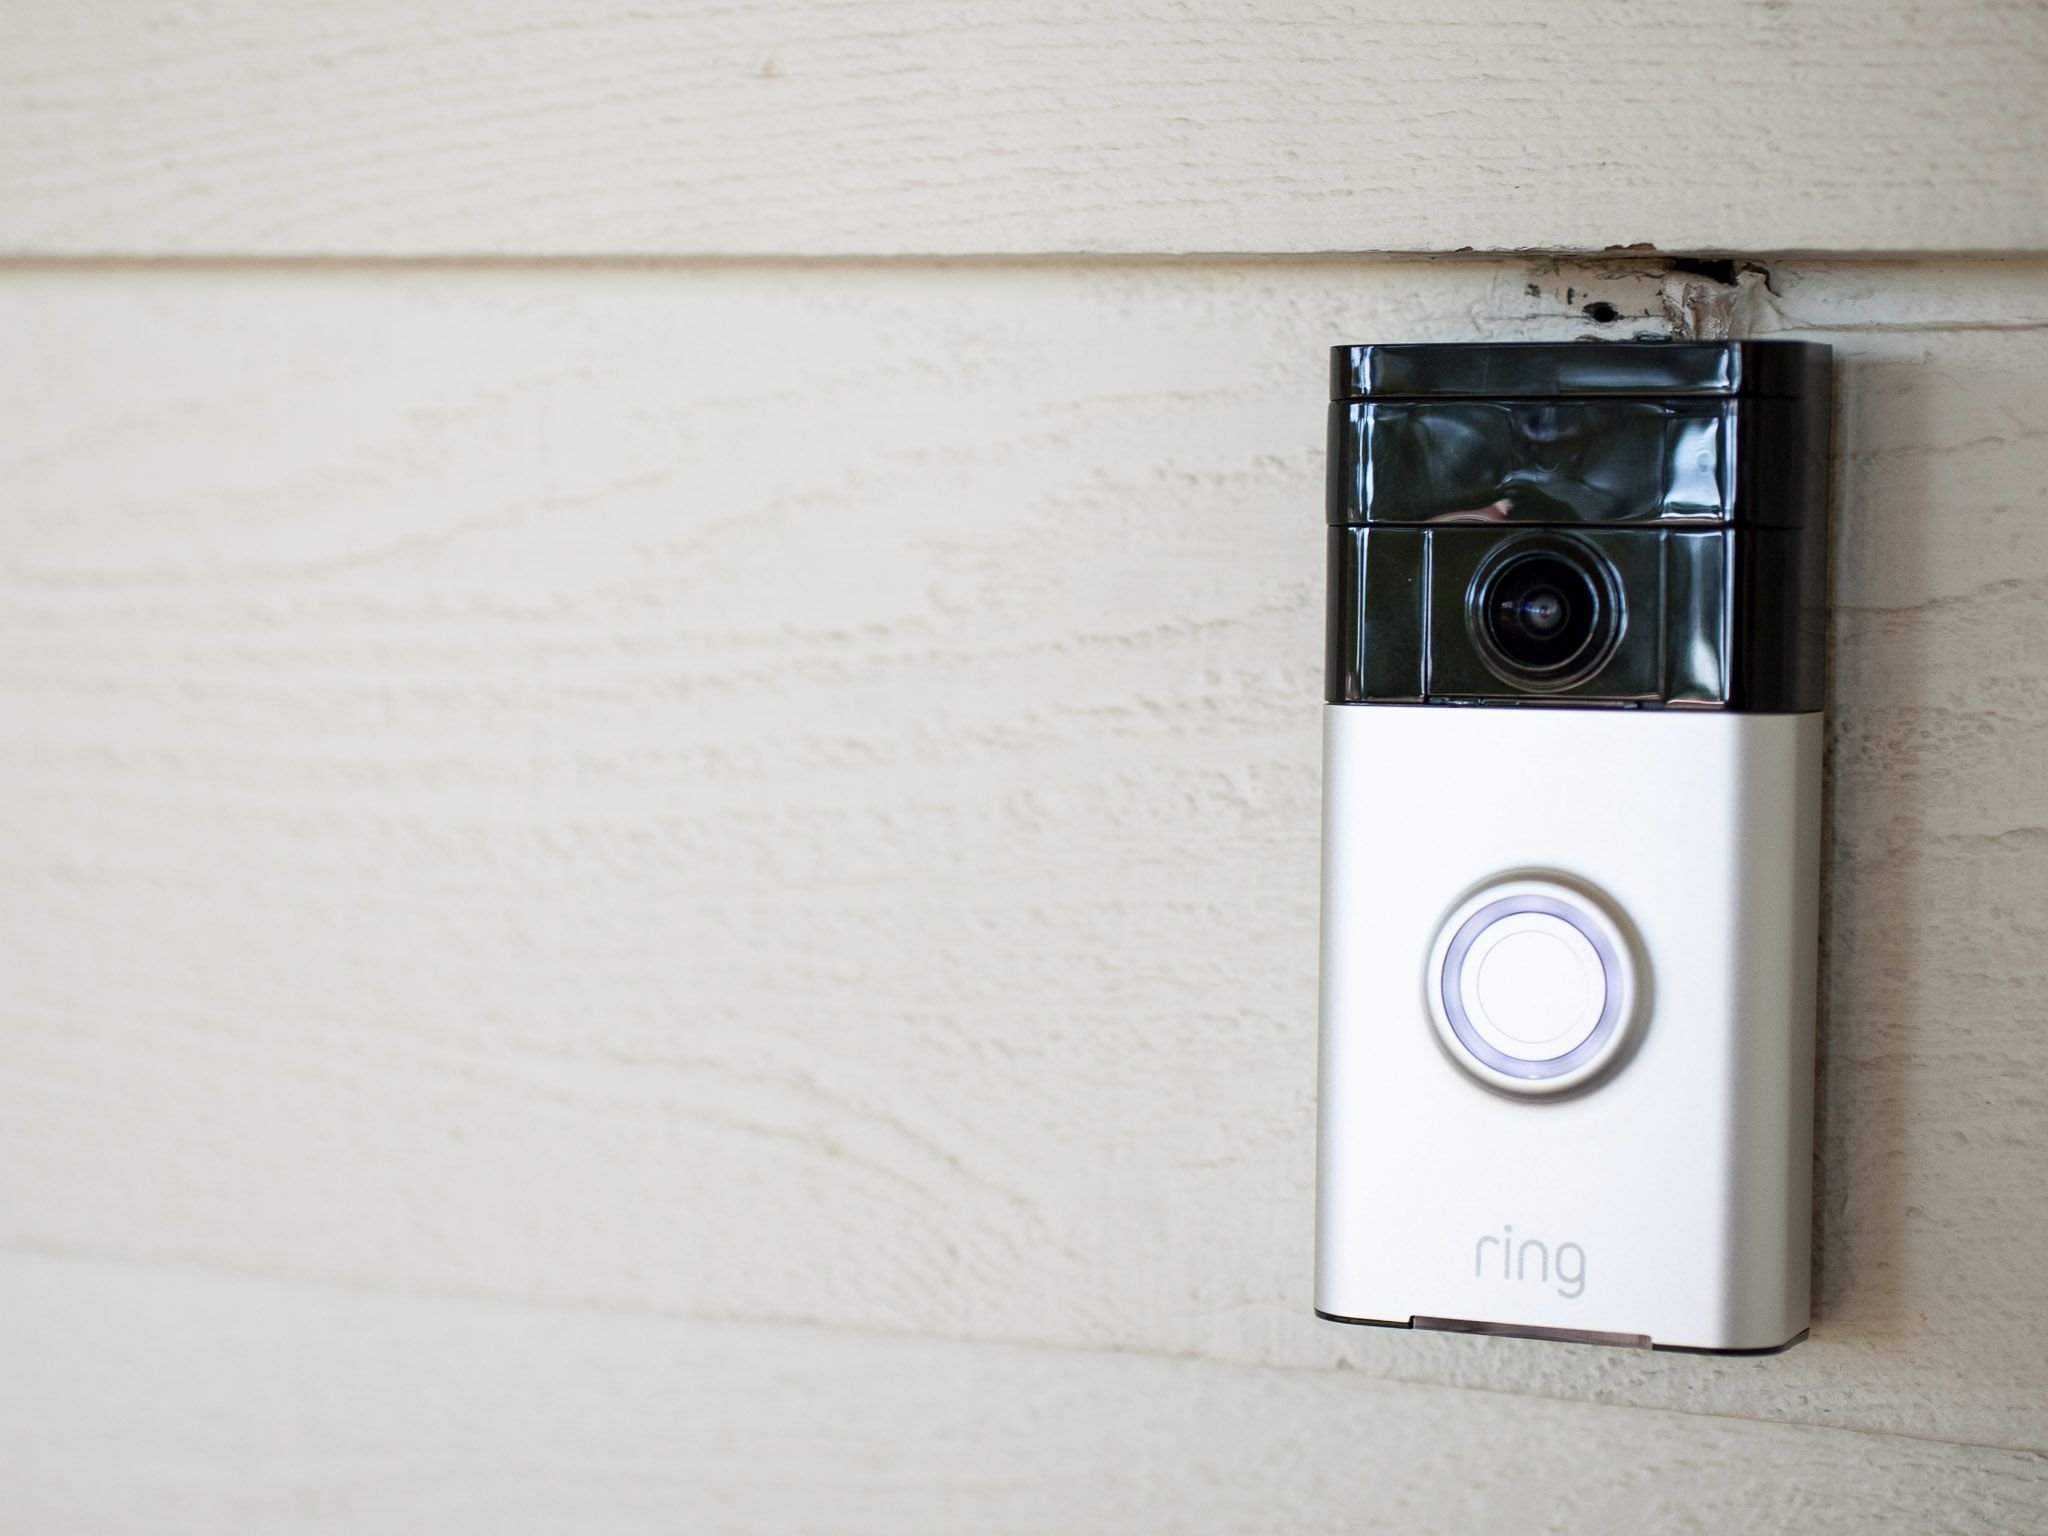
Step 7: Mounting the Ring Doorbell
With the mounting bracket attached and, if applicable, the wiring connected, it’s time to mount the Ring Doorbell onto the bracket. Follow these steps to ensure a secure and proper installation:
- Gently slide the Ring Doorbell onto the mounting bracket. Align the screw holes on the back of the device with the screws protruding from the bracket.
- Once aligned, use a screwdriver to tighten the screws and secure the Ring Doorbell onto the mounting bracket. Ensure that the device is level and properly aligned during this process.
- Double-check that the Ring Doorbell is securely mounted and does not wobble or move when lightly touched.
- If you’re installing a battery-powered Ring Doorbell, insert the fully charged battery into the device. Follow the manufacturer’s instructions for inserting and securing the battery.
- Ensure that the Ring Doorbell is powered on and functioning properly. Depending on the device model, you may need to press a button or follow specific instructions to activate it.
By securely mounting the Ring Doorbell, you ensure its stability and functionality. Take your time during this step to make any necessary adjustments for proper alignment and positioning.
Now that the Ring Doorbell is mounted, you’re almost done! The next step is to test and adjust the device to ensure optimal performance.
Read more: How To Install Ring Doorbell On Brick
Step 8: Testing and Adjusting
After completing the installation of the Ring Doorbell on your siding, it’s important to test and make any necessary adjustments to ensure its proper functionality. Follow these steps to test and adjust the device:
- Power on the Ring Doorbell and make sure it is connected to your Wi-Fi network. Use the corresponding mobile app or web portal to complete the setup process.
- Test the live view feature by accessing the camera feed through the app. Ensure that the camera captures a clear view of the area you want to monitor.
- Check the motion detection settings and sensitivity to ensure they are configured to your liking. Adjust the settings if necessary to prevent false alerts or to capture the desired range of motion.
- Test the two-way communication feature by speaking into the app and listening for the audio output from the Ring Doorbell. Make adjustments as needed to enhance the audio quality.
- Walk around the monitored area to test the motion detection and notifications. Verify that you receive prompt notifications when motion is detected, as configured in the settings.
- Make any necessary adjustments to the mounting angle or positioning of the Ring Doorbell to improve its field of view and optimize its performance. This may require loosening the mounting screws and repositioning the device.
- Ensure that the Ring Doorbell is securely mounted and that all connections are tight. Periodically check the device to prevent any loose screws or mounting issues.
By thoroughly testing and adjusting the Ring Doorbell, you can ensure that the device operates as intended. This will provide you with reliable security monitoring and convenient features for your home.
Congratulations! You have successfully installed and tested your Ring Doorbell on siding. Enjoy the benefits of enhanced security and convenience that this smart home device brings.
If you encounter any issues or require further assistance, consult the Ring Doorbell’s user manual or reach out to the manufacturer’s customer support for guidance.
Thank you for following this guide, and we wish you a seamless experience with your newly installed Ring Doorbell!
Conclusion
Installing a Ring Doorbell on your siding can greatly enhance the security and convenience of your home. By following the step-by-step guide outlined in this article, you have learned how to successfully install and set up your Ring Doorbell on siding.
Throughout the installation process, we covered essential steps such as preparing the doorbell and mounting bracket, choosing an installation location, marking the mounting holes, drilling pilot holes, attaching the mounting bracket, connecting wires (if applicable), mounting the Ring Doorbell itself, and testing and adjusting the device.
By gathering the right tools and materials, carefully marking the location, drilling pilot holes, attaching the bracket securely, and making proper wire connections, you have laid the foundation for a successful installation. Mounting the Ring Doorbell itself and testing its features, such as the live view, motion detection, and two-way communication, allows you to ensure optimal functionality.
Remember to frequently check the Ring Doorbell’s performance, make necessary adjustments, and keep it securely mounted. This will ensure that you can rely on its security features and enjoy the convenience it brings to your home.
If you encounter any difficulties during the installation or have questions, consult the user manual provided with your Ring Doorbell or reach out to the manufacturer’s customer support for assistance.
Congratulations on completing the installation of your Ring Doorbell on siding! Now, sit back, relax, and enjoy the enhanced security and peace of mind provided by this remarkable smart home device.
Frequently Asked Questions about How To Install Ring Doorbell On Siding
Was this page helpful?
At Storables.com, we guarantee accurate and reliable information. Our content, validated by Expert Board Contributors, is crafted following stringent Editorial Policies. We're committed to providing you with well-researched, expert-backed insights for all your informational needs.


0 thoughts on “How To Install Ring Doorbell On Siding”