Articles
How To Install Meross Garage Door Opener
Modified: February 23, 2024
Learn how to install a Meross garage door opener with our step-by-step articles. Discover tips and tricks for effortless installation and enjoy the convenience of a smart garage door opener.
(Many of the links in this article redirect to a specific reviewed product. Your purchase of these products through affiliate links helps to generate commission for Storables.com, at no extra cost. Learn more)
Introduction
Welcome to our guide on how to install the Meross Garage Door Opener! If you’re tired of manually opening and closing your garage door, or if you frequently find yourself wondering if you’ve left the garage door open, then this article is for you. The Meross Garage Door Opener is a smart device that allows you to control your garage door remotely, providing convenience and peace of mind.
With the Meross Garage Door Opener, you can easily open and close your garage door from anywhere using your smartphone. It also allows you to check the status of your garage door, so you’ll never have to worry about whether you left it open again. Additionally, you can schedule automatic door opening and closing times, as well as share access with family members or friends.
In this step-by-step guide, we will walk you through the process of installing the Meross Garage Door Opener. We’ll cover everything from gathering the required materials to configuring the settings on the Meross app. By the end of this article, you’ll be able to enjoy the convenience and security of a smart garage door opener.
Before we get started, please note that installation requirements may vary depending on your specific garage door opener model. It’s always a good idea to consult the product manual or contact the manufacturer if you have any questions or concerns.
Key Takeaways:
- Transform your traditional garage door into a smart and connected one with the Meross Garage Door Opener. Enjoy convenience, control, and peace of mind by remotely operating and monitoring your garage door from anywhere.
- The Meross app provides a user-friendly interface to customize settings, set up automatic schedules, receive notifications, and share access with family and friends. Keep your smart garage door opener updated for optimal performance and added convenience.
Step 1: Gather the Required Materials
Before you begin the installation process, it’s important to gather all the necessary materials. Here’s a checklist of what you’ll need:
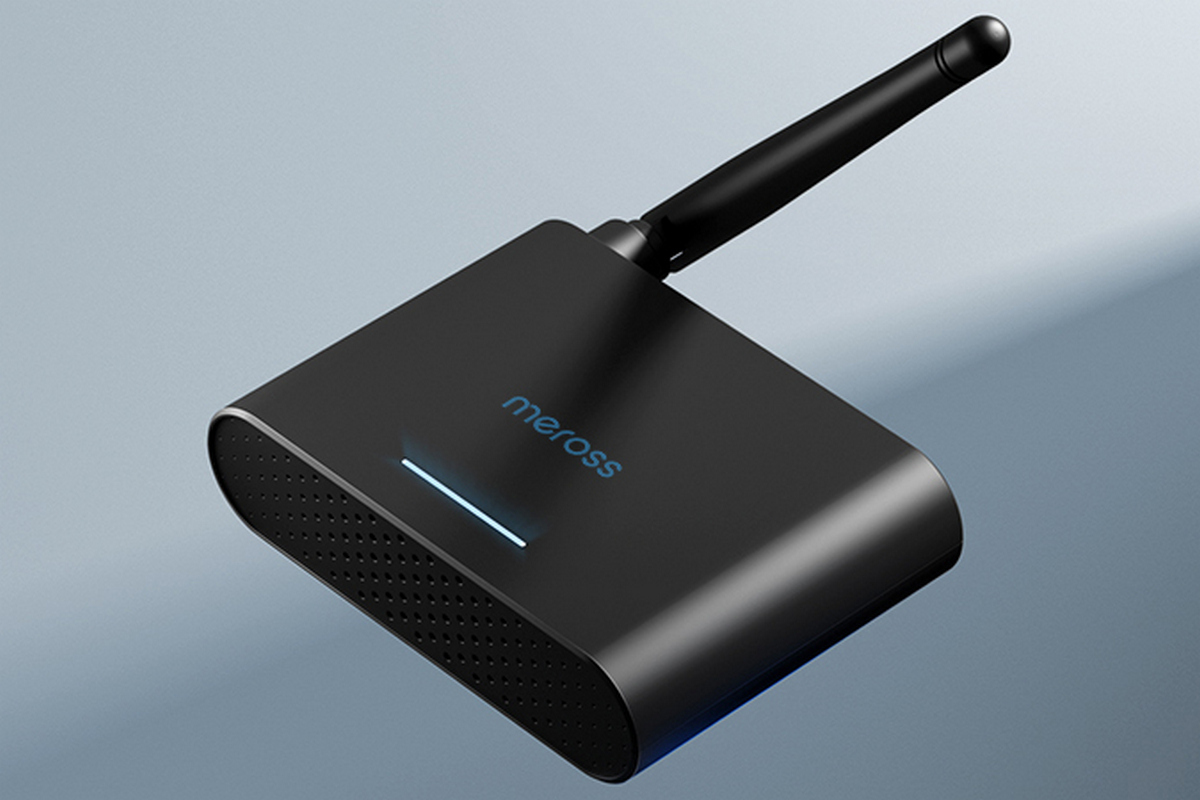
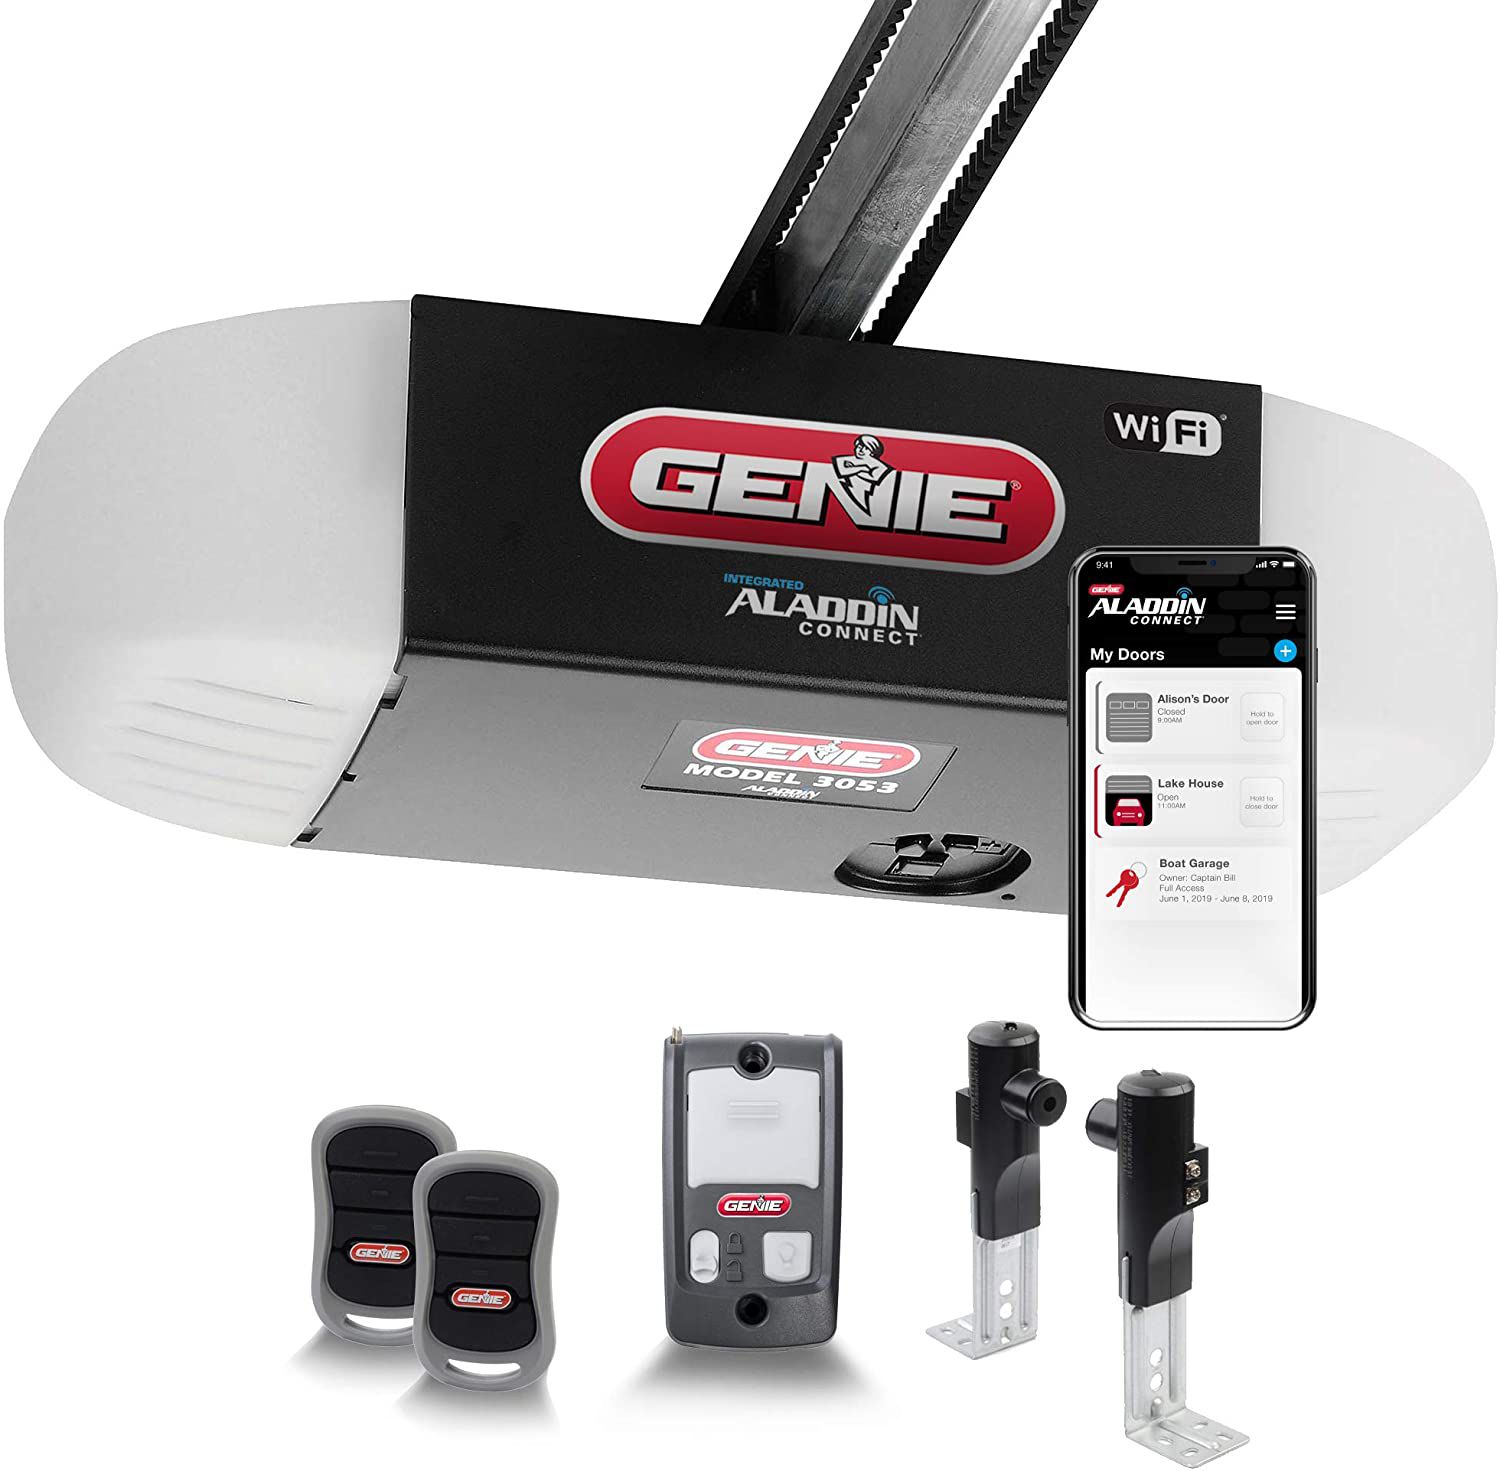
- Meross Garage Door Opener
- Mounting brackets and screws
- Power drill
- Screwdriver
- Wire nuts
- Wire strippers
- Wi-Fi router
- Smartphone or tablet
- Stable internet connection
Make sure you have all these items available before you start the installation. It’s also a good idea to review the Meross Garage Door Opener’s product manual to familiarize yourself with the specific installation requirements and any additional tools that may be needed.
Once you have gathered all the materials, you are ready to move on to the next step of the installation process.
Step 2: Prepare the Garage Door Opener
Before installing the Meross Garage Door Opener, you need to prepare your existing garage door opener for the integration. Here’s what you need to do:
- Shut off the power: Begin by disconnecting the power to your garage door opener. This ensures your safety during the installation process.
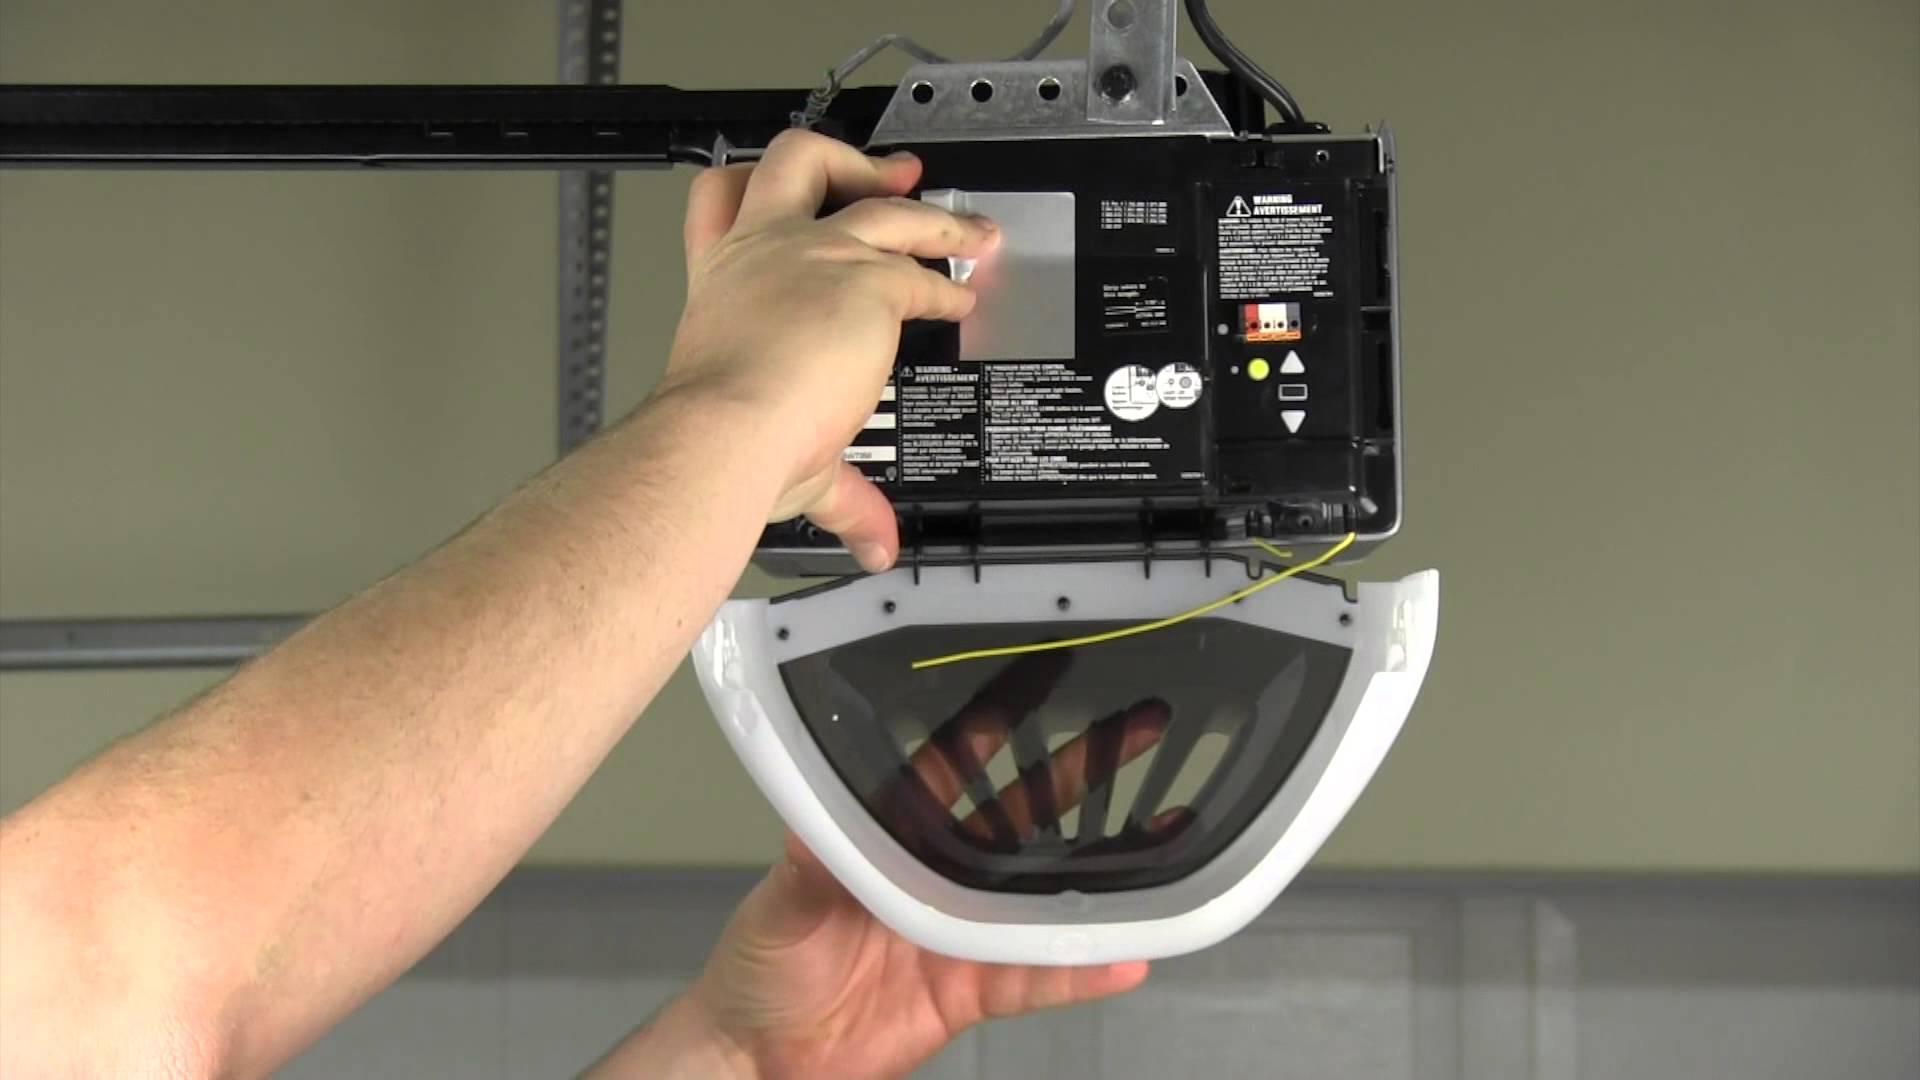
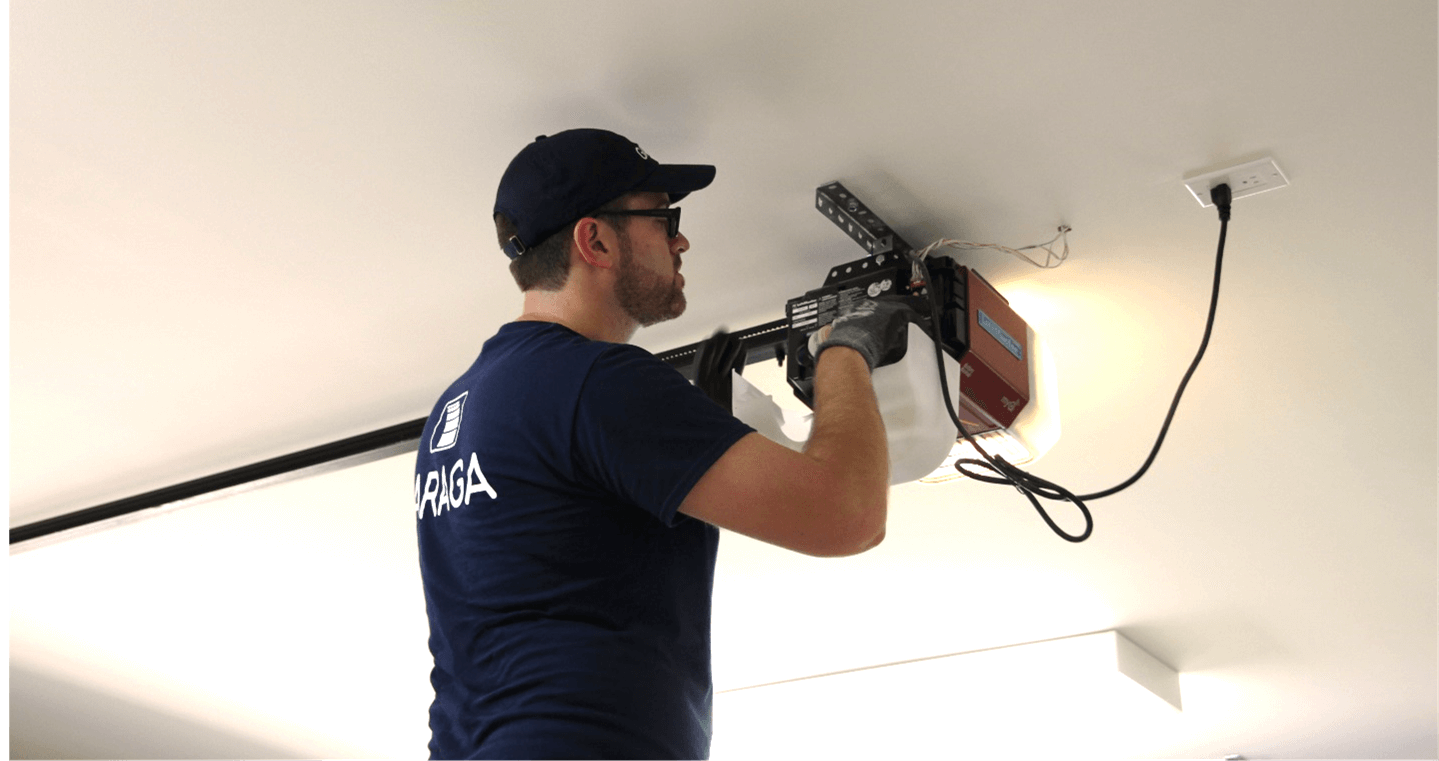
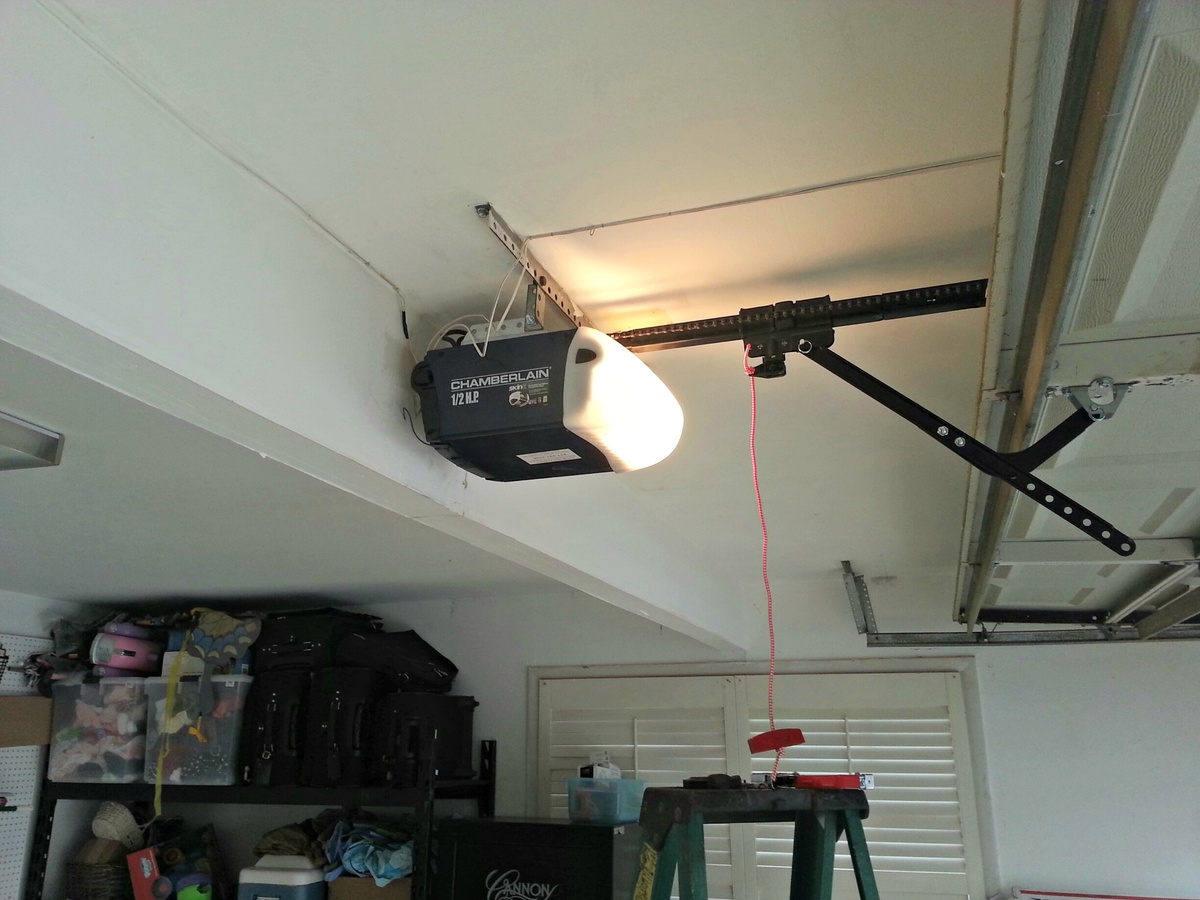
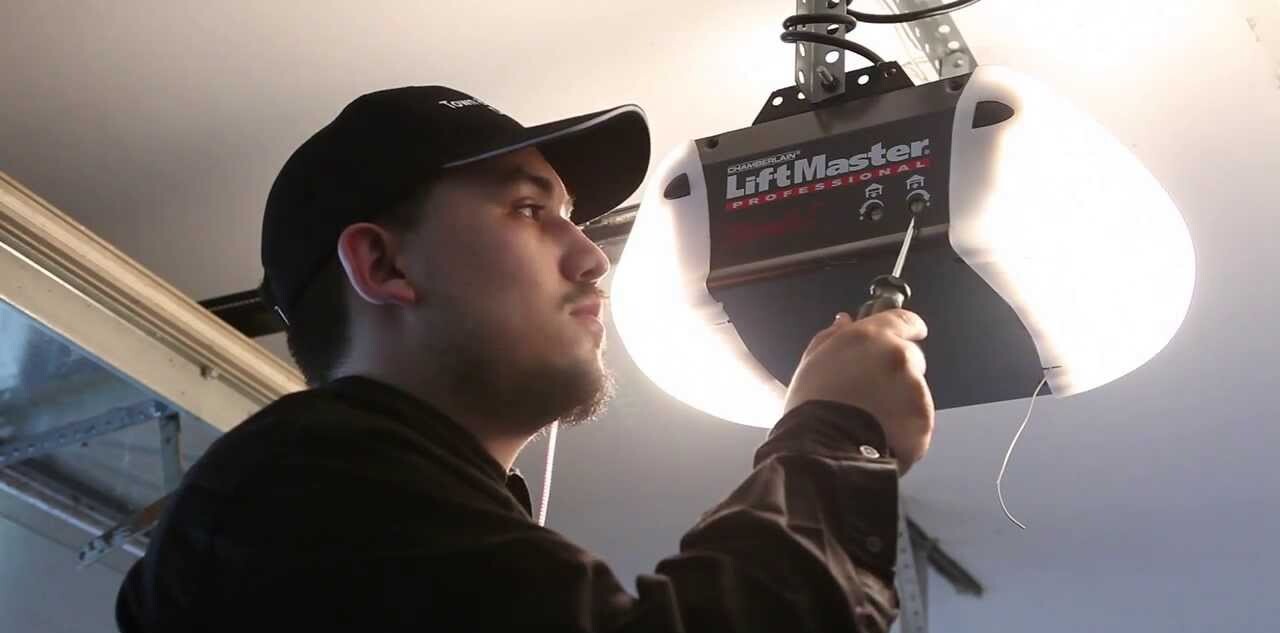
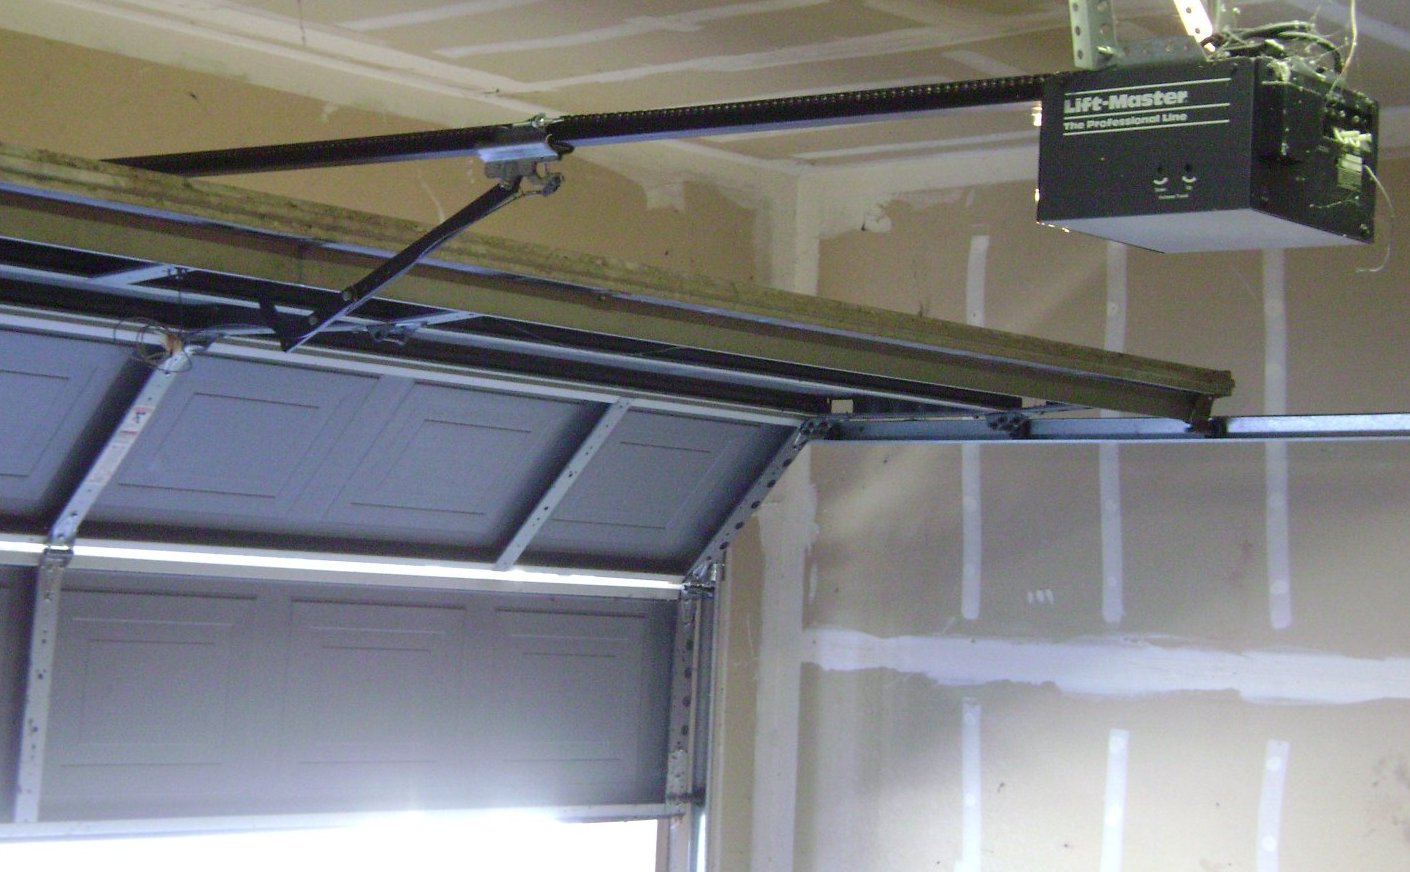
- Locate the control panel: Find the control panel of your existing garage door opener. This is usually located on the ceiling near the garage door motor.
- Identify the wires: Take note of the wires connected to your garage door opener’s control panel. You will be connecting the Meross Garage Door Opener to these wires during the installation.
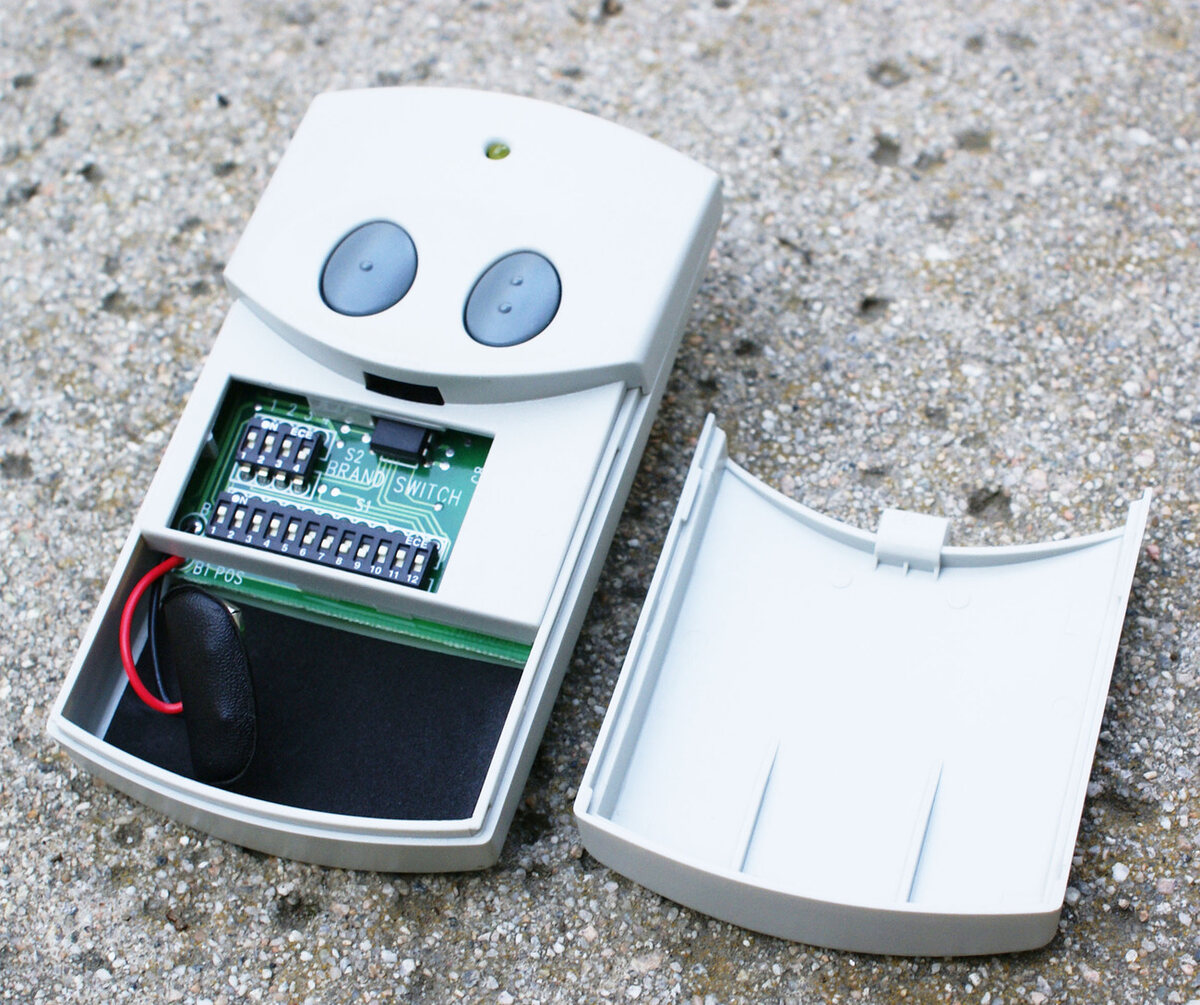
- Remove any existing accessories: If you have any existing accessories connected to your garage door opener, such as remote keypads or wall buttons, disconnect them from the control panel.
- Label the wires: To make the installation process easier, label or take a photo of the wires connected to your garage door opener’s control panel. This will help you identify them later when connecting them to the Meross Garage Door Opener.
Once you have prepared your garage door opener, you are now ready to move on to the next step of the installation process: installing the Meross Garage Door Opener itself.
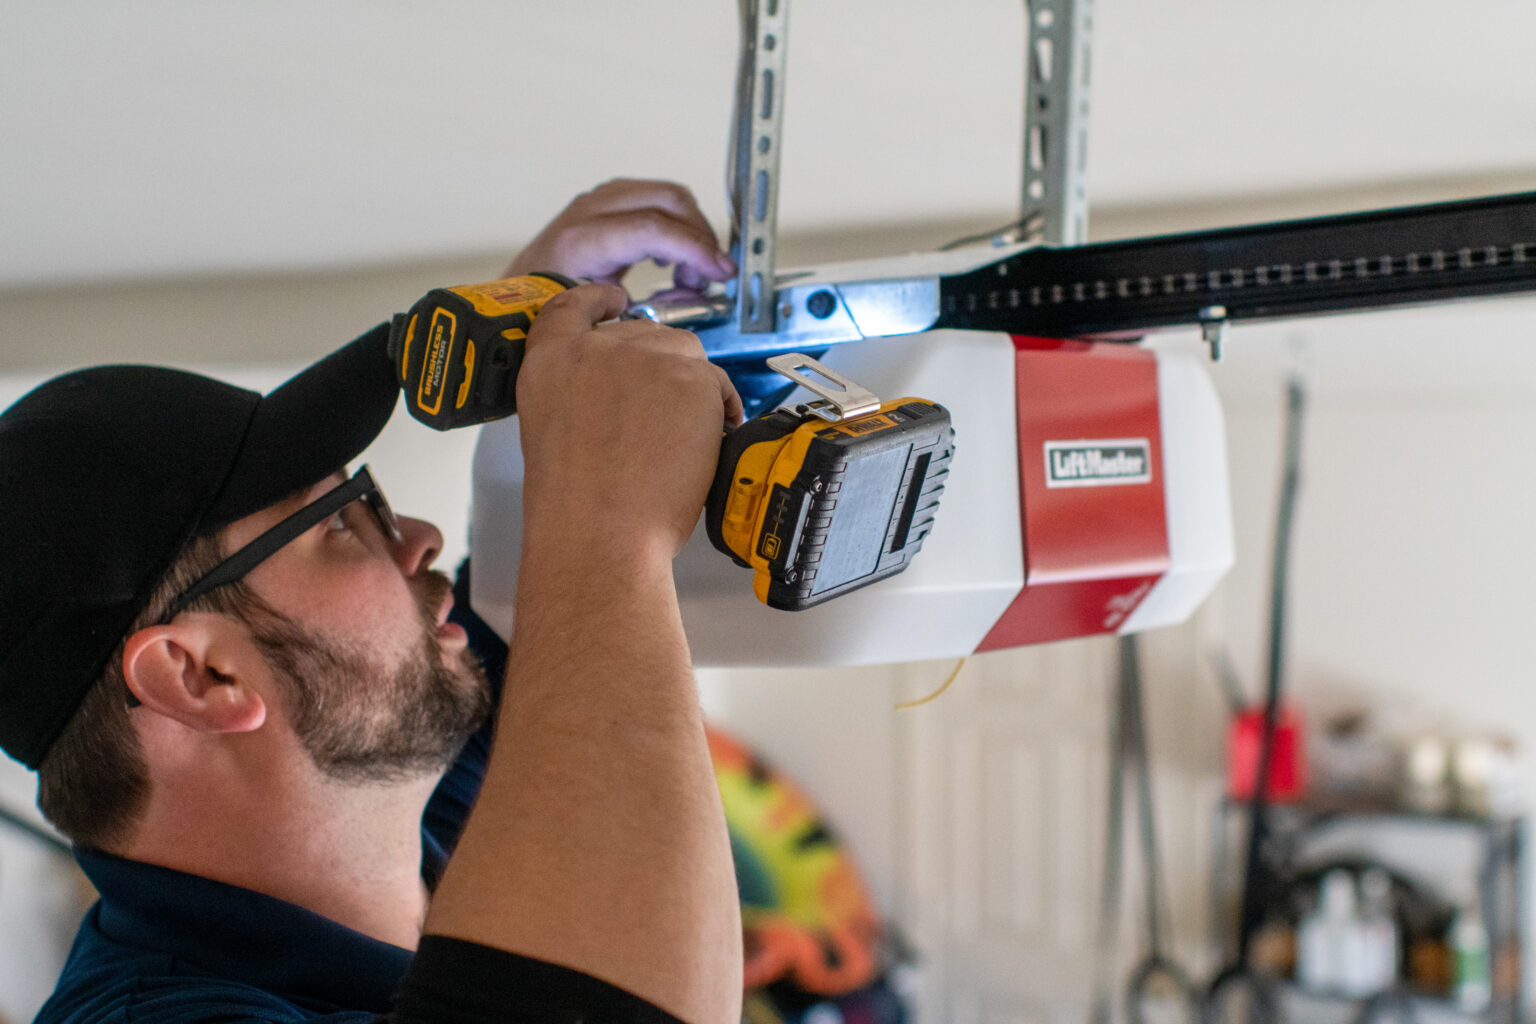
Step 3: Install the Meross Garage Door Opener
Now that you have prepared your garage door opener, it’s time to install the Meross Garage Door Opener. Follow these steps to ensure a successful installation:
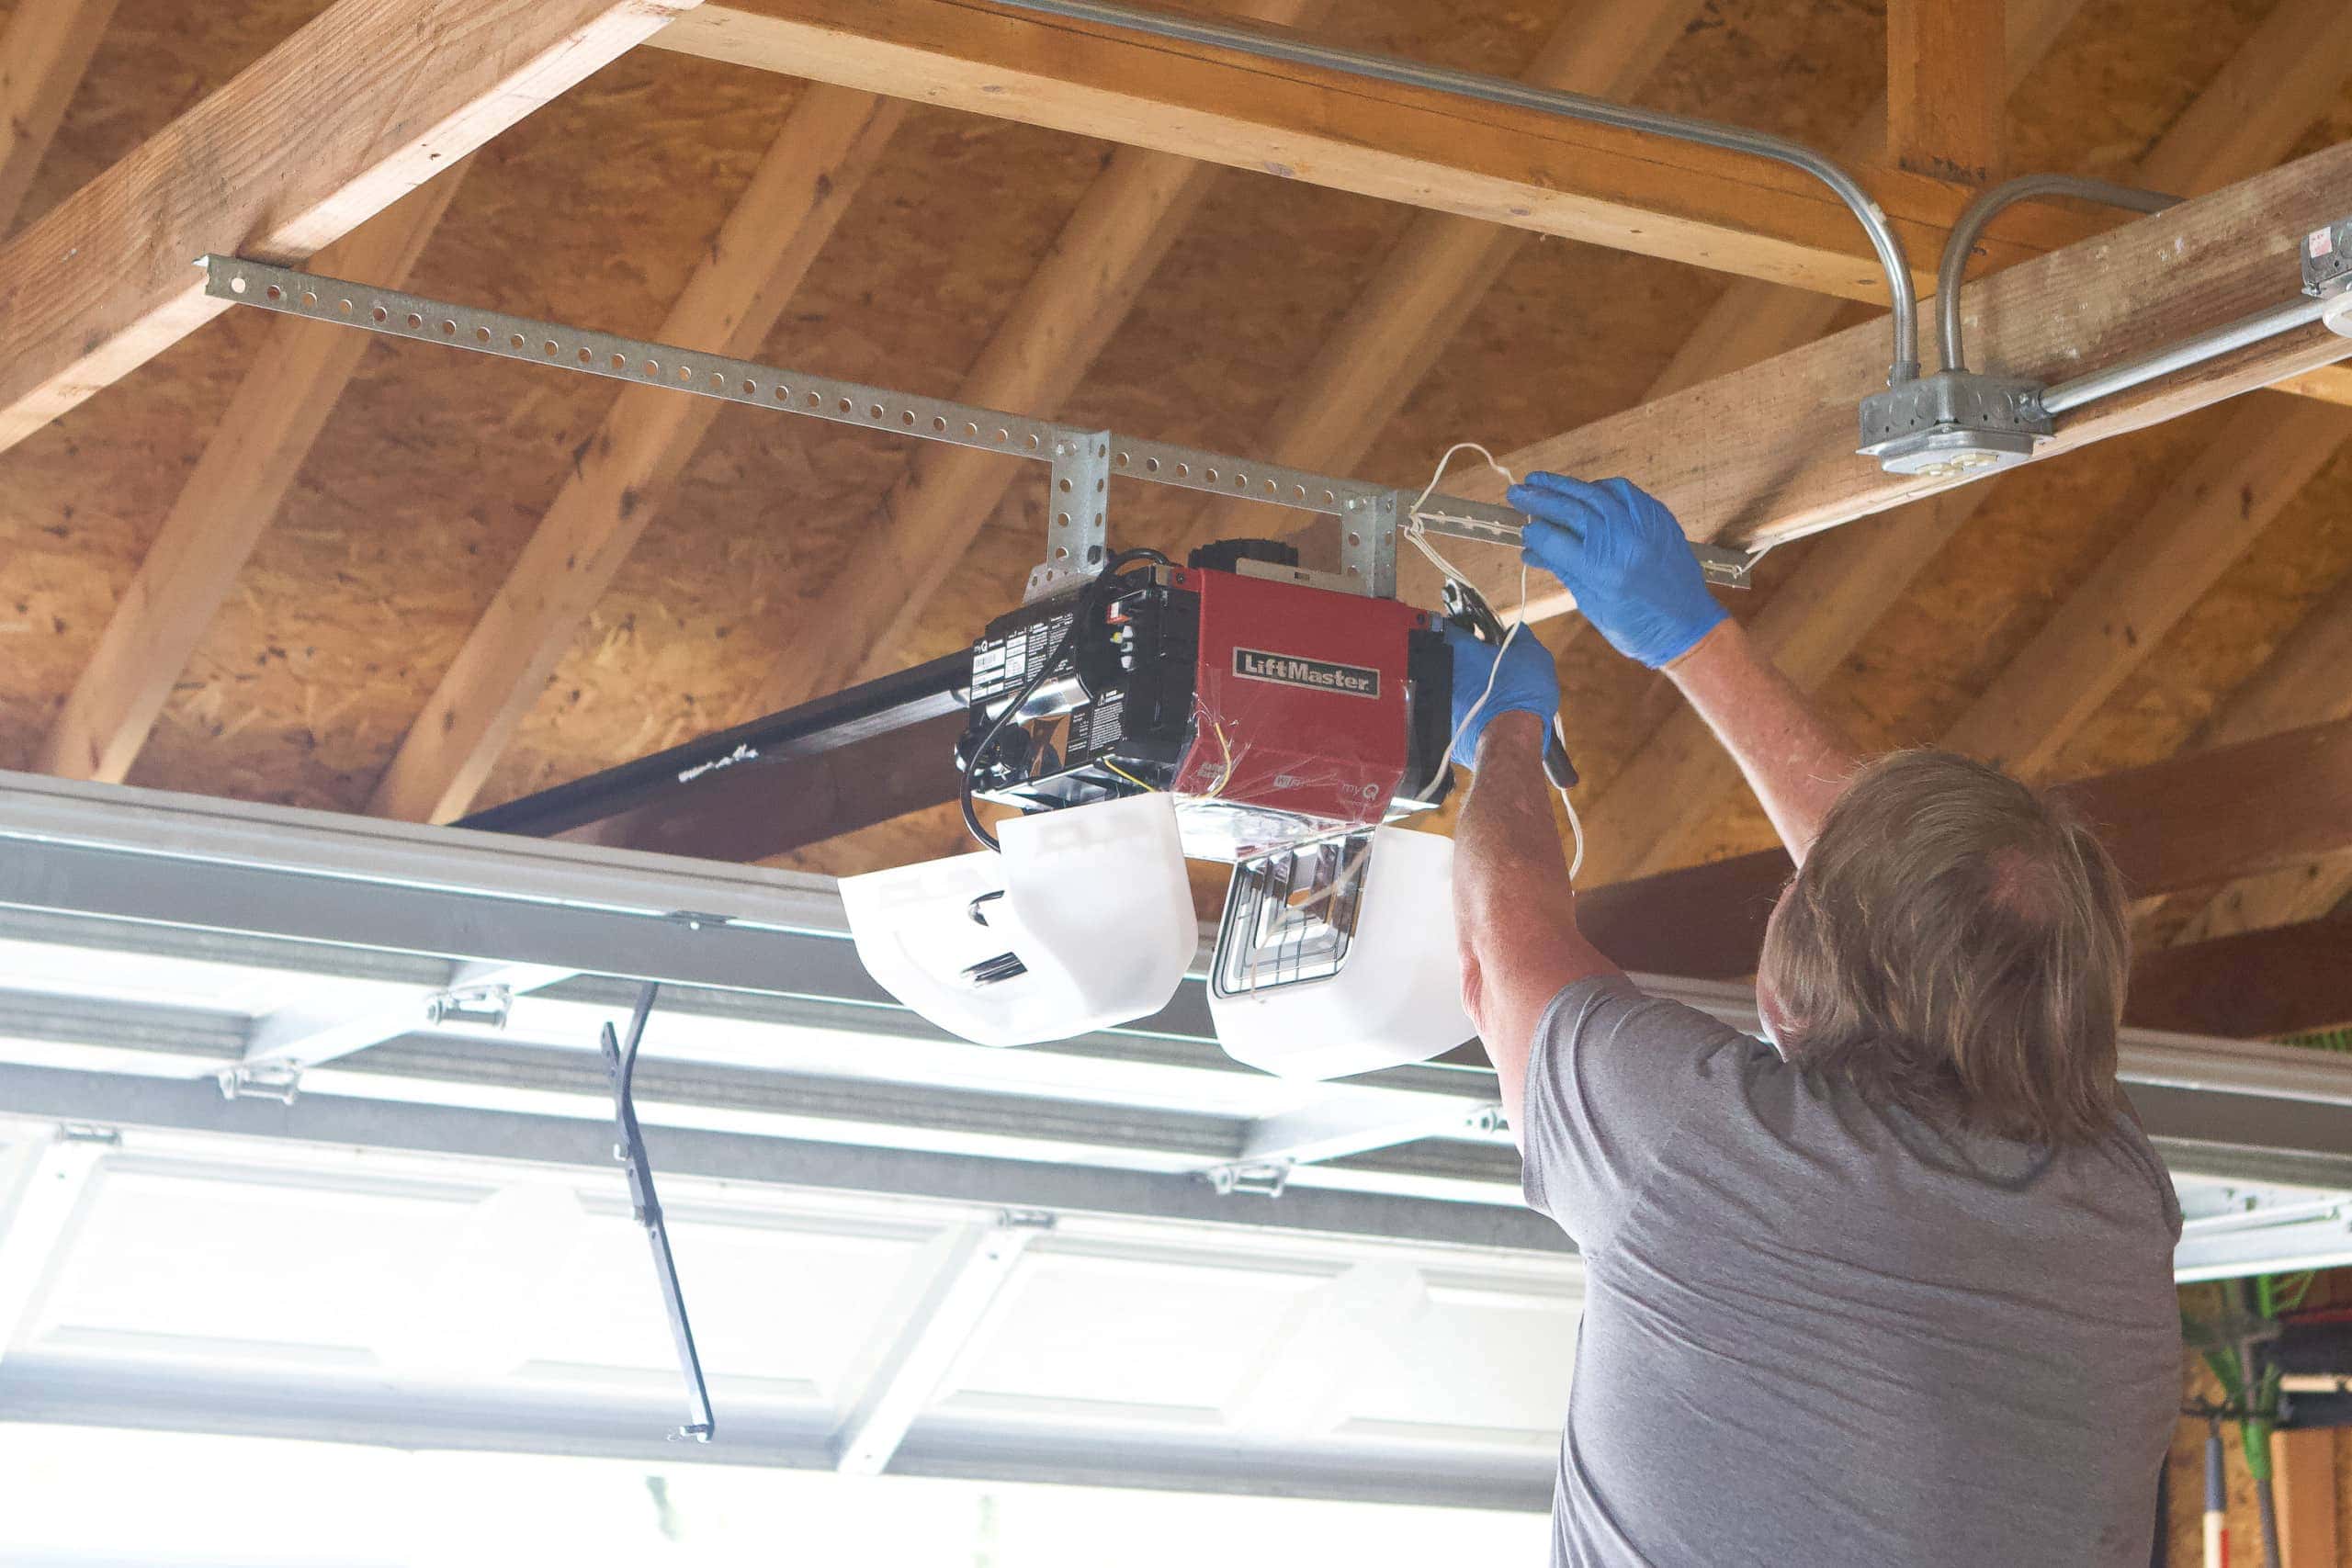
- Choose a suitable location: Find a suitable location on the ceiling in close proximity to your garage door opener’s motor. Make sure there is enough space to securely mount the Meross Garage Door Opener.
- Mounting the opener: Use the provided mounting brackets and screws to securely attach the Meross Garage Door Opener to the ceiling or wall. Make sure it is mounted in a position that allows for easy access and operation.
- Connect the wires: Using the labeled or identified wires from Step 2, carefully connect them to the corresponding terminals on the Meross Garage Door Opener. Ensure that the wires are securely fastened using wire nuts.
- Secure the wires: Once the wires are connected, neatly organize them and secure them to the ceiling or wall using clips or cable ties. This will prevent any loose wires from interfering with the operation of the garage door opener.
- Double-check the connections: Before proceeding, double-check all the wire connections to ensure they are properly secured. Loose or incorrect connections can affect the functionality of the Meross Garage Door Opener.
Once you have completed these steps, you have successfully installed the Meross Garage Door Opener. The next step is to connect it to your Wi-Fi network.
Step 4: Connect to a Wi-Fi Network
After installing the Meross Garage Door Opener, the next step is to connect it to your Wi-Fi network. This will allow you to control your garage door remotely using the Meross app. Follow these steps to connect the garage door opener to your Wi-Fi:
- Power on the garage door opener: Turn on the power to the Meross Garage Door Opener. You should see an LED light indicating that it is ready to connect.
- Open the Meross app: Open the Meross app on your smartphone or tablet. If you haven’t done so already, download the app from the App Store (for iOS) or the Google Play Store (for Android).
- Create a Meross account: If you don’t already have an account, create one by following the on-screen instructions in the app. If you have an existing account, simply sign in.
- Add a new device: In the app, navigate to the “Devices” section and tap on “Add Device”. Follow the prompts to add the Meross Garage Door Opener to your account.
- Enter Wi-Fi credentials: When prompted, enter your Wi-Fi network name (SSID) and password in the app. This will allow the Meross Garage Door Opener to connect to your home network.
- Connect the garage door opener: Wait for the app to establish a connection between the Meross Garage Door Opener and your Wi-Fi network. This may take a few moments. Once connected, you will see a confirmation message in the app.
Congratulations! You have successfully connected the Meross Garage Door Opener to your Wi-Fi network. You are now ready to download and set up the Meross app on your smartphone or tablet.
Before installing the Meross Garage Door Opener, ensure that your garage door is in good working condition and that you have a stable Wi-Fi connection in the area. This will help ensure a smooth installation process and reliable operation.
Read more: How To Open A Chamberlain Garage Door Opener
Step 5: Download and Set Up the Meross App
Now that you have connected the Meross Garage Door Opener to your Wi-Fi network, it’s time to download and set up the Meross app. The app allows you to control your garage door opener from your smartphone or tablet. Follow these steps to get started:
- Go to the App Store or Google Play Store: On your smartphone or tablet, open the respective app store for your device (App Store for iOS devices, Google Play Store for Android devices).
- Search for the Meross app: In the app store search bar, type in “Meross” and look for the official app developed by Meross Technology.
- Download and install the app: Tap on the “Install” button to download and install the Meross app onto your device. Wait for the installation process to complete.
- Launch the app: Once the app is installed, locate the Meross app icon on your device’s home screen and tap on it to open the app.
- Sign in to your account: If you already have a Meross account, enter your email address and password to sign in. If you don’t have an account, tap on “Sign Up” to create a new account.
- Grant necessary permissions: When prompted, grant the app the necessary permissions to access your device’s location and notifications. These permissions are required for some of the app’s features to work properly.
- Complete app setup: Follow the on-screen instructions in the app to complete the initial setup. This may include setting preferences, adjusting notification settings, and customizing the app’s interface to your liking.
Once you have completed these steps, you will have successfully downloaded and set up the Meross app on your device. You are now ready to configure the settings for your Meross Garage Door Opener.
Step 6: Configure the Garage Door Opener Settings
With the Meross app installed and set up, it’s time to configure the settings for your Meross Garage Door Opener. Follow these steps to customize the settings according to your preferences:
- Open the Meross app: Launch the Meross app on your smartphone or tablet. If you’re not already logged in, enter your Meross account credentials to access the app.
- Access the garage door opener settings: In the app’s main menu, locate and tap on the “Garage Door” or “Devices” section. This will take you to the settings page for your Meross Garage Door Opener.
- Configure open/close controls: In the settings page, you can customize how the garage door opener opens and closes. You can choose between “Tap-to-Open” or “Slide-to-Open” options, depending on your preference.
- Set up automatic schedules: If you want your garage door to open and close automatically at specific times, use the scheduling feature in the app. You can set daily or weekly schedules based on your needs.
- Enable notifications: By turning on notifications in the app, you will receive alerts on your smartphone or tablet whenever the garage door is opened, closed, or left open for an extended period.
- Add family and friends: If you want to grant access to other family members or friends, you can add them as users in the app. This allows them to control the garage door opener from their own devices.
- Explore additional features: Take some time to explore the other features and settings in the app. This may include options to integrate the garage door opener with voice assistants or other smart home devices.
- Save and apply the settings: Once you have configured the settings to your liking, remember to save and apply the changes. This ensures that your preferences are applied to the operation of the garage door opener.
By following these steps, you can customize the settings of your Meross Garage Door Opener to suit your needs and preferences. Enjoy the convenience and control provided by your new smart garage door opener!
Step 7: Test the Garage Door Opener
After completing the installation and configuration of your Meross Garage Door Opener, it’s important to test its functionality to ensure it’s working correctly. Follow these steps to test the garage door opener:
- Make sure everything is in order: Before starting the test, ensure that there are no obstructions or objects in the garage door’s path. Check that the garage door is properly balanced and moves smoothly along its tracks.
- Open the Meross app: Launch the Meross app on your smartphone or tablet and log into your account, if necessary.
- Select the garage door opener: Navigate to the “Garage Door” or “Devices” section in the app to access the controls for your Meross Garage Door Opener.
- Test the opening command: Tap on the “Open” button or the corresponding control option in the app to instruct the garage door opener to open the door. Observe the garage door to ensure it opens smoothly and fully.
- Test the closing command: Tap on the “Close” button to command the garage door opener to close the door. Watch carefully as the door closes, ensuring that it moves smoothly and securely locks.
- Check the status and notifications: After executing the opening and closing commands, check the app to confirm that it displays the correct status of the garage door (open or closed). If you have enabled notifications, ensure that you receive alerts for each action.
- Perform additional tests: Test other features and functions of the garage door opener, such as the automatic scheduling or sharing access with family and friends. Verify that these functions work as intended.
By following these steps and performing the necessary tests, you can confirm that your Meross Garage Door Opener is functioning properly. If you encounter any issues or abnormalities during the testing process, consult the product manual or contact Meross customer support for assistance.
Remember to keep the Meross app updated and periodically check for any firmware updates for your garage door opener. Regular maintenance and updates will help ensure the continued optimal performance of your smart garage door opener.
Conclusion
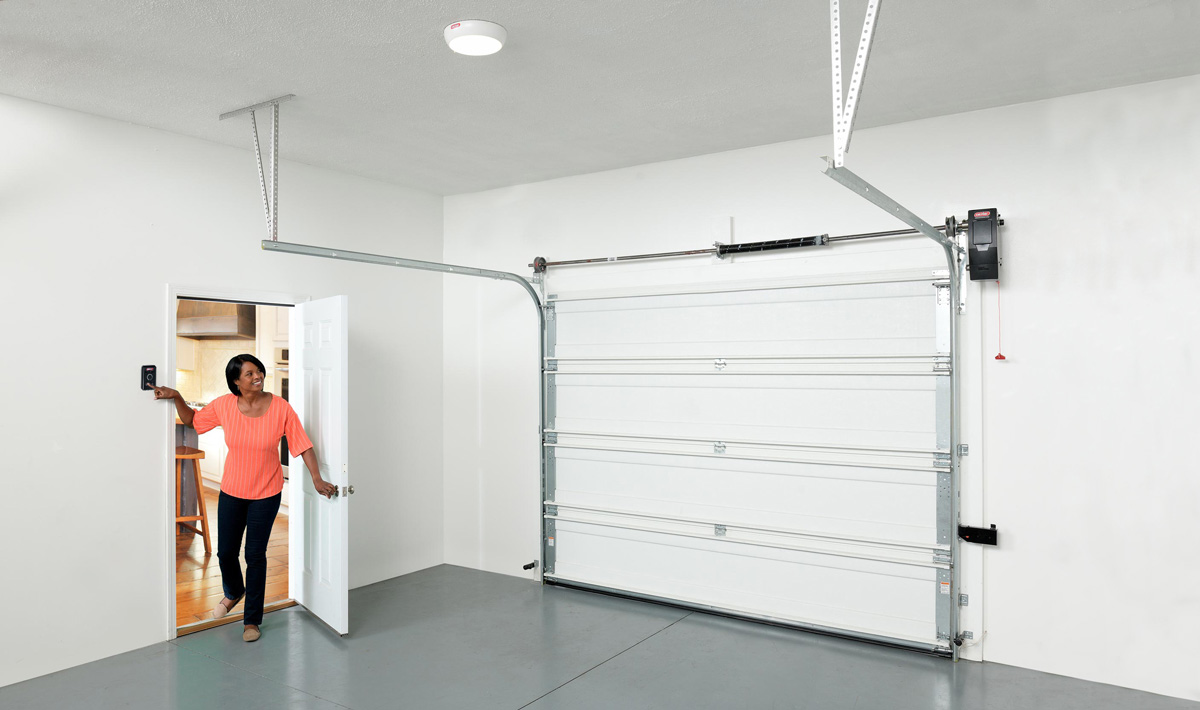
Congratulations on successfully installing and configuring your Meross Garage Door Opener! With this smart device, you now have the convenience, control, and peace of mind that comes with being able to remotely operate and monitor your garage door. No more worrying about whether you left the garage door open or struggling to manually open and close it.
Throughout this guide, we have covered the step-by-step process of installing the Meross Garage Door Opener, from gathering the required materials to testing its functionality. By following these instructions, you have transformed your traditional garage door into a smart and connected one.
The Meross app provides you with a user-friendly interface to control and customize your garage door opener settings. You can configure opening and closing controls, set up automatic schedules, receive notifications, and even share access with family and friends. These features make your garage door opener more versatile, convenient, and secure.
It’s important to note that while the Meross Garage Door Opener offers enhanced functionality and convenience, proper maintenance and periodic updates are essential for optimal performance. Keep an eye out for firmware updates and ensure the Meross app is up to date to benefit from any new features and bug fixes.
Now that your garage door is smart and connected, enjoy the added convenience and peace of mind it brings to your daily life. Whether you’re at home or away, you’ll have full control over your garage door with just a few taps on your smartphone or tablet.
Thank you for following our guide on how to install the Meross Garage Door Opener. We hope this article has been helpful and that you have a seamless experience with your new smart garage door opener. If you have any questions or need further assistance, don’t hesitate to reach out to Meross customer support. Happy smart garage door controlling!
Frequently Asked Questions about How To Install Meross Garage Door Opener
Was this page helpful?
At Storables.com, we guarantee accurate and reliable information. Our content, validated by Expert Board Contributors, is crafted following stringent Editorial Policies. We're committed to providing you with well-researched, expert-backed insights for all your informational needs.


0 thoughts on “How To Install Meross Garage Door Opener”