Home>Articles>How To Set Up A Chamberlain Garage Door Opener
Articles
How To Set Up A Chamberlain Garage Door Opener
Modified: October 20, 2024
Learn how to set up a Chamberlain garage door opener with our informative articles.
(Many of the links in this article redirect to a specific reviewed product. Your purchase of these products through affiliate links helps to generate commission for Storables.com, at no extra cost. Learn more)
Introduction
Welcome to the ultimate guide on how to set up a Chamberlain garage door opener. Whether you’re a seasoned DIY enthusiast or a first-time homeowner, installing a garage door opener can be a rewarding project. Chamberlain is a trusted name in the industry, known for its reliable and innovative door openers. With a few tools, some patience, and this step-by-step guide, you’ll be able to enjoy the convenience and security of a Chamberlain garage door opener in no time.
Before we dive into the installation process, it’s important to understand the benefits of a garage door opener. Not only does it provide added convenience by effortlessly opening and closing your garage door at the touch of a button, but it also enhances the security of your home. With features like rolling code technology and advanced sensors, Chamberlain garage door openers offer peace of mind and protection against unauthorized entry.
Now, let’s get started on setting up your Chamberlain garage door opener. Before diving into the installation process, it’s essential to gather the necessary tools and materials to ensure a smooth and successful installation. This will save you time and prevent any unnecessary trips to the hardware store.
Here’s a list of the tools and materials you will need:
- Chamberlain garage door opener kit
- Drill
- Tape measure
- Screwdriver
- Level
- Wrenches
- Step ladder
- Pliers
Once you have gathered these tools, you’re ready to begin the installation process. It’s essential to take your time and carefully follow the instructions provided by Chamberlain. This will ensure the safe and proper installation of your garage door opener. Let’s move on to the next step: reading the instruction manual.
Key Takeaways:
- Proper preparation and careful reading of the instruction manual are crucial for successfully setting up a Chamberlain garage door opener. Identifying the opener type and testing its functionality ensures a smooth installation process.
- Troubleshooting tips and regular maintenance are essential for addressing common issues and ensuring the long-term performance of your Chamberlain garage door opener. Enjoy the convenience and security it brings to your home!
Read more: How To Open A Chamberlain Garage Door Opener
Step 1: Gather the necessary tools and materials
Before you begin installing your Chamberlain garage door opener, it’s crucial to gather all the necessary tools and materials. This will save you time and ensure a smooth installation process. Here’s a list of what you’ll need:
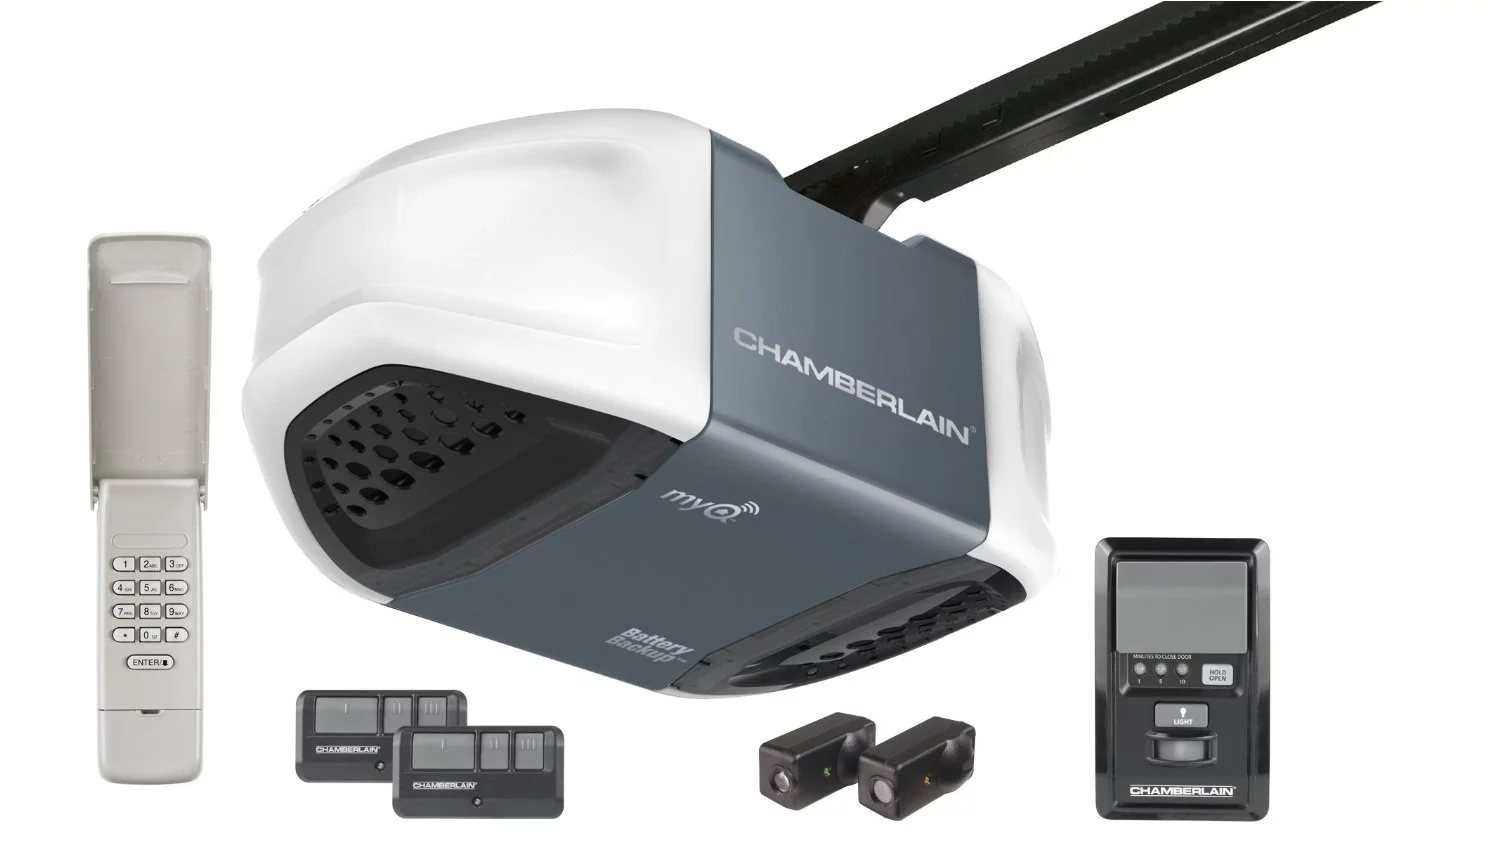
- Chamberlain garage door opener kit: Make sure you have the complete kit, which typically includes the opener unit, rail system, remote control, wall button, safety sensors, and mounting brackets.
- Drill: You’ll need a drill to create pilot holes and secure the mounting hardware.
- Tape measure: This will be useful for taking measurements and ensuring the opener is installed at the correct height and distance from the door.
- Screwdriver: A screwdriver will be necessary for tightening screws and securing various components during the installation process.
- Level: An accurate level will help you ensure that the opener and rail system are properly aligned.
- Wrenches: Depending on the specific model of Chamberlain garage door opener you have, you may need wrenches to tighten nuts and bolts.
- Step ladder: A sturdy step ladder will be essential for reaching and installing components at higher heights.
- Pliers: Pliers may come in handy for adjusting and securing cables and wires.
Once you have gathered all the necessary tools and materials, double-check to make sure everything is in working order. It’s always a good idea to have spare batteries for the remote control handy, just in case.
Having everything you need before you start the installation process will not only save you time but also prevent frustrating interruptions. It’s a small but essential step in ensuring a successful garage door opener installation. With your tools and materials ready, you’re now ready to move on to the next step: reading the instruction manual.
Step 2: Read the instruction manual
Before diving into the installation process, it’s crucial to thoroughly read and understand the instruction manual provided with your Chamberlain garage door opener. The manual contains essential information on safety precautions, step-by-step instructions, and troubleshooting tips.
Start by locating the instruction manual in the packaging of your garage door opener kit. Take the time to read through the entire manual, paying close attention to the safety guidelines outlined. Garage door openers involve electrical components and moving parts, so it’s essential to understand the potential risks and precautions.
The instruction manual will guide you through each stage of the installation process, from assembling the opener components to programming the remote control. It will also provide specific instructions based on the model of Chamberlain garage door opener you have. Familiarize yourself with the terminology and diagrams used in the manual to ensure you understand each step.
In addition to the installation process, the instruction manual will also cover important maintenance and troubleshooting information. It’s beneficial to familiarize yourself with these sections as well. Understanding how to maintain and troubleshoot your garage door opener will help prolong its lifespan and ensure it operates smoothly.
If you have any questions or are unsure about any aspects of the installation process, consult the instruction manual or reach out to Chamberlain’s customer support for assistance. It’s better to seek clarification and proceed with confidence rather than making mistakes that could compromise the safety or efficiency of your garage door opener.
Remember, the instruction manual is a valuable resource that will provide you with the necessary knowledge and guidance to complete the installation successfully. By reading it thoroughly, you’ll be well-equipped to move on to the next step confidently.
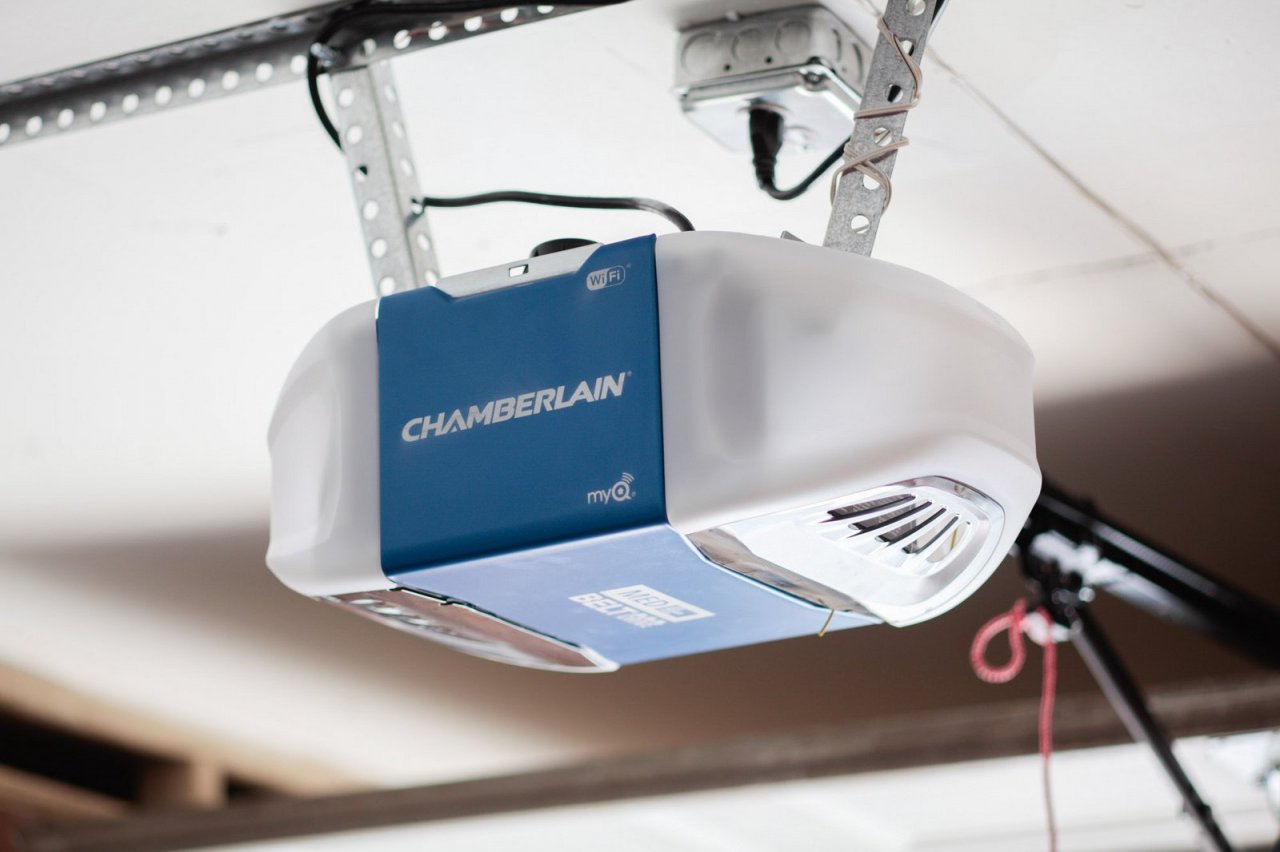
Step 3: Identify the type of Chamberlain garage door opener you have
Before you can proceed with the installation of your Chamberlain garage door opener, it’s crucial to identify the specific type of opener you have. This information is essential as different models may have slight variations in the installation process.
To determine the type of Chamberlain garage door opener you have, refer to the product label or the packaging. Look for the model number and any other identifying information. This will help you locate the specific instructions for your opener in the instruction manual provided.
If you’re unable to find the model number or any identifying information, you can also visually identify the type of opener. Chamberlain offers several types, including belt-driven, chain-driven, and screw-driven openers.
- Belt-driven openers: These openers use a rubber belt to operate the garage door. They are known for being quiet and smooth in operation.
- Chain-driven openers: These openers use a metal chain to raise and lower the garage door. They are durable and commonly used in residential settings.
- Screw-driven openers: These openers use a threaded rod to move the garage door. They require less maintenance and are known for their reliability.
Identifying the type of opener you have will allow you to follow the appropriate instructions and ensure a successful installation. The instruction manual will provide specific steps and guidelines tailored to your particular model.
If you’re still unsure about the type of Chamberlain garage door opener you have or have any questions regarding the installation process, consider reaching out to Chamberlain’s customer support. They will be able to provide you with the necessary information and assistance to proceed with confidence.
Once you have identified the type of opener you have and familiarized yourself with the specific instructions for your model, it’s time to move on to the next step: determining the location for the opener.
Step 4: Determine the location for the opener
Choosing the right location for your Chamberlain garage door opener is crucial for its proper functioning and convenience. Before you begin the installation process, take some time to evaluate your garage and determine the optimal spot for the opener.
Here are a few factors to consider when determining the location:
- Clearance: Make sure there is sufficient space above the garage door for the opener unit and rail system. Measure the distance between the top of the door and the ceiling to ensure compatibility.
- Accessibility: Opt for a location that is easily accessible and allows for convenient operation of the opener. Consider the proximity to a power outlet and the garage door itself.
- Obstructions: Take note of any obstructions such as lighting fixtures, beams, or overhead storage that might hinder the installation. Clear the area to ensure a smooth setup.
- Noise: If noise is a concern, choose a location that minimizes the sound transmission to living spaces or neighboring areas.
- Lighting: Adequate lighting is essential for the safe operation and maintenance of your garage door opener. Ensure that the chosen location has proper illumination.
Once you have assessed these factors, mark the desired location on the ceiling or wall. Ensure that it’s level and centered with the garage door. Using a tape measure, double-check the measurements to ensure accuracy.
Keep in mind that different models of Chamberlain garage door openers may have specific requirements for the mounting height and distance from the door. Refer to the instruction manual to determine the recommended location for your particular model.
Once you have determined the ideal location for the opener, it’s time to move on to the next step: installing the mounting brackets for the opener.
Read more: How To Wire Chamberlain Garage Door Opener
Step 5: Install the mounting brackets
Now that you have determined the location for your Chamberlain garage door opener, it’s time to install the mounting brackets. The mounting brackets are crucial components that secure the opener unit and rail system to the ceiling or wall.
Follow these steps to install the mounting brackets:
- Position the first mounting bracket: Begin by positioning the first mounting bracket in the determined location on the ceiling or wall. Ensure that it is level and centered with the garage door. Mark the screw holes with a pencil or marker.
- Drill pilot holes: Using a drill, carefully drill pilot holes into the marked locations. The size of the pilot holes will depend on the type of screws provided with your Chamberlain garage door opener kit.
- Attach the first mounting bracket: Place the first mounting bracket back in position and secure it to the ceiling or wall using the provided screws. Make sure it is firmly fixed in place.
- Repeat for the second mounting bracket: Position the second mounting bracket on the other side of the garage door, aligning it with the first bracket. Mark the screw holes, drill pilot holes, and attach the bracket securely.
Ensure that the mounting brackets are installed at the correct height and distance from the garage door. Refer to the instruction manual for specific measurements and guidelines based on your Chamberlain garage door opener model.
Once the mounting brackets are securely installed, double-check their alignment and stability. They should be level and firmly attached to provide a secure foundation for the opener unit and rail system.
With the mounting brackets in place, you are now ready to move on to the next step: attaching the opener unit to the mounting brackets.
Make sure to read the instruction manual carefully before starting the installation process. It’s important to follow the manufacturer’s guidelines to ensure proper setup and functionality.
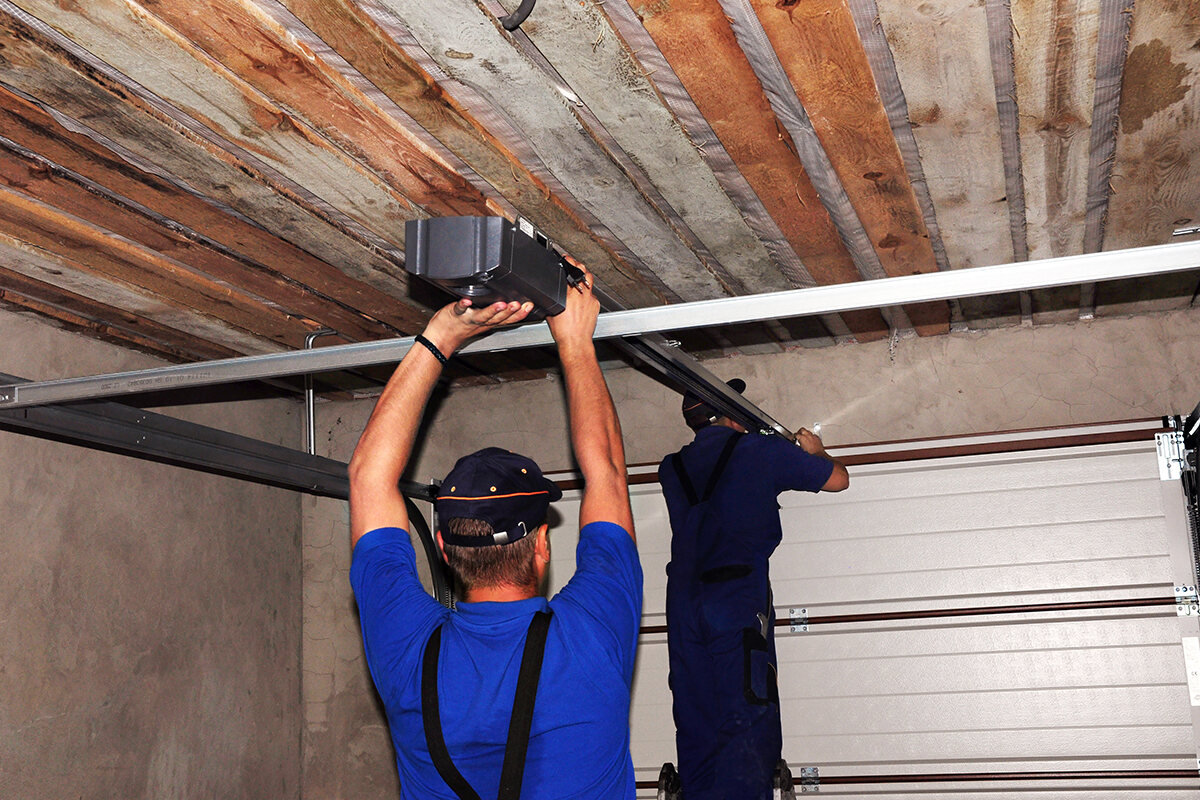
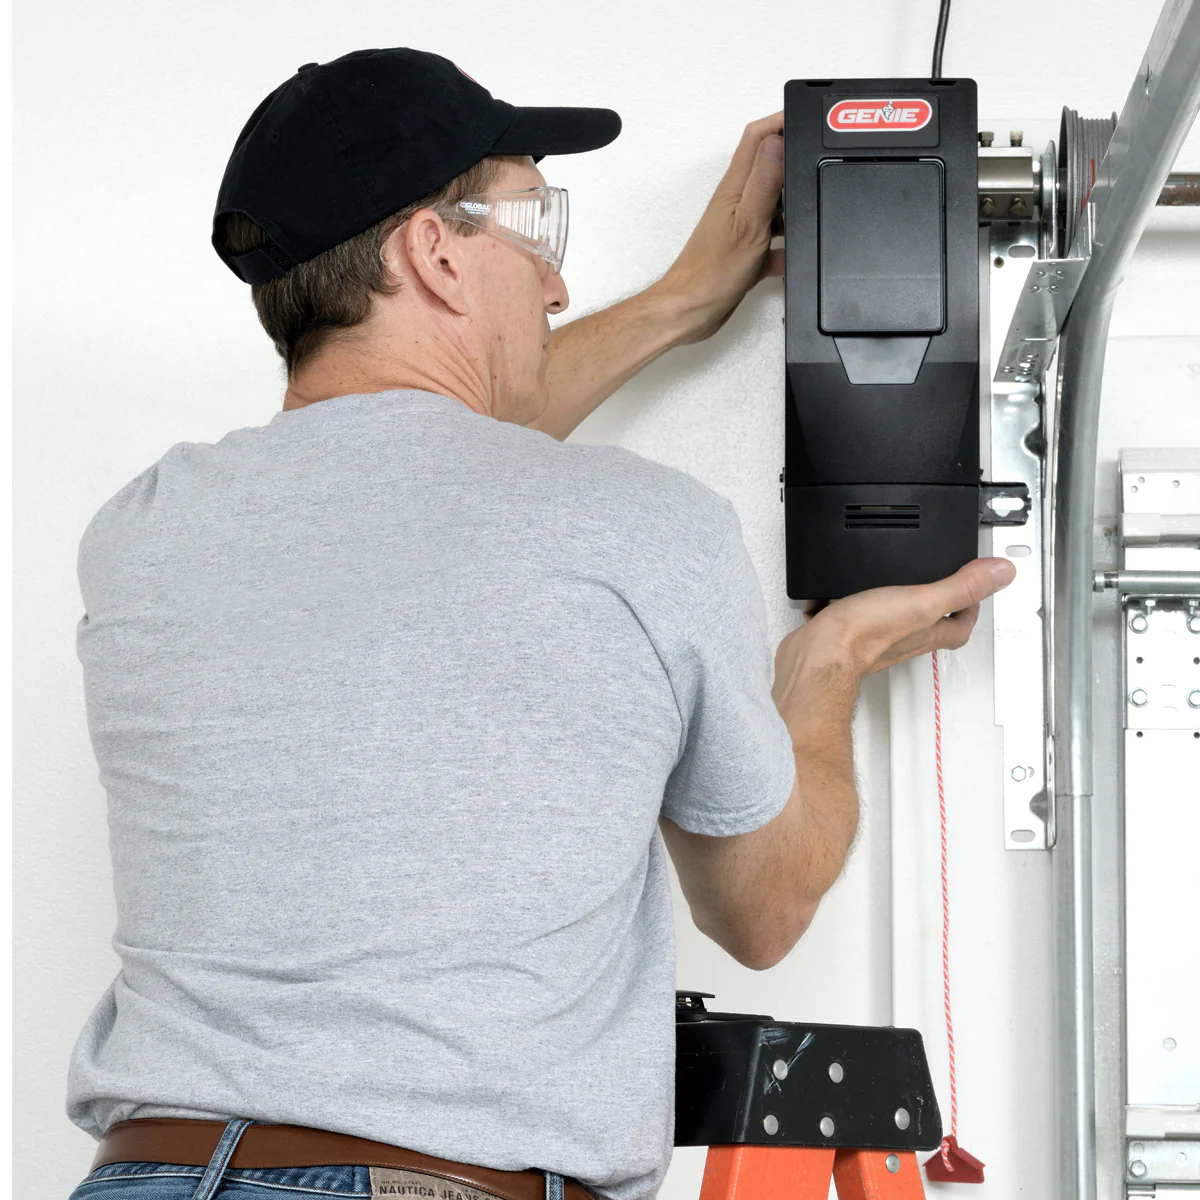
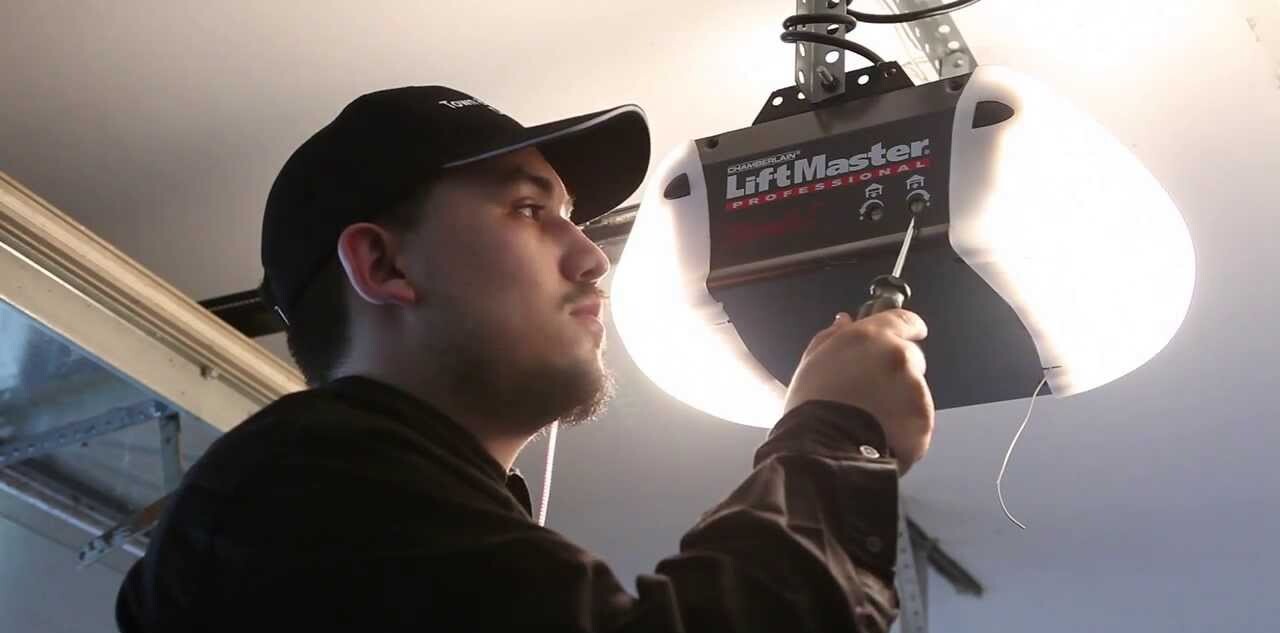
Step 6: Attach the opener to the mounting brackets
With the mounting brackets securely installed, it’s time to attach the Chamberlain garage door opener unit to these brackets. This step is crucial as it ensures the opener is properly supported and positioned for optimal functionality.
Follow these steps to attach the opener to the mounting brackets:
- Position the opener unit: Carefully position the opener unit on the mounting brackets, aligning it with the holes on the brackets. It’s important to have an extra pair of hands to help hold the unit in place while you secure it.
- Insert the screws: Insert the provided screws through the mounting holes on the opener unit and into the holes on the mounting brackets. Use a screwdriver or drill to tighten the screws securely. Be cautious not to overtighten as it may damage the unit or brackets.
- Check alignment: Double-check the alignment of the opener unit. Ensure it is level and centered with the garage door. Adjust if necessary by loosening the screws and readjusting the position of the unit.
As you attach the opener unit to the mounting brackets, it’s essential to follow the instructions provided in the manual. Different models may have specific requirements for attachment, so refer to the manual for any additional steps or considerations.
Once the opener unit is securely attached to the mounting brackets, give it a gentle shake to ensure stability. It should be firmly in place without any wobbling or movement.
Remember to handle the opener unit with care during the installation process. It contains delicate components and electrical connections that need to be protected from any damage.
With the opener unit successfully attached to the mounting brackets, you’re one step closer to completing the installation. The next step will guide you through connecting the garage door opener to the power source.
Step 7: Connect the garage door opener to the power source
Now that you have securely attached the Chamberlain garage door opener unit to the mounting brackets, it’s time to connect it to a power source. This step is crucial for the proper functioning of the opener.
Follow these steps to connect the garage door opener to the power source:
- Locate the power outlet: Identify a nearby power outlet that is compatible with the voltage requirements of your Chamberlain garage door opener. The voltage will be specified in the instruction manual or on the opener unit itself.
- Plug in the power cord: Connect the power cord of the opener to the power outlet. Ensure it fits snugly and securely. Make sure the power cord is not twisted or damaged.
- Ensure proper grounding: Garage door openers require proper grounding for safety and optimal performance. Electrically ground the opener according to the instructions provided in the manual. This may involve connecting a ground wire or utilizing a grounding prong on the power plug.
- Test the connection: Before proceeding further, test the connection by turning on the garage door opener. It should power up and the lights on the unit should illuminate. If there is no power or any issues, double-check the power connection and consult the troubleshooting section in the instruction manual.
It’s important to note that garage door openers typically require a dedicated power outlet. Avoid using extension cords or sharing the outlet with other high-energy consuming devices. This ensures a stable and reliable power supply to the opener.
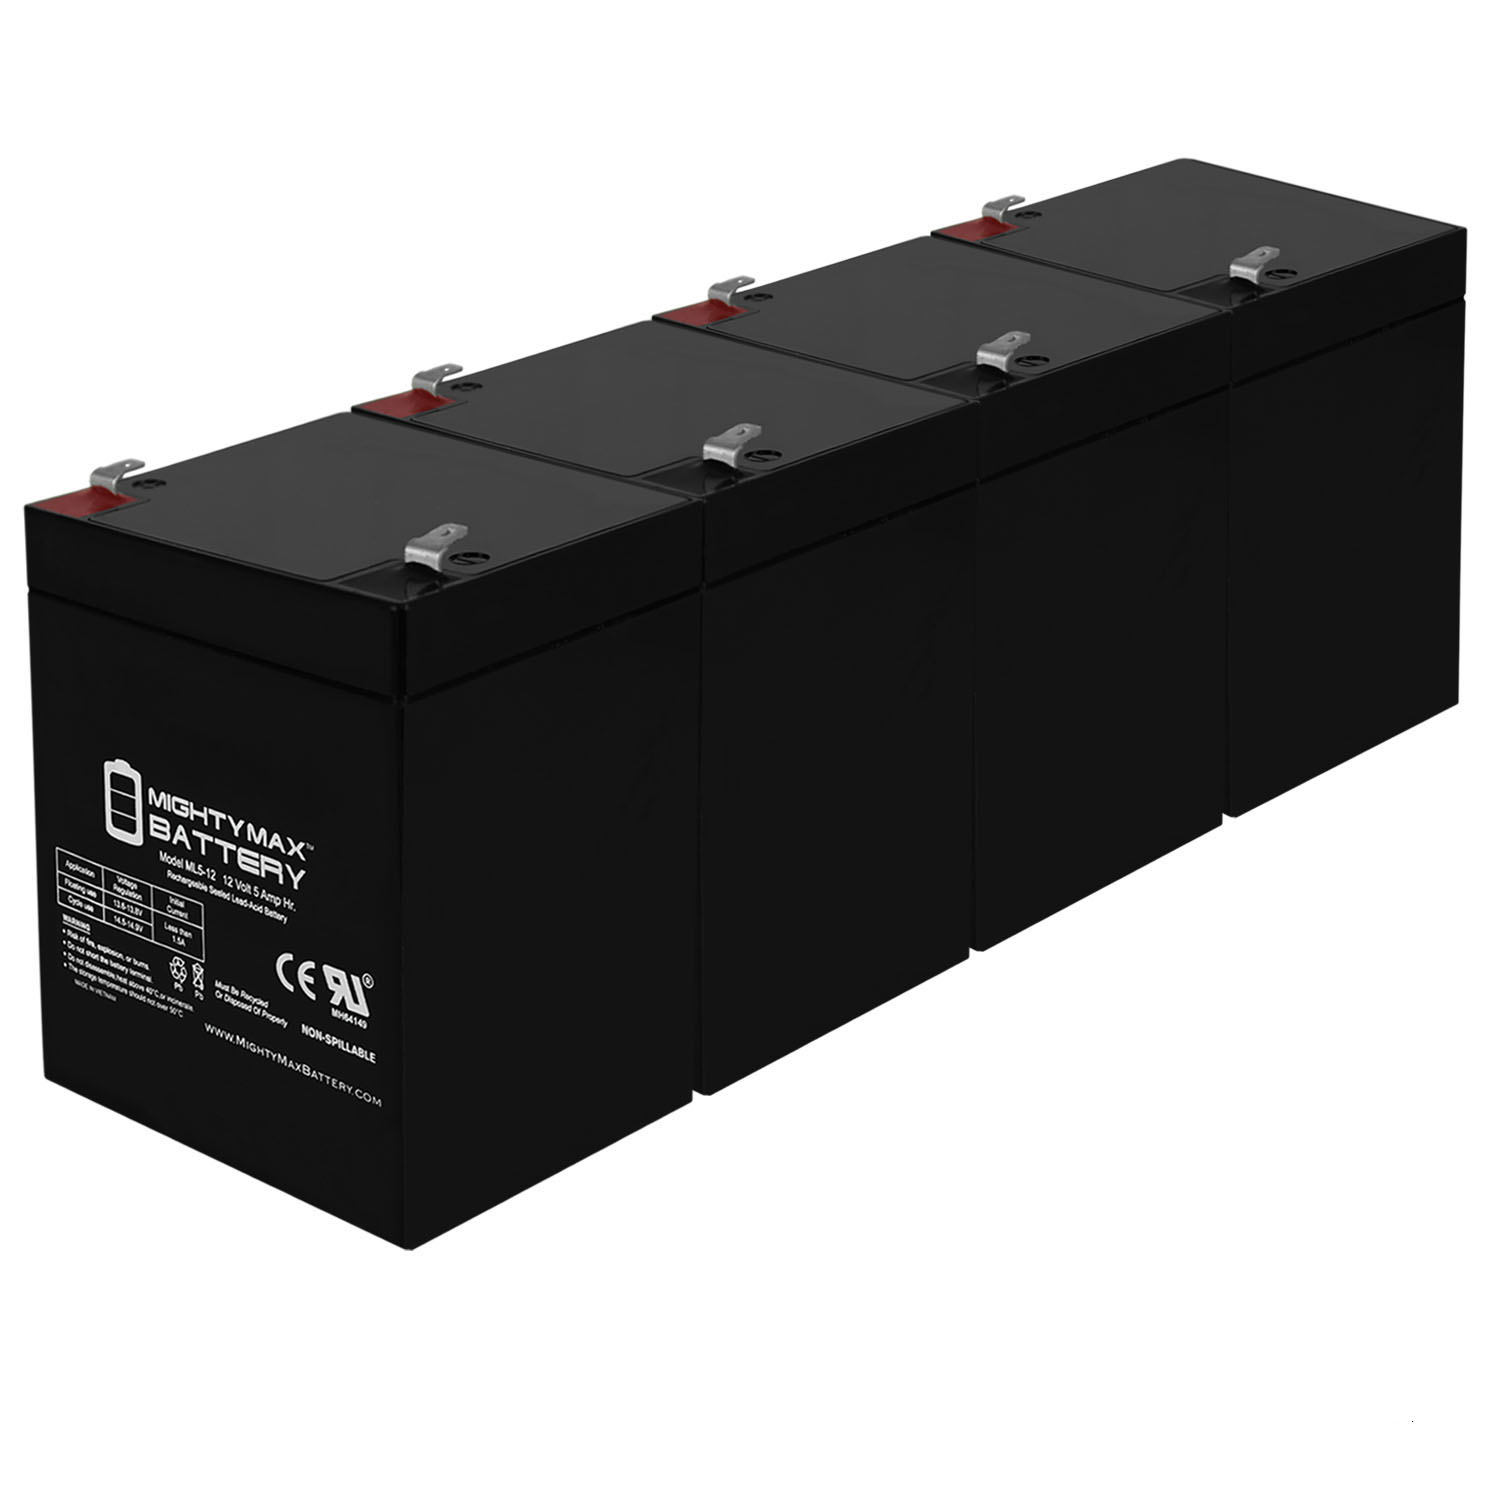
Additionally, if you choose to install a backup battery system for your Chamberlain garage door opener, follow the manufacturer’s instructions to connect and configure it properly.
With the opener connected to the power source and functioning, you’re almost done with the installation process. The next step will guide you through programming the remote control for your garage door opener.
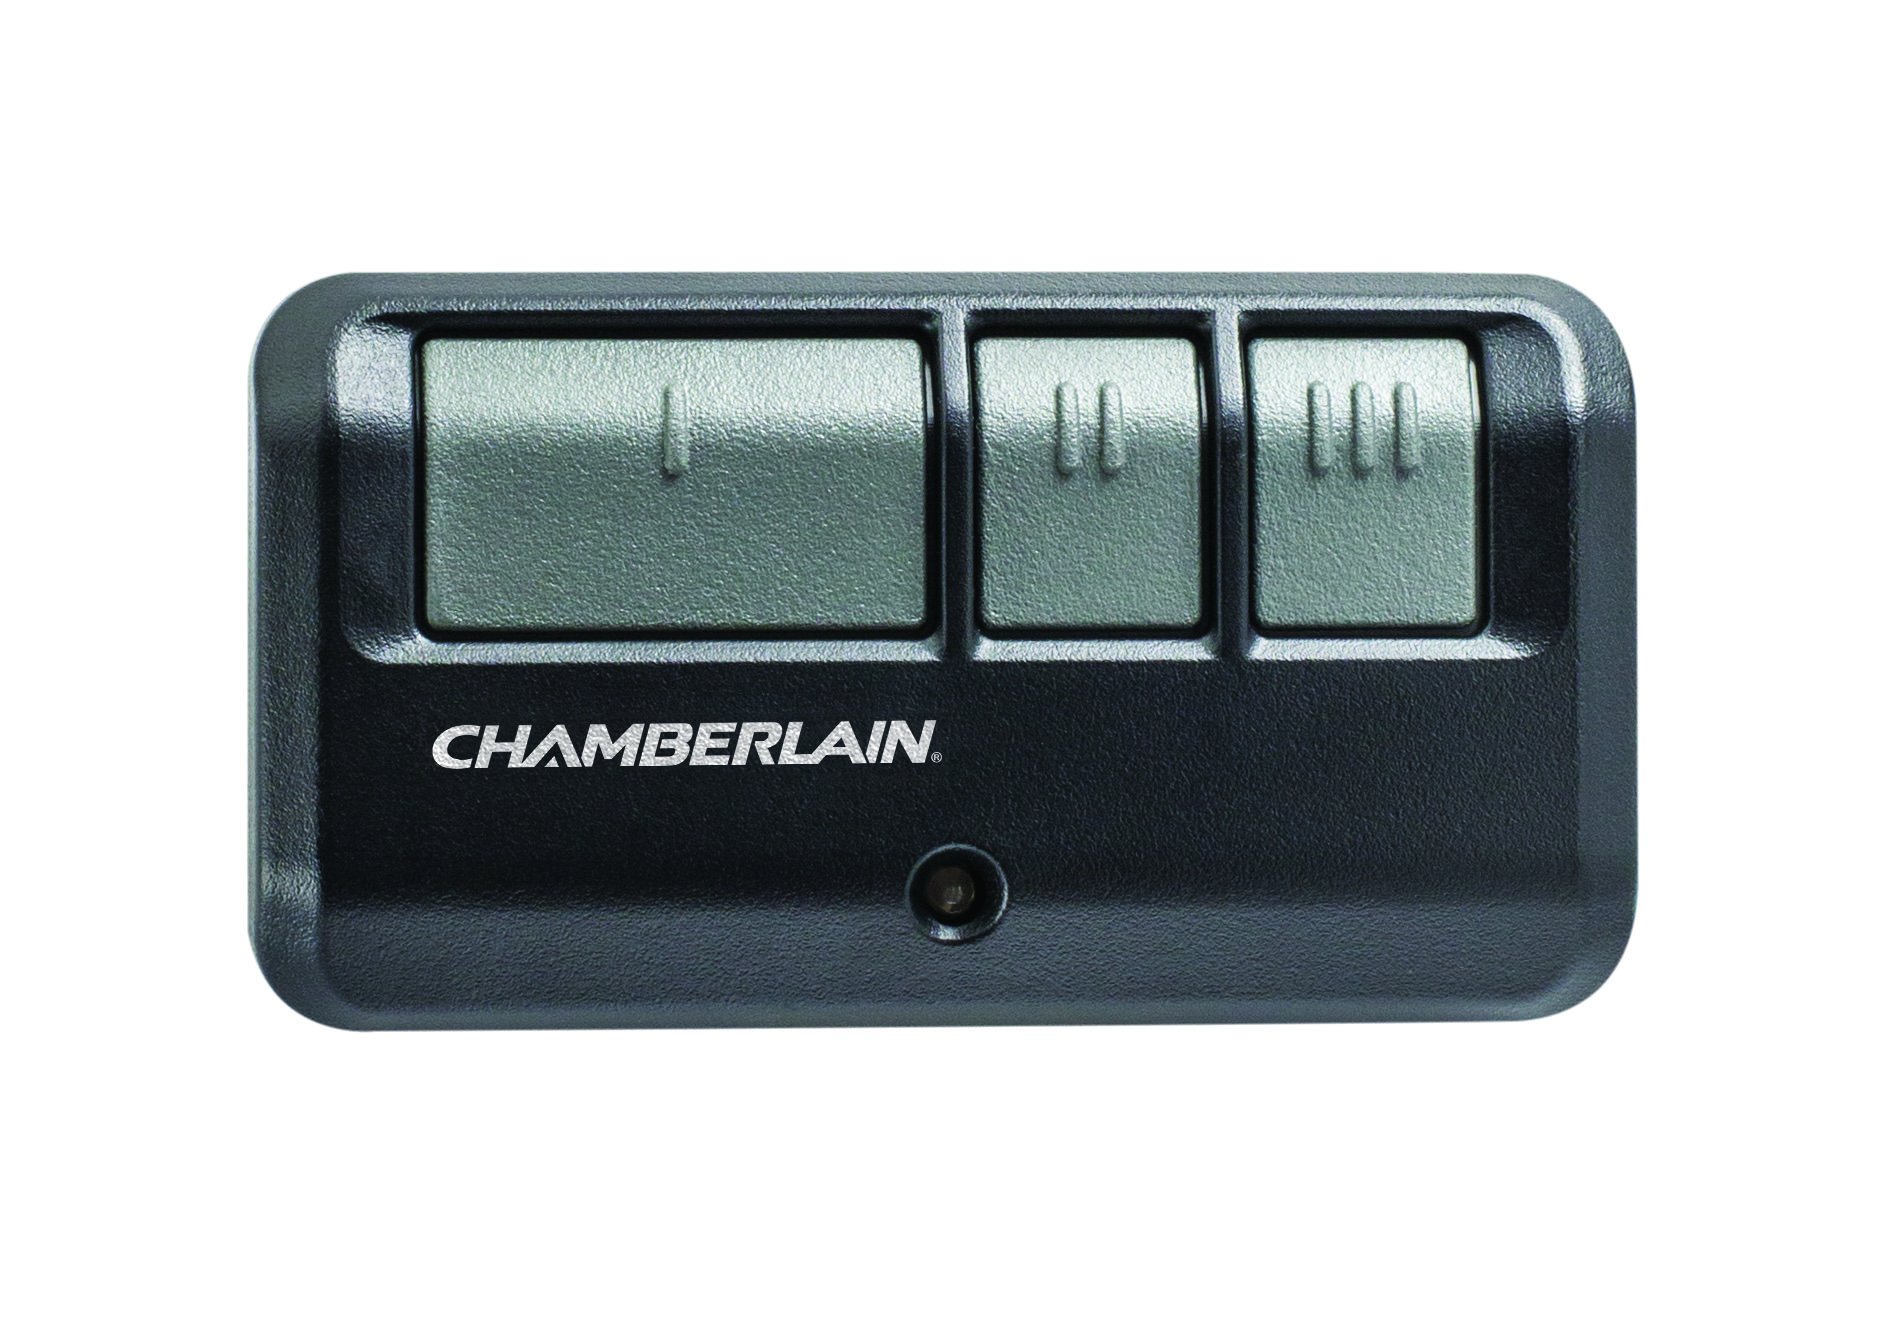
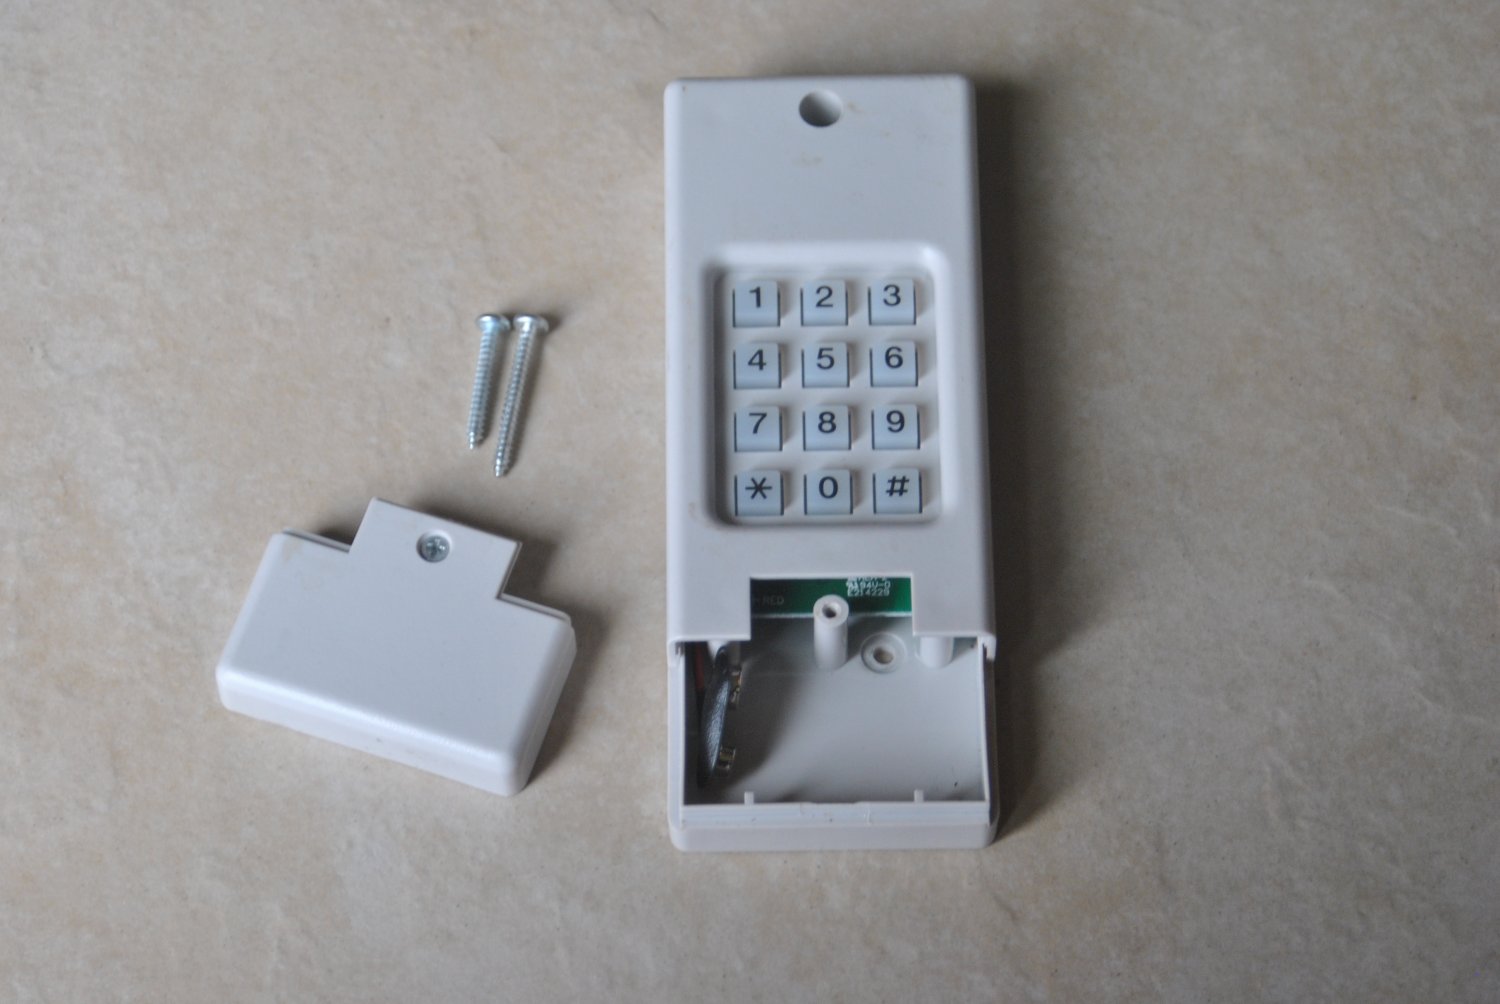
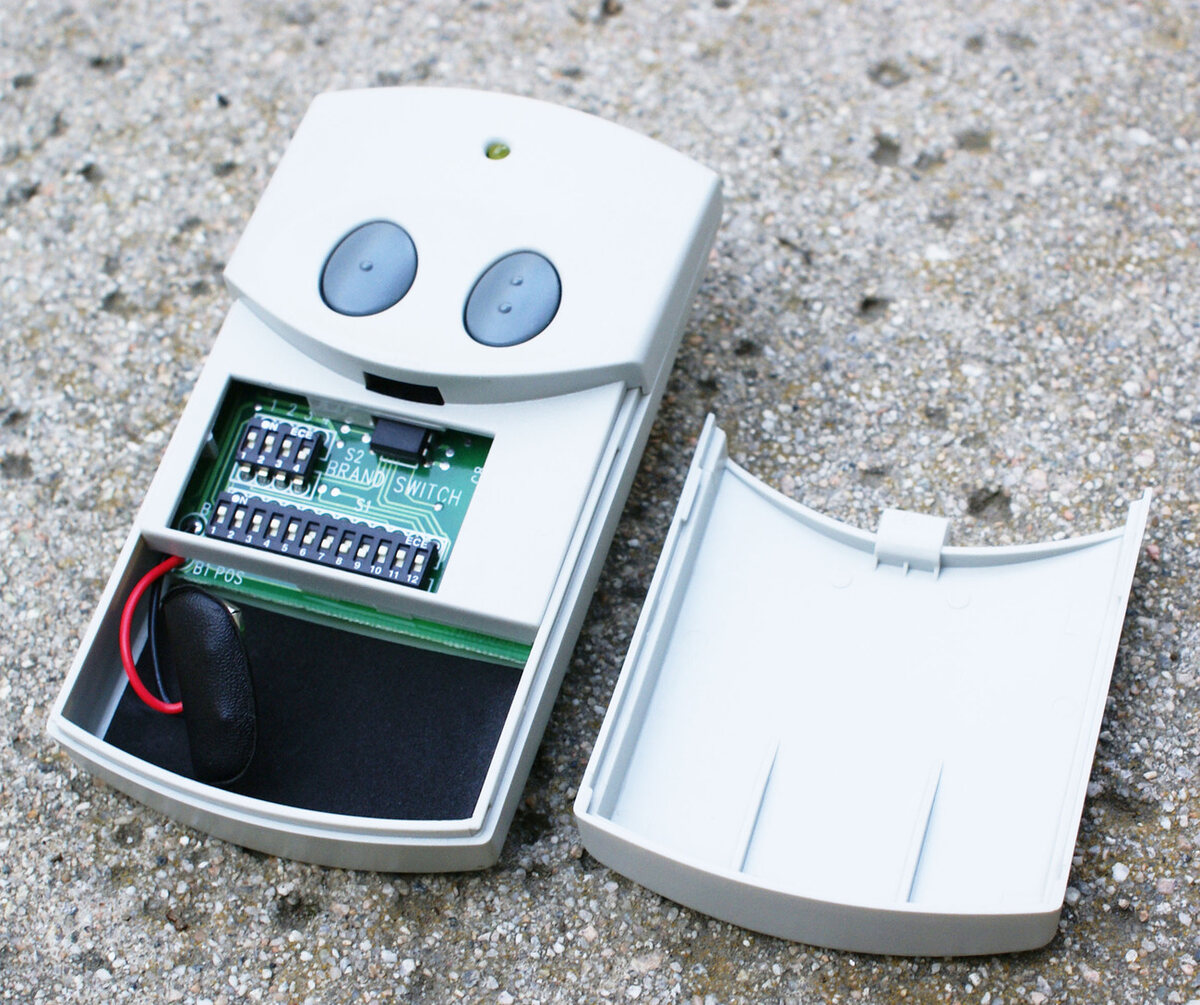
Step 8: Program the remote control
Programming the remote control for your Chamberlain garage door opener is an essential step in the installation process. It allows you to conveniently open and close your garage door with the press of a button. Follow these steps to program the remote control:
- Locate the learn button: The learn button is typically located on the back or side of the garage door opener unit. It may be labeled or colored for easy identification. Consult the instruction manual if you’re having trouble finding it.
- Press the learn button: Press and release the learn button on the garage door opener unit. You will typically have around 30 seconds to complete the next steps.
- Press the button on the remote control: While the learn button is still illuminated or blinking, press the button on the remote control that you want to program. Hold it down until you see or hear a confirmation signal, such as a beep or light flash.
- Test the remote control: Test the remote control by pressing the programmed button. The garage door should respond by opening or closing. If it doesn’t, repeat the programming process or consult the troubleshooting section in the instruction manual.
- Repeat for additional remote controls: If you have multiple remote controls that you want to program, repeat the same process for each one. Make sure to complete the steps within the given time frame.
It’s important to note that the exact steps and procedures for programming the remote control may vary based on the model of your Chamberlain garage door opener. Refer to the instruction manual provided with your specific model for accurate programming instructions.
Once you have successfully programmed the remote control, test it several times to ensure proper functionality. This will help you confirm that the remote control is working correctly and the garage door responds as intended.
With the remote control programmed and tested, you can now conveniently operate your Chamberlain garage door opener from the comfort of your vehicle or home.
The next step will guide you through testing the functionality of your garage door opener to ensure it is operating safely and efficiently.
Step 9: Test the garage door opener
After completing the installation and programming process for your Chamberlain garage door opener, it’s time to test its functionality. Testing ensures that the opener is operating safely and efficiently. Follow these steps to test your garage door opener:
- Clear the garage door area: Make sure the area around the garage door is clear of any objects or obstructions. This includes vehicles, tools, and any other items that may interfere with the door’s movement.
- Stand clear of the door: Stand clear of the garage door and allow it to fully close before proceeding with the test.
- Close the garage door: Press the close button on the remote control or wall button to initiate the closing process. Observe the garage door as it closes to ensure it moves smoothly and without any unusual noises or resistance.
- Pause and reverse: During the closing process, place an obstacle, such as a rolled-up towel, in the path of the garage door. This will trigger the opener’s safety sensors and cause the door to pause and reverse. If the door does not reverse or if it reverses too forcefully, there may be an issue with the safety sensors. Consult the troubleshooting section in the instruction manual for guidance.
- Open the garage door: Press the open button on the remote control or wall button to initiate the opening process. Observe the garage door as it opens to ensure smooth and balanced movement.
- Check for proper alignment: As the garage door opens, visually inspect it to ensure it is properly aligned with the tracks. Any misalignment can cause issues with the door’s operation. Adjust the tracks if necessary according to the instructions provided in the manual.
- Verify safety features: Test the functionality of the opener’s safety features, such as the automatic reversal mechanism. Place an object, such as a bucket, in the path of the closing door. It should detect the obstruction and reverse its direction. If the door does not reverse or if it reverses too forcefully, there may be a problem with the safety feature. Address this issue before continuing to use the opener.
Testing the garage door opener ensures that it is functioning properly and meets safety standards. It is important to regularly conduct these tests to identify any issues early on and prevent potential accidents or damage.
If you encounter any problems during the testing process or if the garage door opener does not perform as expected, consult the troubleshooting section in the instruction manual or contact Chamberlain’s customer support for assistance.
Once you have tested the garage door opener and confirmed its proper functionality, you can proceed with confidence, knowing that your garage door is secure and operating efficiently.
The next step will provide some troubleshooting tips to help you address common issues that may arise with your Chamberlain garage door opener.
Step 10: Troubleshooting tips
Even with careful installation and testing, issues may occasionally arise with your Chamberlain garage door opener. Troubleshooting common problems can help you identify and resolve any issues that may affect the functionality of your opener. Here are some troubleshooting tips to assist you:
- Check power supply: Ensure that the garage door opener is receiving power. Verify that the power cord is securely plugged into a working power outlet. If there’s no power, check the circuit breaker or fuse box to rule out any electrical issues.
- Inspect safety sensors: Dirty or misaligned safety sensors can cause the garage door opener to malfunction. Make sure the sensors are clean and properly aligned according to the manufacturer’s instructions. Also, check for any obstructions in the sensor’s path.
- Adjust the force settings: If the garage door doesn’t open or close properly, adjust the force settings on the opener unit. Refer to the instruction manual for guidance on adjusting the force settings to ensure smooth operation without excessive force.
- Lubricate moving parts: Over time, the moving parts of the garage door opener can become stiff or squeaky. Apply a silicone-based lubricant to the rollers, hinges, and tracks according to the manufacturer’s recommendations to keep them running smoothly.
- Reset the opener: If the opener is not responding, try resetting it. Unplug the power cord and wait for a few minutes before plugging it back in. This can help reset the opener’s internal settings and resolve minor issues.
- Check for obstructions: Objects or debris blocking the garage door’s path can prevent it from opening or closing. Inspect the tracks and clearance areas to ensure they are clear. Remove any obstructions that may be hindering the door’s movement.
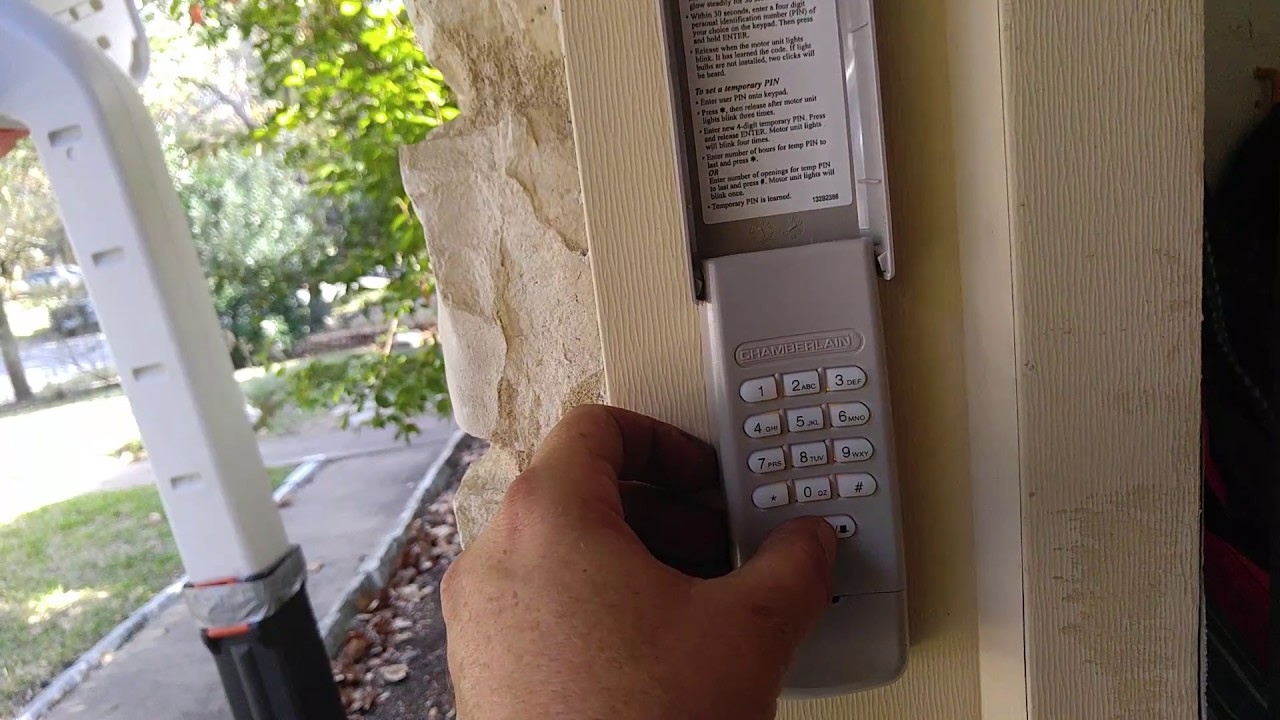
- Inspect the remote control: If the remote control isn’t working, replace the batteries and make sure they’re installed correctly. You can also try reprogramming the remote control to the opener following the programming instructions in the manual.
- Consult the manual: If you’re facing a specific issue that isn’t covered by these general troubleshooting tips, refer to the instruction manual. The manual typically includes a comprehensive troubleshooting section with specific solutions for common problems.
- Seek professional assistance: If you’re unable to resolve the issue or if you’re uncomfortable with troubleshooting electrical components, it’s best to seek professional assistance from a qualified technician. They can diagnose and fix more complex problems to ensure the proper functioning of your garage door opener.
By following these troubleshooting tips, you can often identify and resolve common issues that may arise with your Chamberlain garage door opener. Remember to always prioritize your safety and consult professional help when needed.
Congratulations! You have now successfully completed the installation and troubleshooting process for your Chamberlain garage door opener. Enjoy the convenience and security it brings to your home.
If you have any further questions or encounter any difficulties, don’t hesitate to reach out to Chamberlain’s customer support for assistance.
Conclusion
Congratulations, you have successfully completed the installation of your Chamberlain garage door opener! By following the step-by-step instructions and troubleshooting tips in this guide, you have gained the knowledge and skills necessary to set up your opener with confidence.
A Chamberlain garage door opener offers convenience, security, and peace of mind. With just a touch of a button, you can effortlessly open and close your garage door, adding ease to your daily routine.
In this guide, we started by gathering the necessary tools and materials, emphasizing the importance of being prepared before beginning the installation process. We then discussed the significance of reading the instruction manual carefully, ensuring that you have a clear understanding of the installation steps and safety precautions.
We went on to identify the specific type of Chamberlain garage door opener you have, as different models may have slight variations in installation procedures. Determining the proper location for the opener and installing the mounting brackets were the subsequent steps, ensuring a secure and stable foundation for your opener unit.
Connecting the opener to a power source and programming the remote control allowed you to bring it to life and enjoy its convenient functionality. Finally, we covered the essential step of testing the garage door opener to ensure it operates smoothly and safely.
In the event that you encounter any issues, we provided troubleshooting tips to help you address common problems and keep your garage door opener functioning optimally. Remember, safety and regular maintenance are crucial for the long-term performance of your garage door opener.
If you have specific questions or encounter challenges along the way, do not hesitate to refer to the instruction manual or reach out to Chamberlain’s customer support for assistance. They are experts in their field and are there to help you through any difficulties you may encounter.
Thank you for choosing Chamberlain and taking the time to follow this comprehensive guide on how to set up your Chamberlain garage door opener. Enjoy the convenience, security, and peace of mind that comes with your new opener!
Frequently Asked Questions about How To Set Up A Chamberlain Garage Door Opener
Was this page helpful?
At Storables.com, we guarantee accurate and reliable information. Our content, validated by Expert Board Contributors, is crafted following stringent Editorial Policies. We're committed to providing you with well-researched, expert-backed insights for all your informational needs.
0 thoughts on “How To Set Up A Chamberlain Garage Door Opener”