Home>Renovation & DIY>Home Renovation Guides>How To Fix A Roll-Up Screen On A Storm Door
Home Renovation Guides
How To Fix A Roll-Up Screen On A Storm Door
Modified: October 20, 2024
Learn how to easily repair a roll-up screen on your storm door with our comprehensive home renovation guide. Save time and money with our expert tips and step-by-step instructions. Ideal for DIY enthusiasts or homeowners looking to spruce up their space.
(Many of the links in this article redirect to a specific reviewed product. Your purchase of these products through affiliate links helps to generate commission for Storables.com, at no extra cost. Learn more)
Introduction
Welcome to the ultimate guide on fixing a roll-up screen on a storm door! Roll-up screens are a fantastic feature on storm doors, allowing you to enjoy a cool breeze while keeping insects at bay. However, over time, these screens may encounter issues such as sagging, sticking, or failing to retract properly. The good news is that with a few simple steps and the right tools, you can easily restore your roll-up screen to its optimal functionality.
In this comprehensive guide, we will walk you through the step-by-step process of repairing a roll-up screen on a storm door. Whether you're a seasoned DIY enthusiast or a novice homeowner looking to tackle your first home repair project, this guide is designed to equip you with the knowledge and confidence to get the job done right.
So, grab your tools and let's dive into the world of roll-up screen repair. By the end of this guide, you'll be enjoying the seamless operation of your storm door's roll-up screen once again, all while gaining valuable insight into the inner workings of this convenient feature. Let's roll up our sleeves and get started!
Key Takeaways:
- Embrace the satisfaction of restoring your storm door’s roll-up screen by following simple steps and using basic tools. Gain valuable DIY skills and enjoy a functional home environment with newfound expertise.
- With the right tools and knowledge, anyone can fix a roll-up screen on a storm door. Tackle common issues like sagging and sticking with confidence, and enjoy a seamless, insect-free breeze in your home.
Read more: Storm Door Vs Screen Door: Which is Better?
Tools and Materials Needed
Before embarking on the roll-up screen repair journey, it’s essential to gather the necessary tools and materials. Here’s a comprehensive list of what you’ll need:
- Screwdriver set (Phillips and flathead)
- Needle-nose pliers
- Lubricating oil or silicone spray
- Clean cloth or sponge
- Replacement screen material (if required)
- Tape measure
- Scissors
- Utility knife
- Replacement tension spring (if needed)
- Safety goggles (to protect your eyes during inspection and repair)
Ensuring that you have these tools and materials on hand will streamline the repair process and help you address any issues with your roll-up screen efficiently. Now that you’re equipped with the essentials, let’s move on to the step-by-step repair process.
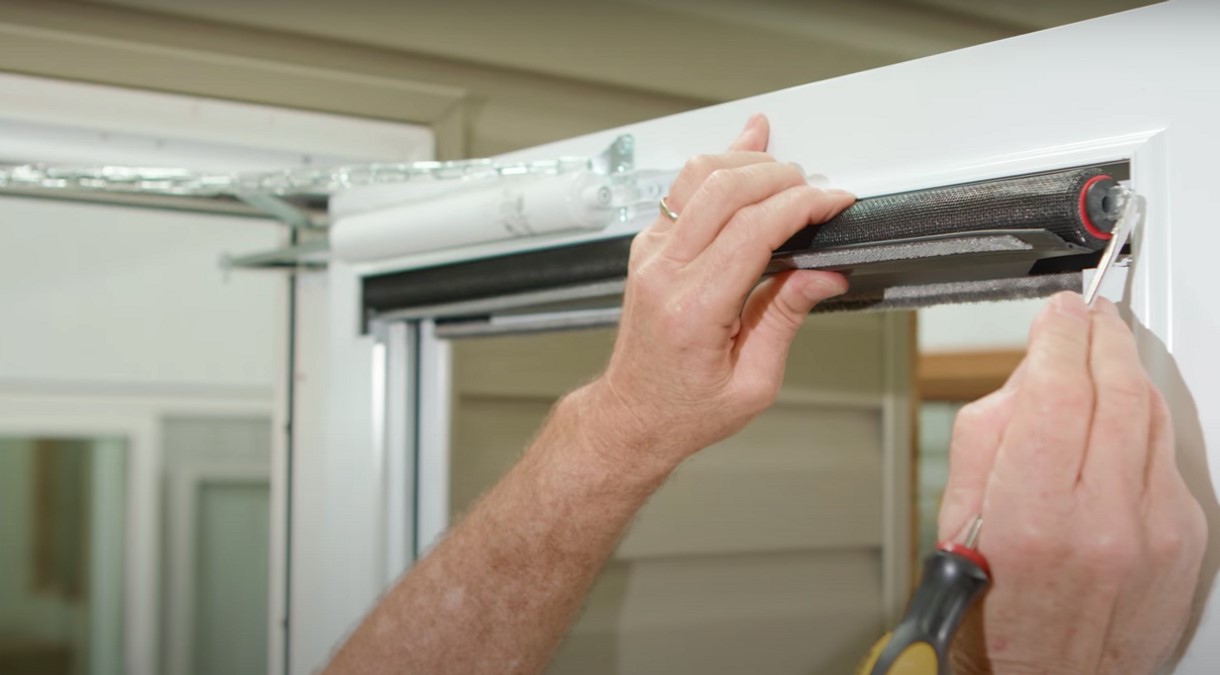
Step 1: Remove the Screen
The first step in fixing a roll-up screen on a storm door is to carefully remove the screen assembly from the door frame. This will provide you with better access to the components that may require inspection and repair. Here’s how to do it:
- Open the Storm Door: Ensure that the storm door is fully open to facilitate the removal process.
- Locate the Screen Latches: Identify the latches or locks securing the screen in place. These are typically located on the top and bottom of the screen frame.
- Release the Latches: Using a screwdriver or your fingers, release the latches to disengage the screen from the frame.
- Support the Screen: With the latches released, carefully support the screen assembly to prevent it from retracting back into the housing.
- Remove the Screen: Gently pull the screen assembly out of the door frame, ensuring that it is fully extended and free from any obstructions.
Once the screen is removed, place it on a flat, stable surface where you can proceed with the inspection and repair. With the screen assembly in hand, you’re ready to move on to the next step and delve into the inner workings of the roll-up mechanism.
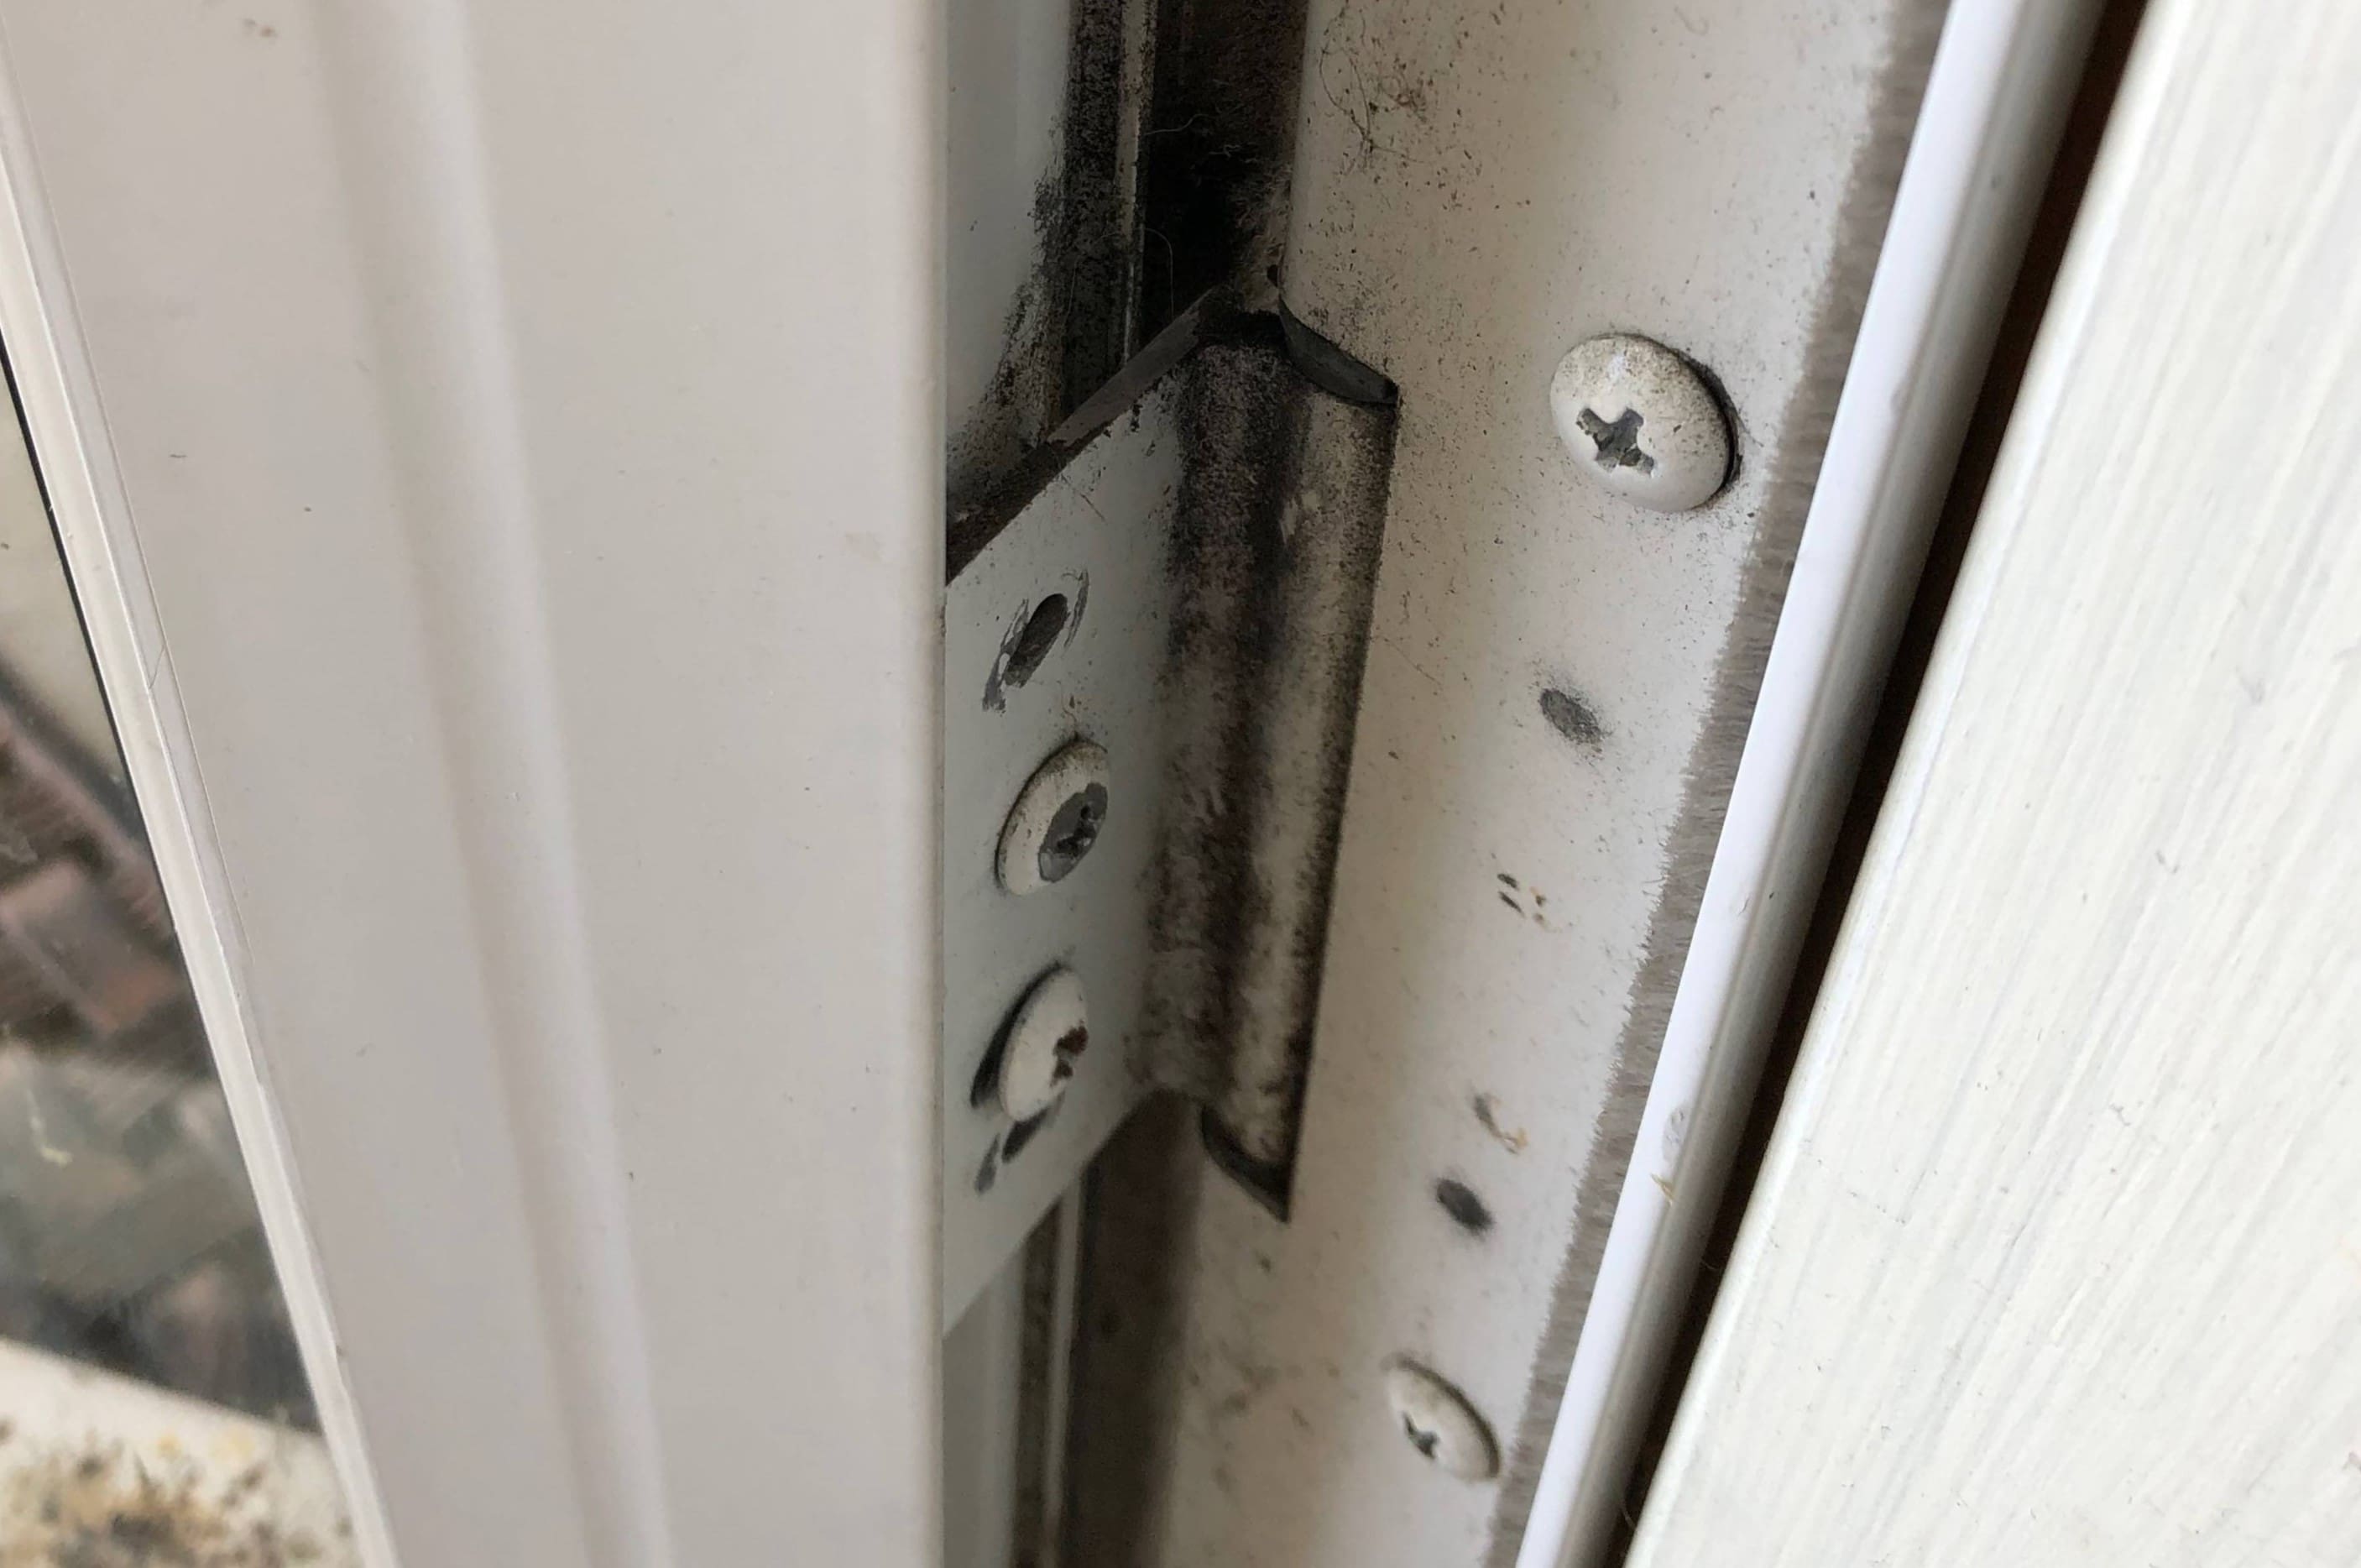
Step 2: Inspect and Clean the Components
Now that the roll-up screen assembly is removed from the door frame, it’s time to inspect the individual components and ensure that they are in optimal condition. This step is crucial for identifying any issues that may be impeding the smooth operation of the screen. Follow these steps to conduct a thorough inspection and cleaning:
- Examine the Screen Material: Carefully inspect the screen material for tears, holes, or signs of wear. If the screen is damaged, consider replacing it with a new piece of screen material.
- Check the Tracks and Guides: Inspect the tracks and guides along the sides of the screen assembly for debris, dirt, or obstructions. Use a clean cloth or sponge to wipe away any accumulated grime and ensure that the tracks are clear and free from debris.
- Inspect the Tension Spring: Take a close look at the tension spring mechanism to ensure that it is intact and functioning properly. Look for any signs of damage or misalignment that may be affecting the retraction and extension of the screen.
- Lubricate Moving Parts: Apply a small amount of lubricating oil or silicone spray to the moving parts of the roll-up mechanism, including the tracks, guides, and spring. This will help facilitate smooth operation and prevent friction-related issues.
- Clean the Screen Housing: If the housing or casing of the roll-up mechanism is dirty or dusty, use a clean cloth to wipe away any debris and ensure that the interior of the housing is clean and well-maintained.
By conducting a comprehensive inspection and cleaning of the components, you’ll be able to address any minor issues and ensure that the roll-up screen operates smoothly once reinstalled. With the components inspected and cleaned, you’re now ready to move on to the next step and reassemble the screen assembly.
To fix a roll-up screen on a storm door, start by removing the screen from the door. Then, carefully reattach the screen to the roller and make sure it is properly aligned. If the screen is torn, consider replacing it with a new one.
Step 3: Reassemble the Screen
With the inspection and cleaning of the roll-up screen components complete, it’s time to reassemble the screen assembly and prepare it for installation back into the door frame. Follow these steps to ensure a seamless reassembly process:
- Align the Screen: Position the roll-up screen assembly in a way that allows for easy access to the tracks and guides. Ensure that the screen material is properly aligned and free from any twists or wrinkles.
- Secure the Screen in the Tracks: Carefully guide the edges of the screen material into the tracks and ensure that it moves smoothly along the length of the assembly. Take your time to prevent any bunching or misalignment of the screen material.
- Engage the Screen Latches: Once the screen is properly aligned and seated in the tracks, engage the latches or locks to secure the screen within the frame. Ensure that the latches click into place securely.
- Test the Retraction and Extension: Gently pull the screen across the door frame to test its retraction and extension. Ensure that it moves smoothly and without resistance, indicating that the reassembly was successful.
By following these steps, you’ll be able to reassemble the roll-up screen assembly with precision and attention to detail. A properly reassembled screen is essential for ensuring its functionality and longevity. With the screen back in place, you’re now ready to move on to the next step and address the tension spring, if necessary.
Step 4: Adjust Tension Spring
The tension spring plays a crucial role in the smooth operation of the roll-up screen, and adjusting it can help address issues such as sagging or uneven retraction. Follow these steps to adjust the tension spring and optimize the functionality of the roll-up screen:
- Locate the Tension Spring: Identify the tension spring within the roll-up mechanism. It is typically located at the top or bottom of the screen assembly, depending on the specific design of the door.
- Assess the Tension: Test the tension of the spring by manually retracting and extending the screen. Pay attention to the resistance offered by the spring and observe if the screen retracts evenly and without sagging.
- Adjusting the Tension: If the screen exhibits uneven retraction or sagging, you may need to adjust the tension spring. Use a screwdriver or pliers to carefully adjust the tension spring according to the manufacturer’s guidelines. This may involve tightening or loosening the spring to achieve the desired tension.
- Test the Screen Operation: After making adjustments to the tension spring, test the operation of the roll-up screen by retracting and extending it several times. Ensure that the screen moves smoothly and retracts evenly without any sagging or resistance.
By adjusting the tension spring, you can fine-tune the operation of the roll-up screen and address issues related to uneven retraction or sagging. Proper tension adjustment is essential for ensuring the longevity and optimal functionality of the screen. With the tension spring adjusted, you’re now ready to move on to the final step and test the roll-up screen’s performance.
Step 5: Test the Roll-Up Screen
After completing the necessary adjustments and reassembly, it’s crucial to thoroughly test the roll-up screen to ensure that it operates smoothly and efficiently. Follow these steps to conduct a comprehensive test of the roll-up screen’s performance:
- Operate the Screen Multiple Times: Retract and extend the roll-up screen multiple times to assess its functionality. Pay close attention to the smoothness of the operation and ensure that the screen moves without hesitation or resistance.
- Check for Even Retraction: Observe the screen as it retracts into the housing. Verify that it retracts evenly without any areas of bunching or uneven movement along the tracks.
- Inspect the Tension Spring Adjustment: Evaluate the impact of the tension spring adjustment on the screen’s performance. Ensure that any issues related to sagging or uneven retraction have been effectively addressed through the adjustment.
- Verify Secure Locking: Confirm that the screen securely locks into place when fully retracted, providing a tight seal against insects and debris.
By conducting a thorough test of the roll-up screen, you can verify that the repair and adjustments have been successful in restoring its optimal functionality. Any issues that arise during the testing phase can be promptly addressed to ensure that the screen operates as intended. With the roll-up screen successfully tested, you can now enjoy the enhanced functionality of your storm door’s screen, allowing you to welcome fresh air while maintaining a barrier against unwanted pests.
Conclusion
Congratulations on successfully navigating the process of fixing a roll-up screen on a storm door! By following the step-by-step guide outlined in this comprehensive resource, you’ve gained valuable insights into the inner workings of the roll-up screen mechanism and acquired the skills to address common issues that may arise. Whether it’s sagging, sticking, or uneven retraction, you’ve learned how to tackle these challenges with confidence and precision.
Throughout this journey, you’ve embraced the role of a DIY enthusiast, armed with the right tools, knowledge, and determination to restore the functionality of your storm door’s roll-up screen. By carefully removing, inspecting, cleaning, and reassembling the screen assembly, you’ve demonstrated your ability to tackle home repair projects with skill and finesse. Additionally, by adjusting the tension spring and conducting a thorough test of the screen’s performance, you’ve ensured that it operates smoothly and efficiently, providing you with an enhanced experience.
As you reflect on your accomplishment, remember that the skills and knowledge you’ve acquired extend beyond this specific repair task. They empower you to take on future home maintenance and improvement projects with confidence, knowing that you have the capability to troubleshoot and address various challenges that may arise in your home environment.
Embrace the satisfaction of a job well done, and revel in the newfound understanding of roll-up screen repair. Your storm door’s roll-up screen now stands as a testament to your dedication to maintaining a functional and inviting home environment. With your newly acquired expertise, you’re well-equipped to tackle future DIY endeavors and continue enhancing your living space with ingenuity and resourcefulness.
Now, take a moment to appreciate the seamless operation of your roll-up screen, knowing that your efforts have contributed to the comfort and functionality of your home. You’ve not only fixed a roll-up screen on a storm door but also expanded your repertoire of home maintenance skills, setting the stage for future successes in the world of DIY home improvement.
Frequently Asked Questions about How To Fix A Roll-Up Screen On A Storm Door
Was this page helpful?
At Storables.com, we guarantee accurate and reliable information. Our content, validated by Expert Board Contributors, is crafted following stringent Editorial Policies. We're committed to providing you with well-researched, expert-backed insights for all your informational needs.


0 thoughts on “How To Fix A Roll-Up Screen On A Storm Door”