Articles
How To Install Insulation On Garage Door
Modified: August 22, 2024
Learn how to install insulation on your garage door with these informative articles. Improve energy efficiency and keep your garage comfortable all year round.
(Many of the links in this article redirect to a specific reviewed product. Your purchase of these products through affiliate links helps to generate commission for Storables.com, at no extra cost. Learn more)
Introduction
Insulating your garage door is a smart and cost-effective way to make your garage more comfortable, energy-efficient, and versatile. By insulating your garage door, you can create a barrier against outdoor temperatures, reduce noise transmission, and even increase the overall value of your home. In this article, we will guide you through the process of installing insulation on your garage door, step by step.
Before we dive into the installation process, it’s important to understand the benefits of insulating your garage door. One of the main advantages is energy efficiency. A well-insulated garage door helps to regulate the temperature inside the garage, preventing heat loss during the winter and heat gain during the summer. This can result in significant savings on your energy bills.
Insulating your garage door also offers insulation against noise pollution. If you use your garage for activities such as woodworking, DIY projects, or as a home gym, insulating the door will help to muffle sound, making the space more comfortable and enjoyable.
Another benefit of insulating your garage door is that it helps to protect the contents of your garage from extreme temperatures and humidity. If you store valuable belongings, vehicles, or items sensitive to temperature fluctuations, insulation will provide an additional layer of protection.
In addition, an insulated garage door can increase the overall value of your home. Prospective buyers often consider the level of insulation in a garage when evaluating a property. By insulating your garage door, you not only enhance its functionality but also improve its desirability on the market.
Now that you understand the benefits of garage door insulation, let’s move on to the step-by-step process of installing insulation on your garage door.
Key Takeaways:
- Insulating your garage door not only improves energy efficiency and reduces noise, but also adds value to your home. It’s a practical and rewarding project with long-term benefits for comfort and savings.
- Proper installation and maintenance of garage door insulation are essential for optimal performance. Take the time to gather materials, measure accurately, and seal gaps to create a comfortable and energy-efficient garage space.
Read more: How To Install Insulation In Garage
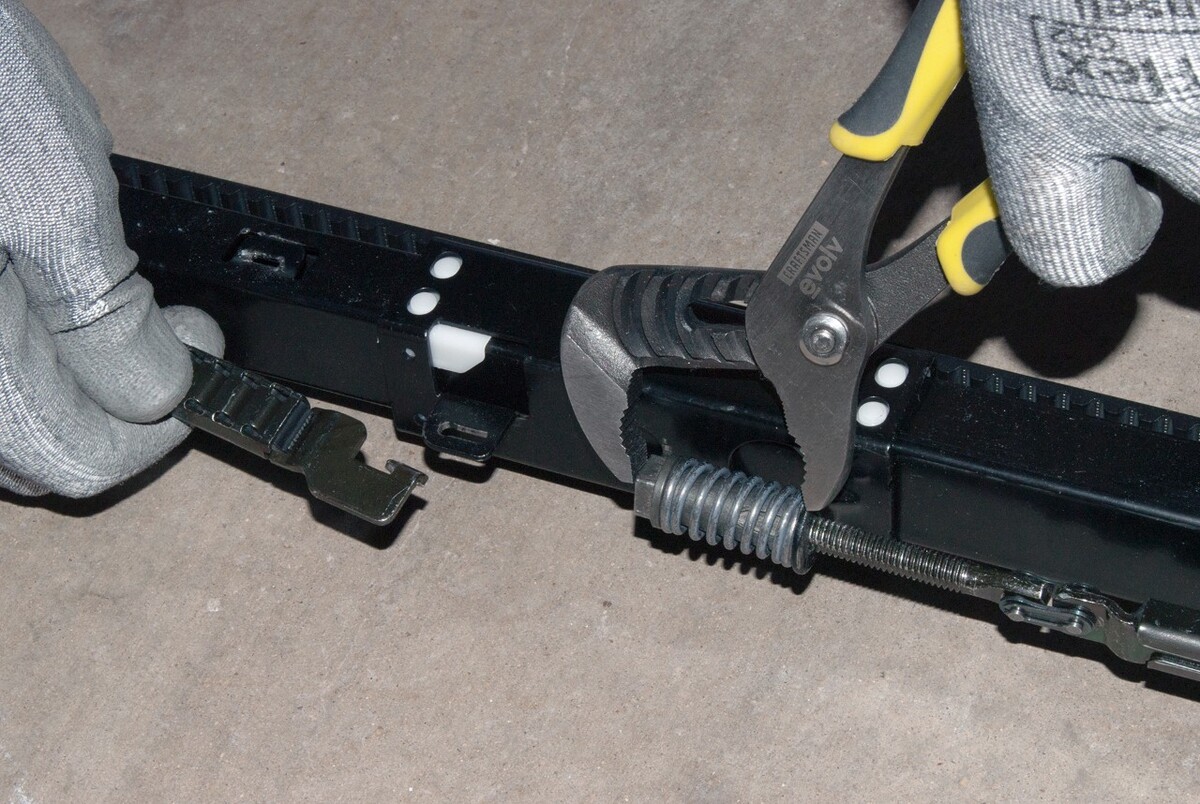
Step 1: Gather materials
Before you start installing insulation on your garage door, it’s important to gather all the necessary materials. Here’s a list of what you’ll need:
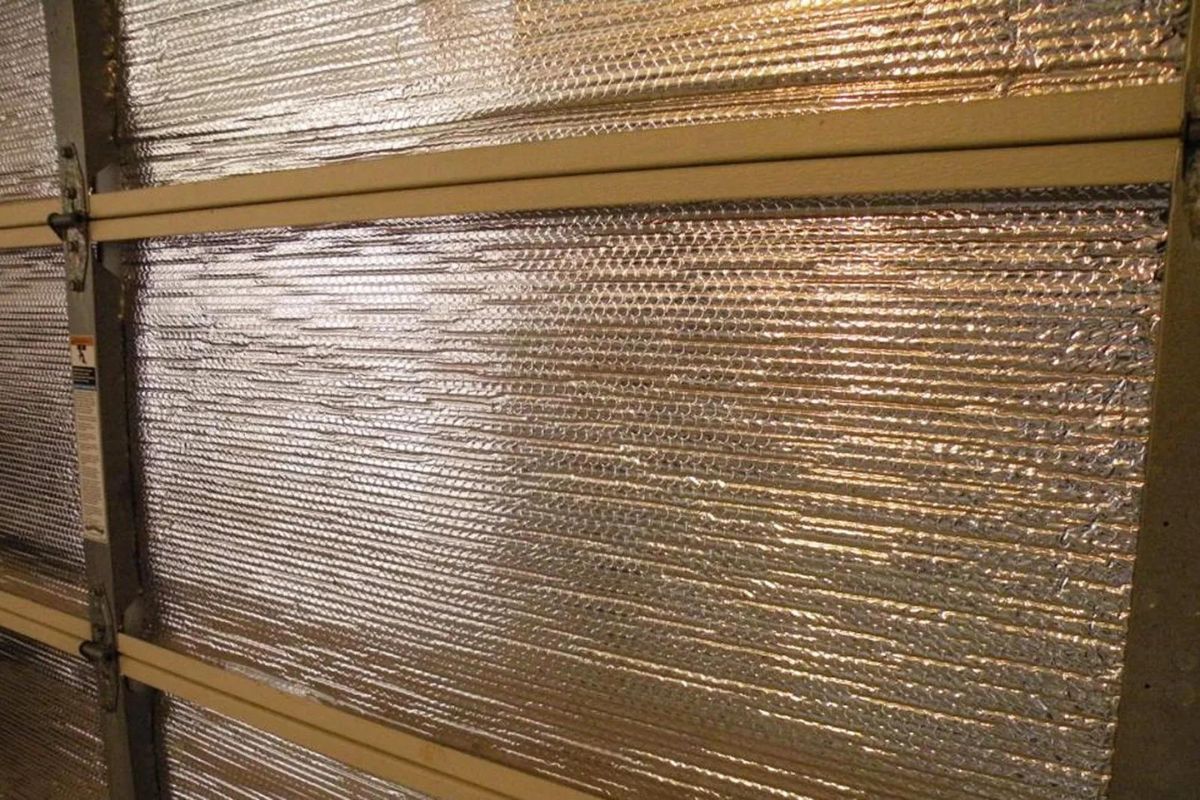
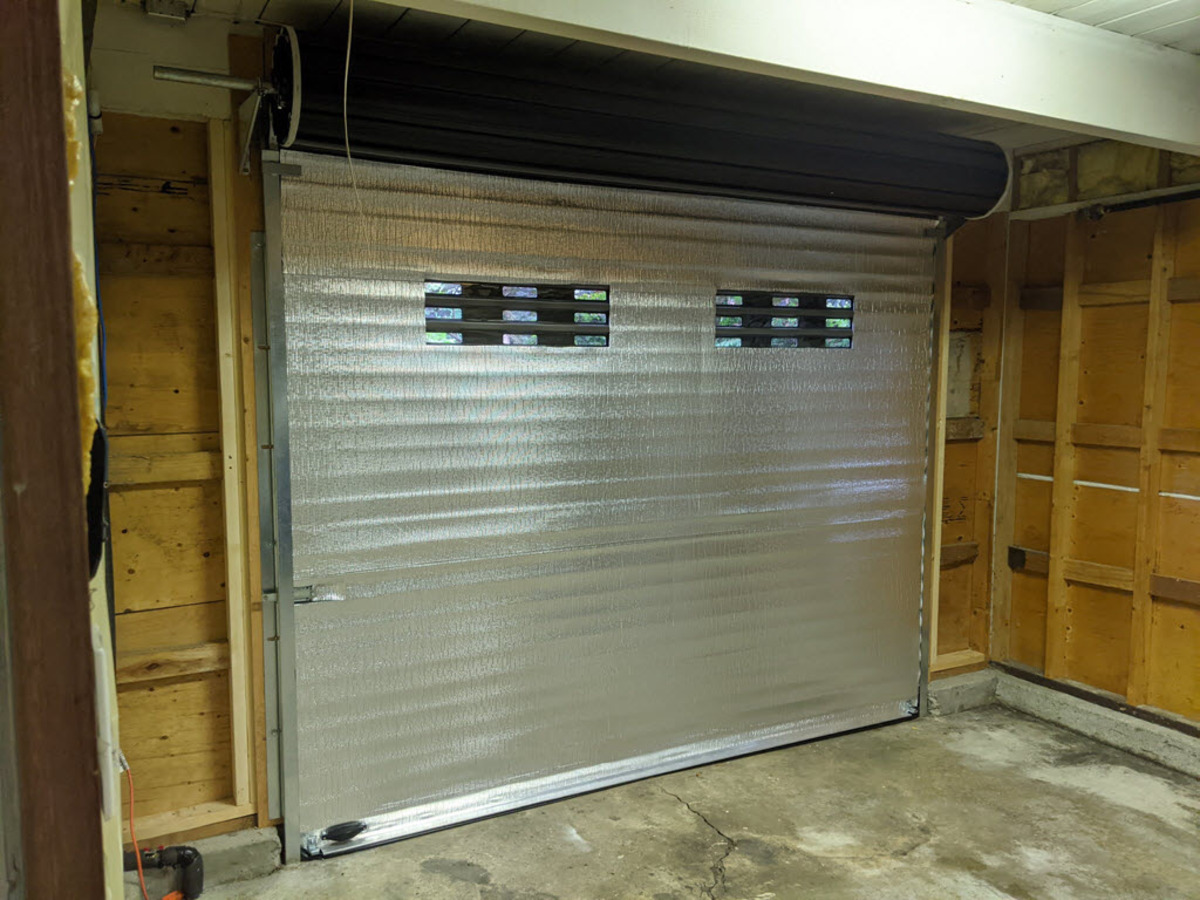
- Insulation panels: Choose insulation panels that are specifically designed for garage doors. They are typically made of polystyrene or polyurethane and come in various thicknesses. The panels should have a high R-value, which indicates their level of insulation.
- Measuring tape: You’ll need a measuring tape to determine the dimensions of your garage door and cut the insulation panels to the right size.
- Straightedge: A straightedge will help you make precise cuts on the insulation panels.
- Utility knife: A utility knife with a sharp blade will be essential for cutting the insulation panels.
- Adhesive: You’ll need an appropriate adhesive to attach the insulation panels to the garage door. Make sure to choose an adhesive that is suitable for the material of your garage door and the insulation panels.
- Foam sealant: Foam sealant will be used to seal any gaps or openings in the garage door to ensure maximum insulation.
- Gloves and safety goggles: It’s important to protect your hands and eyes when handling insulation materials and cutting tools.
Make sure to gather all the materials before you begin the installation process. This will save you time and ensure a smooth and efficient process.
Step 2: Measure and cut insulation
Once you have gathered all the necessary materials, it’s time to measure and cut the insulation panels to fit your garage door. Follow these steps:
- Start by measuring the dimensions of your garage door. Use a measuring tape to measure the width and height of each panel of the door.
- Transfer these measurements to the insulation panels. Use a straightedge and a pencil to mark the dimensions on the panels.
- Double-check your measurements to ensure accuracy.
- Using a utility knife, carefully cut along the marked lines on the insulation panels. Make sure to use a sharp blade and apply even pressure to achieve clean and precise cuts.
- Repeat this process for each panel of the garage door, ensuring that you have enough insulation panels to cover the entire door.
- Trim the insulation panels as needed to fit around any windows or decorative elements on the garage door.
It’s important to measure and cut the insulation panels accurately to ensure a snug fit on the garage door. This will maximize the insulation effectiveness and provide a seamless appearance once the installation is complete.
Take your time during this step to avoid any unnecessary mistakes. Remember, it’s always better to measure twice and cut once!
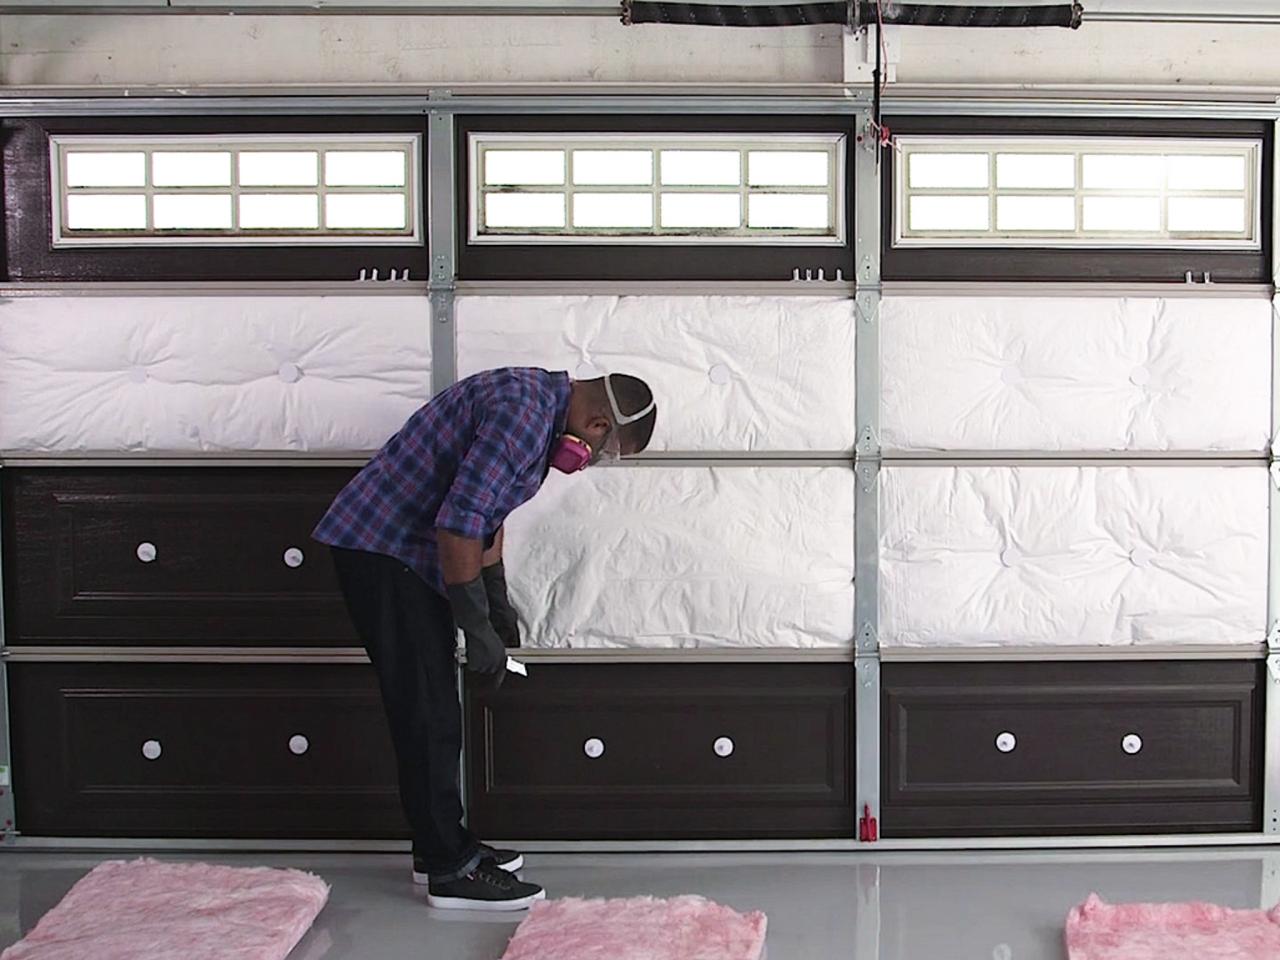
Step 3: Attach insulation panels to garage door
After you have measured and cut the insulation panels to the appropriate size, it’s time to attach them to your garage door. Follow these steps:
- Start by cleaning the surface of the garage door. Remove any dust, debris, or grease to ensure proper adhesion.
- Apply the adhesive to the back of the insulation panel. Follow the instructions on the adhesive product for the best results. Apply the adhesive in a zigzag pattern to ensure even distribution.
- Carefully position the insulation panel on the garage door, aligning it with the edges and corners. Press firmly to ensure good adhesion.
- Repeat this process for each insulation panel, working systematically to cover the entire garage door. Make sure to leave a small gap between the panels for flexibility.
- Use clamps or temporary supports to hold the insulation panels in place as the adhesive dries, if necessary.
Take care to position the insulation panels accurately, ensuring a smooth and consistent appearance. Pay attention to the edges and corners to achieve a clean and professional finish.
Once you have attached all the insulation panels, step back and inspect the overall appearance. Make any adjustments if necessary to ensure a unified and seamless look.
Proceed to the next step once the adhesive has fully dried, according to the time specified in the adhesive’s instructions.
When installing insulation on a garage door, make sure to measure the panels accurately and use a utility knife to trim the insulation to fit. This will ensure a snug and effective insulation installation.
Step 4: Secure edges and corners
Now that you have attached the insulation panels to the main surface of the garage door, it’s time to secure the edges and corners to ensure a tight seal. Follow these steps:
- Inspect the edges and corners of the insulation panels. Look for any gaps or areas where the panels may not be fully adhered to the garage door.
- Apply foam sealant to any gaps or openings between the insulation panels and the garage door. Use a caulking gun to apply the foam sealant in a continuous and even line.
- Smooth out the foam sealant with a putty knife or your finger, ensuring that it fully fills the gaps and creates a seamless barrier.
- Repeat this process for all the edges and corners of the insulation panels, paying close attention to any areas that may require extra sealing.
- Allow the foam sealant to dry according to the manufacturer’s instructions. This will usually take a few hours.
Securing the edges and corners of the insulation panels is crucial to prevent air leakage and maximize the insulation’s effectiveness. By sealing these areas with foam sealant, you create a barrier against drafts and ensure a complete thermal barrier.
Once the foam sealant has dried, visually inspect the edges and corners to confirm that they are sealed properly. Make any necessary touch-ups or adjustments to ensure a tight and secure fit.
Read more: How To Tell If Garage Door Is Insulated
Step 5: Seal any gaps or openings
After securing the edges and corners of the insulation panels, it’s important to seal any remaining gaps or openings in the garage door. This will ensure maximum insulation and prevent air leakage. Follow these steps:
- Inspect the entire surface of the garage door for any gaps, cracks, or openings.
- Use foam sealant or weatherstripping to seal these gaps. Foam sealant can be applied to larger gaps, while weatherstripping is ideal for smaller cracks or areas that require a more flexible seal.
- If using foam sealant, apply it generously to fill the gaps. Use a putty knife or your finger to smooth out the sealant and create an even surface.
- If using weatherstripping, cut it to the appropriate length and apply it along the edges or gaps. Press firmly to ensure good adhesion.
- Allow the sealant or weatherstripping to dry according to the manufacturer’s instructions. This may take a few hours.
Sealing any remaining gaps or openings is crucial to maintain the integrity of the insulation and prevent air infiltration. By creating a tight seal, you ensure that your garage door provides optimal thermal efficiency and protection against outdoor elements.
Take the time to thoroughly inspect your garage door and address any areas that may require sealing. This will result in a well-insulated garage that keeps the elements at bay and maintains comfortable indoor temperatures.
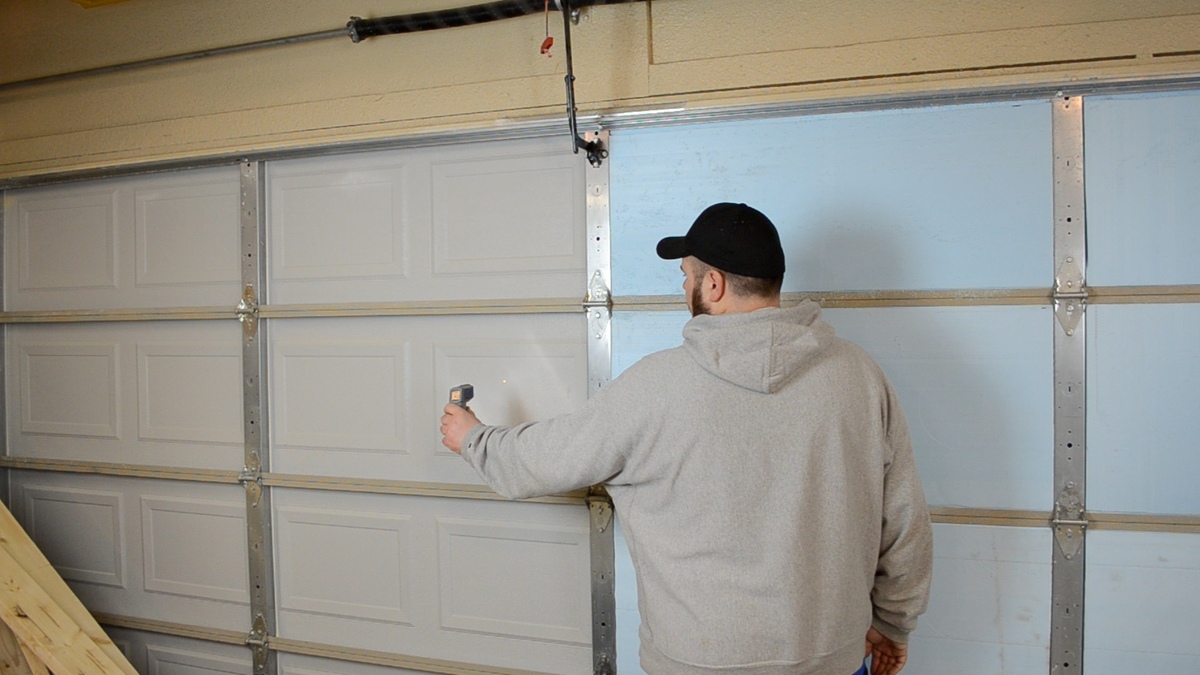
Step 6: Test and inspect insulation coverage
After completing the insulation installation process, it’s important to test and inspect the coverage to ensure that your garage door is properly insulated. Follow these steps:
- Close the garage door and observe any noticeable changes in temperature or noise levels inside the garage. Pay attention to any drafts or cold spots that may indicate insufficient insulation coverage.
- Touch the surface of the insulation panels to check for any areas that feel colder or warmer than others. This can help identify any areas where the insulation may be lacking.
- Inspect the edges, corners, and gaps to ensure that they are sealed properly. Look for any signs of air leakage or gaps that may need additional foam sealant or weatherstripping.
- Listen carefully for any reduction in noise transmission from outside the garage. The insulation should help to create a quieter and more peaceful environment inside.
- If you notice any areas or issues that require attention, make the necessary adjustments or repairs. Add more insulation panels or sealant as needed.
Testing and inspecting the insulation coverage is essential to ensure that your efforts have been successful. By addressing any issues or gaps, you can optimize the insulation performance and create a more comfortable and energy-efficient garage space.
Remember to periodically check and maintain your garage door insulation to ensure its longevity and effectiveness. Over time, insulation may require touch-ups or replacements, especially in areas that are exposed to frequent use or harsh weather conditions.
Conclusion
Installing insulation on your garage door is a practical and rewarding project that can improve energy efficiency, increase comfort, and reduce noise transmission. By following the step-by-step process outlined in this article, you can successfully insulate your garage door and reap the benefits.
Start by gathering all the necessary materials, including insulation panels, measuring tape, adhesive, and foam sealant. Take accurate measurements and cut the insulation panels to the appropriate size to fit your garage door. Attach the panels using adhesive, making sure to secure the edges and corners for a tight seal. Seal any gaps or openings with foam sealant or weatherstripping to prevent air leakage.
Once the installation is complete, test and inspect the insulation coverage to ensure its effectiveness. Check for changes in temperature, noise reduction, and proper sealing. Make any necessary adjustments or repairs to optimize the insulation’s performance.
Remember to maintain your garage door insulation by periodically checking for gaps or wear and tear. Replace or add insulation as needed to maintain a comfortable and energy-efficient garage space.
By investing time and effort in insulating your garage door, you can create a more enjoyable and functional space while saving money on energy bills. So go ahead and start your insulation project, and enjoy the benefits of a well-insulated garage door.
Frequently Asked Questions about How To Install Insulation On Garage Door
Was this page helpful?
At Storables.com, we guarantee accurate and reliable information. Our content, validated by Expert Board Contributors, is crafted following stringent Editorial Policies. We're committed to providing you with well-researched, expert-backed insights for all your informational needs.

0 thoughts on “How To Install Insulation On Garage Door”