Home>Home Security and Surveillance>How To Install Blink Outdoor Camera Without Screws

Home Security and Surveillance
How To Install Blink Outdoor Camera Without Screws
Modified: October 21, 2024
Learn how to install the Blink Outdoor Camera in your home without the need for screws. Enhance your home security and surveillance without any hassle.
(Many of the links in this article redirect to a specific reviewed product. Your purchase of these products through affiliate links helps to generate commission for Storables.com, at no extra cost. Learn more)
Introduction
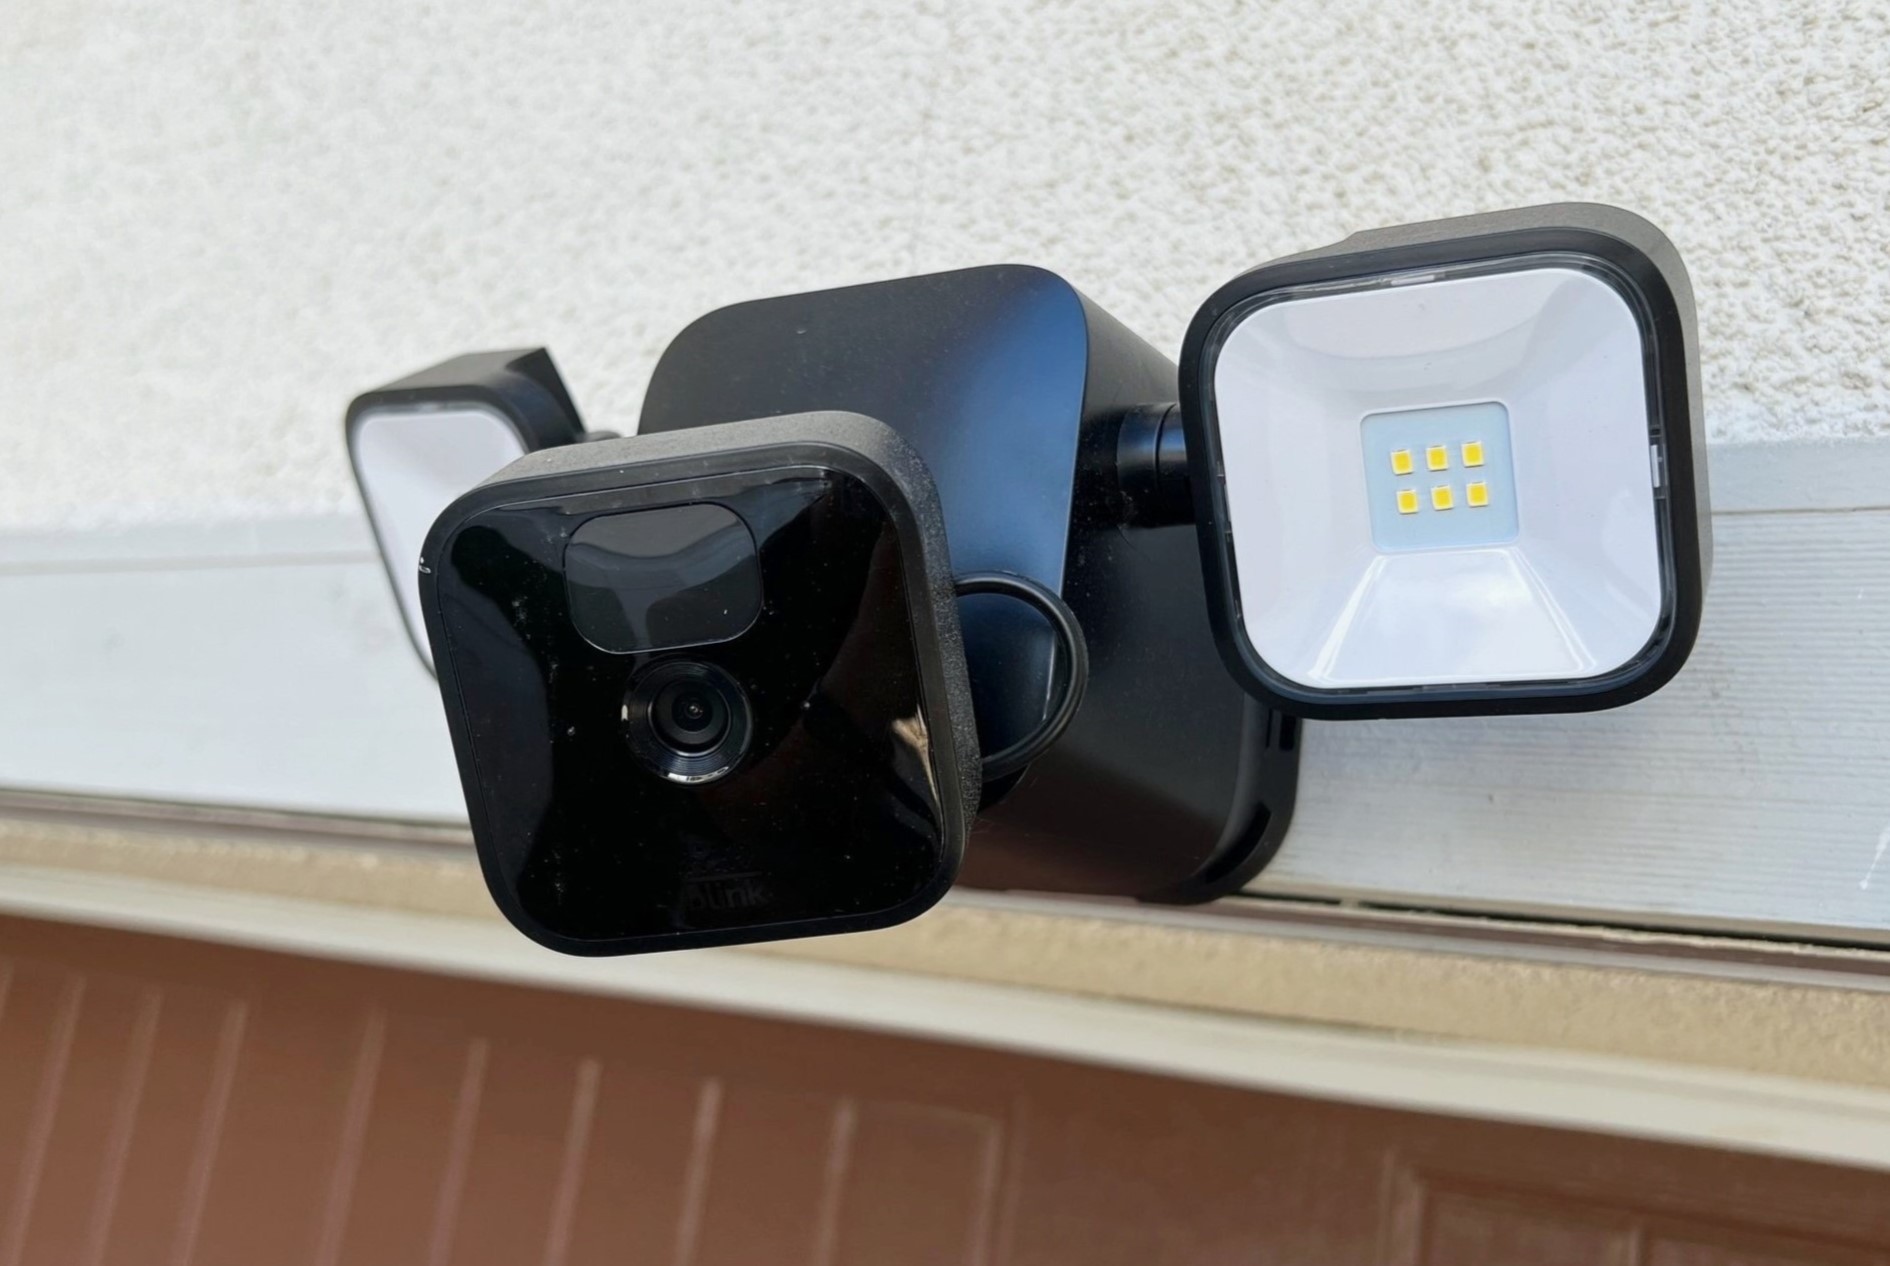
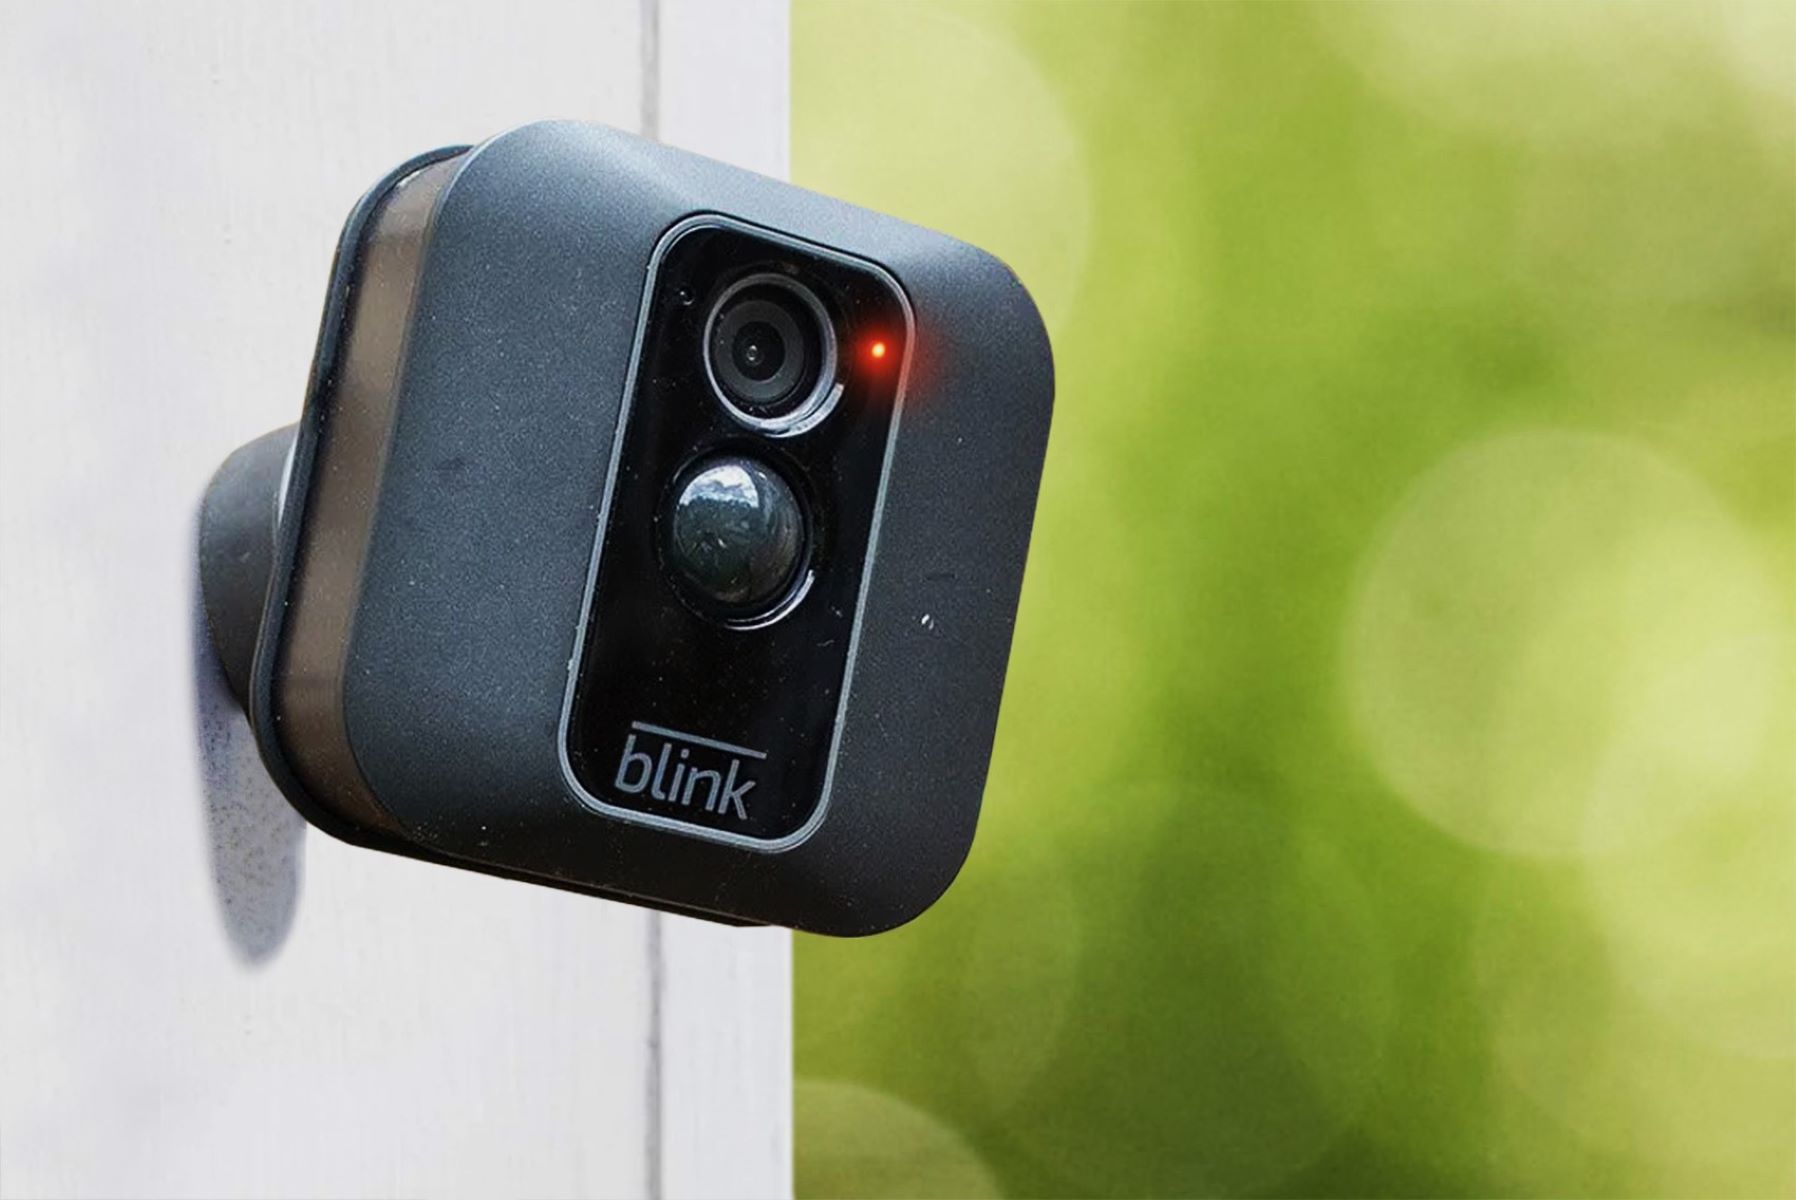
Welcome to the world of home security and surveillance! In today’s fast-paced world, it’s important to keep our homes safe and secure. One way to achieve this is by installing outdoor security cameras, such as the Blink Outdoor Camera. These cameras are designed to monitor the exterior of our homes, acting as a deterrent to potential intruders and providing us with peace of mind knowing that our property is under constant surveillance.
When it comes to installing the Blink Outdoor Camera, one common concern is how to mount it without using screws. This is a valid concern, as many homeowners prefer not to drill holes or make permanent changes to their property. Luckily, there are several alternative methods available that allow you to install the Blink Outdoor Camera securely and easily, without the need for screws or drilling.
Key Takeaways:
- Securely install Blink Outdoor Camera without screws using mounting bracket, adhesive hooks, tripod, or magnetic mounts for flexible and non-permanent options.
- Choose the right installation method based on stability, desired field of view, and security needs to protect your property with confidence.
Read more: How To Install Blink Doorbell Without Screws
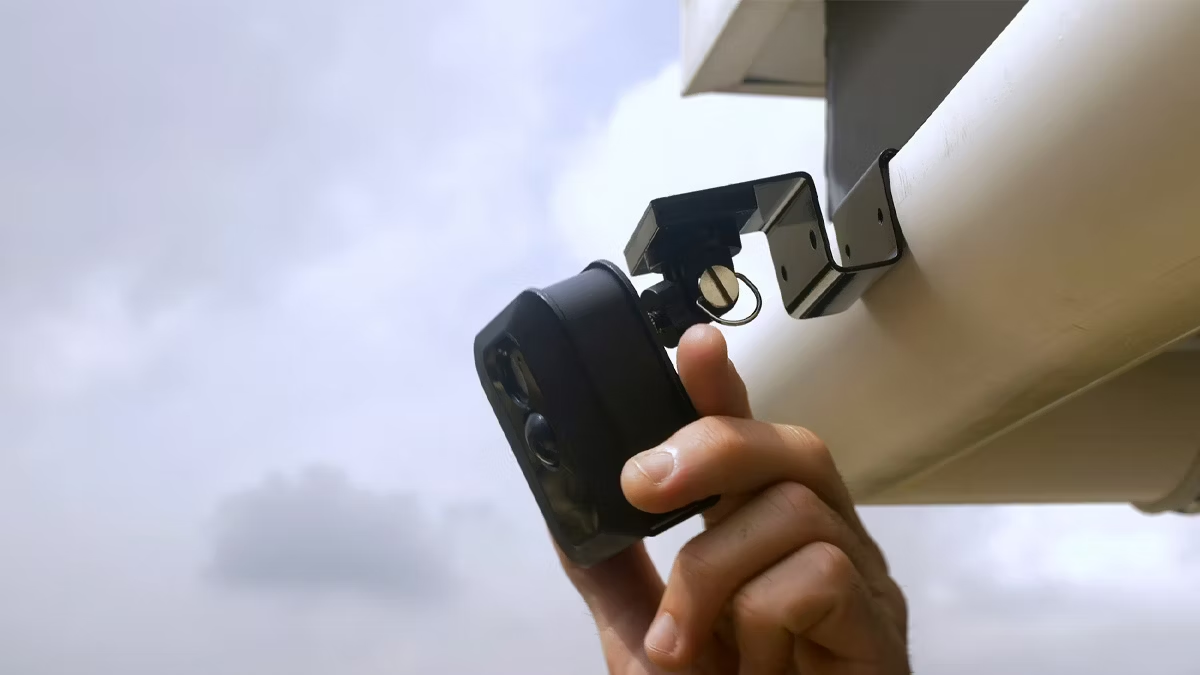
Method 1: Using the Mounting Bracket
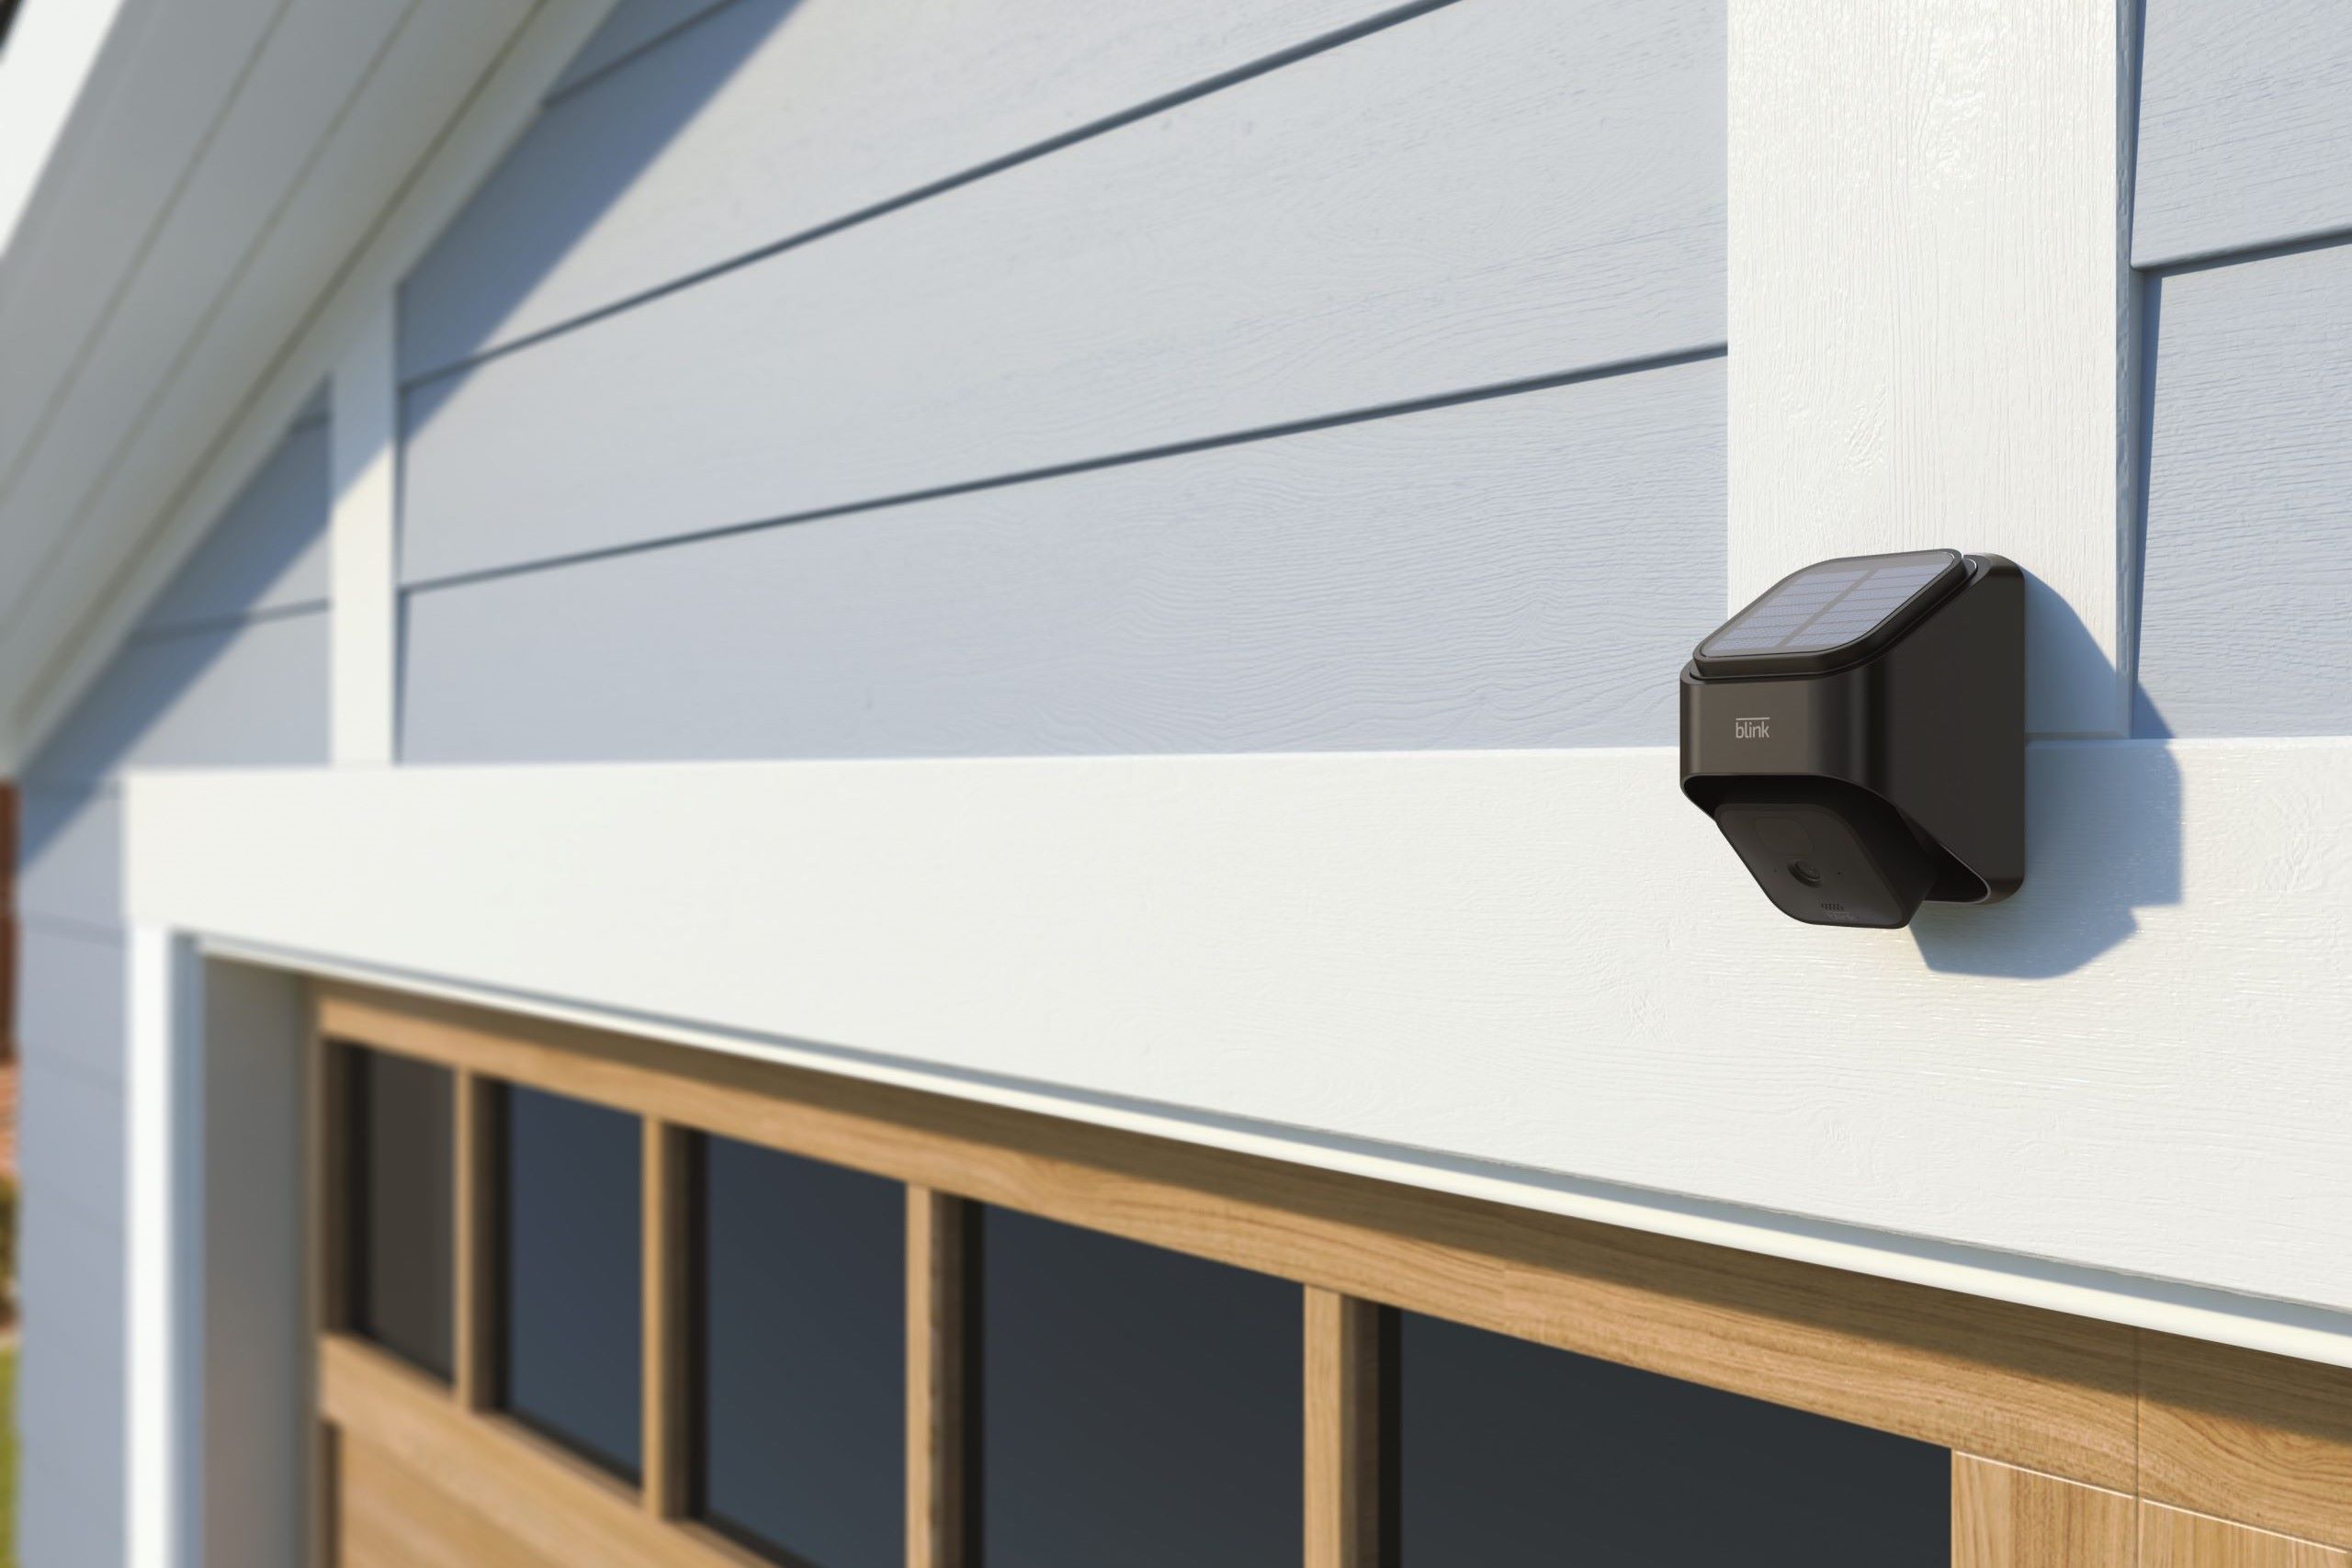
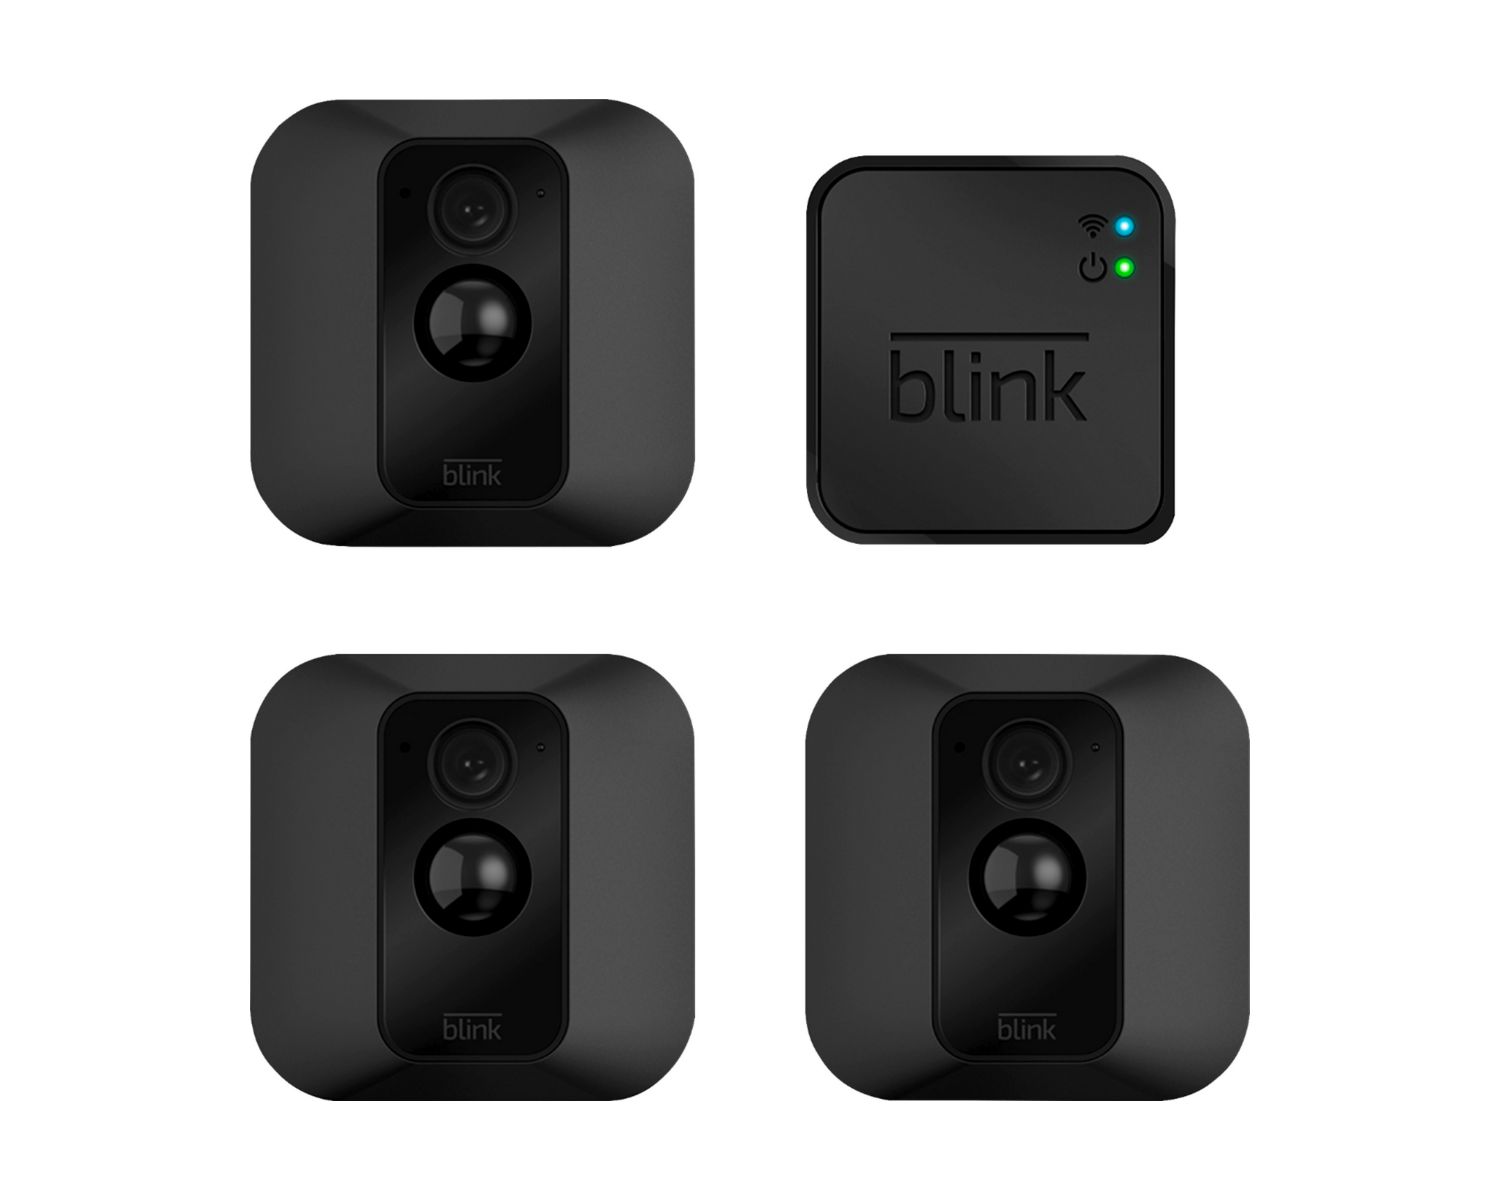
The Blink Outdoor Camera comes with a mounting bracket that allows for easy installation without screws. Here’s how you can do it:
- Start by selecting a suitable location for your camera. Consider areas that provide a wide field of view and cover the desired surveillance area.
- Once you have chosen the location, mark the spots where the mounting bracket will be placed. It’s important to ensure the bracket is level and securely attached.
- Next, attach the mounting bracket to the desired surface using adhesive tape or strong adhesive strips. Make sure to clean the surface beforehand for better adhesion.
- Now, insert the Blink Outdoor Camera into the mounting bracket. Ensure that the camera is securely seated in the bracket to prevent any accidental falls or misalignment.
- Adjust the camera angle as needed to capture the desired area. You can easily tilt, rotate, or pan the camera within the bracket to achieve the desired angle.
- Finally, double-check the camera’s positioning to ensure that it provides optimal surveillance coverage. Make any necessary adjustments before securing the camera in place.
Using the mounting bracket method allows you to install the Blink Outdoor Camera without any drilling or permanent changes to your home. This method is perfect for renters or those who prefer removable installation options. However, it’s essential to choose a mounting surface that can support the weight of the camera and bracket and ensure that the adhesive used is strong enough to keep the camera in place.
Method 2: Using Adhesive Hooks or Strips
If you prefer a temporary and removable installation method for your Blink Outdoor Camera, using adhesive hooks or strips is a fantastic option. Here’s how you can install your camera using this method:
- Start by selecting a suitable location for your camera, considering the surveillance area and desired vantage point.
- Clean the mounting surface thoroughly to ensure strong adhesion. Remove any dust, dirt, or debris that could affect the adhesive’s effectiveness.
- Attach the adhesive hooks or strips to the back of the Blink Outdoor Camera. Ensure that they are evenly spaced and securely adhered.
- Press the camera firmly against the mounting surface, applying gentle pressure to ensure a strong bond between the hooks/strips and the surface.
- Double-check the camera’s positioning and adjust as necessary to capture the desired surveillance area.
- Once satisfied with the camera’s placement, press firmly on the hooks/strips to enhance their adhesion and ensure that the camera stays in place.
Using adhesive hooks or strips offers the flexibility to move and reposition your Blink Outdoor Camera when needed. This method is particularly suitable for those who may want to change the camera’s location or remove it without leaving any marks or damage on the mounting surface.
It’s important to note that the effectiveness of adhesive hooks or strips can vary depending on the surface and environmental factors. Make sure to choose high-quality adhesive products specifically designed for outdoor use and follow the manufacturer’s instructions for optimal results.
You can install the Blink Outdoor camera without screws by using the included mounting bracket and adhesive strip. Simply attach the bracket to the desired surface and then mount the camera onto the bracket. Make sure the surface is clean and dry before applying the adhesive.
Method 3: Using a Tripod or Stand
If you’re looking for a flexible and portable option for installing your Blink Outdoor Camera, using a tripod or stand is an excellent choice. Follow these steps to install your camera using a tripod or stand:
- Choose a location for your camera that provides a clear view of the desired surveillance area.
- Set up the tripod or stand in the chosen location, ensuring that it is stable and secure.
- Attach the Blink Outdoor Camera to the tripod or stand using the appropriate mounting adapter or bracket.
- Adjust the height and angle of the tripod or stand to achieve the desired camera positioning.
- Ensure that the tripod or stand is securely positioned and stable, especially in outdoor environments where wind or other external factors may affect its stability.
Using a tripod or stand offers the advantage of flexibility and portability, allowing you to easily move and adjust the camera as needed. This method is particularly useful if you want to change the camera’s location frequently or if you need to temporarily monitor different areas.
When selecting a tripod or stand, choose a sturdy and durable option that can withstand outdoor conditions. Consider factors such as height adjustability, stability, and compatibility with the Blink Outdoor Camera.
Keep in mind that the tripod or stand may not provide the same level of security and stability as other mounting options, especially in high-risk areas. Evaluate your specific needs and surroundings to determine if this method is suitable for your home security setup.
Method 4: Using Magnetic Mounts
If you’re looking for a quick and hassle-free installation method for your Blink Outdoor Camera, using magnetic mounts can be a great option. Here’s how you can install your camera using this method:
- Select a suitable location for your camera, keeping in mind the surveillance area you want to cover.
- Clean the mounting surface to remove any dirt, dust, or debris that could affect the strength of the magnetic mount.
- Attach the magnetic mount to the desired surface. Ensure that it is firmly and securely attached.
- Place the Blink Outdoor Camera onto the magnetic mount. The camera should snap into place and be held securely by the magnetic force.
- Adjust the camera’s angle to capture the desired field of view. Most magnetic mounts allow for easy swiveling and rotation.
- Double-check the camera’s positioning and make any necessary adjustments to ensure optimal surveillance coverage.
Using magnetic mounts offers the advantage of quick and effortless installation. It allows you to easily move and reposition your Blink Outdoor Camera whenever needed, making it an excellent option for those who want flexibility in their home security setup.
However, it’s essential to note that the strength and stability of magnetic mounts can vary depending on the surface and environmental factors. Consider the weight of the camera and mount, as well as the stability of the mounting surface, to ensure a secure attachment.
If you live in an area prone to extreme weather conditions or high winds, it’s recommended to choose a more secure mounting method to ensure the camera remains in place.
Read more: How To Install Blink Outdoor Cameras
Conclusion
Installing your Blink Outdoor Camera without screws is entirely possible, thanks to alternative methods that provide secure and convenient options. Whether you prefer a removable installation or a flexible setup, there are multiple ways to achieve your desired home security and surveillance goals.
Using the mounting bracket allows for a secure and non-permanent installation, perfect for renters or those who prefer not to drill holes. Adhesive hooks or strips offer a temporary solution that can be easily moved or repositioned without leaving marks or damage on the mounting surface.
For those looking for flexibility and portability, using a tripod or stand provides a versatile option that allows you to easily adjust the camera’s position and monitor different areas as needed.
Lastly, magnetic mounts offer a quick and hassle-free installation, allowing you to easily attach and detach the camera as required. However, they may not be suitable for areas with extreme weather conditions or high wind speeds.
When choosing the right installation method for your Blink Outdoor Camera, consider factors such as the stability of the mounting surface, the desired field of view, and the level of security required. It’s essential to prioritize the safety and effectiveness of your home security system.
Now that you’re equipped with various methods to install your Blink Outdoor Camera without screws, you can confidently set up your home surveillance system and enjoy the peace of mind that comes with knowing your property is protected.
Frequently Asked Questions about How To Install Blink Outdoor Camera Without Screws
Was this page helpful?
At Storables.com, we guarantee accurate and reliable information. Our content, validated by Expert Board Contributors, is crafted following stringent Editorial Policies. We're committed to providing you with well-researched, expert-backed insights for all your informational needs.