
Articles
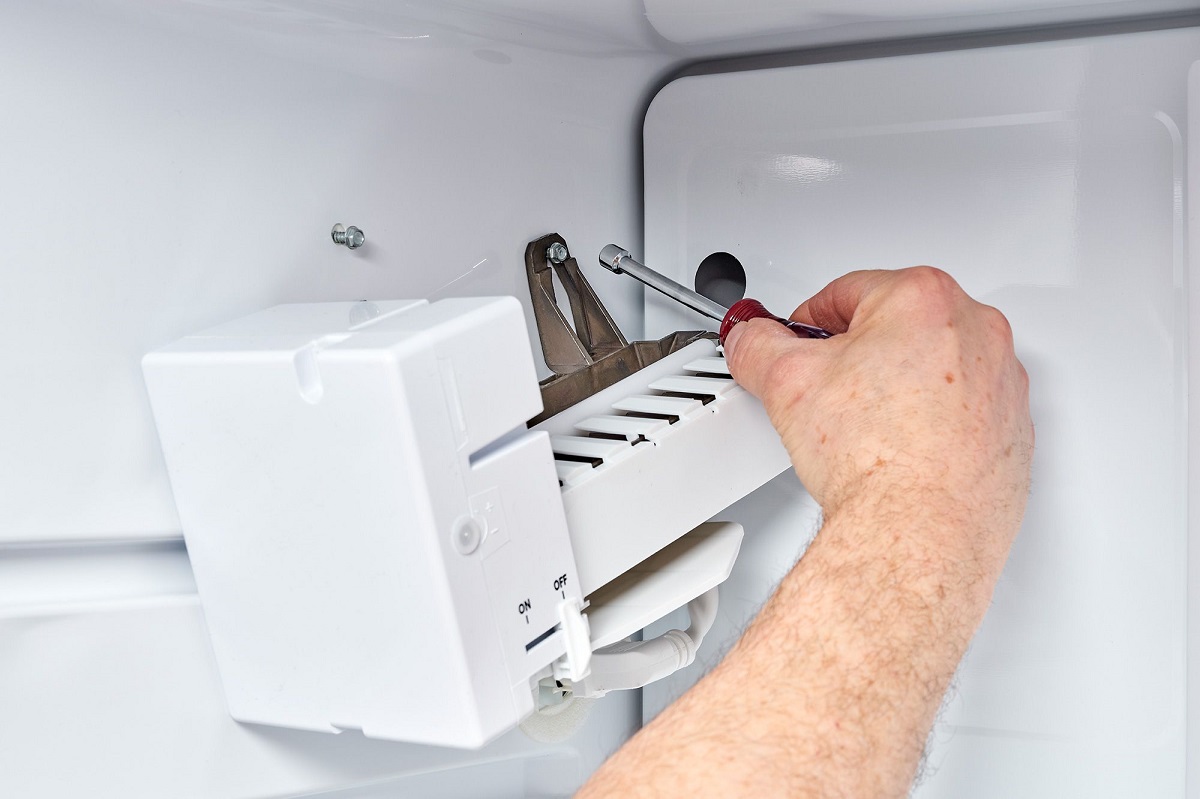
How To Install A Ice Maker
Modified: February 29, 2024
Looking for step-by-step guidance on installing an ice maker? Our comprehensive articles will help you master the process quickly and easily.
(Many of the links in this article redirect to a specific reviewed product. Your purchase of these products through affiliate links helps to generate commission for Storables.com, at no extra cost. Learn more)
Introduction
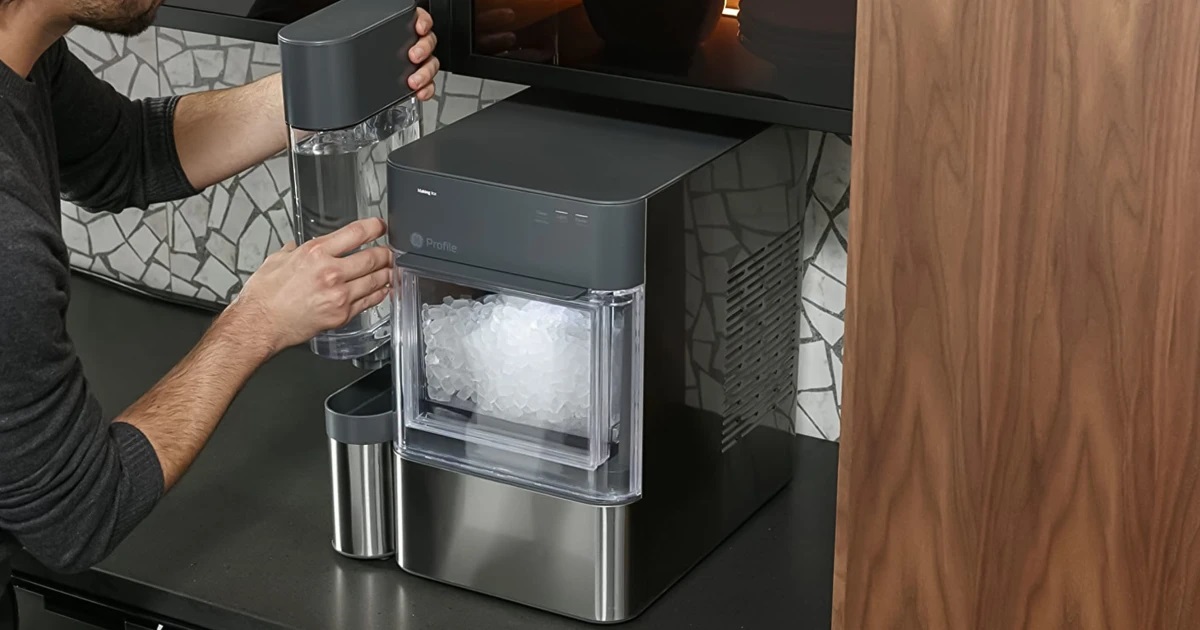
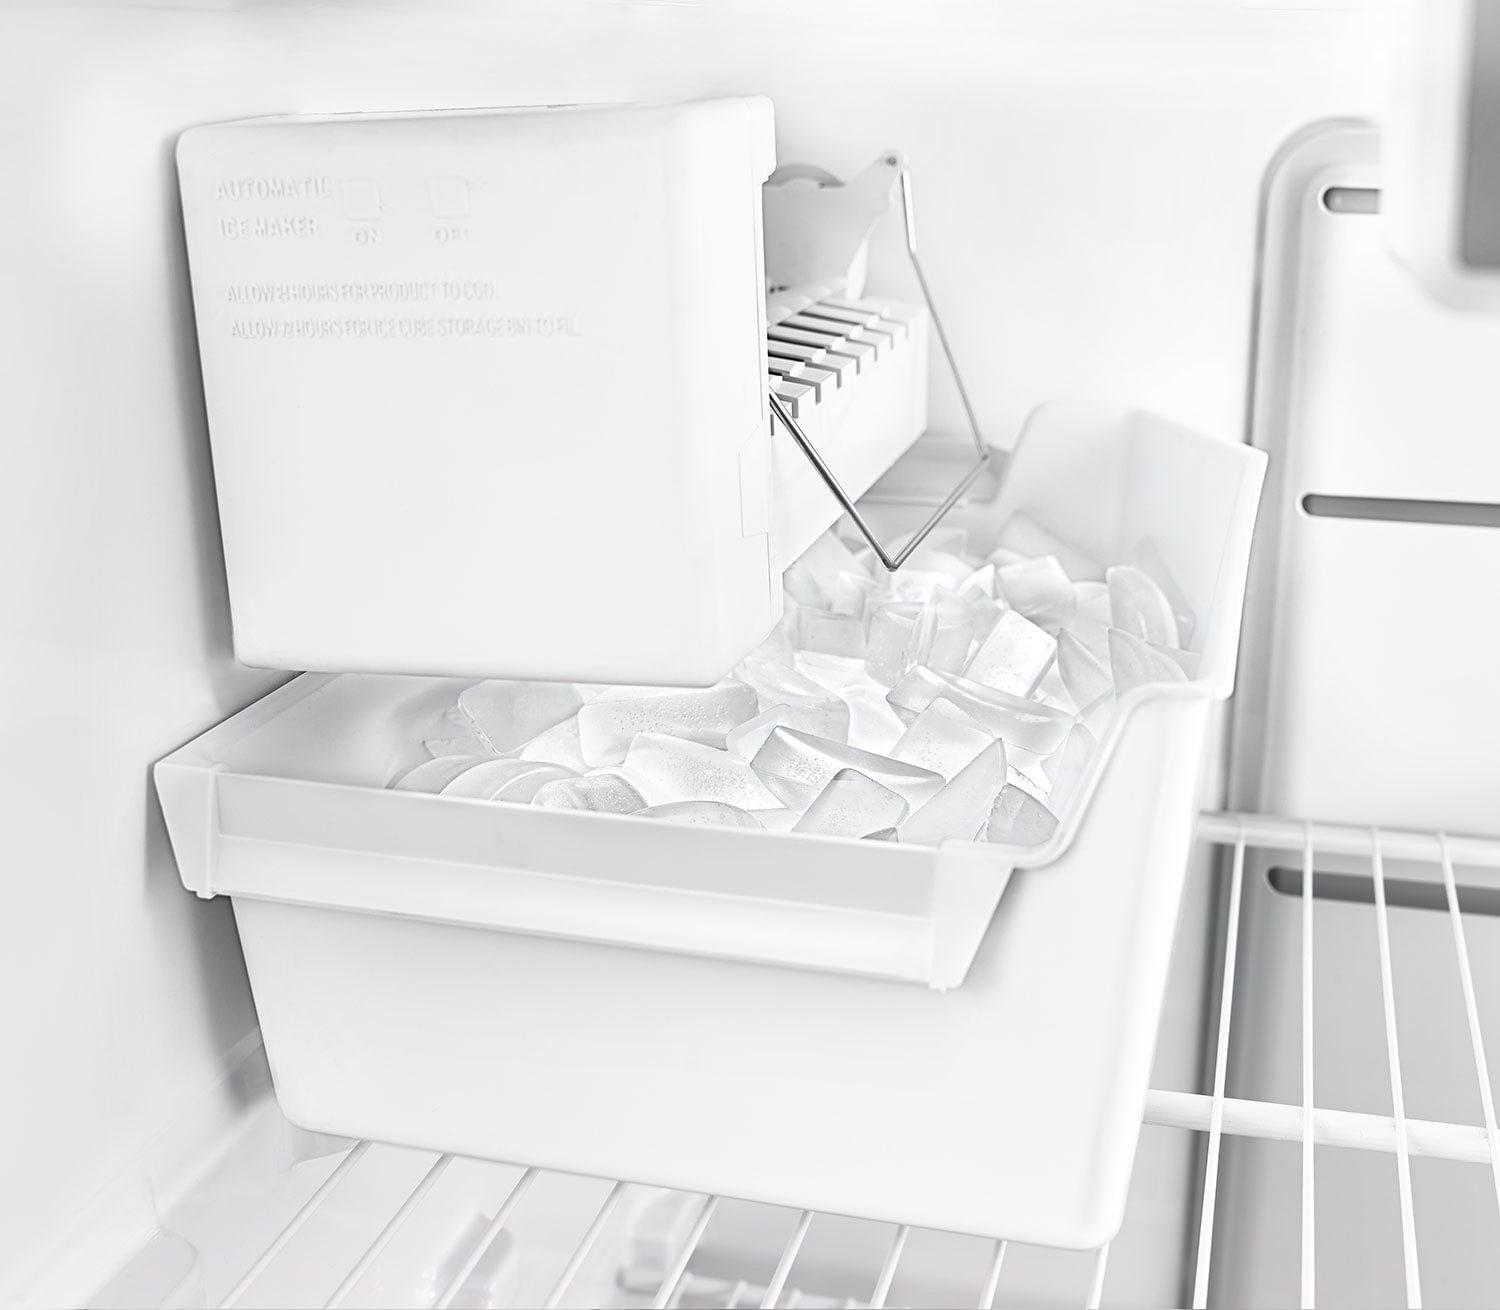
Welcome to this comprehensive guide on how to install an ice maker. If you’ve ever found yourself constantly running out of ice or struggling with ice trays, installing an ice maker can be a game-changer. With an ice maker, you can conveniently and effortlessly have a steady supply of ice whenever you need it. Whether you’re hosting a party, enjoying a refreshing drink, or simply want to have ice cubes readily available, installing an ice maker can make your life much easier.
While it may seem like a daunting task, installing an ice maker is actually quite manageable with the right tools and a little bit of know-how. In this guide, we will walk you through the steps to successfully install your own ice maker. From gathering the necessary tools and materials to connecting the ice maker to power, we’ve got you covered. Follow these steps, and soon you’ll be enjoying the convenience of an ice maker in your home.
Before we dive into the installation process, it’s important to note that different ice maker models may have specific installation requirements. It’s always a good idea to consult the manufacturer’s instructions that come with your ice maker for any model-specific guidelines. Additionally, if you’re not comfortable performing the installation yourself, it’s advisable to seek the assistance of a professional. With that being said, let’s get started on installing your ice maker!
Key Takeaways:
- Say goodbye to the hassle of running out of ice with these easy-to-follow steps for installing your own ice maker. Enjoy the convenience of a continuous supply of ice for all your beverages and entertaining needs.
- Transform your kitchen and elevate your beverage game by installing an ice maker. Follow the comprehensive guide to enjoy a constant supply of clear, refreshing ice cubes without the hassle of ice trays.
Read more: How To Install A Whirlpool Ice Maker
Step 1: Gather the necessary tools and materials
The first step in installing an ice maker is gathering all the necessary tools and materials. Having everything prepared before you begin will help streamline the installation process and ensure that you have everything you need. Here are the tools and materials you’ll need:
- Ice maker kit: This will typically include the necessary hardware and components for the installation.
- Adjustable wrench: This will be used to tighten and secure plumbing connections.
- Drill: You may need a drill to create holes for the water supply line if one is not already present.
- Tubing cutter: If you need to cut the water supply line to the correct length, a tubing cutter will come in handy.
- Teflon tape: This tape is used to create a watertight seal on threaded connections.
- Screwdriver: Depending on the ice maker model, you may need a screwdriver to secure mounting brackets or other components.
- Level: To ensure that the ice maker is properly installed and level, a level tool will be useful.
- Pencil or marker: This will be used to mark the location for drilling holes or mounting brackets.
It’s important to make sure you have all the tools and materials on hand before you begin the installation process. This will save you time and prevent any unnecessary delays or interruptions. Take a moment to gather everything and double-check that you have everything you need to proceed with the installation.
Once you have all the necessary tools and materials, you’re ready to move on to the next step: locating a suitable location for the ice maker.
Step 2: Locate a suitable location for the ice maker
Now that you have all the necessary tools and materials, it’s time to find the perfect spot for your ice maker. The location you choose should meet a few key requirements to ensure optimal performance and convenience. Here are some factors to consider when determining the location:
- Water supply: The ice maker will require access to a water supply line. Make sure there is a water line nearby that can be easily connected to the ice maker.
- Electrical outlet: The ice maker will need to be plugged into an electrical outlet to power its operation. Ensure that there is an outlet available near the intended location.
- Level surface: It’s important to install the ice maker on a level surface to avoid any unnecessary vibrations or malfunctions. Use a level tool to ensure the surface is level before proceeding.
- Adequate ventilation: The ice maker generates heat during its operation, so it’s essential to choose a location that has proper ventilation to prevent overheating. Avoid placing the ice maker in a confined space or in direct sunlight.
- Clearances: Check the manufacturer’s guidelines for any specific clearance requirements. Allow enough space around the ice maker for easy access, maintenance, and proper airflow.
Once you’ve identified a suitable location that meets these requirements, mark the spot using a pencil or marker. This will serve as a reference point for the next steps of the installation process.
Keep in mind that the exact location may vary depending on your specific kitchen layout and preferences. Consider factors such as proximity to the sink for easy water line connection and accessibility for ice retrieval. Take your time to evaluate different locations before making a final decision.
With a suitable location identified, you’re ready to move on to the next step: preparing the water supply.
Step 3: Prepare the water supply
Before you can connect your ice maker to the water line, it’s crucial to prepare the water supply. Here are the steps to get your water supply ready:
- Shut off the water supply: Locate the main water supply valve and turn it off. This will prevent any water from flowing while you work on the installation.
- Drain the pipes: Open the nearest faucet to drain any remaining water in the pipes. This will help avoid any potential leaks or water damage during the installation process.
- Locate the water line: Depending on your kitchen setup, you may already have a water line in place that is used for your sink or refrigerator. If so, determine if it can be extended or if you’ll need to install a separate line.
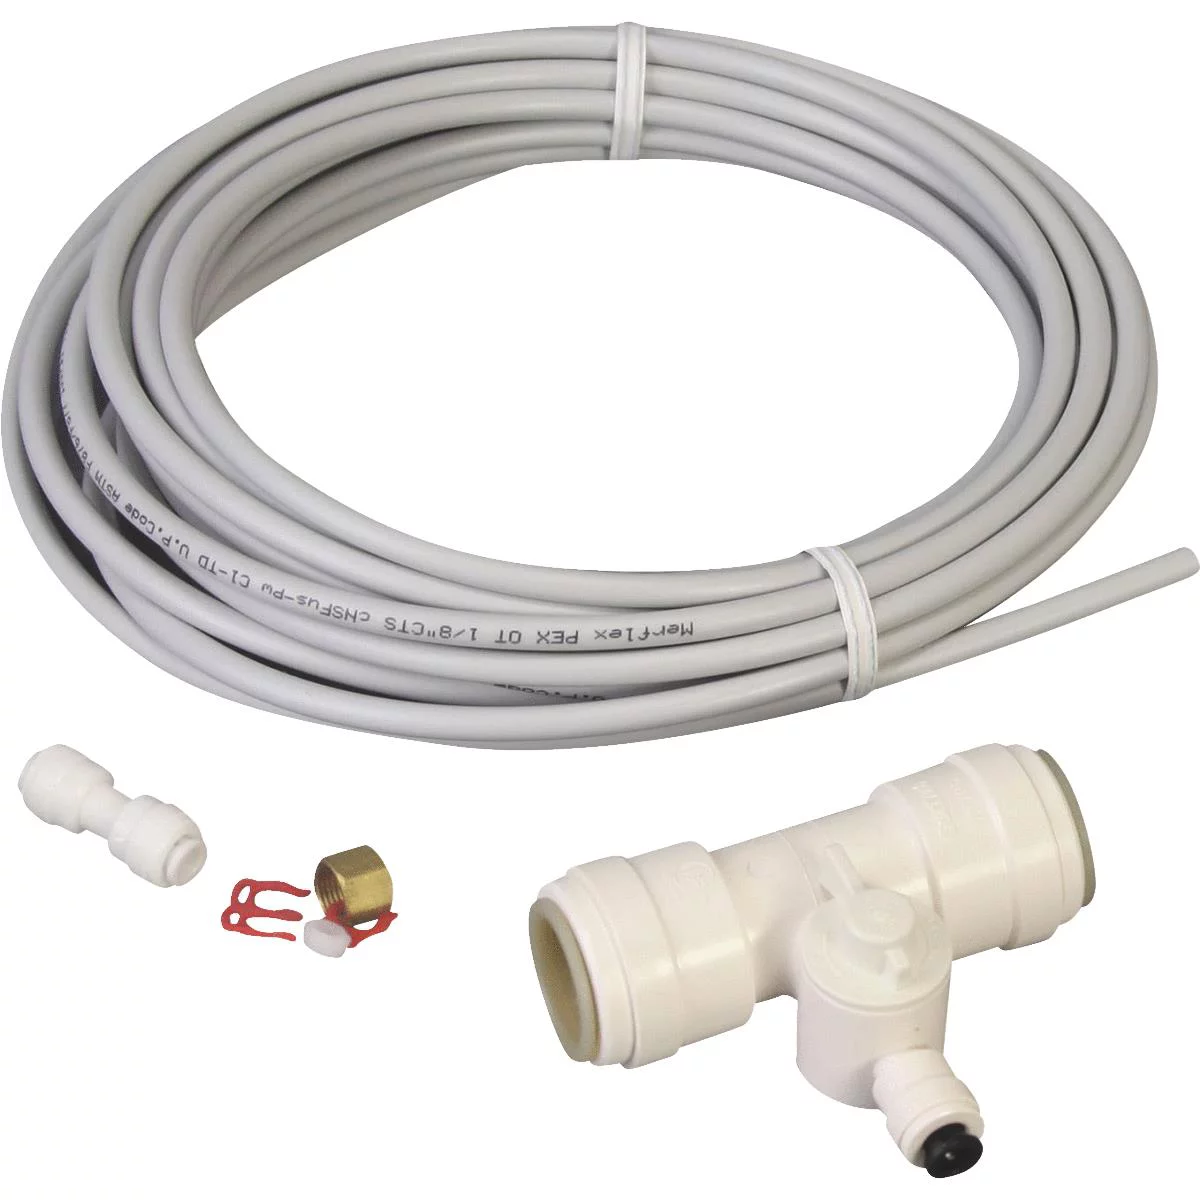
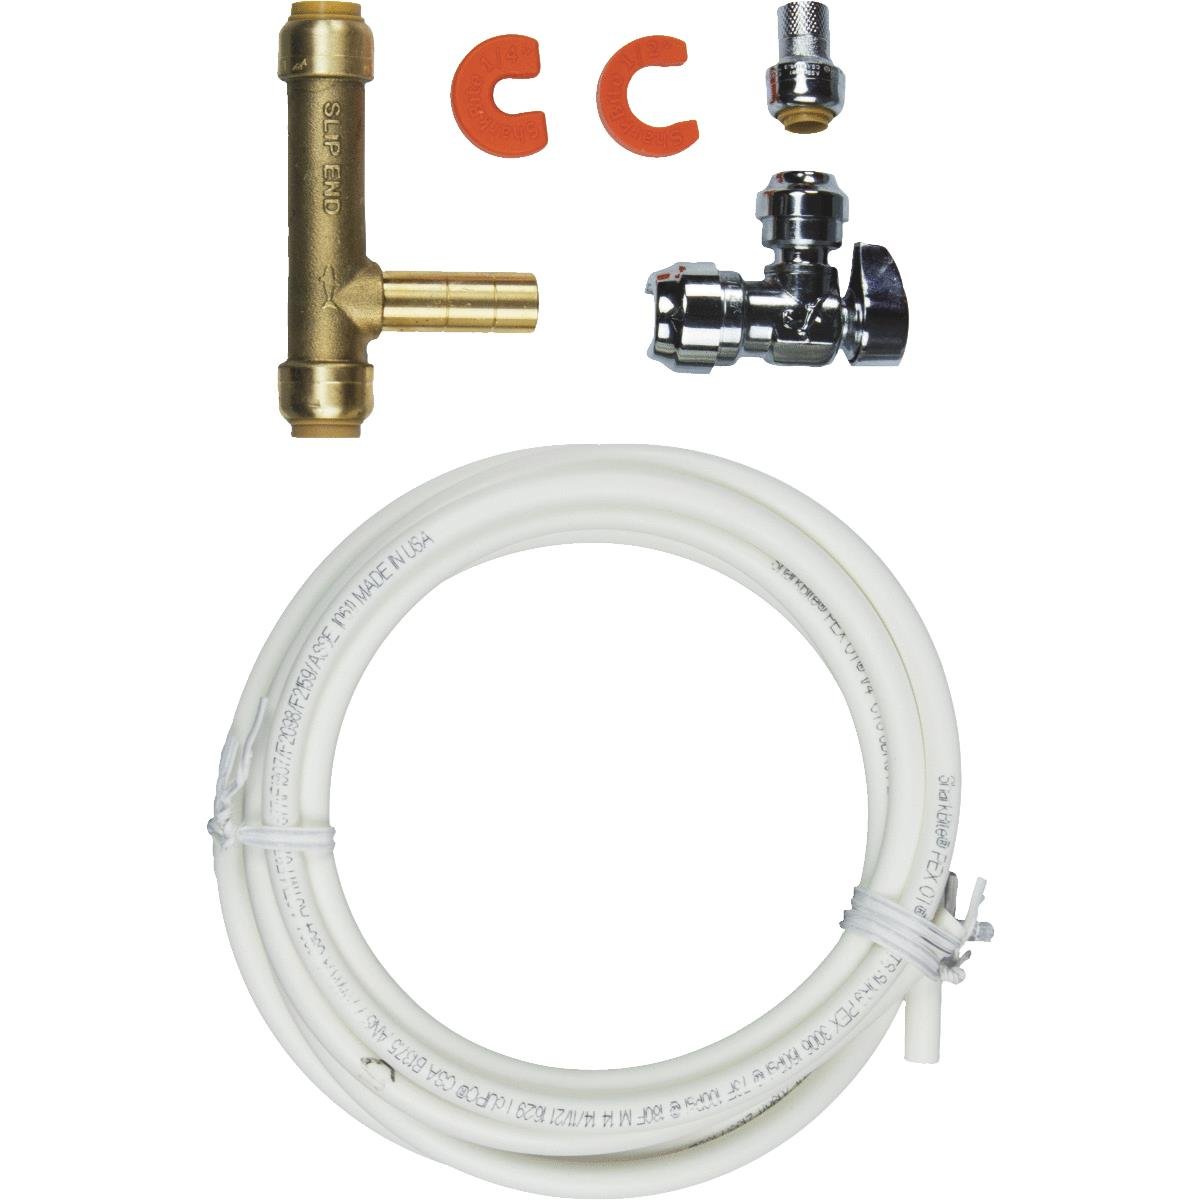
- Choose the appropriate connection method: There are a few different options for connecting the ice maker to the water supply. You can use a saddle valve, a tee fitting, or a quick-connect fitting. Refer to the ice maker’s instructions and choose the method that is most suitable for your situation.
- Install the connection: Install the chosen connection method onto the existing water line. Make sure it is securely fastened and properly aligned.
- Test for leaks: Turn on the water supply momentarily to check for any leaks around the connection. If you notice any leaks, tighten the connections or make any necessary adjustments.
By preparing the water supply ahead of time, you’ll ensure that everything is ready for a smooth and successful installation. It’s important to take your time and ensure that all connections are secure and leak-free before moving on to the next step.
With the water supply adequately prepared, you’re now ready to move on to the next step: installing the water supply line for the ice maker.
Step 4: Install the water supply line
With the water supply prepared, it’s time to install the water supply line for your ice maker. Follow these steps to ensure a proper installation:
- Determine the length: Measure the distance between the water supply connection and the location where you plan to install the ice maker. This will help determine the length of the water supply line you’ll need.
- Cut the water supply line: Using a tubing cutter, carefully cut the water supply line to the appropriate length. Make sure to cut it as straight as possible for a clean and secure connection.
- Attach the fittings: Depending on the type of connection method you are using, attach the appropriate fittings to the ends of the water supply line. This may involve using compression nuts, ferrules, or other types of connections. Refer to the ice maker’s instructions for the specific fittings required.
- Connect the water supply line: Carefully connect one end of the water supply line to the water supply connection that you prepared earlier. Ensure that the connection is secure and tightened properly.
- Route the water supply line: Route the water supply line from the water supply connection to the location where you will install the ice maker. Use clips or clamps to secure the line along the way, ensuring that it is not bent or kinked.
- Trim excess line (if applicable): If there is any excess water supply line, use the tubing cutter to trim it to a manageable length. Avoid leaving too much excess line, as it can cause tangling or interfere with the installation.
Throughout the installation process, it’s important to ensure that all connections are tight and secure. Additionally, be cautious not to over-tighten fittings, as it can cause damage or leaks. Take your time and double-check all connections to ensure that everything is properly installed.
Once the water supply line is securely installed, you’re ready to move on to the next step: connecting the ice maker to the water supply line.
Read more: How To Install A Water Line For An Ice Maker
Step 5: Connect the ice maker to the water supply line
Now that the water supply line is installed, it’s time to connect the ice maker to the water supply. Follow these steps to ensure a proper connection:
- Locate the water inlet valve: Depending on the ice maker model, the water inlet valve may be located at the back of the unit or in a nearby cabinet. Refer to the manufacturer’s instructions to locate the valve.
- Turn off the water supply: Before making the connection, make sure to turn off the water supply. This will prevent any water from flowing and allow for a safe and secure connection.
- Connect the water supply line to the valve: Take the end of the water supply line and connect it to the water inlet valve. Ensure that the connection is secure and tightened properly.
- Turn on the water supply: Once the water supply line is securely connected, turn on the water supply valve. This will allow water to flow into the ice maker.
- Check for leaks: Carefully inspect the connection between the water supply line and the inlet valve for any leaks. If you notice any leaks, tighten the connection or make any necessary adjustments.
It’s important to note that some ice makers may have specific instructions for connecting the water supply line. Be sure to consult the manufacturer’s instructions for any model-specific guidelines or recommendations.
Once the ice maker is successfully connected to the water supply line, you’re ready to move on to the next step: mounting the ice maker unit.
When installing an ice maker, make sure to turn off the water supply before beginning the installation process to avoid any potential leaks or water damage.
Step 6: Mount the ice maker unit
With the water supply line connected, it’s time to mount the ice maker unit into place. Follow these steps to properly mount your ice maker:
- Refer to the manufacturer’s instructions: Different ice maker models may have specific mounting instructions, so it’s important to refer to the manufacturer’s instructions for guidance.
- Position the ice maker: Place the ice maker unit in the designated location that you previously identified. Ensure that the surface is level and provides adequate support for the ice maker.
- Secure the mounting brackets: Depending on the ice maker model, it may come with mounting brackets that need to be secured to the surface. Use screws or other provided hardware to securely fasten the brackets in place.
- Attach the ice maker to the brackets: Align the ice maker with the mounting brackets and carefully attach it to the brackets. Ensure that the ice maker unit is properly seated and secured in place.
- Double-check the stability: Give the ice maker a gentle shake to check for any wobbling or instability. If necessary, adjust the brackets or tighten the connections to ensure a stable and secure mounting.
It’s important to follow the manufacturer’s instructions closely to ensure a proper and secure installation of the ice maker. Pay attention to any specific guidelines or recommendations provided by the manufacturer for your particular model.
Once the ice maker unit is securely mounted, you’re ready to move on to the next step: installing the ice maker drain line.
Step 7: Install the ice maker drain line
Installing the ice maker drain line is an essential step to ensure proper drainage and prevent any water buildup. Follow these steps to install the drain line for your ice maker:
- Locate the drain outlet: Check the manufacturer’s instructions to determine the location of the drain outlet on your ice maker. It is usually located at the back of the unit near the bottom.
- Prepare the drain line: Measure the distance from the drain outlet to the nearest drain or sink. Using a tubing cutter, cut the drain line to the appropriate length.
- Connect the drain line: Attach one end of the drain line to the drain outlet on the ice maker. Ensure that the connection is secure and tightly fitted.
- Route the drain line: Route the drain line to the drain or sink, ensuring that it is properly aligned and free from any kinks or obstructions. Use clips or clamps to secure the line in place, if needed.
- Ensure proper drainage: Make sure that the end of the drain line is positioned over the drain or sink to allow for proper drainage. This will prevent any water buildup and potential damage.
Proper installation of the ice maker drain line is crucial for maintaining the functionality and efficiency of your ice maker. Take your time to ensure that the drain line is securely connected and properly routed.
Once the ice maker drain line is installed, you’re ready to move on to the next step: connecting the ice maker to power.
Step 8: Connect the ice maker to power
With the physical installation complete, it’s time to connect the ice maker to a power source. Here’s how to properly connect your ice maker to power:
- Locate an electrical outlet: Find a nearby electrical outlet that is compatible with the power requirements of your ice maker. Ensure that the outlet is easily accessible and meets all safety standards.
- Check the power cord: Inspect the power cord of your ice maker for any damage or frayed wires. If you notice any issues, it’s important to address them before proceeding.
- Plug in the ice maker: Insert the plug of the ice maker’s power cord into the electrical outlet. Ensure that the connection is secure and the cord is not stretched or tangled.
- Verify power supply: Check the power indicator or display on the ice maker to confirm that it is receiving power. Some ice makers may have an on/off switch or a power button that needs to be activated.
- Allow time for ice production: Depending on the ice maker model, it may take some time for the unit to start producing ice. Refer to the manufacturer’s instructions for the recommended waiting period.
It’s essential to follow the manufacturer’s instructions for connecting the ice maker to power. This ensures proper functionality and prevents any electrical issues or damage to the unit. If you have any concerns or questions, consult the manufacturer or a qualified electrician.
Now that the ice maker is connected to power, you’re ready to move on to the final step: testing the ice maker.
Read more: How To Install Ice Maker On GE Refrigerator
Step 9: Test the ice maker
After completing the installation and connecting the ice maker to power, it’s important to test the unit to ensure that it is functioning correctly. Follow these steps to test your ice maker:
- Ensure proper water supply: Confirm that the water supply line is connected securely and the water supply valve is turned on. This will ensure that there is a sufficient water supply for the ice maker.
- Allow time for ice production: Depending on the ice maker model, it may take some time for the unit to start producing ice. Refer to the manufacturer’s instructions for the recommended waiting period.
- Monitor ice production: Observe the ice maker to see if it starts producing ice cubes. Pay attention to the time it takes for the ice maker to produce the first batch of ice.
- Check ice quality: Once the ice maker starts producing ice, examine the quality of the ice cubes. They should be clear, solid, and free from any unusual flavors or odors. If the ice cubes appear cloudy or have an off taste, it may indicate a problem with the water supply or filtration system.
- Inspect for leaks: During the ice making process, closely inspect the water supply line, connections, and drain line for any signs of leaks. If you notice any leaks, tighten the connections or make the necessary adjustments to prevent water damage.
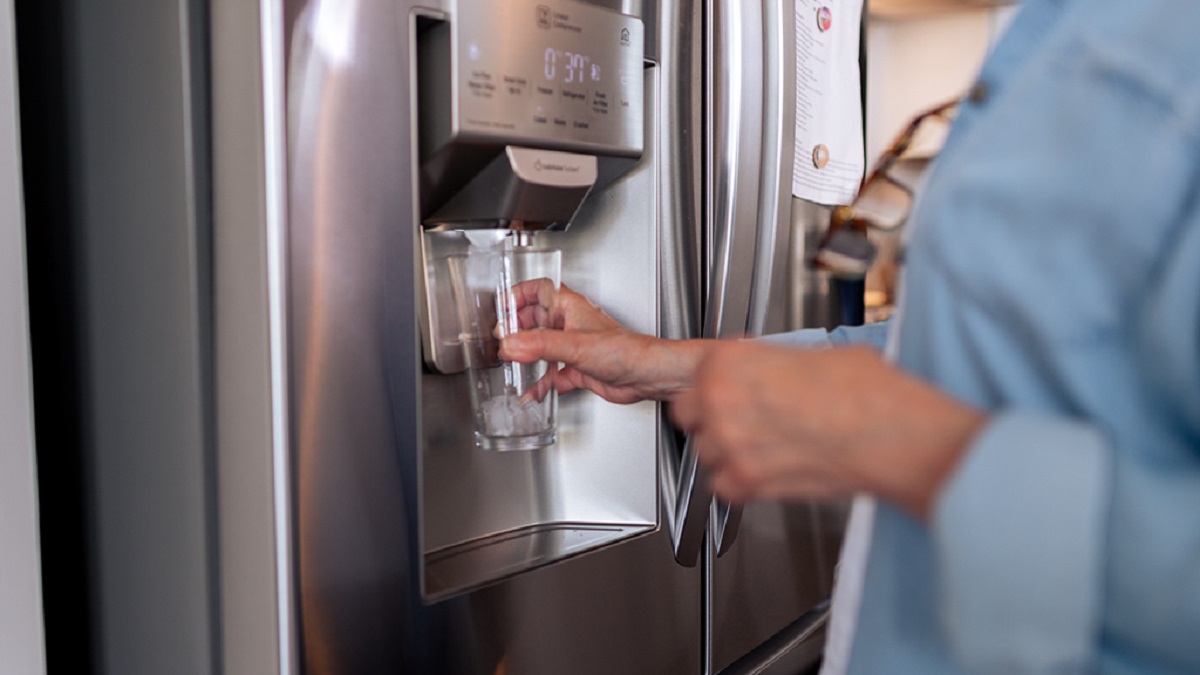
- Test ice dispensing (if applicable): If your ice maker has a dispenser, test its functionality by dispensing ice cubes. Ensure that the dispenser works smoothly and dispenses the desired quantity of ice cubes.
Testing the ice maker allows you to verify that it is working as intended and address any issues early on. If you encounter any problems or have concerns about the performance of your ice maker, refer to the manufacturer’s instructions or contact their customer support for assistance.
Congratulations! With the successful testing of your ice maker, you have completed the installation process. Enjoy the convenience of having a constant supply of ice for your beverages and other needs.
Finalize the installation by cleaning up any leftover materials and ensuring that all connections are secure. Dispose of any packaging materials properly and keep the manufacturer’s instructions and warranty information in a safe place for future reference.
Thank you for following this comprehensive guide on how to install an ice maker. We hope that this has been a helpful resource for you. Cheers to a chilled and refreshing experience with your new ice maker!
Conclusion
Installing an ice maker can transform your kitchen and provide you with a convenient and continuous supply of ice. By following the steps outlined in this comprehensive guide, you can successfully install an ice maker in your home and enjoy the benefits it brings. From gathering the necessary tools and materials to testing the ice maker, each step plays a crucial role in ensuring a smooth installation process.
Remember to consult the manufacturer’s instructions specific to your ice maker model for any additional guidelines or recommendations. If you’re uncomfortable with any aspect of the installation or if you encounter any difficulties, it’s always wise to seek assistance from a professional.
Once your ice maker is installed and operational, you can enjoy the convenience of having ice readily available for your drinks, parties, and everyday use. No more running to the store for ice or dealing with messy ice trays! With your new ice maker, you can simply relax and enjoy the ease and simplicity it brings to your life.
Make sure to regularly clean and maintain your ice maker to keep it running efficiently and to preserve the quality of your ice cubes. Refer to the manufacturer’s instructions for specific cleaning guidelines and intervals.
We hope this guide has been informative and helpful in guiding you through the process of installing an ice maker. Now it’s time to sit back, relax, and enjoy your ice-cold beverages with the convenience and luxury of your very own ice maker.
Cheers to a future filled with refreshing drinks and hassle-free ice!
Frequently Asked Questions about How To Install A Ice Maker
Was this page helpful?
At Storables.com, we guarantee accurate and reliable information. Our content, validated by Expert Board Contributors, is crafted following stringent Editorial Policies. We're committed to providing you with well-researched, expert-backed insights for all your informational needs.

0 thoughts on “How To Install A Ice Maker”