
Articles
How To Install Attic Vents
Modified: October 20, 2024
Learn how to install attic vents and improve ventilation in your home with these informative articles. Find step-by-step guides and expert tips for a successful installation.
(Many of the links in this article redirect to a specific reviewed product. Your purchase of these products through affiliate links helps to generate commission for Storables.com, at no extra cost. Learn more)
“
Introduction
Installing attic vents is an essential step in maintaining a healthy and efficient home. Proper ventilation in the attic helps to regulate temperature, remove excess moisture, and prevent the buildup of damaging condensation. In turn, this can help to extend the lifespan of your roof, prevent mold and mildew growth, and reduce energy consumption.
Attic vents come in various types and sizes, each serving a specific purpose and offering unique benefits. Whether you’re considering adding new vents or replacing existing ones, this guide will provide you with step-by-step instructions on how to install attic vents effectively.
Before we dive into the installation process, let’s take a look at the materials and tools you’ll need:
- Attic vents (choose the appropriate type and size for your attic)
- Measuring tape
- Pencil or marker
- Reciprocating saw or jigsaw
- Cordless drill
- Screws or nails
- Roofing adhesive or caulk
- Safety goggles
- Gloves
Now, let’s get started with the installation process by first determining the type and size of attic vents you’ll need for your specific attic space.
Key Takeaways:
- Proper attic ventilation is crucial for maintaining a healthy home, extending roof lifespan, and reducing energy consumption. Follow the step-by-step guide to install attic vents effectively and ensure a well-ventilated attic space.
- Prioritize safety, adhere to best practices, and test the ventilation system to confirm its functionality. By maintaining a well-ventilated attic, you can protect your home from moisture damage and improve energy efficiency.
Read more: How To Vent Attic Without Soffits
Materials and Tools Needed
To install attic vents effectively, you’ll need the following materials and tools:
- Attic vents: Choose the type and size of attic vents that are suitable for your attic. There are several options available, including roof vents, gable vents, soffit vents, and ridge vents. Consider the size and layout of your attic when selecting the vents.
- Measuring tape: This will be used to accurately measure the dimensions and distance for the installation of the vents.
- Pencil or marker: Use these writing instruments to mark the locations where the vents will be installed.
- Reciprocating saw or jigsaw: This tool is necessary for cutting the openings in the roof or soffit to accommodate the vents. Make sure you have the appropriate blade for cutting through the material of your attic.
- Cordless drill: A cordless drill will be needed to secure the vents in place. Make sure it is fully charged before starting the installation.
- Screws or nails: Choose the appropriate fasteners to attach the vents securely to the roof or soffit. Screws are generally recommended for a more secure installation.
- Roofing adhesive or caulk: This is used to seal around the edges of the vents, providing an extra layer of protection against water infiltration.
- Safety goggles: Protect your eyes from any debris or particles that may be generated during the installation process.
- Gloves: It’s important to wear gloves to protect your hands from sharp edges and potential injury during the installation.
Having these materials and tools ready before you begin installation will ensure a smooth and efficient process. Now, let’s move on to the next step: determining the type and size of attic vents needed for your specific attic space.
Step 1: Determine the Type and Size of Attic Vents Needed
Before you start installing attic vents, it’s important to determine the type and size of vents that are suitable for your attic space. The type and size of vents you choose will depend on several factors, including the size of your attic, the existing ventilation system, and the climate in your area.
There are several types of attic vents available, each with its own advantages and installation requirements:
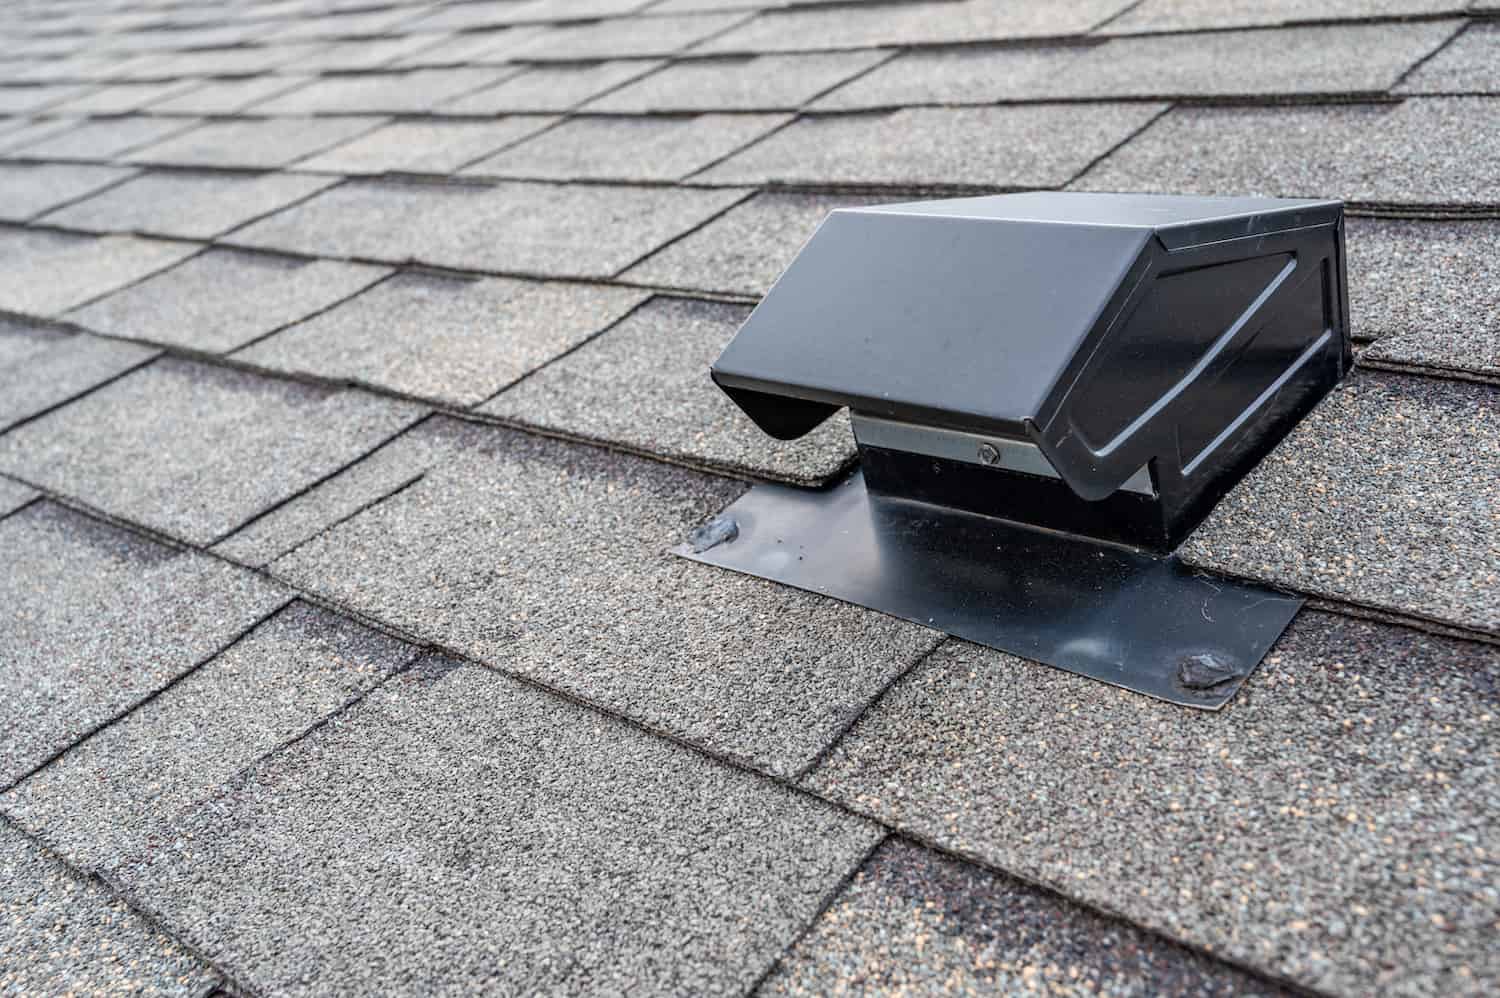
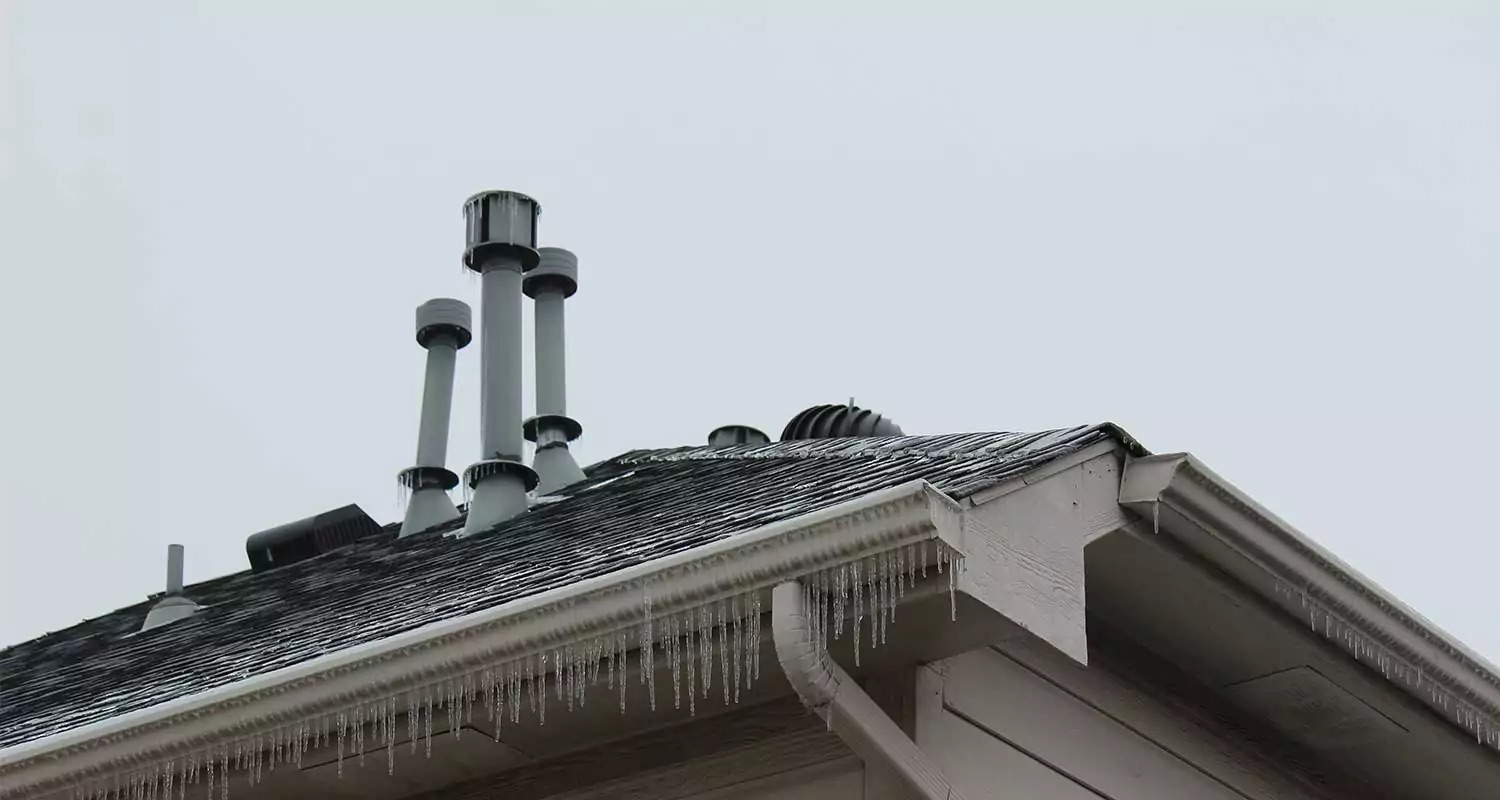
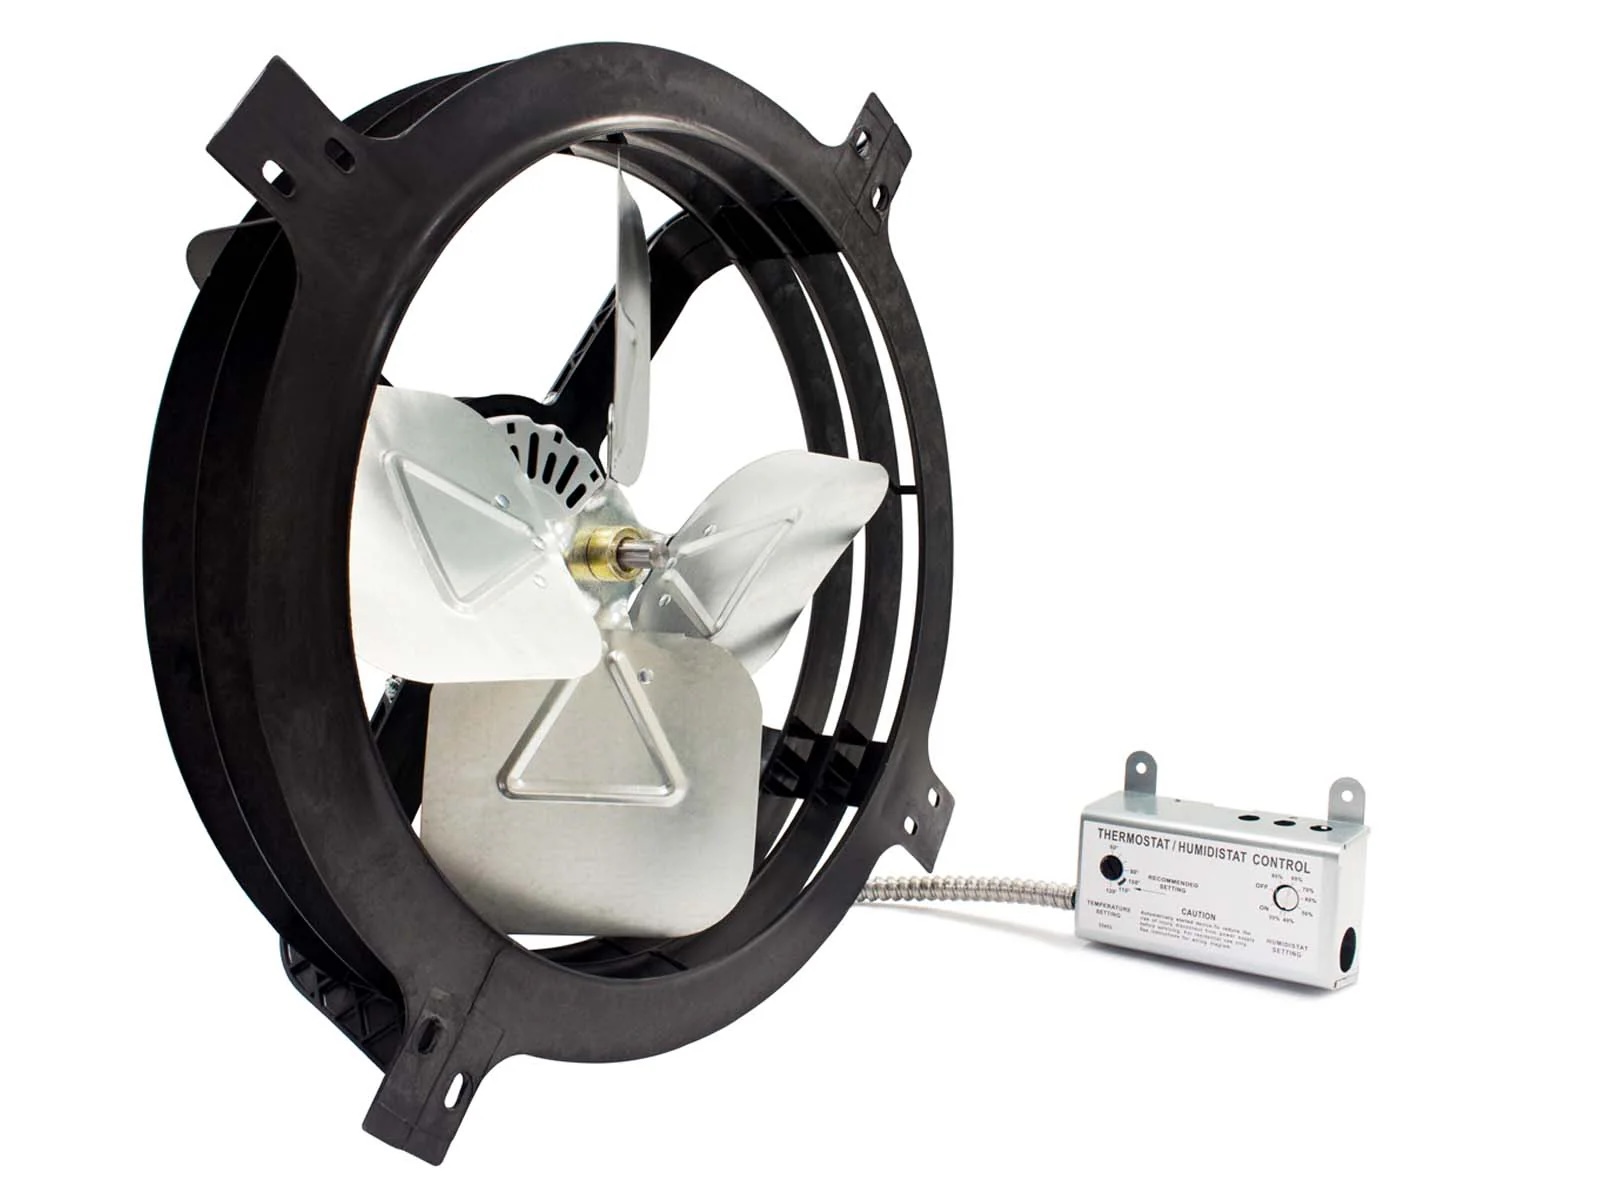
1. Roof Vents: These vents are installed on the roof and allow hot air to escape from the attic. They are available in various styles, including static vents and turbine vents. Roof vents are commonly used in conjunction with soffit vents or ridge vents to create a balanced ventilation system.
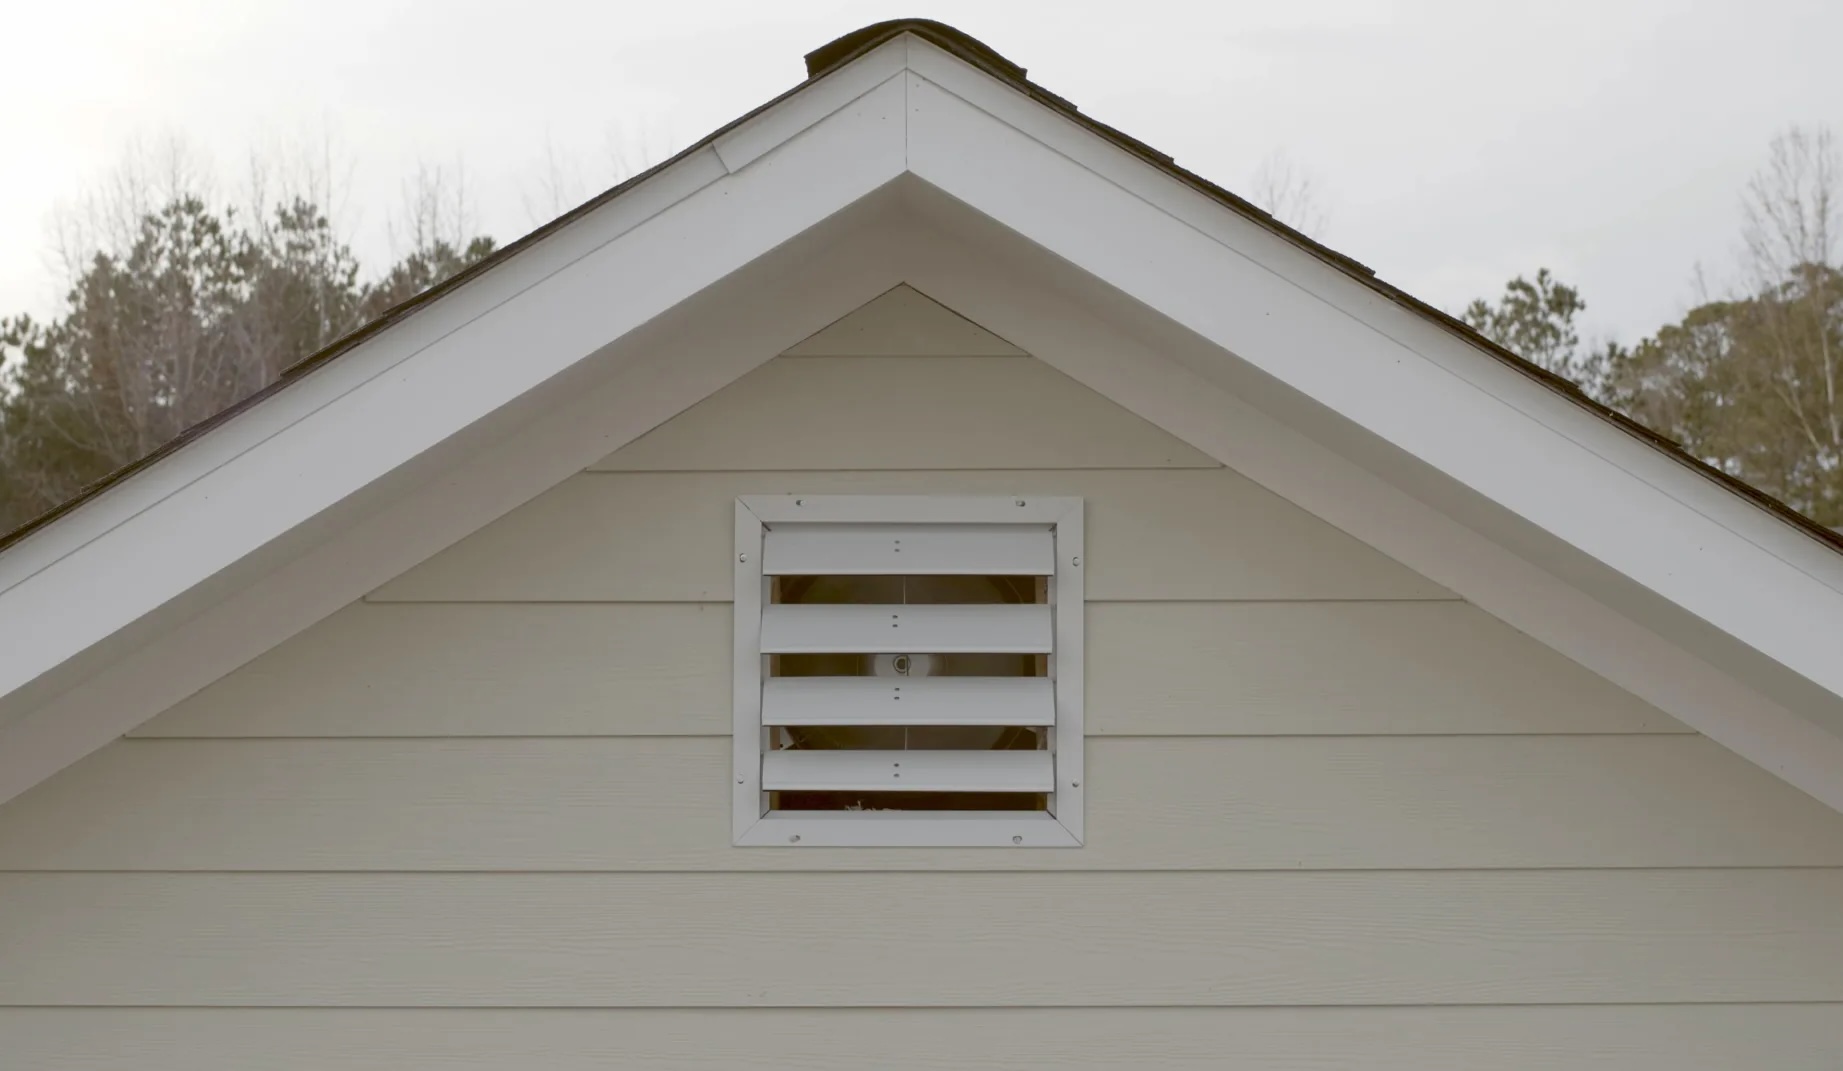
2. Gable Vents: Gable vents are installed on the exterior walls of the attic, usually on the gable ends. They allow air to circulate through the attic space and are often used in combination with other types of vents to ensure proper ventilation.
3. Soffit Vents: Soffit vents are installed in the underside of the eaves, allowing fresh air to enter the attic. They work in conjunction with roof vents or ridge vents to create a flow of air through the attic space. Soffit vents are an excellent choice for homes with limited space in the roof for other types of vents.
4. Ridge Vents: Ridge vents are installed along the ridge line of the roof and provide a continuous airflow pathway for hot air to escape from the attic. They are often used in combination with soffit vents to create an effective ventilation system.
To determine the size of attic vents needed for your space, you’ll need to calculate the total attic space and divide it by the recommended ventilation ratio. The ventilation ratio typically ranges from 1:150 to 1:300, meaning that for every 150 to 300 square feet of attic space, you should have 1 square foot of ventilation.
Consult the manufacturer’s guidelines or consult with a professional to ensure you select the appropriate size vents for your specific attic space.
By determining the type and size of attic vents needed, you can ensure that your ventilation system is efficient and effective. With this information in hand, you’re ready to move on to the next step: preparing the attic for installation.
Step 2: Prepare the Attic for Installation
Before you can begin installing attic vents, it’s essential to properly prepare the attic space to ensure a smooth and successful installation. Preparing the attic involves clearing the area, assessing any existing ventilation systems, and addressing any necessary repairs or modifications.
Here’s a step-by-step guide to help you prepare your attic for the installation of vents:
1. Clear the area: Remove any stored items, debris, or insulation from the area where you plan to install the vents. Make sure there is enough space to move and work comfortably.
2. Inspect the existing ventilation: Take a moment to assess the current ventilation system in your attic. Check for any blockages, damaged vents, or signs of inadequate airflow. If you notice any issues, make a note to address them before proceeding with the installation of new vents.
3. Repair or replace damaged vents: If you find any damaged or malfunctioning vents during your inspection, it’s crucial to repair or replace them. Damaged vents can compromise the overall effectiveness of your ventilation system.
4. Check for leaks or insulation gaps: Inspect the attic for any leaks or gaps in insulation that may affect the vent installation. Address these issues by sealing gaps or repairing leaks to ensure a properly insulated and moisture-controlled attic.
5. Clear obstructions: Ensure that there are no obstructions, such as wiring, pipes, or structural elements, in the area where you plan to install the attic vents. If there are obstructions, take the necessary steps to reroute or relocate them to avoid any interference.
6. Measure and mark the vent locations: Using your measuring tape, measure the appropriate locations for the vents based on the type and size you have chosen. Mark these locations with a pencil or marker for easy reference during the installation process.
By thoroughly preparing your attic for vent installation, you set the foundation for a successful and efficient ventilation system. With the attic cleared, existing vents checked, repairs made, and obstructions cleared, you’re now ready to move on to the next step: marking the location for the vents.
Step 3: Mark the Location for Vents
Once you have prepared the attic for vent installation, the next step is to mark the precise locations where the vents will be placed. Properly marking the locations ensures accurate placement and helps maintain a uniform appearance for your attic vents.
Follow these steps to mark the locations for your vents:
1. Refer to the manufacturer’s guidelines: Consult the instructions provided by the vent manufacturer to determine the recommended spacing and placement for the specific type of vent you are installing. This information will help you determine the optimal position for each vent.
2. Measure and mark the centerline: Use a measuring tape to find the center point for each vent location. Measure and mark this point on the surface where the vent will be installed. Double-check your measurements to ensure accuracy.
3. Establish a layout pattern: If you are installing multiple vents, establish a layout pattern to achieve a visually pleasing and evenly distributed placement. For example, you might use a grid pattern or staggered pattern, depending on the shape and size of your attic.
4. Use a level or straightedge: To ensure that the vents are installed in a level and straight manner, use a level or straightedge as a guide when marking the vent locations. This will help maintain a uniform appearance and prevent any slanted or crooked installations.
5. Mark around the vent outline: Using a marker or pencil, trace around the outline of the vent onto the surface of the attic. This will provide a clear guide for cutting the openings for the vents in the next step.
Remember to take your time when marking the vent locations to ensure accuracy and precision. By following these steps, you will have a clear visual reference for the placement of your attic vents. Now, let’s move on to the next step: cutting holes for the vents.
When installing attic vents, make sure to choose the right type and size for your attic space. Proper ventilation is essential for preventing moisture buildup and extending the life of your roof.
Read more: How To Run A Dryer Vent Through The Attic
Step 4: Cut Holes for the Vents
Once you have marked the locations for your attic vents, the next step is to cut holes in the appropriate areas. This will allow for the proper installation of the vents and ensure a functional and efficient ventilation system.
Follow these steps to cut holes for your attic vents:
1. Gather the necessary tools: You will need a reciprocating saw or jigsaw with a blade suitable for cutting through the material of your attic, whether it is wood, vinyl, or another type. Ensure that the blade is sharp and in good condition before proceeding.
2. Put on safety goggles and gloves: Prioritize safety by wearing protective goggles and gloves to prevent any injuries or accidents while cutting through the attic surface.
3. Position the saw: Place the saw blade at one of the marked vent outlines, aligning it with the centerline you previously marked. Ensure that the saw is perpendicular to the surface to achieve a clean and accurate cut.
4. Begin cutting: Start the saw and slowly guide it along the marked outline. Take your time and let the saw do the work, applying gentle pressure as you cut through the material. If you encounter any resistance, double-check the position of the saw and adjust as needed.
5. Complete the cut: Continue cutting along the marked outline until the entire hole for the vent is complete. Repeat this process for each marked vent outline.
6. Remove any debris: Once the cuts are complete, remove any debris or loose material from the openings. Clear away any sawdust or other particles to ensure a clean and clear area for the vent installation.
By carefully cutting holes for your attic vents, you create the necessary openings to facilitate proper airflow and ventilation. Take your time, follow safety precautions, and ensure accurate cuts for a successful installation. With the holes cut, it’s time to move on to the next step: installing the attic vents.
Step 5: Install the Attic Vents
Now that you have cut the holes for the attic vents, it’s time to proceed with the actual installation. This step involves placing the vents securely into the designated holes. Proper installation ensures that the vents function effectively and provide the desired ventilation for your attic space.
Follow these steps to install the attic vents:
1. Position the first vent: Take the first vent and align it with the hole you cut. Ensure that it is centered and level before proceeding. This may require some adjustments to achieve a proper fit.
2. Secure the vent: With the vent in the correct position, use screws or nails, as recommended by the manufacturer, to secure it in place. Make sure the fasteners penetrate the attic surface and hold the vent firmly in position. Repeat this process for all remaining vents.
3. Check for a snug fit: After securing each vent, give them a gentle tug to ensure they are snugly fit and properly secured. This will prevent any loose or rattling vents and ensure they remain in place over time.
4. Install additional fasteners as needed: Depending on the size and type of vents you are installing, additional fasteners may be required to provide extra stability. Refer to the manufacturer’s instructions for specific recommendations.
5. Follow best practices for installation: Adhere to industry best practices for the installation of attic vents, such as providing adequate spacing between vents and following local building codes or regulations. This will help optimize the performance of your ventilation system.
6. Double-check the alignment: Once all the vents are installed, step back and visually inspect them to ensure they are aligned properly. This will contribute to a neat and uniform appearance.
By following these steps, you will successfully install the attic vents and contribute to a well-ventilated attic space. With the vents securely in place, it’s time to move on to the next step: securing and sealing the vents to ensure their effectiveness.
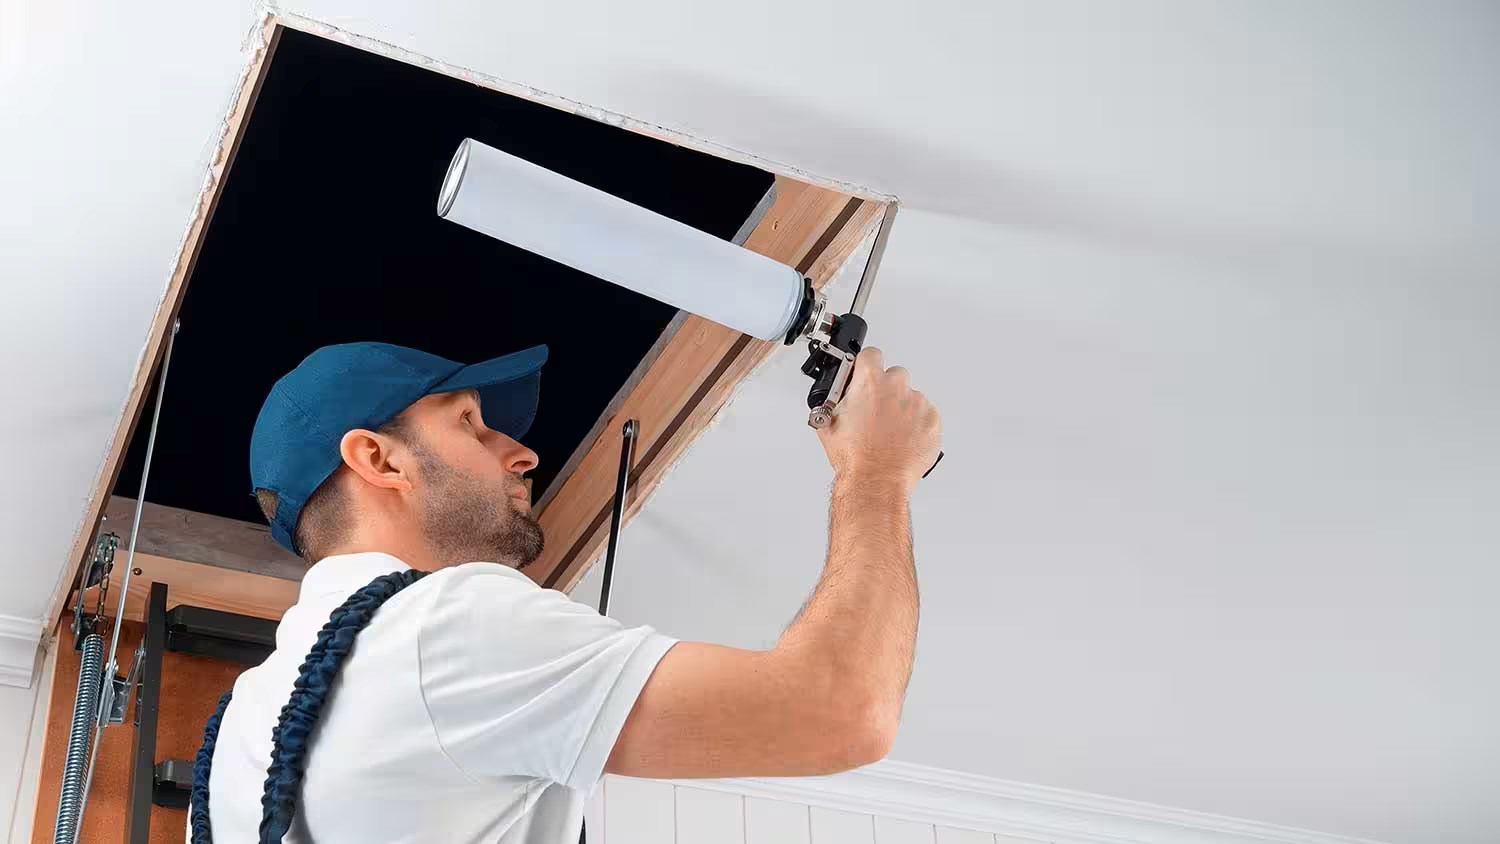
Step 6: Secure and Seal the Vents
After installing the attic vents, it is crucial to secure them properly and seal any gaps or openings to ensure their effectiveness and prevent any potential issues. This step involves securing the vents in place and applying a sealant or caulk to create a tight and weather-resistant seal.
Follow these steps to secure and seal the vents:
1. Inspect the vent installation: Before proceeding, take a moment to inspect each installed vent to ensure they are securely fastened and aligned correctly. Check for any loose screws or nails and make any necessary adjustments.
2. Apply roofing adhesive or caulk: Apply a bead of roofing adhesive or caulk around the edges of each vent. This will create a watertight seal and prevent any water infiltration that could cause damage to the attic. Be generous with the application, ensuring that all edges are properly sealed.
3. Smooth the sealant: Use a caulk smoothing tool or your finger to carefully smooth out the applied sealant. This will create a clean and professional finish while ensuring a tight seal against the attic surface.
4. Inspect for any gaps or openings: After applying the sealant, inspect the vent installation once more for any gaps or openings that may require additional sealing. Pay attention to the areas where the vents meet the attic surface, as these are common areas for potential leaks.
5. Address any gaps or openings: If you discover any gaps or openings, apply an additional layer of sealant or caulk to fill them in. Be thorough in your sealing process to eliminate any potential points of entry for moisture or pests.
6. Allow the sealant to dry: Let the applied sealant or caulk dry completely according to the manufacturer’s instructions before proceeding to the next step. This will ensure the seal is strong and effective.
By securing and sealing the attic vents, you safeguard against potential issues such as water damage, air leaks, and unwanted pests. Taking the time to apply a proper seal will contribute to the long-term functionality and efficiency of your ventilation system. With the vents secured and sealed, it’s time to move on to the final step: testing the ventilation system.
Step 7: Test the Ventilation System
The final step in the installation process is to test the ventilation system to ensure that it is functioning effectively. Testing the system is crucial to confirm that the attic vents are providing proper airflow and ventilation, which is essential for maintaining a healthy and efficient home.
Follow these steps to test the ventilation system:
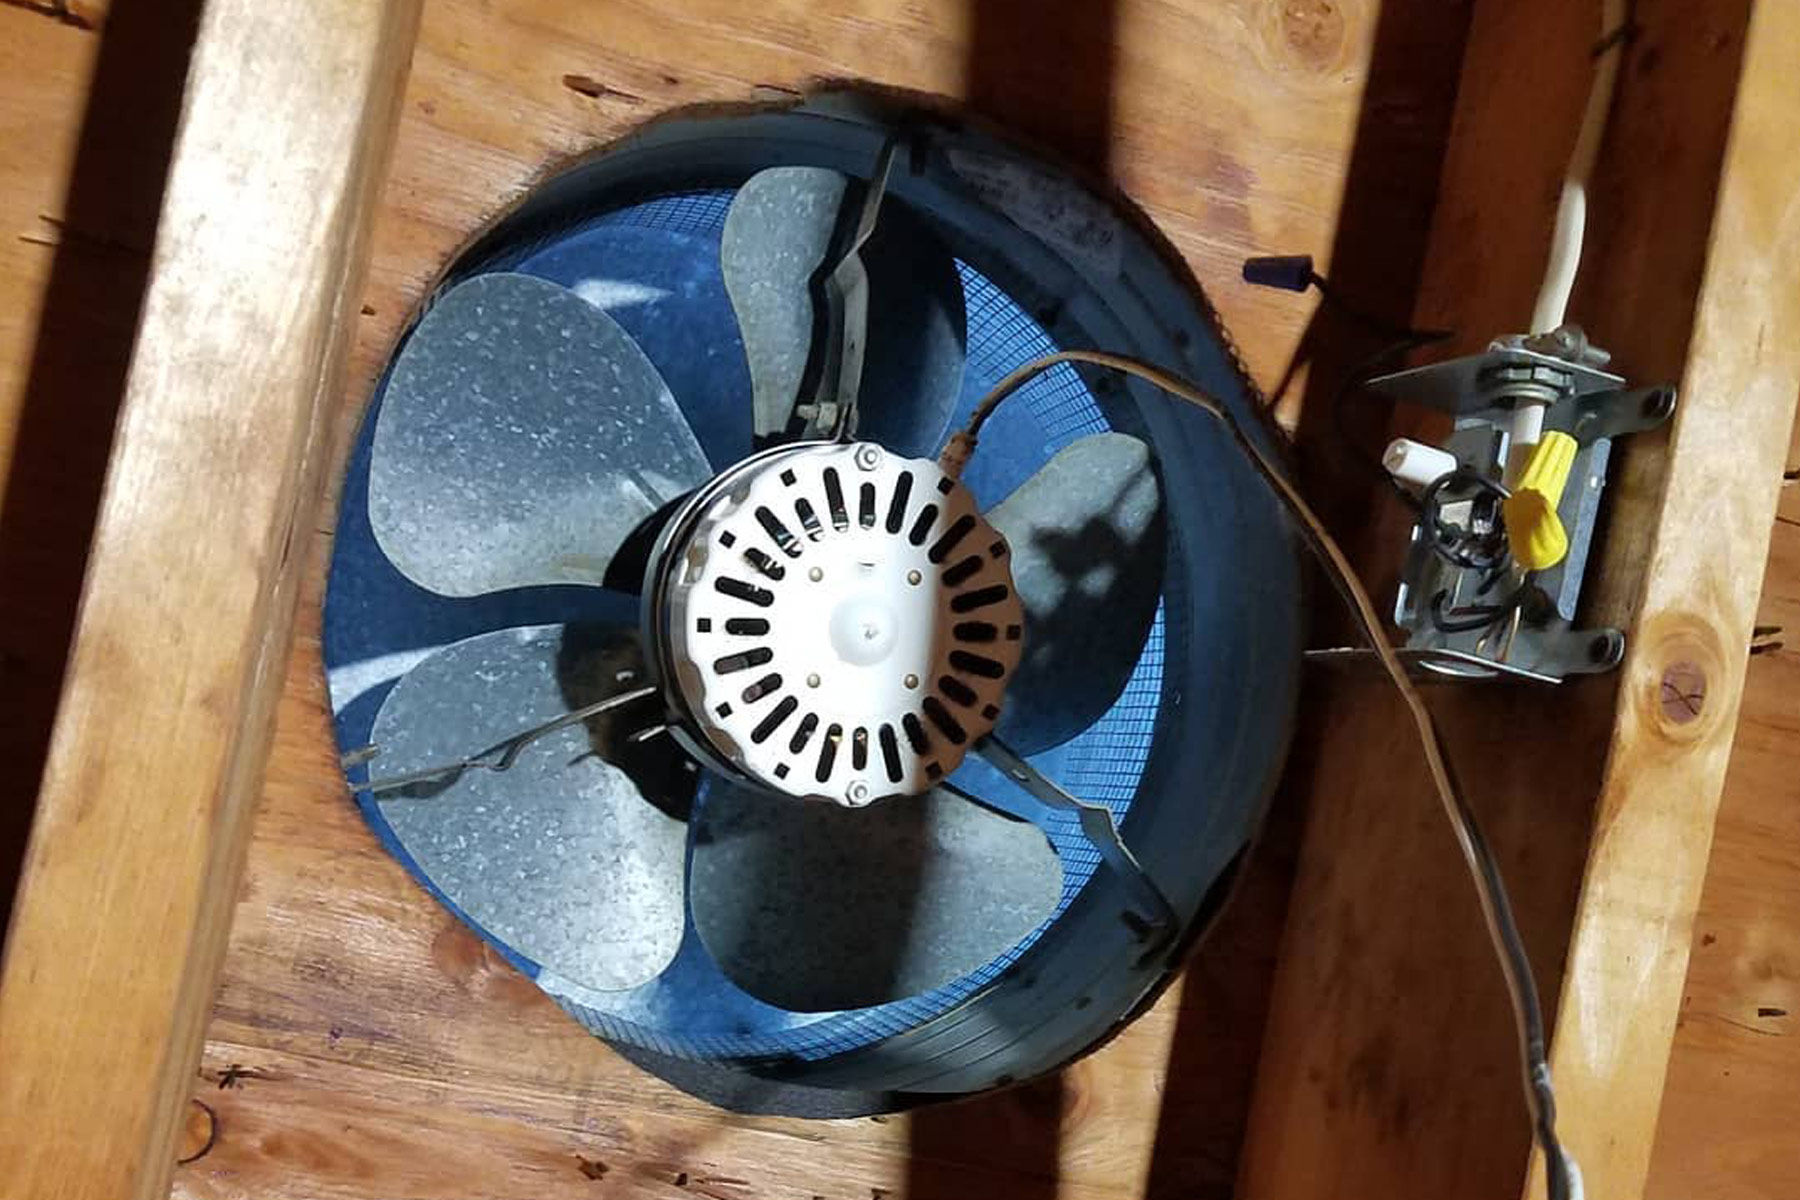
1. Turn on any fans or exhaust systems: If you have any fans or exhaust systems that are part of your attic ventilation system, turn them on to test their functionality. Observe if they are operating smoothly and effectively in removing hot air or moisture from the attic.
2. Check the airflow: Stand outside your home and observe the vents. Look for signs of air movement, such as the flapping of roof vents or airflow from soffit vents. This indicates that the ventilation system is effectively drawing air in and pushing it out from the attic.
3. Monitor temperature and moisture levels: After installation, monitor the temperature and moisture levels in your attic over time. Use a thermometer and hygrometer to check for proper temperature and humidity control. Lower temperatures and well-controlled humidity are indicators of a well-functioning ventilation system.
4. Observe energy efficiency: A properly installed and functioning ventilation system can contribute to energy efficiency in your home. Monitor your energy consumption and assess if there are any noticeable improvements after the installation.
5. Check for any issues: Throughout the testing process, keep an eye out for any issues such as leaks, unusual sounds, or malfunctioning components. Address any concerns promptly to ensure the longevity and effectiveness of your ventilation system.
Periodically re-evaluate and test your ventilation system to ensure it continues to operate optimally. Over time, make any necessary repairs, adjustments, or upgrades to maintain a healthy and efficient attic environment.
By testing the ventilation system, you can have peace of mind knowing that your attic is properly ventilated, which can reduce the risk of moisture-related issues, enhance energy efficiency, and prolong the lifespan of your home. With the system successfully tested, you have completed the installation process.
Note: The information provided in this article is intended as a general guide. It is important to consult with a professional or refer to the manufacturer’s instructions for specific requirements and recommendations pertaining to your particular attic and ventilation needs.
Read more: How to Install an Attic Fan
Conclusion
Installing attic vents is a crucial step in maintaining a healthy and efficient home. Proper ventilation in the attic helps regulate temperature, remove excess moisture, and prevent the buildup of damaging condensation. This, in turn, can extend the lifespan of your roof, prevent mold and mildew growth, and reduce energy consumption.
By following the step-by-step guide outlined in this article, you can successfully install attic vents and create a functional and effective ventilation system. From determining the type and size of vents needed to marking their locations, cutting holes, and securing and sealing the vents, each step plays a vital role in the installation process.
It is essential to prioritize safety throughout the installation process by wearing protective gear and exercising caution while using power tools. Additionally, following industry best practices and adhering to local building codes or regulations ensures a well-designed and compliant ventilation system.
Once the vents are installed, testing the ventilation system helps confirm its functionality and effectiveness. Monitoring temperature and moisture levels, observing airflow, and assessing energy efficiency are key elements in ensuring the proper operation of the system.
Remember to periodically inspect and maintain the ventilation system to address any issues that may arise over time. This will help optimize its performance and contribute to a healthy and well-ventilated attic space.
In conclusion, by installing attic vents and maintaining a proper ventilation system, you are investing in the long-term health and efficiency of your home. With a well-ventilated attic, you can protect your roof, prevent moisture damage, and improve energy efficiency. So, take the necessary steps outlined in this guide, and enjoy the benefits of a properly ventilated attic.
Frequently Asked Questions about How To Install Attic Vents
Was this page helpful?
At Storables.com, we guarantee accurate and reliable information. Our content, validated by Expert Board Contributors, is crafted following stringent Editorial Policies. We're committed to providing you with well-researched, expert-backed insights for all your informational needs.


0 thoughts on “How To Install Attic Vents”