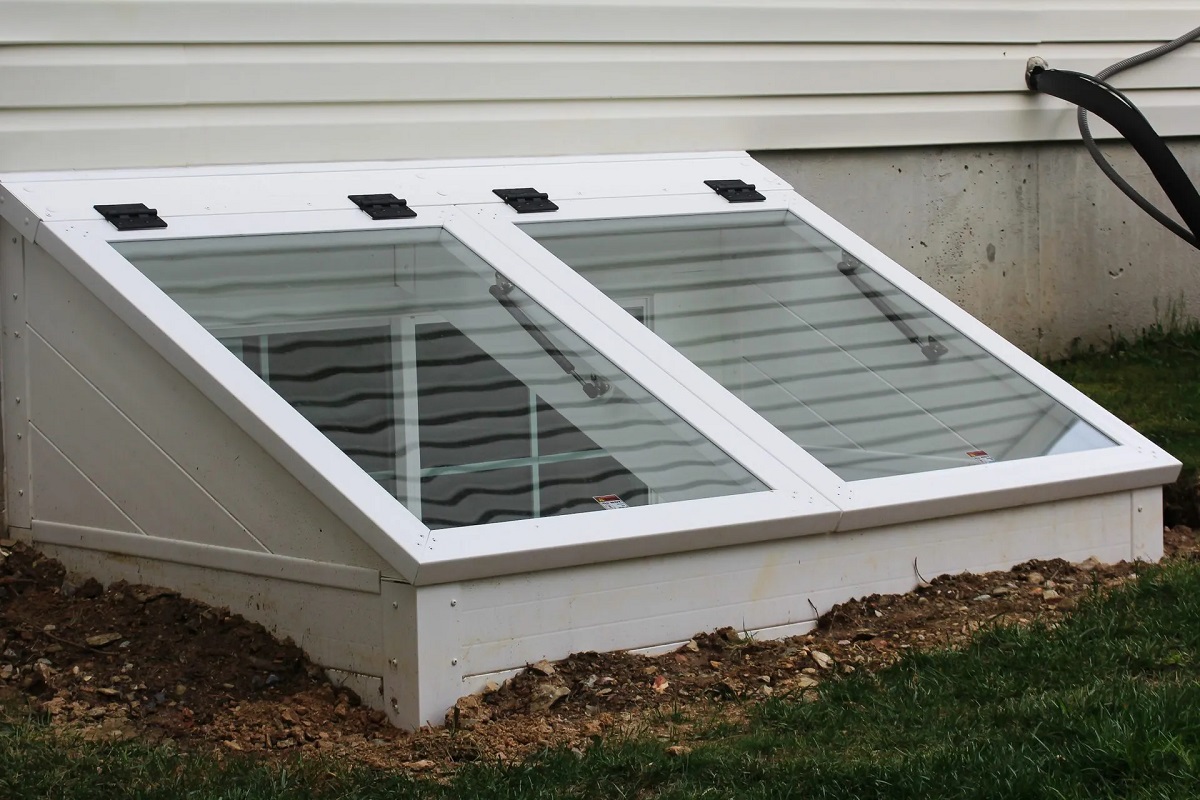

Articles
How To Install Basement Egress Window
Modified: October 20, 2024
Learn how to install a basement egress window in your home with our informative articles. Create a safer and brighter environment with this essential home improvement project.
(Many of the links in this article redirect to a specific reviewed product. Your purchase of these products through affiliate links helps to generate commission for Storables.com, at no extra cost. Learn more)
Introduction
A basement egress window is an essential addition to any basement, providing not only a means of escape in case of emergencies but also allowing natural light to enter the space. Whether you’re planning to convert your basement into a livable area or simply want to ensure the safety of your family, installing a basement egress window is a worthwhile investment.
In this article, we will guide you through the process of installing a basement egress window, step by step. We will provide you with the necessary tools and materials needed, as well as detailed instructions to make the installation process easier and more manageable. By the end of this article, you will have the knowledge and confidence to install a basement egress window and enhance the functionality and safety of your basement.
Before we dive into the installation process, let’s explore the benefits of installing a basement egress window.
Key Takeaways:
- Installing a basement egress window enhances safety, natural light, and home value. It’s a worthwhile investment that adds functionality and compliance with building codes, making your basement more inviting and secure.
- The step-by-step installation process involves careful planning, precise cutting, and proper sealing. Following local regulations and using the right tools and materials ensures a successful and beneficial egress window installation.
Read more: What Is An Egress Window In A Basement
Benefits of Installing a Basement Egress Window
Installing a basement egress window offers numerous benefits that can greatly enhance your basement space and ensure the safety and well-being of your household. Here are some key advantages of having a basement egress window:
- Emergency Exit: One of the primary benefits of a basement egress window is providing a safe and accessible exit in case of emergencies. This is especially crucial if your basement is used as a living area or has bedrooms. In the event of a fire or other emergencies that block the main exits, the egress window allows occupants to quickly escape to safety.
- Natural Light and Ventilation: Basements are often known for their lack of natural light. By installing an egress window, you can bring in natural light, making the space more inviting and comfortable. Additionally, the window allows for proper ventilation, reducing the dampness that is common in basements and improving air circulation.
- Increased Home Value: Adding a basement egress window can significantly increase the value of your home. It adds livable square footage and makes the basement space more attractive for potential buyers. Many homebuyers now consider egress windows a must-have feature, so installing one can make your property more marketable in the future.
- Compliance with Building Codes: In many jurisdictions, building codes require basements to have an egress window if they are used for living spaces or contain bedrooms. By installing a basement egress window, you ensure that your space meets safety regulations, avoiding potential issues if you decide to sell your home or face building inspections.
- Improved Aesthetics: A basement egress window adds a visually appealing element to the exterior of your home. It breaks up the monotony of a blank wall and adds architectural interest. You can choose from various window styles and finishes to complement your home’s design and enhance its curb appeal.
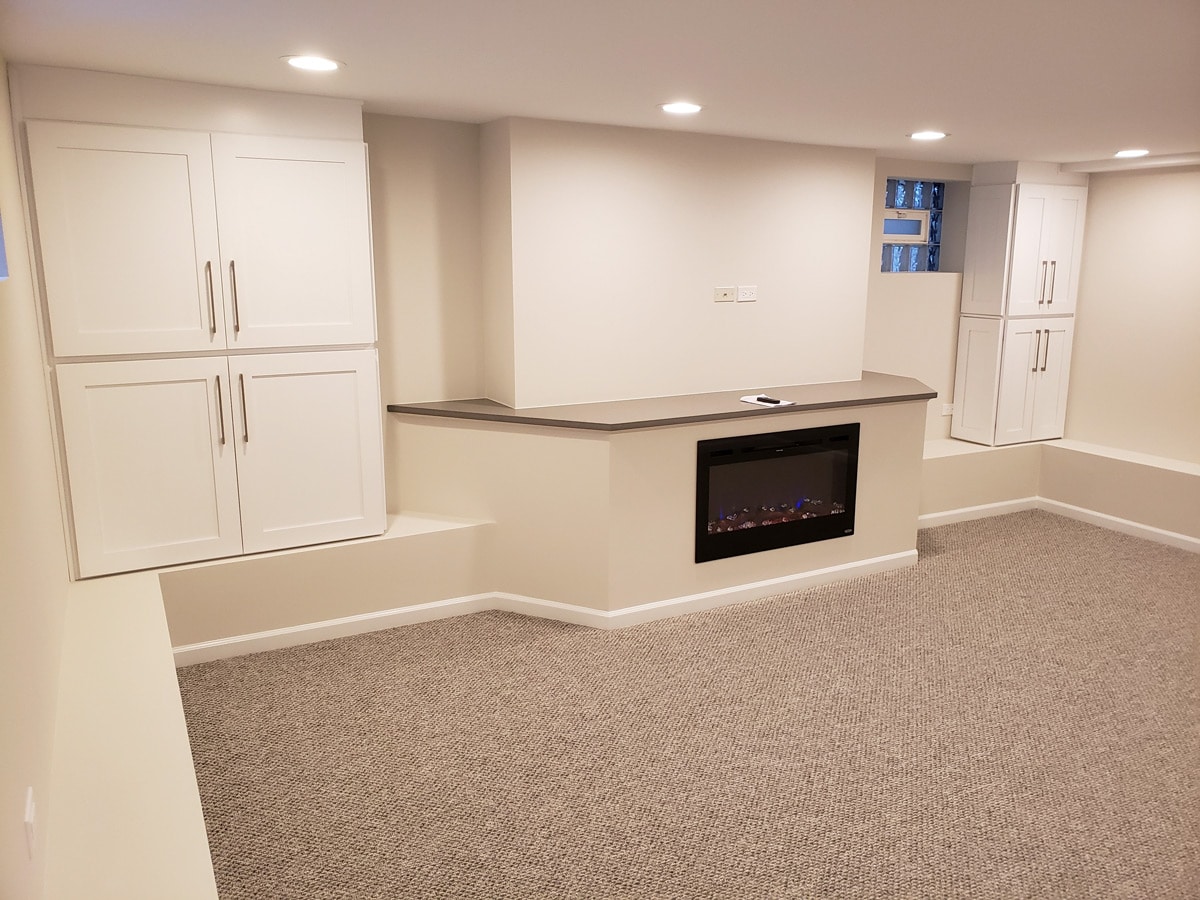
- Enhanced Basement Functionality: Whether you plan to use your basement as a living area, home office, gym, or entertainment space, having an egress window increases the functionality of the space. It creates a bright and inviting atmosphere, making the basement feel less confined and more like a regular part of your home.
Now that you understand the benefits of a basement egress window, let’s move on to the tools and materials you’ll need for the installation process.
Tools and Materials Needed
Before you begin the installation process, it’s important to gather all the necessary tools and materials. Here’s a list of what you’ll need:
Tools:
- Measuring tape
- Marker or pencil
- Shovel or excavator
- Wheelbarrow or bucket
- Hammer and chisel
- Power saw with masonry blade
- Level
- Drill
- Screwdriver
- Caulking gun
- Brush or roller for waterproofing
Materials:
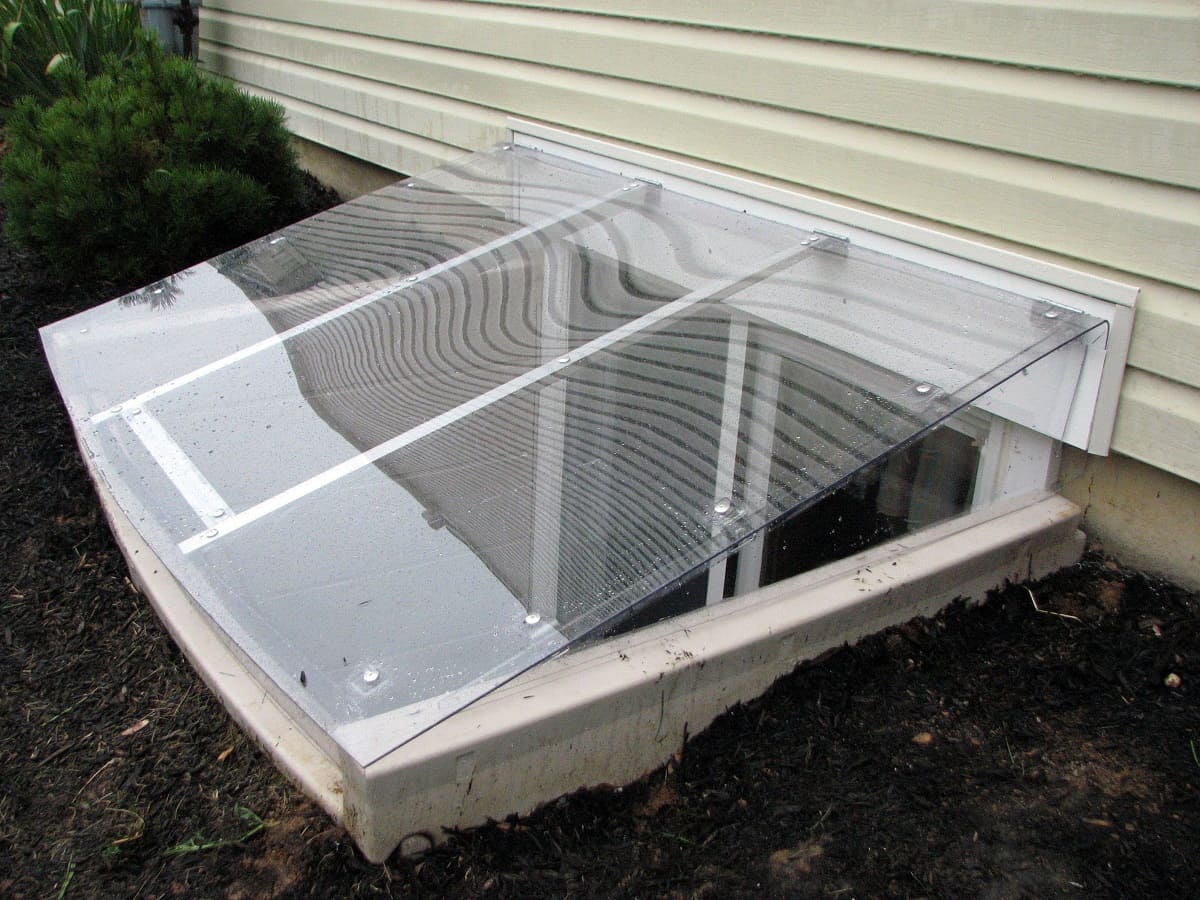
- Egress window kit (including the window, window well, and cover)
- Masonry blocks or bricks
- Drainage gravel
- Concrete mix
- Waterproofing membrane
- Window flashing
- Concrete anchors or screws
- Caulk
Make sure to gather all the tools and materials before you start the installation process. It’s always a good idea to double-check the instructions provided by the manufacturer of the egress window kit to ensure you have everything you need.
Now that you’re equipped with the necessary tools and materials, let’s move on to the step-by-step instructions for installing a basement egress window.
Step-by-Step Instructions
Installing a basement egress window requires careful planning and execution. Follow these step-by-step instructions to ensure a successful installation:
- Determine the Window Location: Select the location where you want to install the egress window. Consider factors such as accessibility, natural light, and the layout of your basement. Mark the area using a marker or pencil.
- Digging the Window Well: Excavate the area where the window well will be installed. Start by removing the soil using a shovel or an excavator. Dig deep enough to accommodate the window well and leave space for drainage gravel at the bottom. Ensure the window well is level and sits at least a few inches above ground level.
- Installing the Window Well: Set the window well into the hole and line the bottom with drainage gravel. Use a level to ensure the window well is level and plumb. Secure it in place by filling the gaps around the window well with soil and compacting it.
- Cutting an Opening in the Basement Wall: Carefully measure and mark the dimensions of the window on the interior wall of the basement. Using a power saw with a masonry blade, cut through the wall following the marked lines. Be cautious and wear safety goggles and a dust mask for protection.
- Installing the Egress Window: Insert the egress window into the opening in the basement wall. Ensure it is level and centered within the window well. Secure the window using concrete anchors or screws, following the manufacturer’s instructions.
- Sealing and Waterproofing the Window: Apply a layer of waterproofing membrane around the edges of the window and the window well. Install window flashing to further protect against water infiltration. Use caulking to seal any gaps or joints. Once the sealing is complete, allow the waterproofing materials to cure according to the manufacturer’s instructions.
Following these step-by-step instructions will help you properly install a basement egress window. However, it is important to consult the specific instructions provided by the egress window kit manufacturer for detailed guidance and any additional steps or requirements.
Now that you’ve completed the installation process, take a moment to ensure everything is secure and watertight. Test the functionality of the window and ensure it opens and closes smoothly. With the basement egress window in place, you’re ready to enjoy the benefits of improved safety, natural light, and ventilation in your basement!
Determine the Window Location
Before you start the installation process, it’s crucial to carefully choose the location for your basement egress window. Consider the following factors to ensure you select the most suitable spot:
Accessibility: The window should be easily accessible and provide a clear path to the exterior of the house. Ideally, it should be located in an area where it can be easily reached in case of an emergency. Avoid placing the window behind large furniture or obstacles that might impede access.
Natural Light: Take into account the availability of natural light in your basement. Look for a location that allows maximum sunlight to enter the space. This will not only brighten the area but also create a more inviting and comfortable atmosphere.
Layout of the Basement: Consider the layout and functionality of your basement. Identify spaces where an egress window can have the most impact. If you plan to use your basement as a living area or have bedrooms, prioritize those areas when choosing the window location.
Building Codes and Regulations: Check local building codes to ensure compliance with egress window regulations. Specific requirements may vary, but generally, an egress window is required in any living space or room that can be used as a sleeping area. Adhering to these regulations is crucial for the safety of your family and to avoid potential legal issues.
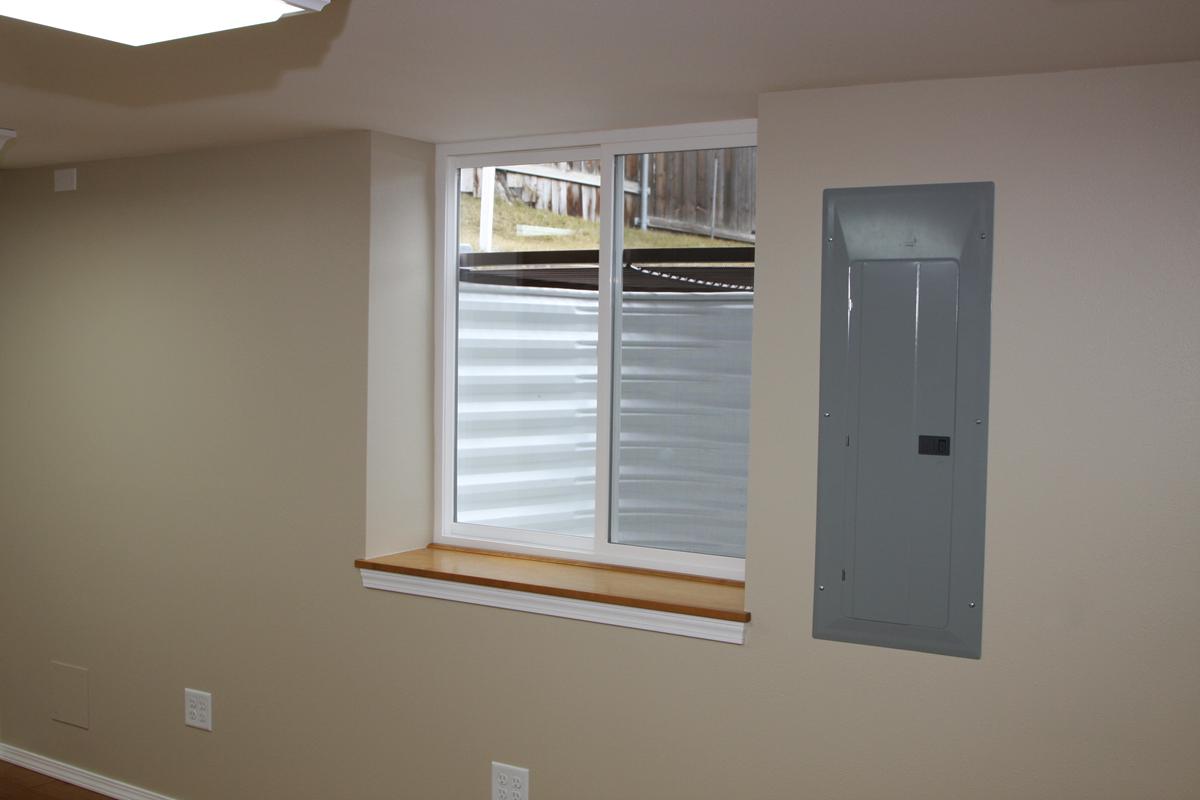
Structural Considerations: Take into account any obstacles or structural limitations that may affect the installation of the window. Avoid areas with plumbing pipes, electrical panels, or other obstacles that may complicate the installation process.
Once you have assessed these factors, mark the chosen location on the interior wall of your basement. Use a measuring tape, level, and a marker or pencil to accurately mark the dimensions of the window. Double-check your measurements to ensure accuracy before proceeding to the next steps.
By carefully selecting the location for your basement egress window, you can optimize safety, natural light, and functionality in your basement space. Now that you have determined the window location, it’s time to move on to the next step: digging the window well.
Digging the Window Well
After determining the location of your basement egress window, the next step is to dig the window well. A window well helps create a safe and accessible space around the egress window and allows for proper drainage. Follow these steps to dig the window well:
- Measure and Mark: Measure the dimensions of the window well according to the manufacturer’s specifications. Use a marker or spray paint to outline the shape of the window well on the ground, ensuring it extends beyond the dimensions of the window for proper installation.
- Clear the Area: Start by removing any obstructions or debris from the marked area. Clear away rocks, roots, and other objects that might interfere with the excavation process.
- Begin Excavation: Use a shovel or an excavator to start digging the window well. Start from the outer edge and work your way inward, gradually deepening the hole. Take breaks as needed to remove the excavated soil from the area.
- Check for Level and Slope: Periodically check the level and slope of the excavation. The bottom of the window well should slope away from the house to allow for proper drainage. Use a level to ensure the sides of the hole are straight and the bottom surface is even.
- Add Drainage Material: Once the excavation is complete, add a layer of drainage gravel to the bottom of the window well. This helps improve drainage and prevents water buildup around the window. Compact the gravel to ensure stability.
- Secure the Window Well: Place the window well into the hole, ensuring it is centered and level. Fill the gaps between the window well and the excavated walls with soil, using a tamper or your foot to compact it. Continue adding soil until the window well is securely in place.
Remember to periodically check the level and slope during the excavation process to ensure accurate dimensions and proper drainage. Proper installation of the window well is essential for the overall stability and functionality of the basement egress window.
With the window well successfully excavated and installed, you’re now ready to move on to the next step: cutting an opening in the basement wall for the egress window.
When installing a basement egress window, make sure to check local building codes and regulations before starting the project. Compliance with these rules is essential for safety and legal reasons.
Installing the Window Well
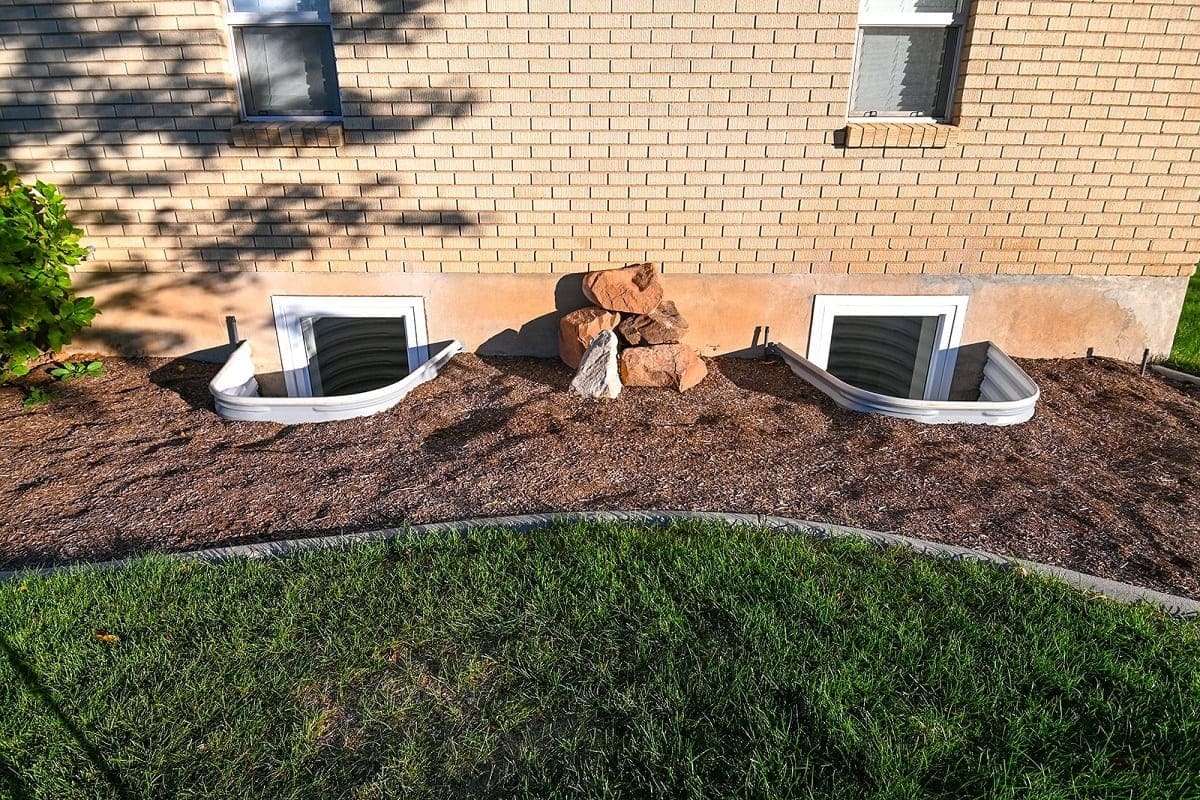
Once you have excavated the area for the window well, the next step is to install the window well itself. The window well provides a barrier between the egress window and the surrounding soil, ensuring proper drainage and preventing moisture buildup. Follow these steps to install the window well:
- Prepare the Bottom: Before placing the window well, ensure the bottom of the excavation is level and free from any debris. Use a rake or shovel to remove rocks, roots, or other objects that may interfere with the installation.
- Place the Window Well: Gently lower the window well into the hole, aligning it with the excavated area. Make sure it is centered and sits level. Take measurements or use a level to confirm its positioning.
- Secure the Window Well: Secure the window well in place by filling the gaps between the window well and the excavated walls with soil. Begin with the soil around the bottom of the window well and work your way up, periodically tamping the soil down with a tamper or your foot to ensure it is tightly packed.
- Check for Level and Stability: Use a level to verify that the window well is plumb and level on all sides. Adjust the position if necessary by moving soil from one side to another. Make sure the window well is stable and securely anchored to prevent any movement or shifting.
- Backfill and Compact: Once the window well is firmly in place, continue backfilling the remaining gaps around the window well with soil. Add the soil in layers and compact it with a tamper or your foot after each layer to ensure stability.
- Optional: Add Drainage System: Consider installing a drainage system within the window well to prevent the accumulation of water. This can include a perforated drain pipe wrapped in geotextile fabric, which directs water away from the window well and drains it away from the foundation of the house.
Proper installation of the window well ensures stability and efficient drainage around the egress window. Taking the time to prepare the area and secure the window well will enhance the overall functionality and longevity of your basement egress window.
With the window well successfully installed, the next step is to proceed with cutting an opening in the basement wall for the egress window.
Cutting an Opening in the Basement Wall
With the window well in place, it’s time to move on to cutting an opening in the basement wall to accommodate the egress window. This step requires careful planning and precision to ensure a proper fit for the window. Follow these steps to cut an opening in the basement wall:
- Observe Safety Measures: Before you begin cutting, it’s important to prioritize safety. Wear protective gear, including safety goggles, gloves, and a dust mask, to protect yourself from debris and dust generated during the cutting process.
- Measure and Mark: Determine the dimensions of the window opening based on the size of the egress window you are installing. Use a measuring tape to mark the dimensions on the interior wall of the basement. Double-check the measurements for accuracy.
- Plan the Cut: Plan the cutout to ensure it follows the marked dimensions and aligns with the window well. Use a straight edge or level to draw guidelines along the marked lines to guide your cutting process.
- Cut with a Power Saw: Use a power saw with a masonry blade to cut along the marked guidelines. Follow the manufacturer’s instructions for operating the saw safely. Take your time and cut slowly to achieve clean and accurate cuts.
- Remove the Wall Section: Once the cuts are complete, carefully remove the cut section of the basement wall. Start by removing small sections at a time to avoid any unnecessary damage. Use a hammer and chisel to break away any remaining pieces, if necessary.
- Check for Proper Fit: After the wall section is removed, check the opening to ensure it aligns with the dimensions of the egress window. Make any necessary adjustments to ensure a proper fit before proceeding.
Remember to work slowly and attentively during the cutting process to ensure accurate and clean cuts. Take breaks as needed and maintain caution to avoid any injuries. Once the opening is cut and verified for a proper fit, you’re ready to move on to the next step: installing the egress window.
Installing the Egress Window
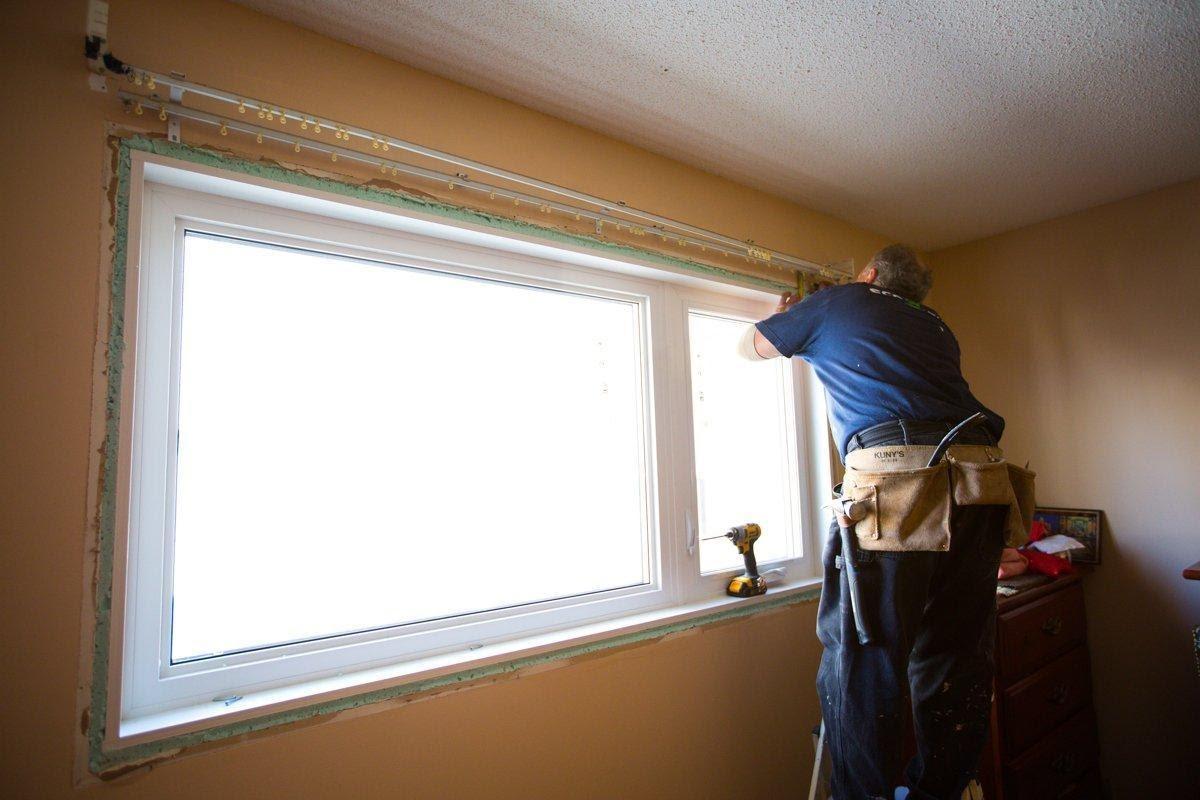
Now that you’ve cut an opening in the basement wall, it’s time to install the egress window. Proper installation of the window ensures a secure fit, proper sealing, and optimal functionality. Follow these steps to install the egress window:
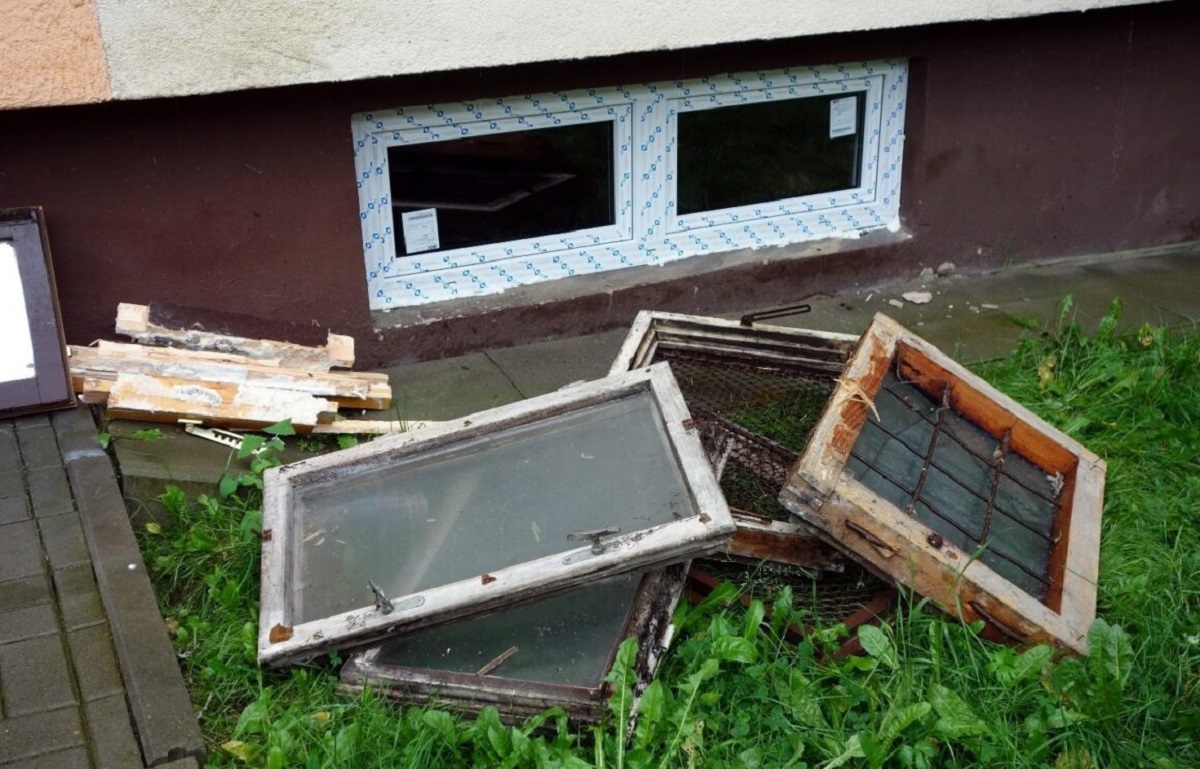
- Prepare the Window: Before installing the window, remove any packaging or protective materials. Inspect the window for any damages or defects, and ensure it is clean and free from debris.
- Position the Window: Carefully place the egress window into the opening in the basement wall. Make sure it is centered within the opening and sits flush against the exterior wall.
- Level the Window: Use a spirit level to ensure the window is level and plumb. Make any necessary adjustments by shimming or repositioning the window as needed. Achieving a level installation is crucial for proper functionality and sealing.
- Secure the Window: Once the window is properly positioned, secure it in place according to the manufacturer’s instructions. This may involve using concrete anchors, screws, or other recommended methods to fasten the window to the surrounding structure.
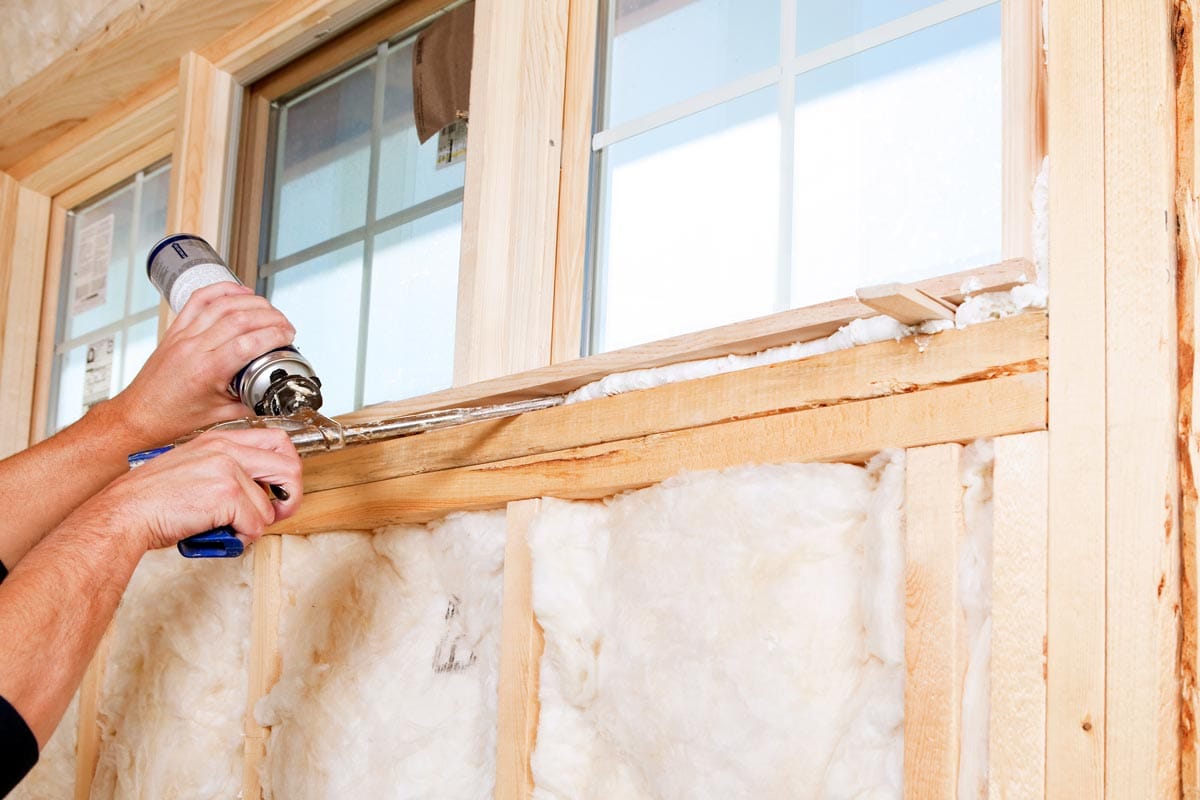
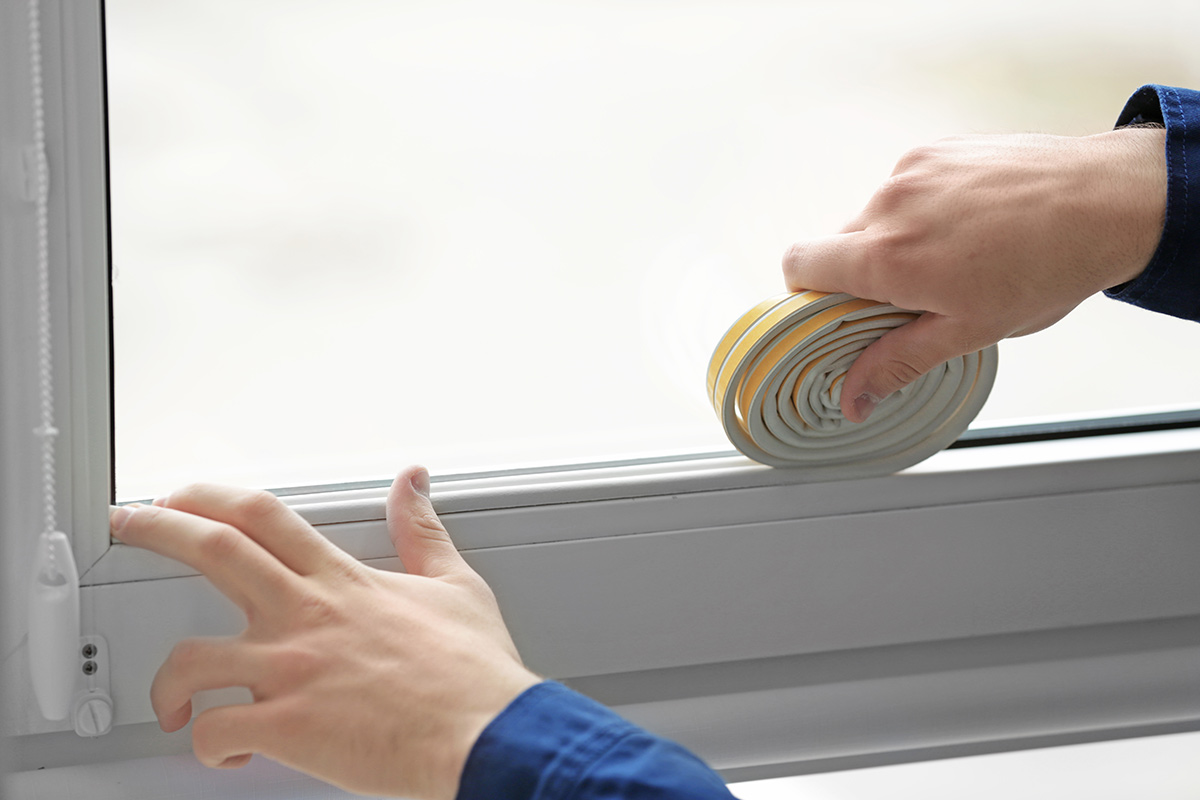
- Insulate and Seal: Apply insulation material around the edges of the window to prevent air drafts and improve energy efficiency. Use an expanding foam insulation or other suitable insulation material recommended for the specific window type.
- Install Flashing: To ensure proper waterproofing, install window flashing around the edges of the egress window. This helps divert water away from the window and prevents moisture infiltration. Follow the manufacturer’s instructions for proper installation of the window flashing.
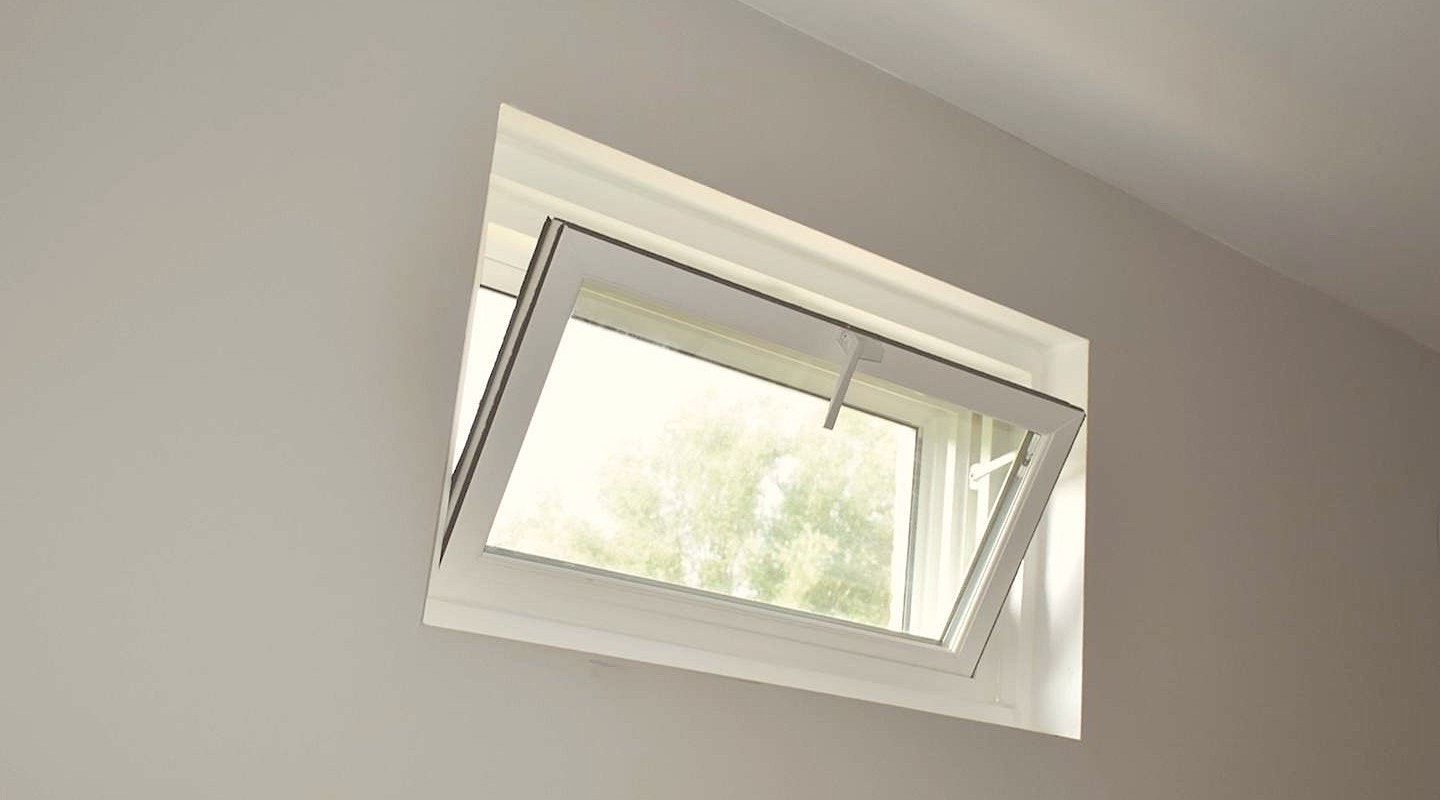
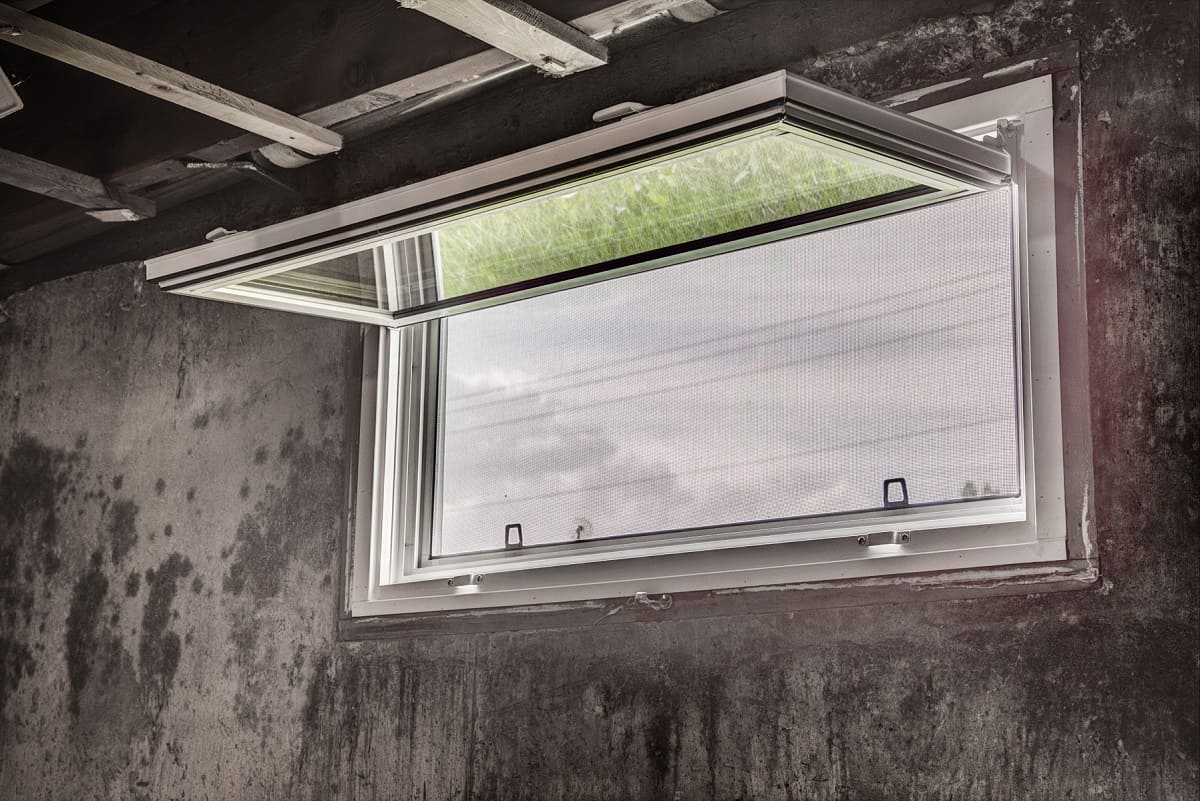
- Test the Window: Once the window is installed, open and close it to ensure smooth operation. Check for any issues or obstructions that may hinder its functionality. Make any necessary adjustments to ensure the window opens and closes smoothly.
Properly installing the egress window is crucial for its functionality and effectiveness. Ensure all sealing and fastening methods are correctly applied to prevent water infiltration and drafts. Taking the time to accurately position and secure the window will ensure its longevity and optimal performance.
With the egress window successfully installed, you’re now ready to move on to the next step: sealing and waterproofing the window to ensure proper protection against moisture and weather elements.
Read more: How To Install Basement Window Well
Sealing and Waterproofing the Window
After installing the egress window, it is important to properly seal and waterproof it to ensure protection against moisture and water infiltration. This step will help maintain the integrity of the window and prevent any potential damage. Follow these steps to seal and waterproof your egress window:
- Clean the Surrounding Area: Before applying any sealant, clean the area around the window to ensure there is no dirt or debris. This will allow for better adhesion of the sealant to the surface.
- Inspect the Window Edges: Carefully examine the edges and corners of the window to check for any potential gaps or openings. These areas need to be sealed to prevent water penetration.
- Apply Waterproofing Membrane: Use a waterproofing membrane, such as a liquid waterproofing compound or self-adhesive sheet, to cover the exterior portion of the window and the surrounding area. Follow the manufacturer’s instructions for proper application. This membrane creates a barrier against water and keeps the window protected.
- Seal with Caulk: Apply a bead of waterproof caulk around the window frame on both the interior and exterior sides. Pay special attention to the corners and any gaps or openings. Smooth out the caulk with a caulk smoothing tool or your finger to ensure a proper seal.
- Install Window Flashing: Install window flashing around the sides and top of the window to prevent water seepage. Follow the manufacturer’s guidelines to ensure proper installation. The flashing should overlap the waterproofing membrane and be securely fastened.
- Waterproof the Window Well: Apply a waterproof sealant to the window well to further protect against water infiltration. Use a brush or roller to ensure even coverage. Allow the sealant to fully cure according to the manufacturer’s instructions before continuing.
- Inspect for Proper Sealing: After sealing and waterproofing the window, thoroughly inspect the area to ensure there are no gaps or openings. Check for any signs of water leakage or moisture buildup. Make any necessary adjustments or reapplications to areas that require additional sealing.
Properly sealing and waterproofing your egress window is essential to protect it from water damage and ensure its long-term functionality. By following these steps and using appropriate sealants and waterproofing materials, you can help maintain the integrity of the window and safeguard your basement against water infiltration.
Congratulations! You have successfully installed and sealed your basement egress window. By following these step-by-step instructions, you have enhanced the safety, natural light, and functionality of your basement space. Enjoy the benefits of your newly installed egress window and the peace of mind that comes with improved safety and comfort.
Conclusion
Installing a basement egress window is a significant step towards enhancing the safety, functionality, and aesthetics of your basement space. It provides a means of escape in case of emergencies and allows natural light to flood into the area, making it more inviting and comfortable. By following the step-by-step instructions outlined in this article, you can successfully install a basement egress window and enjoy all the benefits it offers.
During the installation process, you learned how to determine the optimal location for the window, dig the window well, cut an opening in the basement wall, install the egress window, and properly seal and waterproof the window. Taking the time to carefully plan each step and using the right tools and materials ensures a successful installation.
Remember, it is important to adhere to local building codes and regulations when installing a basement egress window. Compliance with these codes not only guarantees the safety of your family but also helps avoid any potential legal issues in the future.
With your basement egress window installed, you can enjoy the benefits of increased safety, natural light, ventilation, and improved aesthetics. It may even increase the value of your home. Whether you plan to convert your basement into a living area, home office, or recreational space, the addition of an egress window enhances its functionality and livability.
As you embark on this installation project, remember to take your time, follow the instructions carefully, and prioritize safety. If you encounter any difficulties, don’t hesitate to consult a professional who can provide further guidance and assistance.
Now that you have the knowledge and skills to install a basement egress window, go ahead and transform your basement into a more accessible, comfortable, and enjoyable space for you and your family!
Frequently Asked Questions about How To Install Basement Egress Window
Was this page helpful?
At Storables.com, we guarantee accurate and reliable information. Our content, validated by Expert Board Contributors, is crafted following stringent Editorial Policies. We're committed to providing you with well-researched, expert-backed insights for all your informational needs.

0 thoughts on “How To Install Basement Egress Window”