
Articles
How To Install A Shower In A Basement
Modified: October 30, 2024
Learn how to install a shower in your basement with our informative articles. Transform your basement into a functional and luxurious space.
(Many of the links in this article redirect to a specific reviewed product. Your purchase of these products through affiliate links helps to generate commission for Storables.com, at no extra cost. Learn more)
Introduction
Installing a shower in a basement can be a great addition to your home, providing convenience and functionality to the space. Whether you are converting your basement into a guest suite or simply looking to add another bathroom, a basement shower allows for greater flexibility and comfort. However, the installation process can be quite challenging and requires careful planning and execution.
In this article, we will guide you through the step-by-step process of installing a shower in a basement. From assessing the availability of plumbing to finalizing the installation, we will cover everything you need to know to successfully complete the project.
Before diving into the installation process, it’s important to determine whether your basement is suitable for a shower installation. Factors such as available space, access to plumbing lines, and the condition of the basement floor and walls need to be considered. If your basement meets the necessary requirements, you can proceed with the installation process with confidence.
It’s important to note that installing a shower in a basement may require professional assistance, particularly if significant plumbing modifications are needed. However, if you are experienced with DIY projects and have access to the necessary tools, you can undertake the installation yourself.
Now that you understand the importance of careful planning and preparation, let’s dive into the step-by-step process of installing a shower in a basement. By following these guidelines, you can successfully complete the installation and enjoy the convenience of a functional basement shower.
Key Takeaways:
- Installing a shower in a basement requires thorough planning, careful assessment of plumbing availability, and adherence to local building codes. Proper preparation, including waterproofing and ventilation, is crucial for a successful and functional installation.
- Choosing the right shower unit, installing water supply lines, drainage system, and connecting the shower unit to plumbing are essential steps in creating a reliable basement shower. Regular maintenance and care will ensure the longevity and optimal functionality of the installation.
Read more: How To Install Carpet In A Basement
Step 1: Assessing the Availability of Plumbing
The first step in installing a shower in your basement is to assess the availability of plumbing. If your basement already has existing plumbing lines, such as for a sink or toilet, the process of connecting the shower to the plumbing system will be relatively straightforward. However, if there are no existing plumbing lines in your basement, you will need to determine the feasibility of adding them.
Start by locating the main water line in your basement. Typically, the main water line is found near the water meter or where the water enters your home. From there, trace the plumbing lines to understand how they are connected and determine if there is a nearby line that can be extended for the shower installation.
If there are no nearby lines, you will need to consult with a professional plumber to assess the possibility of adding new plumbing lines to your basement. This may involve cutting into walls and floors to access the existing plumbing in other parts of your home. Keep in mind that adding new plumbing lines can be a complex and costly process, so it’s important to weigh the pros and cons before proceeding.
In addition to the availability of plumbing lines, you should also consider the water pressure and capacity of your existing system. A shower requires a certain flow rate and pressure to function properly. If your current plumbing system cannot support the additional demand, you may need to upgrade or modify the system before proceeding with the installation.
Lastly, don’t forget to check local building codes and regulations regarding plumbing installations. Some areas have specific requirements for basement plumbing installations, including the type of materials to be used and the need for permits. It’s essential to adhere to these regulations to ensure the safety and functionality of your basement shower.
By thoroughly assessing the availability of plumbing in your basement and addressing any potential issues or limitations, you can proceed with confidence to the next step of choosing the right shower unit for your installation. Doing this groundwork early on will save you time, effort, and potential headaches down the line.
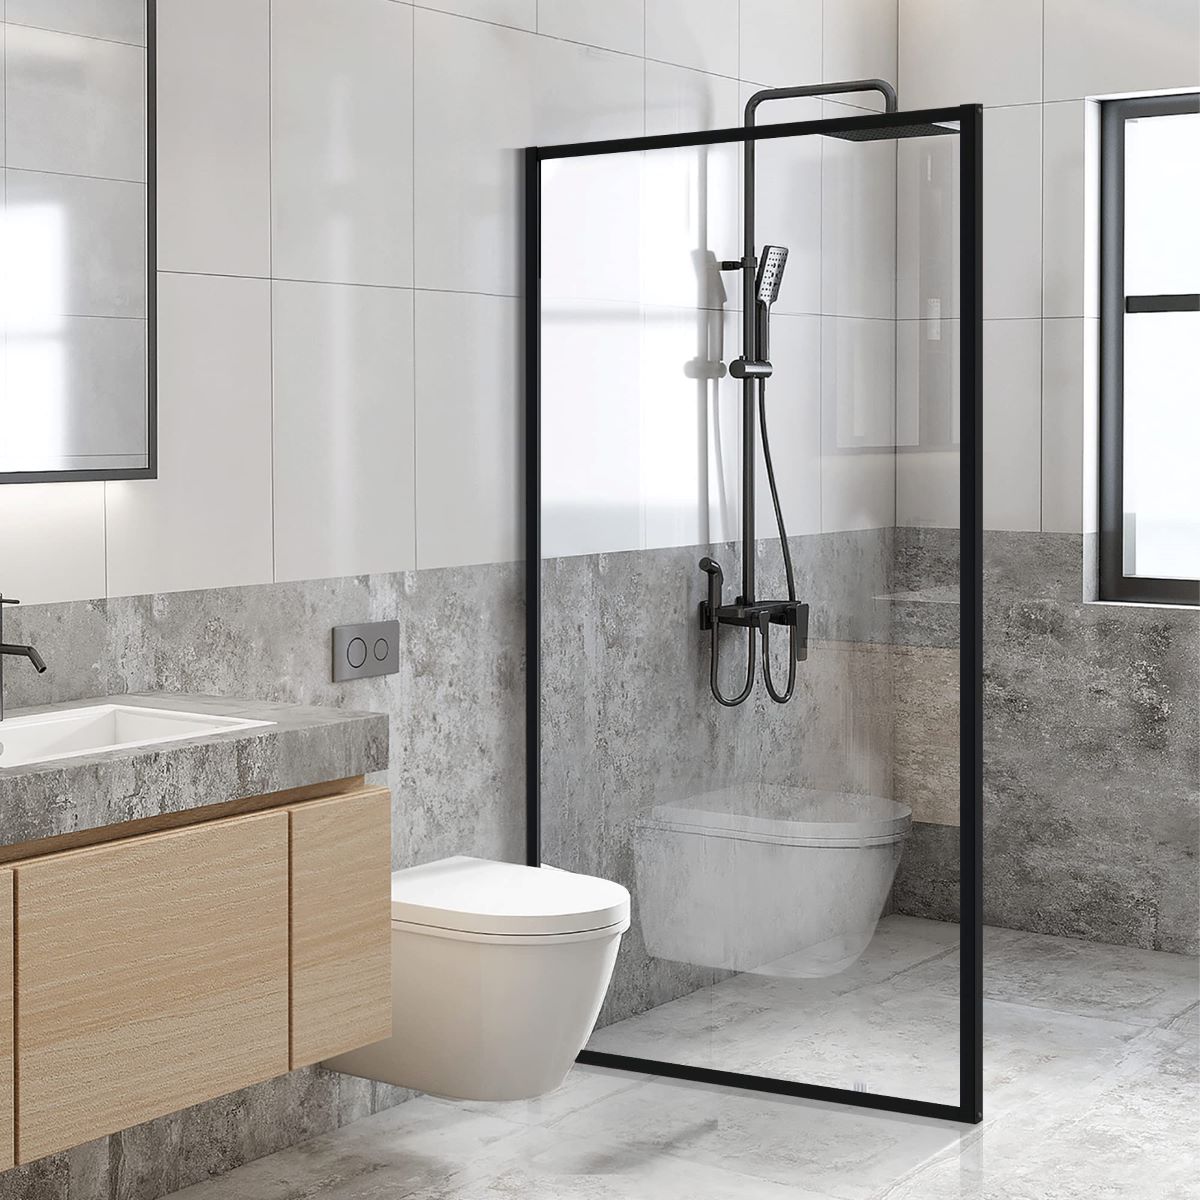
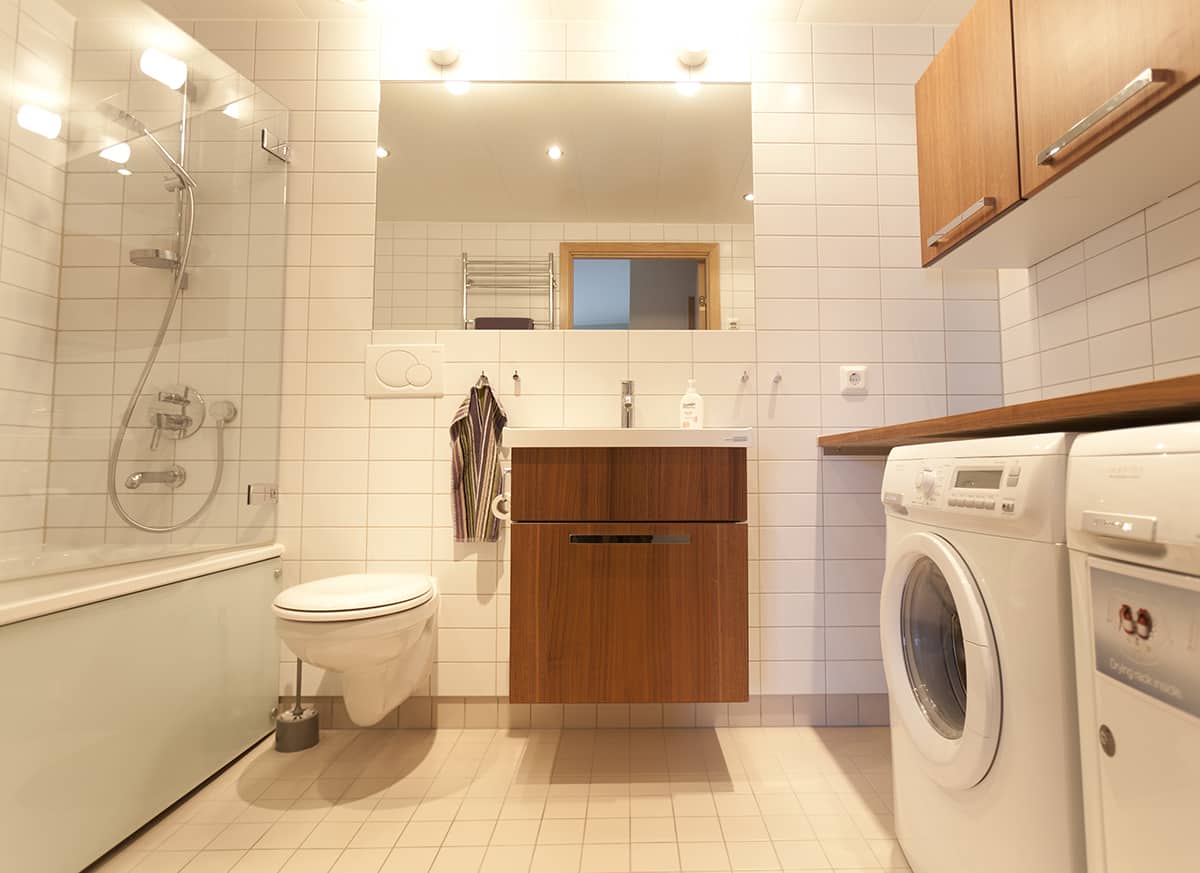
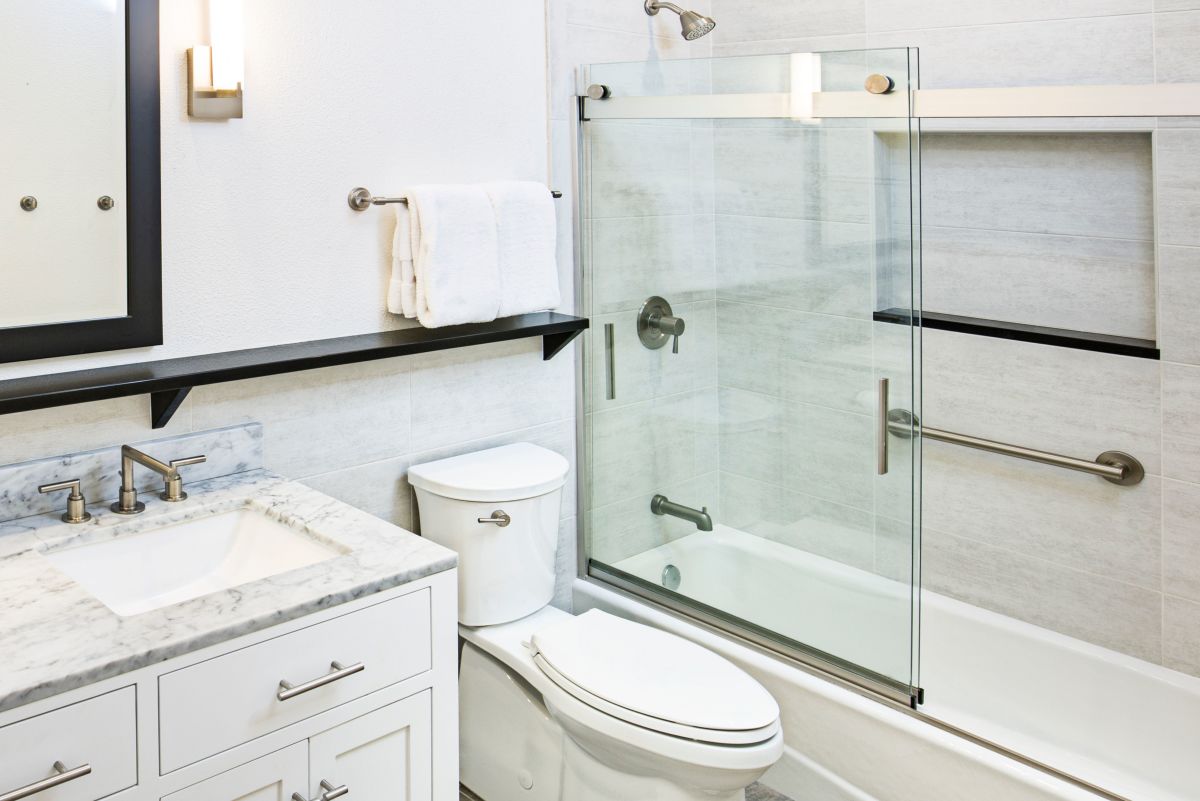
Step 2: Choosing the Right Shower Unit
Once you have assessed the availability of plumbing in your basement, the next step is to choose the right shower unit for your installation. There are several factors to consider when selecting a shower unit, including size, style, and functionality.
First and foremost, you need to determine the available space in your basement for the shower. Measure the area where you plan to install the shower to ensure that you choose a unit that fits properly. Keep in mind that basements often have limited space, so compact and corner shower units may be the best options.
Next, consider the style and design of the shower unit. Do you prefer a traditional shower with a sliding glass door, or a more modern and open walk-in shower? Think about the overall aesthetic of your basement and choose a shower unit that complements it. Additionally, consider any accessibility requirements or preferences, such as installing a shower with grab bars or a seat.
Functionality is another crucial aspect to consider. Decide whether you prefer a standard showerhead or one with additional features such as massage jets or rainfall settings. Think about the water pressure and flow rate in your basement and choose a shower unit that is compatible with your plumbing system.
Furthermore, consider the materials used in the construction of the shower unit. Look for models that are made from durable and waterproof materials to ensure longevity and resistance to moisture. It’s also worth exploring options that are easy to clean and maintain, as a basement environment can be prone to dampness and mold.
Lastly, don’t forget to set a budget for your shower unit. The cost of shower units can vary greatly depending on the size, materials, and features. Determine how much you are willing to invest in your basement shower and look for models that fit within your budget.
By considering factors such as size, style, functionality, materials, and budget, you can narrow down your options and choose the right shower unit for your basement installation. Once you have selected the shower unit, you can proceed to the next step of preparing your basement for installation.
Step 3: Preparing the Basement for Installation
Before you can begin installing the shower in your basement, it’s essential to prepare the space for the construction process. Proper preparation ensures a smooth and successful installation. Follow these steps to get your basement ready:
1. Clear the area: Remove any obstacles, furniture, or belongings from the space where the shower will be installed. This will provide a clear and open area for the construction process.
2. Inspect the flooring: Check the condition of the basement floor to ensure it is suitable for a shower installation. The floor should be level and structurally sound. If there are any cracks or damage, make the necessary repairs before proceeding.
3. Waterproof the walls: Basements can be prone to moisture issues, so it’s crucial to waterproof the walls surrounding the shower area. Apply a waterproofing membrane or sealant to prevent water damage and mold growth. Allow sufficient drying time before moving on to the next step.
4. Install a vapor barrier: To further protect against moisture, consider installing a vapor barrier on the walls and floor. This will help prevent water seepage and keep the shower area dry. Follow the manufacturer’s instructions for proper installation.
5. Frame the shower area: If you are creating a separate shower enclosure, you will need to frame the area. Use treated lumber or moisture-resistant materials to construct the frame. Ensure that the frame is securely attached to the walls and floor.
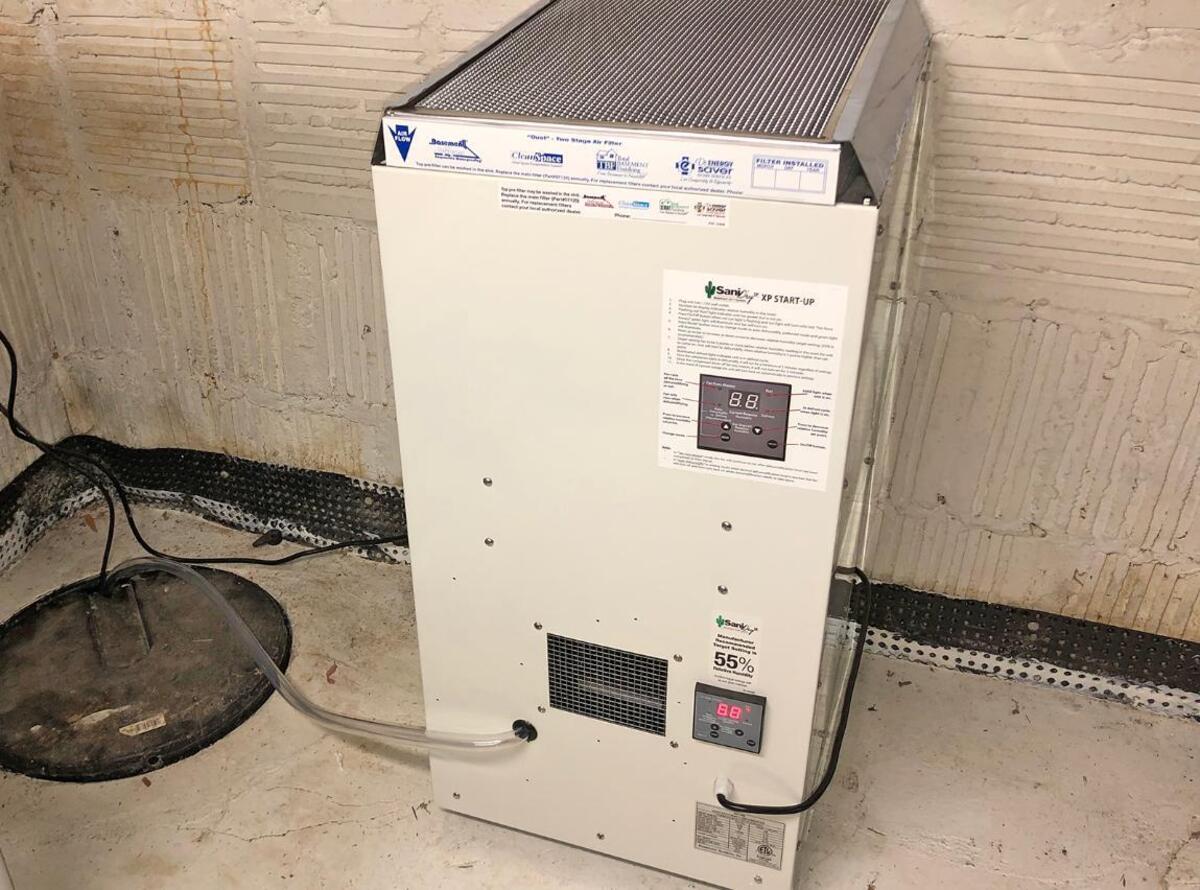
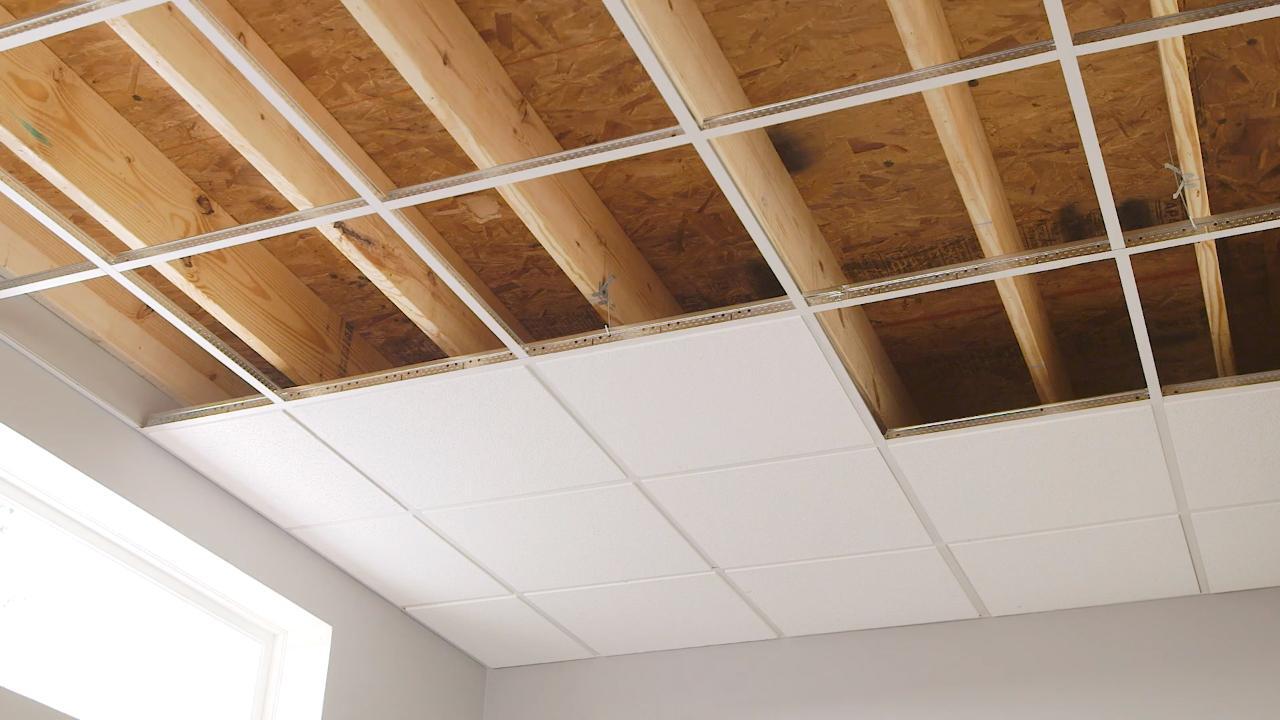
6. Provide proper ventilation: Adequate ventilation is essential to prevent moisture buildup and promote air circulation in the basement. Install a ventilation fan or windows near the shower area to allow the steam to escape.
7. Consider lighting: Basements typically have limited natural light, so it’s important to provide adequate lighting in the shower area. Install waterproof and moisture-resistant light fixtures that comply with building codes.
By properly preparing the basement for the shower installation, you are creating a solid foundation for the construction process. Taking the time to complete these steps will ensure a safe and well-prepared space for the installation of the shower unit.
Step 4: Installing Water Supply Lines
With the basement properly prepared, you can now move on to the next step: installing the water supply lines for your shower. This process involves connecting the shower unit to the main plumbing system in your home. Follow these steps to install the water supply lines:
1. Determine the location of the water supply lines: Identify the existing water supply lines in your basement that will be connected to the shower. These lines may already be in place if you have other plumbing fixtures in the basement, such as a toilet or sink.
2. Shut off the main water supply: Before starting any work on the water supply lines, it’s essential to turn off the main water supply to your home. Locate the main shut-off valve, usually found near the water meter, and close it to prevent any water flow.
3. Plan the new water lines: Determine the most efficient route for extending the water supply lines to the shower location. Consider factors such as accessibility and minimal disruption to the existing plumbing system. Use a pipe cutter or saw to cut the necessary lengths of copper or PEX pipes.
4. Install shut-off valves: Install shut-off valves on the new water supply lines for the shower. This will allow you to easily control the water flow to the shower in case of repairs or maintenance. Ensure that the valves are securely attached and in the closed position.
5. Connect the supply lines: Use fittings, such as couplings or soldered connections, to connect the new water supply lines to the existing supply lines in your basement. Follow proper installation techniques and ensure a secure and watertight connection.
6. Test for leaks: Once the connections are made, turn on the main water supply and check for any leaks in the newly installed supply lines. Inspect for drips or water seepage and make any necessary adjustments or repairs.
7. Install a pressure regulator: Depending on the water pressure in your home, you may need to install a pressure regulator to ensure the water flow to the shower is not too high. This will help protect the shower unit and provide a more comfortable showering experience.
By carefully installing the water supply lines, you are ensuring a steady and reliable flow of water to your basement shower. Take your time to accurately measure, cut, and connect the pipes, and test for leaks before proceeding to the next step of installing the drainage system.
When installing a shower in a basement, make sure to properly waterproof the area to prevent any water damage. Use a waterproof membrane on the walls and floor, and consider installing a sump pump to manage any excess water.
Read more: How To Install A Steam Shower
Step 5: Installing Drainage System
Once the water supply lines are in place, the next step in installing a shower in your basement is to establish the drainage system. The drainage system is responsible for removing wastewater from the shower and directing it to the appropriate plumbing lines. Follow these steps to install the drainage system:
1. Determine the location of the drain: Identify the ideal location for the shower drain in your basement. This may depend on the layout of your basement and the proximity to existing plumbing lines. Ensure that the chosen location allows for proper slope and easy access for installation and maintenance.
2. Cut into the basement floor: Use a jackhammer or a concrete cutter to create a hole in the basement floor for the drainpipe. Make sure the hole is wide enough to accommodate the drain assembly and provides adequate clearance for the pipe connections.
3. Install the drain assembly: Place the drain assembly into the hole, ensuring that it sits securely and is level with the surrounding floor. Follow the manufacturer’s instructions for proper installation, including any necessary sealing materials or gaskets.
4. Connect the drainpipe: Attach the drainpipe to the drain assembly, ensuring a tight and secure connection. Use appropriate fittings and connectors to join the pipes, following local building codes and regulations. Ensure that the drainpipe has the necessary slope for effective drainage.
5. Connect to the main sewer line: Extend the drainpipe from the shower to the main sewer line in your home. This may involve cutting into walls or floors to access the existing plumbing lines. Consult with a professional plumber if needed to ensure proper connections and adherence to local plumbing codes.
6. Test the drainage system: Once the drainage system is installed, it’s important to test it for any leaks or functional issues. Pour water into the shower drain and observe the flow and drainage. Check for any signs of water backup or slow drainage, which may indicate a problem with the system.
7. Make necessary adjustments and repairs: If any issues are identified during the testing phase, make the necessary adjustments or repairs to ensure proper functionality. This may involve resealing connections, adjusting the slope of the drainpipe, or seeking professional assistance if the problem persists.
By properly installing the drainage system, you are ensuring efficient and effective removal of wastewater from your basement shower. Take the time to accurately position and connect the drain, and carefully test the system to ensure its functionality before proceeding to the next step of installing the shower base.
Step 6: Installing the Shower Base
With the water supply lines and drainage system in place, it’s time to install the shower base. The shower base, also known as the shower pan or shower tray, provides a sturdy and waterproof foundation for the shower. Follow these steps to install the shower base:
1. Measure and mark the location: Determine the exact location where the shower base will be installed. Use a level and tape measure to ensure that the area is level and square. Mark the position of the shower base on the floor.
2. Prepare the floor: If needed, remove any existing flooring to expose the bare concrete or subfloor. Ensure that the floor is clean and free from debris. Repair any cracks or damage in the floor before proceeding.
3. Apply a layer of mortar: Create a solid base for the shower by applying a layer of mortar to the marked area. Follow the manufacturer’s instructions for mixing and applying the mortar. Use a trowel to spread the mortar evenly and create a smooth surface.
4. Place the shower base: Carefully lower the shower base onto the mortar bed, aligning it with the marked position. Press down firmly to ensure proper adhesion to the mortar. Use a level to check that the base is even and adjust if necessary.
5. Secure the shower base: Depending on the type of shower base you are installing, there may be additional steps to secure it in place. This may involve using screws, clips, or adhesive recommended by the manufacturer. Follow the specific instructions provided with the shower base.
6. Connect the drain: Attach the drain cover to the drain assembly, ensuring a tight and secure connection. Follow the manufacturer’s instructions for proper installation of the drain cover.
7. Test for leaks: Before proceeding with further construction, it’s vital to test the shower base for any leaks. Once again, pour water into the shower drain and check for any signs of water seepage or leakage. Make any necessary adjustments or repairs if issues are found.
By installing the shower base correctly, you are creating a solid and waterproof foundation for your basement shower. Take your time to ensure that the base is level, secure, and properly connected to the drainage system. With the shower base in place, you can now move on to connecting the shower unit to the plumbing.
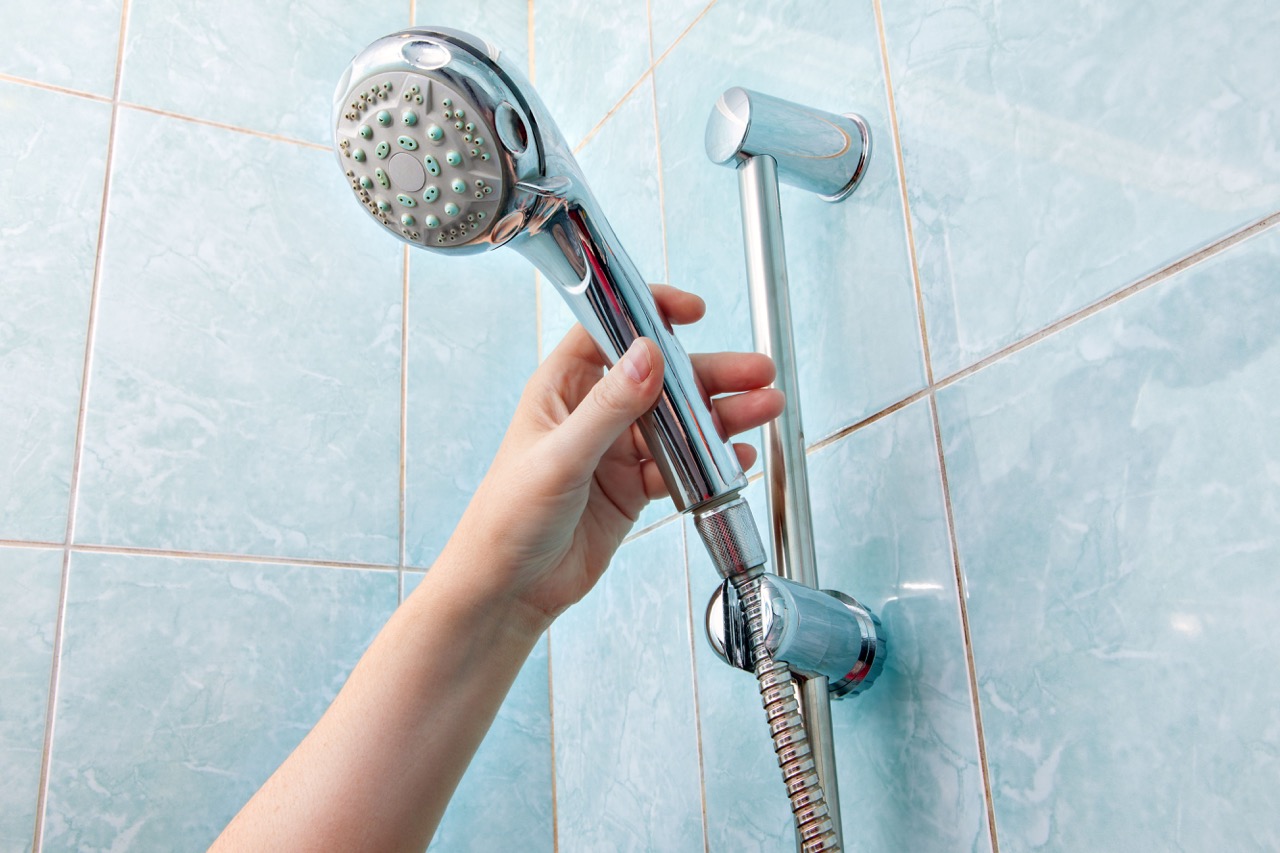
Step 7: Connecting the Shower Unit to Plumbing
After installing the shower base, the next step is to connect the shower unit to the plumbing system in your basement. This process involves connecting the water supply lines and drain to the shower unit. Follow these steps to connect the shower unit to the plumbing:
1. Position the shower unit: Carefully position the shower unit onto the shower base, making sure that it aligns with the drain and water supply lines. Adjust the position as needed to ensure a proper fit.
2. Connect the water supply lines: Attach the water supply lines to the corresponding connections on the shower unit. Use appropriate fittings and connectors to ensure a secure and leak-free connection. Follow the manufacturer’s instructions for specific plumbing requirements.
3. Connect the showerhead and faucets: Install the showerhead and faucets according to the manufacturer’s instructions. Ensure that they are securely attached and functioning properly.
4. Connect the drain: Connect the drainpipe from the shower base to the drain assembly. Use appropriate fittings and connectors to create a secure and watertight connection. Ensure that there are no leaks or gaps in the connections.
5. Test the connections: Before using the shower, test all the connections for any leaks or functional issues. Turn on the water supply and check for any signs of water leakage or drips. Run water through the showerhead and faucets to ensure proper flow and functionality.
6. Make necessary adjustments and repairs: If any leaks or issues are detected during testing, make the necessary adjustments or repairs. This may involve tightening connections, resealing joints, or seeking professional assistance if the problem persists.
7. Seal any gaps: Apply waterproof sealant or caulk around the edges of the shower unit, where it meets the walls and floor. This will help prevent any water seepage and maintain a watertight seal.
By connecting the shower unit to the plumbing system correctly, you ensure a fully functional and leak-free basement shower. Take the time to double-check all connections and test for any issues before finalizing the installation process.
Step 8: Finalizing the Installation Process
After completing the previous steps, there are a few final tasks to address to finalize the installation of the shower in your basement. These steps will ensure that your basement shower is fully functional, safe, and ready for use:
1. Insulate the walls: If your basement is not already insulated, consider adding insulation to the walls surrounding the shower area. This will help maintain a comfortable and temperature-regulated environment in the shower.
2. Install a ventilation system: Adequate ventilation is crucial to prevent moisture buildup and minimize the risk of mold and mildew growth in your basement. Install a ventilation fan or ensure that there are windows that can be opened to allow for proper airflow.
3. Apply waterproofing: Apply a layer of waterproofing material to the walls and floor of the shower area. This will provide an additional barrier against water damage and help extend the lifespan of your shower.
4. Seal gaps and joints: Check for any gaps or joints around the shower area and apply sealant or caulk to create a watertight seal. This will prevent any water leakage and ensure that the shower remains structurally sound.
5. Test the shower: Run water through the shower to ensure that all components are functioning properly. Check for any leaks, drips, or functional issues. Adjust and make any necessary repairs if any problems arise.
6. Clean and maintain: Once you have confirmed that the shower installation is complete, thoroughly clean the shower area and ensure that all surfaces are free from any debris or construction materials. Regularly clean and maintain the shower to preserve its cleanliness and functionality.
7. Enjoy your basement shower: With the installation complete and all final touches in place, it’s time to enjoy your newly installed basement shower. Take a moment to appreciate the hard work and effort that went into creating this convenient and functional addition to your home.
By following these final steps, you can ensure that the installation process is fully completed and your basement shower is ready for use. Regular maintenance and care will help keep your shower in optimal condition for years to come.
Read more: How To Install An Outdoor Shower
Conclusion
Installing a shower in a basement can significantly enhance the functionality and convenience of your home. By following the step-by-step process outlined in this article, you can successfully navigate the installation process and create a basement shower that meets your needs.
Beginning with assessing the availability of plumbing and choosing the right shower unit, through preparing the basement, installing the water supply lines, drainage system, shower base, and connecting the shower unit to the plumbing, each step plays a vital role in creating a fully functional and reliable basement shower.
It is important to conduct thorough planning, utilize proper tools and materials, and follow local building codes and regulations. Take the time to test and address any issues that may arise during the installation process, ensuring a safe and efficient basement shower.
Remember to consider factors such as available space, style, functionality, and the overall design of your basement, as these will contribute to the success and enjoyment of your new shower. Regular maintenance and care will help extend the lifespan of your shower and keep it in optimal condition.
Installing a shower in your basement can add value to your home, increase convenience for you and your family, and provide an additional space for guests or family members. It is a worthwhile investment that can significantly improve the functionality and versatility of your basement.
By following the guidelines outlined in this article and seeking professional assistance when needed, you can successfully install a shower in your basement and create a space that is both practical and aesthetically pleasing.
Now that you have a comprehensive understanding of the installation process, it’s time to turn your basement into a comfortable and functional space by adding a shower. Get started today and enjoy the benefits of having a convenient and accessible shower in your basement.
Frequently Asked Questions about How To Install A Shower In A Basement
Was this page helpful?
At Storables.com, we guarantee accurate and reliable information. Our content, validated by Expert Board Contributors, is crafted following stringent Editorial Policies. We're committed to providing you with well-researched, expert-backed insights for all your informational needs.


0 thoughts on “How To Install A Shower In A Basement”