Articles
How To Install Stove Pipe Into Chimney
Modified: February 24, 2024
Learn how to properly install a stove pipe into your chimney with this informative article. Find step-by-step instructions and expert tips to ensure a safe and efficient installation.
(Many of the links in this article redirect to a specific reviewed product. Your purchase of these products through affiliate links helps to generate commission for Storables.com, at no extra cost. Learn more)
Introduction
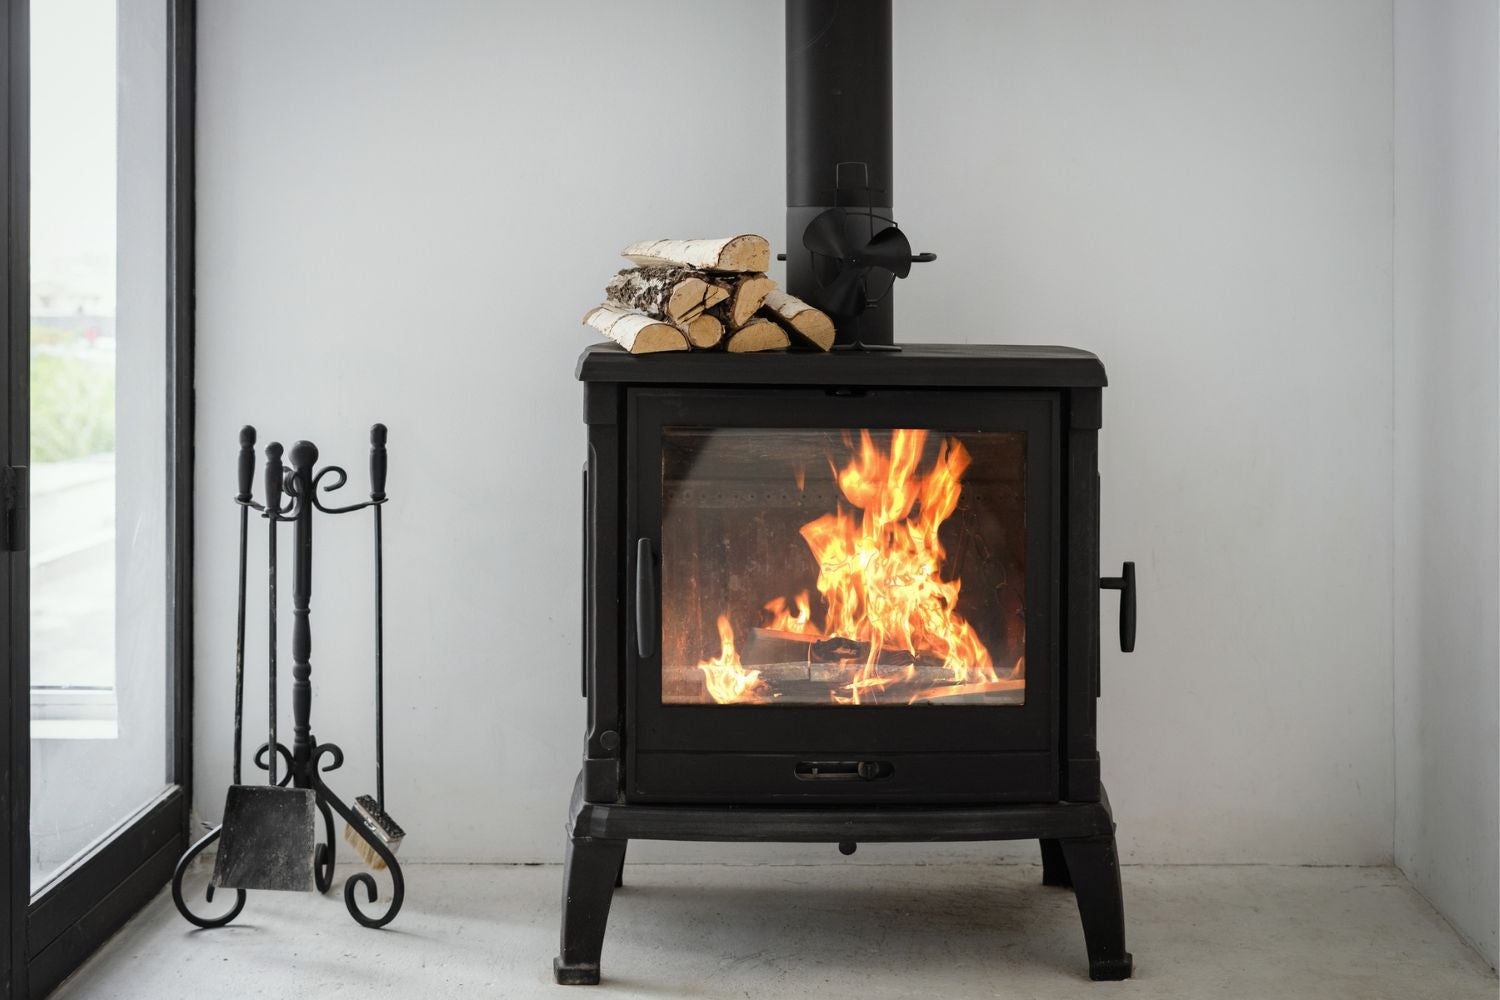
Installing a stove pipe into a chimney is a crucial step in setting up a wood-burning stove or fireplace. The stove pipe serves as a conduit that allows the smoke and gases produced by the combustion of wood to safely exit your home. Proper installation of the stove pipe ensures efficient airflow, preventing any potential hazards such as carbon monoxide buildup or chimney fires.
In this comprehensive guide, we will take you through the step-by-step process of installing a stove pipe into a chimney. We will cover everything from gathering the necessary tools and materials to properly securing the stove pipe and testing for proper installation and functionality.
It is important to note that installing a stove pipe into a chimney requires careful attention to detail and adherence to safety guidelines. If you are not confident in your abilities or do not have the necessary experience, it is recommended to seek the assistance of a professional chimney sweep or installer.
Now, let’s dive into the first step of the installation process: gathering the necessary tools and materials.
Key Takeaways:
- Proper installation of a stove pipe into a chimney is crucial for safe and efficient wood-burning. From gathering tools to testing functionality, attention to detail and safety measures are essential for a successful installation.
- Testing for proper airflow, monitoring for leaks, and ensuring a strong draft are key steps in testing the functionality of a stove pipe system. Regular maintenance and inspection are also vital for ongoing safety and efficiency.
Read more: How To Seal Chimney Pipe
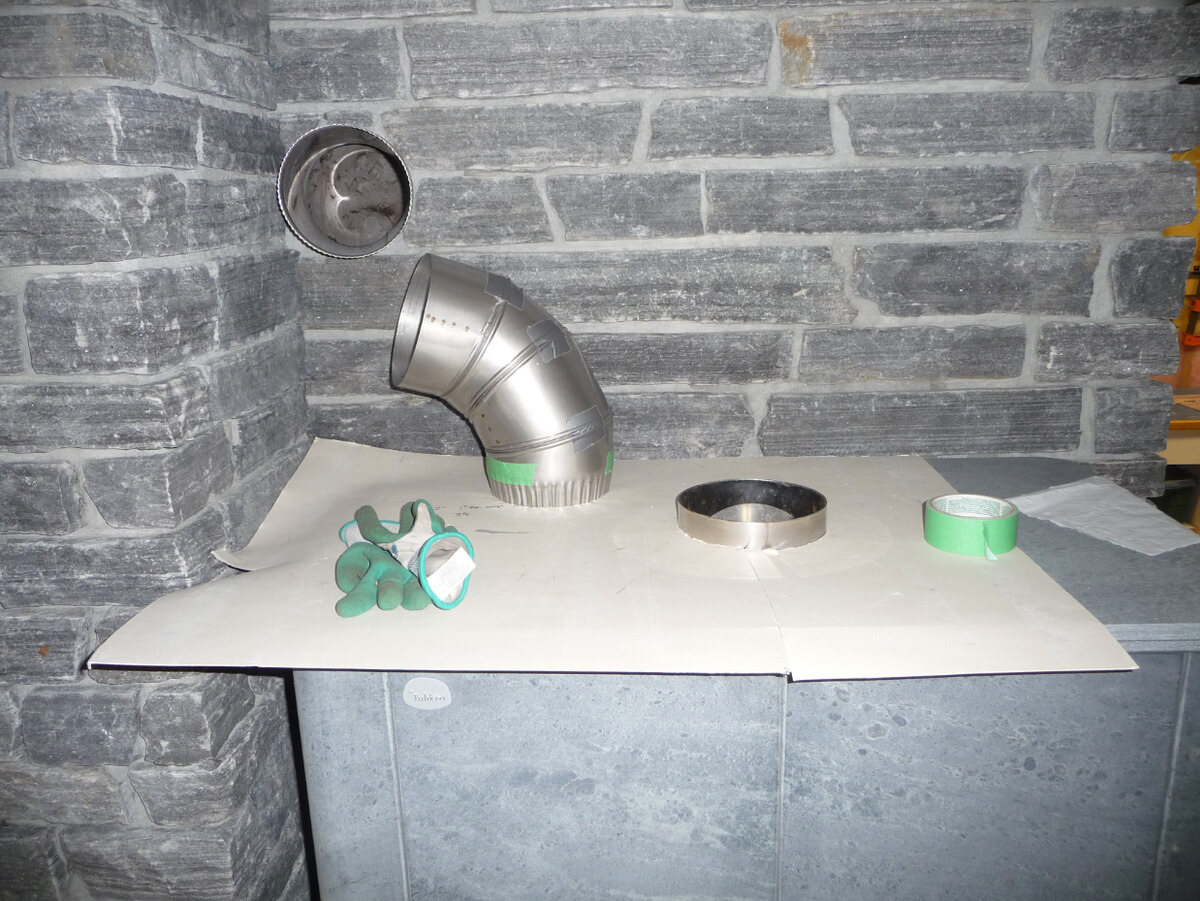
Step 1: Gather the necessary tools and materials
Before you begin the installation process, it is important to ensure that you have all the required tools and materials on hand. Having everything ready will make the installation process smoother and more efficient.
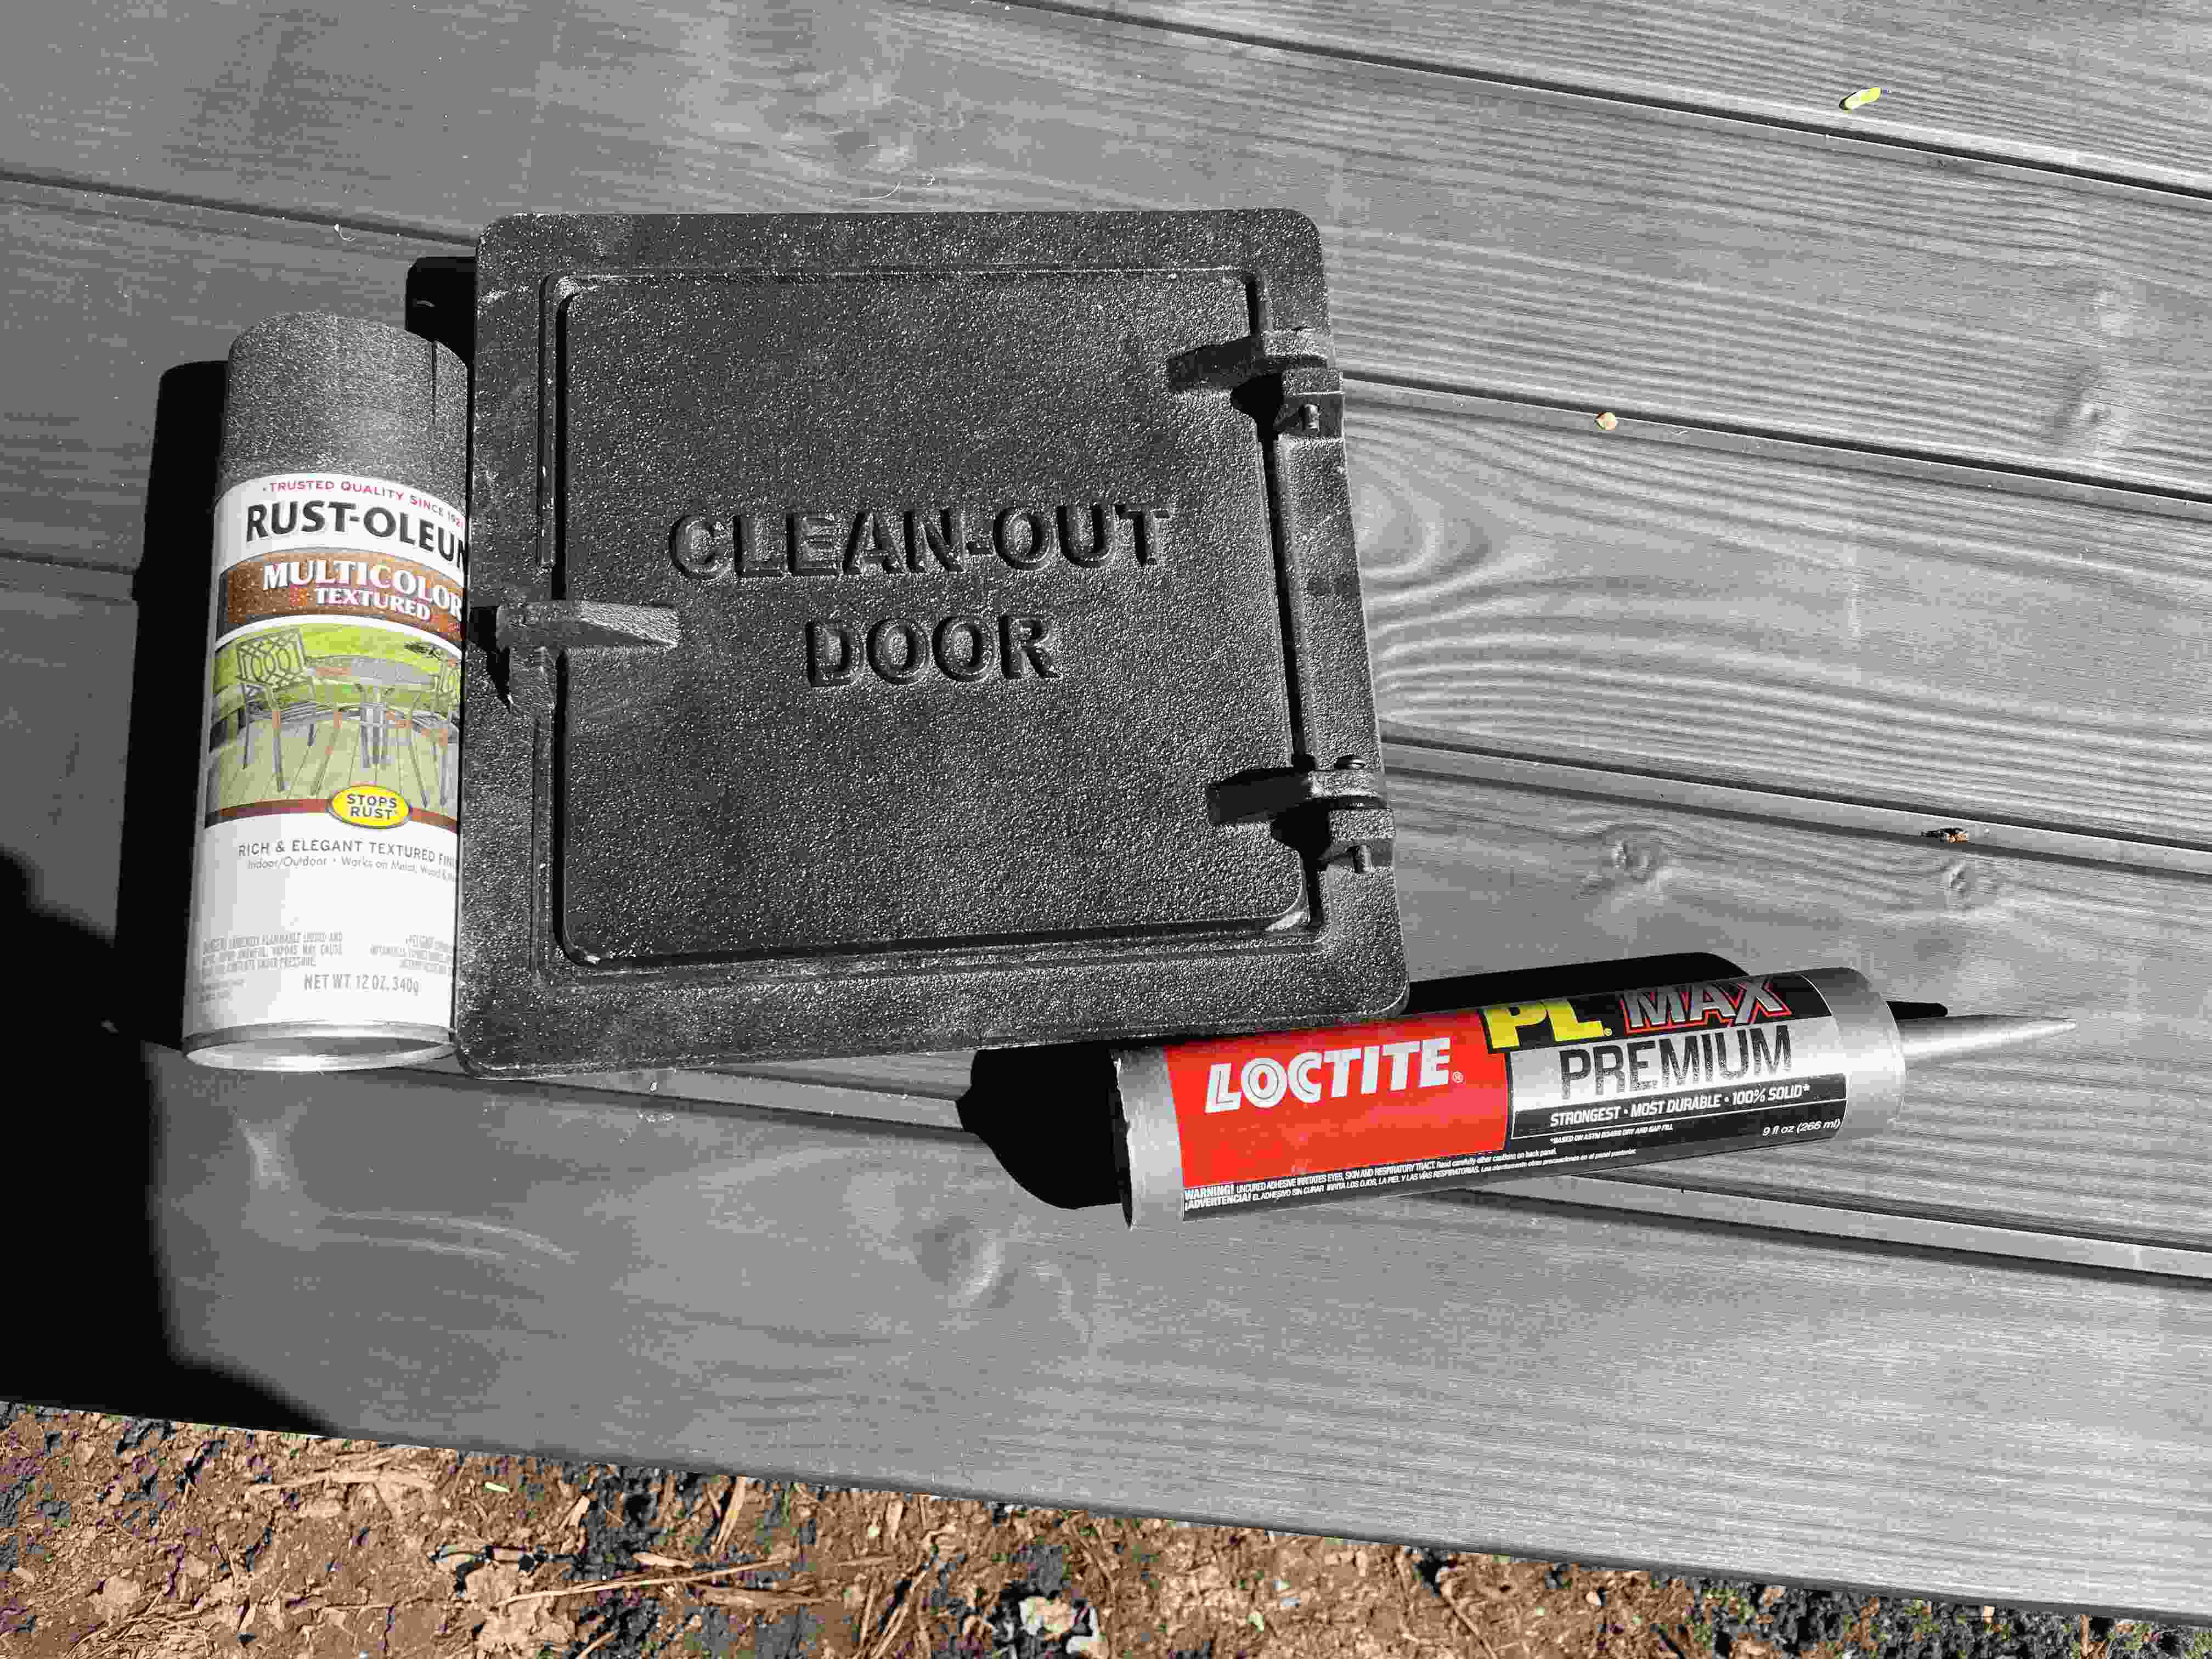
Here is a list of tools and materials you will need for installing a stove pipe into a chimney:
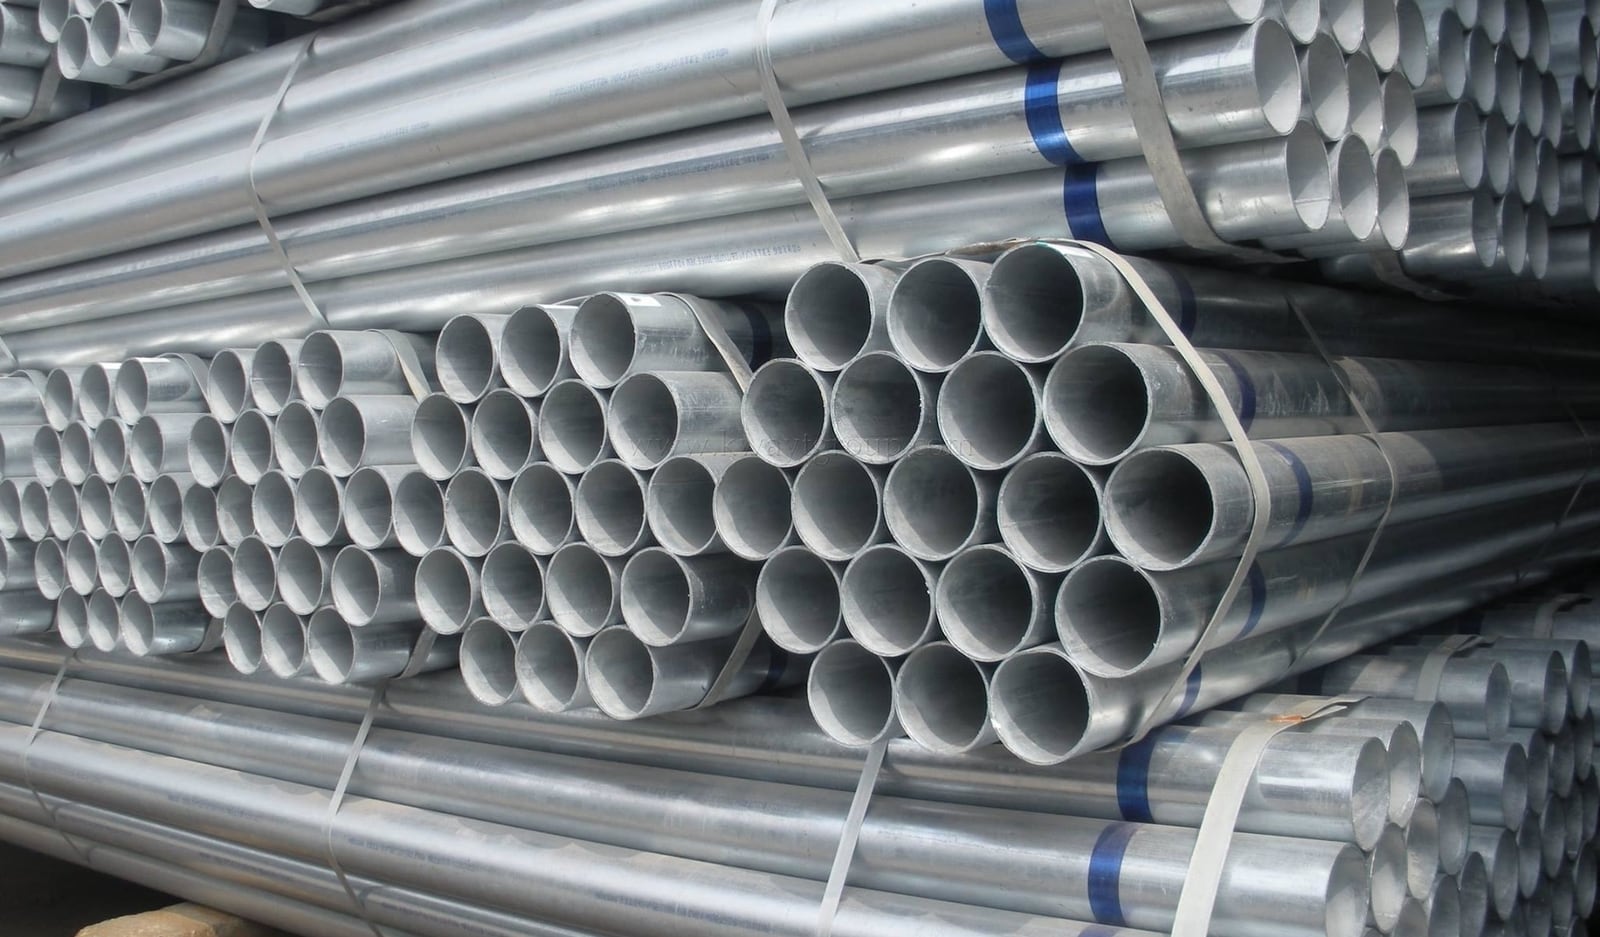
- Stove pipe sections: These are typically made of steel or cast iron and come in varying lengths. The size and diameter of the stove pipe should match the specifications of your stove or fireplace.
- Chimney adapter: A chimney adapter connects the stove pipe to the chimney. It should be the right size for a seamless fit.
- Safety gloves: Protect your hands with a pair of heat-resistant gloves to handle hot stove pipes.
- Tape measure: Accurate measurements are essential for a proper fit. Use a tape measure to measure the height and diameter of your chimney.
- Hacksaw or tin snips: You may need to cut the stove pipe to the appropriate length to fit your chimney. A hacksaw or tin snips can be used for this purpose.
- Screwdriver or wrench: Depending on the type of connectors used, you may need a screwdriver or wrench to secure the stove pipe.
- Silicone sealant: Silicone sealant is used to seal any gaps or joints in the stove pipe system, ensuring a tight seal.
- Ladder or scaffold: To access the chimney, you may need a ladder or scaffold to safely reach the installation area.
- Dust mask and goggles: When working with the stove pipe, it is important to protect yourself from any potential dust or debris. Wear a dust mask and goggles for safety.
Once you have gathered all the necessary tools and materials, you are ready to move on to the next step: measuring and preparing the stove pipe.
Step 2: Measure and prepare the stove pipe
After gathering the necessary tools and materials, the next step in installing a stove pipe into a chimney is to measure and prepare the stove pipe. This ensures that the stove pipe fits properly and functions efficiently.
Follow these steps to measure and prepare the stove pipe:
- Measure the height of the chimney: Use a tape measure to determine the height of the chimney. This measurement will help you determine how many sections of stove pipe you will need to connect to the chimney adapter.
- Measure the diameter of the chimney: Measure the diameter of the chimney opening to ensure that the stove pipe and chimney adapter are the correct size for a proper fit. Most chimneys have a standard diameter of 6 or 8 inches, but it’s essential to double-check.
- Trim the stove pipe if necessary: If the stove pipe sections are longer than the height of the chimney, use a hacksaw or tin snips to cut the sections to the appropriate length. Make sure to wear safety gloves during this process to protect yourself from sharp edges.
- Inspect the stove pipe sections: Before installation, carefully inspect the stove pipe sections for any damages or defects. It is crucial to ensure that the stove pipe is in good condition and free from any cracks or holes that could impact its functionality.
- Clean the stove pipe: If the stove pipe is dirty or has accumulated debris, clean it thoroughly before installation. Use a wire brush or a damp cloth to remove any buildup from the interior and exterior of the stove pipe, ensuring optimal performance.
By measuring the height and diameter of the chimney, trimming the stove pipe if needed, and inspecting and cleaning the stove pipe sections, you are now ready to move on to the next step: safely accessing the chimney.
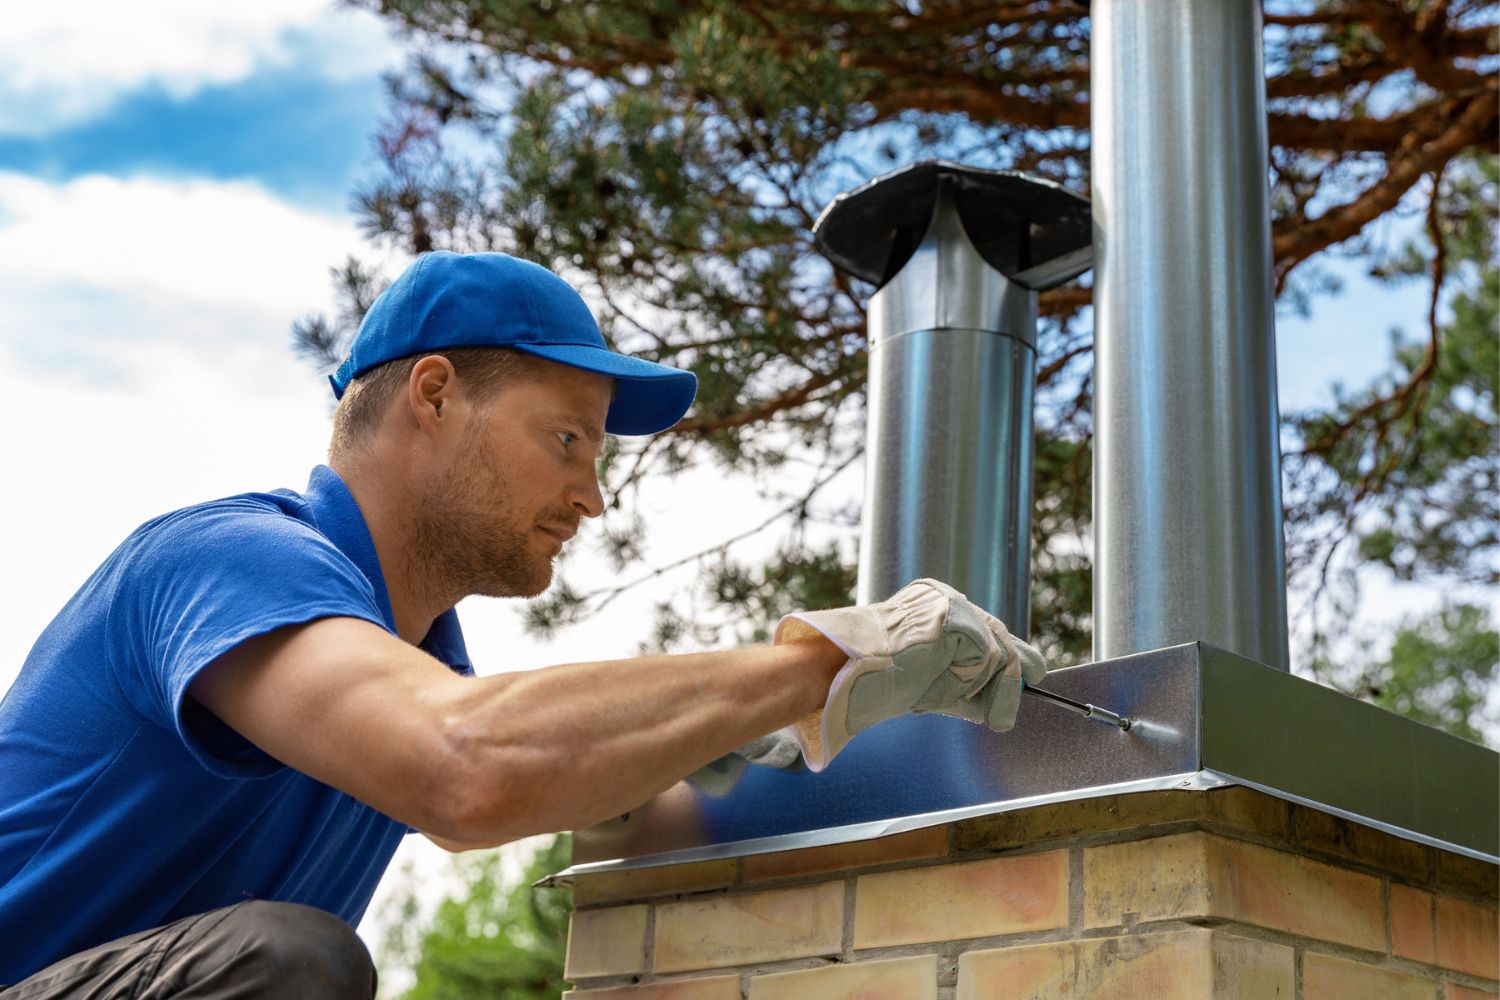
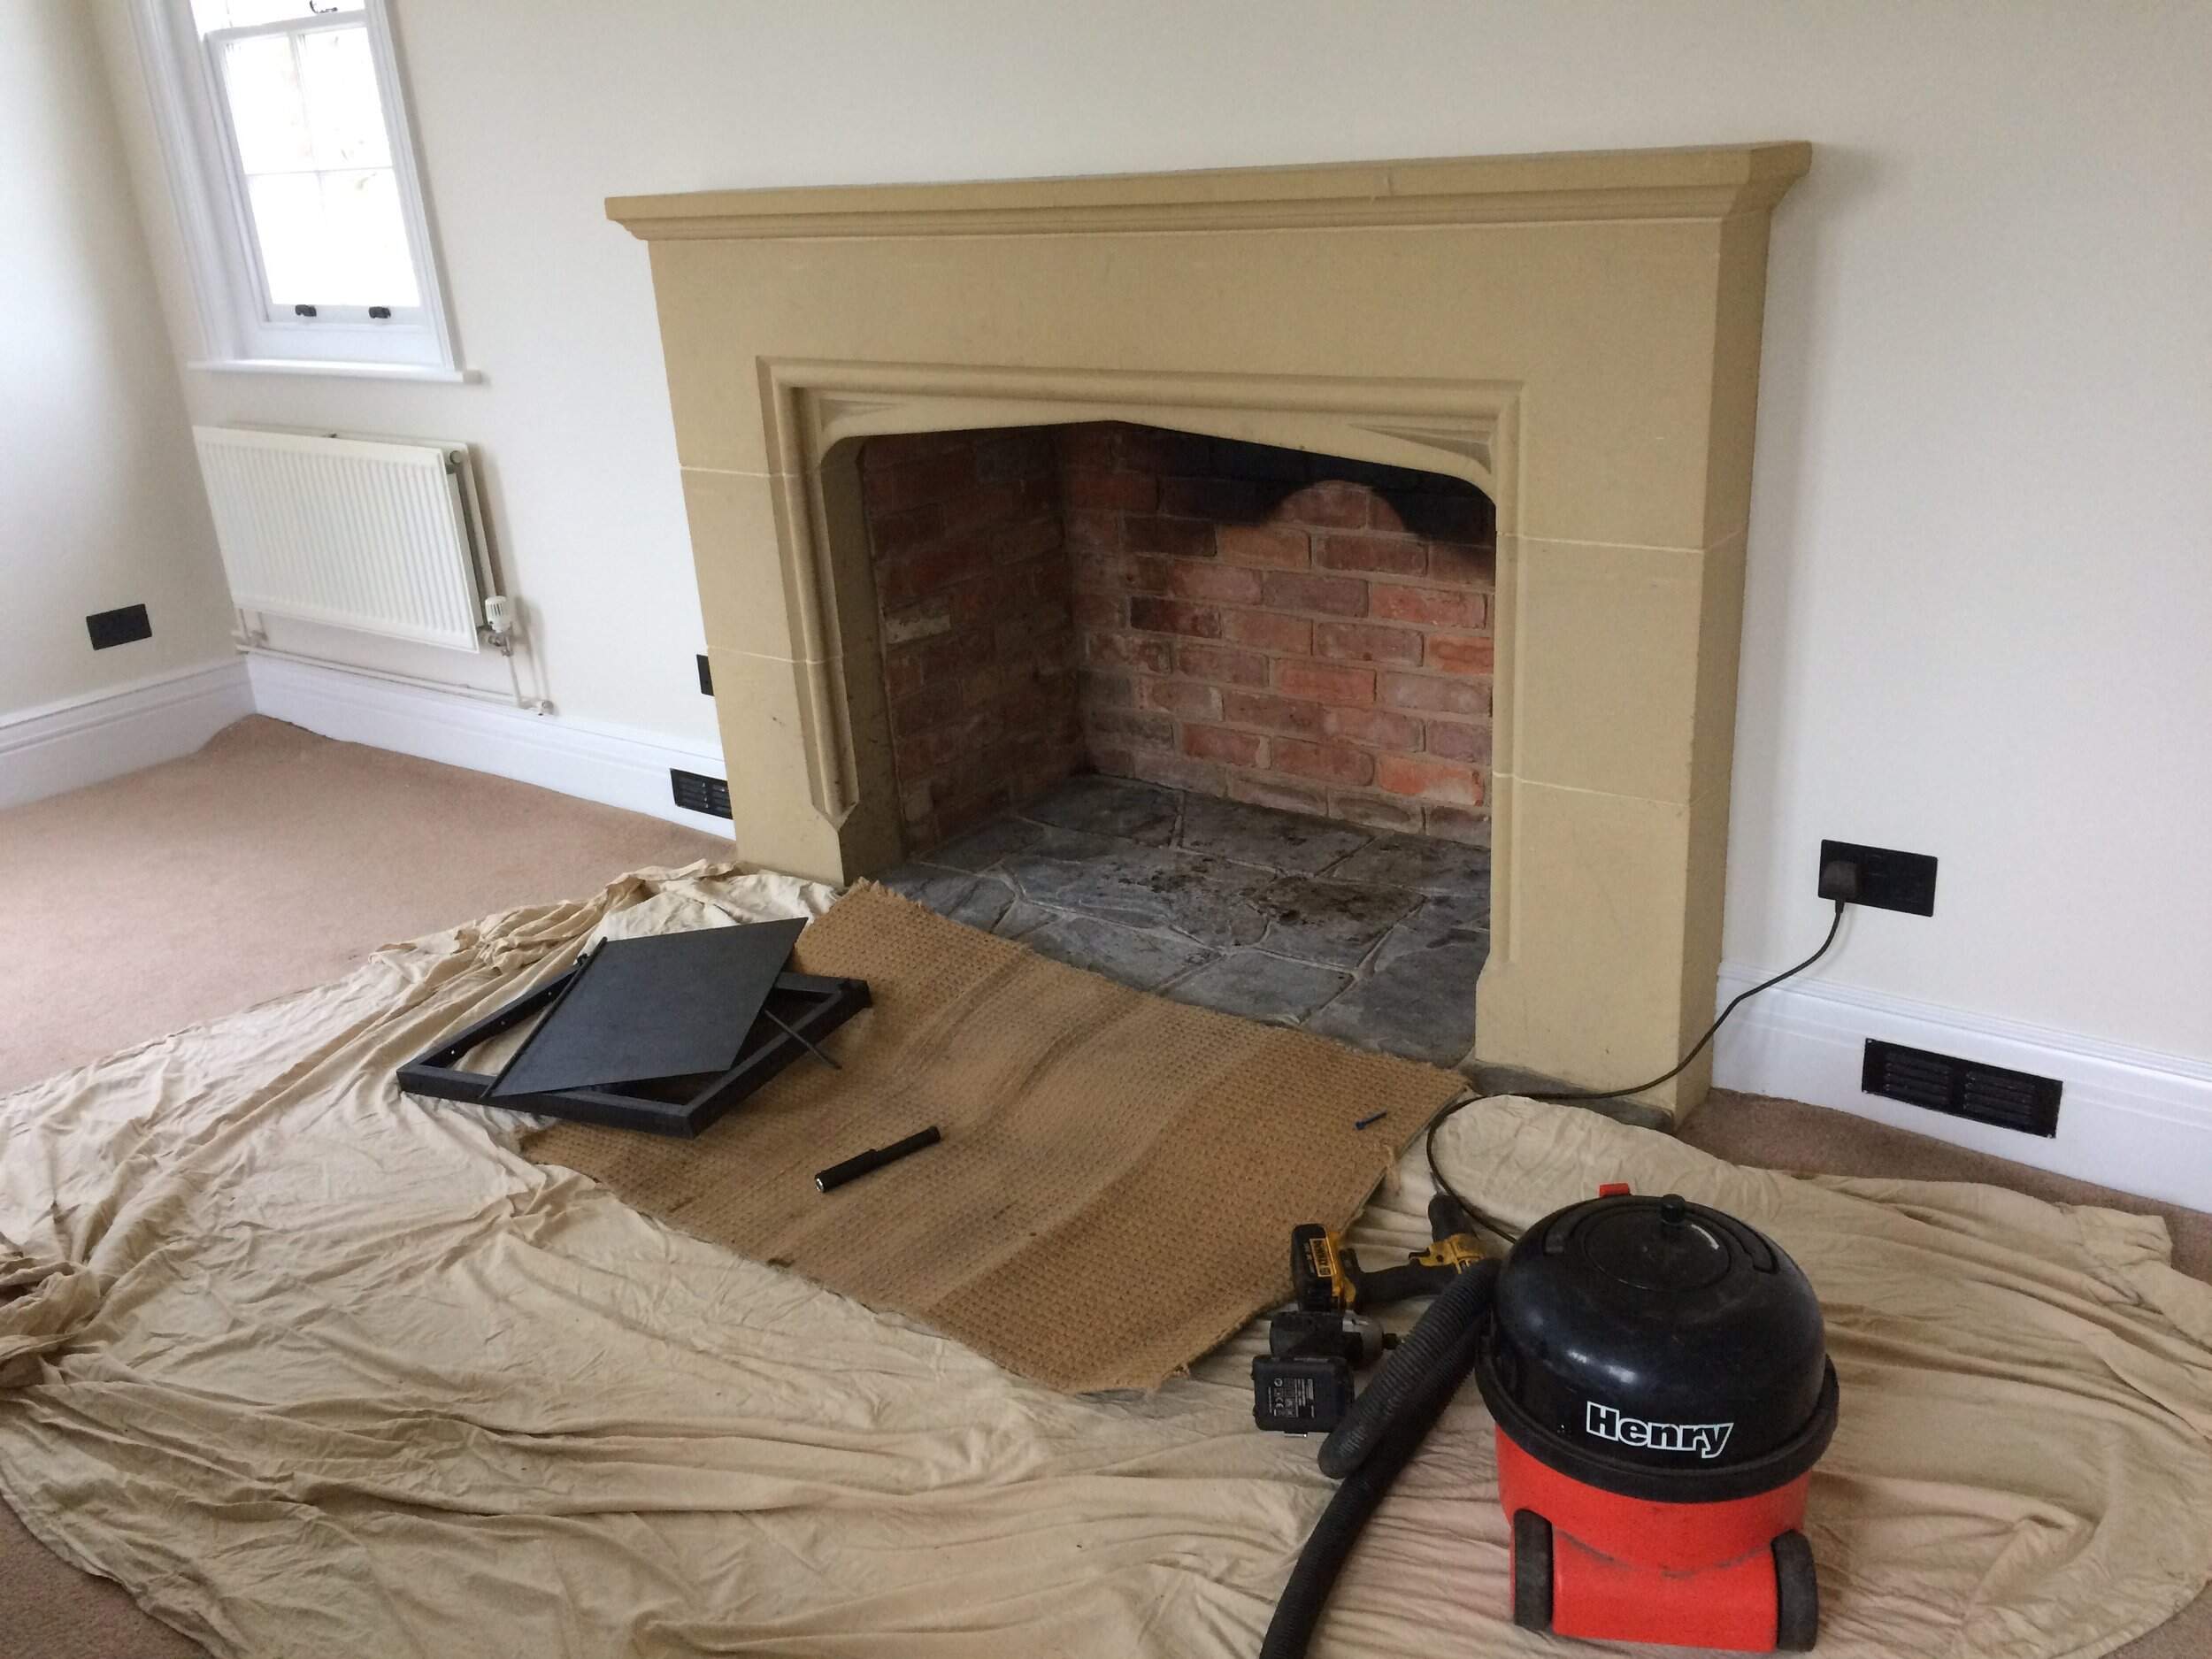
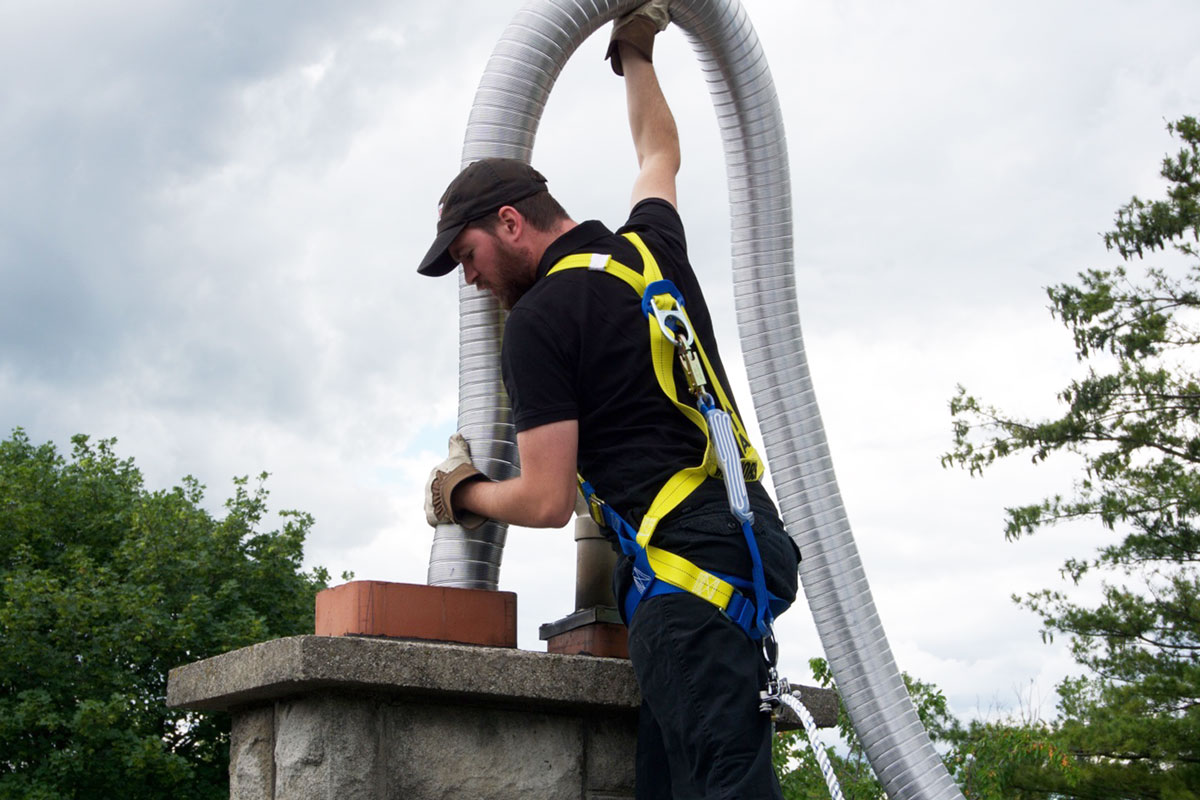
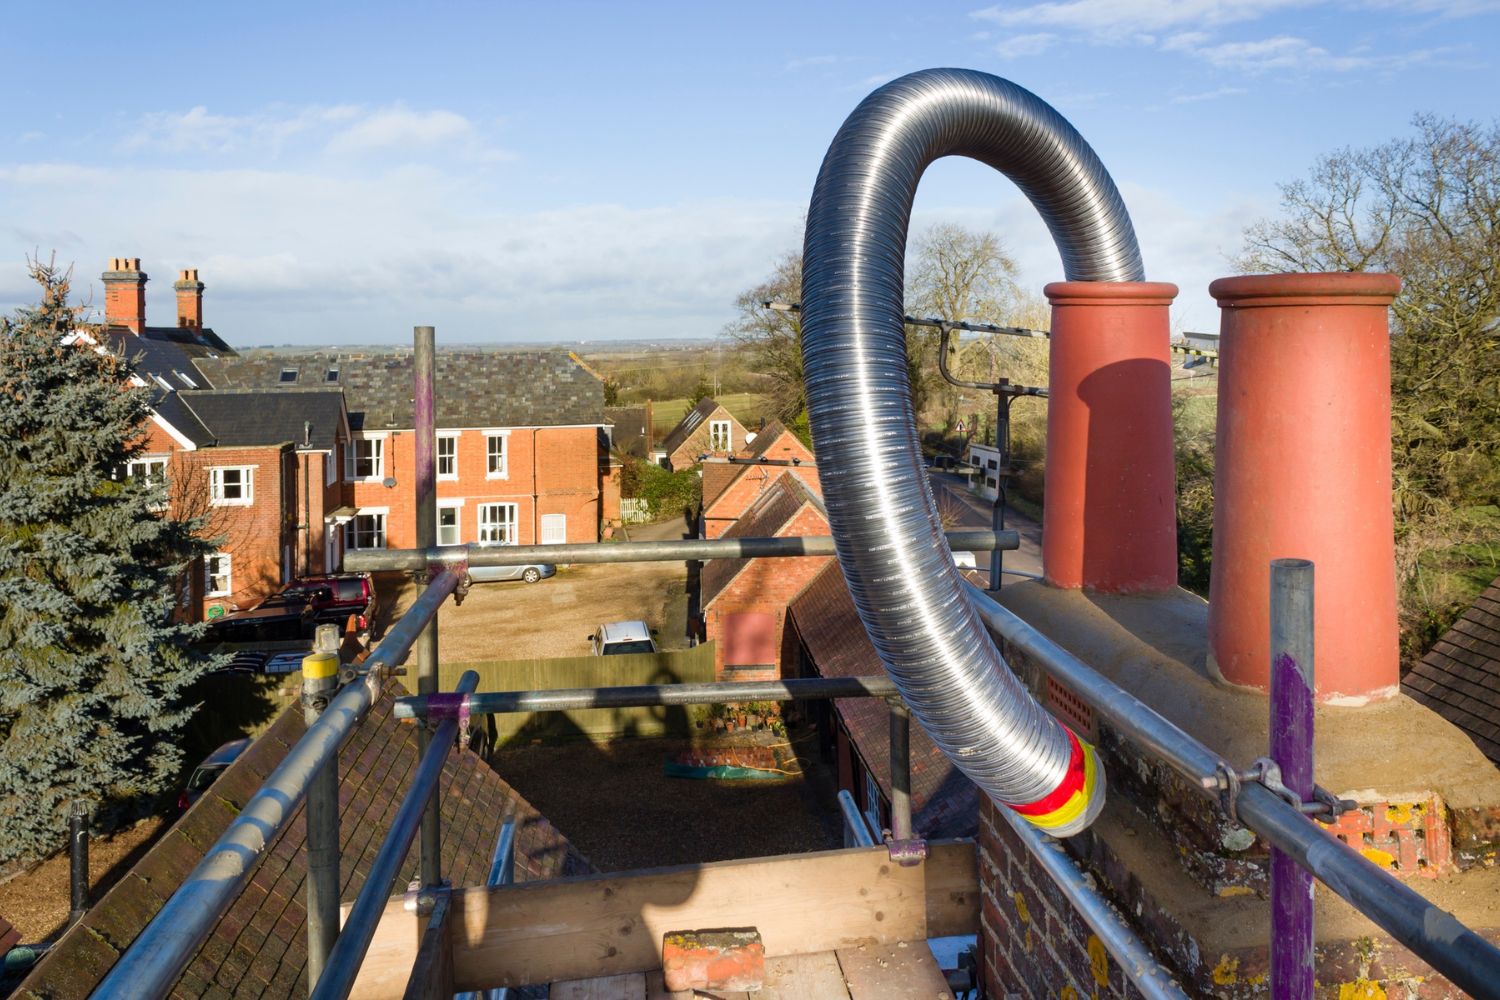
Step 3: Safely access the chimney
Before you can install the stove pipe into the chimney, it is crucial to ensure that you can safely access the chimney. This step involves taking the necessary precautions to protect yourself and properly position yourself for the installation process.
Follow these guidelines to safely access the chimney:
- Clear the area around the chimney: Remove any obstructions or debris from the area around the chimney. This includes clearing away furniture, plants, or any other objects that may impede your access to the chimney.
- Use a sturdy ladder or scaffold: If the chimney is located at a height that is not easily accessible, use a sturdy ladder or scaffold to reach it safely. Make sure the ladder or scaffold is set up on a level and stable surface.
- Ensure proper ladder safety: When using a ladder, always follow ladder safety guidelines. This includes placing the ladder on a stable surface, securing it to prevent any wobbling or slipping, and maintaining three points of contact at all times.
- Wear appropriate safety gear: Before accessing the chimney, put on safety gear such as a dust mask and goggles to protect yourself from any potential dust or debris that may be present.
- Have a helper if needed: If the chimney installation requires heavy lifting or assistance, it is advisable to have a second person present to ensure a safe and efficient installation process.
By clearing the area around the chimney, using a stable ladder or scaffold, ensuring proper ladder safety, wearing appropriate safety gear, and having a helper when needed, you can safely access the chimney for the installation of the stove pipe.
With the proper safety measures in place, we can now move on to the next step: inserting the stove pipe into the chimney.
Make sure the stove pipe is the correct size for the chimney, use high-temperature sealant at all joints, and secure the pipe with appropriate brackets.
Step 4: Insert the stove pipe into the chimney
Now that you have safely accessed the chimney, it’s time to insert the stove pipe into the chimney. This step involves connecting the stove pipe sections and fitting them securely into the chimney adapter.
Follow these steps to insert the stove pipe into the chimney:
- Connect the stove pipe sections: Begin by connecting the stove pipe sections together, following the manufacturer’s instructions. Ensure that each section fits tightly and securely, using locking mechanisms or screws if necessary.
- Attach the chimney adapter: Once you have connected the stove pipe sections, attach the chimney adapter to the top of the uppermost section. The chimney adapter should have a secure connection to prevent any leaks or detachments.
- Ensure proper alignment: As you insert the stove pipe into the chimney, make sure that the stove pipe is properly aligned with the chimney opening. The stove pipe should fit into the chimney adapter snugly, without any gaps or misalignments.
- Push the stove pipe into the chimney: Slowly and carefully push the stove pipe sections into the chimney, ensuring a tight and secure fit. Use caution during this process to avoid any damage to the stove pipe or chimney walls. If necessary, have a helper support the stove pipe from the bottom as you push it into the chimney.
- Double-check the fit: Once the stove pipe is fully inserted into the chimney, double-check that it is securely in place. Gently tug on the stove pipe to ensure it is stable and not at risk of coming loose.
By connecting the stove pipe sections, attaching the chimney adapter, aligning the stove pipe properly, pushing it into the chimney, and double-checking the fit, you can successfully insert the stove pipe into the chimney.
Now, it’s time to move on to the next step: securing the stove pipe and sealing any gaps.
Read more: How Hot Does Chimney Pipe Get
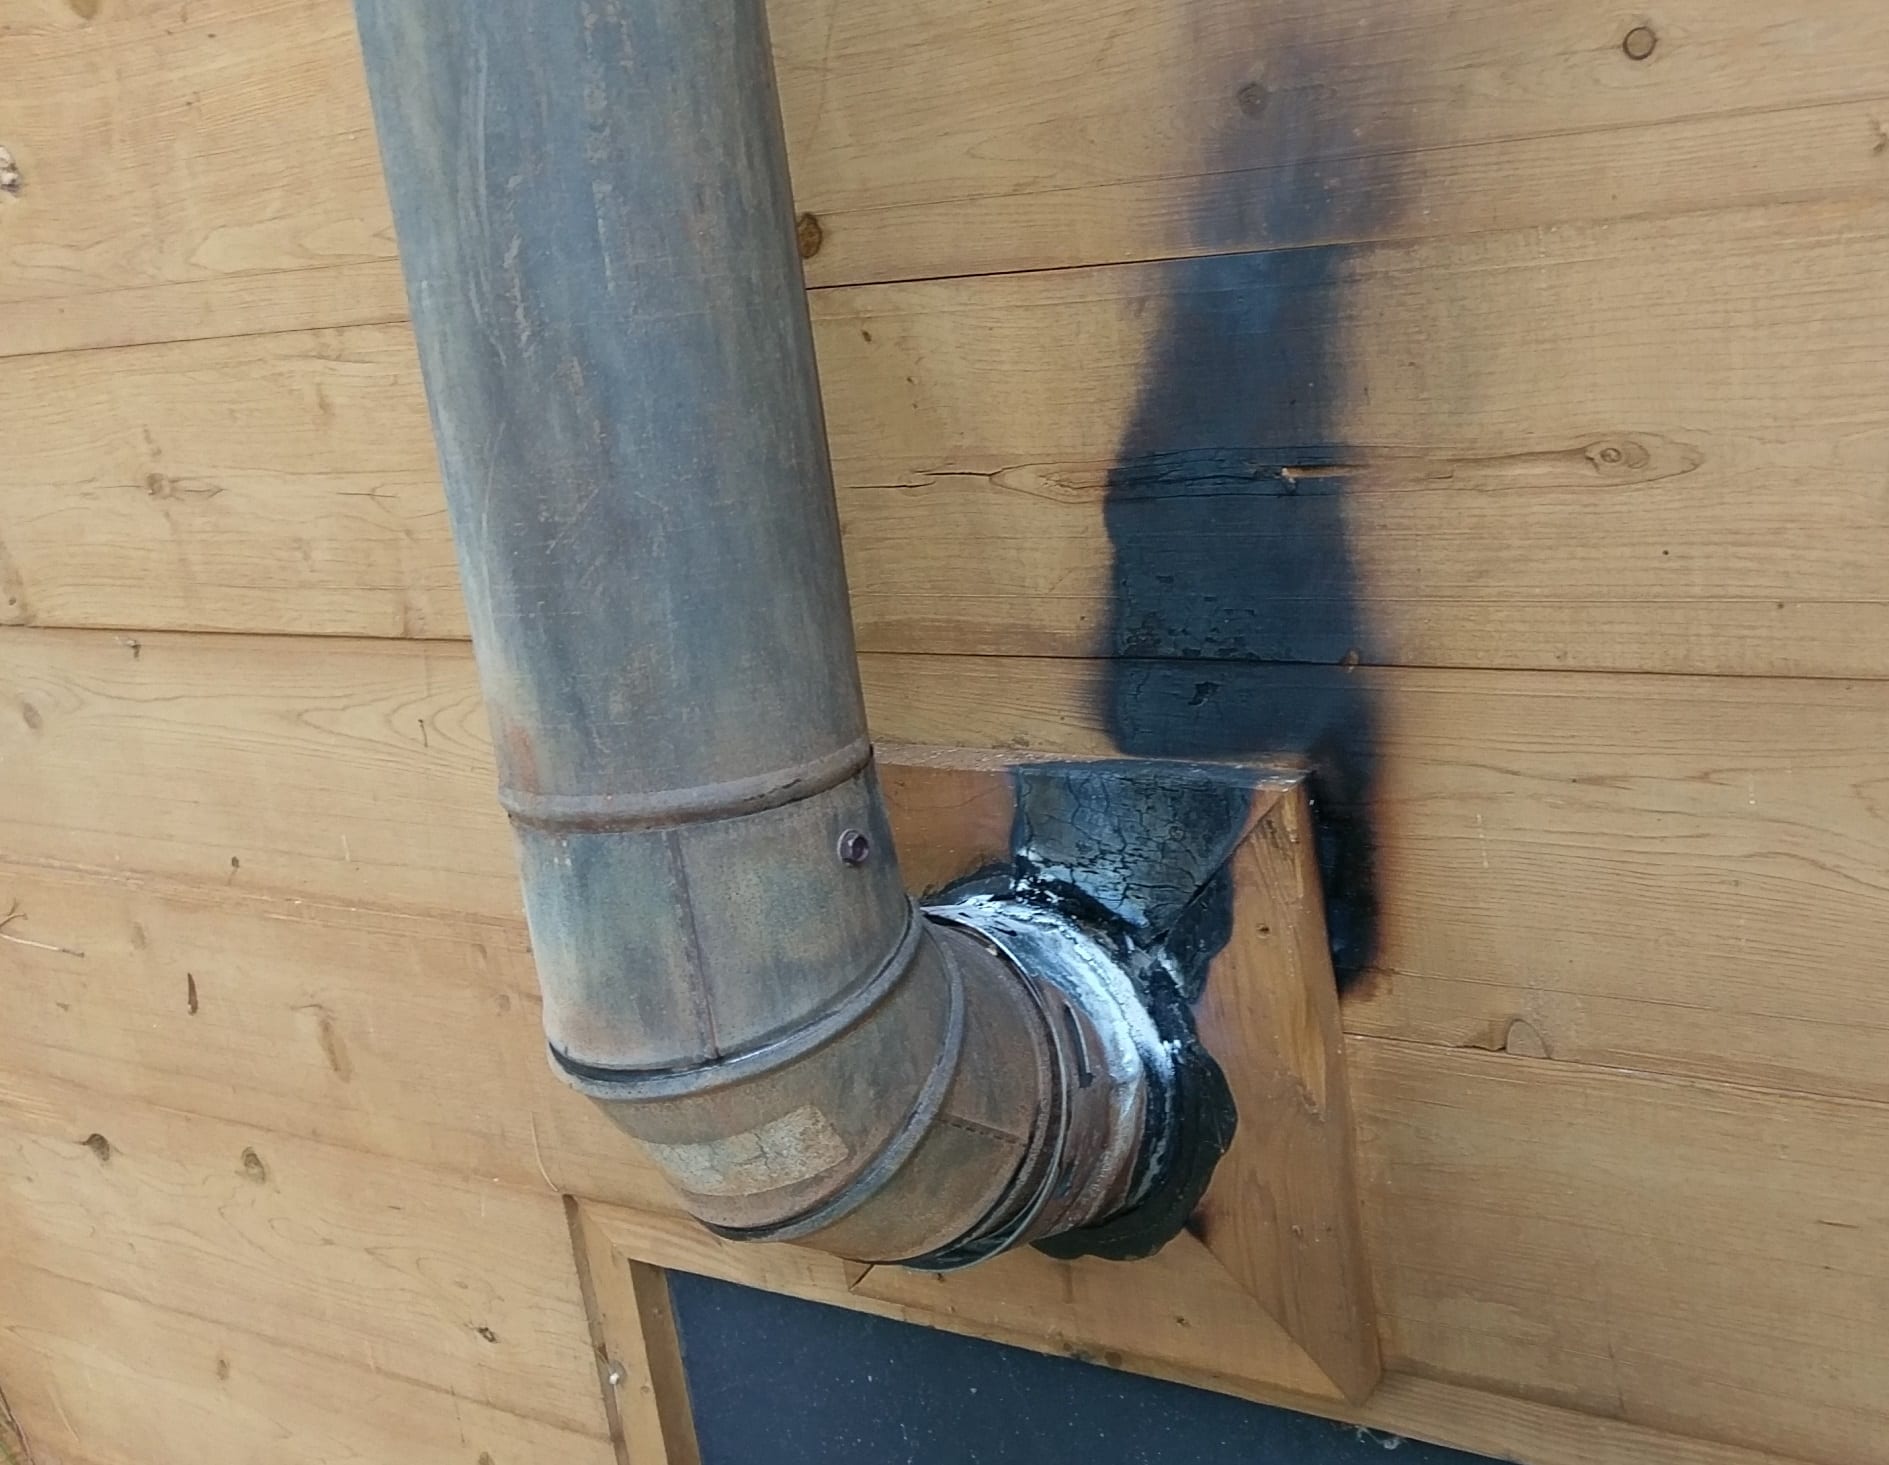
Step 5: Secure the stove pipe and seal any gaps
After inserting the stove pipe into the chimney, it is crucial to secure it properly and seal any gaps that may be present. This step ensures that the stove pipe remains in place and prevents any potential leaks or inefficiencies in the system.
Follow these steps to secure the stove pipe and seal any gaps:
- Use connectors or screws: Depending on the type of stove pipe system you are using, you may need to use connectors or screws to secure the stove pipe sections together. Follow the manufacturer’s instructions to ensure a proper and secure connection between each section.
- Tighten any clamps or locking mechanisms: If your stove pipe system includes clamps or locking mechanisms, make sure they are tightened securely to hold the stove pipe sections in place.
- Inspect for gaps or leaks: Carefully inspect the joints and connections of the stove pipe system for any gaps or leaks. Even the smallest gap can impact the functionality of the system. Use a flashlight to help identify any areas that may need sealing.
- Apply silicone sealant: If you find any gaps or leaks, apply silicone sealant to seal them. Silicone sealant is heat-resistant and creates an airtight seal, preventing any smoke or gases from escaping. Be sure to follow the instructions on the sealant tube for proper application.
- Smooth out the sealant: After applying the silicone sealant, use a putty knife or your finger to smooth out the sealant and remove any excess. This ensures a clean and professional finish.
- Allow the sealant to cure: Give the silicone sealant adequate time to cure according to the manufacturer’s instructions before testing the system. This allows the sealant to fully harden and create a solid seal.
By securing the stove pipe sections together, tightening any clamps or locking mechanisms, inspecting for gaps or leaks, applying silicone sealant, smoothing out the sealant, and allowing it to cure, you can ensure that the stove pipe is securely in place and any gaps are properly sealed.
Now, we are ready to move on to the final step: testing for proper installation and functionality.
Step 6: Test for proper installation and functionalityAfter securing the stove pipe and sealing any gaps, it is essential to test the stove pipe system for proper installation and functionality. This step ensures that the stove pipe is operating efficiently and that there are no issues that could compromise its safety or functionality.
Follow these steps to test for proper installation and functionality:
- Check for proper airflow: Once the stove pipe is installed, make sure there is proper airflow by lighting a small amount of kindling in the stove or fireplace. Observe the smoke as it rises through the stove pipe and chimney. The smoke should flow steadily upward and exit the chimney without any signs of backdraft or poor airflow.
- Monitor for any signs of leakage: Watch for any signs of smoke leakage along the stove pipe joints or connections. If you notice smoke escaping from any areas other than the chimney, there may be a gap or improper seal that needs to be addressed. Reapply sealant as necessary to create a proper seal.
- Check for proper draft: The stove pipe system should create a strong draft, which aids in efficient combustion and prevents the buildup of harmful gases. If you notice weak or inadequate draft, it may indicate a blockage or airflow issue within the stove pipe. Consult with a professional if needed to resolve the problem.
- Inspect for any abnormal odors: While the stove is burning, pay attention to any unusual odors. Strong or foul odors may indicate a problem with the stove or the stove pipe system, such as a blockage or improper venting. Address any concerns immediately to prevent any potential hazards.
- Monitor the stove’s performance: Use the stove or fireplace as you normally would and observe its performance. Ensure that the flames are burning consistently, the stove is heating efficiently, and there are no signs of excessive smoke or poor combustion. Any noticeable issues should be addressed promptly to maintain a safe and functional stove pipe system.
By checking for proper airflow, monitoring for any signs of leakage, checking for proper draft, inspecting for abnormal odors, and monitoring the stove’s overall performance, you can determine if the stove pipe system has been properly installed and is functioning as intended.
Congratulations! You have successfully installed a stove pipe into a chimney. Following these steps and ensuring proper installation will provide you with a safe and efficient wood-burning experience.
Remember, if you have any doubts or concerns regarding the installation process, it is recommended to seek the assistance of a professional installer or chimney sweep to ensure the utmost safety and functionality of your stove pipe system.
Enjoy the warmth and comfort of your wood-burning stove or fireplace knowing that it has been installed properly and with care.
Conclusion
Installing a stove pipe into a chimney is a vital step in setting up a wood-burning stove or fireplace. By following the steps outlined in this guide and ensuring proper installation, you can safely and efficiently vent the smoke and gases produced by combustion out of your home.
Throughout the installation process, it is crucial to prioritize safety. Always use the necessary safety equipment, such as gloves, goggles, and dust masks, when working with the stove pipe. If you are unsure of your abilities or have any concerns, it is recommended to seek professional assistance.
Gathering the necessary tools and materials, measuring and preparing the stove pipe, safely accessing the chimney, inserting the stove pipe into the chimney, securing the stove pipe, and sealing any gaps are all essential steps in the installation process. Each step ensures a proper, secure, and functional stove pipe system.
After installation, it is important to test for proper functionality. Checking for proper airflow, monitoring for signs of leakage, ensuring proper draft, inspecting for abnormal odors, and monitoring the stove’s performance will help identify any potential issues and allow you to address them promptly.
Remember, regular maintenance and inspection of the stove pipe system are essential to ensure ongoing safety and efficiency. Regularly clean the stove pipe, inspect for any damages or obstructions, and address any problems as soon as they arise.
By installing a stove pipe properly and maintaining it over time, you can enjoy the warmth, comfort, and ambiance of your wood-burning stove or fireplace with peace of mind.
Stay safe, follow the guidelines, and enjoy many cozy nights by the fire!
Frequently Asked Questions about How To Install Stove Pipe Into Chimney
Was this page helpful?
At Storables.com, we guarantee accurate and reliable information. Our content, validated by Expert Board Contributors, is crafted following stringent Editorial Policies. We're committed to providing you with well-researched, expert-backed insights for all your informational needs.


0 thoughts on “How To Install Stove Pipe Into Chimney”