Articles
How To Repair Brick Chimney
Modified: October 20, 2024
Learn how to repair a brick chimney with these informative articles. Whether you need to fix deteriorating mortar or replace damaged bricks, our expert guides have you covered.
(Many of the links in this article redirect to a specific reviewed product. Your purchase of these products through affiliate links helps to generate commission for Storables.com, at no extra cost. Learn more)
Introduction
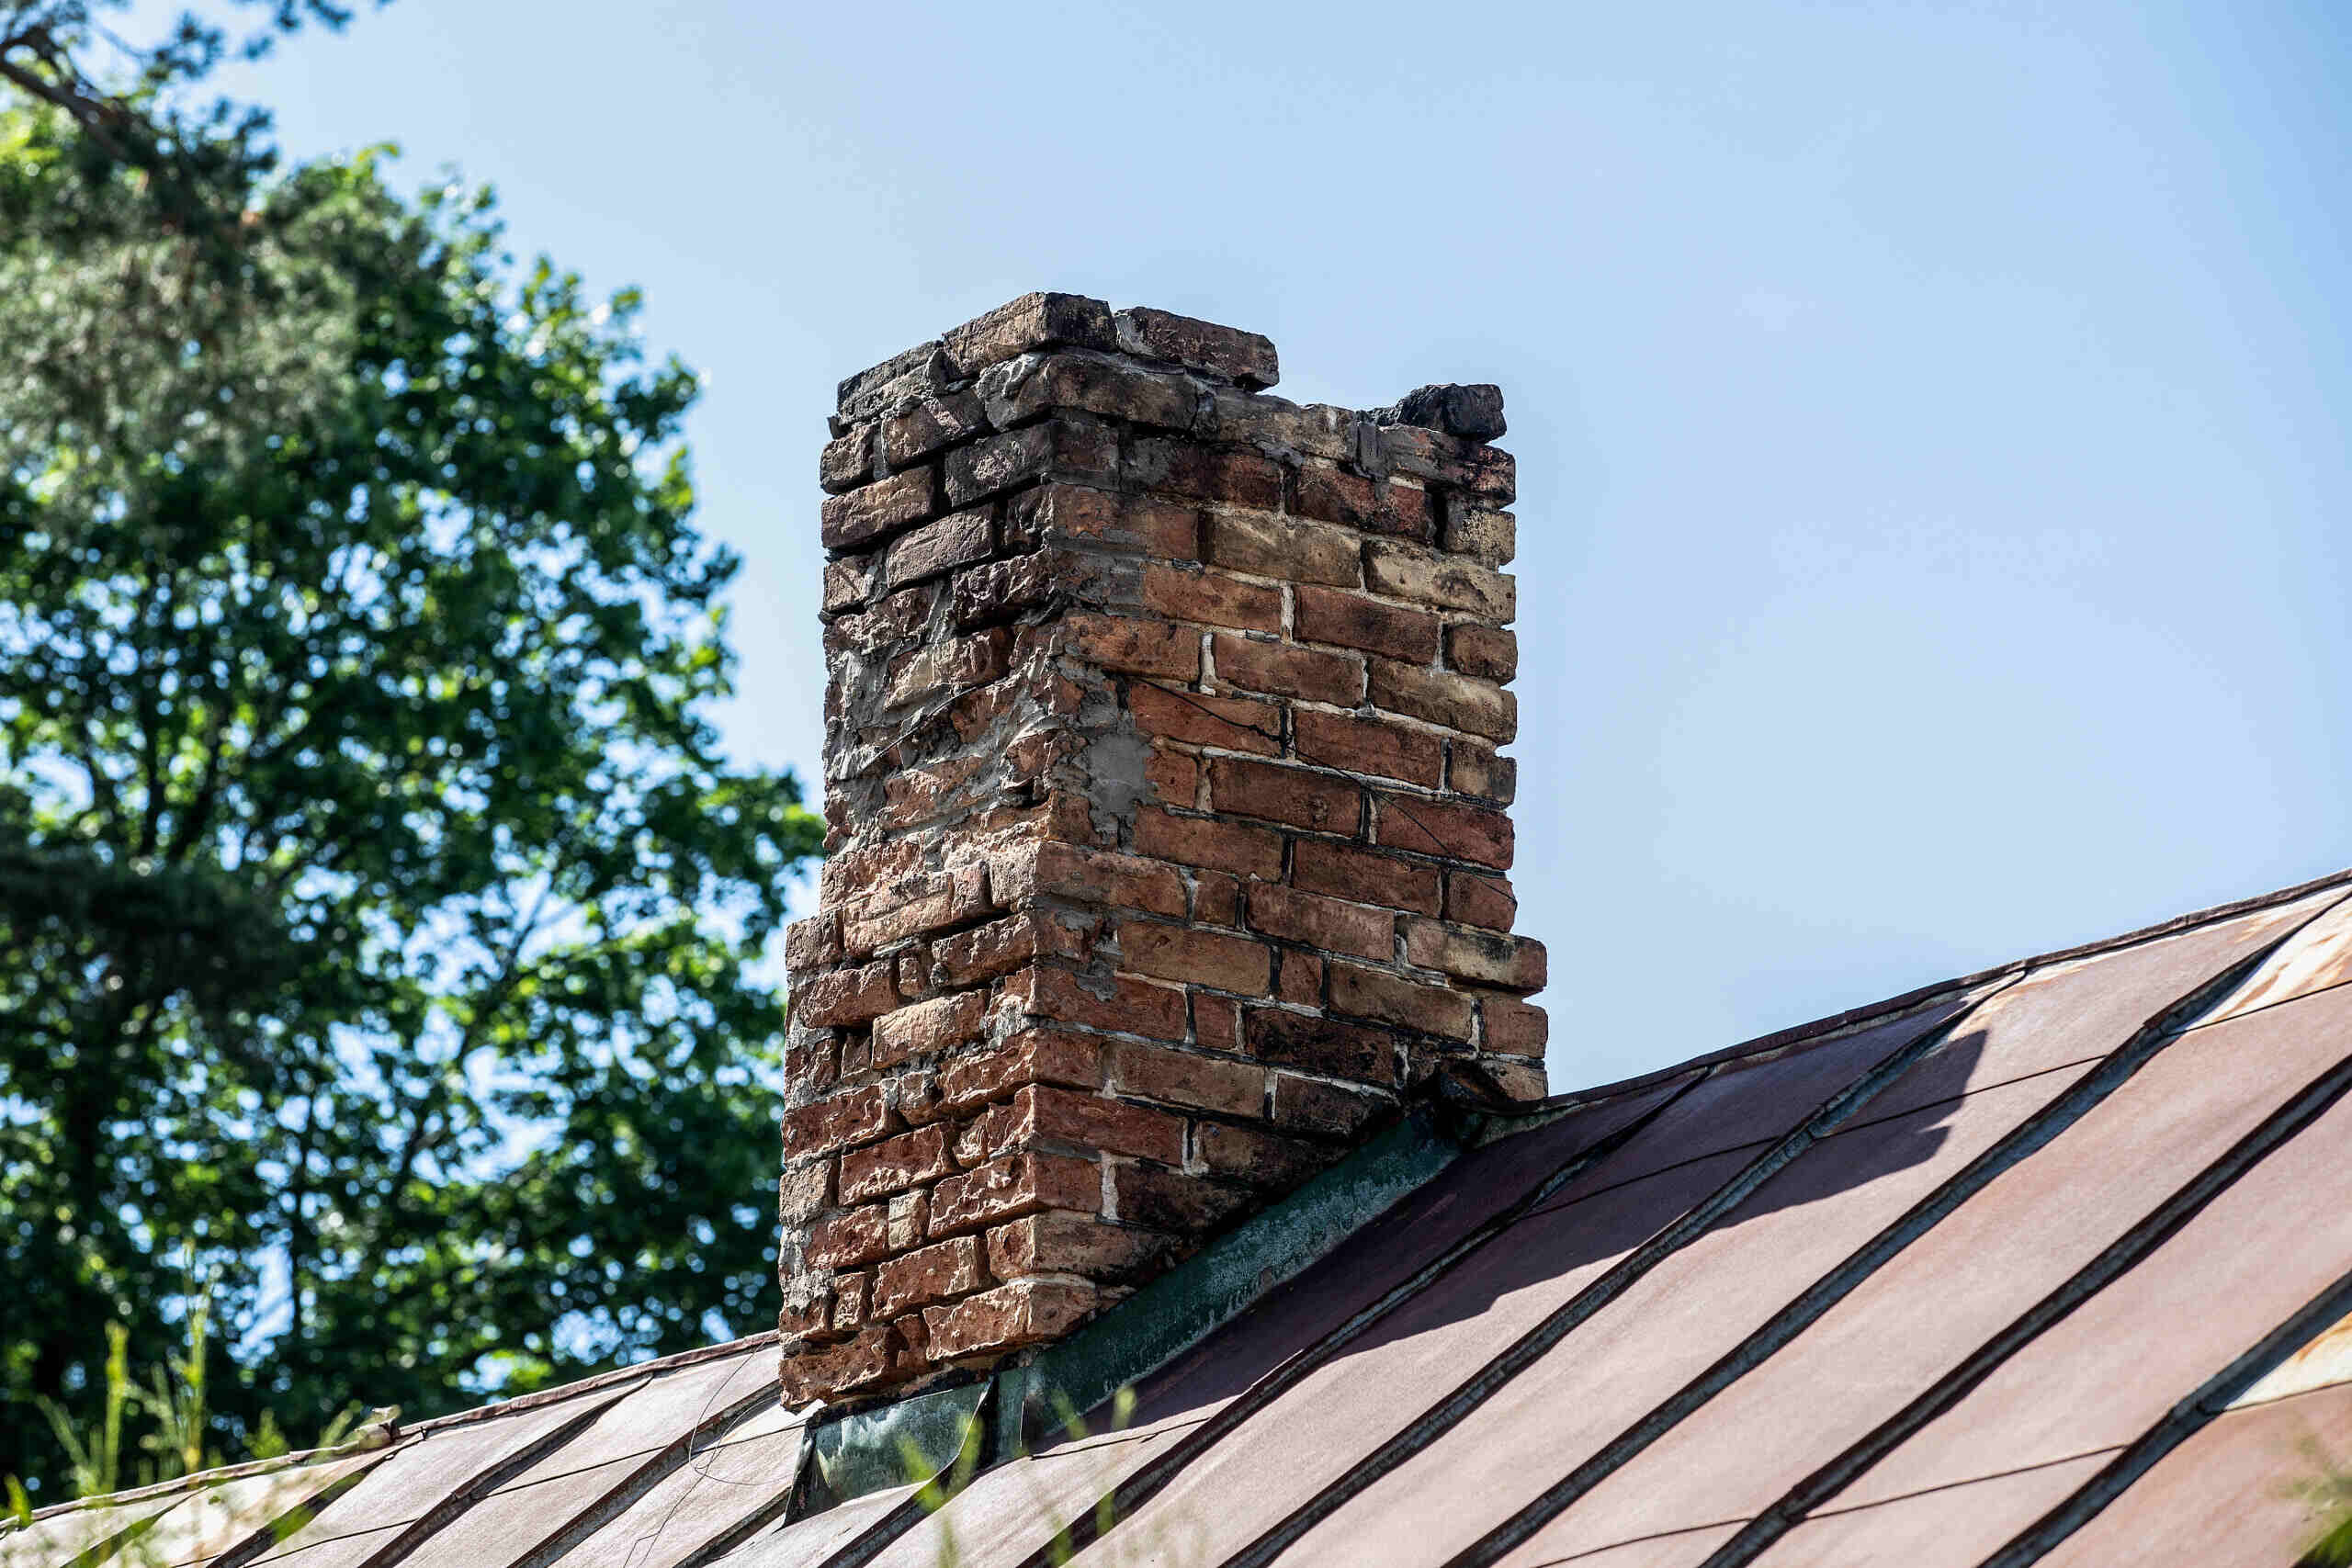
Brick chimneys are not only a functional part of a home, but they also add a touch of charm and character. However, over time, brick chimneys may start to show signs of wear and tear, such as loose bricks or crumbling mortar joints. Ignoring these issues can lead to more serious damage and potentially costly repairs. That’s why it’s important to address any damage to your brick chimney as soon as possible.
In this article, we will guide you through the process of repairing a brick chimney. We will cover everything from assessing the damage to gathering the necessary tools and materials, to actually repairing and replacing the bricks and mortar. Whether you are a DIY enthusiast or a homeowner looking to save money on professional repairs, this article will provide you with the knowledge and steps needed to successfully repair your brick chimney.
Before we dive into the steps, it’s important to note that repairing a brick chimney can be a physically demanding task. It requires attention to detail, proper safety precautions, and some level of experience working with bricks and mortar. If you feel uncomfortable or unsure about any aspect of the repair process, it is highly recommended to seek professional help.
Now, without further ado, let’s get started on repairing your brick chimney and bringing it back to its former glory.
Key Takeaways:
- Repairing a brick chimney requires thorough assessment, proper tools, and meticulous steps. Prioritize safety, attention to detail, and regular maintenance to ensure a successful and long-lasting repair.
- From removing damaged bricks to applying finishing touches, the repair process demands patience and precision. By following the outlined steps, homeowners can restore their brick chimneys with confidence and pride.
Read more: How To Build A Brick Chimney
Assessing the Damage
Before you begin any repairs, it’s crucial to assess the extent of damage your brick chimney has suffered. This will help you determine the scope of the repair work and the materials you will need.
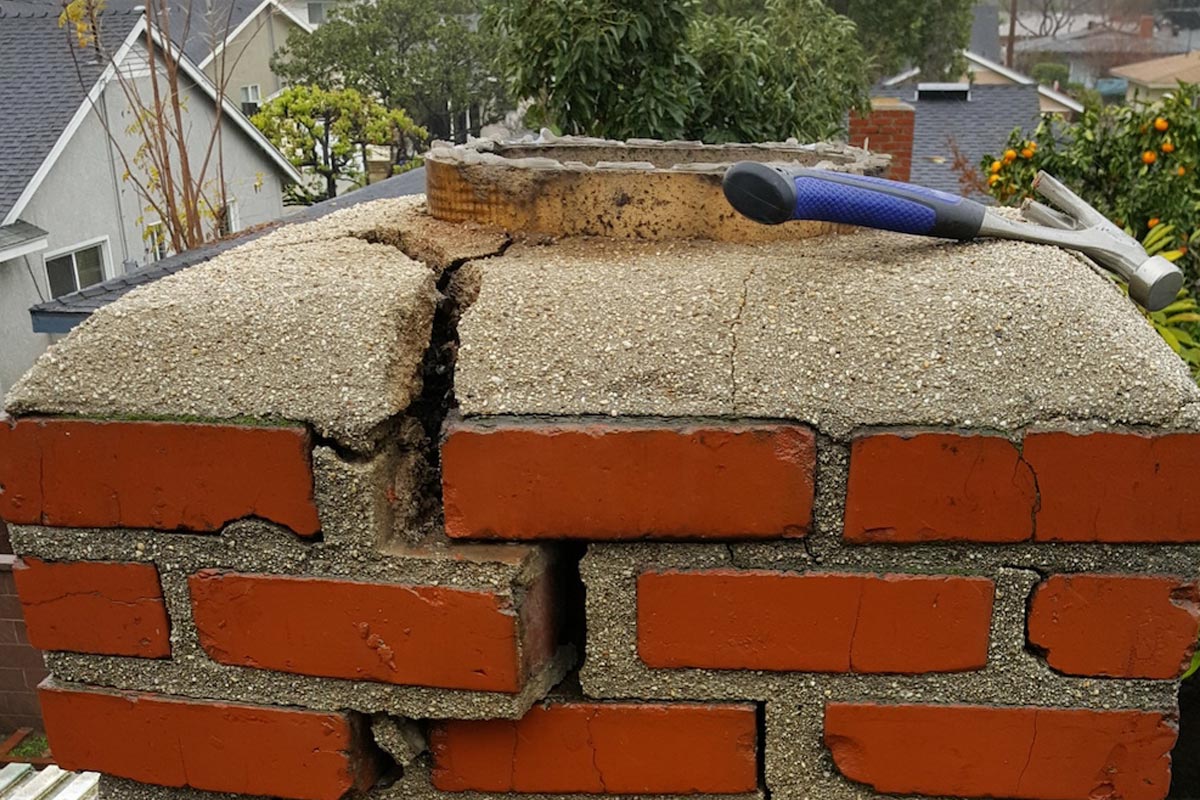
Start by visually inspecting the entire chimney from both the exterior and interior of your home. Look for any signs of cracked or loose bricks, deteriorating mortar joints, or water damage. Check for gaps between bricks and any signs of moisture entering the chimney structure. Pay close attention to the base of the chimney, as this is a common area for damage.
Next, use a small hammer or masonry chisel to tap on the bricks and mortar joints. This will help you identify any areas that sound hollow or produce a dull thud, indicating loose bricks or weakened mortar. Take note of these areas as they will require further attention during the repair process.
Examine the chimney flue and cap as well. Look for any cracks or signs of rust that may indicate moisture damage. Check for any loose or damaged bricks inside the flue.
Once you have thoroughly assessed the damage, it’s time to move on to the next step: gathering the necessary tools and materials for the repair process.
Gathering the Necessary Tools and Materials
Before you can begin repairing your brick chimney, it’s important to gather all the necessary tools and materials. Having everything on hand will ensure a smooth and efficient repair process. Here’s a list of the common tools and materials you’ll need for repairing a brick chimney:
Tools:
- Trowel: Used for applying mortar.
- Brick chisel: Helps in removing damaged bricks.
- Hammer: Used with the brick chisel for brick removal.
- Masonry brush: Used for cleaning the surface and applying water.
- Mortar jointer: Helps in shaping and finishing mortar joints.
- Wire brush: Used for cleaning bricks and mortar joints.
- Mixing container: For preparing mortar.
- Safety goggles and gloves: Protects your eyes and hands while working.
Materials:
- Bricks: Make sure to purchase enough bricks to replace damaged ones. Match the color and size of the existing bricks for a seamless repair.
- Mortar mix: Choose a mortar mix suitable for brick repairs. It should be a type that matches the original mortar in color and strength.
- Waterproofer: Consider applying a waterproofer to protect the chimney from future moisture damage.
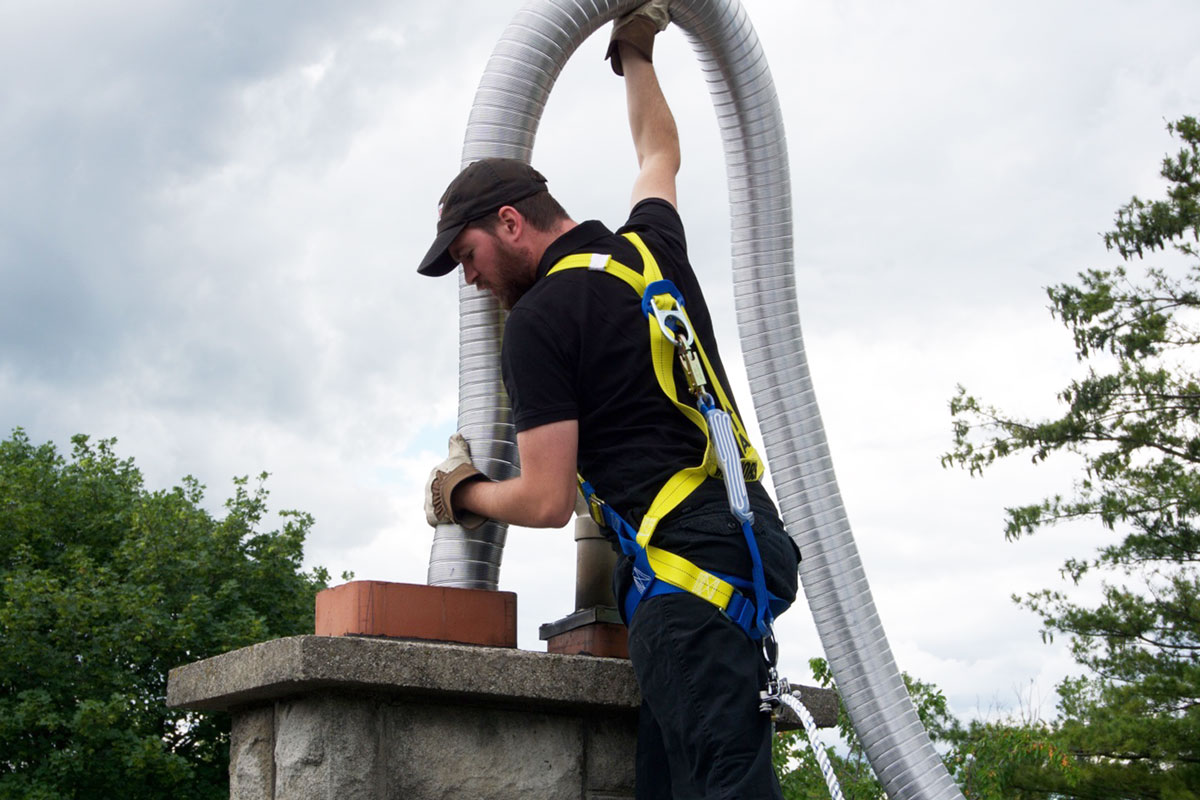
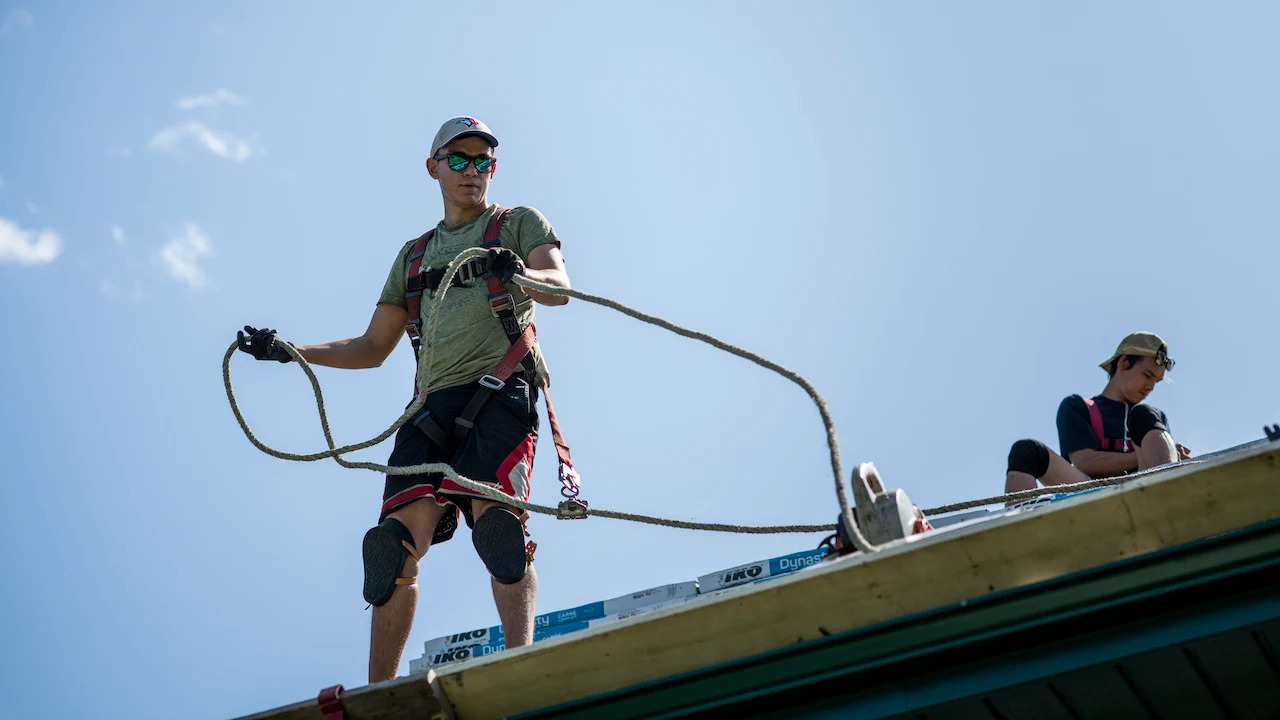
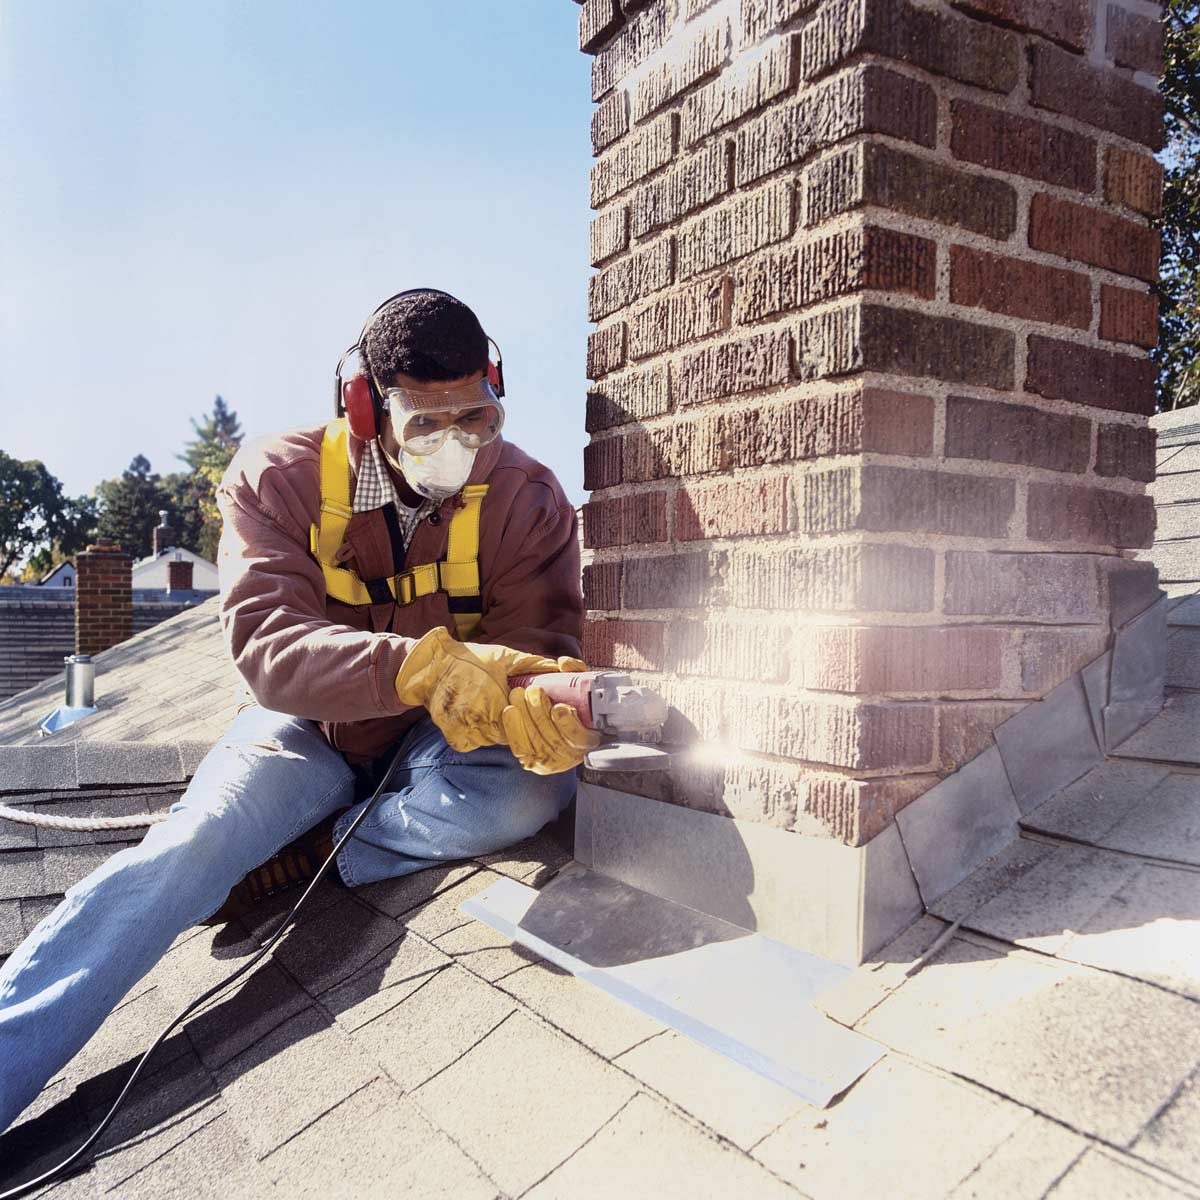
Additionally, it’s important to have a sturdy ladder or scaffolding system to safely access the chimney. Depending on the height of your chimney, you may also need a harness or safety ropes for added protection.
Once you have gathered all the necessary tools and materials, you’re ready to move on to the next steps of the repair process. In the following sections, we will guide you step by step through the process of removing damaged bricks, preparing the surface, mixing mortar, and replacing bricks.
Read more: How To Paint Brick Chimney
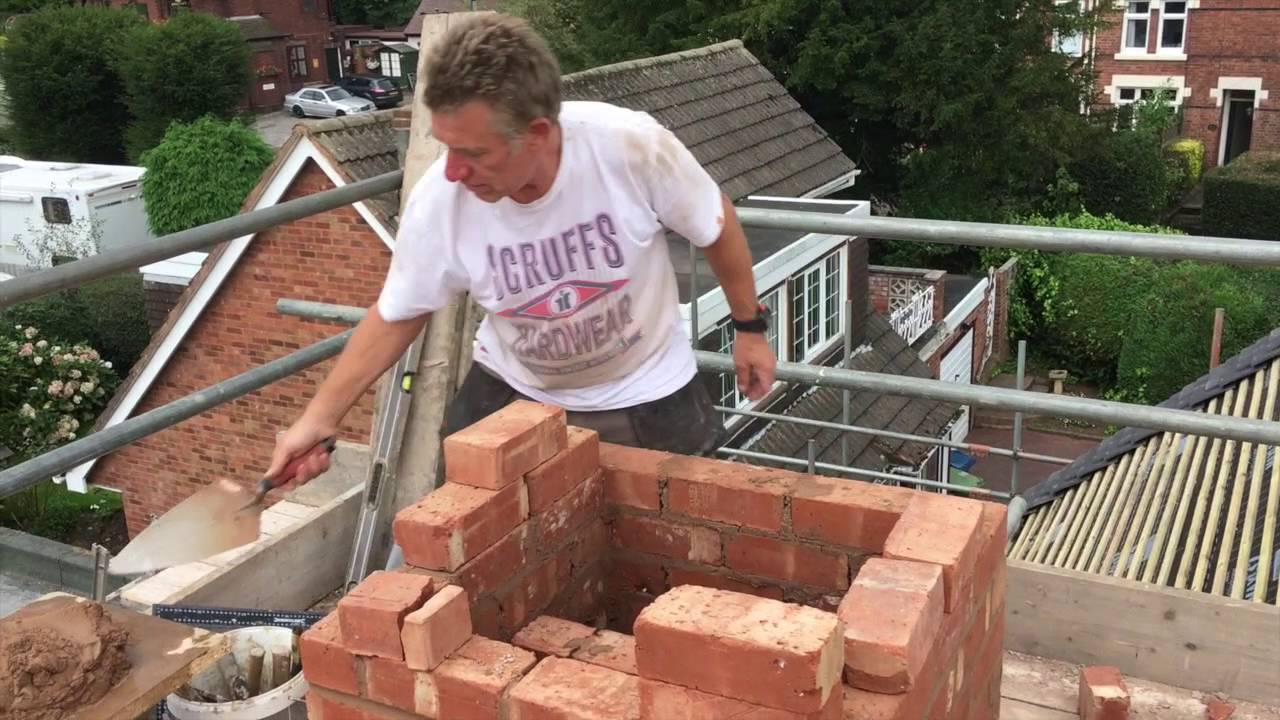
Removing Loose or Damaged Bricks
Now that you have assessed the damage and gathered the necessary tools and materials, it’s time to start removing any loose or damaged bricks from your chimney. This step is crucial to ensure a solid foundation for the repair work.
Here’s a step-by-step guide on how to remove loose or damaged bricks:
- Begin by laying down a drop cloth or tarp to catch any falling debris.
- Put on your safety goggles and gloves to protect yourself.
- Inspect the area around the loose or damaged brick to identify any mortar joints that need to be removed.
- Using a wire brush or masonry brush, clean the surface of the brick and mortar to remove any loose dirt or debris.
- Next, use a masonry chisel and hammer to carefully break away the mortar surrounding the damaged brick. Start from the top and work your way down, being careful not to damage adjacent bricks.
- Once the mortar has been removed, gently tap on the brick with a hammer to loosen it from the surrounding mortar.
- Use the brick chisel and hammer to carefully pry out the damaged brick. Start from the bottom and work your way up.
- Continue this process until all loose or damaged bricks have been removed.
Remember to proceed with caution and take your time during this step. It’s important to avoid damaging any surrounding bricks or the chimney structure itself. If you encounter any difficulty or encounter extensive damage, it may be best to seek professional assistance.
With the loose or damaged bricks removed, you’re now ready to move on to the next step: cleaning and preparing the surface for repair.
Cleaning and Preparing the Surface
After removing the loose or damaged bricks from your chimney, it’s essential to clean and prepare the surface before proceeding with the repair work. This step will ensure proper adhesion of the new mortar and promote a long-lasting repair.
Follow these steps to clean and prepare the surface:
- Using a wire brush, thoroughly scrub the surface of the exposed brick and mortar joints. Remove any loose debris, dirt, or old mortar.
- If there are any stubborn stains or residue, mix a solution of mild detergent with water. Apply the solution to the surface and scrub gently with the wire brush. Rinse with clean water and allow the surface to dry completely before proceeding.
- Inspect the mortar joints for any remaining loose or deteriorated mortar. Use a masonry chisel and hammer to carefully remove any weak or damaged mortar. Be careful not to damage the surrounding bricks.
- After removing the old mortar, use a masonry brush to brush away any loose dust or debris from the joints.
- Next, dampen the cleaned surface with water using a masonry brush. This will help prevent the bricks from absorbing moisture from the new mortar too quickly.
Once the surface is cleaned and dampened, it’s time to move on to the next step: mixing the mortar for the repair.
Remember to take proper safety precautions while working, including wearing safety goggles and gloves. It’s also important to work on a stable and secure platform, such as a ladder or scaffolding system, to ensure your safety.
With the surface cleaned and prepared, you’re now ready to proceed with the repair process. In the following sections, we will guide you through mixing the mortar, replacing the bricks, repairing the mortar joints, and adding finishing touches to your repaired brick chimney.
Mixing Mortar
Now that you have cleaned and prepared the surface of your chimney, it’s time to mix the mortar for the repair work. The mortar will be used to replace the old or damaged mortar joints and secure the new bricks in place.
Follow these steps to mix the mortar:
- Start by selecting a mortar mix that matches the color and strength of the existing mortar. Read the manufacturer’s instructions to determine the proper mixing ratios.
- Wear gloves to protect your hands and safety goggles to protect your eyes while working with mortar.
- In a clean mixing container, pour the required amount of dry mortar mix.
- Slowly add water to the mix while stirring with a trowel or mixing paddle. Follow the manufacturer’s instructions for the correct water-to-mortar ratio.
- Continue adding water and mixing until you achieve a smooth and workable consistency. Be careful not to make the mixture too wet or too dry.
- Allow the mixed mortar to sit for a few minutes to hydrate properly.
- Give the mortar a final stir to ensure a consistent texture.
It’s important to mix only the amount of mortar that you can use within the recommended working time. Mortar can dry quickly, so avoid mixing large batches that may go to waste.
Remember to clean your tools and mixing container immediately after use to prevent the mortar from hardening and becoming difficult to remove.
With the mortar mixed, you’re now ready to move on to the next step: replacing the damaged bricks in your chimney.
Regularly inspect your brick chimney for any signs of damage such as cracks, loose bricks, or mortar deterioration. Addressing these issues promptly can prevent further damage and costly repairs.
Replacing Bricks
With the mortar mixed and ready to use, it’s time to replace the damaged bricks in your chimney. Replacing the bricks will restore the structural integrity and aesthetics of your chimney.
Follow these steps to replace the bricks:
- Before applying the mortar, dampen the cleaned surface of the brick and mortar joints with water using a masonry brush. This will prevent the bricks from absorbing moisture from the mortar too quickly.
- Using a trowel, apply a layer of mortar onto the bottom and sides of the brick cavity where the new brick will be placed.
- Take a replacement brick and apply a small amount of mortar to the edges and ends.
- Position the replacement brick into the cavity, pressing it firmly into place. Make sure it is aligned with the existing bricks and sits flush with the surface.
- Using the trowel, remove any excess mortar that squeezes out from the sides of the brick. Smooth the mortar joints with a mortar jointer for a neat finish.
- Repeat this process for each replacement brick, ensuring proper alignment and a secure fit.
- Once all the replacement bricks are in place, allow the mortar to set for a short while, as per the manufacturer’s instructions.
- After the mortar has partially hardened, use a soft-bristle brush to remove any visible mortar residue from the surface of the bricks.
- Allow the mortar to cure fully, following the recommended curing time provided by the manufacturer.
Remember to work systematically, replacing one brick at a time, to ensure a methodical and accurate repair. Take your time to ensure proper alignment and an even distribution of mortar.
With the damaged bricks replaced, you’re one step closer to completing the repair of your brick chimney. In the next section, we will guide you through the process of repairing the mortar joints.
Read more: How To Rebuild A Chimney
Repairing Mortar Joints
Once you have replaced the damaged bricks in your chimney, it’s important to repair the mortar joints to ensure a strong and cohesive structure. Repairing the mortar joints will not only improve the visual appearance of your chimney but also prevent water infiltration and further damage.
Follow these steps to repair the mortar joints:
- Inspect the mortar joints for any gaps or areas that need repair.
- Using a trowel or pointing tool, carefully remove any loose or deteriorated mortar from the joints. Be careful not to damage the bricks.
- If the existing mortar is crumbly or weak, it may be necessary to remove a larger section of the mortar joint and replace it entirely.
- Dampen the prepared mortar joints with water using a masonry brush. This will prevent the new mortar from drying too quickly and ensure proper adhesion.
- Using a trowel, apply the mixed mortar to the joints, pressing it firmly into place. Work the mortar into the joint, ensuring it is completely filled.
- Use a pointing tool or a jointer to shape and finish the repaired mortar joints. Match the style and profile of the existing mortar joints for a seamless look.
- Remove any excess mortar from the surface of the bricks using a soft-bristle brush.
- Allow the mortar joints to cure and dry for the recommended time provided by the manufacturer.
It’s important to work in small sections and maintain a consistent mortar consistency throughout the repair process. Take your time and be patient to achieve neat and professional-looking mortar joints.
With the mortar joints repaired, you’re almost done with the chimney repair process. In the next section, we will cover the finishing touches to complete the repair and enhance the longevity of your brick chimney.
Finishing Touches
After completing the repair work on your brick chimney, it’s important to add the finishing touches to ensure a polished and long-lasting result. These final touches will not only improve the appearance of your chimney but also provide additional protection against weather elements and potential future damage.
Here are some finishing touches to consider:
- Inspect the entire chimney for any remaining debris or loose mortar. Use a brush to remove any residue and ensure the surface is clean.
- If desired, apply a waterproofer or sealer to the surface of the bricks and mortar. This will help protect the chimney from water damage and prolong its lifespan. Follow the manufacturer’s instructions for proper application.
- Consider repainting or staining the bricks to achieve a uniform appearance, especially if the replacement bricks differ in color from the existing ones. Choose a paint or stain that is suitable for exterior masonry surfaces.
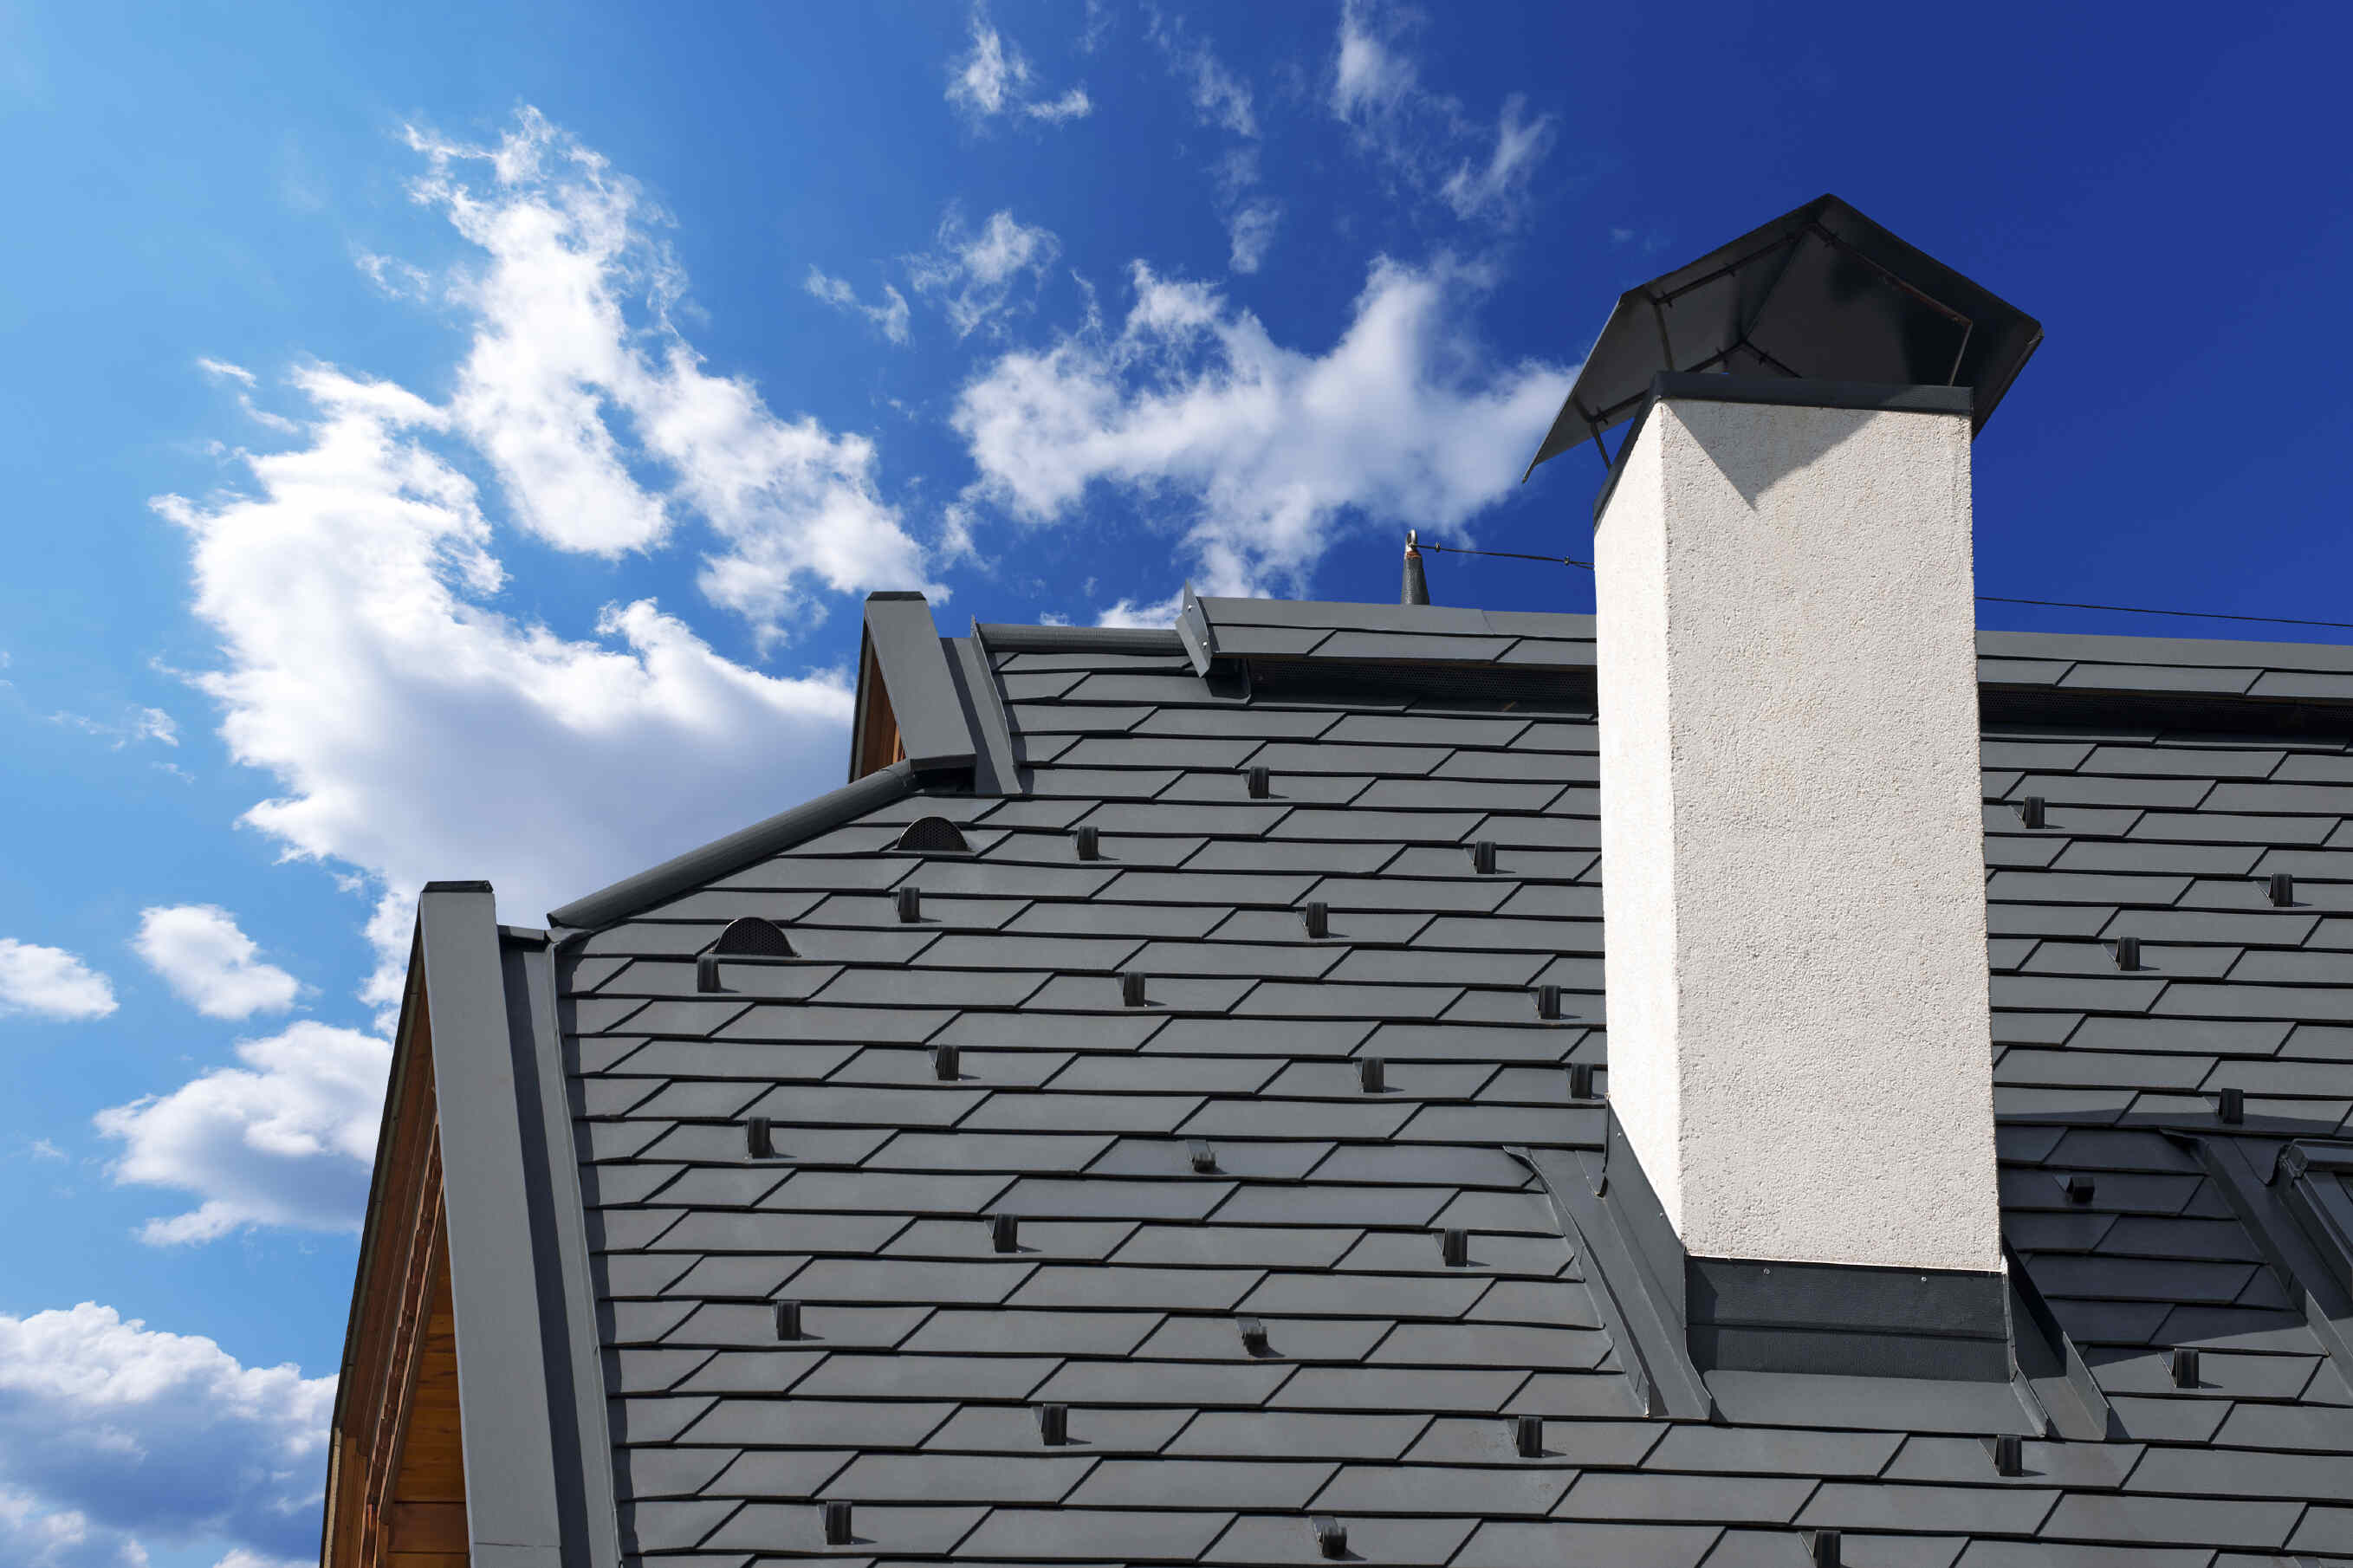
- Inspect the chimney cap and flue to ensure they are intact and functioning properly. Replace or repair any damaged components as necessary.
- Consider installing a chimney crown or chimney cap to provide additional protection against water intrusion and debris. These additions can help prevent future damage and extend the lifespan of your chimney.
- Maintain regular maintenance and inspections of your chimney to catch any potential issues early on. Clean the chimney regularly to remove any build-up of soot, debris, or vegetation.
Remember that proper maintenance and care are essential to keep your chimney in good condition. Regular inspections and addressing any issues promptly can help prevent extensive damage and costly repairs in the future.
Congratulations! You have successfully completed the repair of your brick chimney. By following the steps outlined in this article, you have restored its structural integrity and enhanced its aesthetic appeal.
Now, sit back and enjoy the warmth and charm of your fully repaired brick chimney for years to come!
Conclusion
Repairing a brick chimney may seem like a daunting task, but with the right knowledge and guidance, it is a manageable project that can be accomplished by homeowners and DIY enthusiasts. Taking the time to address any damage to your brick chimney is important to maintain its structural integrity and prolong its lifespan.
In this article, we covered the step-by-step process of repairing a brick chimney, from assessing the damage to replacing bricks and repairing mortar joints. We also discussed the importance of cleaning and preparing the surface, and shared tips for mixing mortar and adding the finishing touches to enhance the appearance and durability of your chimney.
Throughout the repair process, it is crucial to prioritize safety. Use proper protective equipment, work on a stable platform, and exercise caution when handling tools and materials. If you are unsure about any aspect of the repair process, don’t hesitate to seek professional assistance.
Remember, regular maintenance and inspections are key to keeping your chimney in good condition. By addressing any issues promptly and keeping up with routine care, you can prolong the life of your brick chimney and ensure its optimal performance.
Now that you have the knowledge and steps needed to repair your brick chimney, it’s time to roll up your sleeves, gather your tools, and embark on this rewarding project. Enjoy the process and take pride in restoring your brick chimney to its former glory!
Frequently Asked Questions about How To Repair Brick Chimney
Was this page helpful?
At Storables.com, we guarantee accurate and reliable information. Our content, validated by Expert Board Contributors, is crafted following stringent Editorial Policies. We're committed to providing you with well-researched, expert-backed insights for all your informational needs.


0 thoughts on “How To Repair Brick Chimney”