Home>Technology>Smart Home Devices>How To Connect Swann DVR To Wi-Fi Router Without Cable
Smart Home Devices
How To Connect Swann DVR To Wi-Fi Router Without Cable
Modified: May 6, 2024
Learn how to connect your Swann DVR to your Wi-Fi router without using a cable. Discover a convenient and wireless setup for your smart home devices.
(Many of the links in this article redirect to a specific reviewed product. Your purchase of these products through affiliate links helps to generate commission for Storables.com, at no extra cost. Learn more)
Introduction
Are you looking to connect your Swann DVR to a Wi-Fi router without the hassle of using cables? With the advancement of technology, it's now possible to set up your Swann DVR to connect wirelessly to your home network, providing you with greater flexibility and convenience. By following the simple steps outlined in this guide, you can seamlessly link your Swann DVR to your Wi-Fi router, enabling remote access and enhancing the overall functionality of your surveillance system.
Gone are the days when connecting a DVR to a router required a complex web of cables and wires. With the wireless connectivity option, you can enjoy a streamlined setup process and the freedom to place your Swann DVR in the most optimal location without being constrained by physical connections. Whether you're a tech enthusiast or a homeowner looking to bolster your security measures, this guide will walk you through the process of connecting your Swann DVR to your Wi-Fi router with ease and confidence.
Let's delve into the step-by-step instructions to seamlessly link your Swann DVR to your Wi-Fi network, ensuring a smooth and efficient setup process. Whether you're a novice or a seasoned DIY enthusiast, this guide is designed to empower you to make the most of your Swann DVR and enjoy the convenience of wireless connectivity. So, let's get started on this exciting journey towards a seamlessly connected surveillance system!
Key Takeaways:
- You can connect your Swann DVR to your Wi-Fi router without cables by following simple steps. This allows for flexible placement and remote access, enhancing your surveillance system’s functionality.
- After connecting your Swann DVR to Wi-Fi, you can use a mobile device to remotely access and manage your surveillance system. This provides convenience and peace of mind, making monitoring your premises easy and accessible.
Read more: How To Connect Verizon Wi-Fi Router
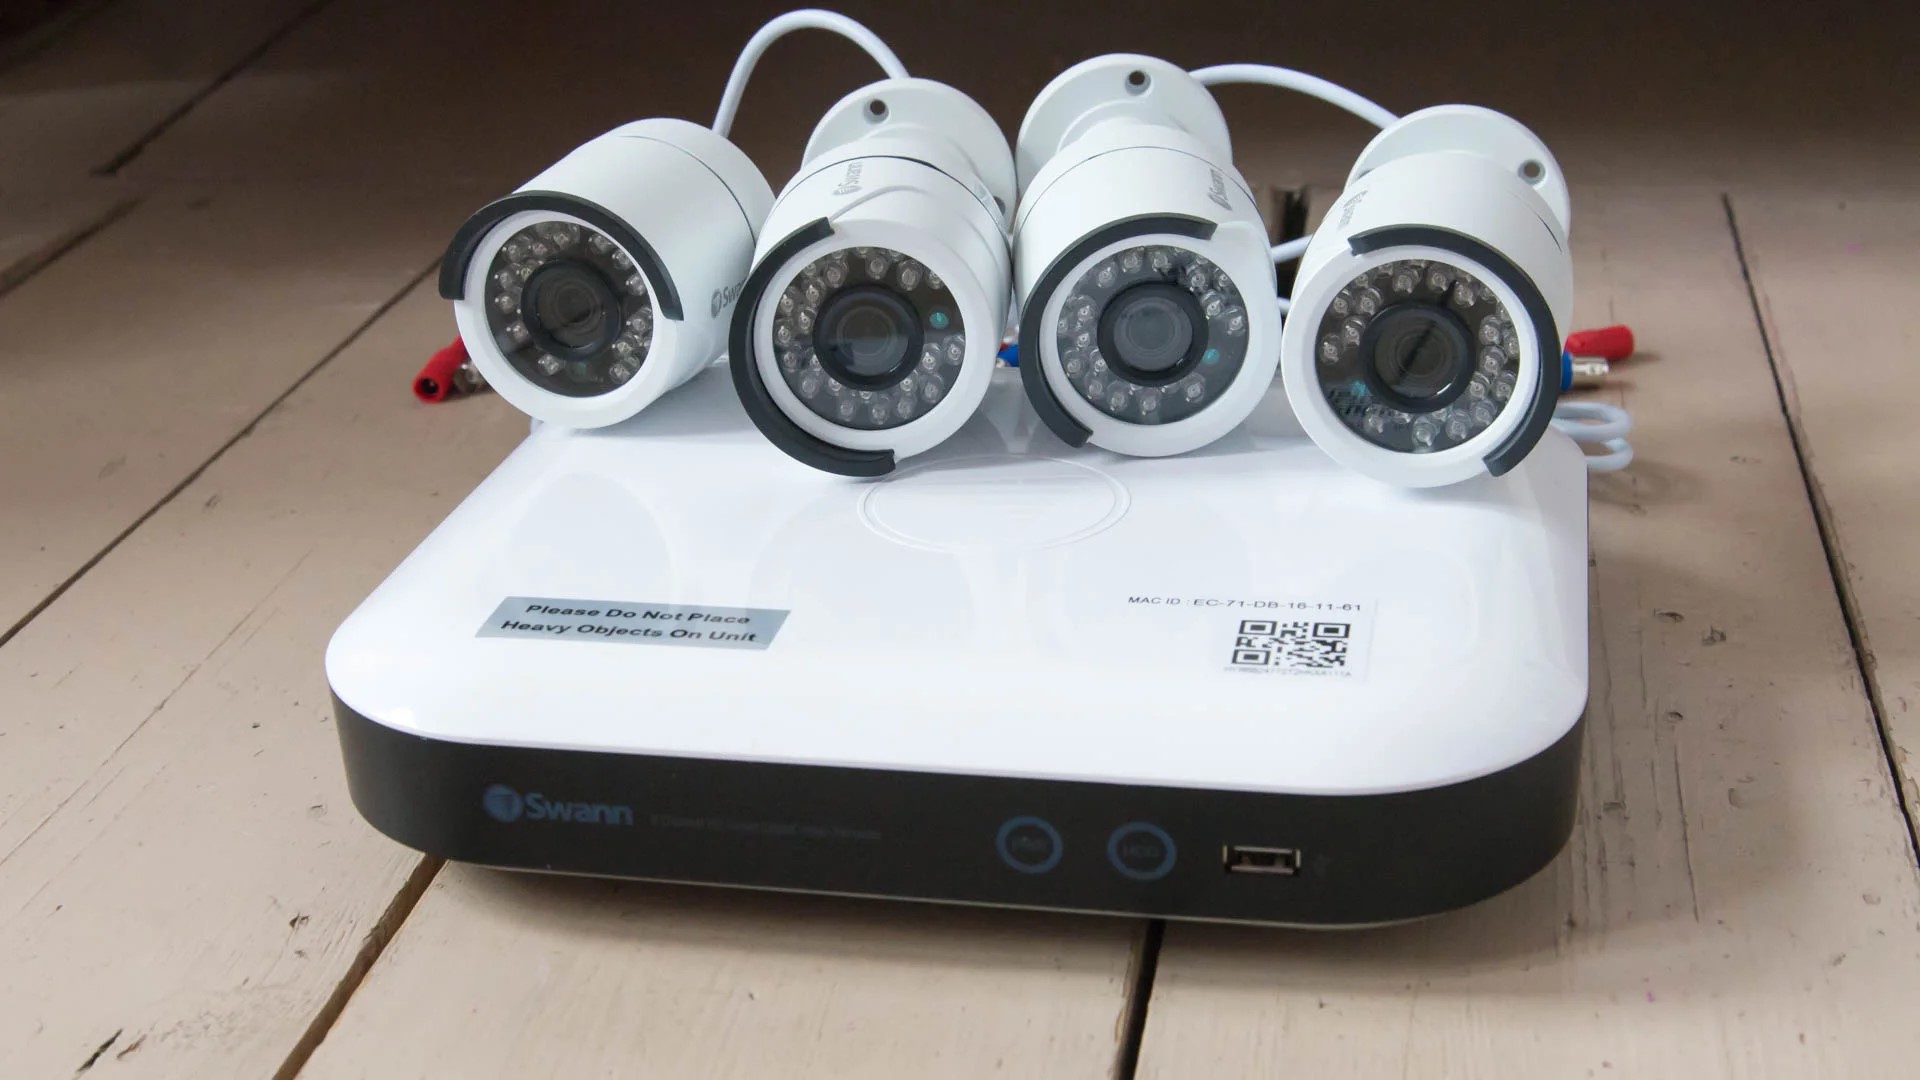
Step 1: Check Your Swann DVR
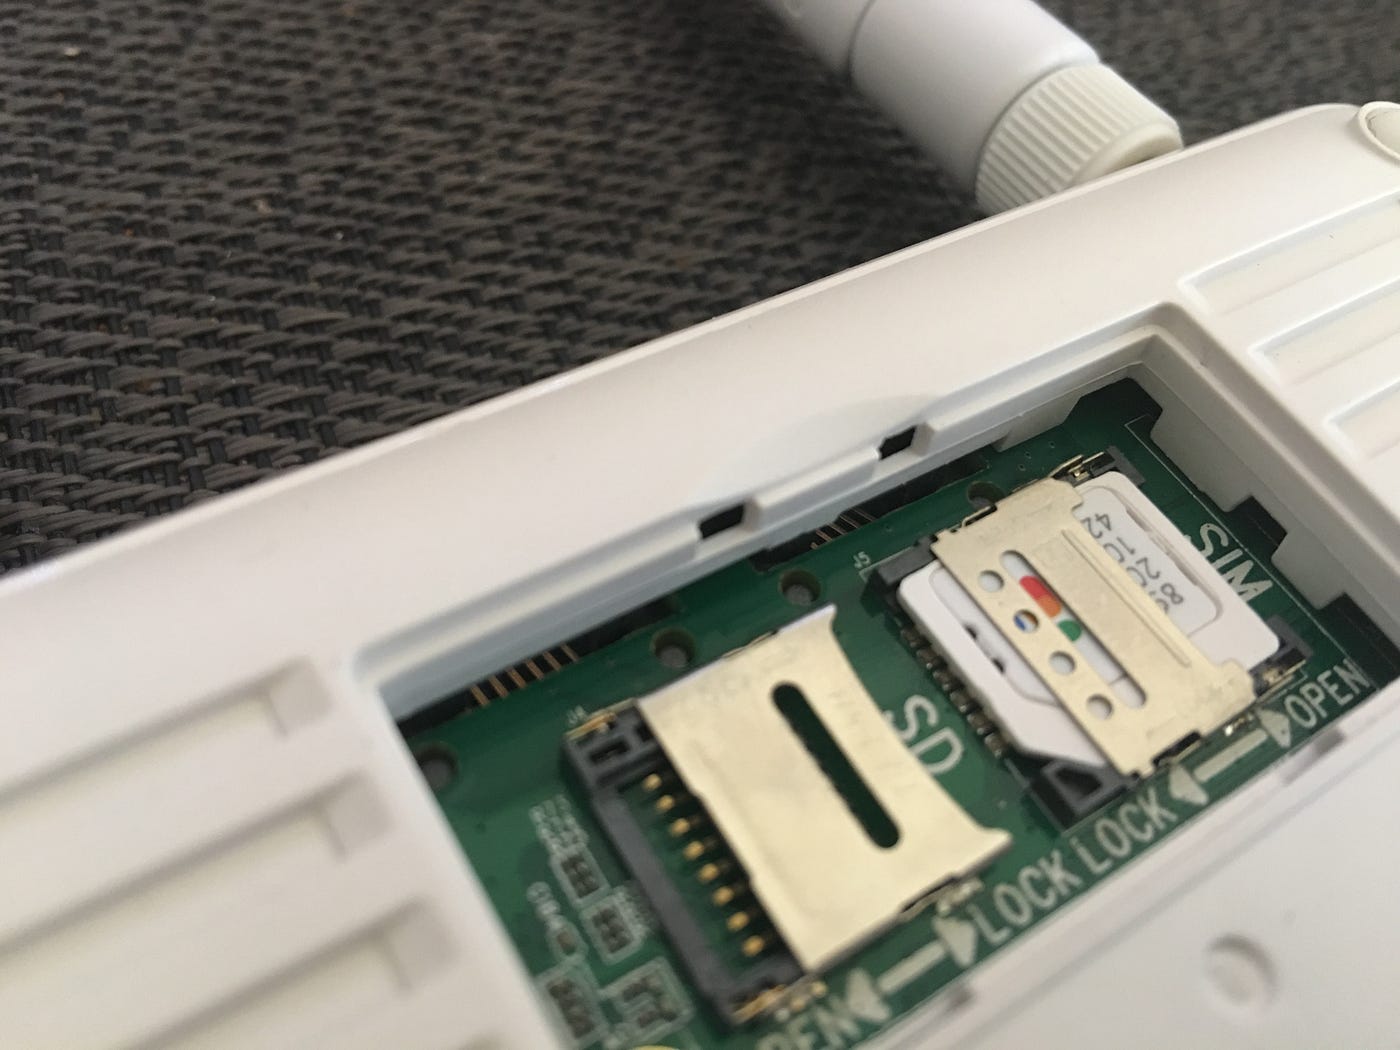
Before embarking on the process of connecting your Swann DVR to your Wi-Fi router, it’s essential to ensure that your DVR model supports wireless connectivity. While newer Swann DVR models are equipped with built-in Wi-Fi capabilities, older models may require the use of a Wi-Fi adapter to enable wireless connectivity. To determine whether your Swann DVR is Wi-Fi-enabled, refer to the product documentation or visit the manufacturer’s website for detailed specifications.
If your Swann DVR is not equipped with built-in Wi-Fi, you may need to purchase a compatible Wi-Fi adapter that is specifically designed for your DVR model. It’s important to select a reliable and compatible adapter to ensure seamless integration with your Swann DVR and your home network. Additionally, familiarize yourself with the specific requirements and recommendations outlined by Swann to guarantee optimal performance and compatibility.
Furthermore, ensure that your Swann DVR is powered on and functioning properly before proceeding with the setup process. Check that all necessary cables and connections are secure, and the DVR is operational. This preliminary check will help identify any potential issues that may need to be addressed before initiating the wireless connection setup.
By verifying the Wi-Fi compatibility of your Swann DVR and confirming its operational status, you can lay the groundwork for a successful wireless connection setup. This proactive approach ensures that you are well-prepared to seamlessly integrate your Swann DVR into your wireless home network, paving the way for enhanced accessibility and functionality.
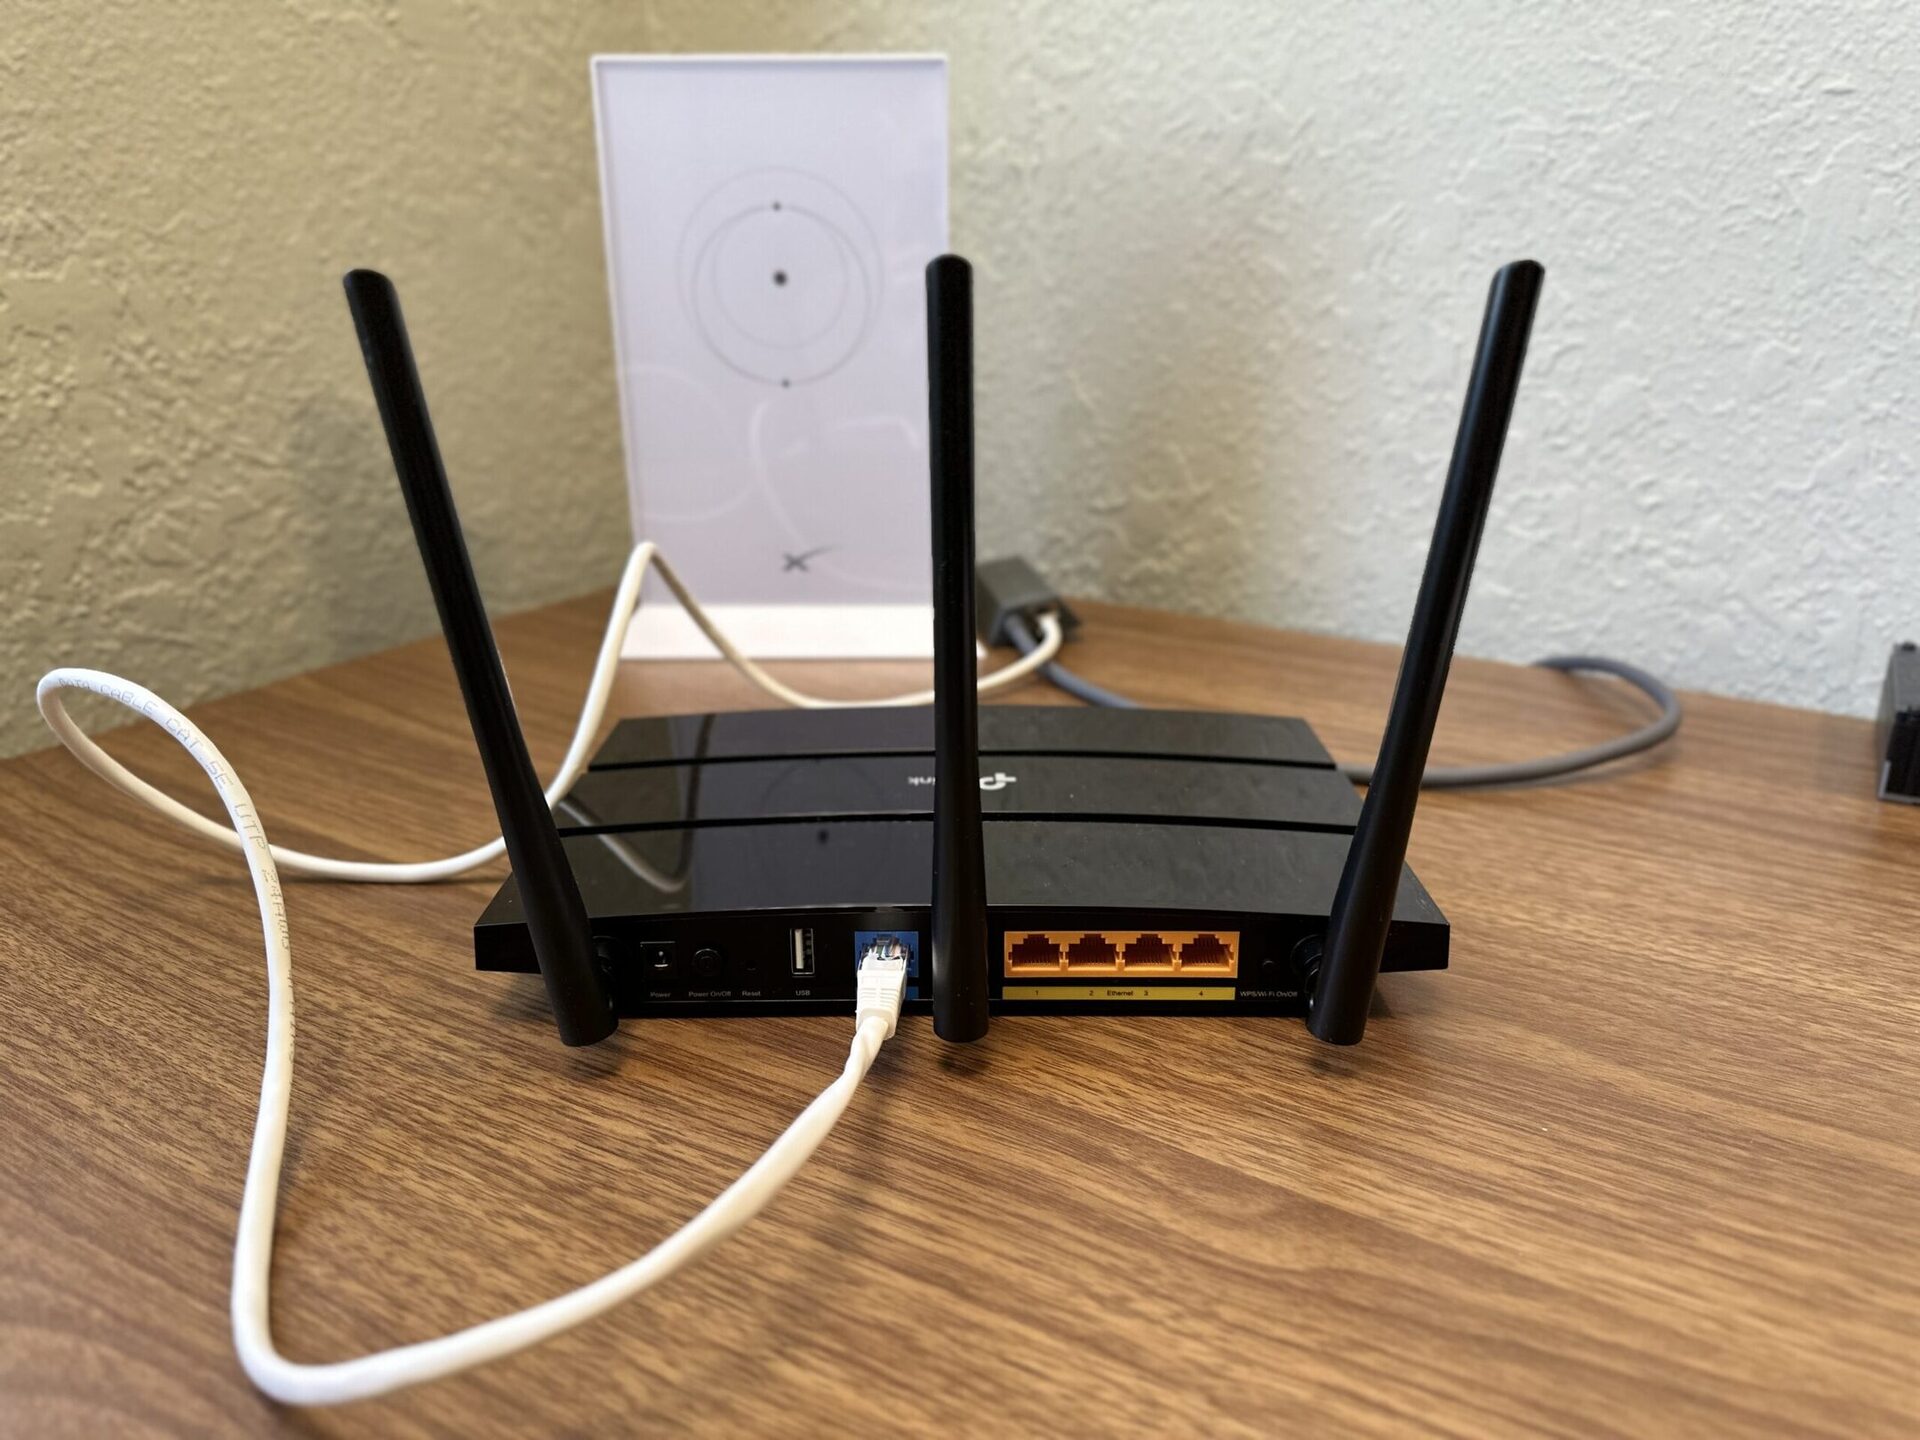
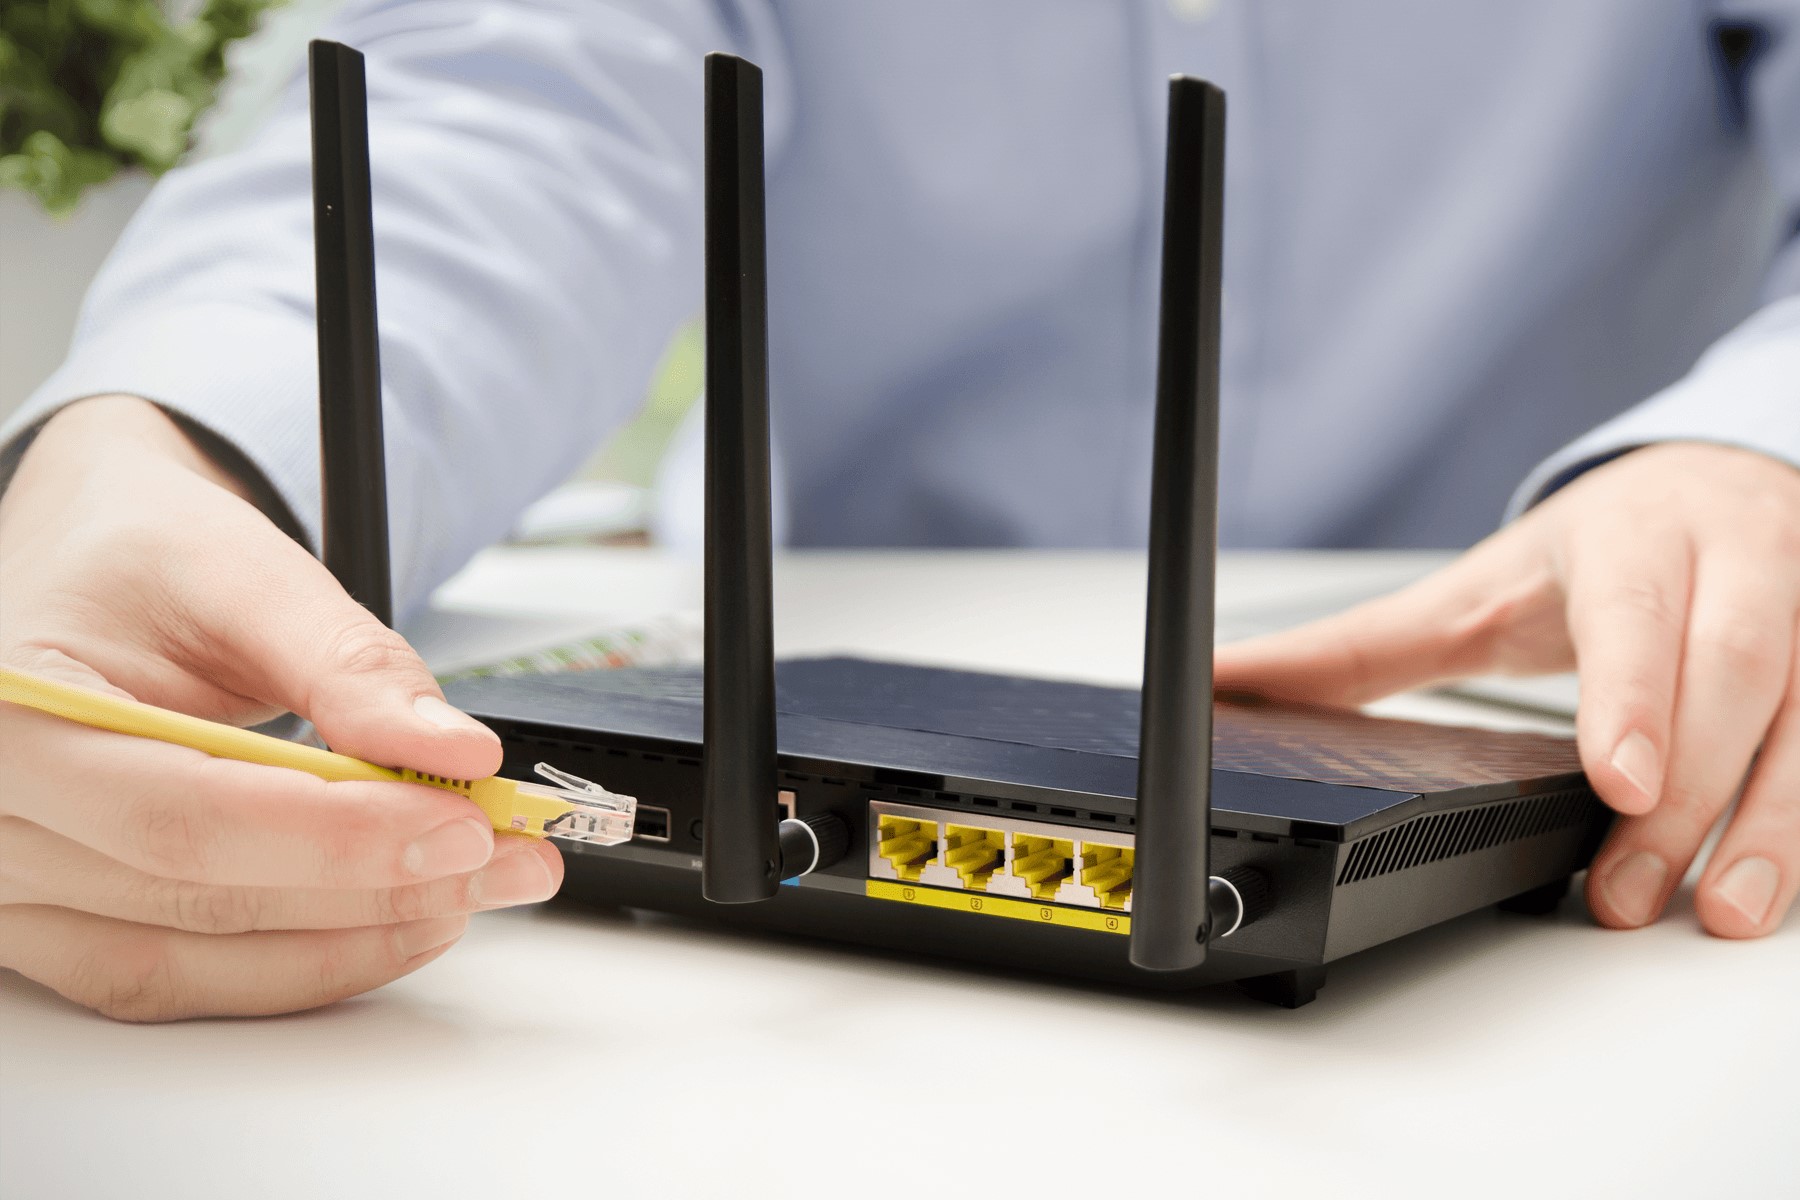
Step 2: Connect Swann DVR to Wi-Fi Router
Once you have confirmed the Wi-Fi compatibility of your Swann DVR and ensured that it is in proper working condition, you can proceed to connect it to your Wi-Fi router. To accomplish this, follow the steps outlined below:
- Access the Network Settings: Begin by accessing the network settings menu on your Swann DVR. This can typically be done through the DVR’s interface using a connected monitor or TV. Navigate to the network settings section to initiate the wireless setup process.
- Select Wi-Fi Connection: Within the network settings menu, locate the option to set up a Wi-Fi connection. Depending on the DVR model, this may be listed as “Wi-Fi Setup” or a similar designation. Select this option to initiate the Wi-Fi configuration process.
- Scan for Wi-Fi Networks: Your Swann DVR will scan for available Wi-Fi networks in the vicinity. Once the scan is complete, a list of detected networks will be displayed on the screen. Select your home Wi-Fi network from the list to proceed with the connection setup.
- Enter Wi-Fi Credentials: Upon selecting your Wi-Fi network, you will be prompted to enter the network’s credentials, including the Wi-Fi network name (SSID) and the password. Carefully input the required information to ensure accurate connectivity.
- Establish Connection: After entering the Wi-Fi credentials, initiate the connection process. Your Swann DVR will attempt to connect to the designated Wi-Fi network using the provided credentials. Once the connection is established, you will receive a confirmation message indicating successful connectivity.
By following these steps, you can seamlessly connect your Swann DVR to your Wi-Fi router, enabling wireless communication between the DVR and your home network. This wireless integration eliminates the need for physical cable connections and grants you the flexibility to position your Swann DVR in an optimal location within your home or business premises.
Upon successfully connecting your Swann DVR to your Wi-Fi router, you are one step closer to leveraging the benefits of wireless surveillance system connectivity. The next phase involves configuring the Wi-Fi settings on your Swann DVR to ensure seamless operation and remote accessibility, which will be covered in the subsequent step.
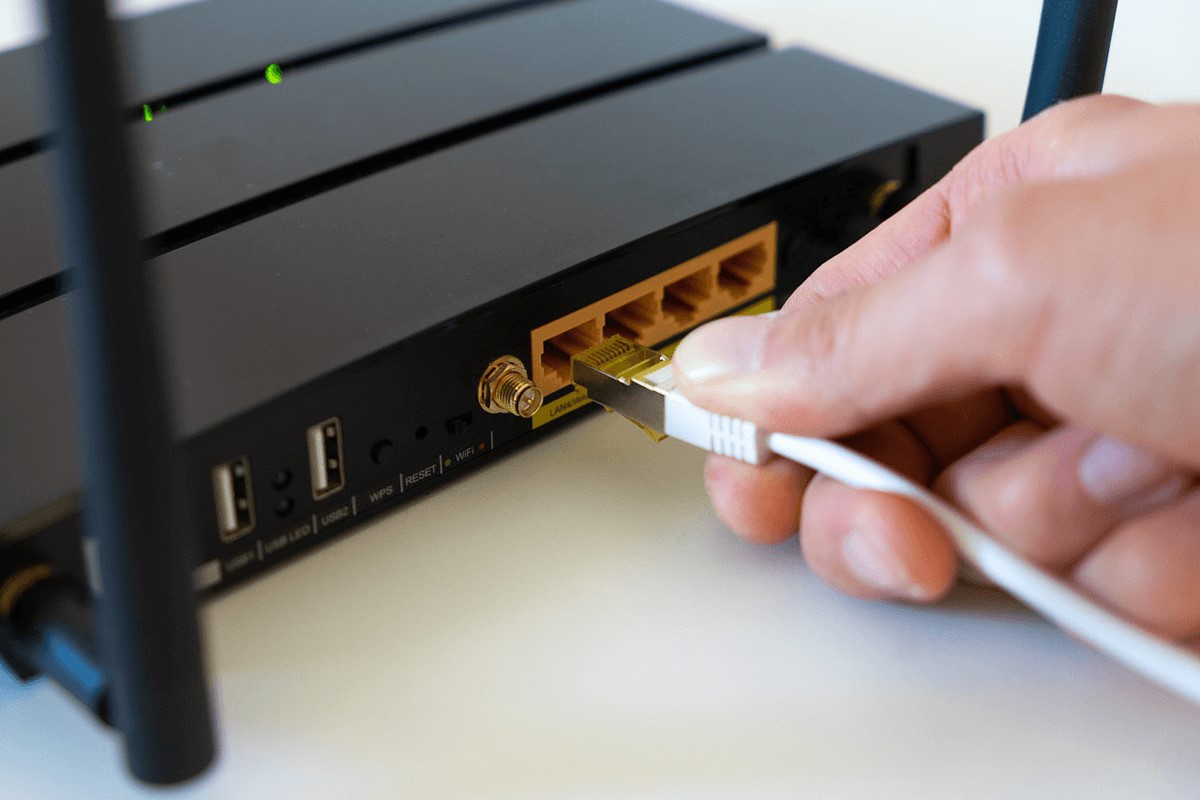
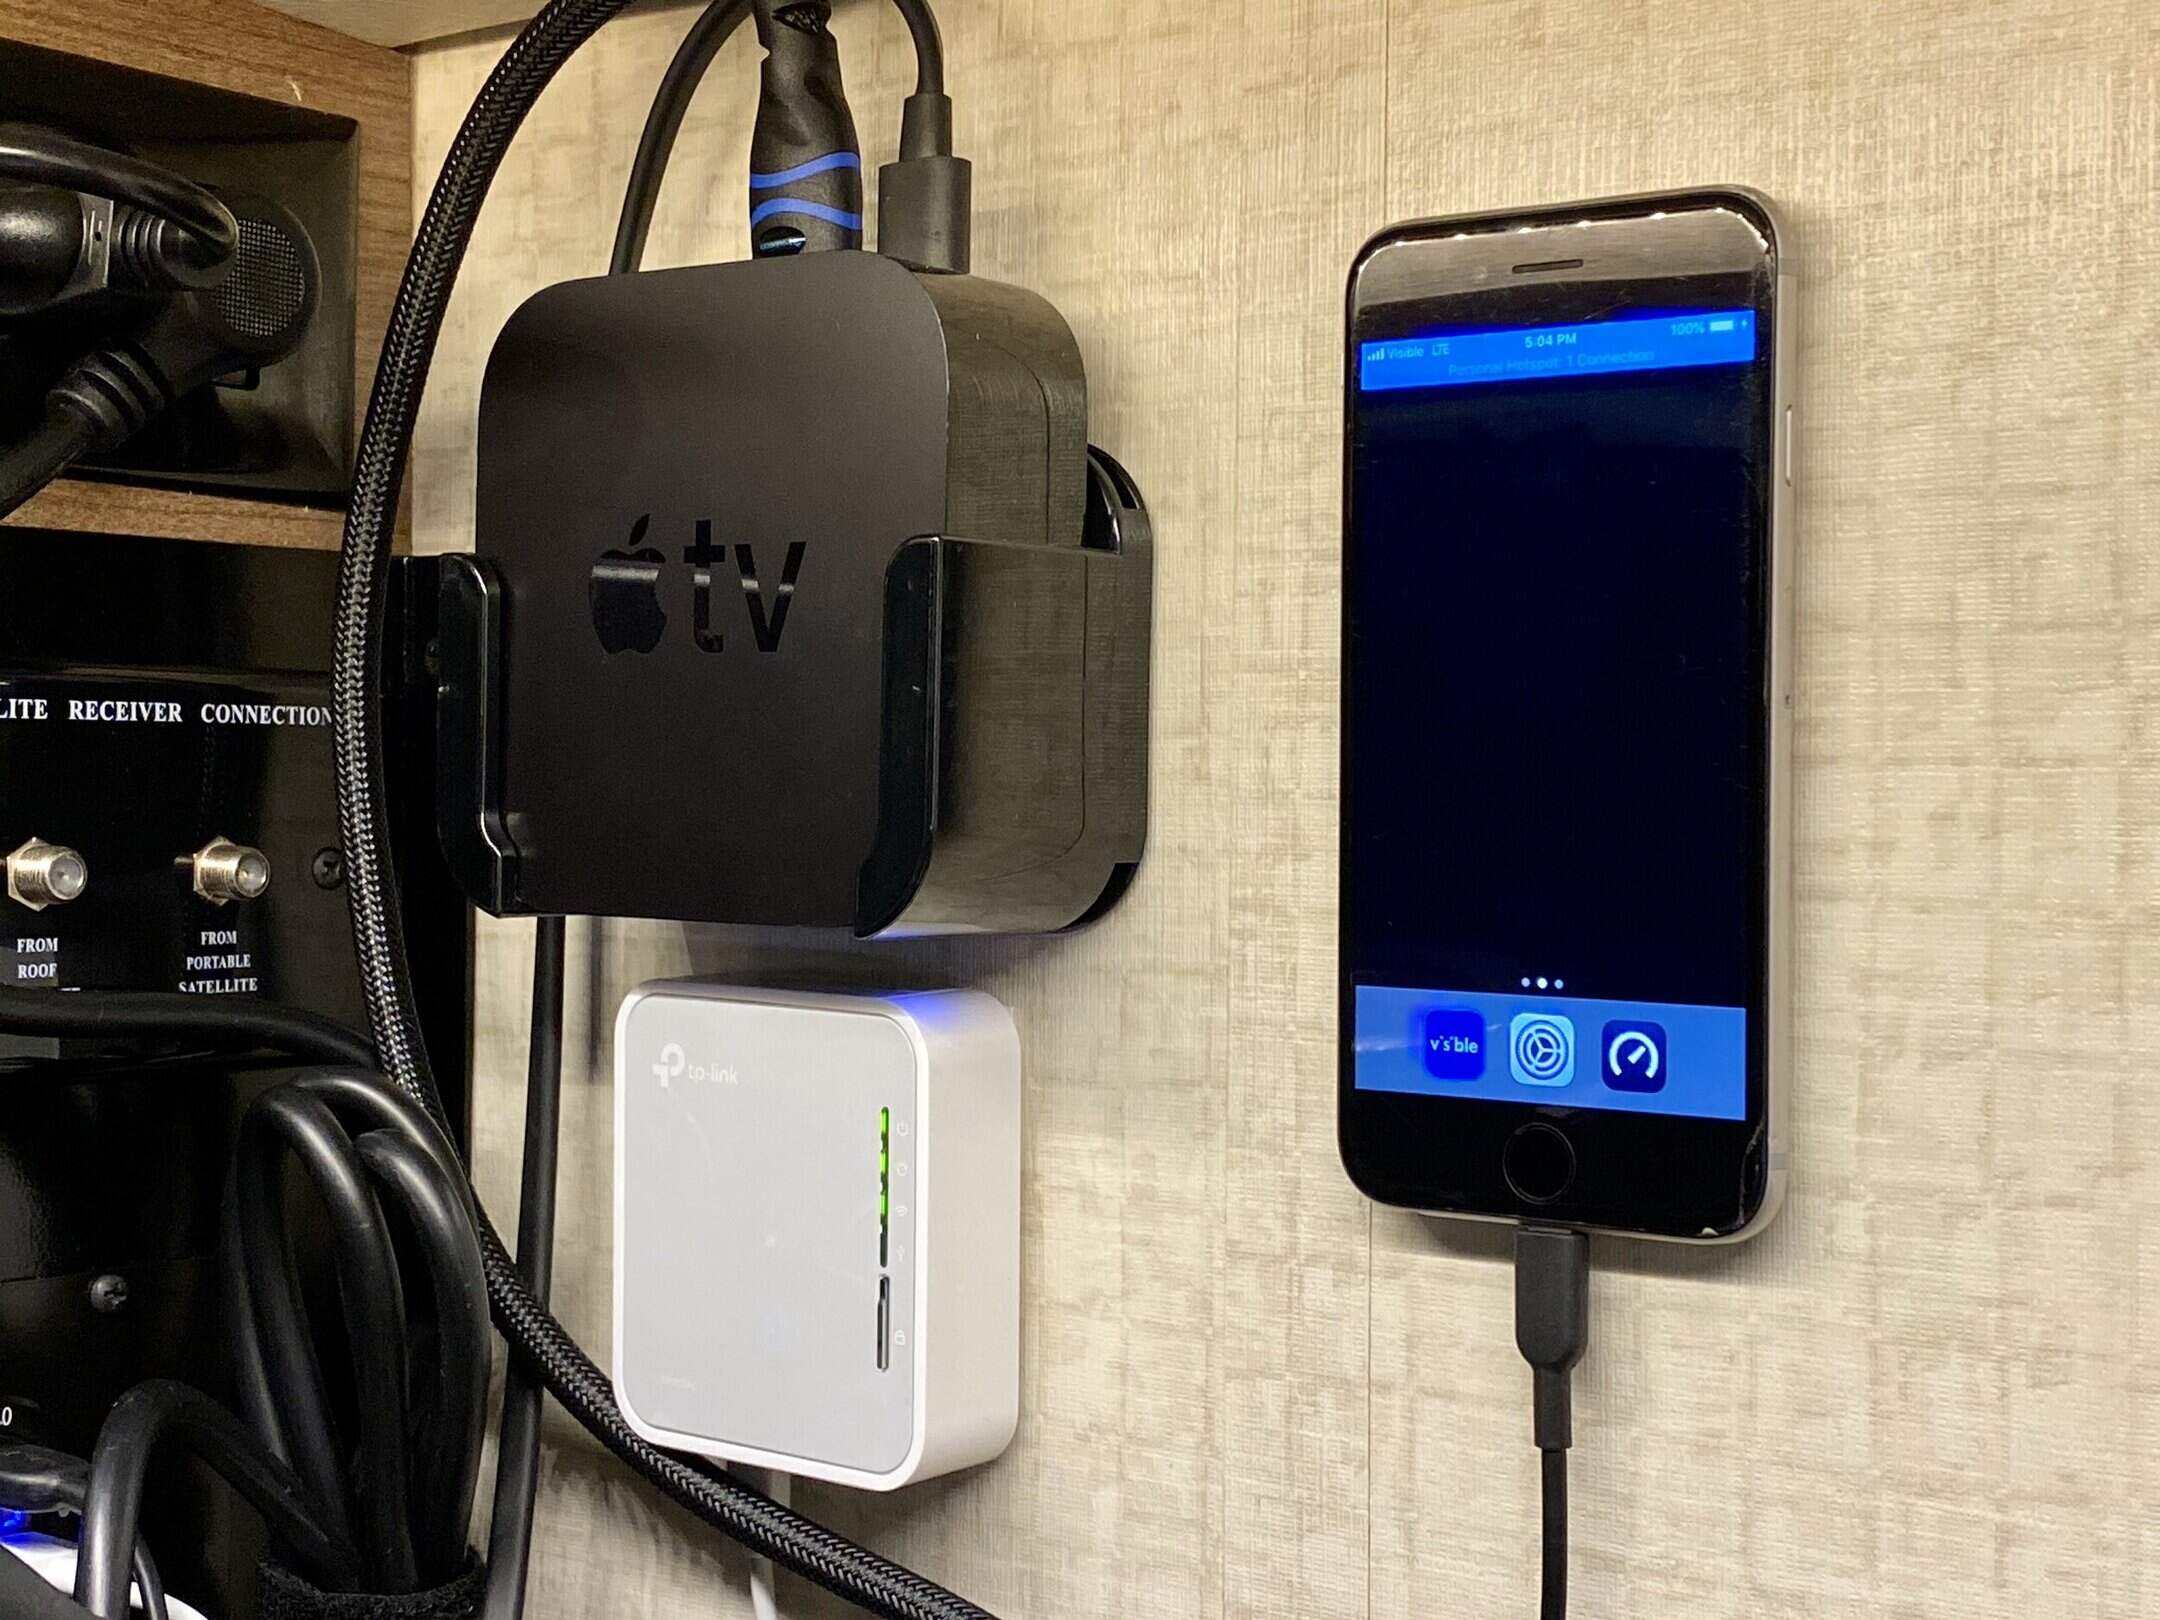
To connect a Swann DVR to a Wi-Fi router without a cable, you can use a Wi-Fi adapter specifically designed for the DVR. Simply plug the adapter into the USB port on the DVR and follow the instructions to connect it to your Wi-Fi network.
Step 3: Configure Wi-Fi Settings on Swann DVR
After successfully connecting your Swann DVR to your Wi-Fi router, the next crucial step involves configuring the Wi-Fi settings on the DVR to ensure seamless operation and optimal performance. Follow the steps below to configure the Wi-Fi settings on your Swann DVR:
- Access the Wi-Fi Settings Menu: Navigate to the Wi-Fi settings menu within the DVR’s interface. This can typically be found within the network or connectivity settings section. Access the Wi-Fi settings to initiate the configuration process.
- Verify Wi-Fi Connection: Upon accessing the Wi-Fi settings, verify that the DVR is successfully connected to your home Wi-Fi network. Confirm the network name (SSID) and signal strength to ensure a stable and reliable connection.
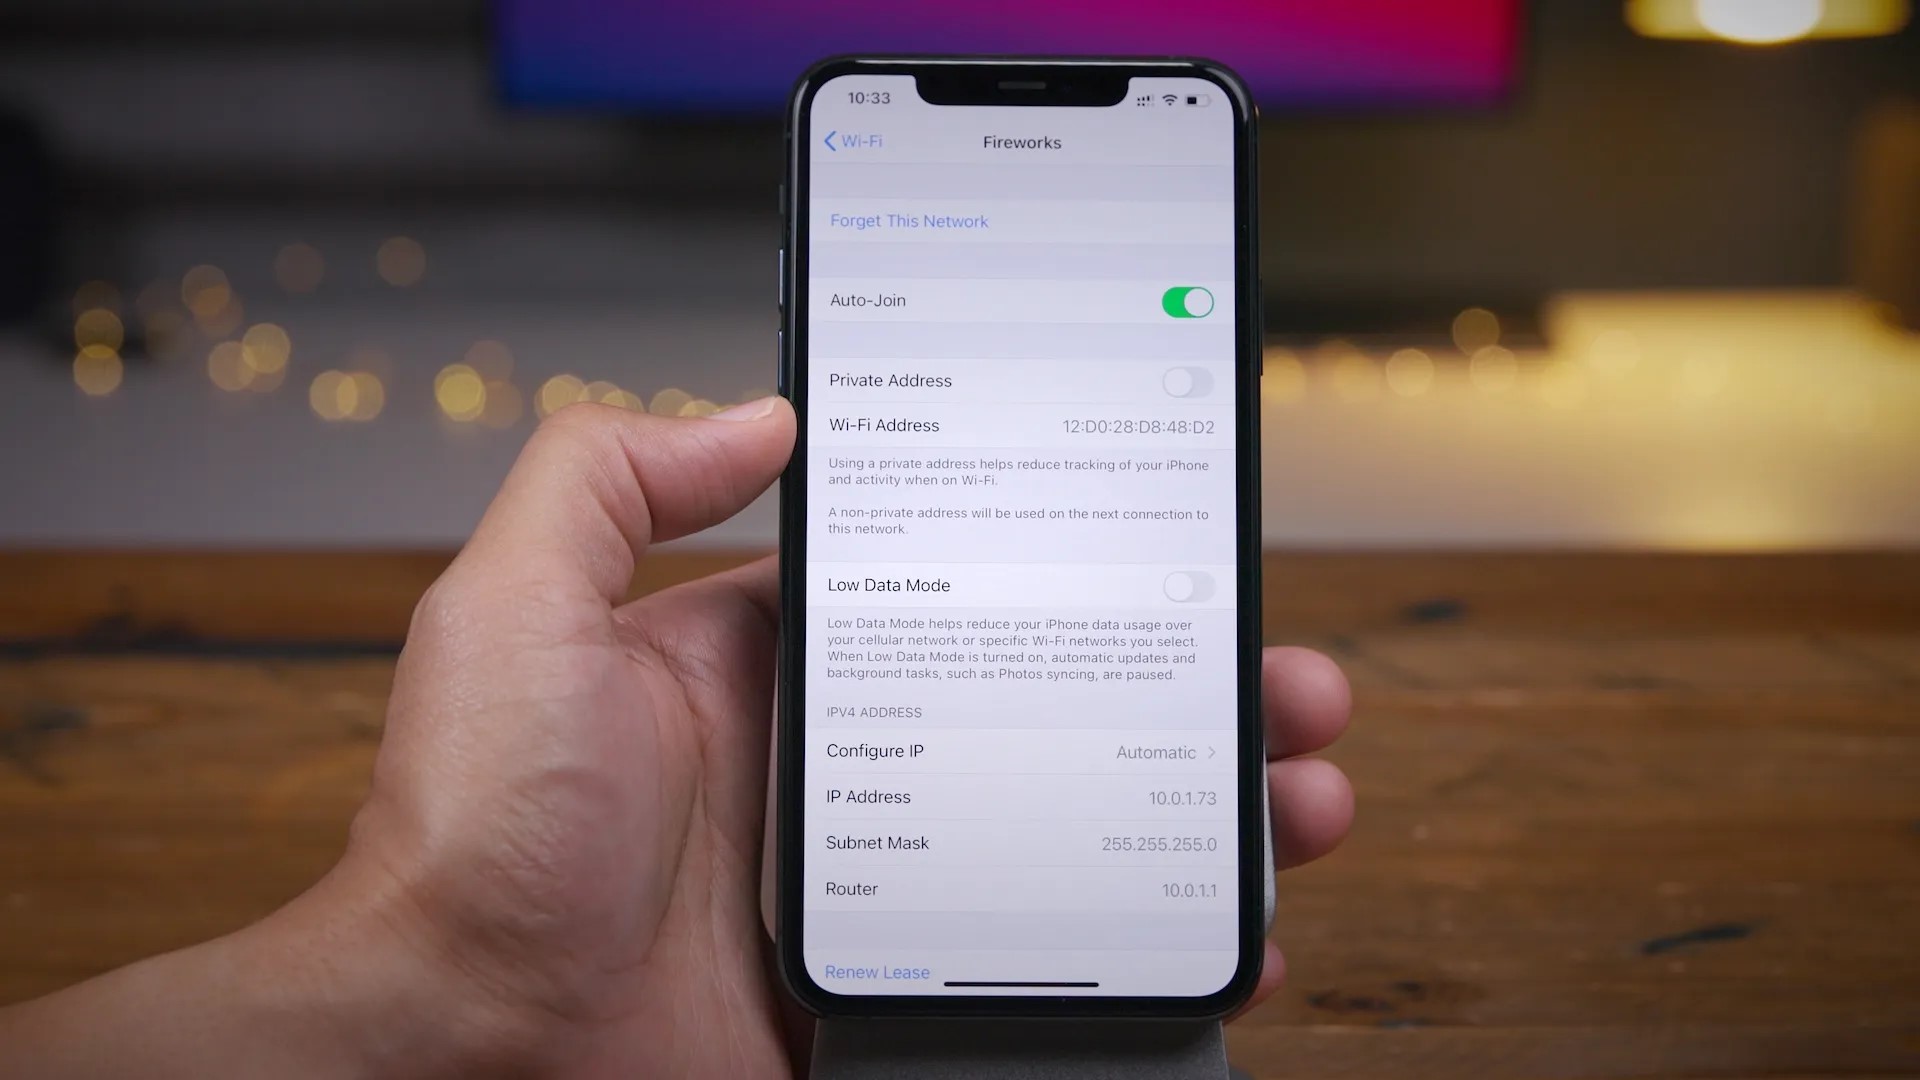
- Adjust Network Settings (if necessary): Depending on your specific requirements and network configuration, you may need to adjust certain network settings such as IP address allocation, DNS settings, and other related parameters. Ensure that the network settings align with your home network’s configuration to facilitate seamless communication.
- Enable Remote Access: If remote access to your Swann DVR is desired, ensure that the appropriate remote access settings are configured. This may involve setting up port forwarding on your router and enabling remote viewing capabilities within the DVR’s settings.
- Test Connectivity: After configuring the Wi-Fi settings, perform a connectivity test to verify that the Swann DVR can effectively communicate over the wireless network. This may involve accessing the DVR’s interface remotely using a mobile device or computer to ensure that the connection is operational.
By meticulously configuring the Wi-Fi settings on your Swann DVR, you can optimize its wireless connectivity and ensure seamless interaction with your home network. This step is crucial in enabling remote access, allowing you to monitor your surveillance feeds from anywhere with an internet connection.
Upon completing the Wi-Fi configuration process, you are well-positioned to harness the full potential of your wirelessly connected Swann DVR. The subsequent step involves connecting to your Swann DVR using a mobile device, granting you the ability to conveniently access and manage your surveillance system on the go.
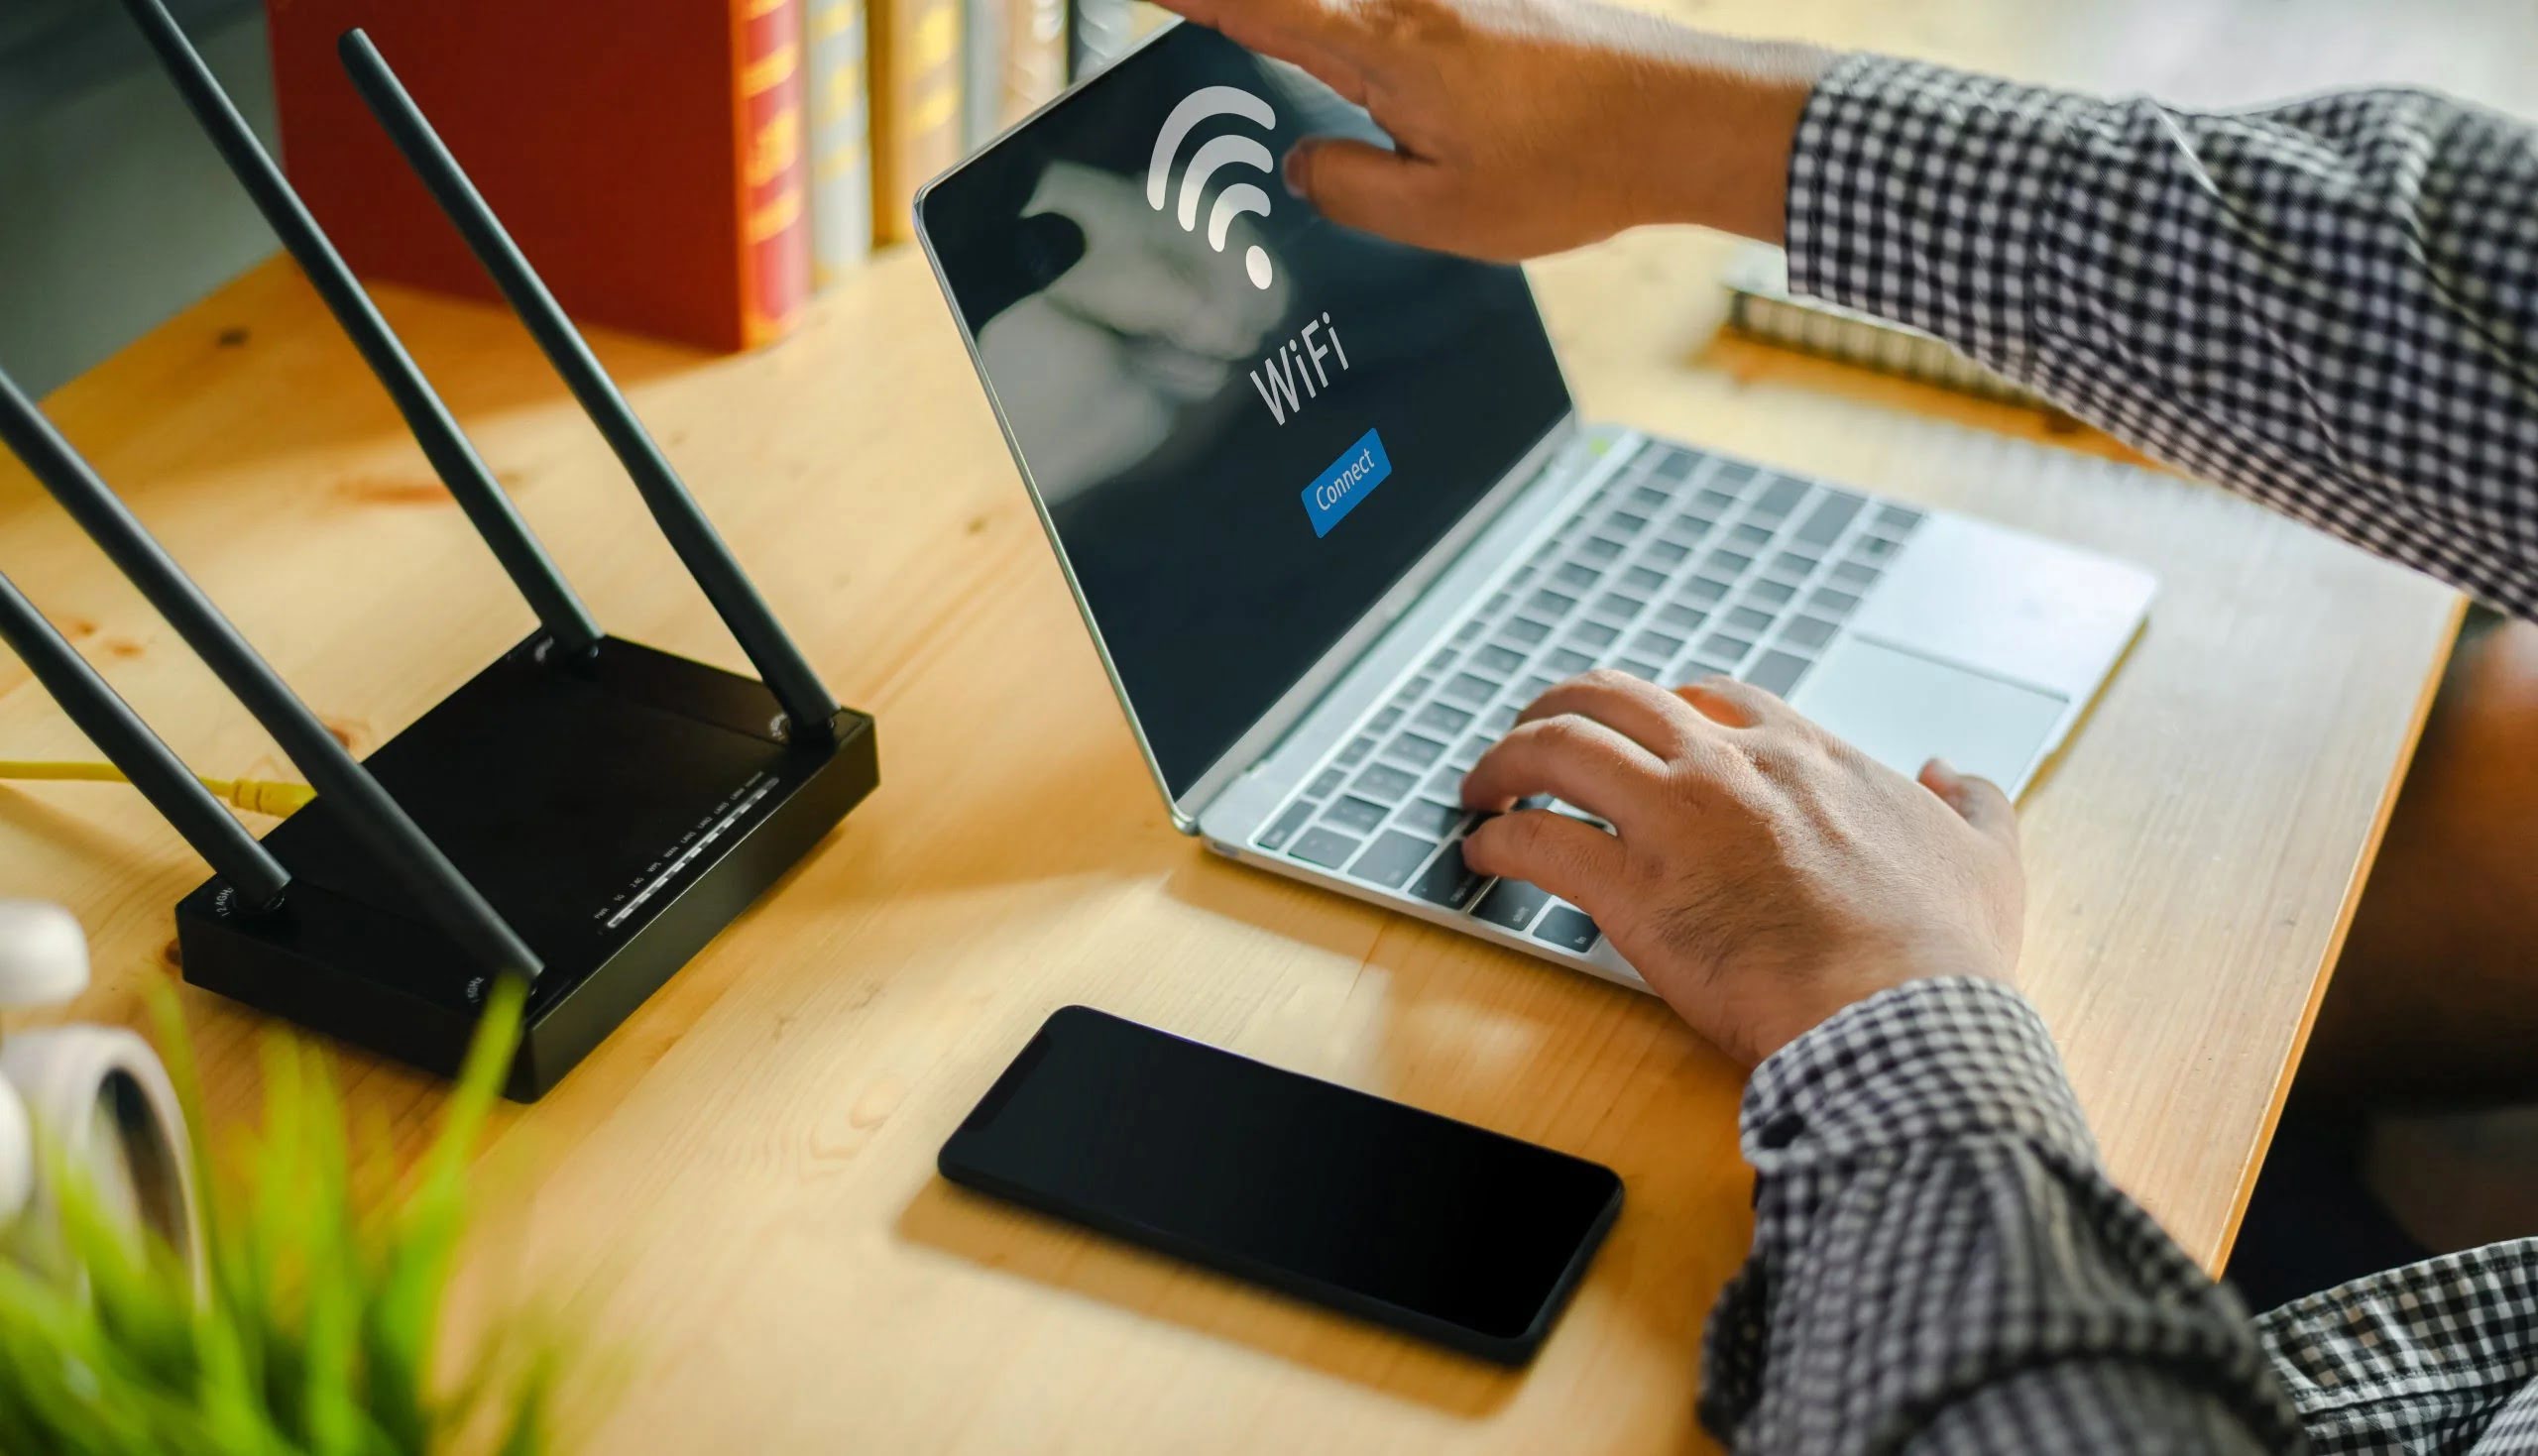
Step 4: Connect to Swann DVR Using a Mobile Device
With your Swann DVR successfully connected to your Wi-Fi router and its Wi-Fi settings configured, you can now proceed to connect to the DVR using a mobile device. This step enables you to access the surveillance system remotely, providing you with the flexibility to monitor your premises from anywhere. Follow the steps below to connect to your Swann DVR using a mobile device:
- Install the SwannView Link App: Begin by installing the SwannView Link app on your mobile device. This app, available for both iOS and Android platforms, allows you to remotely access and manage your Swann DVR from your smartphone or tablet.
- Launch the App and Add Device: Once the app is installed, launch it and proceed to add your Swann DVR as a device within the app. This typically involves entering the DVR’s details, including its IP address, port number, and login credentials, to establish a connection.
- Establish Remote Connection: After adding the DVR as a device, initiate the connection process to establish a remote link between your mobile device and the Swann DVR. Once the connection is established, you will gain access to the live surveillance feeds and system controls from your mobile device.
- Explore Remote Viewing Features: Familiarize yourself with the remote viewing features offered by the SwannView Link app. These may include live video streaming, playback of recorded footage, motion detection alerts, and the ability to adjust system settings remotely.
- Ensure Secure Access: As you enjoy the convenience of remote access, prioritize security by ensuring that your Swann DVR’s remote access features are secured with strong, unique passwords. Additionally, consider enabling two-factor authentication for an added layer of protection.
By connecting to your Swann DVR using a mobile device, you unlock the potential for seamless remote monitoring and management of your surveillance system. Whether you’re at home, at work, or traveling, the ability to access your Swann DVR from your mobile device empowers you to stay connected and informed about your premises at all times.
With the completion of this step, you have successfully established a wireless connection between your Swann DVR and your mobile device, enabling convenient access to your surveillance system on the go. This marks the culmination of the setup process, allowing you to harness the full capabilities of your wirelessly connected Swann DVR.
Read more: How To Connect My Wi-Fi Router
Conclusion
Congratulations! You have successfully navigated the process of connecting your Swann DVR to your Wi-Fi router without the need for cumbersome cables, unlocking a world of convenience and flexibility in managing your surveillance system. By following the step-by-step instructions outlined in this guide, you have empowered yourself to seamlessly integrate your Swann DVR into your wireless home network, enabling remote access and enhancing the overall functionality of your security setup.
With the evolution of wireless technology, the ability to connect your Swann DVR to your Wi-Fi router opens up a myriad of possibilities for monitoring and managing your surveillance system with ease. The absence of physical cable connections provides the freedom to position your DVR in the most optimal location, while the convenience of remote access via mobile devices ensures that you can stay connected to your premises from anywhere.
As you embrace the wireless connectivity of your Swann DVR, remember to prioritize security by implementing robust access controls and staying informed about best practices for safeguarding your surveillance system from potential threats. By maintaining a proactive approach to security, you can enjoy the benefits of wireless connectivity while ensuring the integrity and privacy of your surveillance feeds and system controls.
Whether you’re a homeowner seeking to bolster your security measures or a business owner aiming to enhance surveillance capabilities, the wireless connection of your Swann DVR to your Wi-Fi router represents a significant step towards a modern and seamlessly connected surveillance solution. Embrace the freedom, convenience, and accessibility that wireless connectivity affords, and make the most of your Swann DVR’s capabilities in safeguarding your premises.
As technology continues to advance, the integration of wireless connectivity into surveillance systems exemplifies the ever-expanding possibilities for seamless and efficient home and business security solutions. By staying informed and embracing the latest innovations, you can continue to elevate the functionality and performance of your surveillance setup, ensuring peace of mind and comprehensive protection for your property.
With your Swann DVR now seamlessly connected to your Wi-Fi router, you are poised to embark on a journey of enhanced surveillance capabilities and effortless management. Embrace the freedom of wireless connectivity, leverage the convenience of remote access, and revel in the peace of mind that comes with a seamlessly connected surveillance system.
Now that you've got your Swann DVR connected wirelessly, think about stepping up your home's safety measures. Curious about the broader benefits of a robust security setup? Our next article delves into why it's crucial to invest in good home security, highlighting the vital role it plays in today's unpredictable world.
Frequently Asked Questions about How To Connect Swann DVR To Wi-Fi Router Without Cable
Was this page helpful?
At Storables.com, we guarantee accurate and reliable information. Our content, validated by Expert Board Contributors, is crafted following stringent Editorial Policies. We're committed to providing you with well-researched, expert-backed insights for all your informational needs.


0 thoughts on “How To Connect Swann DVR To Wi-Fi Router Without Cable”