Home>Home Security and Surveillance>How To Install A Lorex Home Surveillance System By Yourself
Home Security and Surveillance
How To Install A Lorex Home Surveillance System By Yourself
Modified: March 6, 2024
Learn how to install a Lorex home surveillance system yourself and enhance your home security and surveillance. Follow our step-by-step guide to ensure a safe and efficient installation.
(Many of the links in this article redirect to a specific reviewed product. Your purchase of these products through affiliate links helps to generate commission for Storables.com, at no extra cost. Learn more)
Introduction
Welcome to the world of home security and surveillance! With advancements in technology, empowering us to keep our homes and loved ones safe has never been easier. One of the most popular and effective ways to achieve this is by installing a home surveillance system.
A home surveillance system allows you to monitor your property, deter potential intruders, and provide evidence in case of any security incidents. While professional installation services are available, installing a home surveillance system yourself can save you money and give you a sense of accomplishment.
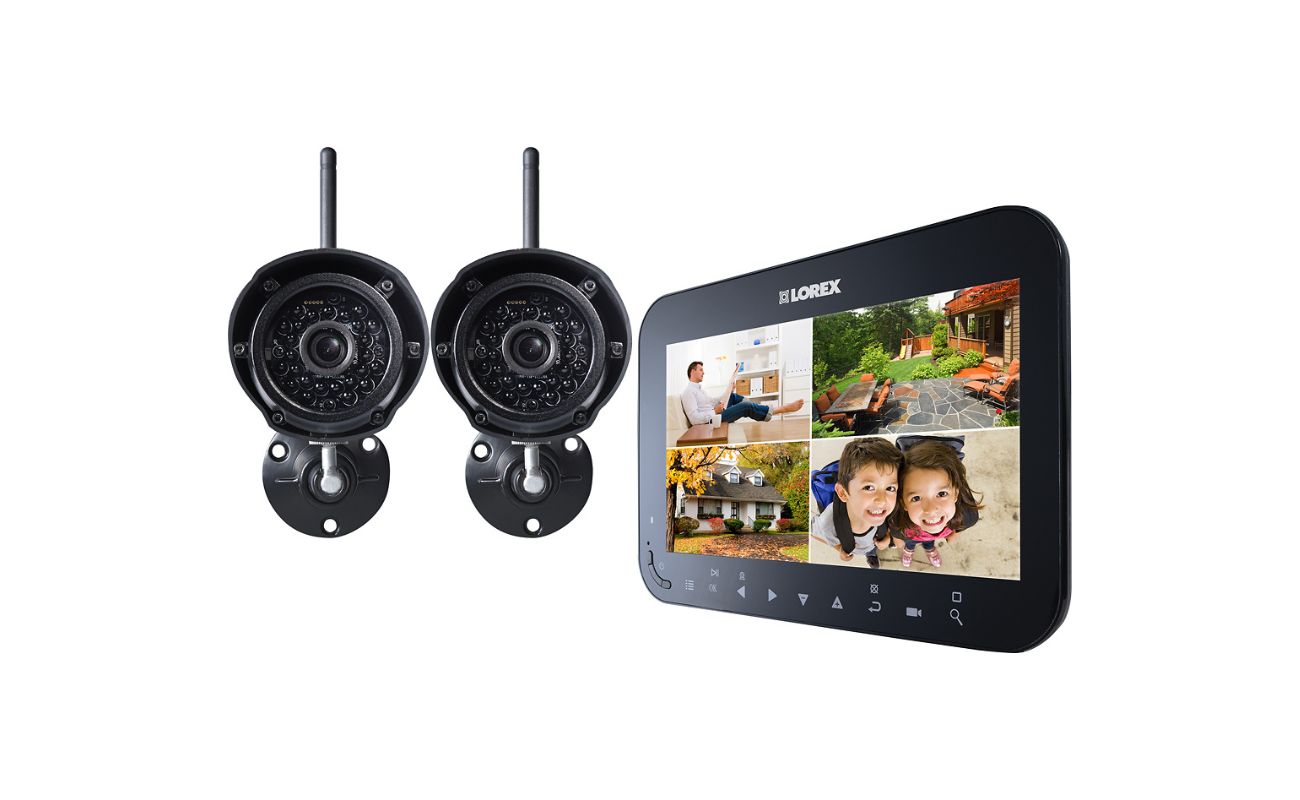
In this comprehensive guide, we will walk you through the step-by-step process of installing a Lorex home surveillance system by yourself. Lorex is a trusted name in the industry, offering a wide range of high-quality cameras and recorders to suit various needs and budgets.
Before we get started, it’s important to note that every home and installation scenario may be different. Therefore, it’s crucial to carefully read and follow the instructions provided with your specific Lorex surveillance system. Additionally, ensure you have the necessary tools and equipment for the installation.
Now, let’s dive into the exciting world of home security and surveillance as we learn how to install a Lorex home surveillance system step by step!
Key Takeaways:
- Installing a Lorex home surveillance system involves gathering equipment, planning the layout, mounting cameras, running cables, setting up the DVR/NVR, connecting cameras, and configuring system settings for a secure and efficient installation.
- Regular testing, maintenance, and troubleshooting are essential to ensure the proper functioning of your Lorex home surveillance system, providing peace of mind and reliable security for your property and loved ones.
Read more: How To Install Lorex Security Cameras
Step 1: Gathering the necessary equipment
Before you begin the installation process, it’s important to gather all the necessary equipment and tools. This will ensure a smooth and efficient installation without any delays or interruptions. Here is a list of the basic equipment you will need:
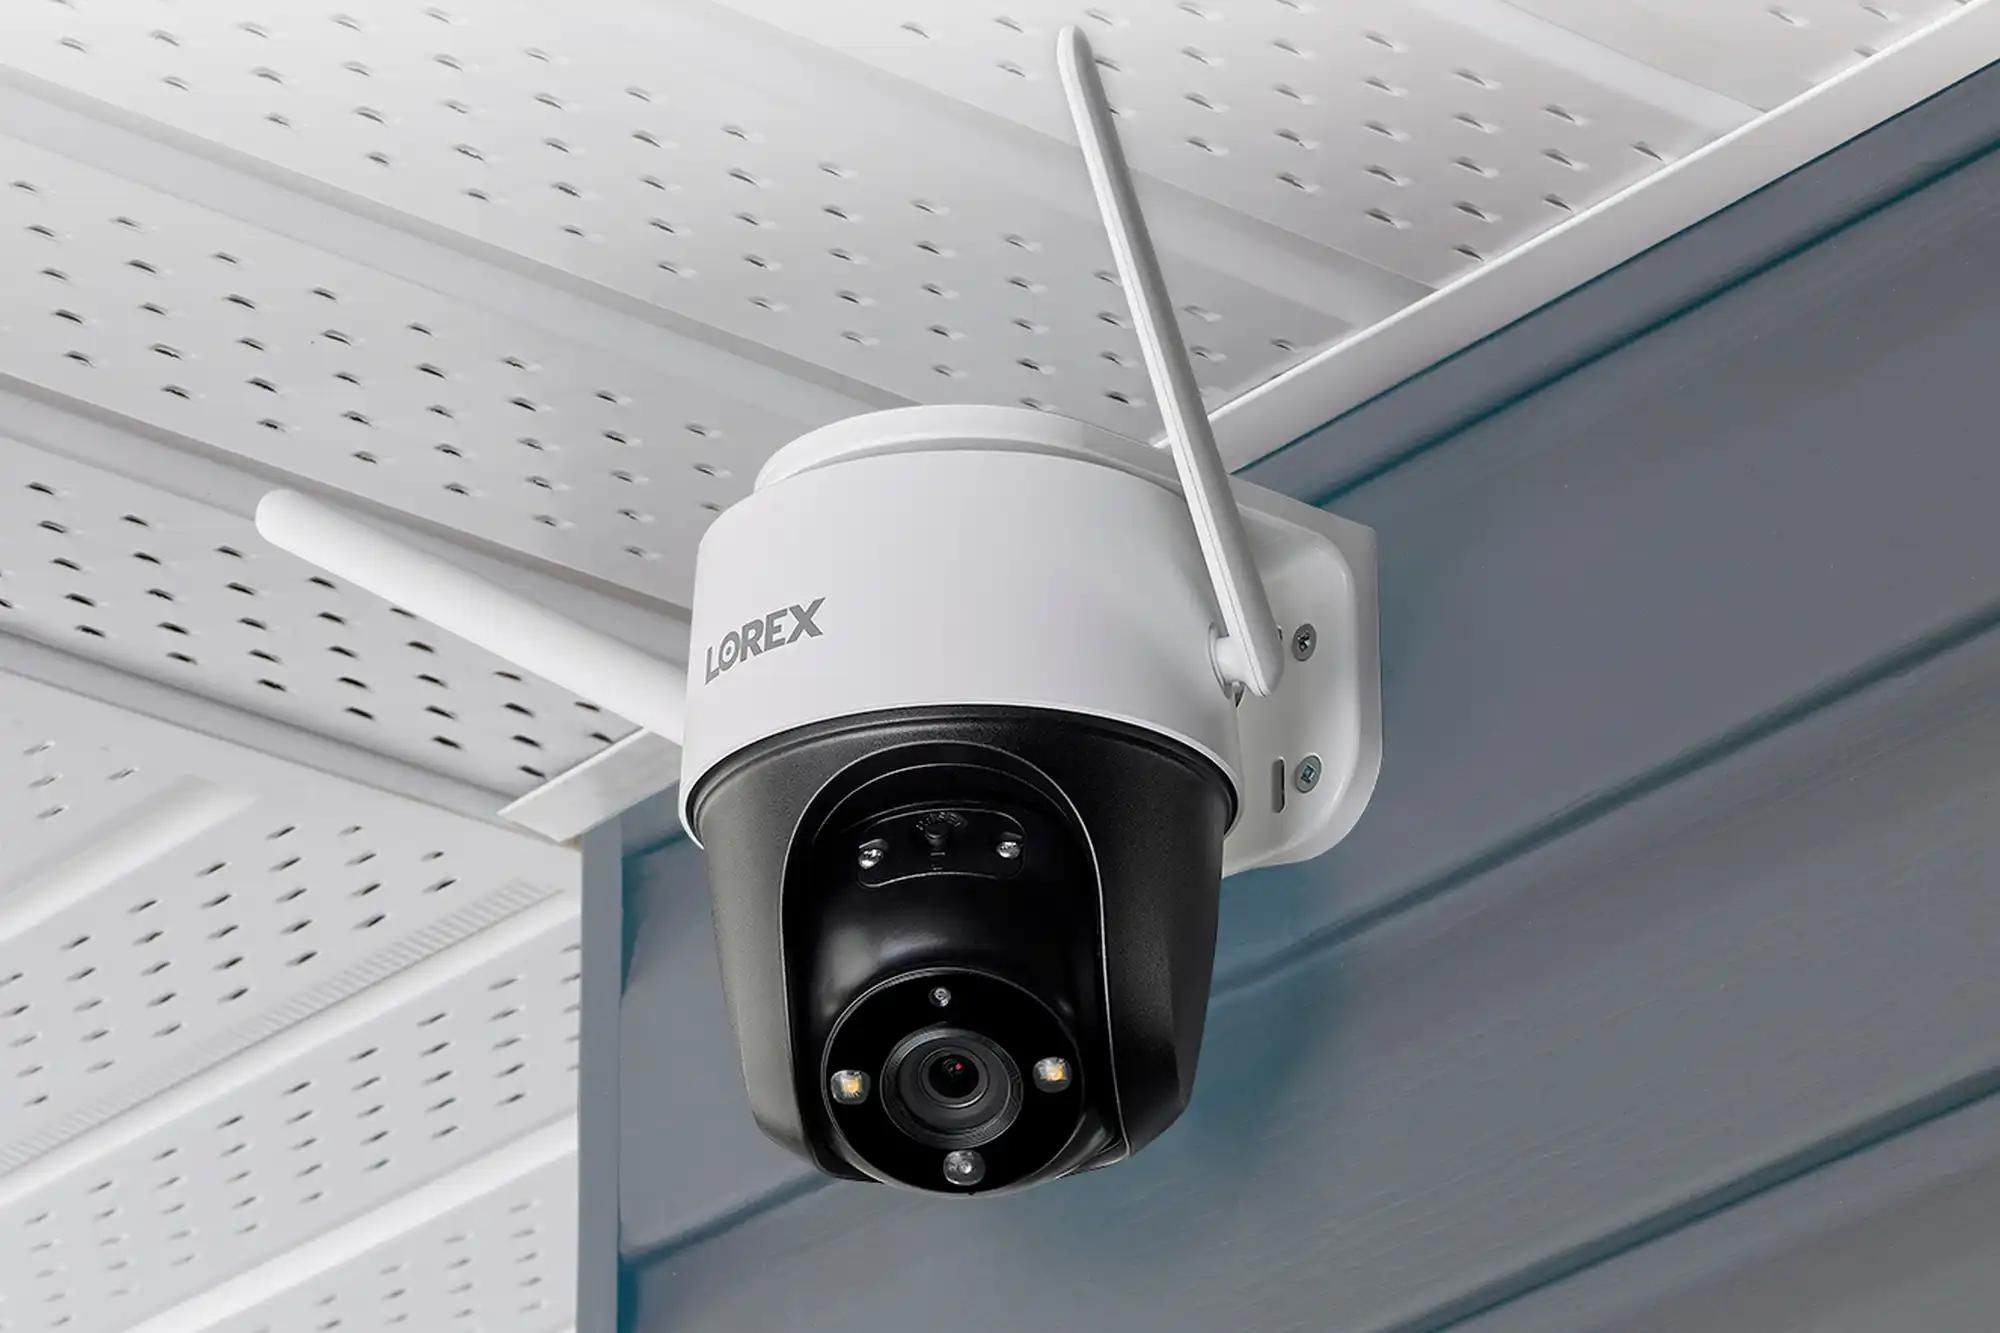
- Lorex cameras: Choose the appropriate number and type of cameras for your surveillance needs. This can include outdoor cameras, indoor cameras, dome cameras, bullet cameras, etc.
- DVR/NVR: The Digital Video Recorder (DVR) or Network Video Recorder (NVR) is the central hub of your surveillance system. It records and stores the video footage from the cameras.
- Power supply: Each camera requires a power source. Make sure you have adequate power supplies for all the cameras.
- Camera cables: These cables connect the cameras to the DVR/NVR and provide power and video signal transmission. Choose the appropriate length based on the distance between the cameras and the DVR/NVR.
- Monitor: You will need a monitor to view the live video feed and recorded footage from the surveillance system. Ensure you have a compatible monitor with the DVR/NVR.
- Mouse and keyboard: These peripherals are necessary for configuring and operating the DVR/NVR.
- Network cables (optional): If you want to access your surveillance system remotely or connect it to the internet, you may need network cables for networking purposes.
- Mounting hardware: Depending on the type of cameras you have chosen, you will need mounting hardware such as screws, brackets, and anchors to securely mount the cameras.
- Drill and screwdriver: These tools will be required for drilling holes and securing the mounting hardware.
Ensure that you have all the above-mentioned equipment readily available before you proceed with the installation process. It’s also a good idea to have a clear workspace where you can organize the equipment and keep track of the various components.
Once you have gathered all the necessary equipment, you are ready to move on to the next step: planning the system layout.
Step 2: Planning the system layout
Planning the layout of your home surveillance system is a crucial step that will determine its effectiveness and coverage. By carefully considering the placement of cameras and the areas you want to monitor, you can optimize the security of your property. Here are some points to keep in mind when planning the system layout:
- Identify vulnerable areas: Assess your property and identify areas that are more prone to break-ins or security threats. These may include entrances, windows, driveways, or backyard areas.
- Determine camera types: Determine the types of cameras you will need based on the specific areas you want to monitor. For example, outdoor areas may require weather-resistant cameras, while indoor areas may benefit from dome cameras for discreet surveillance.
- Consider camera angles: Think about the best angles for each camera to capture the desired field of view. Position the cameras in a way that eliminates blind spots and provides optimal coverage of the monitored areas.
- Consider lighting conditions: Take into account the lighting conditions in each area. Ensure that the cameras have adequate lighting or consider using cameras with enhanced low-light capabilities or built-in infrared (IR) lights for nighttime surveillance.
- Plan cable routes: Plan the routes for running and concealing the camera cables. Avoid exposed cables that may be susceptible to tampering or damage. Utilize existing structures or consider using conduit or cable covers to protect and hide the cables.
- Consider accessibility: Ensure that the cameras and DVR/NVR are easily accessible for maintenance and future expansion. Also, consider how you will run power and network cables to the cameras and the DVR/NVR.
Once you have a clear plan in mind, you can create a rough sketch or diagram of the system layout. This will help you visualize the placement of cameras and ensure that you have accounted for all the necessary components.
Remember, the goal is to have comprehensive coverage of your property while minimizing blind spots. Take your time during the planning phase to ensure that you have considered all the necessary factors. This will set the foundation for a successful surveillance system installation.
Now that you have a solid plan in place, it’s time to move on to the next step: mounting the cameras.
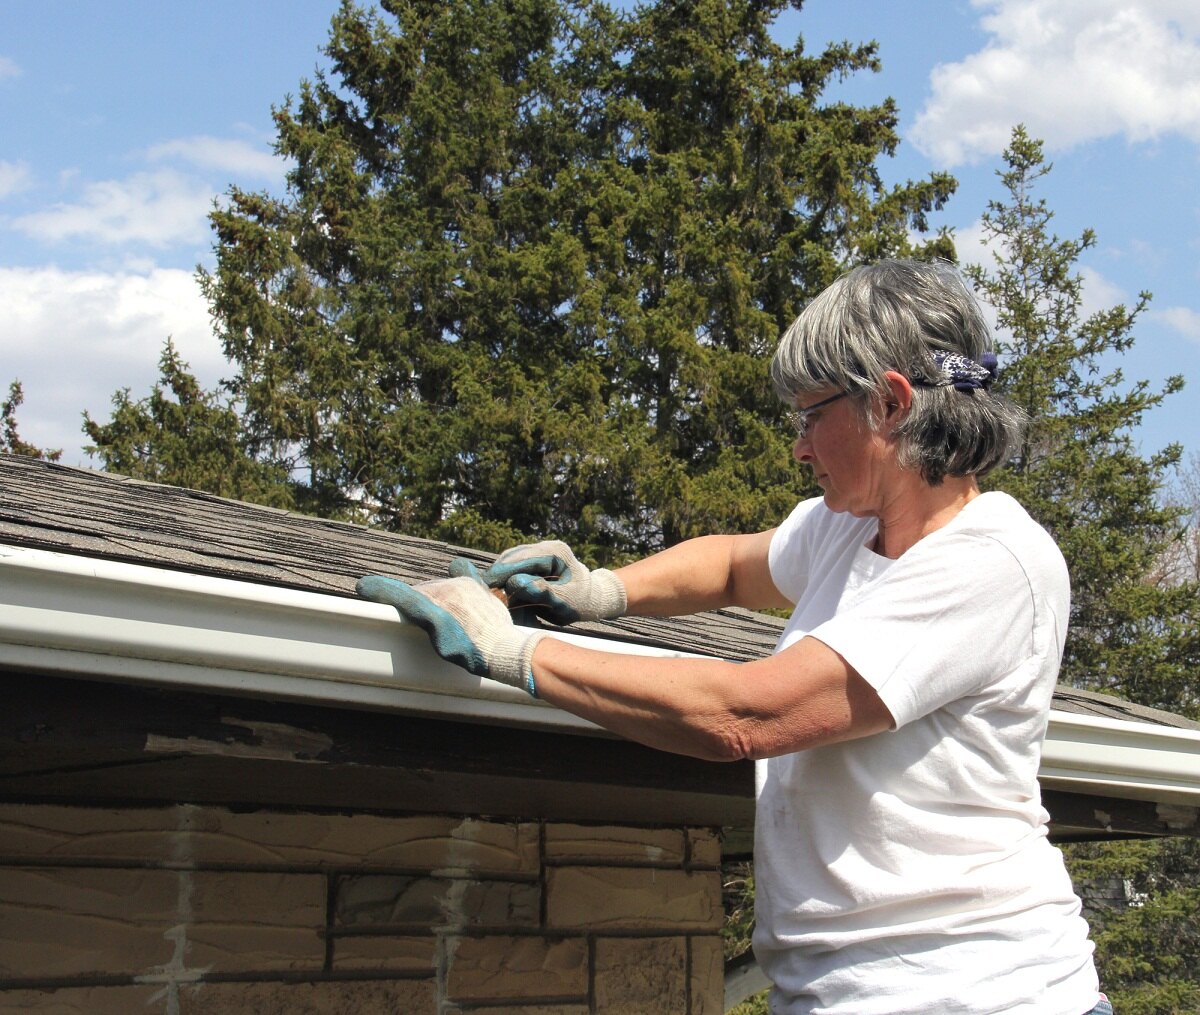
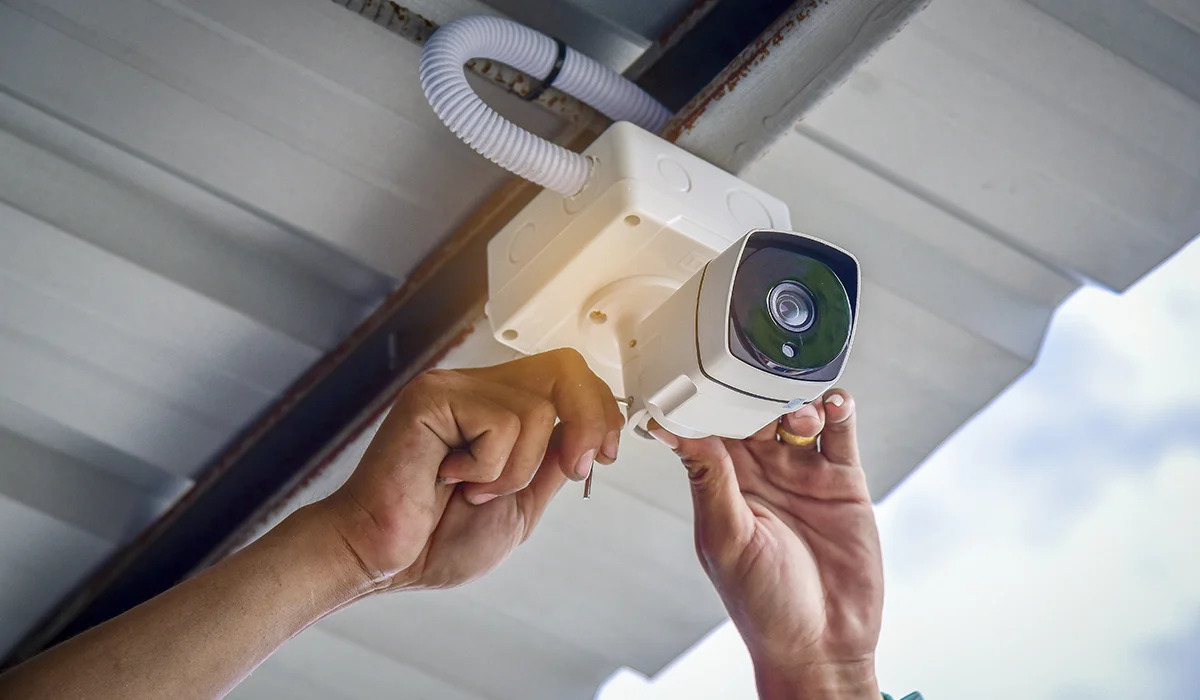
Step 3: Mounting the cameras
With the system layout planned and equipment gathered, it’s time to start mounting the cameras. Proper camera placement is crucial for capturing clear and effective surveillance footage. Follow these steps to ensure successful camera mounting:
- Select mounting locations: Refer to your system layout plan and identify the pre-determined locations where you will mount the cameras. Ensure that the chosen locations provide optimal coverage of the areas you want to monitor.
- Check camera angles: Before mounting the cameras, double-check the camera angles to ensure they are correctly positioned. Adjust if necessary to eliminate any potential blind spots.
- Prepare mounting hardware: Gather the necessary mounting hardware, including screws, anchors, brackets, or other accessories that are provided with your Lorex camera. Ensure that you have the appropriate tools, such as a drill or screwdriver, to securely mount the cameras.
- Mount the cameras: Begin by positioning the mounting bracket or base in the desired location. Use a level to ensure that the bracket is horizontally aligned. Once positioned correctly, mark the screw holes on the wall or surface. Drill pilot holes and insert anchors if needed. Finally, secure the mounting bracket using the provided screws.
- Attach cameras to brackets: Once the mounting brackets are securely in place, attach the cameras to the brackets. Follow the instructions provided with your specific Lorex camera model for proper attachment. Ensure that the cameras are firmly secured to the brackets.
- Adjust camera angles: After mounting the cameras, adjust the camera angles as needed to achieve the best possible view of the monitored areas. Fine-tune the positioning to capture the desired field of view.
Throughout the camera mounting process, be mindful of the camera cables that will be connected to each camera. Ensure that there is sufficient cable length to reach the designated connection points on the DVR/NVR. Take care to protect and conceal the cables as you proceed with the installation.
By following these steps, you will successfully mount your Lorex cameras in the desired locations. Remember to take your time and double-check the positioning and angles of each camera to ensure maximum coverage and effectiveness.
Now that the cameras are mounted, it’s time to move on to Step 4: running and concealing the cables.
Step 4: Running and concealing the cables
Now that the cameras are securely mounted, it’s time to run and conceal the cables to ensure a clean and professional installation. Proper cable management is essential for maintaining the integrity of your home and keeping the surveillance system organized. Follow these steps to run and conceal the cables:
- Plan cable routes: Refer to your system layout plan and determine the best routes for running the camera cables. Consider existing structures, such as walls or ceilings, to guide the cable paths. Avoid running cables across high-traffic areas or exposed locations.
- Measure cable lengths: Measure the required cable lengths for each camera from its mounting location to the DVR/NVR. It’s always a good idea to add a little extra length for flexibility and potential future adjustments.
- Run the cables: Start by running the camera cables from each camera’s mounting location towards the DVR/NVR. Use cable clips or wire staples to secure the cables along the planned route. Ensure that the cables are not stretched or strained, as this can affect the signal transmission.
- Conceal the cables: Concealing the cables not only enhances the aesthetics of your home but also protects them from tampering or damage. Depending on your installation scenario, you can use various methods to hide the cables. This can include running the cables through walls, using cable covers or conduits, or tucking them behind baseboards or furniture.
- Label the cables: To make future maintenance or troubleshooting easier, label each cable at both ends. Use labels or tags to identify which camera and port each cable is connected to on the DVR/NVR.
- Connect the cables: Once all the cables are run and concealed, carefully connect each cable to its corresponding port on the DVR/NVR. Ensure that the connections are secure and tight to maintain proper signal transmission.
Throughout the cable running and concealing process, it’s vital to handle the cables with care to avoid any damage. Avoid sharp bends or kinks in the cables, as this can degrade the signal quality. Additionally, ensure that the cables are protected from moisture or extreme temperatures if they are exposed to outdoor environments.
By following these steps, you will successfully run and conceal the cables, resulting in a well-organized and tidy surveillance system installation.
Now that the cables are in place, we can move on to Step 5: setting up the DVR/NVR.
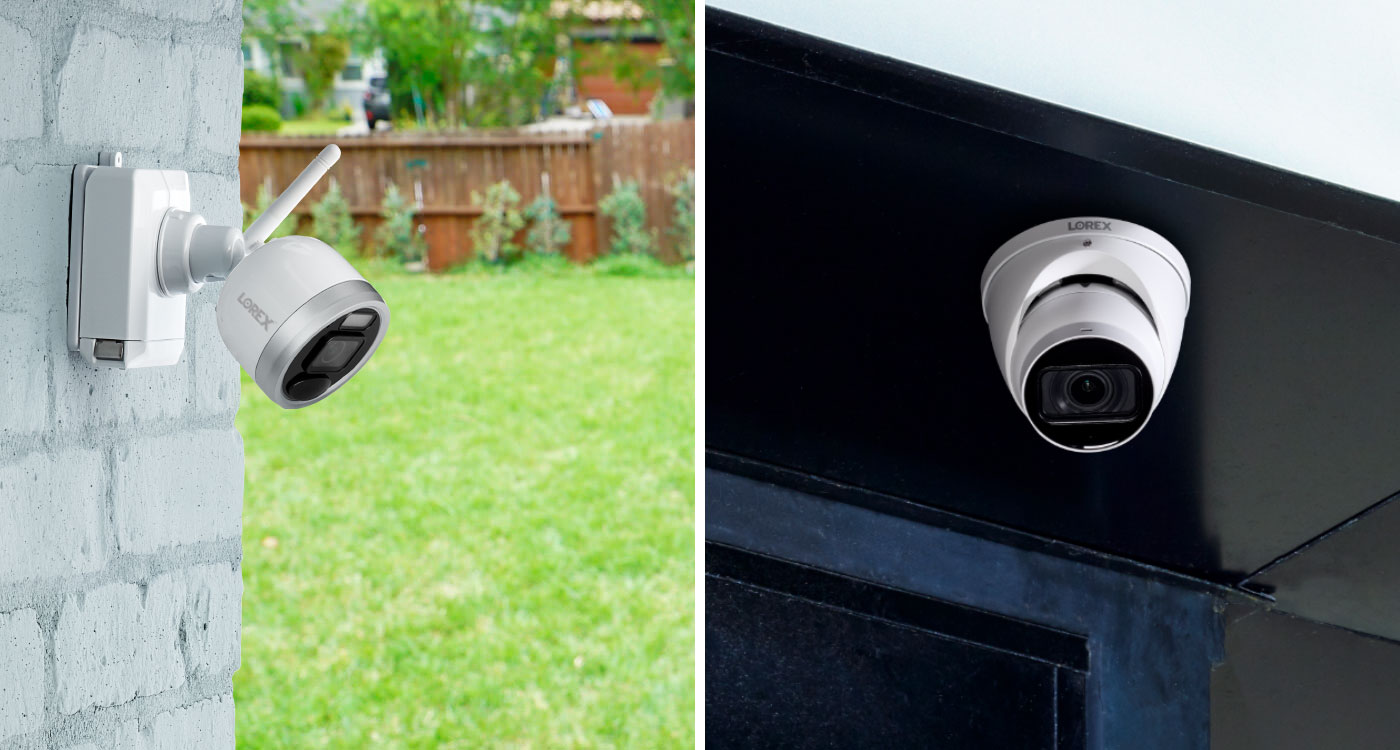
Before installing a Lorex Home Surveillance System, make sure to carefully plan the placement of your cameras to cover all important areas. This will ensure maximum security coverage for your home.
Read more: How To Install Lorex Security Camera
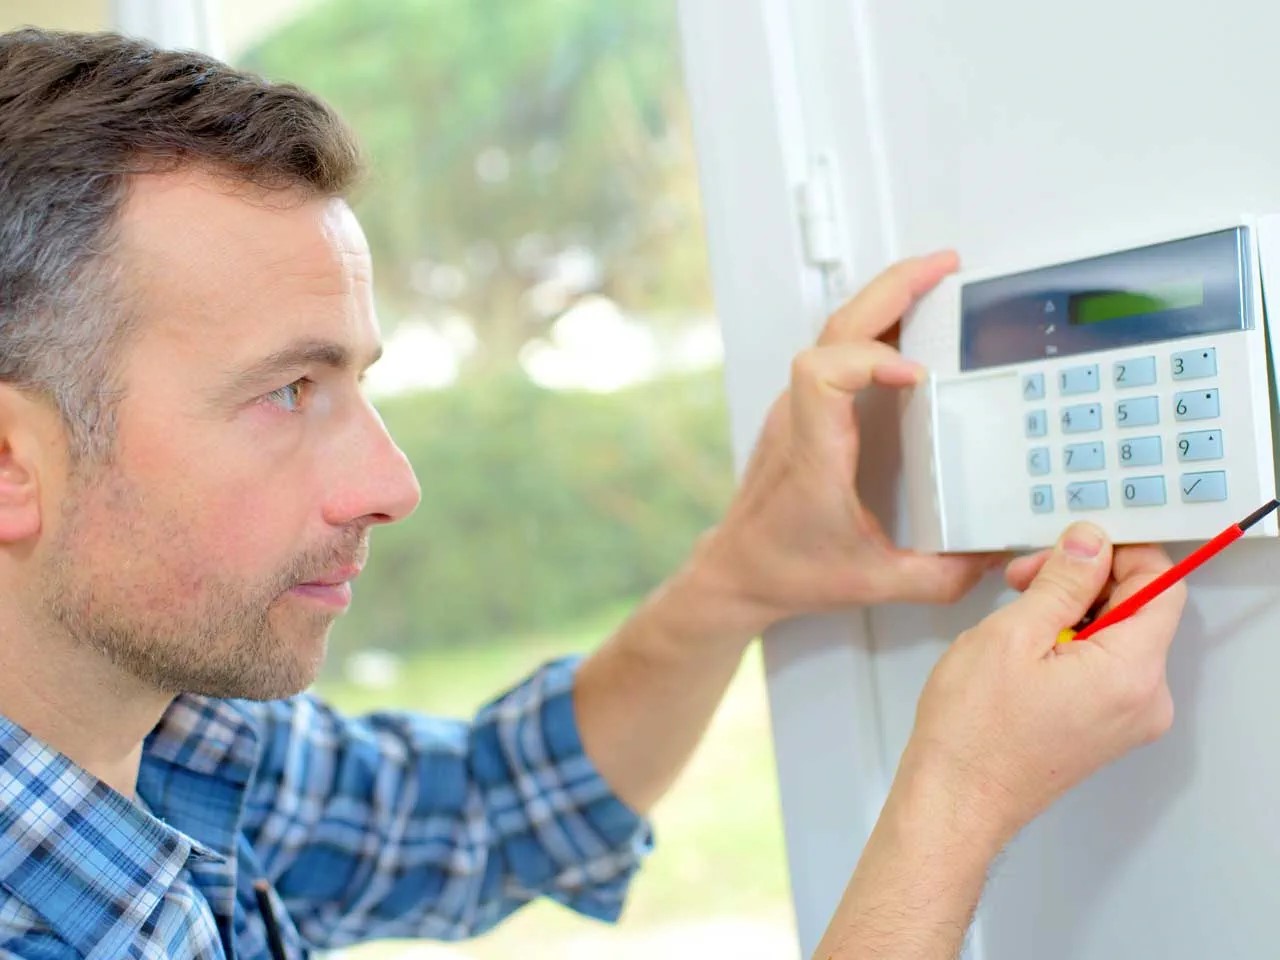
Step 5: Setting up the DVR/NVR
The DVR (Digital Video Recorder) or NVR (Network Video Recorder) is the heart of your home surveillance system. It is responsible for recording and storing the video footage from your cameras. In this step, we will guide you through the process of setting up the DVR/NVR. Follow these steps:
- Choose a suitable location: Select a secure and well-ventilated location to place the DVR/NVR. Ensure that it is easily accessible for maintenance or future upgrades.
- Connect power and peripherals: Connect the power supply to the DVR/NVR and plug it into a power outlet. Connect a monitor to the DVR/NVR using an HDMI or VGA cable. You may also need to connect a mouse and keyboard for configuration purposes.
- Power on the DVR/NVR: Turn on the power to the DVR/NVR and wait for it to boot up. Follow the on-screen prompts, if any, to complete the initial setup or configuration process.
- Set the time and date: Ensure that the time and date settings on the DVR/NVR are accurate. This information is crucial for organizing and searching recorded footage.
- Configure network settings (optional): If you want to access your surveillance system remotely or connect it to the internet, you may need to configure network settings. This may involve assigning a static IP address, setting up port forwarding, or configuring DDNS (Dynamic Domain Name System) settings.
- Create user accounts: Set up user accounts on the DVR/NVR for authorized access. Create a strong password to ensure the security of your surveillance system.
- Configure recording settings: Customize the recording settings according to your preferences. This may include setting the recording resolution, frame rate, and recording schedule. Review the available options in the DVR/NVR’s interface and make adjustments accordingly.
- Enable motion detection (optional): Motion detection can improve the efficiency of your surveillance system by only recording when motion is detected. Configure the motion detection settings and sensitivity levels to suit your needs.
It’s important to consult the user manual or instructions provided with your specific Lorex DVR/NVR model for detailed instructions on the setup process. Each model may have slightly different steps or options.
Once you have completed the setup of the DVR/NVR, you are ready to move on to the next step: connecting the cameras to the DVR/NVR.
Step 6: Connecting the cameras to the DVR/NVR
With the DVR/NVR set up, it’s time to connect the cameras to the recording device. This step is crucial as it enables the transmission of video and power signals from the cameras to the DVR/NVR. Follow these steps to ensure a successful connection:
- Locate the camera ports: Identify the camera ports on the back of your DVR/NVR. Each port is typically labeled with a camera number or channel, corresponding to the specific camera it will be connected to.
- Connect the camera cables: Take each camera’s cable and attach the appropriate connector to the corresponding camera port on the DVR/NVR. Ensure that the connection is secure and tight to maintain a stable video feed.
- Power on the cameras: Connect the power supply to each camera, either directly or through a power extension cable. Plug the power supply into a power outlet, and the cameras should start receiving power.
- Confirm camera connectivity: Access the DVR/NVR’s interface or monitor to verify that the cameras are recognized and displaying a video feed. Check that each camera’s view is clear and without any issues.
- Adjust camera settings (if needed): If necessary, access the DVR/NVR’s interface to adjust camera-specific settings like brightness, contrast, or camera-specific features. Ensure that the cameras are configured to provide the desired video quality and functionality.
- Repeat for all cameras: Repeat the above steps for each camera in your surveillance system, ensuring that all cameras are connected to the appropriate ports on the DVR/NVR and are properly powered.
Keep in mind that some Lorex surveillance systems may offer wireless camera models. For these models, the connection process may involve pairing the cameras wirelessly with the DVR/NVR using the provided instructions.
If you encounter any issues during the connection process, refer to the user manual or instructions provided with your specific Lorex camera and DVR/NVR models. Troubleshooting steps and tips are often included to help address common connectivity issues.
Once all the cameras are successfully connected to the DVR/NVR, you are ready to move on to the next step: configuring the system settings.
Step 7: Configuring the system settings
Once the cameras are connected to the DVR/NVR, it’s time to configure the system settings to ensure optimal performance and functionality. Follow these steps to set up and customize the settings according to your preferences:
- Access the DVR/NVR’s interface: Use the connected monitor or a remote login method to access the DVR/NVR’s interface. This is typically done by navigating to the device’s IP address or using the provided software.
- System settings: Begin by adjusting the system settings. This includes configuring general settings such as date and time, language preferences, and system notifications.
- Storage settings: Configure the storage settings to determine how the DVR/NVR handles recorded footage. This includes setting retention periods, storage allocation, and automatic deletion options.
- Network settings (if applicable): If you want to access your surveillance system remotely or connect it to the internet, configure the network settings. This may involve setting up port forwarding, enabling remote access, or configuring network security features.
- Monitoring and alerts: Customize the monitoring and alert settings according to your preferences. This can include enabling motion detection alerts, setting up email notifications, or configuring alarm triggers.
- Mobile and remote access: If you plan to access your surveillance system using mobile devices or remote computers, set up the necessary mobile or remote access features and applications. This allows you to monitor your property from anywhere with an internet connection.
- User management: Manage user accounts and permissions. Create additional user accounts if needed, and assign different access levels or restrictions to maintain security and control over the surveillance system.
- System updates: Check for firmware updates for your DVR/NVR and apply them if available. Regularly updating the system firmware ensures that you have the latest features, bug fixes, and security enhancements.
During the configuration process, pay close attention to the available options and refer to the user manual or instructions provided with your specific Lorex DVR/NVR model. This will ensure that you make optimal settings adjustments and take advantage of all the features offered by your surveillance system.
Once the system settings are configured, you are ready to move on to the next step: testing and troubleshooting.
Step 8: Testing and troubleshooting
After setting up the system and configuring the necessary settings, it’s crucial to test your Lorex home surveillance system to ensure it’s functioning as expected. Follow these steps to perform system testing:
- Verify camera feeds: Check each camera’s live video feed on the connected monitor or through the remote viewing application. Ensure that all cameras are providing clear and steady video without any issues.
- Test motion detection: If you have enabled motion detection, test its functionality by moving within the camera’s field of view. Make sure that the motion triggers the system to record and/or send notifications as configured.
- Test remote access: If you plan to access the surveillance system remotely, try connecting to it from a remote device. Verify that you can access the live video feed and recorded footage from outside your home network.
- Review recorded footage: Playback the recorded footage to verify its quality and ensure that all cameras are capturing the desired areas effectively. Use the playback controls to navigate through the recorded timeline.
- Check system notifications: Ensure that you are receiving any configured system notifications, such as motion detection alerts or email notifications, as expected.
- Perform system maintenance: Regularly clean the camera lenses and check for any physical damage or obstructions. Ensure that the DVR/NVR is kept in a well-ventilated area to prevent overheating.
If you encounter any issues during the testing process, here are some troubleshooting steps to consider:
- Check camera connections: Double-check the camera connections to ensure they are securely plugged into the DVR/NVR.
- Restart the system: Sometimes, a simple restart of the DVR/NVR or the cameras can resolve minor issues.
- Update firmware: Check for firmware updates for both the DVR/NVR and cameras. Updating to the latest firmware can fix known issues and improve system performance.
- Adjust camera settings: Fine-tune the camera settings, such as brightness, contrast, or motion detection sensitivity, to optimize video quality and system functionality.
- Consult technical support: If all else fails, consult the Lorex technical support team or refer to the user manual for further assistance in troubleshooting and resolving any issues.
Regularly test and perform maintenance on your home surveillance system to ensure that it continues to provide reliable security and surveillance. Stay vigilant and address any issues promptly to maintain the effectiveness of your Lorex system.
Congratulations! You’ve successfully completed the installation of your Lorex home surveillance system. Enjoy the peace of mind that comes with knowing your property is protected and monitored.
If you have any further questions or need additional guidance, don’t hesitate to consult the Lorex support team or refer to the user manual for your specific Lorex model.
Now go forth and enjoy the enhanced security and peace of mind that your Lorex home surveillance system brings!
Read more: How To Install Lorex Wired Security Cameras
Conclusion
Installing a Lorex home surveillance system is a rewarding and empowering experience that allows you to protect your home and loved ones. By following the step-by-step guide outlined in this article, you can successfully set up and install your own surveillance system, saving both time and money.
From gathering the necessary equipment to configuring the system settings, each step plays a crucial role in creating a secure and efficient surveillance system. By carefully planning the layout, mounting the cameras, running and concealing the cables, setting up the DVR/NVR, connecting the cameras, and configuring the system settings, you can optimize the performance and coverage of your Lorex home surveillance system.
After completing the installation process, it’s essential to thoroughly test the system and ensure all cameras are functioning correctly. Regular maintenance and troubleshooting will help address any issues that may arise in the future and ensure the continued effectiveness of your surveillance system.
Remember to consult the user manual and technical support resources provided by Lorex for your specific model if you encounter any difficulties or have further questions. They can provide valuable assistance and guidance throughout the installation and usage of your surveillance system.
Enjoy the peace of mind that comes with knowing your home is protected by a reliable and advanced surveillance system. With Lorex, you have a trusted partner in home security and surveillance.
So, go ahead and take control of your home security by installing a Lorex home surveillance system. Enhance your peace of mind and keep a watchful eye on your property, knowing that you have taken the necessary steps to protect what matters most to you.
Frequently Asked Questions about How To Install A Lorex Home Surveillance System By Yourself
Was this page helpful?
At Storables.com, we guarantee accurate and reliable information. Our content, validated by Expert Board Contributors, is crafted following stringent Editorial Policies. We're committed to providing you with well-researched, expert-backed insights for all your informational needs.