Home>Articles>How To Install Delta Mandara Toilet Paper Holder
Articles
How To Install Delta Mandara Toilet Paper Holder
Modified: February 22, 2024
Learn how to easily install the Delta Mandara Toilet Paper Holder with our step-by-step guide. Find helpful articles and tips to ensure a hassle-free installation process.
(Many of the links in this article redirect to a specific reviewed product. Your purchase of these products through affiliate links helps to generate commission for Storables.com, at no extra cost. Learn more)
Introduction
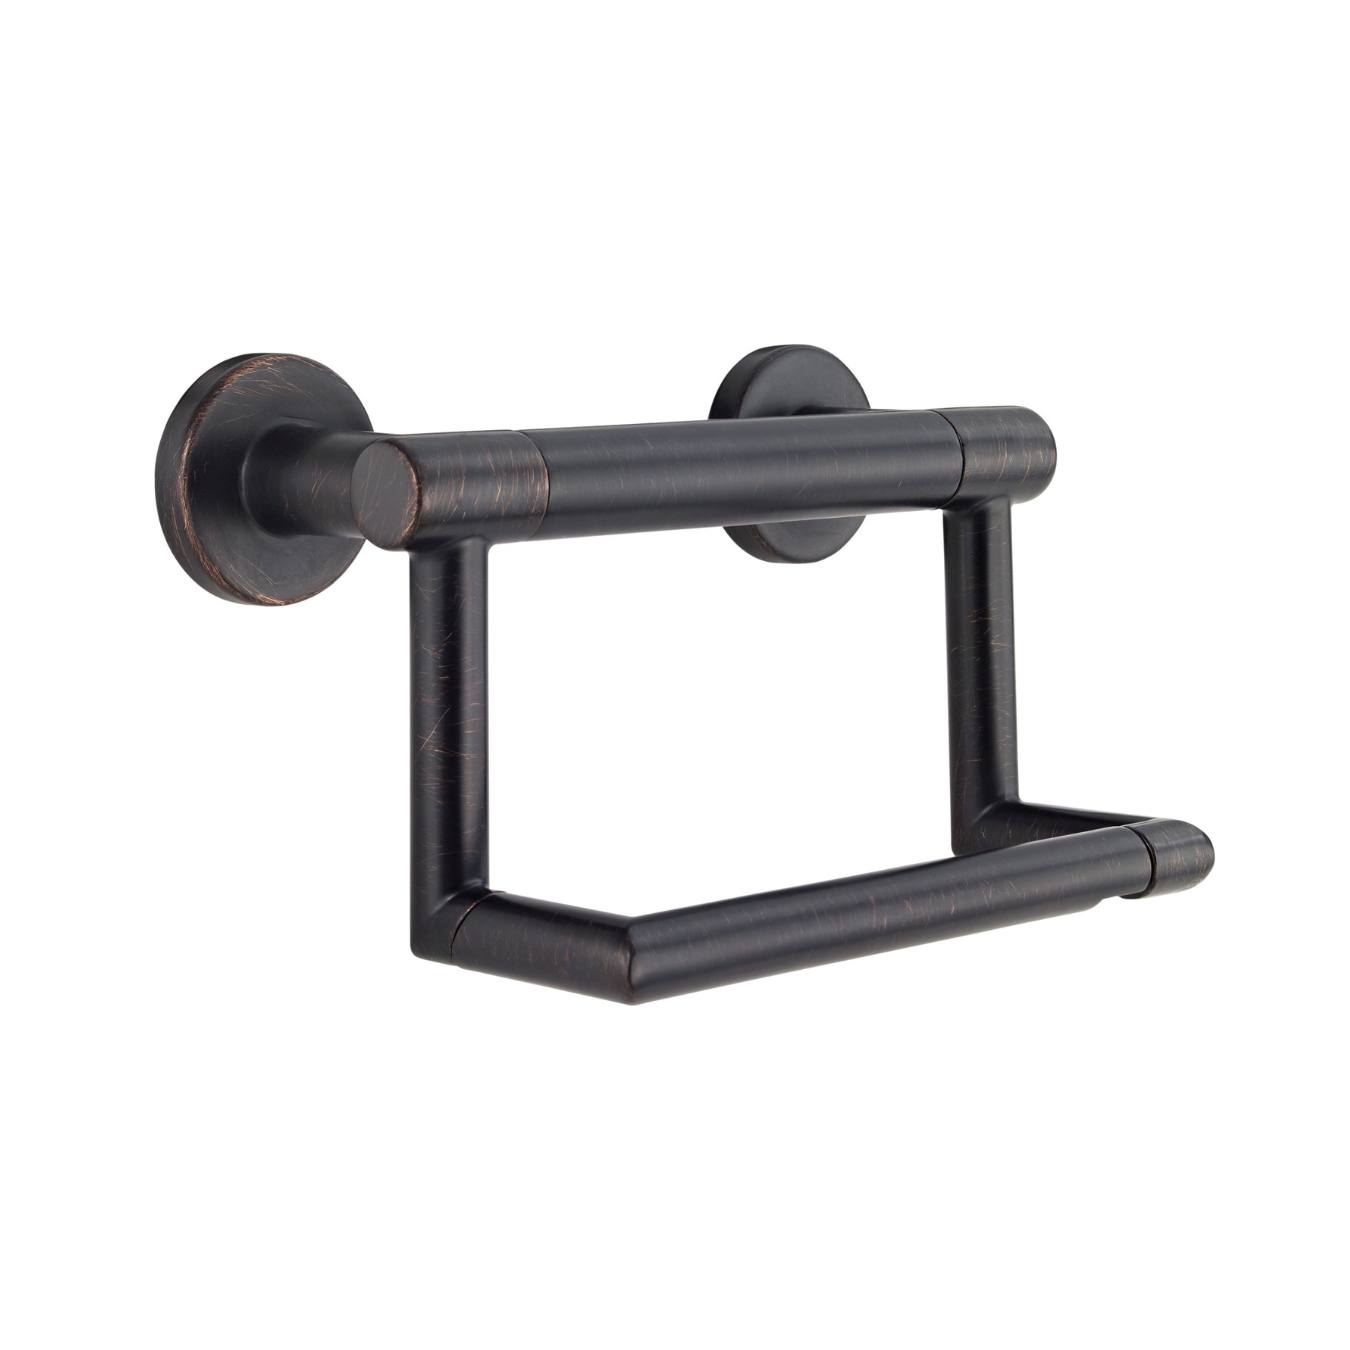
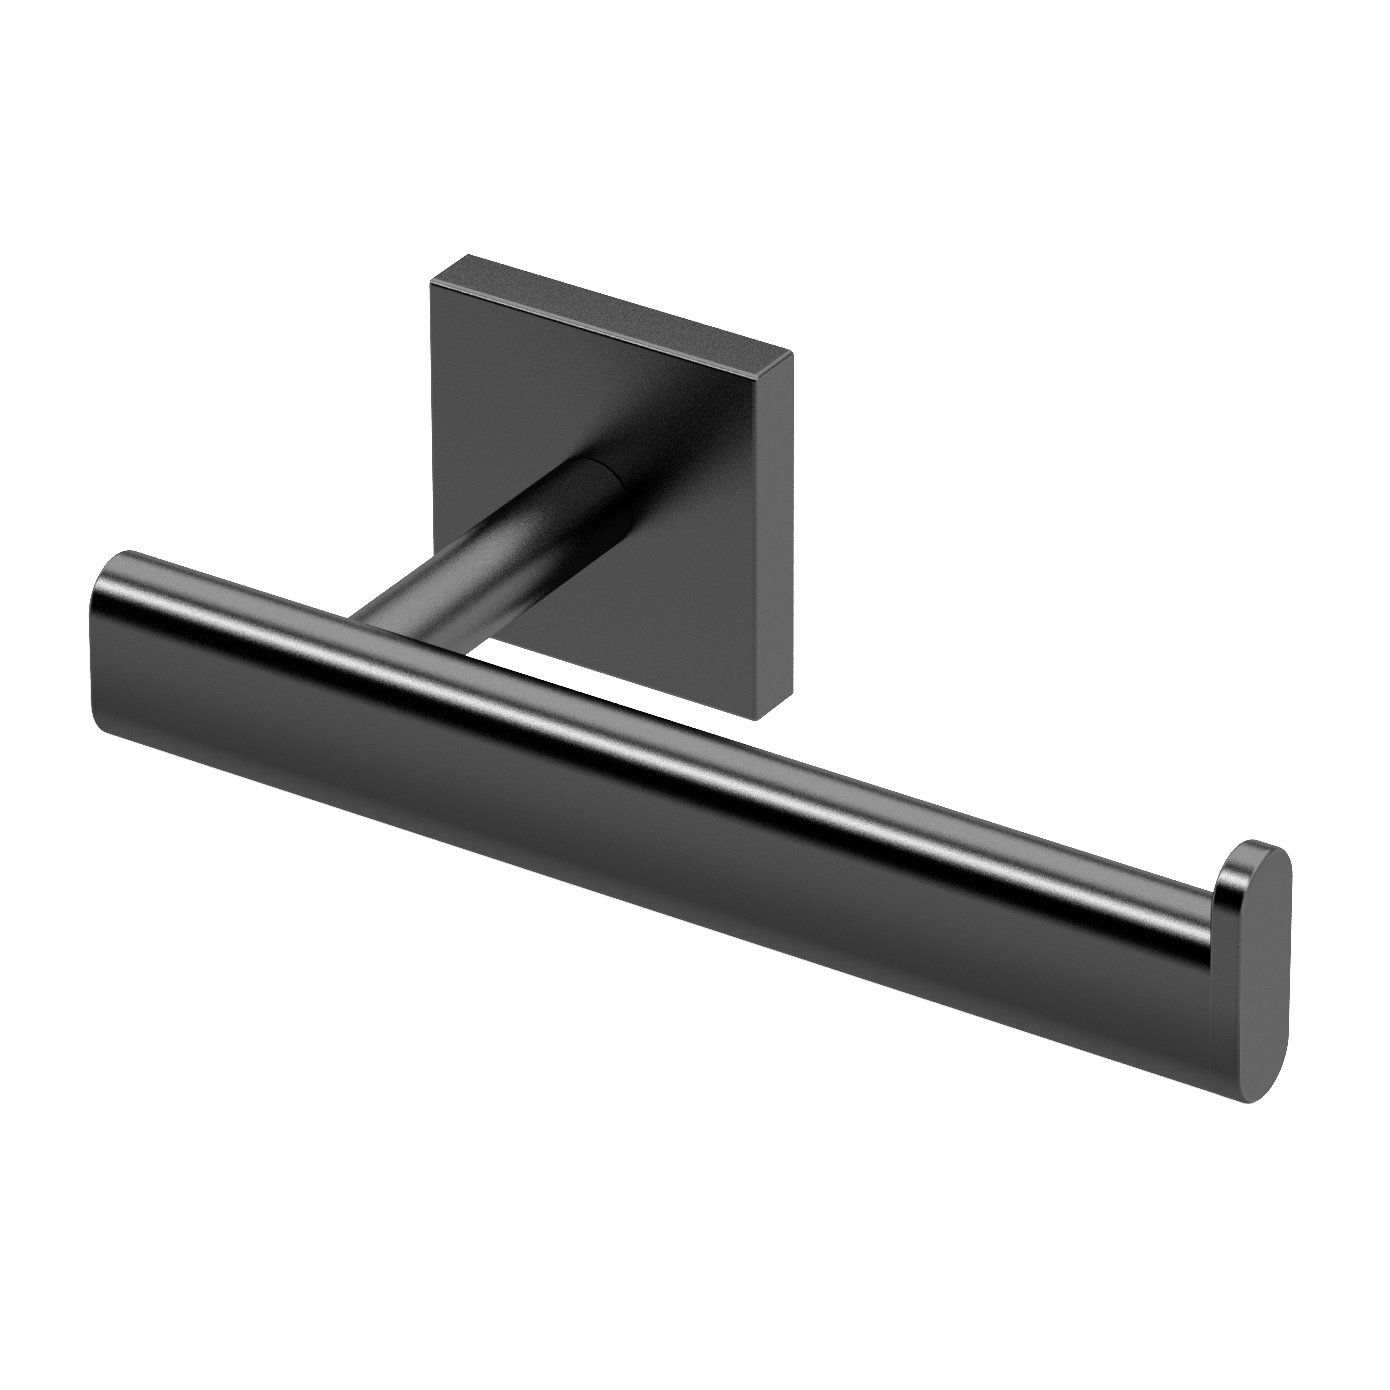
Welcome to our step-by-step guide on how to install the Delta Mandara Toilet Paper Holder. This stylish and functional accessory not only adds convenience and organization to your bathroom, but it also adds a touch of elegance to your space. Whether you’re new to DIY projects or a seasoned handyman, this article will provide you with all the information you need to successfully install the Delta Mandara Toilet Paper Holder on your own.
Before we dive into the installation process, let’s take a moment to discuss the importance of choosing the right toilet paper holder. A quality holder, like the Delta Mandara, ensures that your toilet paper stays securely in place, preventing any accidental unraveling or mess. Additionally, it adds a polished look to your bathroom decor, complementing the overall design and aesthetics.
Installing the Delta Mandara Toilet Paper Holder is relatively simple and can be completed in just a few steps. However, it’s important to gather the necessary tools and materials before you begin. Let’s take a look at what you’ll need:
Key Takeaways:
- Installing the Delta Mandara Toilet Paper Holder is a simple DIY project that adds convenience and elegance to your bathroom. Follow the step-by-step guide for a secure and stylish installation.
- Checking the stability of the holder and adding finishing touches ensures long-lasting functionality and a beautifully organized bathroom. Enjoy the convenience and aesthetics of the Delta Mandara Toilet Paper Holder.
Tools and Materials Needed
Before you start the installation process, make sure you have the following tools and materials ready:
- Delta Mandara Toilet Paper Holder (included in the packaging)
- Pencil or marker
- Tape measure
- Screwdriver (depending on the mounting method)
- Level
- Drill
- Drill bits
- Wall anchors
- Screws
- Hammer (optional, may be needed for certain wall types)
- Painter’s tape (optional, for marking the location)
It’s essential to have these tools and materials on hand to ensure a smooth and efficient installation process. If you don’t already have these items, they can be easily found at your local hardware store or home improvement center. Now that you have everything prepared, let’s move on to the installation steps.
Step 1: Assessing the Mounting Location
The first step in installing the Delta Mandara Toilet Paper Holder is to determine the ideal location for mounting it. Choose a spot within reach of the toilet, preferably near the toilet bowl or on a nearby wall. This will ensure convenience and ease of use.
Take into consideration the height at which you want the toilet paper holder to be installed. Generally, a height of around 26 inches (66 cm) from the floor to the center of the holder is recommended for optimal accessibility.
Another factor to consider is the presence of any obstructions such as plumbing pipes or electrical wires behind the wall. It’s crucial to avoid drilling into any of these obstructions to prevent damage and ensure a secure installation.
To assess the mounting location, hold the Delta Mandara Toilet Paper Holder against the wall at your desired height and position. Use a pencil or marker to make small marks on the wall at the location of the mounting holes on the holder. This will serve as a guide for the next step.
Before proceeding, it’s a good idea to double-check the placement by holding a roll of toilet paper against the marks to ensure that it will fit comfortably on the holder without any obstructions.
With the mounting location assessed, marked, and confirmed, you’re ready to move on to the next step of the installation process.
Step 2: Marking the Mounting Holes
Once you have determined the ideal location for your Delta Mandara Toilet Paper Holder, it’s time to mark the mounting holes on the wall. This will serve as a guide for drilling and ensure accurate placement.
Start by aligning the holder with the previously marked spots on the wall, making sure it is level. Use a level to ensure that the holder is perfectly horizontal or at the desired angle if you prefer a slanted installation.
Once the holder is level, take a pencil or marker and mark the center of each mounting hole on the wall. Make sure to mark both the top and bottom mounting holes accurately.
If you’re unsure about the exact position of the mounting holes, you can use painter’s tape to create a template on the wall. Simply stick the tape to the wall, aligning it with the holder’s markings, and then mark the center of the tape instead. This will provide a clearer visual guide for drilling.
Remember to take measurements and double-check the positioning before marking the holes. This will help you avoid any mistakes and ensure a clean and professional-looking installation.
Once you have marked the mounting holes on the wall, you’re ready to move on to the next step: preparing the wall for installation.
Step 3: Preparing the Wall for Installation
Before you begin the actual installation of the Delta Mandara Toilet Paper Holder, it’s important to prepare the wall to ensure a secure and long-lasting installation.
If your bathroom wall is made of drywall, it’s recommended to use wall anchors to provide extra stability for the holder. Start by selecting the appropriate drill bit for the wall anchors. The size of the bit should match the diameter of the anchors you are using, which is usually indicated on the packaging.
Once you have the correct drill bit, carefully drill a hole at each of the marked mounting hole locations. Make sure to drill straight and avoid applying excessive pressure to prevent damage to the wall or excessive enlarged holes.
After drilling the holes, remove any dust or debris from the holes and clean the surrounding area. This will ensure a proper fit for the wall anchors and prevent any obstructions during installation.
If your bathroom wall is made of tile or other hard materials, you may need to use a different method for installation. Consult the manufacturer’s instructions or seek professional advice to ensure a secure and appropriate solution for mounting the Delta Mandara Toilet Paper Holder.
With the holes drilled and the wall prepared, you’re now ready to move on to the next step: installing the mounting bracket.
When installing the Delta Mandara Toilet Paper Holder, make sure to use a level to ensure it is straight. Also, use the provided template for accurate placement of the mounting hardware.
Step 4: Installing the Mounting Bracket
With the wall prepared, it’s time to install the mounting bracket for the Delta Mandara Toilet Paper Holder.
Start by aligning the mounting bracket with the drilled holes on the wall. Insert the screws provided into the holes on the bracket and begin tightening them, but not fully, ensuring that the bracket is securely attached to the wall.
Next, use a level to check if the mounting bracket is still straight and adjust if necessary. This step is crucial to ensure that your toilet paper holder sits level and looks visually appealing.
Once you are satisfied with the alignment, use a screwdriver or drill to fully tighten the screws, making sure the bracket is firmly secured to the wall.
If your installation requires the use of wall anchors, insert them into the drilled holes before attaching the mounting bracket. Gently tap the anchors into place using a hammer if needed.
After the mounting bracket is securely installed, give it a gentle tug to confirm its stability. If there is any wobbling or movement, tighten the screws further to secure it in place.
Now that the mounting bracket is in position, you’re ready to move on to the next step: attaching the toilet paper holder.
Step 5: Attaching the Toilet Paper Holder
With the mounting bracket securely in place, it’s time to attach the Delta Mandara Toilet Paper Holder itself.
Start by aligning the holes on the back of the holder with the corresponding holes on the mounting bracket. Insert the screws provided into the holes and begin tightening them, but not fully, leaving some play for adjustment.
Once the holder is partially attached, adjust its position to ensure it is level and aligned with the surrounding space. Use a level to double-check the alignment and make any necessary adjustments before fully tightening the screws.
When tightening the screws, be careful not to over-tighten as it may cause damage to the holder or strip the screw holes. Use a screwdriver or drill with caution to achieve a secure but not overly tight connection.
After tightening the screws, give the holder a gentle tug to check its stability. It should feel secure with no wobbling or movement. If needed, make further adjustments or tighten the screws as necessary to ensure a stable and secure attachment.
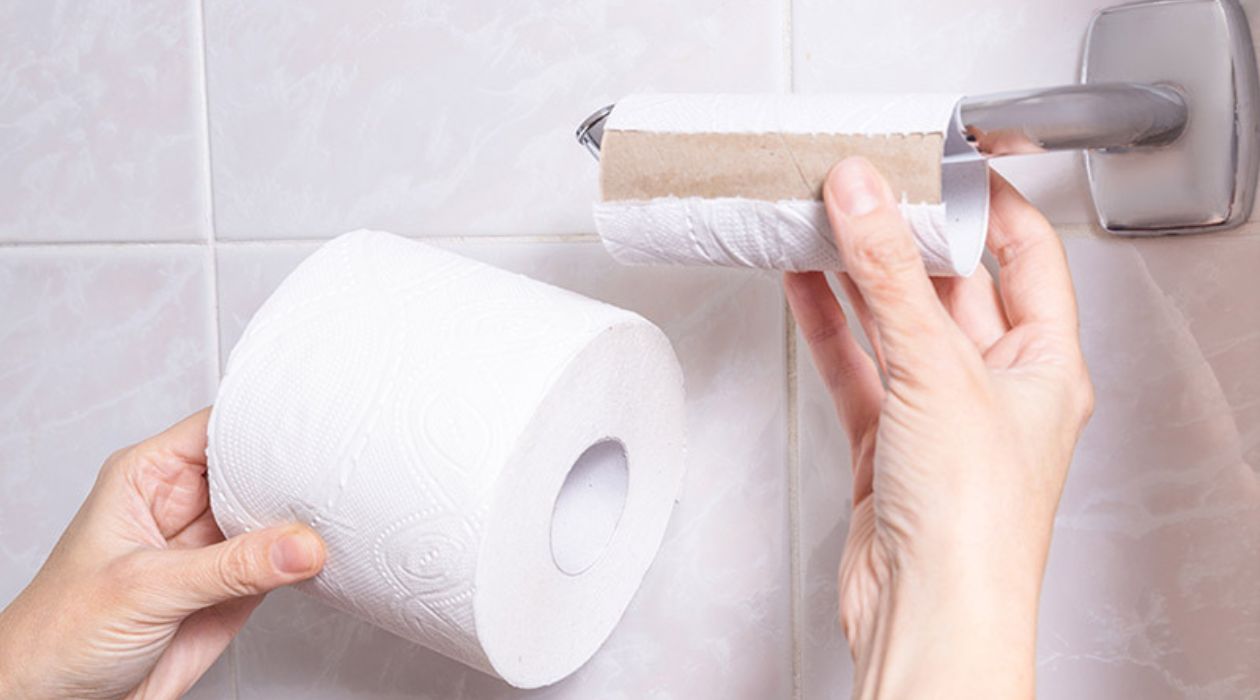
Once the holder is securely attached, test its functionality by sliding a roll of toilet paper onto the holder. It should fit snugly and have no difficulty rotating or turning.
Now that the toilet paper holder is successfully attached, you’re ready to move on to the next step: checking the stability.
Step 6: Checking the Stability
After attaching the Delta Mandara Toilet Paper Holder, it’s crucial to check its stability to ensure it can withstand regular use without any issues.
To check the stability, give the holder a gentle tug in different directions. It should feel secure and firmly attached to the wall without any wobbling or movement.
If you notice any instability or movement, carefully examine the mounting bracket and screws. Check if they are properly tightened and if there are any signs of loose connections. If necessary, tighten the screws further to secure the holder in place.
Additionally, verify that the wall anchors, if used, are not protruding or causing any instability. If they are not properly inserted or are causing issues, consider removing them and using a different method to secure the holder.
It’s also important to test the functionality of the holder by inserting and removing a roll of toilet paper. Confirm that the roll stays securely in place and does not easily slip or fall off.
If you find any stability or functionality issues, it’s recommended to troubleshoot and address them promptly. This may involve readjusting the mounting bracket, tightening screws, or exploring alternative installation methods.
By ensuring the stability of the Delta Mandara Toilet Paper Holder, you can enjoy its functionality and aesthetics in your bathroom without any concerns.
Now that you have checked the stability, it’s time to move on to the final step: finishing touches.
Step 7: Finishing Touches
With the Delta Mandara Toilet Paper Holder securely installed and tested for stability, it’s time to add the finishing touches to complete the installation process.
Start by cleaning any fingerprints, smudges, or marks that may have occurred during the installation. Use a damp cloth or a mild cleaning solution to gently wipe down the holder, ensuring it looks clean and polished.
Next, step back and take a moment to admire your newly installed toilet paper holder. Ensure that it is aligned correctly, level, and complements the overall design of your bathroom.
If desired, you can further enhance the aesthetics of the holder by adding decorative elements around it. Consider adding a small potted plant, a scented candle, or other bathroom accessories that complement the style and ambiance of your space.
Finally, take a moment to appreciate the convenience and functionality that the Delta Mandara Toilet Paper Holder brings to your bathroom. Enjoy the ease of accessing and replacing toilet paper rolls, knowing that it is securely and beautifully held in place.
Congratulations! You have successfully installed the Delta Mandara Toilet Paper Holder. By following these steps, you have not only organized your bathroom but also added a touch of elegance and practicality to the space.
Remember to periodically check the holder’s stability and make any necessary adjustments or repairs to ensure its long-lasting functionality. With proper maintenance, your Delta Mandara Toilet Paper Holder will continue to serve you for years to come.
We hope this installation guide has been helpful to you. Thank you for choosing the Delta Mandara Toilet Paper Holder, and we wish you many enjoyable moments in your beautifully organized bathroom!
For any further assistance or questions, please consult the product manual or reach out to the manufacturer’s customer support.
Read more: How To Install A New Toilet Paper Holder
Conclusion
Installing the Delta Mandara Toilet Paper Holder is a straightforward process that adds convenience, organization, and style to your bathroom. By following the step-by-step guide in this article, you can successfully install the holder on your own, whether you’re a DIY enthusiast or a first-time handyman.
From assessing the ideal mounting location to marking the holes, preparing the wall, and installing the mounting bracket, each step is important in ensuring a secure and stable installation.
Attaching the Delta Mandara Toilet Paper Holder and checking its stability is crucial to guarantee that it can withstand regular use without any issues. By performing stability checks and making necessary adjustments, you can be confident that your holder will securely hold toilet paper rolls and remain in place for years to come.
Lastly, adding the finishing touches, such as cleaning the holder and appreciating its aesthetics, completes the installation process. Take pride in your newly organized bathroom and enjoy the convenience and elegance that the Delta Mandara Toilet Paper Holder brings to the space.
Remember, proper maintenance and periodic checks are essential to ensure the holder’s longevity and functionality. By following these steps and taking care of your toilet paper holder, you can continue to enjoy its benefits for years to come.
We hope this installation guide has been helpful, and we thank you for choosing the Delta Mandara Toilet Paper Holder. Should you have any further questions or need assistance, consult the product manual or reach out to the manufacturer’s customer support.
Enjoy your beautifully organized bathroom and the ease of accessing and replacing toilet paper rolls with the Delta Mandara Toilet Paper Holder!
Frequently Asked Questions about How To Install Delta Mandara Toilet Paper Holder
Was this page helpful?
At Storables.com, we guarantee accurate and reliable information. Our content, validated by Expert Board Contributors, is crafted following stringent Editorial Policies. We're committed to providing you with well-researched, expert-backed insights for all your informational needs.


0 thoughts on “How To Install Delta Mandara Toilet Paper Holder”