Home>Articles>How To Install Single Post Toilet Paper Holder
Articles
How To Install Single Post Toilet Paper Holder
Modified: March 1, 2024
Learn how to easily install a single post toilet paper holder with our step-by-step guide. Perfect for articles on DIY home improvement projects.
(Many of the links in this article redirect to a specific reviewed product. Your purchase of these products through affiliate links helps to generate commission for Storables.com, at no extra cost. Learn more)
Introduction
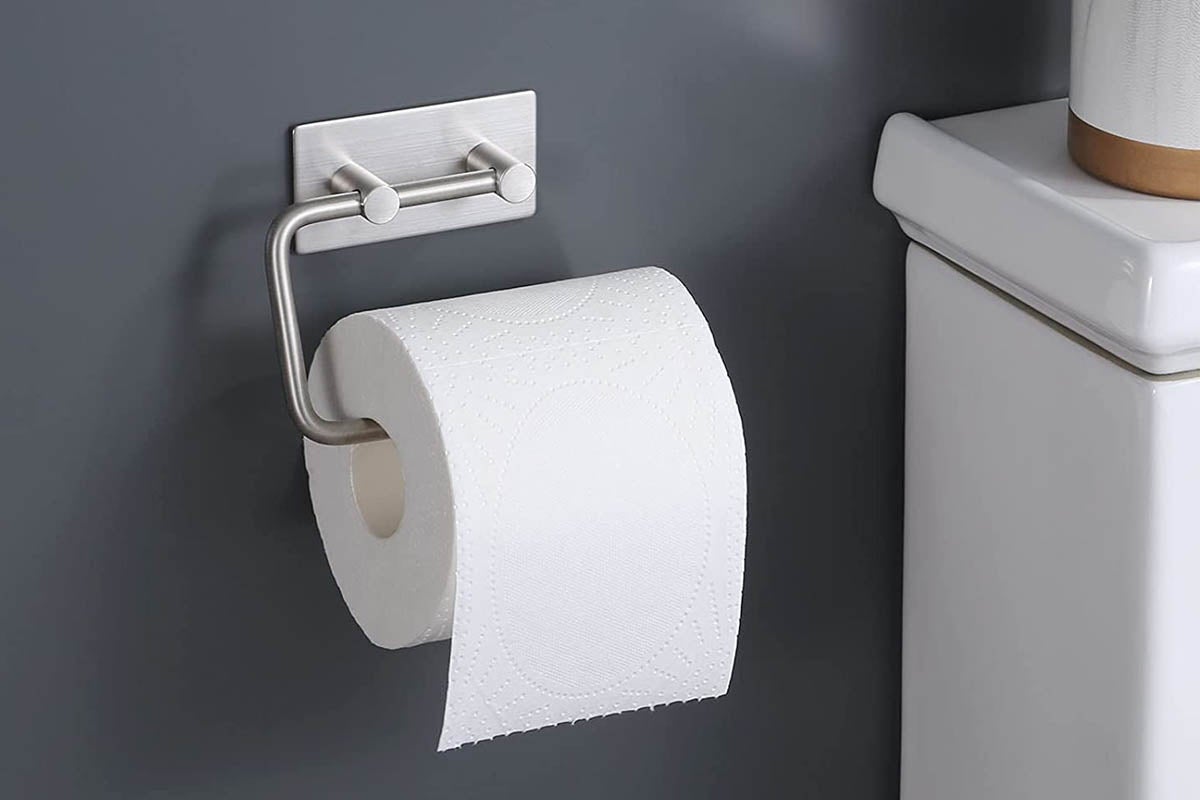
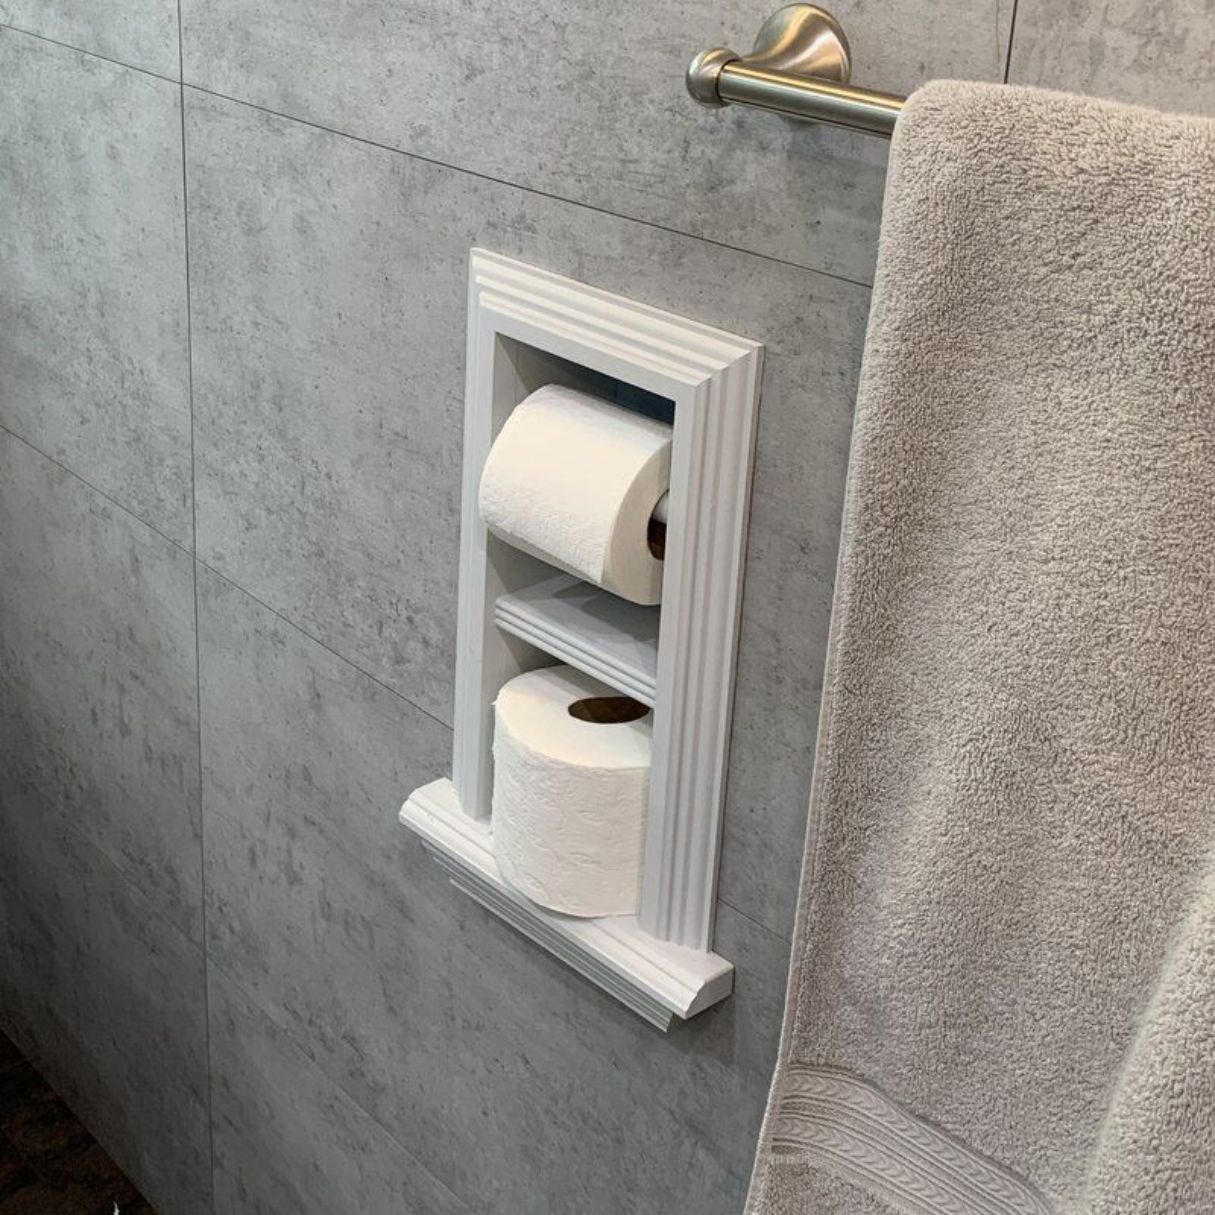
Installing a single post toilet paper holder in your bathroom not only adds functionality but can also be a stylish addition to your decor. No more fumbling with loose rolls or searching for a place to put your toilet paper. With a single post holder, you can keep your toilet paper within easy reach and neatly organized.
In this article, we will guide you through the step-by-step process of installing a single post toilet paper holder. Whether you are a DIY enthusiast or a beginner, with the right tools and a little patience, you can easily complete this project in no time.
Before we dive into the installation process, let’s go over the necessary tools and materials you will need:
Key Takeaways:
- Easily enhance your bathroom’s functionality and style by installing a single post toilet paper holder. Follow the step-by-step guide for a convenient and rewarding DIY project.
- Choosing the right location, precise marking, and secure installation are key to a stable and visually appealing single post toilet paper holder. Enjoy the convenience and tidiness it brings to your bathroom!
Necessary Tools and Materials
Before you begin the installation of a single post toilet paper holder, make sure you have the following tools and materials handy:
- Screwdriver
- Drill
- Tape measure
- Pencil or marker
- Level
- Anchors (if required)
- Screws
- Single post toilet paper holder kit
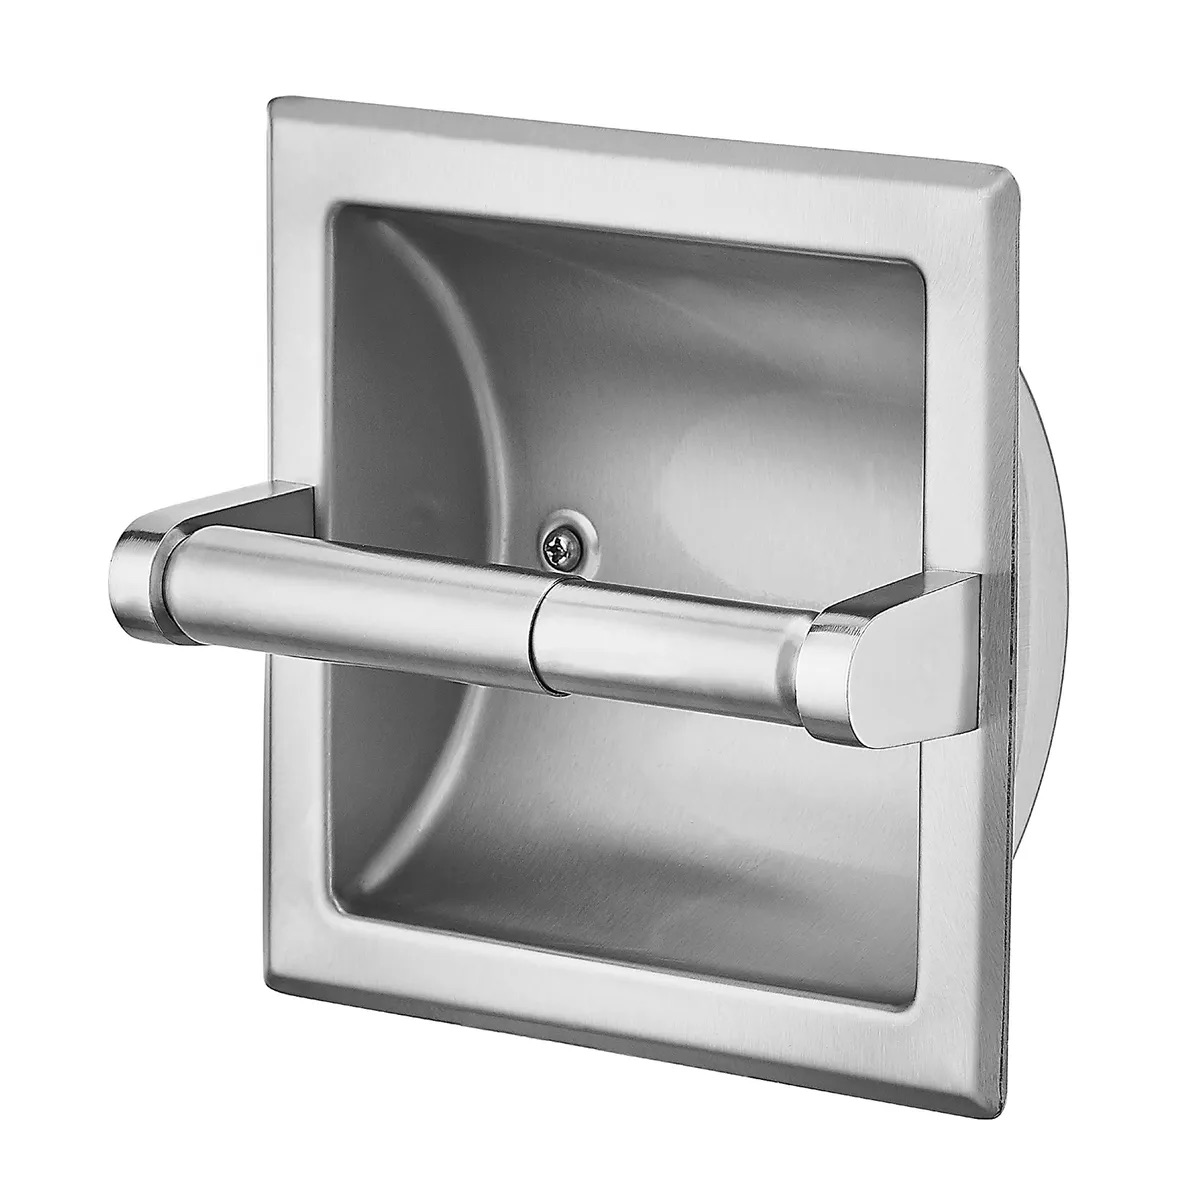
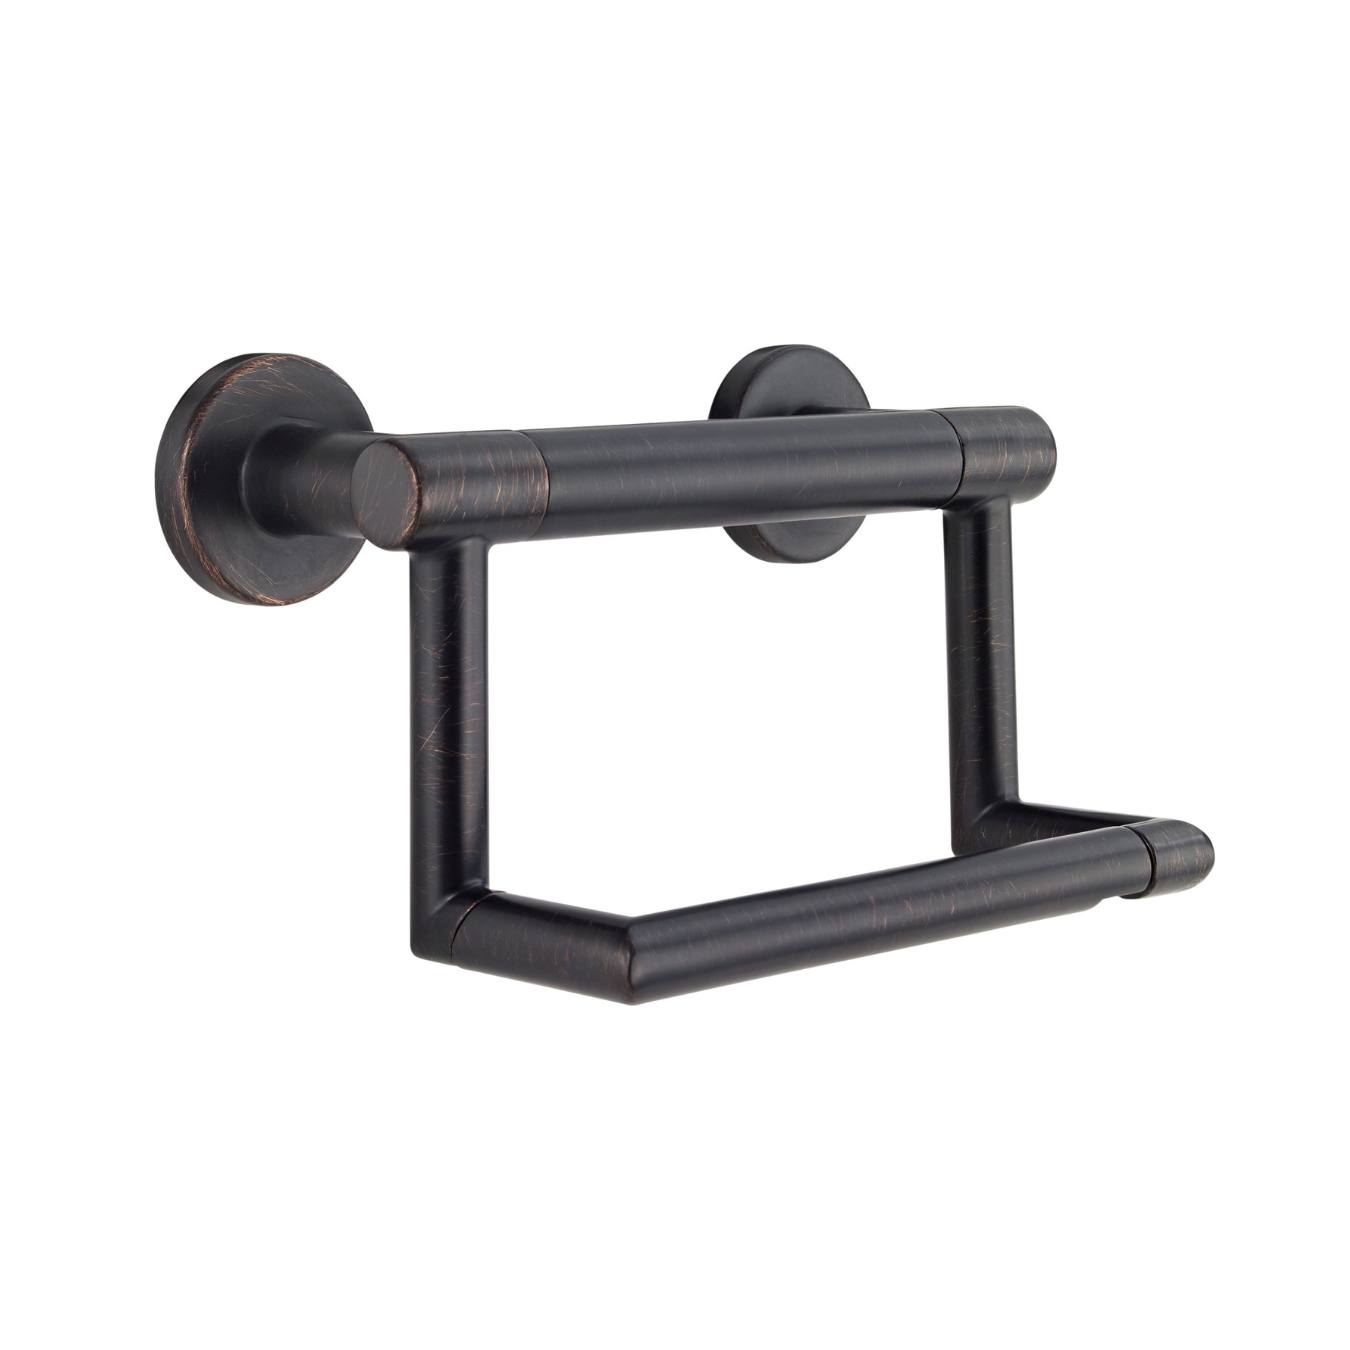
Ensure that you choose a Single post toilet paper holder kit that matches the style and finish of your bathroom fixtures for a cohesive look.
Now that you have your tools and materials ready, let’s move on to the installation process.
Step 1: Choose the Location
The first step in installing a single post toilet paper holder is to choose the location where you want it to be installed. Consider the following factors when selecting the location:
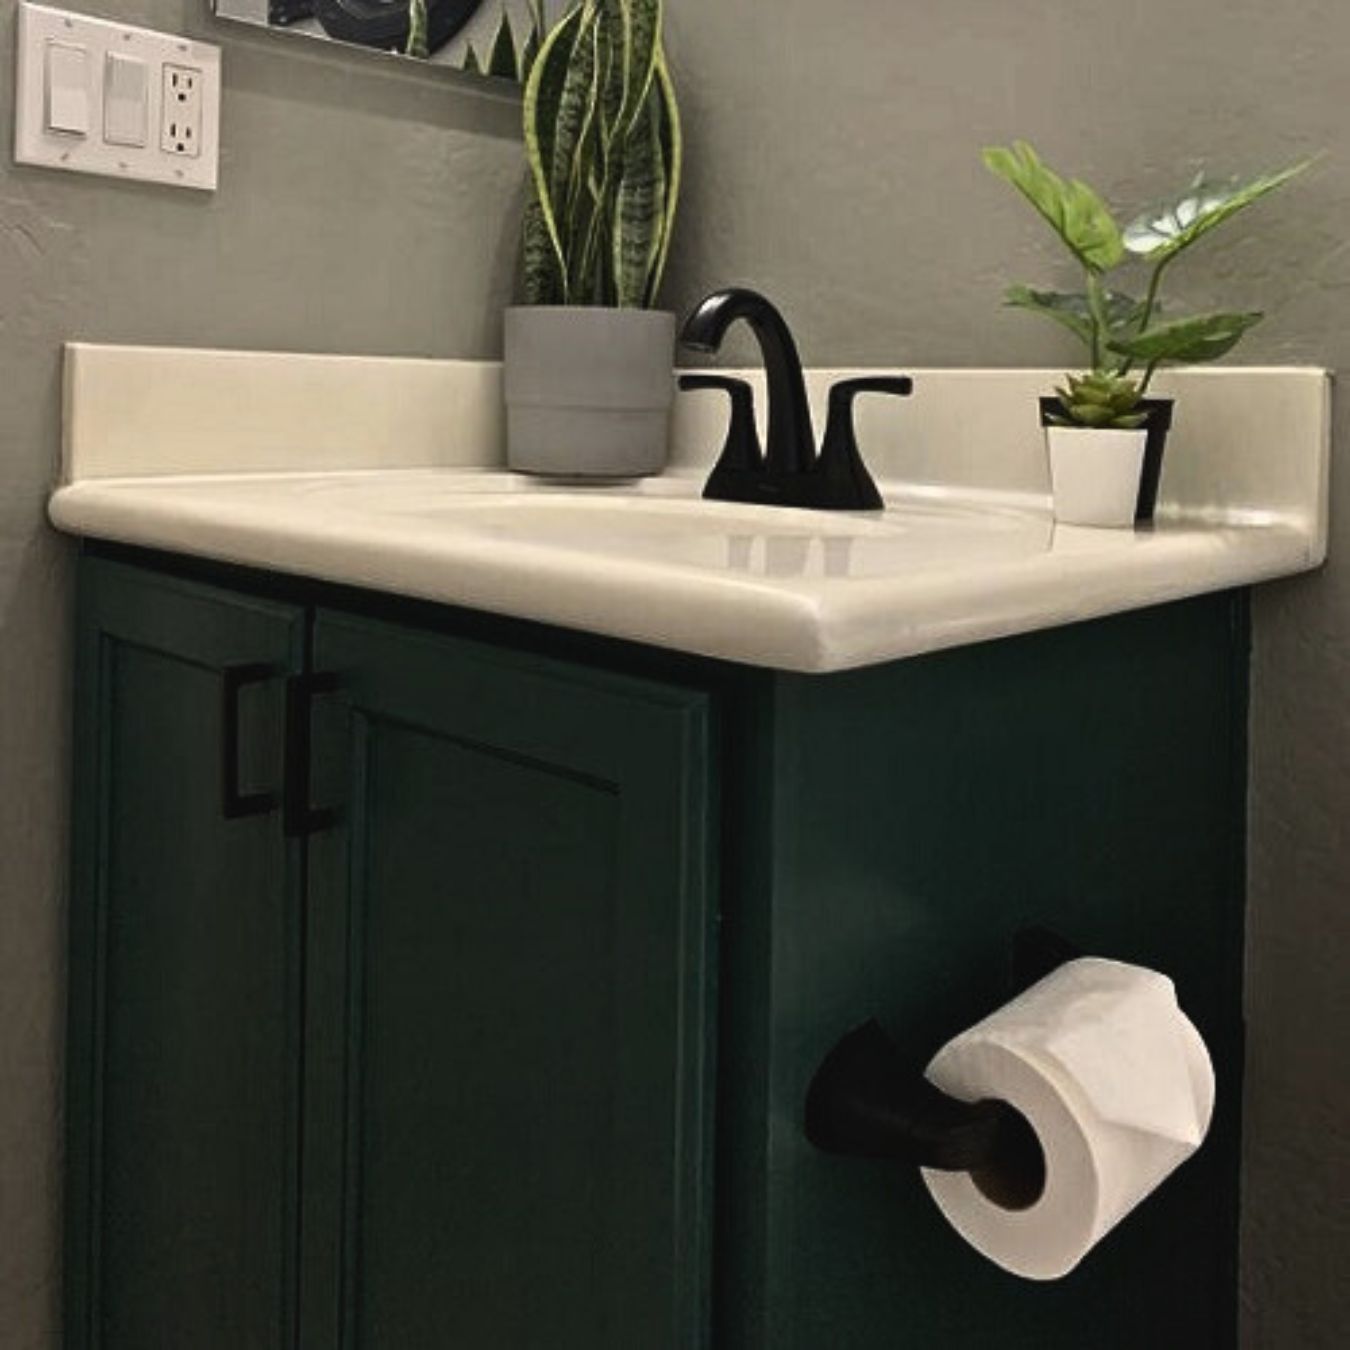
- Accessibility: Choose a location that is within easy reach from the toilet. You want the toilet paper to be conveniently accessible for anyone using the bathroom.
- Height: Determine the ideal height for the toilet paper holder. Typically, it is recommended to install it at a height of about 26 inches from the floor. However, you can adjust the height according to your preference and the needs of your household members.
- Distance from the toilet: Ensure that the holder is placed at a reasonable distance from the toilet to avoid any inconvenience. It should be close enough to reach comfortably, but not so close that it interferes with sitting or standing.
- Distance from water sources: Avoid installing the holder in a location where it may come into contact with splashes of water. This will help prevent water damage and ensure the longevity of the holder.
- Aesthetics: Consider the overall aesthetics of your bathroom and the layout of other fixtures. Choose a location that complements the existing design and creates a visually pleasing arrangement.
Once you have taken these factors into consideration, you can proceed to the next step of marking the spot where the holder will be installed.
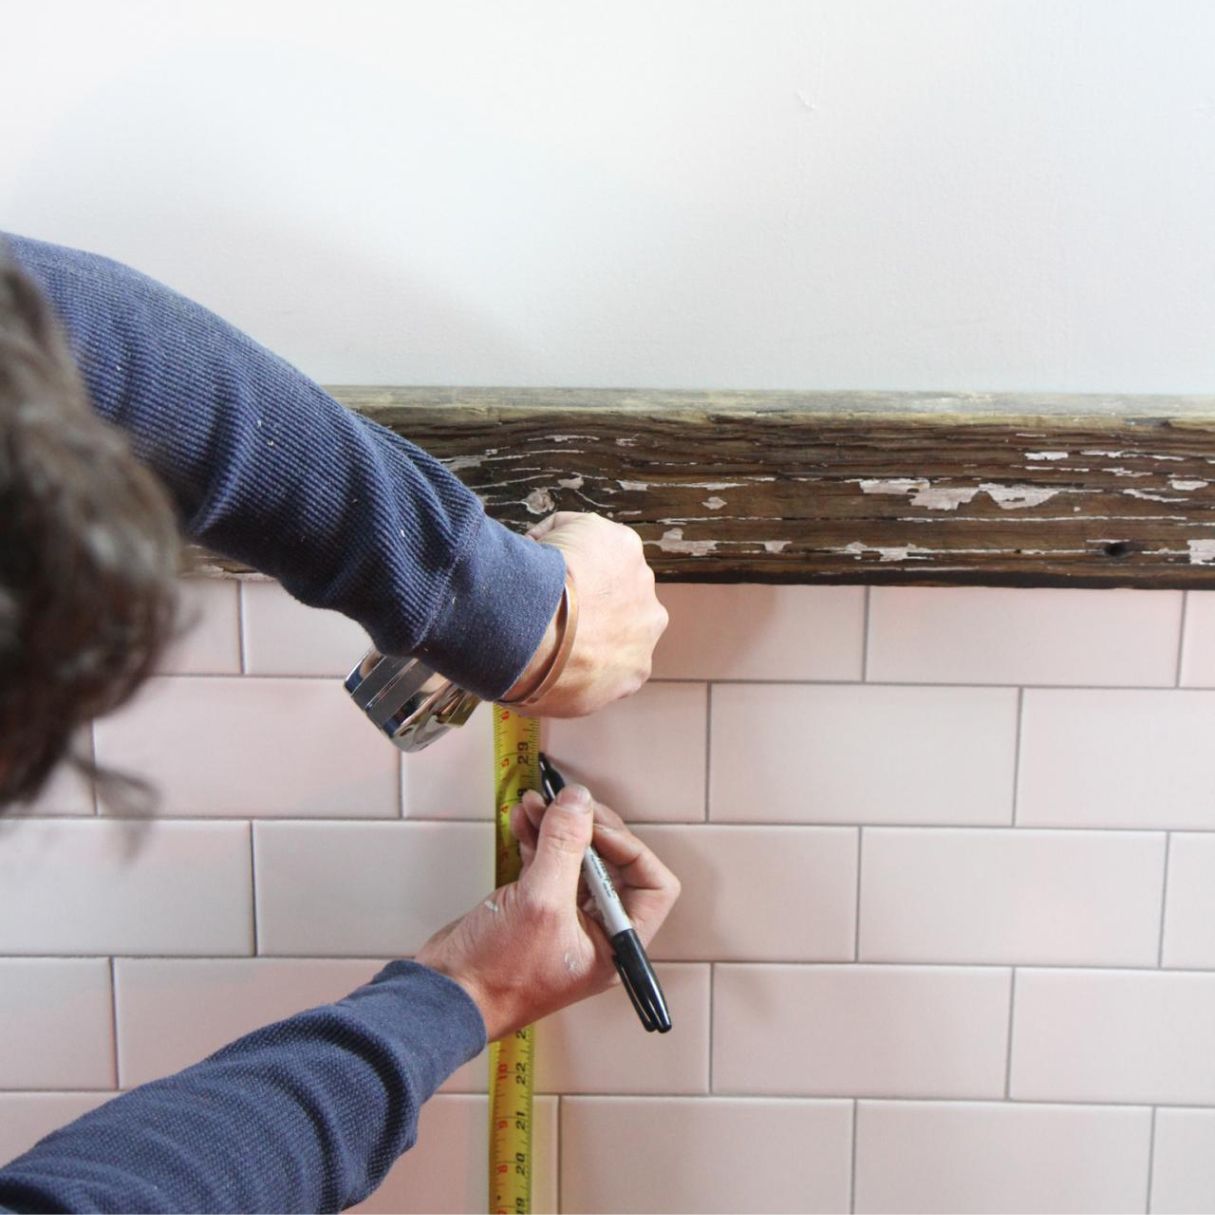
Step 2: Mark the Spot
After selecting the ideal location for your single post toilet paper holder, it’s time to mark the spot where it will be installed. Follow these steps:
- Take your tape measure and measure the desired height for the toilet paper holder from the floor. Use a pencil or marker to make a small mark on the wall at this height.
- Use a level to ensure that the mark is perfectly straight. This will ensure that your toilet paper holder hangs straight and doesn’t appear crooked.
- If you want to center the toilet paper holder between other fixtures, measure the distance from each side and place additional marks accordingly. Use the level to confirm that the marks are aligned.
Take a step back and double-check the positioning of your marks. Make any adjustments if necessary. This step is crucial for achieving a balanced and visually appealing installation.
Once you are satisfied with the placement and alignment of the marks, you can move on to the next step: drilling pilot holes.
Step 3: Drill Pilot Holes
Now that you have marked the spot for your single post toilet paper holder, it’s time to drill pilot holes. Pilot holes are small, pre-drilled indentations that help guide the screws into the wall and prevent the risk of splitting or damaging the wall material.
- Choose an appropriate drill bit size for your pilot holes. It should be slightly smaller than the diameter of the screws you will be using.
- Attach the drill bit to your drill. Make sure it is securely tightened.
- Position the drill bit at one of the marked spots and hold it perpendicular to the wall surface.
- Apply light pressure and begin drilling at a slow speed. Keep the drill straight as you go in to prevent any slippage or angled holes.
- Drill into the wall until you reach the desired depth for your pilot holes. This depth should be slightly shorter than the length of the screws you will be using.
- Repeat the drilling process for the remaining marked spots, ensuring that you maintain the same depth for consistency.
Once you have drilled the pilot holes, you are ready to proceed to the next step: installing anchors if required.
Note: Anchors may be necessary depending on the type of wall material you are working with. Anchors provide extra support and stability, especially in drywall or plaster walls. If you are unsure whether anchors are necessary, consult the instructions provided with your single post toilet paper holder kit or seek guidance from a professional.
Step 4: Install Anchor if Required
Before attaching the single post toilet paper holder, it’s important to determine if anchors are required for added stability. Anchors are typically used when mounting on drywall, plaster, or other fragile wall materials that may not provide sufficient support for the screws.
- Check the instructions provided with your single post toilet paper holder kit to see if anchors are recommended or required.
- If anchors are required, select the appropriate size and type of anchor for your wall material. Common types of anchors include plastic anchors, toggle bolts, or wall anchors.
- Position the anchor over one of the pilot holes and insert it into the wall until it is flush with the surface. You may need to use a hammer or a screwdriver to help secure it in place.
- Repeat this process for the remaining pilot holes that require anchors.
By using anchors, you provide a secure base for your single post toilet paper holder, ensuring it remains firmly attached to the wall. Once the anchors are installed, you can proceed to the next step: inserting the wall mount bracket.
Note: If your single post toilet paper holder does not require anchors, you can skip this step and proceed directly to step 5.
When installing a single post toilet paper holder, make sure to use a level to ensure it is straight. Use a stud finder to locate a stud for secure mounting. Use the appropriate hardware for your wall type.
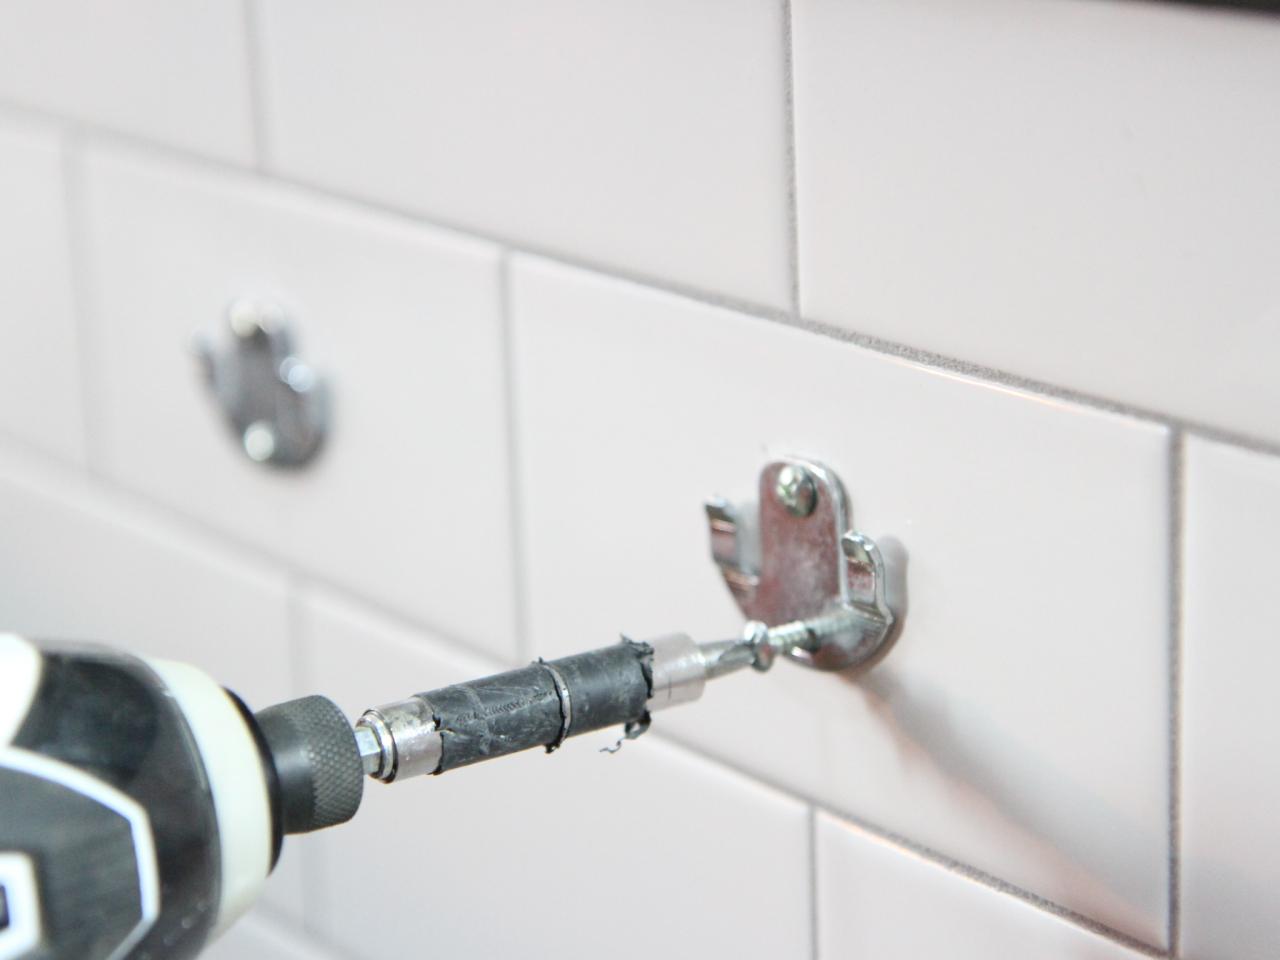
Step 5: Insert Wall Mount Bracket
With the pilot holes drilled and anchors installed (if required), it’s time to insert the wall mount bracket for your single post toilet paper holder. The wall mount bracket is the component that attaches to the wall and provides a secure base for your holder.
- Take the wall mount bracket provided with your single post toilet paper holder kit.
- Align the bracket with the pilot holes or anchors on the wall.
- Insert the screws through the holes in the bracket and into the pilot holes or anchors.
- Using a screwdriver or drill, tighten the screws securely to hold the bracket in place. Be careful not to overtighten, as this could damage the wall or strip the screws.
Ensure that the bracket is level and properly aligned. The bracket should be firmly attached to the wall and ready to support the single post toilet paper holder.
With the wall mount bracket in place, you are now ready to attach the single post holder itself. Proceed to the next step for detailed instructions on how to do this.
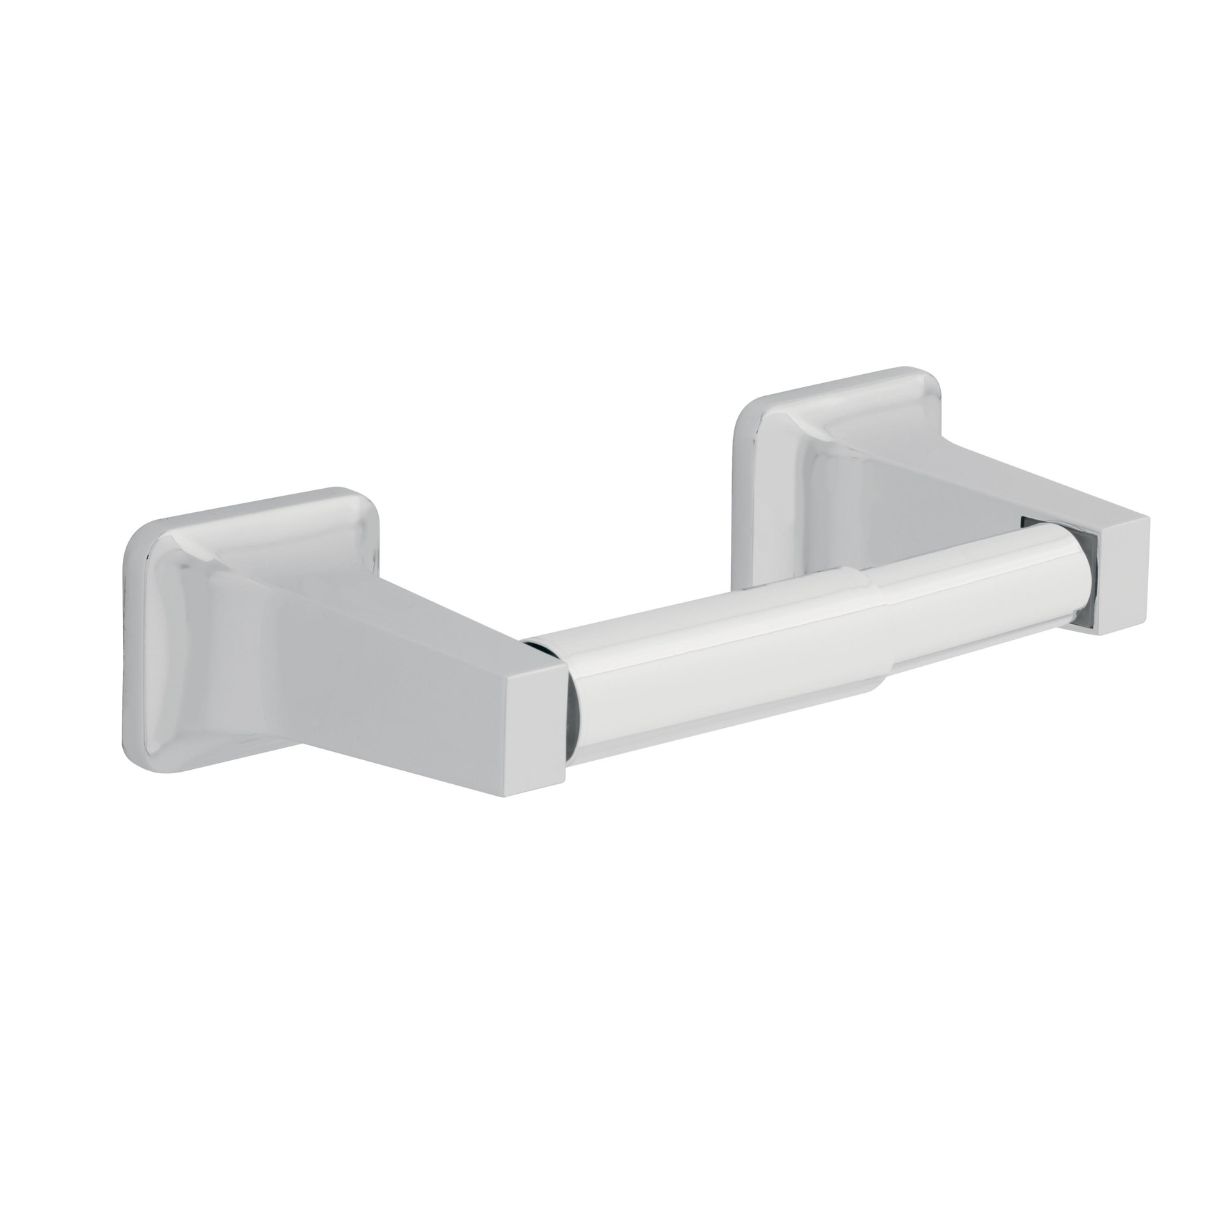
Step 6: Attach the Single Post Holder
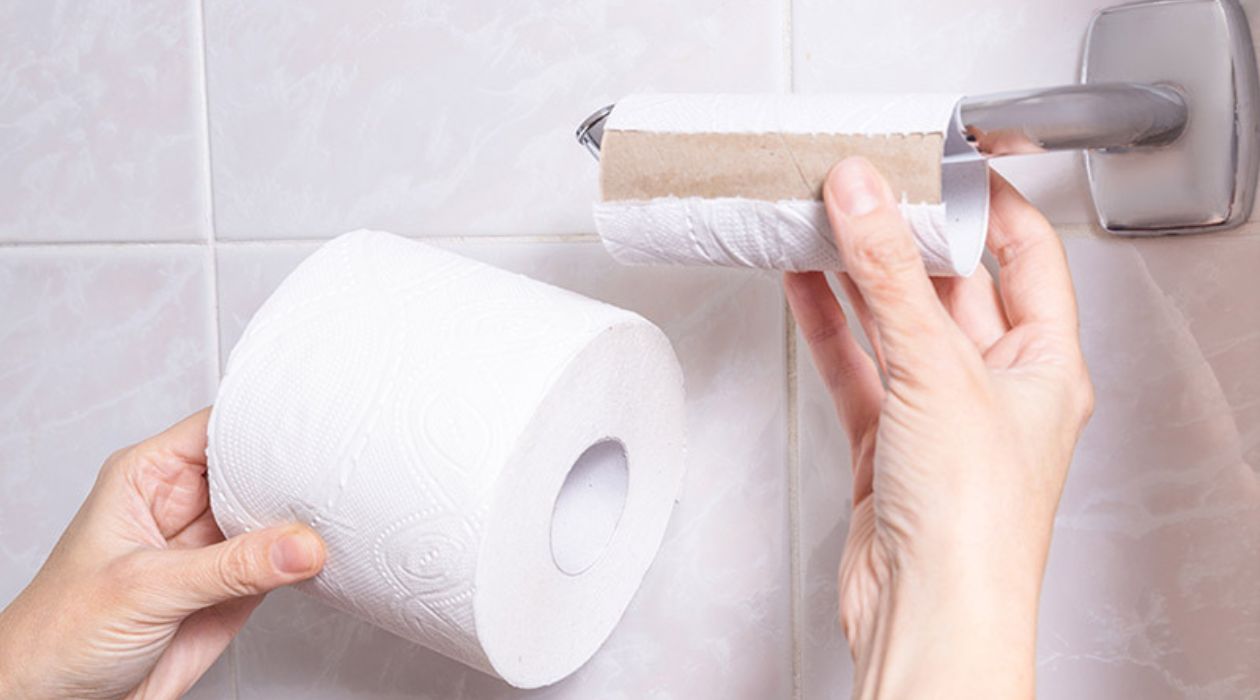
Now that the wall mount bracket is securely in place, it’s time to attach the single post holder for your toilet paper. This is the component that will hold the toilet paper roll in place and allow for easy dispensing.
- Take the single post holder provided in your toilet paper holder kit.
- Align the holes on the back of the holder with the corresponding holes on the wall mount bracket.
- Insert the screws through the holes and into the bracket.
- Using a screwdriver or drill, tighten the screws to firmly attach the holder to the bracket. Be careful not to overtighten.
Ensure that the holder is level and properly aligned. It should be securely attached to the wall mount bracket, ready to hold your toilet paper roll.
Once the single post holder is attached, you can proceed to the next step: securing the holder in place.
Step 7: Secure the Holder in Place
After attaching the single post holder to the wall mount bracket, it’s important to secure it in place to ensure stability and prevent any wobbling or movement. Follow these steps to secure the holder in place:
- Give the holder a gentle tug to check for any looseness or movement. If it feels loose, you will need to tighten the screws further.
- Using a screwdriver or drill, carefully tighten the screws on the holder, ensuring that they are securely fastened to the wall mount bracket.
- Check the holder again for any wobbling or movement. If it still feels loose, continue tightening the screws until the holder is stable and firmly in place.
Securing the holder not only ensures its stability but also prevents any potential damage to the wall or the holder itself. It’s important to strike the right balance between a firm attachment and avoiding overtightening, which could lead to damage.
With the holder securely in place, you can move on to the next step: testing the stability.
Read more: How To Install A New Toilet Paper Holder
Step 8: Test the Stability
Once the single post toilet paper holder is securely attached to the wall, it’s essential to test its stability before completing the installation process. Testing the stability will ensure that the holder is capable of supporting the weight of a toilet paper roll and withstand daily use.
- Gently pull and push the holder to simulate the act of dispensing toilet paper.
- Observe if there is any excessive movement or wobbling. A slight amount of movement is normal, but the holder should not feel loose or unstable.
- If you notice any issues with stability, such as looseness or wobbling, you may need to go back and tighten the screws or make any necessary adjustments to the installation.
- Continue testing the stability by repeatedly pulling and pushing the holder to ensure it can withstand the motion without coming loose or shifting.
It’s important to address any stability issues before proceeding, as a loose or unstable holder can lead to inconvenience or potential damage in the long run. Take the time to ensure the holder is securely in place and capable of withstanding regular use.
Once you are satisfied with the stability of the holder, you can proceed to the next step: adjusting and tightening if needed.
Step 9: Adjust and Tighten if Needed
After testing the stability of the single post toilet paper holder, you may find that some adjustments or additional tightening are required to ensure a secure and stable installation. Follow these steps to make any necessary adjustments:
- Check for any screws that may have become loose during the testing process or that may require further tightening.
- Use a screwdriver or drill to carefully tighten any loose screws. Take care not to overtighten, as this can strip the screws or damage the wall.
- Re-test the stability by gently pulling and pushing the holder to ensure that the adjustments have resolved any issues.
- If any further adjustments are needed, such as repositioning the holder or tightening additional screws, make the necessary changes to achieve a secure and stable installation.
It’s important to take the time to adjust and tighten as needed, as this will ensure that the single post toilet paper holder remains in place and functions properly over time. Regularly inspect the holder for any signs of loosening and address them promptly to maintain its stability and longevity.
With the adjustments made and the holder securely tightened, you have successfully completed the installation of your single post toilet paper holder! Enjoy the convenience and functionality it provides, and appreciate the polished look it adds to your bathroom decor.
Conclusion
Installing a single post toilet paper holder is a straightforward and rewarding DIY project that can enhance both the functionality and aesthetics of your bathroom. By following the step-by-step guidelines outlined in this article, you can successfully install a single post holder that keeps your toilet paper neatly organized and within easy reach.
Throughout the installation process, we discussed the importance of choosing the right location, marking the spot, drilling pilot holes, and installing anchors when necessary. We also covered how to insert the wall mount bracket, attach the single post holder, secure it in place, test for stability, and make any adjustments as needed.
Remember to take into consideration factors such as accessibility, height, distance from the toilet and water sources, and the overall aesthetics of your bathroom when choosing the location for your single post holder. Properly marking the spot and drilling pilot holes will ensure a precise and secure installation. Anchors may be necessary for added support, especially for fragile wall materials.
Attaching the wall mount bracket and securely fastening the single post holder are crucial steps to ensure stability. Testing the stability and making any necessary adjustments will guarantee a reliable and durable installation. Regularly inspecting and maintaining the holder will help prolong its lifespan and prevent future problems.
Now that you have successfully installed your single post toilet paper holder, enjoy the convenience and tidiness it brings to your bathroom. Eliminate the hassle of searching for a place to put your toilet paper and enjoy a more organized and efficient bathroom experience.
Remember, if at any point you feel unsure or if you encounter any difficulties during the installation process, it’s always a good idea to consult the instructions provided with your single post holder kit or seek guidance from a professional.
Happy installation and enjoy the benefits of your newly installed single post toilet paper holder!
Frequently Asked Questions about How To Install Single Post Toilet Paper Holder
Was this page helpful?
At Storables.com, we guarantee accurate and reliable information. Our content, validated by Expert Board Contributors, is crafted following stringent Editorial Policies. We're committed to providing you with well-researched, expert-backed insights for all your informational needs.


0 thoughts on “How To Install Single Post Toilet Paper Holder”