Home>Articles>How To Improve Sound Insulation Between Floors
Articles
How To Improve Sound Insulation Between Floors
Modified: October 28, 2024
Looking for articles on how to improve sound insulation between floors? Discover expert tips and effective techniques to enhance soundproofing in your home.
(Many of the links in this article redirect to a specific reviewed product. Your purchase of these products through affiliate links helps to generate commission for Storables.com, at no extra cost. Learn more)
Introduction
When it comes to the comfort and tranquility of your home or office, sound insulation plays a crucial role. Unwanted noise from adjacent rooms or floors can be a major source of annoyance and distraction, affecting your productivity and overall well-being. Luckily, there are several effective methods to improve sound insulation between floors, ensuring a peaceful and noise-free environment.
In this article, we will delve into the world of sound insulation, discussing the importance of understanding sound transmission and assessing the current sound insulation in your space. We will also explore various techniques and materials to identify and address common sound transmission points.
By implementing these strategies, you can significantly reduce noise transfer between floors and create a more serene and harmonious living or working environment. So, let’s dive in and explore how you can enhance the sound insulation in your space.
Key Takeaways:
- Enhance sound insulation by sealing gaps, adding underlayment, and installing acoustic insulation to create a peaceful and distraction-free living or working environment.
- Address common sound transmission points, such as doors, windows, and structural weaknesses, to effectively minimize noise transfer and improve overall sound insulation between floors.
Understanding Sound Insulation
Before diving into ways to improve sound insulation between floors, it’s important to understand the basics of sound transmission and how insulation works. Sound travels through various mediums, such as air, solid structures, and even water. When sound waves encounter a barrier, they can either be absorbed, reflected, or transmitted through it.
Sound insulation involves reducing the transmission of sound waves from one space to another. This can be achieved by using materials and techniques that dampen or block the movement of sound waves. Effective sound insulation not only prevents noise from entering your space but also ensures that the sound you produce is not easily transmitted to adjacent areas.
There are two main types of sound insulation: airborne and impact. Airborne sound insulation focuses on reducing sound transmission through the air, such as voices, music, or traffic noise. Impact sound insulation, on the other hand, aims to reduce the transmission of sound caused by physical impact or vibrations, such as footsteps or objects dropping on the floor.
To effectively improve sound insulation, you need to consider both airborne and impact sound insulation techniques and materials. This will help create a more comprehensive and robust soundproofing solution for your space.
Now that we have a basic understanding of sound insulation, let’s move on to the next step: assessing the current sound insulation in your space.
Assessing the Current Sound Insulation
Before implementing any sound insulation measures, it’s important to assess the current state of sound insulation in your space. This will help you identify weak points and areas that require improvement. Here are a few steps you can take to evaluate the current sound insulation:
- Listen for noise: Spend some time in different rooms of your space and listen for any noise coming from adjacent floors. Pay close attention to areas where sound seems to be transmitting more easily.
- Inspect the ceilings and floors: Examine the ceilings and floors for any visible gaps, cracks, or structural weaknesses. These areas are prime pathways for sound transmission.
- Conduct a sound test: Use a sound meter to measure the noise level in different rooms. This will give you an objective measure of the sound insulation in your space.
- Talk to neighbors or occupants: If you live in a multi-unit building, it can be helpful to talk to your neighbors or the occupants of the space above or below you. They might be experiencing similar sound issues and can provide valuable insights into the current sound insulation challenges.
By conducting a thorough assessment, you will have a better understanding of the existing sound insulation and can develop a targeted plan to address the weak points. This will help you optimize the effectiveness of your soundproofing efforts and achieve the desired level of sound insulation between floors.
Now that you have assessed the current sound insulation, let’s move on to identifying common sound transmission points and how to address them effectively.
Identifying Common Sound Transmission Points
When it comes to improving sound insulation between floors, identifying common sound transmission points is crucial. These are the areas where sound is most likely to escape or enter your space. By addressing these points, you can effectively minimize sound transfer and create a more soundproof environment. Here are some common sound transmission points to look out for:
- Walls: Walls are a primary medium for sound transmission. Thin walls or walls with gaps, cracks, or inadequate insulation can allow sound waves to easily pass through. Inspecting the walls for any openings or weak spots is essential.
- Floor and ceiling penetrations: Any openings or penetrations in the floor or ceiling, such as electrical outlets, light fixtures, or HVAC vents, can become pathways for sound transmission. Sealing these penetrations with acoustically rated materials can significantly reduce sound leakage.
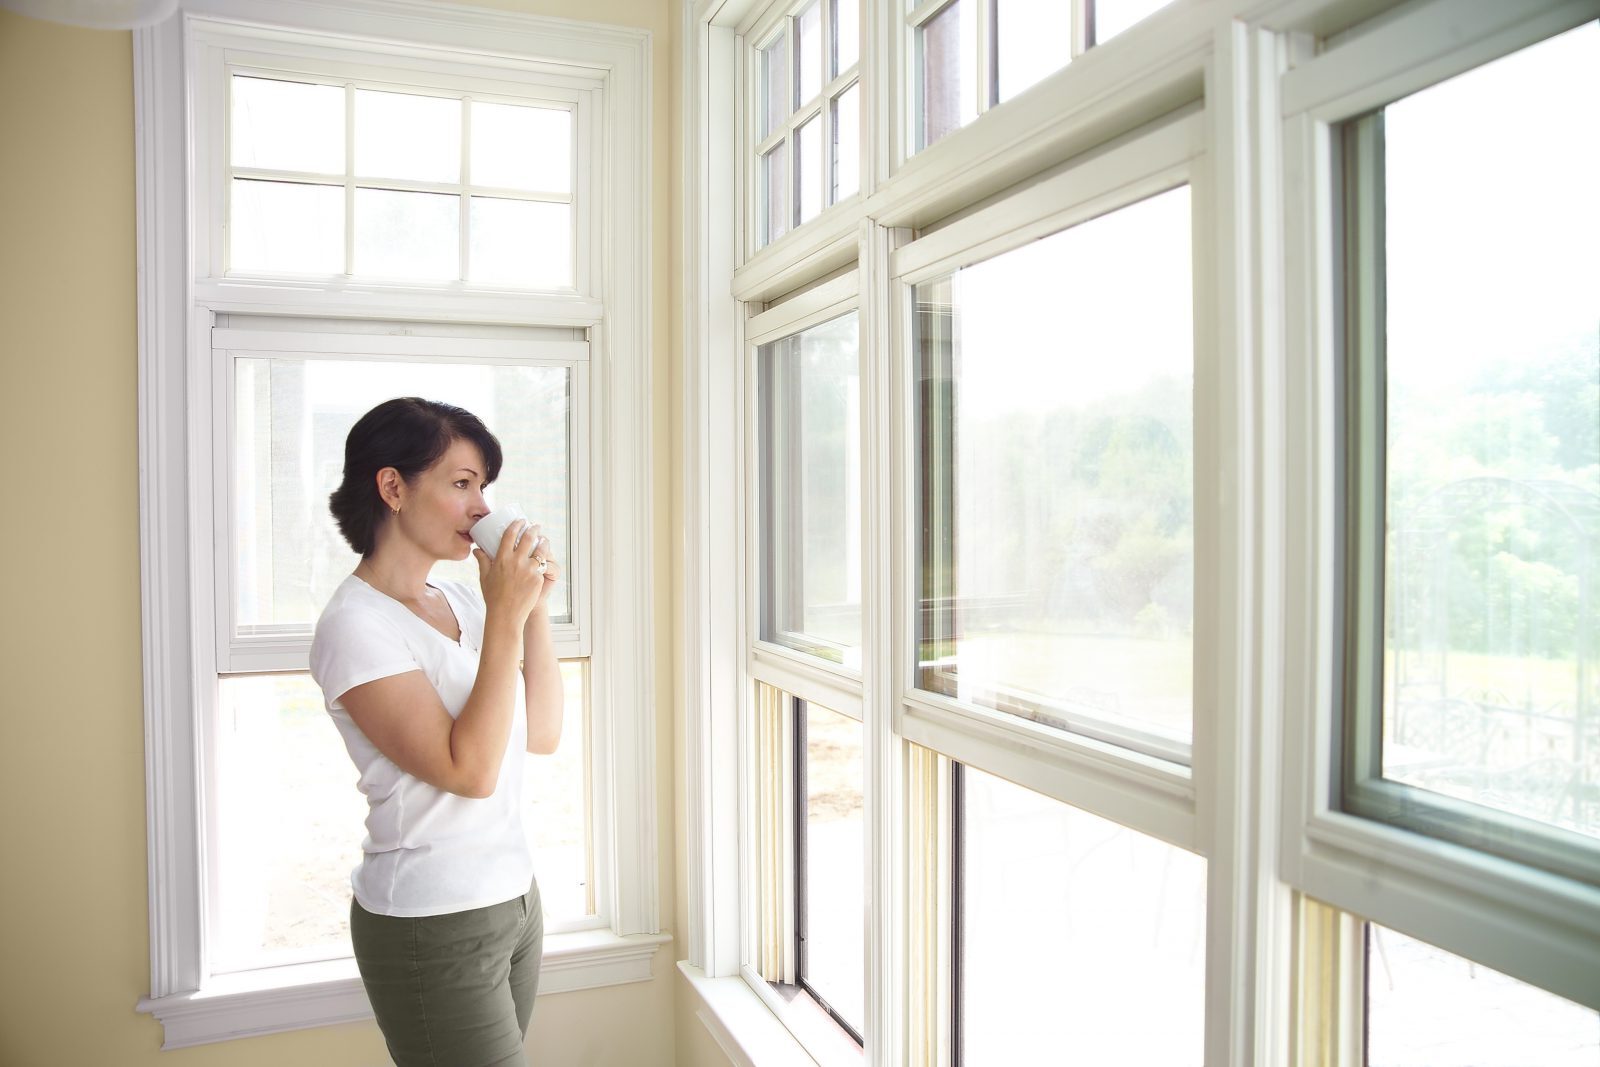
- Windows and doors: Windows and doors are another common source of sound transmission. Poorly insulated or single-pane windows, as well as gaps around doors, can allow sound waves to enter or escape easily. Upgrading to double-pane windows and adding weatherstripping or door sweeps can help improve sound insulation.
- Joint gaps: Where walls, ceilings, and floors meet, there is often a small gap or crack. These joints can act as sound transfer points, especially if they are not properly sealed. Using acoustic caulk or sealant to fill in these gaps can help minimize sound leakage.
- Structural weaknesses: Weak or poorly constructed structures can contribute to sound transmission. Roof rafters, beams, and load-bearing walls that lack proper insulation can allow sound to travel through the building’s structure. Strengthening these areas and adding insulation can help reduce sound transfer.
By identifying and addressing these common sound transmission points, you can make significant improvements in the sound insulation between floors. In the next sections, we will explore various techniques and materials to seal and insulate these areas, further enhancing the soundproofing of your space.
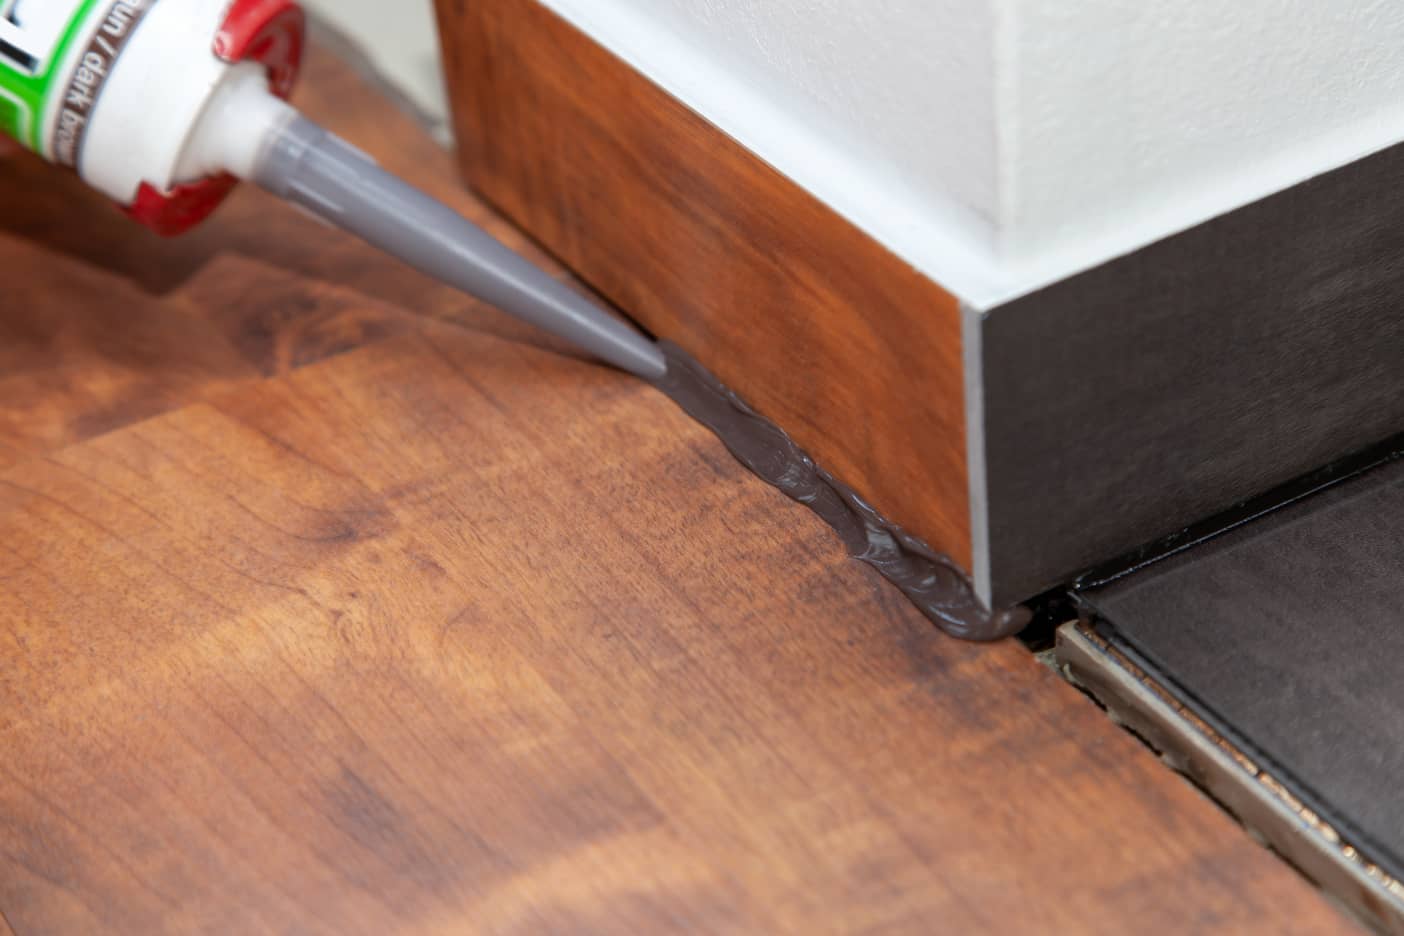
Seal and Insulate Gaps and Cracks
One effective way to improve sound insulation between floors is by sealing and insulating any gaps and cracks in the walls, floors, and ceilings. These openings can serve as pathways for sound transmission, allowing noise to easily pass through. By sealing and insulating these areas, you can significantly reduce sound leakage. Here’s how:
- Identify the gaps and cracks: Conduct a thorough inspection of the walls, floors, and ceilings to identify any gaps or cracks. Pay close attention to areas where different materials meet, such as wall-to-floor or ceiling joints.
- Caulk or sealant: Use an acoustically rated caulk or sealant to fill in the gaps and cracks. Apply the caulk or sealant generously, ensuring that it penetrates deep into the openings. This will create a barrier that prevents sound waves from passing through.
- Weatherstripping: For gaps around doors and windows, install weatherstripping to create a tight seal. Choose weatherstripping materials that are designed for sound insulation, such as neoprene or silicone gaskets. Apply them around the door frames and window sashes to minimize sound transfer.
- Insulation materials: In addition to sealing the gaps and cracks, consider adding insulation materials to further enhance sound insulation. Use acoustic insulation batts or spray foam insulation to fill in cavities and spaces within walls and ceilings. This will help absorb and dampen sound waves, reducing their ability to pass through.
- Double glazing windows: If you have single-pane windows, consider upgrading to double glazing windows. The air gap between the two panes acts as an additional layer of insulation, reducing sound transmission. Additionally, apply window film or curtains with soundproofing properties to further enhance the sound insulation of the windows.
By effectively sealing and insulating the gaps and cracks in your space, you can significantly improve sound insulation between floors. However, keep in mind that this is just one aspect of soundproofing. In the next sections, we will explore additional techniques and materials to enhance the overall sound insulation of your space.
Read more: How To Insulate A Floor
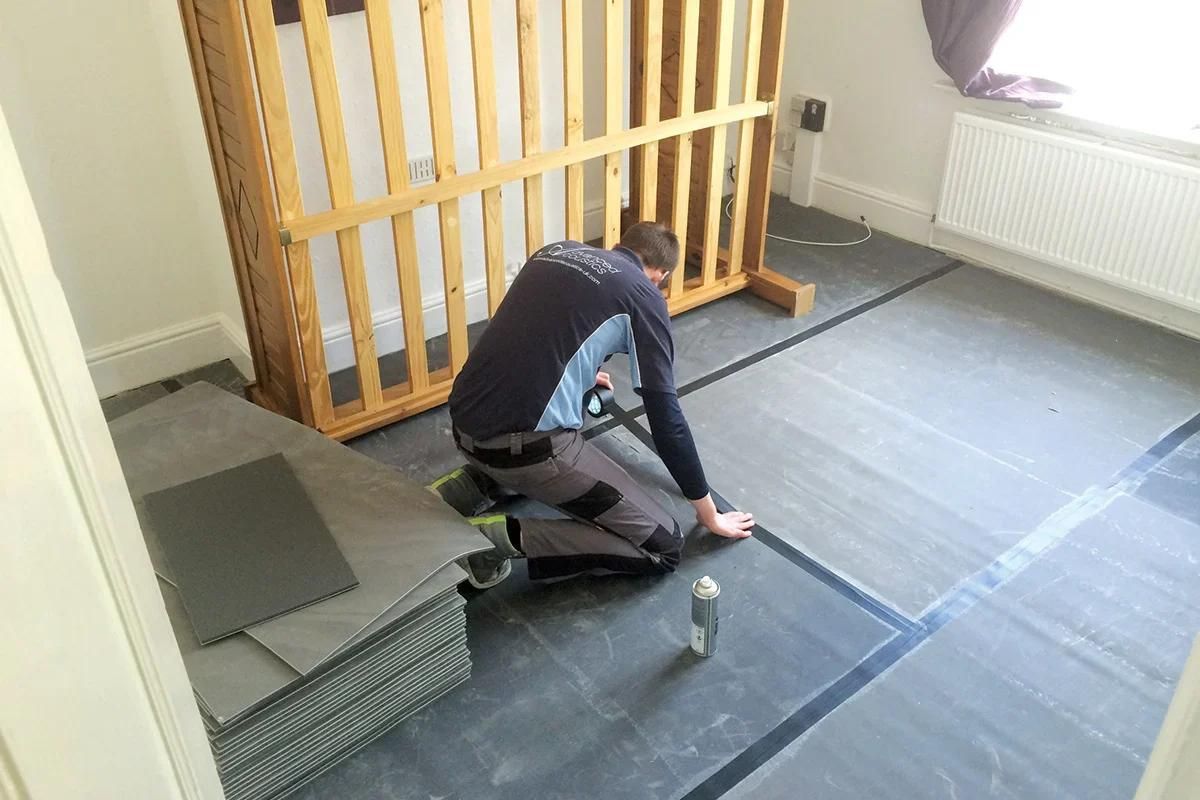
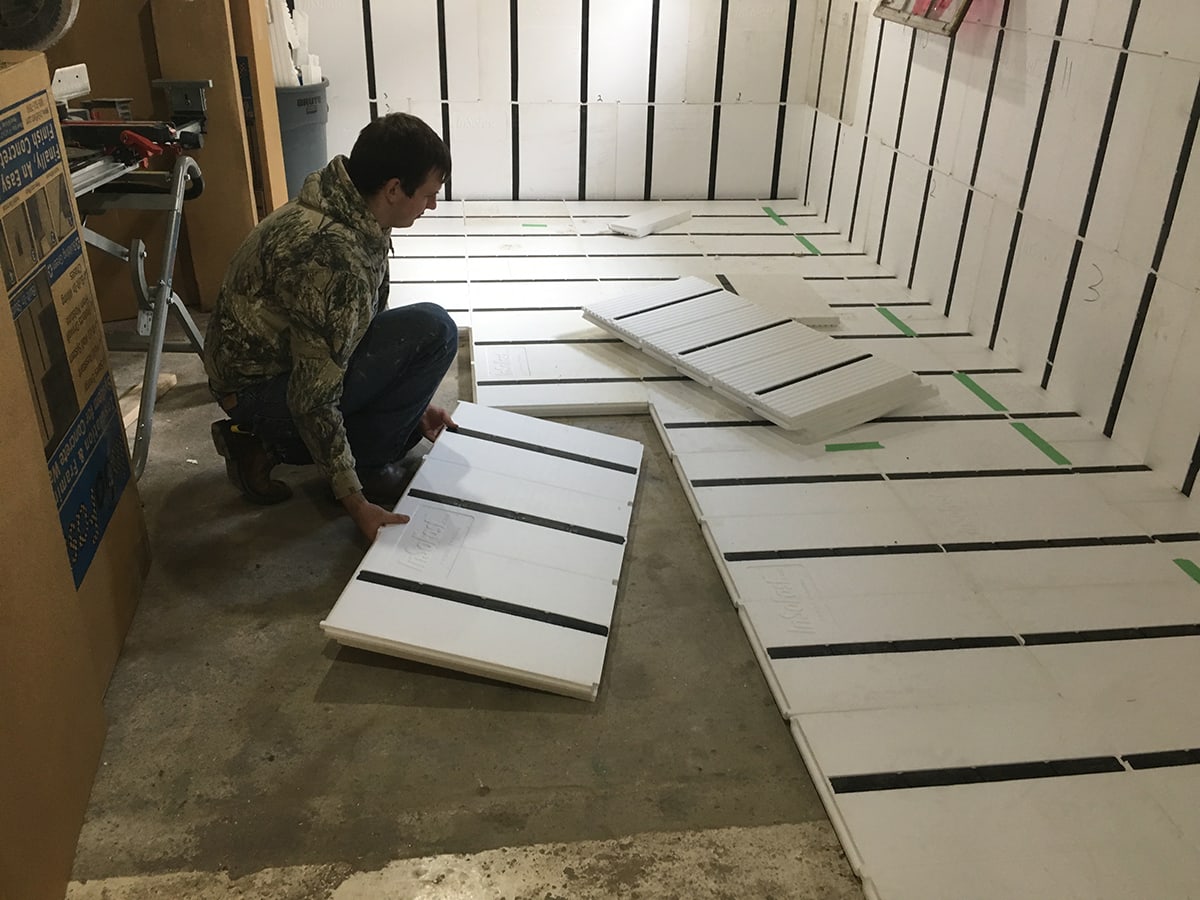
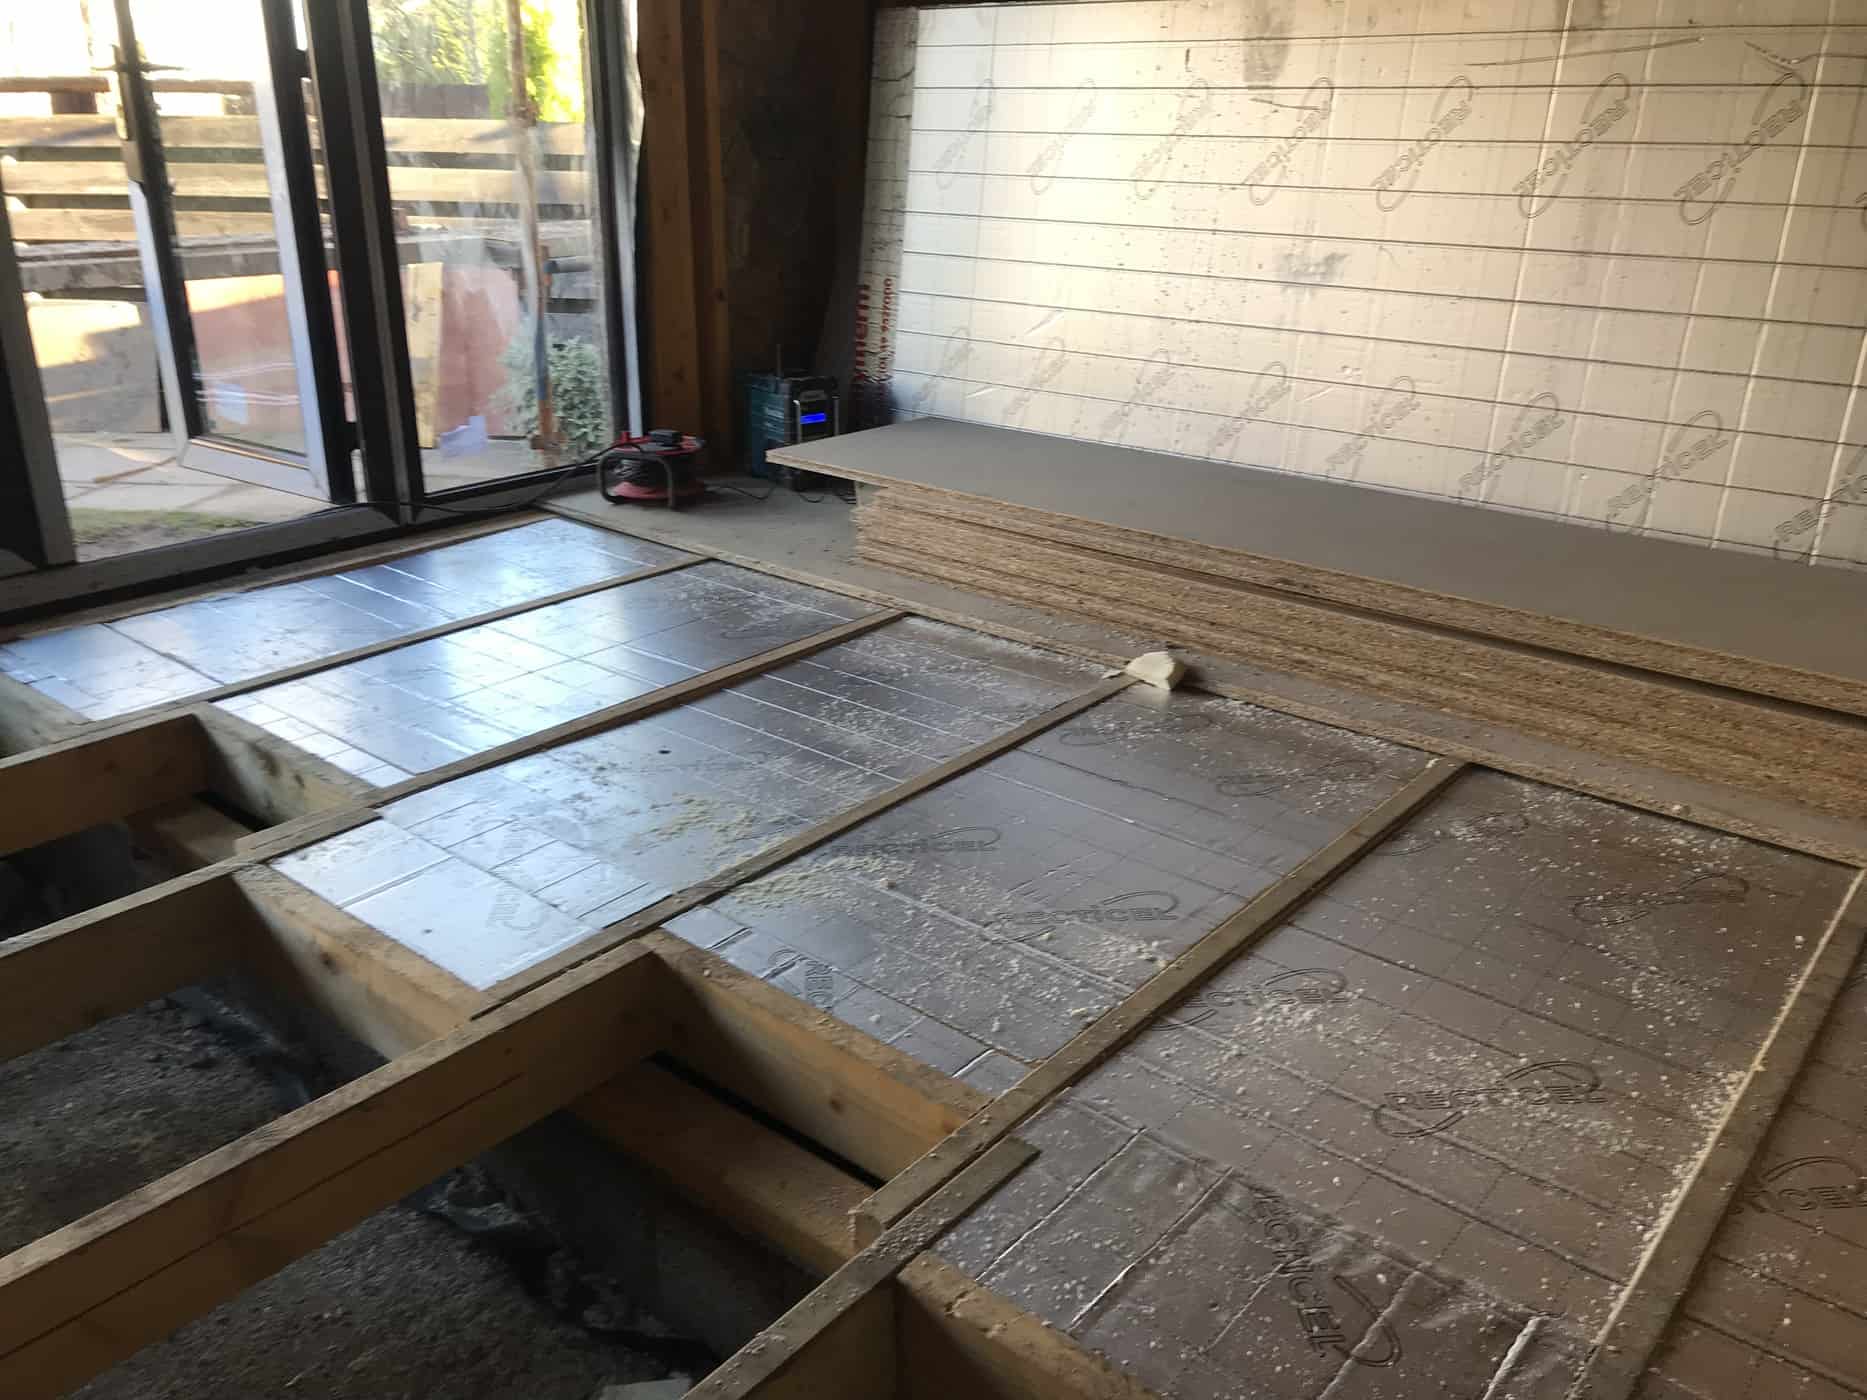
Install Soundproofing Underlayment
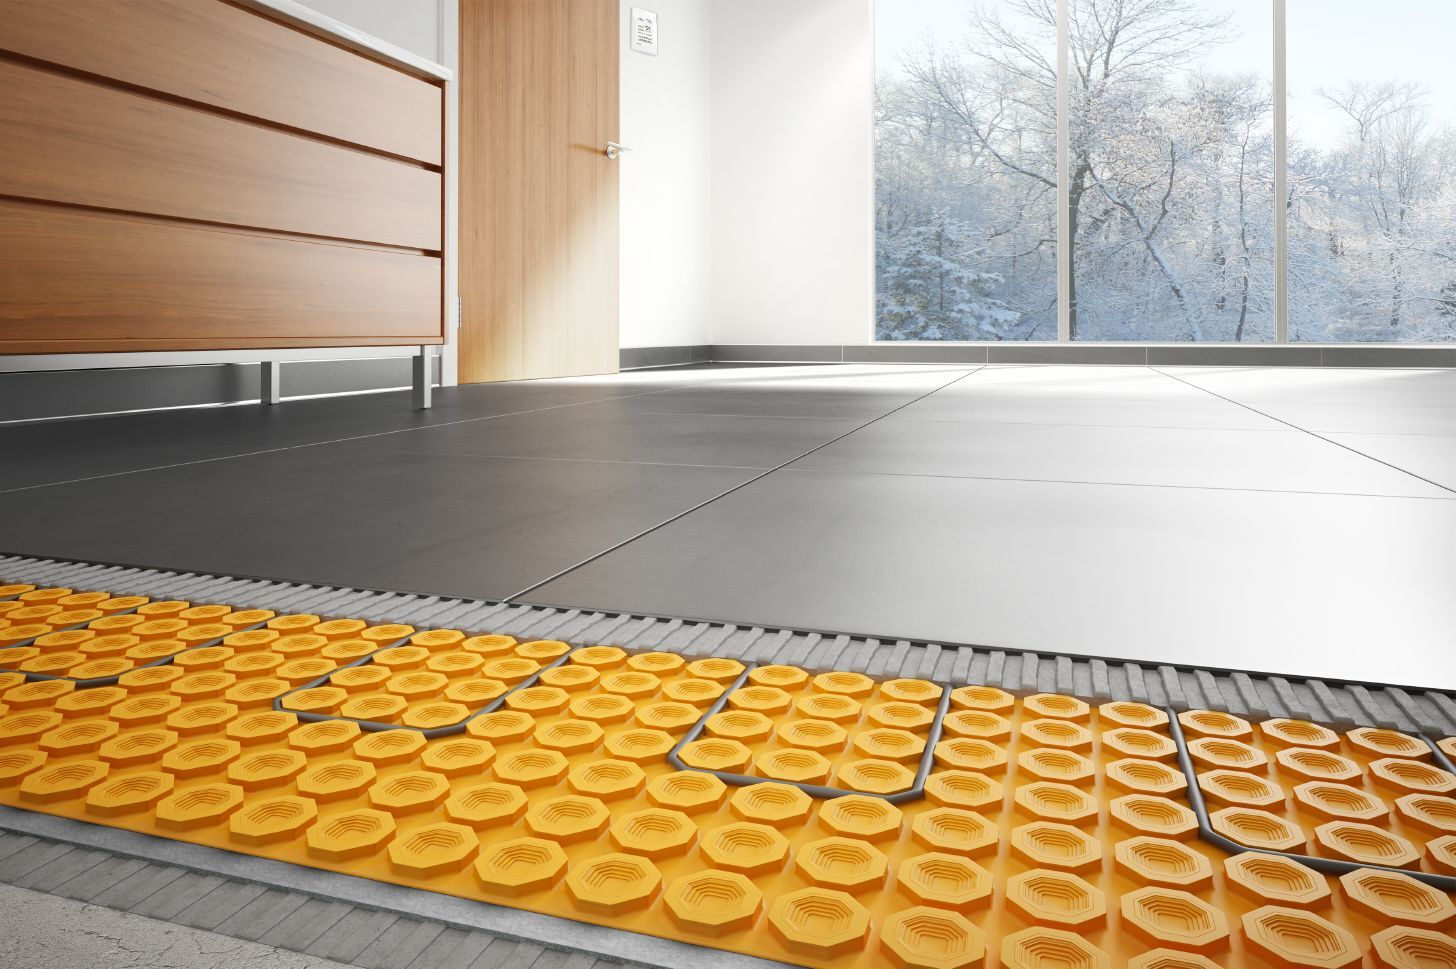
When it comes to sound insulation between floors, one effective method is to install soundproofing underlayment. This additional layer of material helps absorb and isolate sound vibrations, reducing the transmission of airborne and impact noise. Here’s how you can install soundproofing underlayment:
- Clean the subfloor: Before installing the underlayment, make sure the subfloor is clean and free from debris. Remove any existing flooring material and vacuum the surface thoroughly.
- Select the right underlayment: There are several types of soundproofing underlayment available in the market, such as rubber, cork, or foam-based materials. Choose an underlayment that is specifically designed for sound insulation. Look for qualities like high-density, good impact resistance, and high STC (Sound Transmission Class) ratings.
- Measure and cut the underlayment: Measure the dimensions of the floor area and cut the underlayment sheets accordingly. Leave a small gap around the perimeter of the room to allow for expansion and contraction.
- Lay the underlayment: Start by laying the first sheet of underlayment along one edge of the room. Overlap the edges of each sheet by a few inches and use adhesive or tape to secure the seams. Ensure that the underlayment is flat and even, without any ripples or gaps.
- Install the flooring: Once the underlayment is in place, you can proceed with installing the new flooring material. Whether it’s carpet, hardwood, laminate, or vinyl, follow the manufacturer’s instructions for proper installation techniques.
Soundproofing underlayment acts as a cushioning layer that absorbs and dampens sound vibrations, reducing noise transfer between floors. It also helps in reducing impact noise caused by footsteps or other physical movement on the floor. By installing soundproofing underlayment, you can significantly improve the overall sound insulation of your space.
Next, we will explore another technique to enhance sound insulation by adding acoustic insulation to the ceiling.
Adding a layer of acoustic underlayment or carpet padding can help improve sound insulation between floors by absorbing and reducing impact noise.
Add Acoustic Insulation to Ceiling
An effective way to enhance sound insulation between floors is by adding acoustic insulation to the ceiling. The ceiling, being a primary surface that separates floors, can contribute significantly to sound transmission. By installing acoustic insulation, you can absorb sound waves and minimize their transmission to the floor above or below. Here’s how you can add acoustic insulation to the ceiling:
- Clean the ceiling: Before installing acoustic insulation, make sure the ceiling is clean and free from dust or debris. Use a vacuum or broom to remove any loose particles.
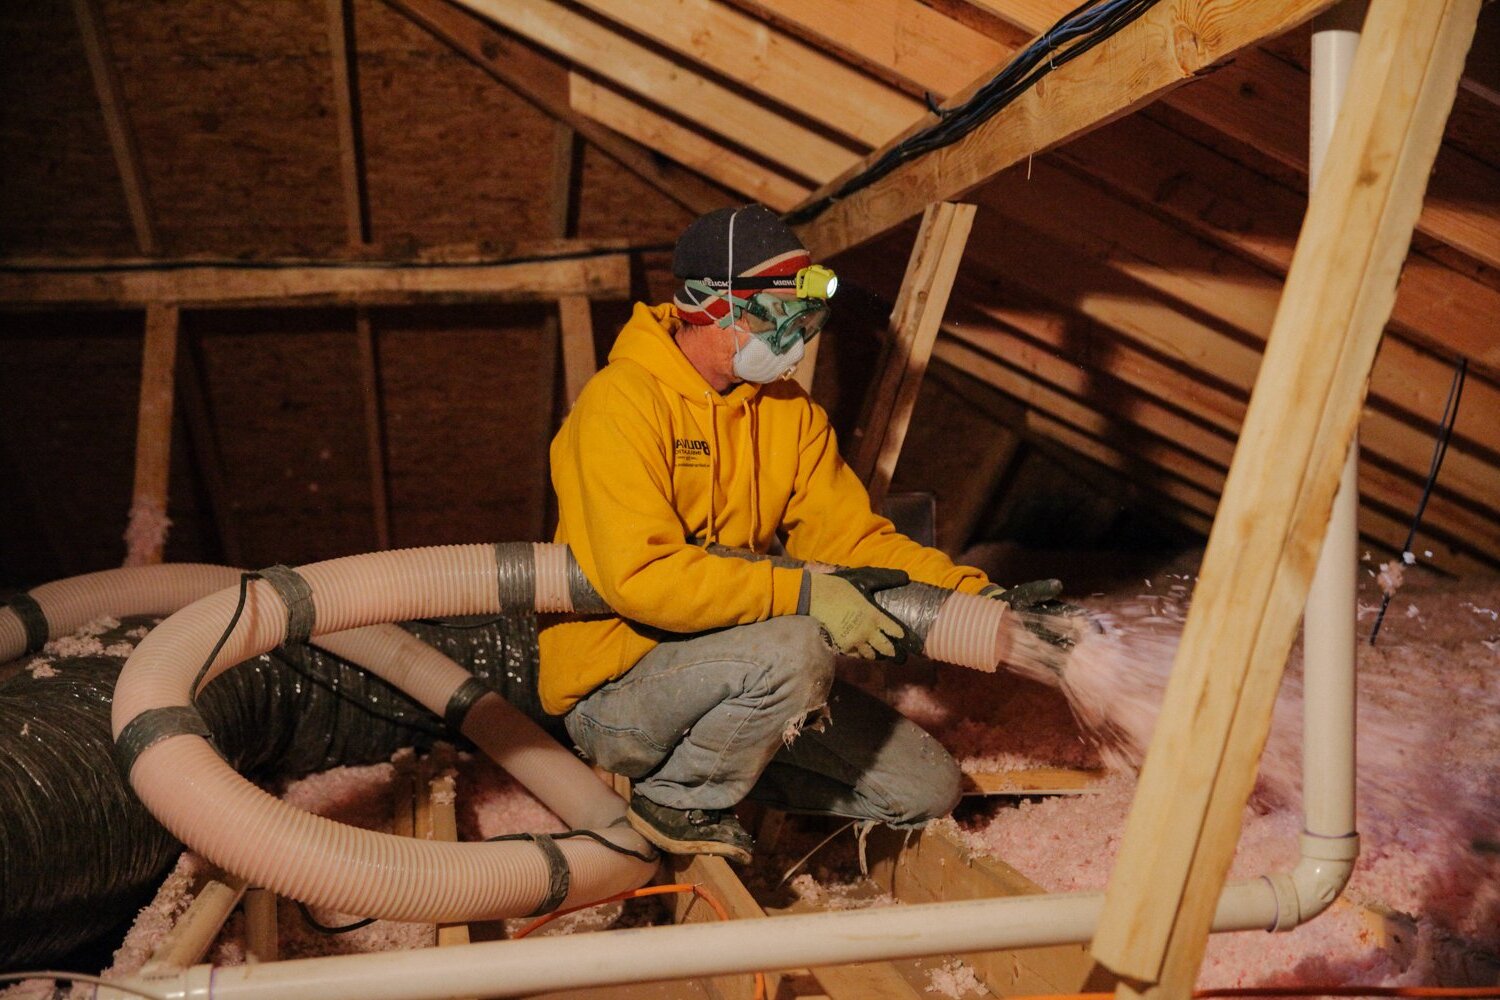
- Choose the right insulation material: Select an acoustic insulation material that is specifically designed for soundproofing purposes. Materials like fiberglass or mineral wool are commonly used for their excellent sound absorption properties. Ensure that the material has a high NRC (Noise Reduction Coefficient) rating, indicating its ability to reduce sound reflection.
- Measure and cut the insulation material: Measure the dimensions of the ceiling area and cut the acoustic insulation material accordingly. Make sure to wear protective gloves and a mask while handling the insulation to avoid any irritation or allergic reactions.
- Install the insulation material: Place the insulation material between the ceiling joists, ensuring a snug and tight fit. If necessary, use construction adhesive or staples to secure the insulation in place. Be careful not to compress the insulation material too much, as this can reduce its sound absorption capabilities.
- Cover the insulation: Once the insulation is installed, you can choose to cover it with a layer of drywall or other ceiling materials. This will provide a finished look while further enhancing sound insulation.
Adding acoustic insulation to the ceiling helps in absorbing sound waves that would otherwise travel through the ceiling and transfer to the adjacent floors. It creates a barrier that reduces airborne noise and enhances the overall soundproofing of your space.
In the next section, we will explore the use of mass loaded vinyl barrier as an effective soundproofing material.
Use Mass Loaded Vinyl Barrier
To further enhance sound insulation between floors, one effective material to consider is a mass-loaded vinyl (MLV) barrier. MLV is a dense, flexible material that is specifically designed to block sound transmission. By adding an MLV barrier, you can create an additional layer of soundproofing that helps prevent noise from passing through walls, floors, or ceilings. Here’s how you can use mass-loaded vinyl as a soundproofing material:
- Measure the area: Determine the dimensions of the walls, floors, or ceilings where you plan to install the MLV barrier. This will help you estimate the amount of material needed.
- Select the right MLV product: There are various types and thicknesses of MLV barriers available in the market. Choose an MLV product that suits your specific soundproofing needs. Look for high-density options with good sound transmission loss (STL) ratings.
- Prepare the installation surface: Ensure that the surface where you will install the MLV barrier is clean, dry, and free from any debris. Remove any existing insulation or coverings if necessary.
- Cut and install the MLV: Measure and cut the MLV barrier sheets to fit the desired area. Use a utility knife or scissors to make clean, precise cuts. Apply the MLV barrier to the surface, making sure it is securely adhered or attached.
- Seal the edges and seams: Use acoustically rated tape or adhesive to seal the edges and seams of the MLV barrier. This helps create an airtight and soundproof seal, preventing sound from escaping or entering through gaps.
- Cover the MLV: Depending on your preference, you can leave the MLV barrier as is or cover it with another layer of drywall or decorative material. This will provide a finished look and further enhance sound insulation.
Mass-loaded vinyl barriers are highly effective in blocking sound transmission, as they add mass and density to the surfaces. They act as a sound barrier that absorbs and reflects sound waves, preventing them from passing through walls, floors, or ceilings. Installing an MLV barrier can significantly improve the sound insulation between floors in your space.
In the next section, we will explore the use of resilient sound clips as another soundproofing technique.
Install Resilient Sound Clips
Another effective soundproofing technique to consider for improving sound insulation between floors is the installation of resilient sound clips. Resilient sound clips are special clips or brackets that help decouple sound and vibrations from the structure, reducing the transmission of airborne and impact noise. Here’s how you can install resilient sound clips:
- Identify the installation area: Determine the areas where you want to install the resilient sound clips. This typically includes the ceiling or walls.
- Locate the ceiling joists: Use a stud finder or the construction plans to locate the ceiling joists. Mark their position on the ceiling surface.
- Install the sound clips: Attach the sound clips to the ceiling joists, following the manufacturer’s instructions. Typically, this involves screwing or nailing the clips into the joists at regular intervals.
- Attach furring channels or hat channels: After the sound clips are installed, attach furring channels or hat channels to the clips. These channels act as the base for the new ceiling or wall surface.
- Install the new ceiling or wall materials: Once the channels are in place, you can install the new ceiling or wall materials. This can include drywall, acoustic panels, or other sound-absorbing materials.
The resilient sound clips create a decoupled system, isolating the new ceiling or wall from the existing structure. This helps absorb vibrations and reduce the transmission of sound waves through the building’s framework. By installing resilient sound clips, you can significantly enhance the sound insulation between floors.
In the next section, we will discuss soundproofing techniques specifically for doors, which are another common source of sound transmission.
Read also: 12 Unbelievable Sound Insulation For 2025
Soundproof the Doors
When it comes to improving sound insulation between floors, don’t overlook the doors. Doors can be a significant source of sound transmission, especially if they are not properly sealed or insulated. By soundproofing your doors, you can greatly reduce noise transfer and create a more peaceful and quiet environment. Here’s how you can soundproof your doors:
- Seal the gaps: Check for any gaps or cracks around the edges of the door. Use weatherstripping or door seals to seal these gaps and create a tight seal. Self-adhesive weatherstripping tape or door sweeps are effective in blocking sound and preventing drafts.
- Add a door sweep: Install a door sweep at the bottom of the door. This will provide an additional barrier against sound and prevent noise from leaking through the gap between the door and the floor. Choose a soundproofing door sweep that is designed to seal tightly and effectively block sound.
- Consider a solid-core door: If you have a hollow-core door, consider replacing it with a solid-core door. Solid-core doors are denser and provide better sound insulation compared to hollow-core doors, which can allow sound to easily pass through.
- Use soundproofing curtains or panels: Hang soundproofing curtains or panels over the doors to block and absorb sound waves. These curtains or panels are made of dense and thick materials that help minimize sound transmission. They can also add a stylish and decorative touch to your space.
- Insulate the door: Consider adding an additional layer of insulation to the door. There are various soundproofing materials available, such as foam insulation panels or mass-loaded vinyl. Apply these materials to the door surface to enhance its soundproofing capabilities.
By soundproofing your doors, you can significantly reduce sound transmission and improve the overall sound insulation between floors. Whether it’s sealing the gaps, adding a door sweep, or incorporating soundproofing materials, taking the necessary steps to soundproof your doors can make a noticeable difference in creating a quiet and peaceful environment.
Now that we have explored various soundproofing techniques, it’s time to wrap up and summarize the key points we’ve covered in this article.
Conclusion
Improving sound insulation between floors is essential for creating a peaceful and comfortable living or working environment. Unwanted noise can be a significant source of distraction and annoyance, affecting your productivity and overall well-being. By implementing the right techniques and materials, you can effectively reduce sound transmission and enjoy a quieter space. Here are the key points to remember:
Understanding sound insulation: Sound insulation involves reducing the transmission of sound waves through materials. It can be categorized into airborne and impact insulation, both of which should be considered for effective soundproofing.
Assessing the current sound insulation: Before implementing any soundproofing measures, it’s important to evaluate the current state of sound insulation in your space. This allows you to identify weak points and areas that require improvement.
Identifying common sound transmission points: Gaps, cracks, doors, windows, and structural weaknesses are common areas where sound can easily pass through. Identifying and addressing these points is crucial for successful soundproofing.
Sealing and insulating gaps and cracks: By sealing and insulating gaps and cracks in walls, floors, and ceilings, you can significantly reduce sound leakage. Materials like caulk, sealants, weatherstripping, and insulation can help create a barrier against noise.
Installing soundproofing underlayment: Adding a soundproofing underlayment beneath your flooring helps absorb sound vibrations and reduce impact noise.
Adding acoustic insulation to the ceiling: Installing acoustic insulation in the ceiling absorbs sound waves and minimizes their transmission between floors.
Using mass loaded vinyl barrier: Mass-loaded vinyl acts as a dense sound barrier, blocking the transmission of sound waves through walls, floors, and ceilings.
Installing resilient sound clips: By using resilient sound clips, you can decouple walls or ceilings from the structure, reducing sound transmission vibrations.
Soundproofing the doors: Sealing gaps, installing door sweeps, considering solid-core doors, and adding soundproofing curtains or panels help reduce sound transmission through doors.
Remember, achieving sound insulation between floors requires a combination of techniques and materials tailored to your specific space. By implementing these strategies, you can create a more peaceful and serene environment. So, say goodbye to unwanted noise and enjoy a quieter living or working space.
Frequently Asked Questions about How To Improve Sound Insulation Between Floors
Was this page helpful?
At Storables.com, we guarantee accurate and reliable information. Our content, validated by Expert Board Contributors, is crafted following stringent Editorial Policies. We're committed to providing you with well-researched, expert-backed insights for all your informational needs.


0 thoughts on “How To Improve Sound Insulation Between Floors”