Home>Renovation & DIY>Home Renovation Guides>How To Install A Radon Mitigation System In A Crawl Space

Home Renovation Guides
How To Install A Radon Mitigation System In A Crawl Space
Modified: September 2, 2024
Learn how to install a radon mitigation system in a crawl space with our comprehensive home renovation guide. Protect your home and loved ones today!
(Many of the links in this article redirect to a specific reviewed product. Your purchase of these products through affiliate links helps to generate commission for Storables.com, at no extra cost. Learn more)
Introduction
Welcome to the comprehensive guide on installing a radon mitigation system in a crawl space. Radon is a colorless, odorless, and tasteless radioactive gas that can seep into homes through cracks and openings in the foundation. Prolonged exposure to high levels of radon can pose serious health risks, including an increased risk of lung cancer. Therefore, it is crucial to take proactive measures to mitigate radon levels in your home, especially in areas with a higher prevalence of radon.
In this guide, we will walk you through the step-by-step process of assessing your crawl space, selecting the right mitigation system, preparing the space for installation, and executing the installation process. Additionally, we will discuss the importance of testing and monitoring the system to ensure its effectiveness in reducing radon levels.
By following the detailed instructions provided in this guide, you will gain the knowledge and confidence to effectively address radon infiltration in your crawl space, ultimately creating a safer and healthier living environment for you and your loved ones. Let's dive into the essential steps of installing a radon mitigation system in a crawl space to safeguard your home from this silent threat.
Key Takeaways:
- Protect Your Home
Assess your crawl space, choose the right mitigation system, and prepare and install it to safeguard your home from dangerous radon gas, ensuring a healthier living environment for your family. - Stay Vigilant
Regularly test and monitor your radon mitigation system, conduct maintenance checks, and consider upgrades to ensure long-term effectiveness in reducing radon levels and maintaining a safe indoor environment.
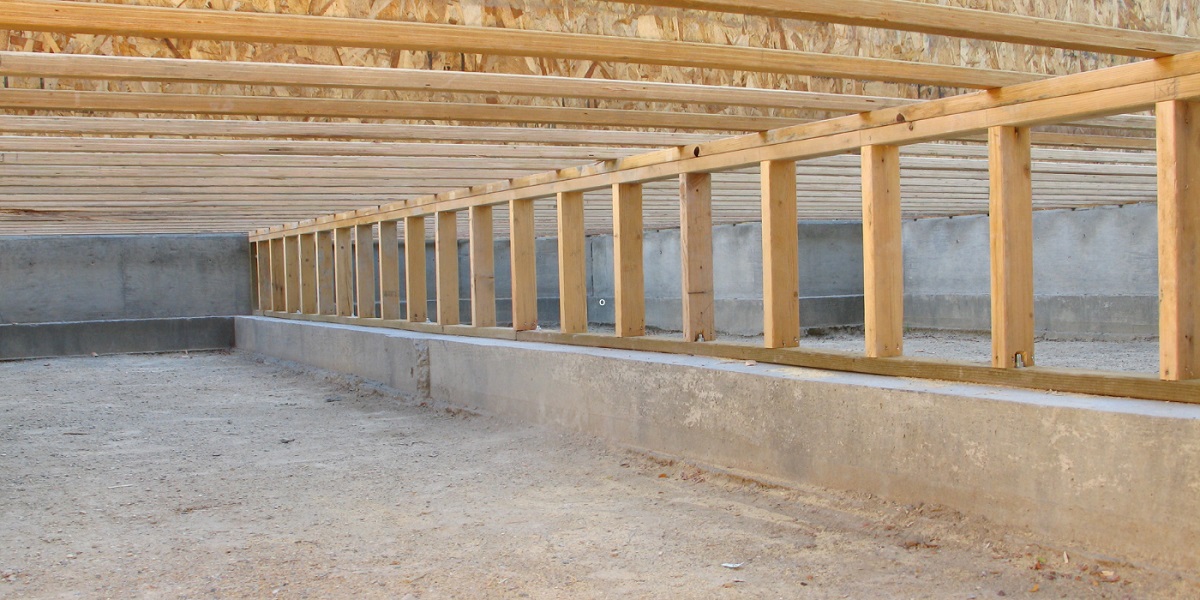
Step 1: Assessing the Crawl Space
Before embarking on the installation of a radon mitigation system, it is crucial to thoroughly assess the crawl space to determine the extent of radon infiltration and identify the most suitable approach for mitigation. Here's a detailed breakdown of the assessment process:
-
Radon Testing: Begin by conducting a radon test in the crawl space to measure the existing levels of radon gas. This can be achieved using short-term or long-term radon test kits, which are readily available at hardware stores or through professional radon testing services. It's important to place the test kit in the lowest livable area of the home to obtain an accurate representation of radon levels in the crawl space.
-
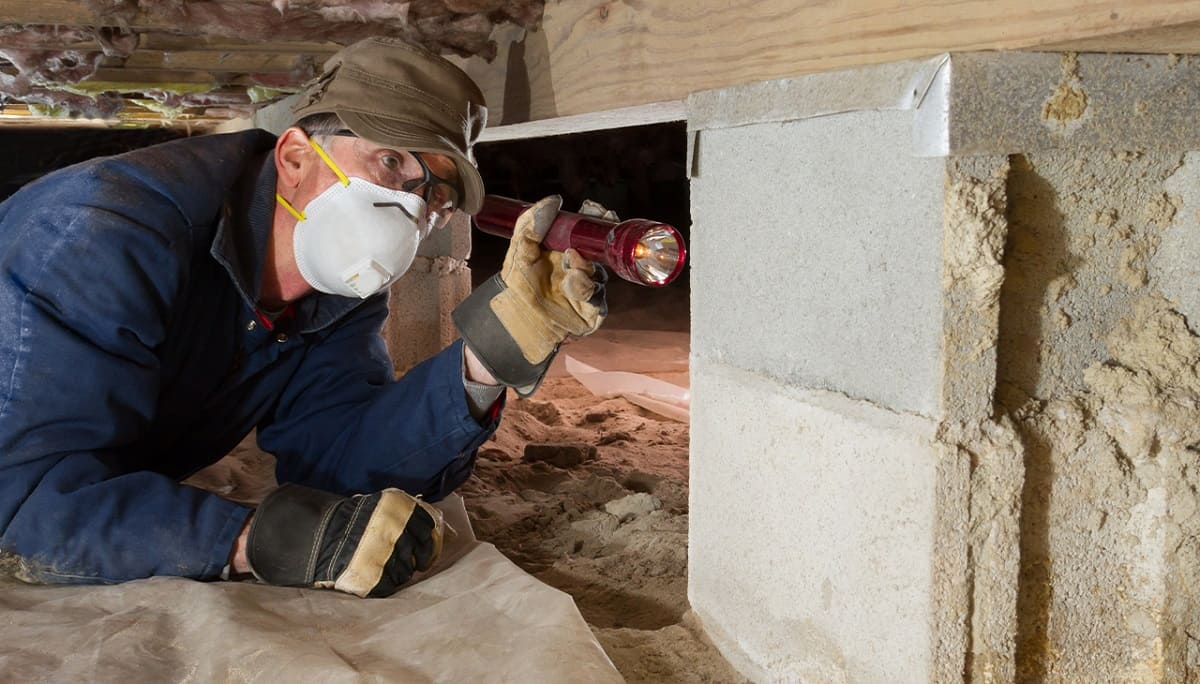
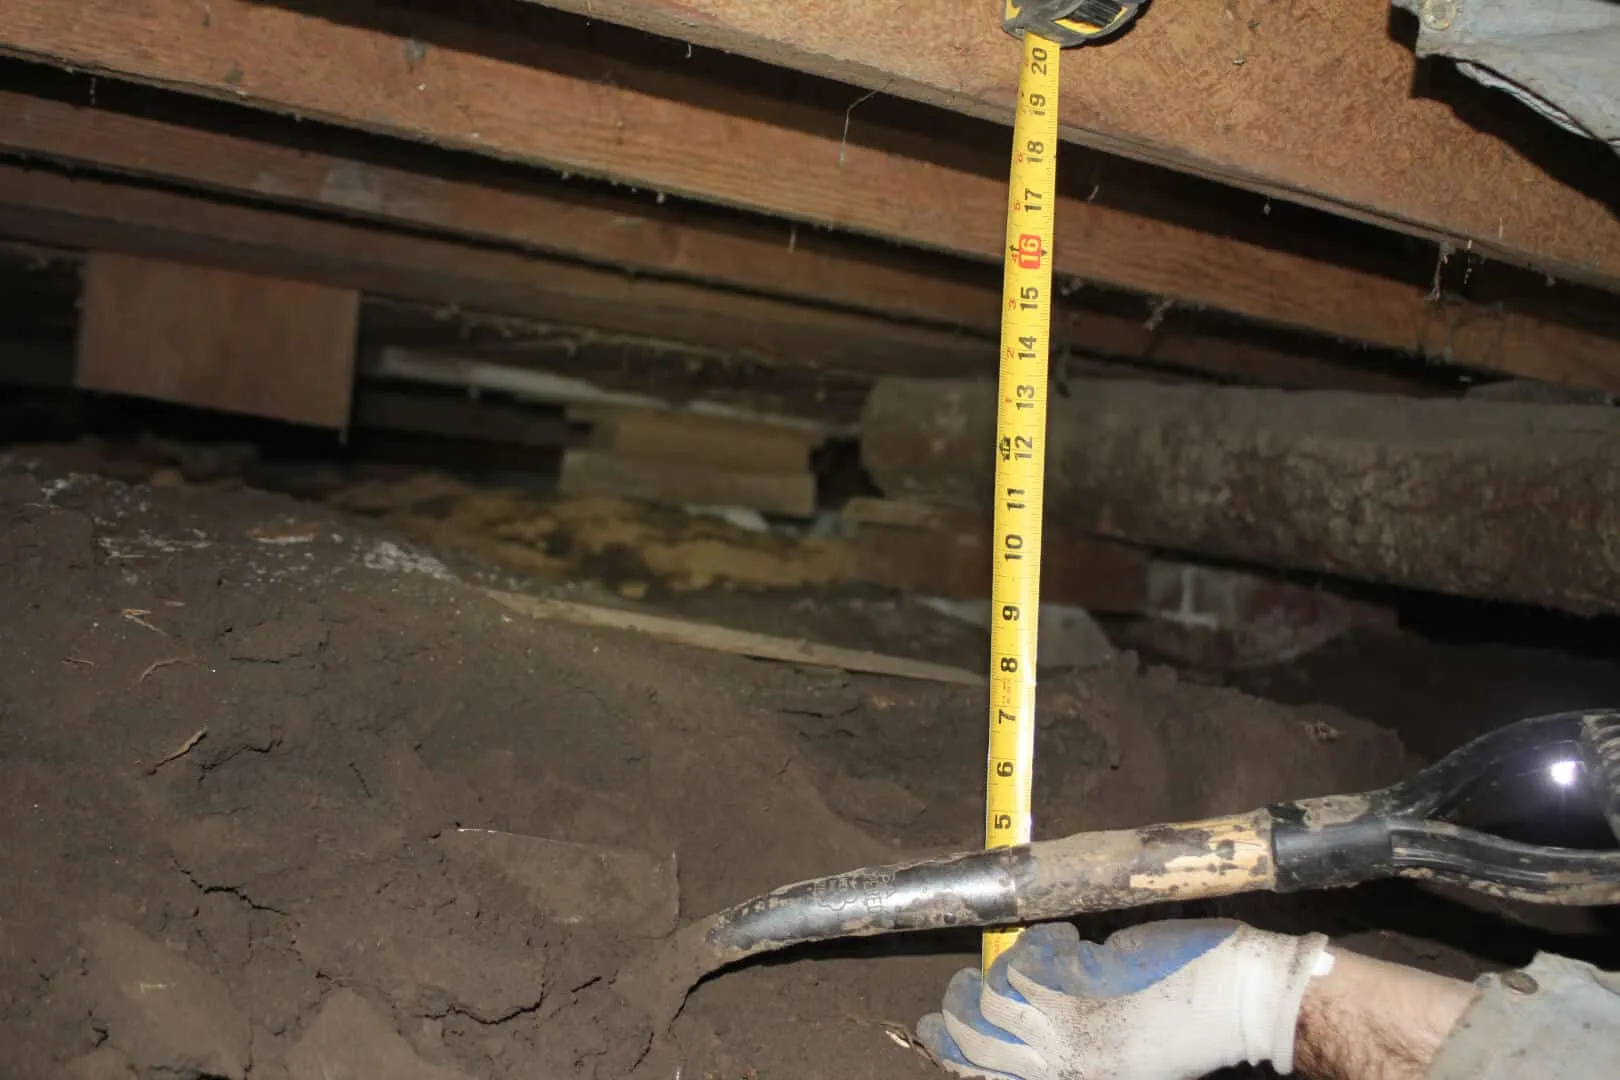
Crawl Space Inspection: Next, thoroughly inspect the crawl space for potential entry points where radon gas could infiltrate the home. Common entry points include cracks in the foundation, gaps around pipes and utility penetrations, and poorly sealed crawl space vents. Take note of any visible signs of moisture or water intrusion, as these issues can exacerbate radon infiltration and impact the effectiveness of mitigation efforts.
-
Assessing Crawl Space Conditions: Evaluate the overall condition of the crawl space, including ventilation, insulation, and the presence of any existing HVAC ductwork. Additionally, take note of the layout and accessibility of the crawl space, as these factors will influence the selection and installation of the radon mitigation system.
-
Professional Consultation: Consider seeking guidance from a certified radon mitigation professional to gain insights into the specific radon levels and conditions within your crawl space. A professional assessment can provide valuable recommendations for the most effective mitigation approach tailored to your home's unique characteristics.
By meticulously assessing the crawl space and conducting comprehensive radon testing, you will gain a clear understanding of the radon levels and contributing factors within the space. This foundational knowledge will inform the subsequent steps of selecting and implementing an appropriate radon mitigation system to effectively reduce radon gas infiltration and safeguard the indoor air quality of your home.
Step 2: Choosing the Right Mitigation System
Selecting the appropriate radon mitigation system for your crawl space is a critical decision that directly impacts the effectiveness of reducing radon levels in your home. Several factors should be taken into consideration when choosing the right mitigation system to ensure optimal results. Here's a detailed exploration of the key considerations for selecting the most suitable radon mitigation system for your crawl space:
-
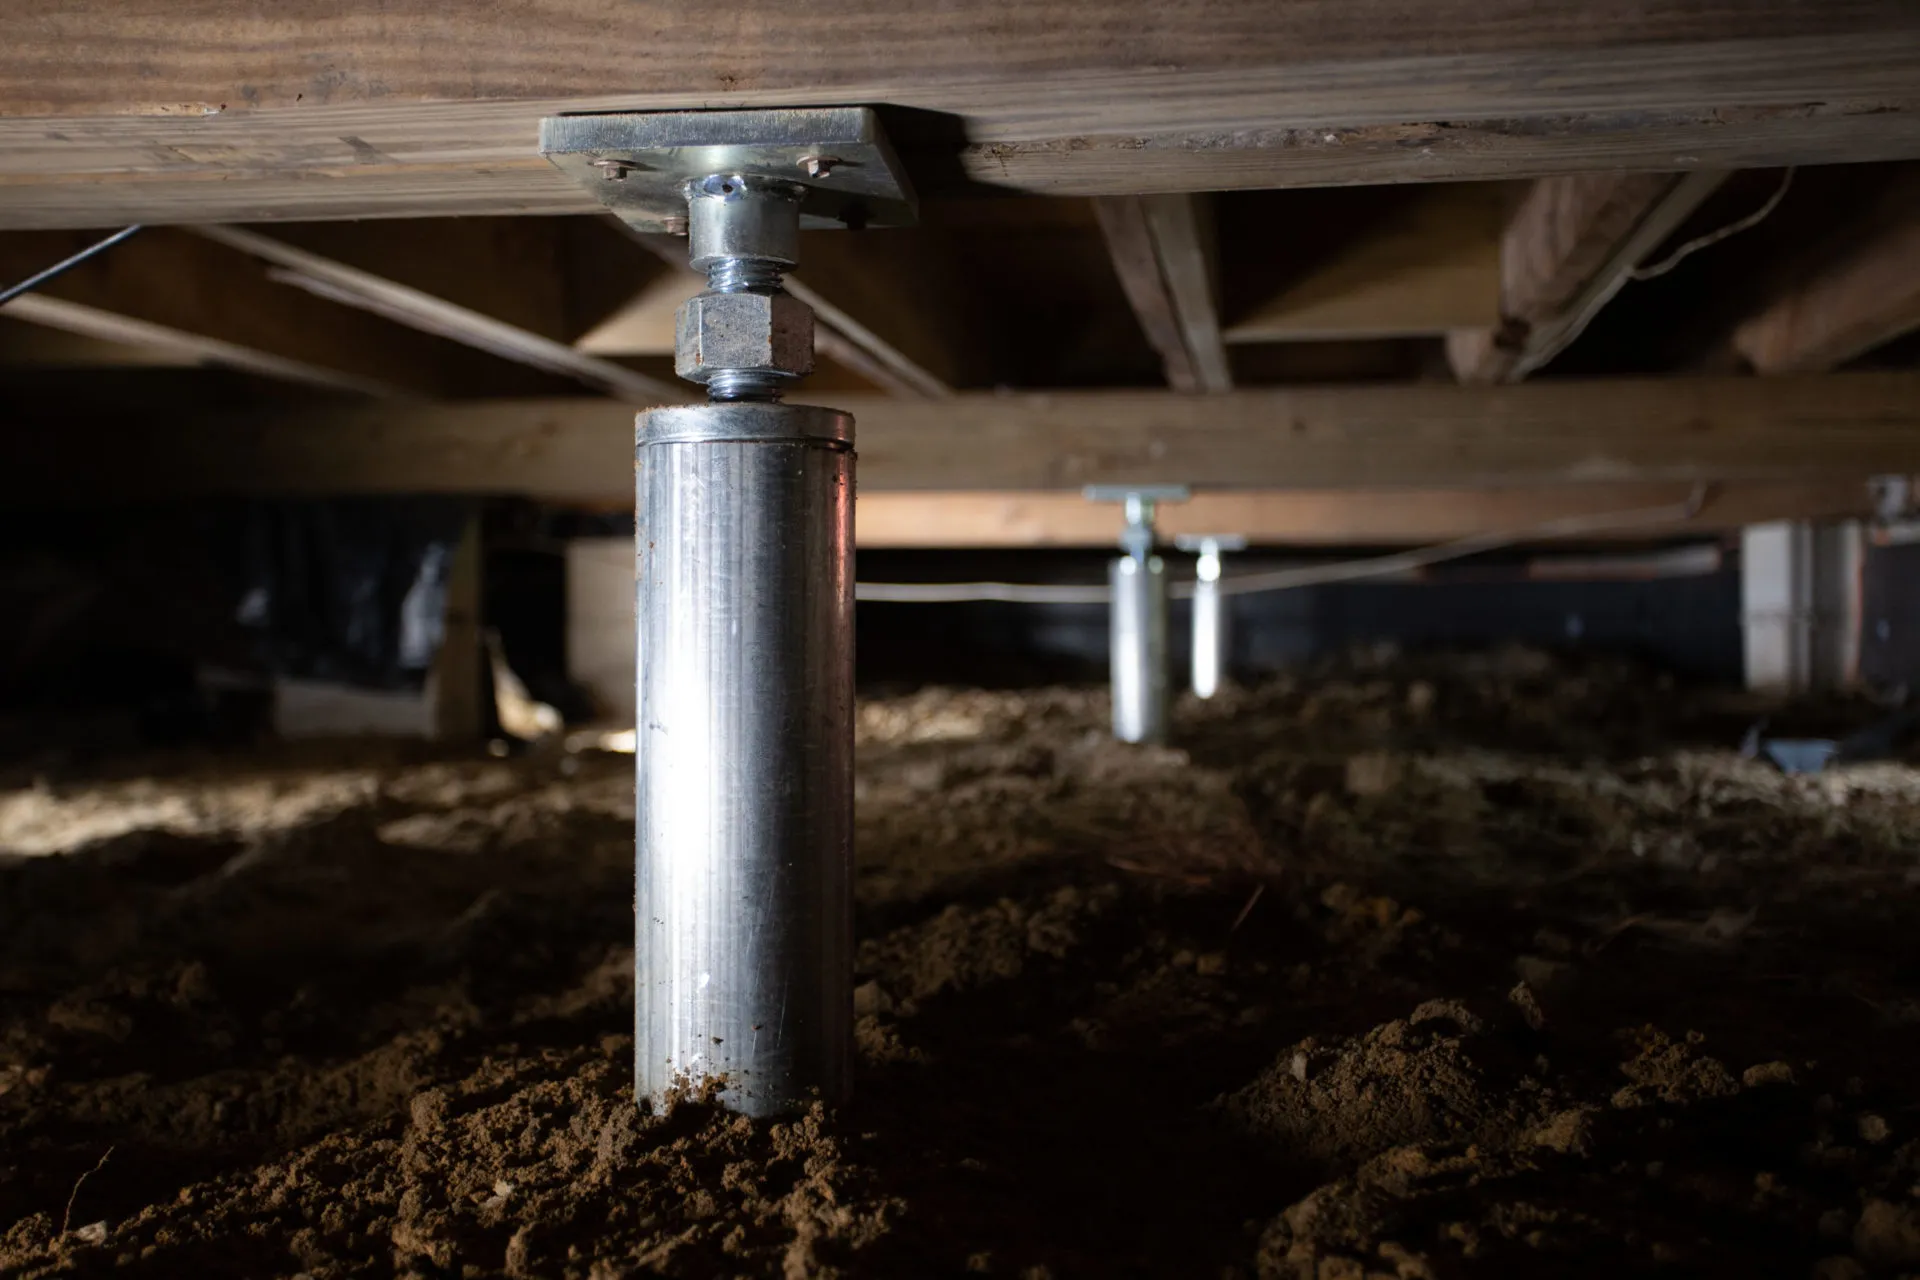
Crawl Space Characteristics: Begin by evaluating the specific characteristics of your crawl space, including its size, layout, and accessibility. Crawl spaces vary in design, with some being more confined and challenging to navigate, while others offer more open and accessible configurations. The unique layout of your crawl space will influence the selection of a mitigation system that can be effectively installed within the space.
-
Foundation Type: Consider the type of foundation present in your home, as this can impact the choice of mitigation system. Homes with different foundation types, such as concrete slab or raised foundation, may require distinct mitigation approaches to address radon infiltration effectively.
-
Soil Composition: Assess the soil composition beneath your home, as it plays a significant role in determining the most suitable radon mitigation system. The permeability of the soil and the presence of natural pathways for radon entry can influence the selection of a mitigation system tailored to the specific soil conditions.
-
Ventilation and HVAC Configuration: Take into account the existing ventilation and HVAC configuration within the crawl space. The presence of HVAC ductwork, as well as the ventilation and airflow dynamics, can impact the installation and functionality of certain radon mitigation systems. It's essential to choose a system that complements the existing ventilation and HVAC setup to ensure seamless integration.
-
Professional Recommendations: Seek guidance from certified radon mitigation professionals who can provide expert insights into the most suitable mitigation system for your crawl space. Professional assessments and recommendations based on the specific radon levels and crawl space conditions can offer valuable guidance in selecting the right mitigation approach.
-
Mitigation System Options: Familiarize yourself with the various types of radon mitigation systems available for crawl spaces, including sub-slab depressurization, sub-membrane depressurization, and crawl space ventilation systems. Each system offers unique advantages and is designed to address specific radon entry points and crawl space conditions.
By carefully considering these factors and consulting with radon mitigation professionals, you can make an informed decision when choosing the right mitigation system for your crawl space. The selected system should align with the unique characteristics of your crawl space and effectively mitigate radon infiltration, ultimately ensuring a healthier indoor environment for you and your family.
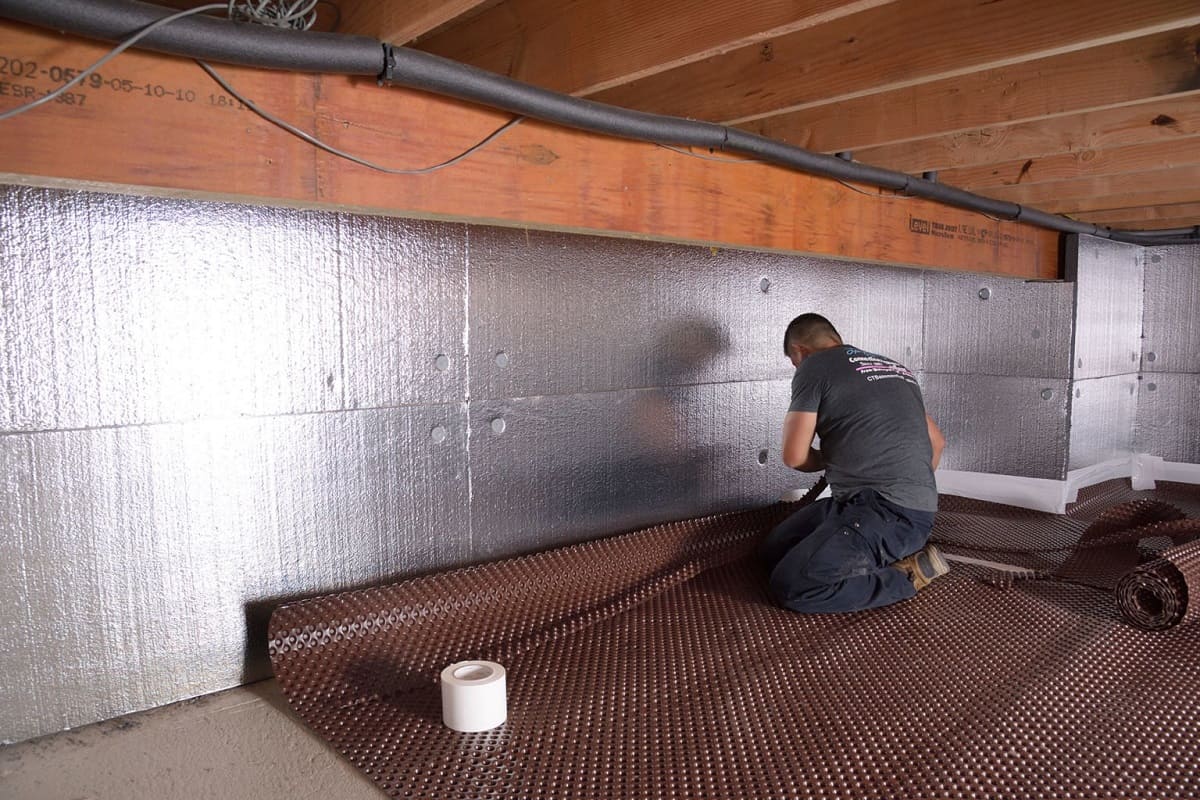
Step 3: Preparing the Crawl Space
Preparing the crawl space is a crucial precursor to the successful installation of a radon mitigation system. This step involves creating the optimal environment within the crawl space to facilitate the effective functioning of the chosen mitigation system. Here's a comprehensive overview of the essential tasks involved in preparing the crawl space for radon mitigation:
-
Clearing and Cleaning: Begin by clearing out any debris, clutter, and unnecessary items from the crawl space. This includes removing stored belongings, excess insulation, and any accumulated debris that may obstruct the installation of the mitigation system. Thoroughly clean the crawl space to eliminate dust, dirt, and other contaminants, ensuring a clean and conducive environment for the mitigation system.
-
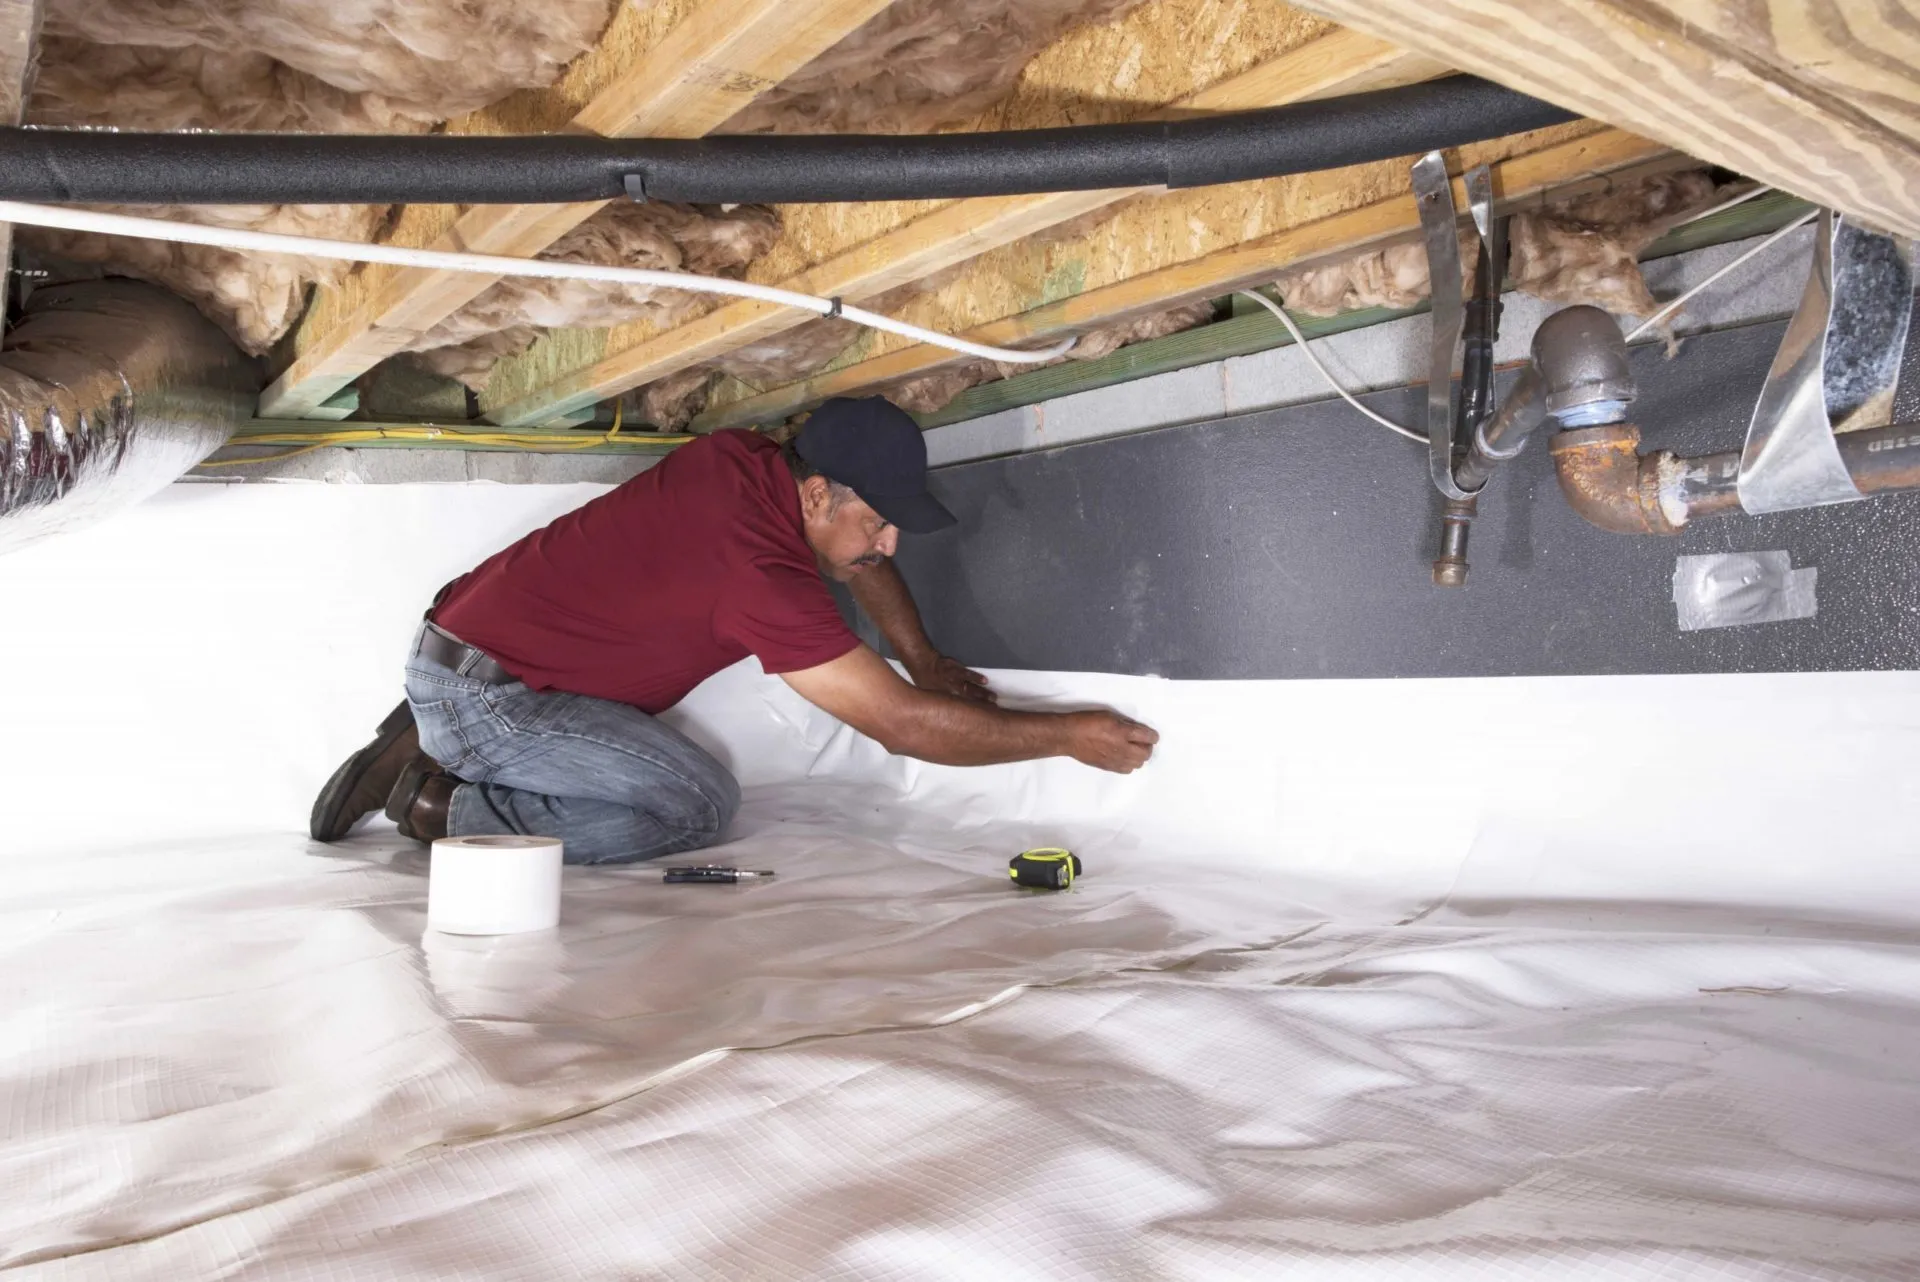
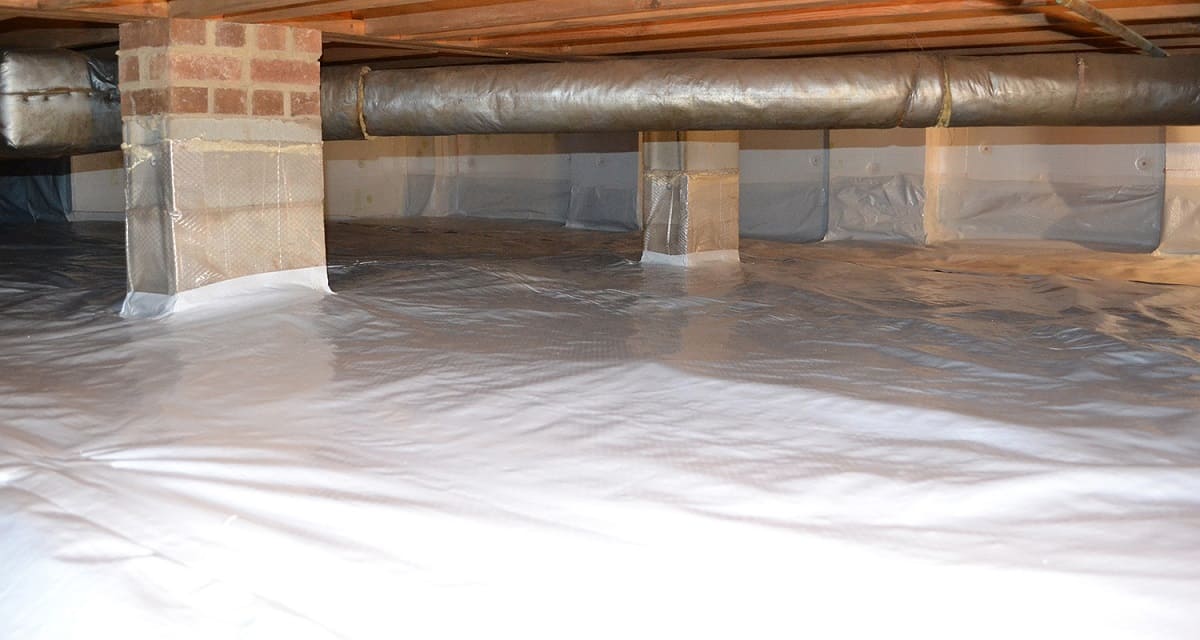
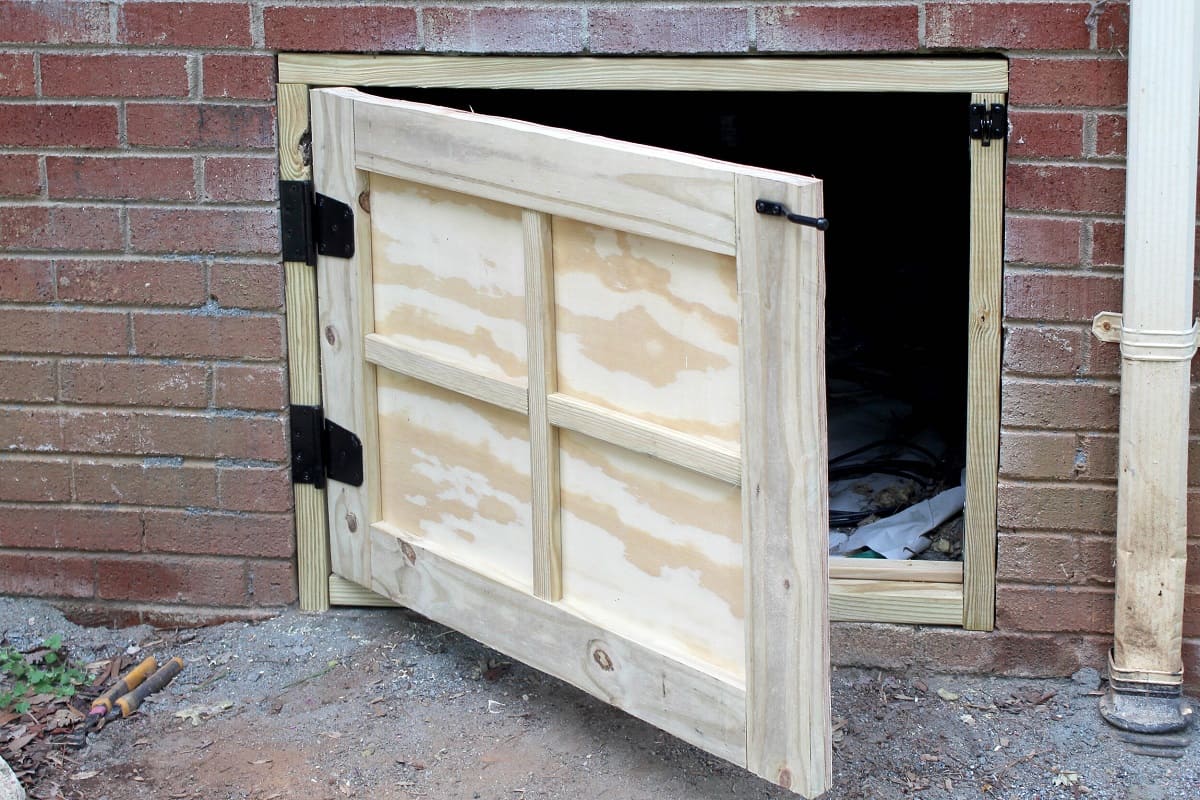
Sealing Entry Points: Identify and seal potential entry points for radon gas, such as foundation cracks, gaps around pipes, and utility penetrations. Utilize appropriate sealing materials, such as polyurethane caulk or hydraulic cement, to effectively seal these openings and prevent the ingress of radon gas into the crawl space. Additionally, address any existing moisture or water intrusion issues by repairing leaks and improving drainage to mitigate potential moisture-related complications.
-
Improving Ventilation: Evaluate the ventilation within the crawl space and make necessary improvements to enhance airflow and circulation. Proper ventilation is essential for maintaining a balanced and healthy crawl space environment. Consider installing or optimizing existing vents to promote adequate air exchange and reduce stagnant air, contributing to overall air quality improvement.
-
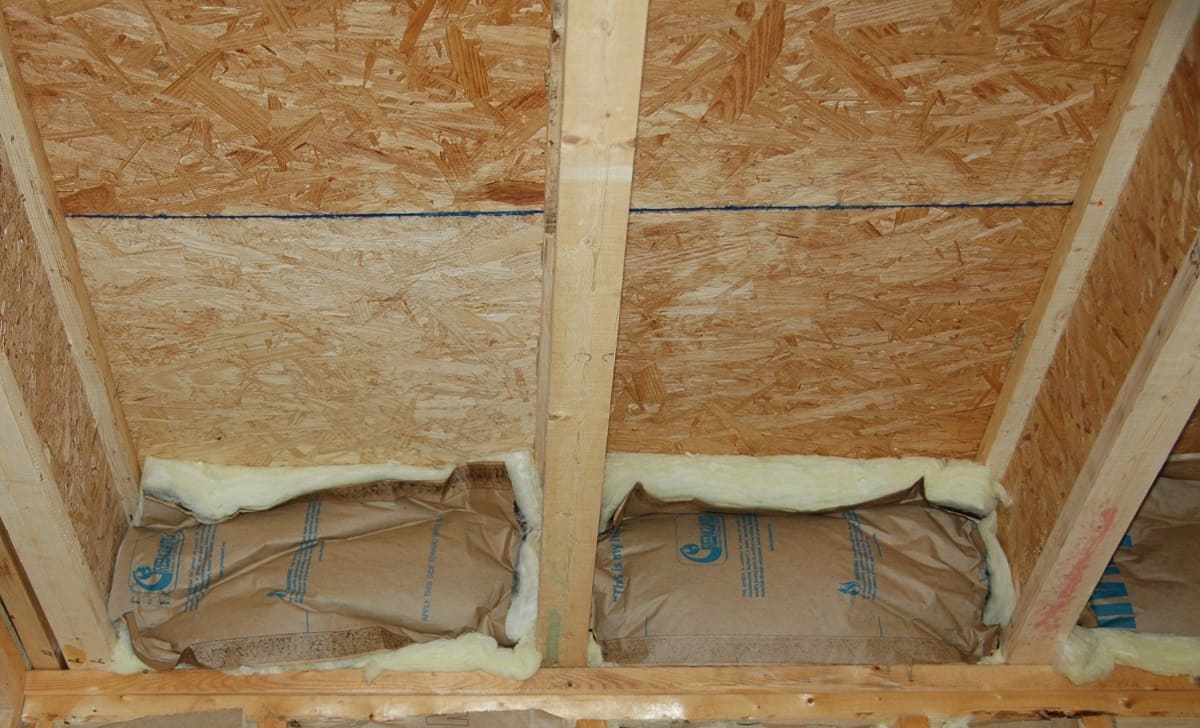
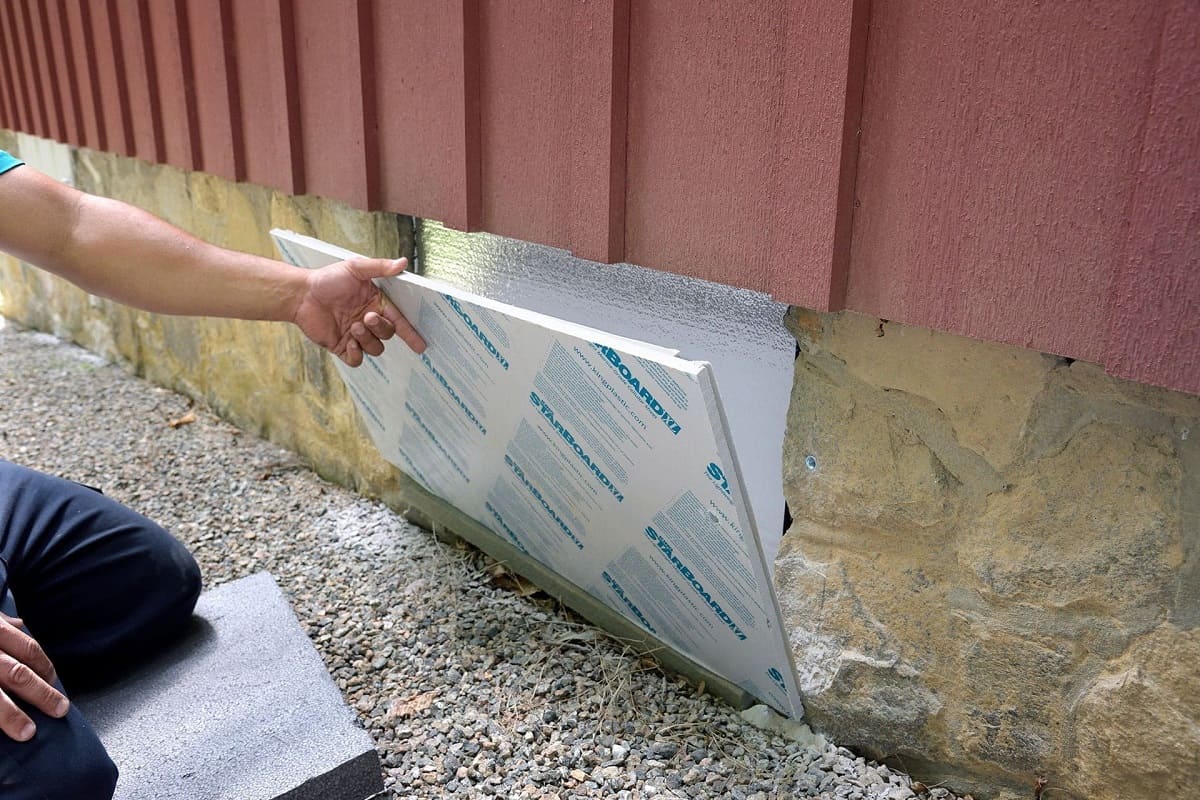
Addressing Insulation: Assess the condition of insulation within the crawl space and make adjustments as needed. Ensure that insulation materials are properly installed and in good condition to prevent air leaks and maintain consistent temperature levels. Proper insulation contributes to the overall energy efficiency of the home and complements the functionality of the radon mitigation system.
-
Creating Access Points: Ensure that the crawl space is easily accessible for the installation and future maintenance of the mitigation system. Clear pathways and create sufficient space for technicians to maneuver and work comfortably during the installation process. Accessibility is key to ensuring the seamless implementation and ongoing functionality of the mitigation system.
By meticulously preparing the crawl space through clearing, sealing, improving ventilation, addressing insulation, and creating accessible pathways, you establish the foundational groundwork for the successful installation and operation of the radon mitigation system. These preparatory measures contribute to creating an environment conducive to mitigating radon infiltration effectively, ultimately promoting a healthier and safer indoor living environment.
When installing a radon mitigation system in a crawl space, make sure to seal all cracks and openings in the floor and walls to prevent radon from entering the space. This will help ensure the effectiveness of the mitigation system.
Step 4: Installing the Radon Mitigation System
The installation of a radon mitigation system is a pivotal step in effectively reducing radon levels within a crawl space and safeguarding indoor air quality. The installation process involves precise implementation of the chosen mitigation system to ensure its optimal functionality. Here's a detailed breakdown of the essential tasks involved in installing the radon mitigation system:
-
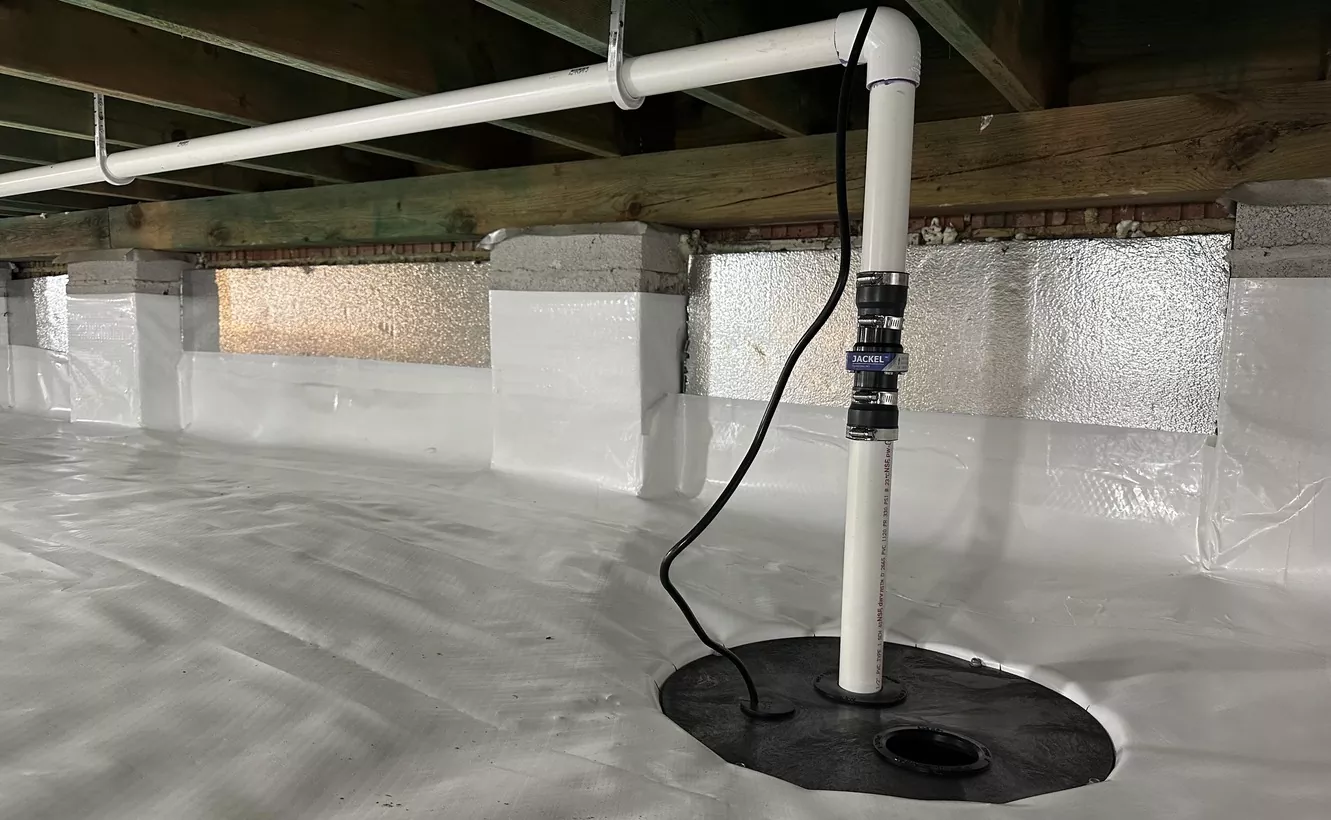
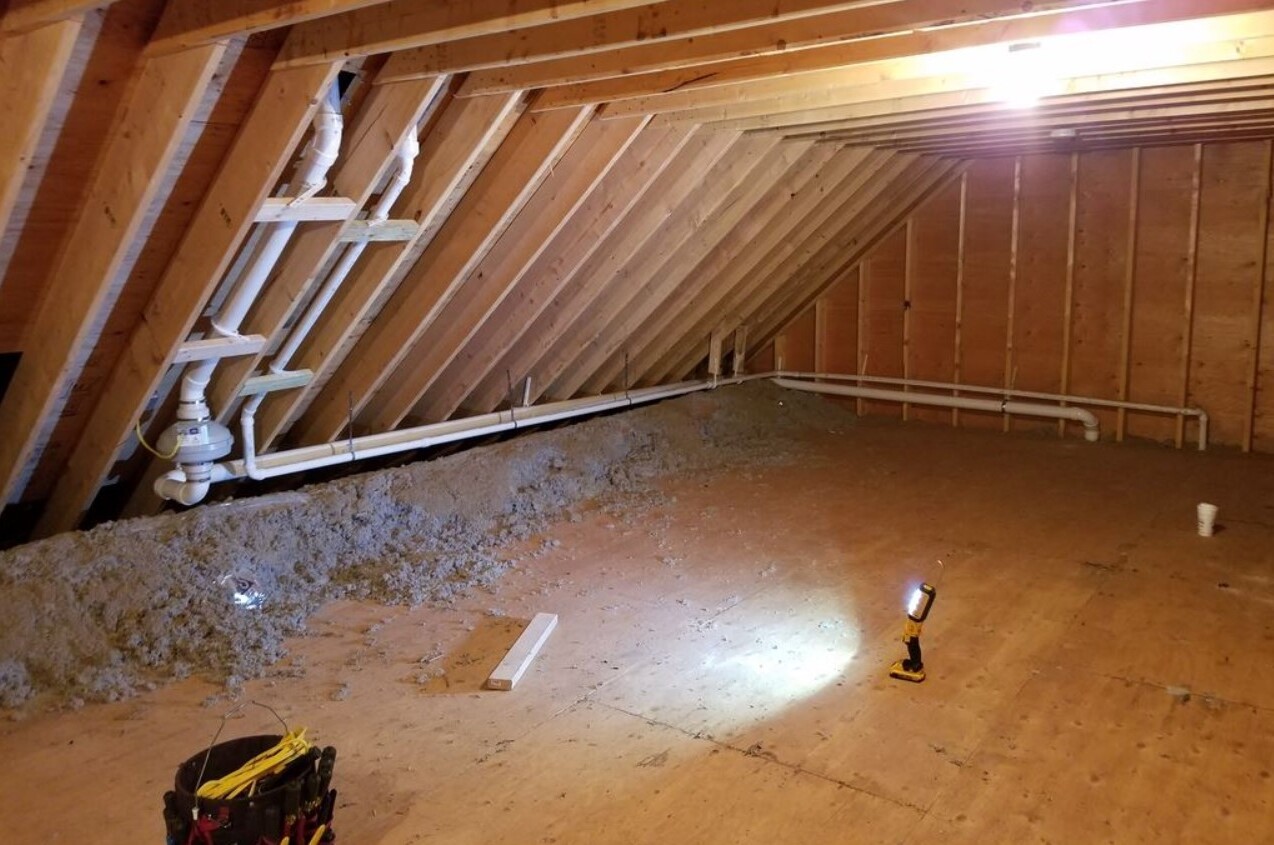
System Configuration: Begin by configuring the radon mitigation system based on the selected approach, such as sub-slab depressurization or crawl space ventilation. This entails positioning the system components, including the suction point, PVC piping, and exhaust fan, in strategic locations to create negative pressure within the crawl space and effectively vent radon gas to the exterior.
-
Piping Installation: Install the PVC piping network to establish a pathway for directing radon-laden air from the crawl space to the exterior of the home. Carefully position and secure the piping to ensure airtight connections and optimal airflow, minimizing the potential for radon gas to escape into the living spaces.
-
Sealing and Insulation: Seal all joints and connections in the piping system using appropriate sealing materials to prevent air leaks and maintain the integrity of the mitigation system. Additionally, insulate the piping to prevent condensation and temperature-related issues, ensuring the consistent and efficient operation of the system.
-
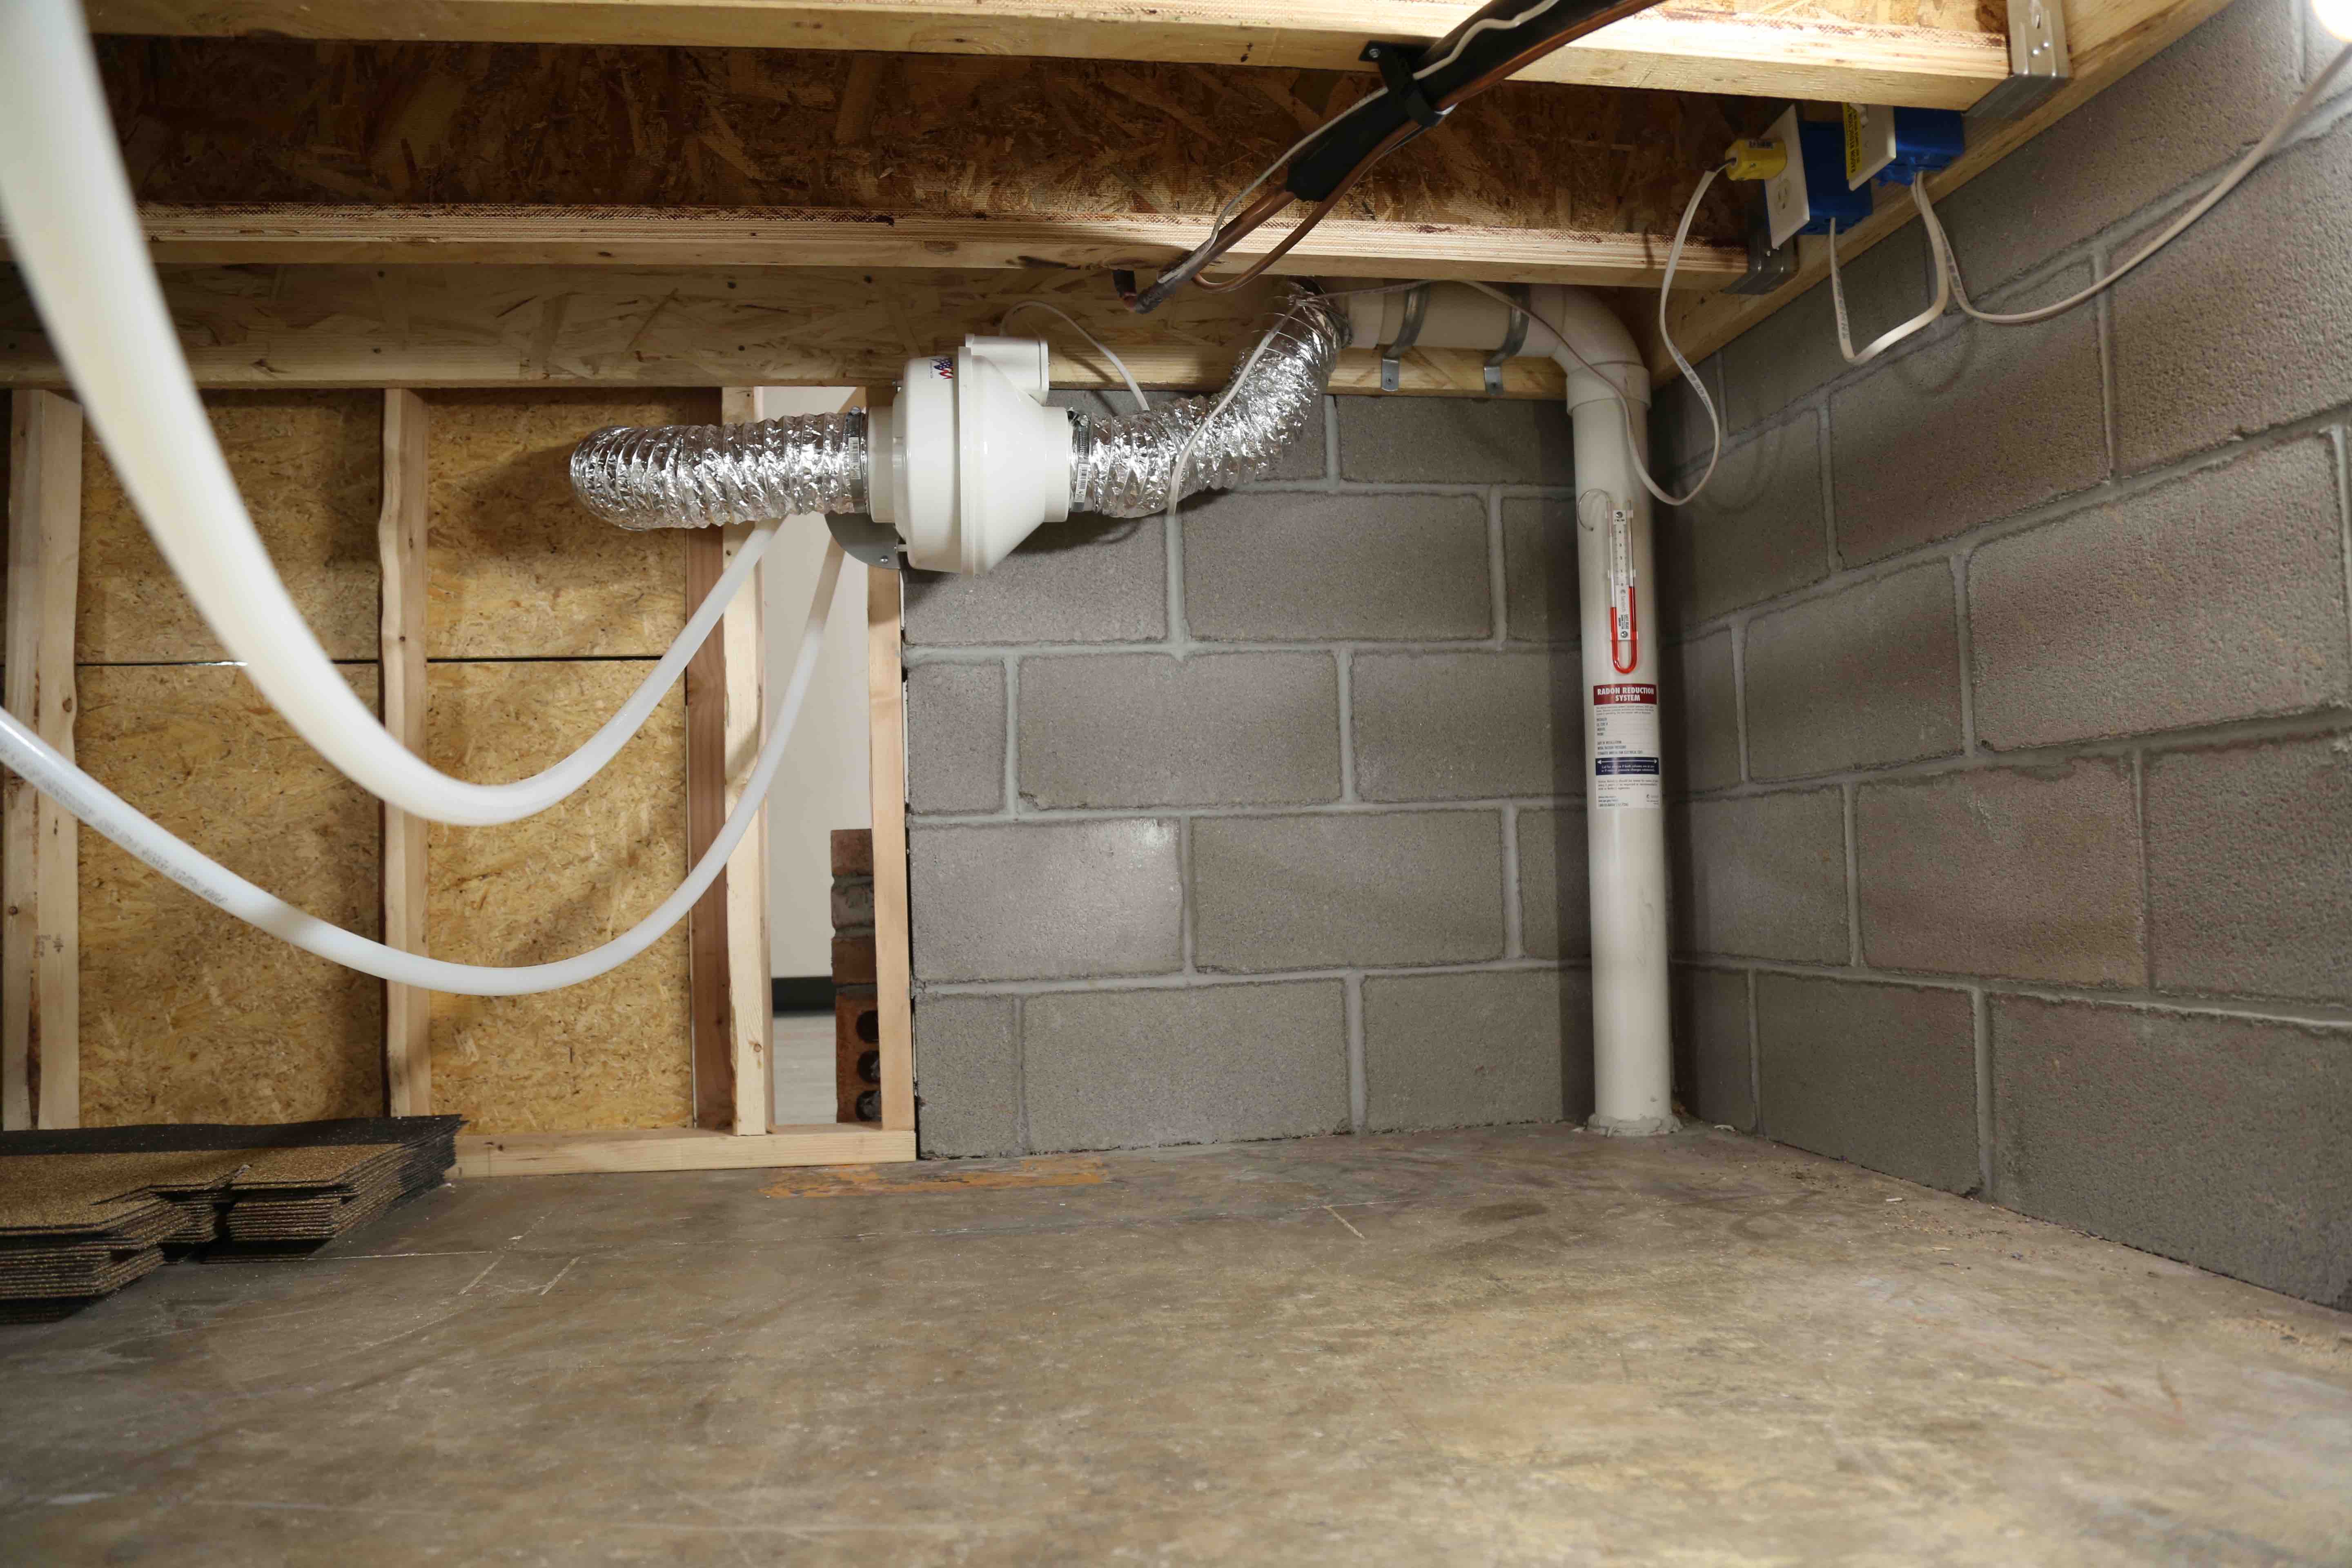
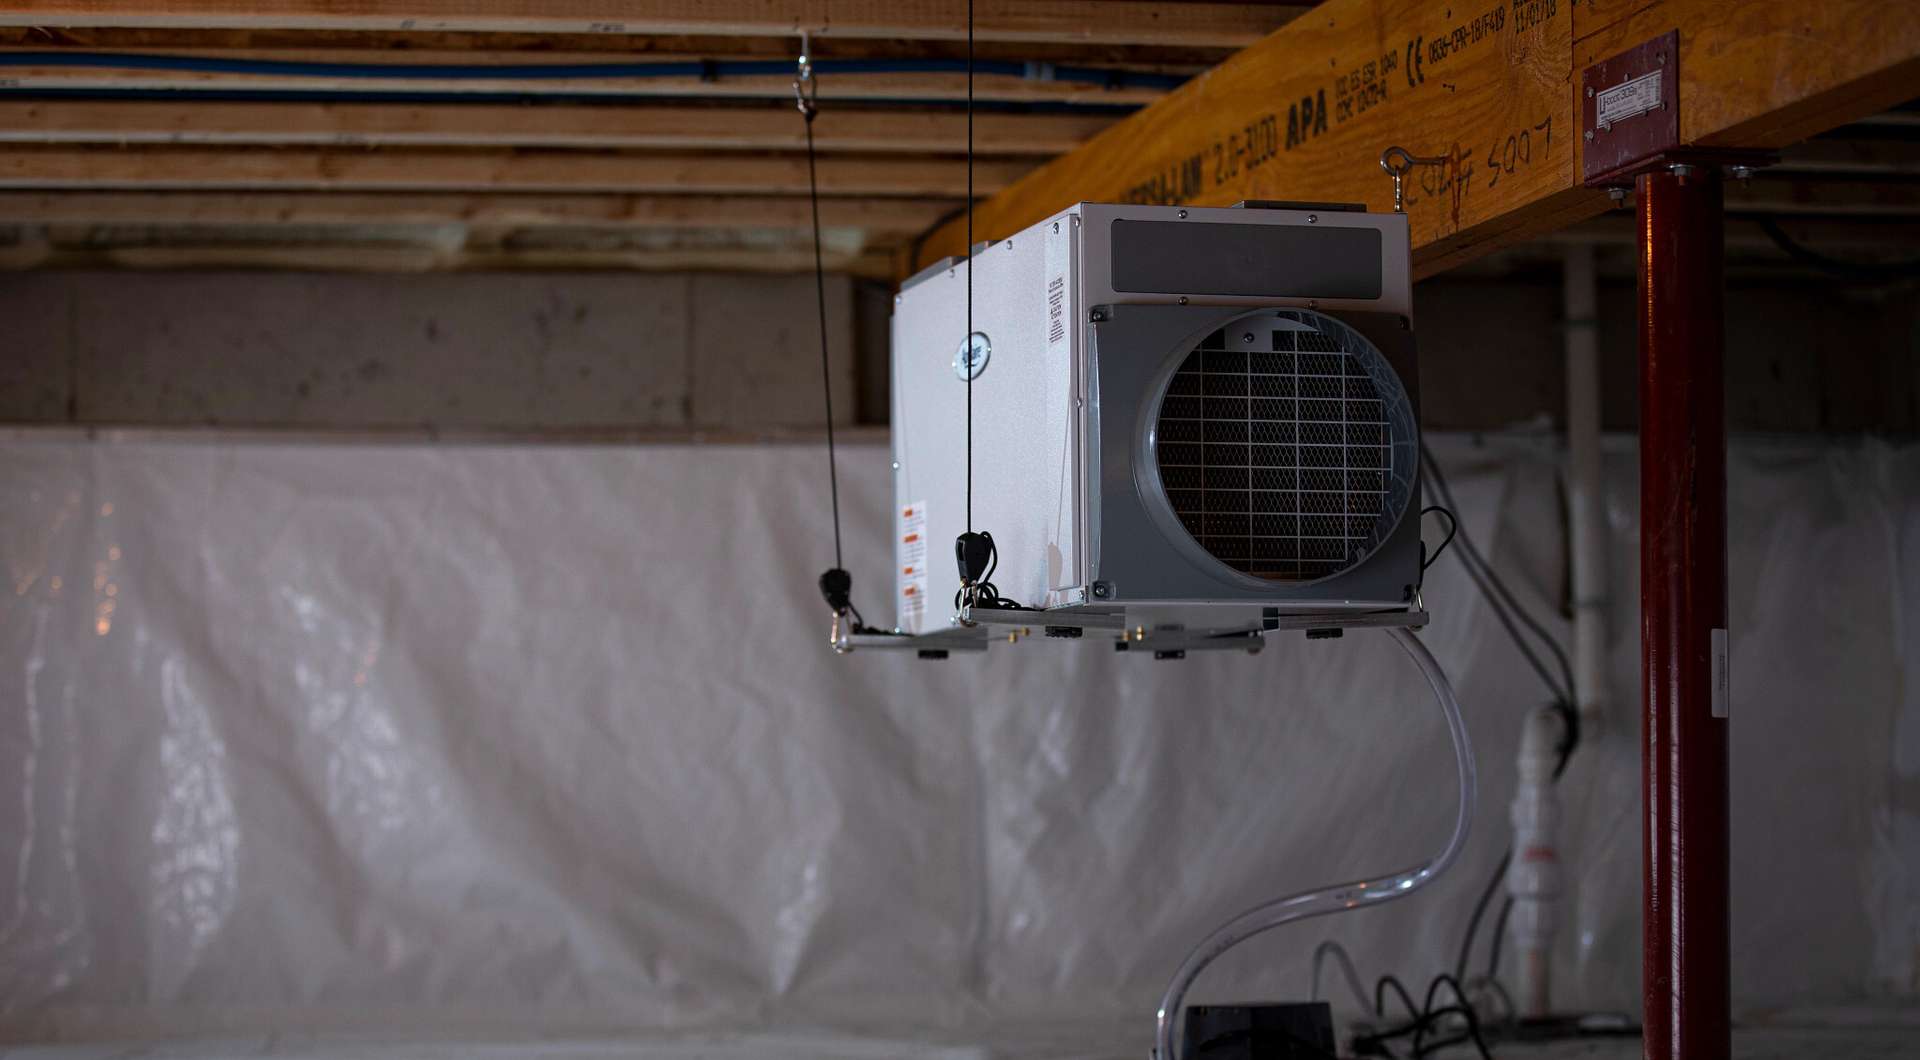
Fan Placement and Activation: Position the exhaust fan in a designated outdoor location to facilitate the safe dispersal of radon gas. Ensure that the fan is securely mounted and properly connected to the piping system. Once installed, activate the fan to initiate the continuous extraction of radon-laden air from the crawl space, effectively reducing radon levels within the home.
-
System Integration: Integrate the radon mitigation system with the existing HVAC infrastructure, if applicable, to optimize ventilation and airflow dynamics within the crawl space. This integration ensures a coordinated approach to maintaining air quality and mitigating radon infiltration, enhancing the overall effectiveness of the mitigation system.
-
Quality Assurance: Conduct thorough testing and inspections to verify the proper functioning of the installed radon mitigation system. Utilize radon monitoring devices to measure and monitor radon levels within the crawl space, ensuring that the system is effectively reducing radon concentrations to safe levels.
By meticulously executing the installation process and ensuring the seamless integration of the radon mitigation system, you establish a proactive defense against radon infiltration, creating a healthier and safer indoor environment for you and your family. The installation of the mitigation system marks a significant milestone in mitigating the risks associated with radon exposure and promoting peace of mind regarding indoor air quality.
Step 5: Testing and Monitoring the System
After the successful installation of the radon mitigation system in your crawl space, the crucial step of testing and monitoring the system comes into play. This ongoing process is essential for ensuring the continued effectiveness of the mitigation system in reducing radon levels and maintaining a healthy indoor environment. Here's a detailed exploration of the testing and monitoring procedures:
-
Post-Installation Testing: Following the installation of the radon mitigation system, conduct post-installation radon testing to assess the immediate impact of the system on radon levels within the crawl space. Utilize short-term radon test kits to obtain rapid feedback on the system's performance, allowing for timely adjustments or fine-tuning if necessary.
-
Long-Term Monitoring: Implement long-term radon monitoring measures to track radon levels over an extended period. Long-term testing provides comprehensive insights into the system's sustained effectiveness in mitigating radon infiltration. Utilize continuous radon monitoring devices to capture fluctuations in radon levels and ensure that the mitigation system consistently maintains radon concentrations within safe limits.
-
Regular Maintenance Checks: Schedule routine maintenance checks for the radon mitigation system to verify its operational integrity and address any potential issues promptly. This includes inspecting the fan, monitoring the sealing and insulation of the piping network, and ensuring the overall functionality of the system components. Regular maintenance safeguards the system's performance and prolongs its lifespan, contributing to sustained radon reduction.
-
Periodic System Upgrades: Stay informed about advancements in radon mitigation technology and consider periodic upgrades to enhance the efficiency of the mitigation system. Upgrading system components or incorporating advanced monitoring features can further optimize radon reduction and ensure compliance with evolving industry standards.
-
Professional Verification: Engage certified radon professionals to conduct periodic verifications of the mitigation system's performance. Professional assessments provide expert validation of the system's efficacy and offer recommendations for potential enhancements or adjustments based on evolving radon mitigation best practices.
By diligently testing and monitoring the radon mitigation system, you establish a proactive approach to safeguarding your home against radon infiltration. Continuous monitoring and proactive maintenance contribute to the sustained reduction of radon levels, ensuring a healthier and safer indoor environment for you and your family.
Conclusion
In conclusion, the installation of a radon mitigation system in a crawl space is a proactive and essential measure to safeguard indoor air quality and mitigate the potential health risks associated with radon exposure. By following the comprehensive steps outlined in this guide, homeowners can effectively address radon infiltration and create a healthier living environment for themselves and their families.
The initial assessment of the crawl space, including radon testing and thorough inspections, provides valuable insights into the existing radon levels and contributing factors within the space. This foundational knowledge serves as a critical starting point for selecting the most suitable radon mitigation system tailored to the unique characteristics of the crawl space.
Choosing the right mitigation system involves careful consideration of crawl space characteristics, foundation type, soil composition, and professional recommendations. By evaluating these factors and consulting with radon mitigation experts, homeowners can make informed decisions when selecting a mitigation approach that aligns with their specific crawl space conditions.
The preparatory phase, encompassing clearing, sealing entry points, improving ventilation, addressing insulation, and creating accessible pathways, sets the stage for the seamless installation of the radon mitigation system. These preparatory measures create an optimal environment within the crawl space, facilitating the effective functioning of the chosen mitigation system.
The installation process itself involves precise configuration, piping installation, sealing, insulation, fan placement, system integration, and quality assurance testing. By meticulously executing the installation and ensuring the seamless integration of the mitigation system, homeowners establish a proactive defense against radon infiltration, promoting peace of mind regarding indoor air quality.
Furthermore, the ongoing testing and monitoring of the radon mitigation system, coupled with regular maintenance checks and potential system upgrades, contribute to the sustained reduction of radon levels within the crawl space. Continuous monitoring and proactive maintenance serve as vital components in ensuring the long-term effectiveness of the mitigation system.
In essence, the installation of a radon mitigation system in a crawl space empowers homeowners to take proactive measures in creating a healthier and safer indoor environment. By addressing radon infiltration through comprehensive assessment, strategic system selection, meticulous preparation, precise installation, and ongoing monitoring, homeowners can effectively mitigate the risks associated with radon exposure, ultimately promoting the well-being of their households.
Frequently Asked Questions about How To Install A Radon Mitigation System In A Crawl Space
Was this page helpful?
At Storables.com, we guarantee accurate and reliable information. Our content, validated by Expert Board Contributors, is crafted following stringent Editorial Policies. We're committed to providing you with well-researched, expert-backed insights for all your informational needs.
0 thoughts on “How To Install A Radon Mitigation System In A Crawl Space”