
Articles
How To Install Pool Fence
Modified: October 20, 2024
Learn how to install a pool fence with our informative articles. With step-by-step instructions and expert tips, ensure the safety of your loved ones.
(Many of the links in this article redirect to a specific reviewed product. Your purchase of these products through affiliate links helps to generate commission for Storables.com, at no extra cost. Learn more)
Introduction
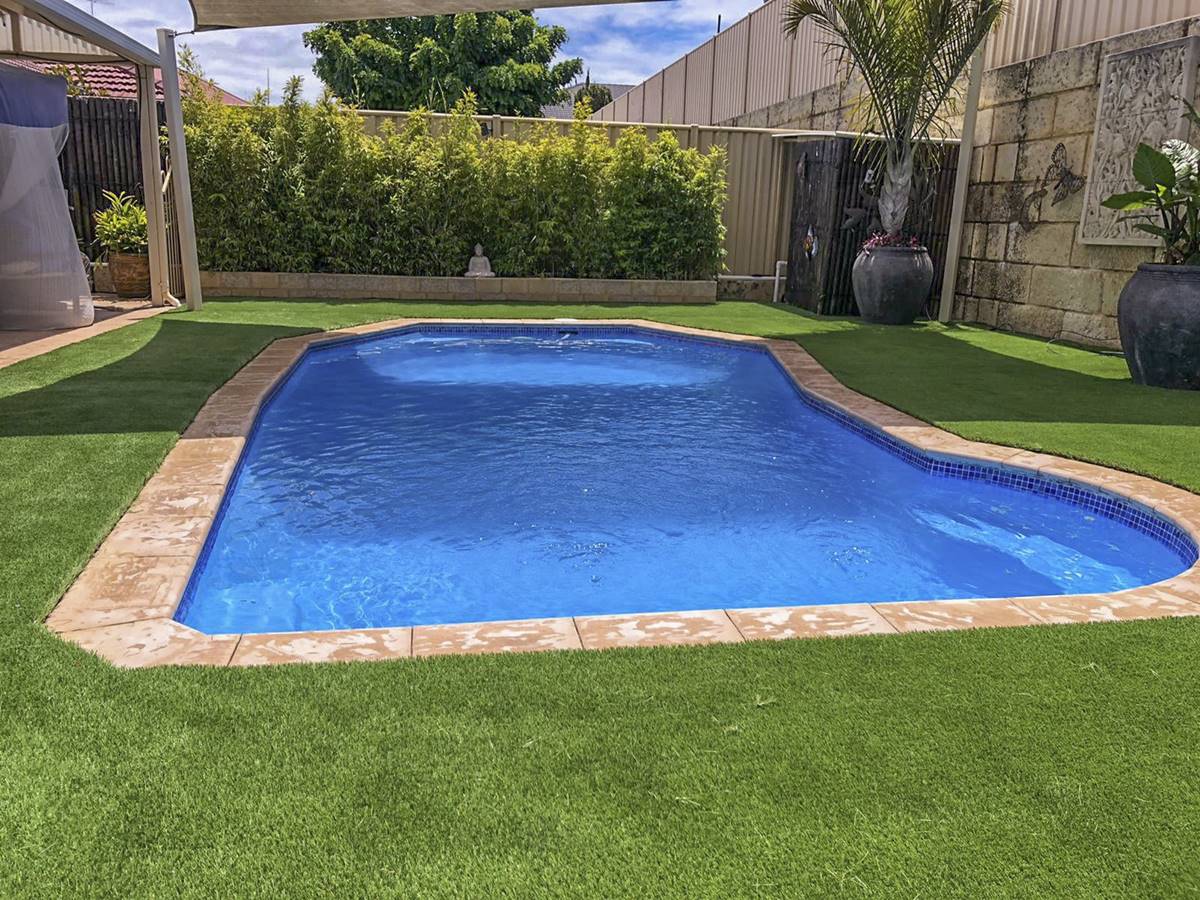
Welcome to our comprehensive guide on how to install a pool fence. If you have a swimming pool, ensuring its safety is of utmost importance, especially if you have young children or pets. A pool fence provides a physical barrier that helps prevent accidents and keeps unauthorized individuals out of the pool area.
Installing a pool fence not only adds an extra layer of protection, but it also helps you comply with local regulations and building codes. In this article, we will provide you with step-by-step instructions on how to install a pool fence, ensuring that you have all the information and guidance needed to complete this project successfully.
Before we dive into the installation process, it’s essential to note that pool fence regulations may vary depending on your location. It’s crucial to check your local building codes and requirements to ensure compliance. Additionally, if you’re unsure about any aspect of the installation process, it’s always recommended to consult with a professional or hire a reputable pool fence contractor.
Now that we have the necessary disclaimers out of the way, let’s get started on installing your pool fence!
Key Takeaways:
- Properly assessing the pool area, choosing the right type of pool fence, and securing the fence and gate are crucial steps in ensuring a safe and compliant pool fence installation.
- Thoroughly checking for safety compliance and considering additional safety measures can provide peace of mind and a secure swimming environment for your loved ones.
Read more: How Much Is A Pool Fence
Step 1: Assessing the Pool Area
Before embarking on the installation of a pool fence, it’s crucial to assess the pool area to determine the best positioning and layout for the fence. This step will help you plan the installation process effectively and ensure the fence provides optimal safety for your pool.
Here are the key points to consider during the assessment:
- Pool Dimensions: Measure the length, width, and depth of your pool. This information will help you determine the amount of fencing and materials you’ll need.
- Pool Surroundings: Take note of any existing structures, trees, or pathways around the pool area that might affect the fence placement. Ensure that there is enough space for the fence to be installed without obstructing any pathways or interfering with the pool’s functionality.
- Entry Points: Identify the access points to the pool area. This will help you plan for the installation of a gate and ensure that it is strategically placed for easy entry and exit.
- Local Requirements: Research the pool fence regulations and requirements specific to your location. This includes the height requirement, spacing between fence panels or slats, and other safety guidelines. Make sure that the fence you choose meets all these requirements.
- Visibility: Consider how the fence will affect the visibility from inside and outside the pool area. Opt for a fence design that provides adequate privacy without compromising safety.
- Obstacles: Identify any potential obstacles such as rocks, underground pipes, or utility lines that might interfere with the fence installation. It’s important to clear the area of any obstacles or make appropriate accommodations during the installation process.
By thoroughly assessing the pool area, you’ll be able to make informed decisions about the fence design, materials, and placement. This step sets the foundation for a successful and safe pool fence installation. Once you have a clear understanding of the pool area, you can proceed to the next step: choosing the right type of pool fence.
Step 2: Choosing the Right Type of Pool Fence
When it comes to pool fences, there are different types to choose from. It’s important to select a fence that not only meets your safety requirements but also complements the aesthetics of your pool area. Here are some common types of pool fences:
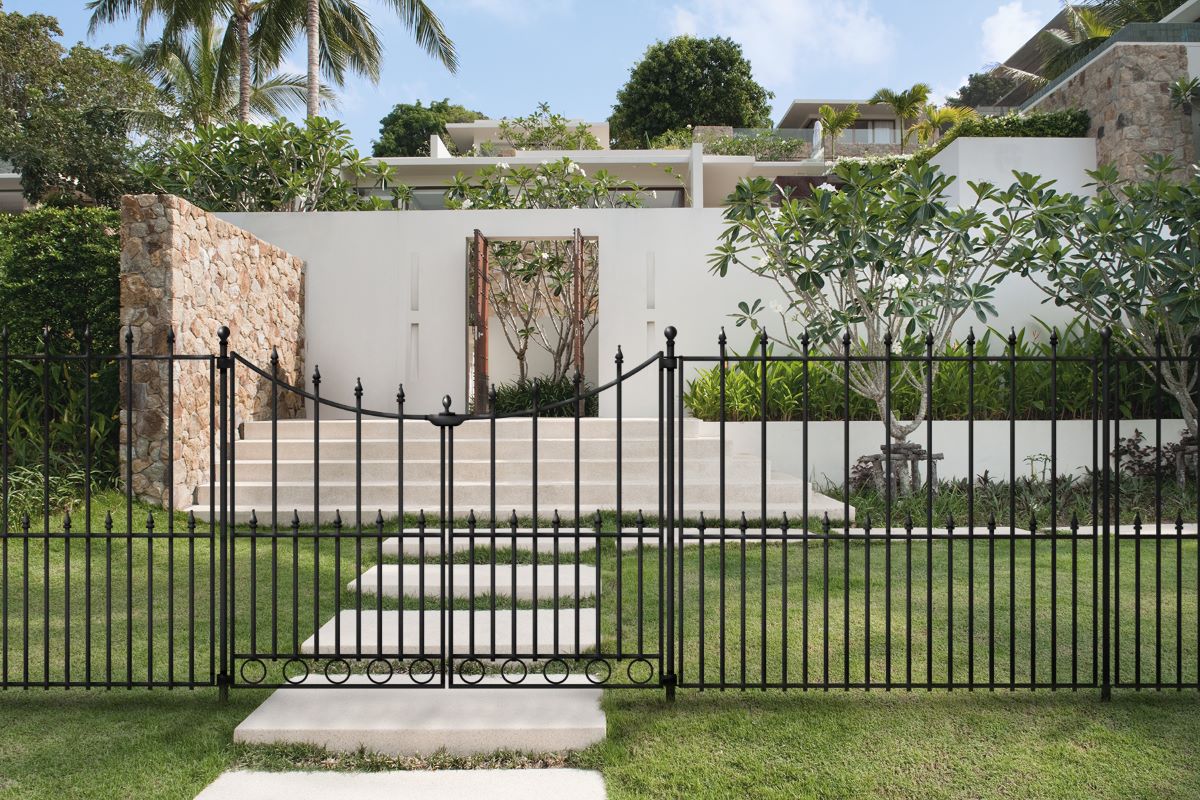
- Aluminum Fences: Aluminum fences are a popular choice for pool enclosures. They are durable, low maintenance, and provide a sleek and modern look. Aluminum fences also offer excellent visibility, allowing you to keep an eye on the pool area from afar.
- Glass Fences: Glass fences are a stylish and elegant option for pool areas. They provide an unobstructed view of the pool and its surroundings, making them ideal for homes with scenic views. Glass fences are made from tempered safety glass that is strong and resistant to breakage.
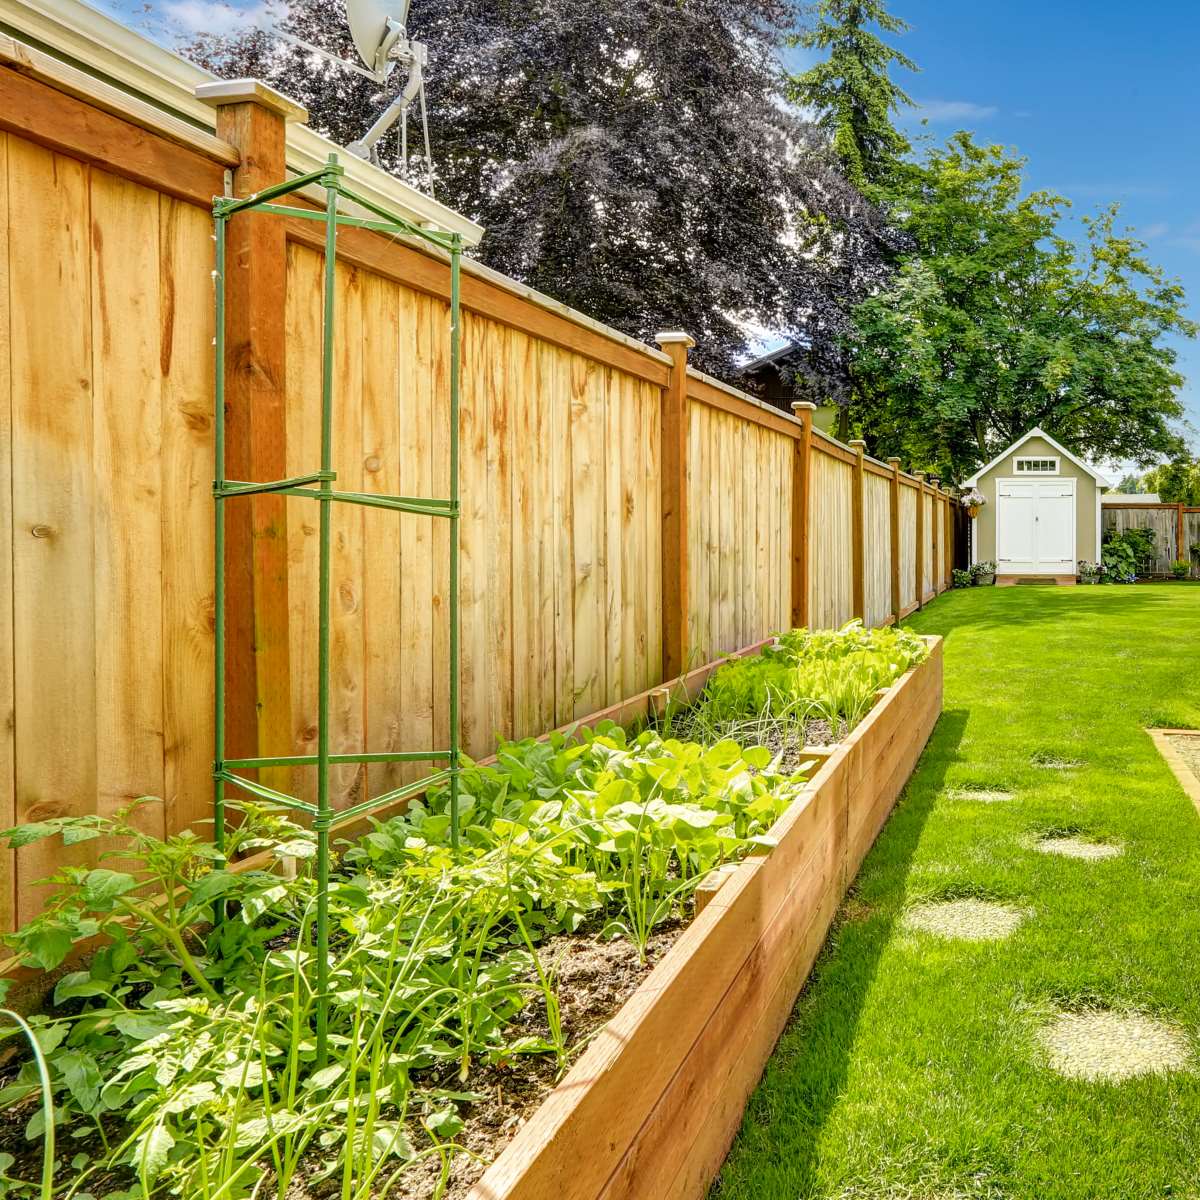
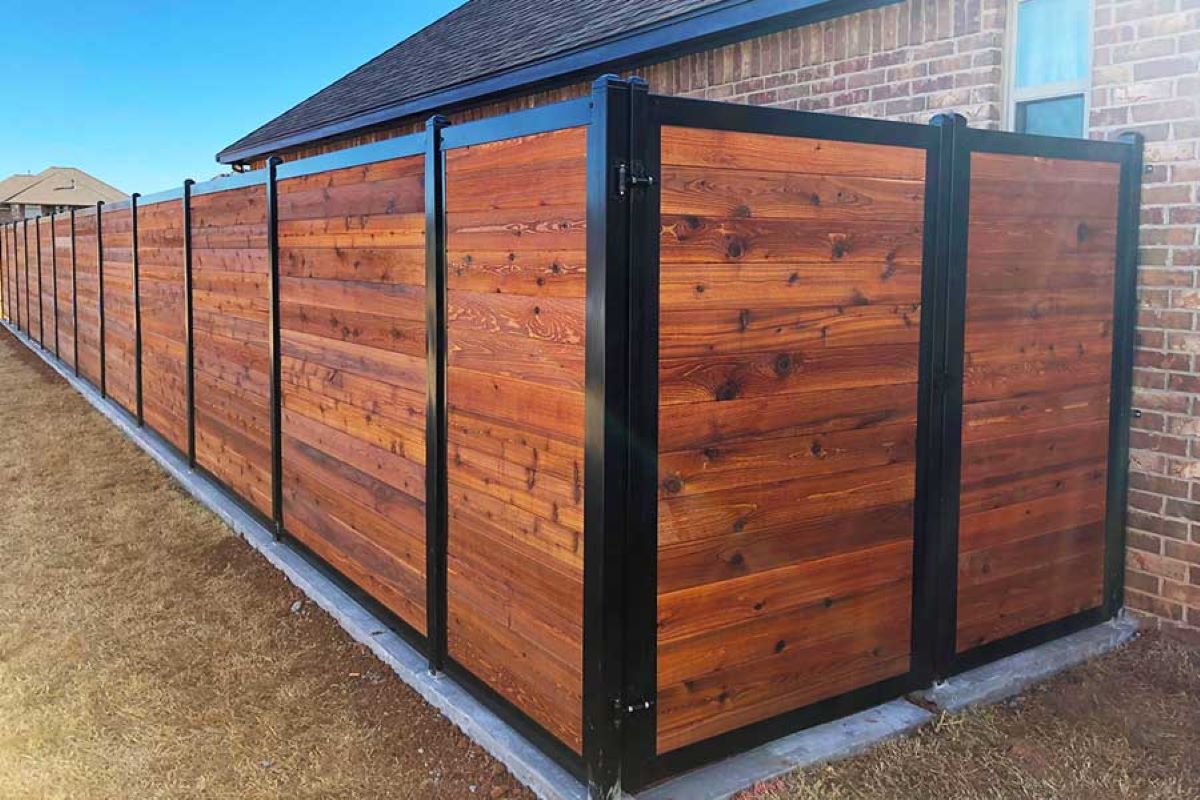
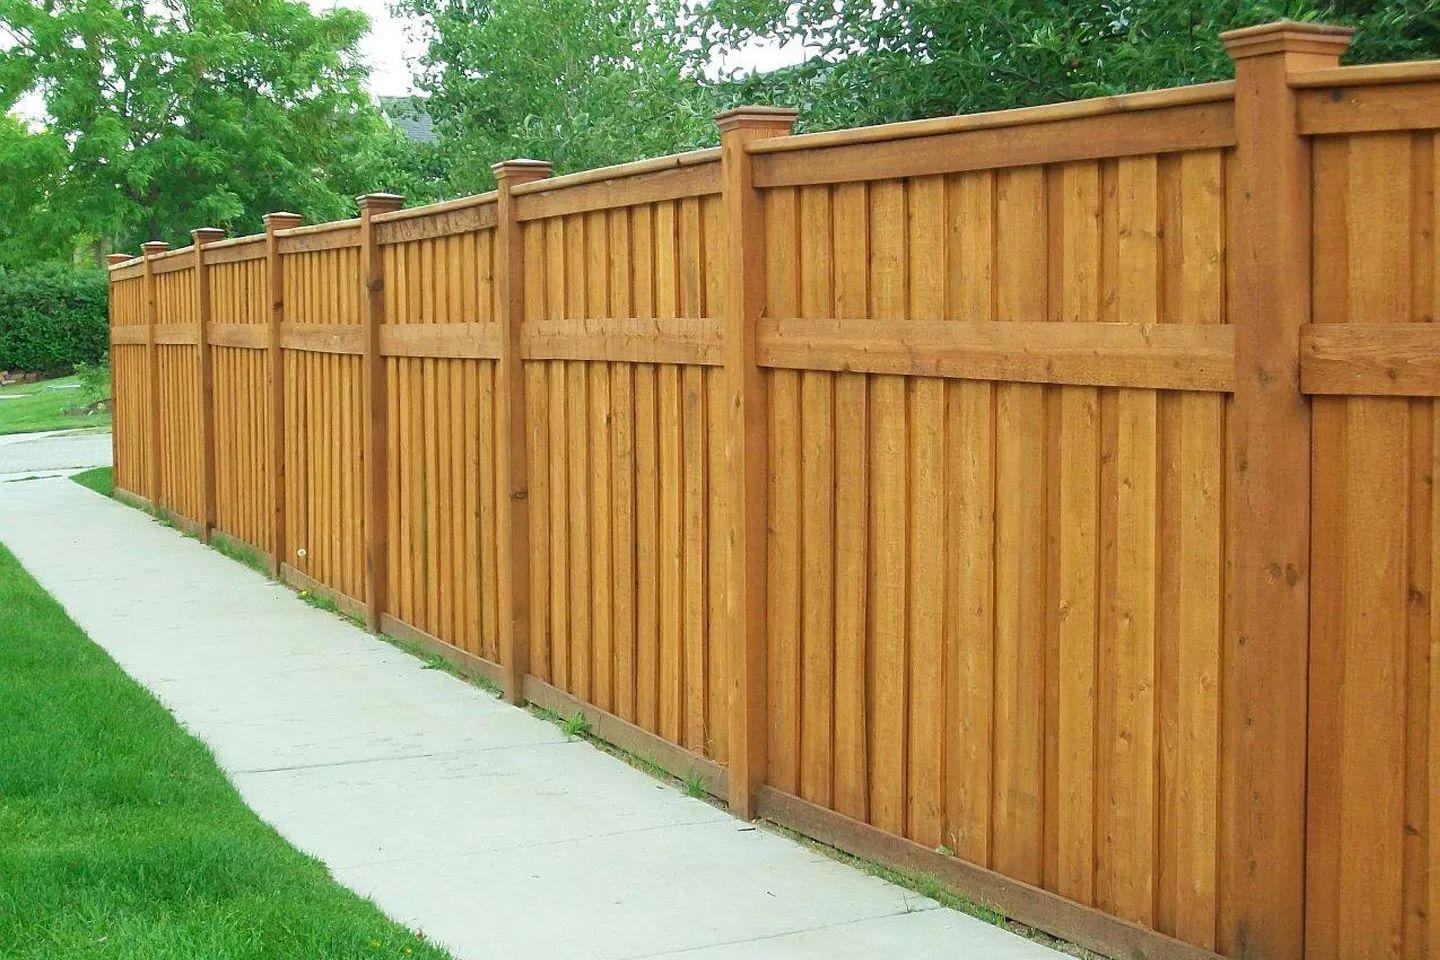
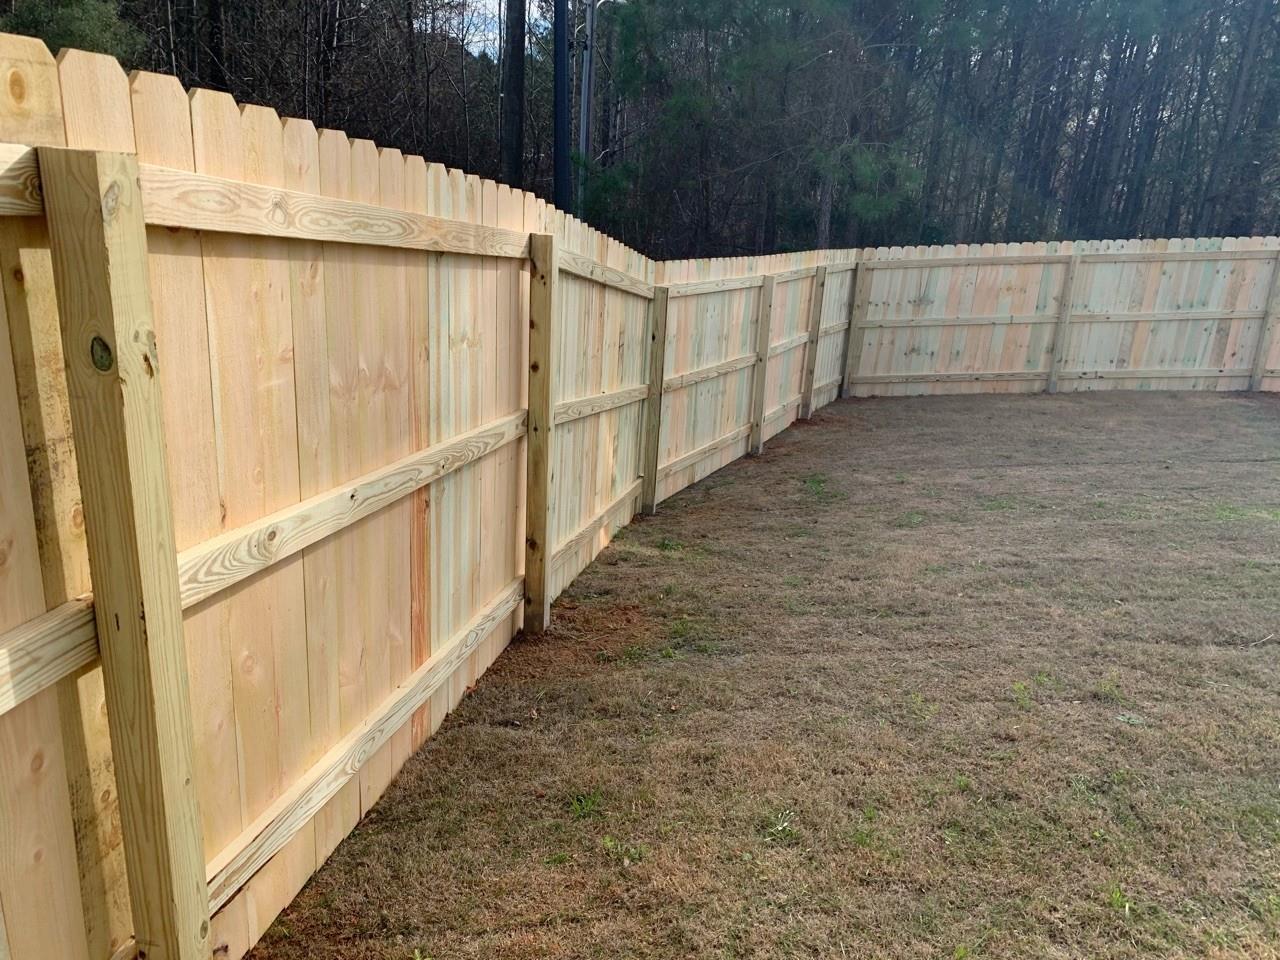
- Wooden Fences: Wooden fences offer a traditional and natural look to your pool area. They provide privacy while still maintaining a classic charm. Wooden fences can be customized to match your existing landscape and can be stained or painted to enhance their durability.
- Vinyl Fences: Vinyl fences are a cost-effective choice for pool enclosures. They are easy to maintain, highly durable, and available in various styles and colors. Vinyl fences are resistant to fading, cracking, and warping, making them suitable for long-term use.
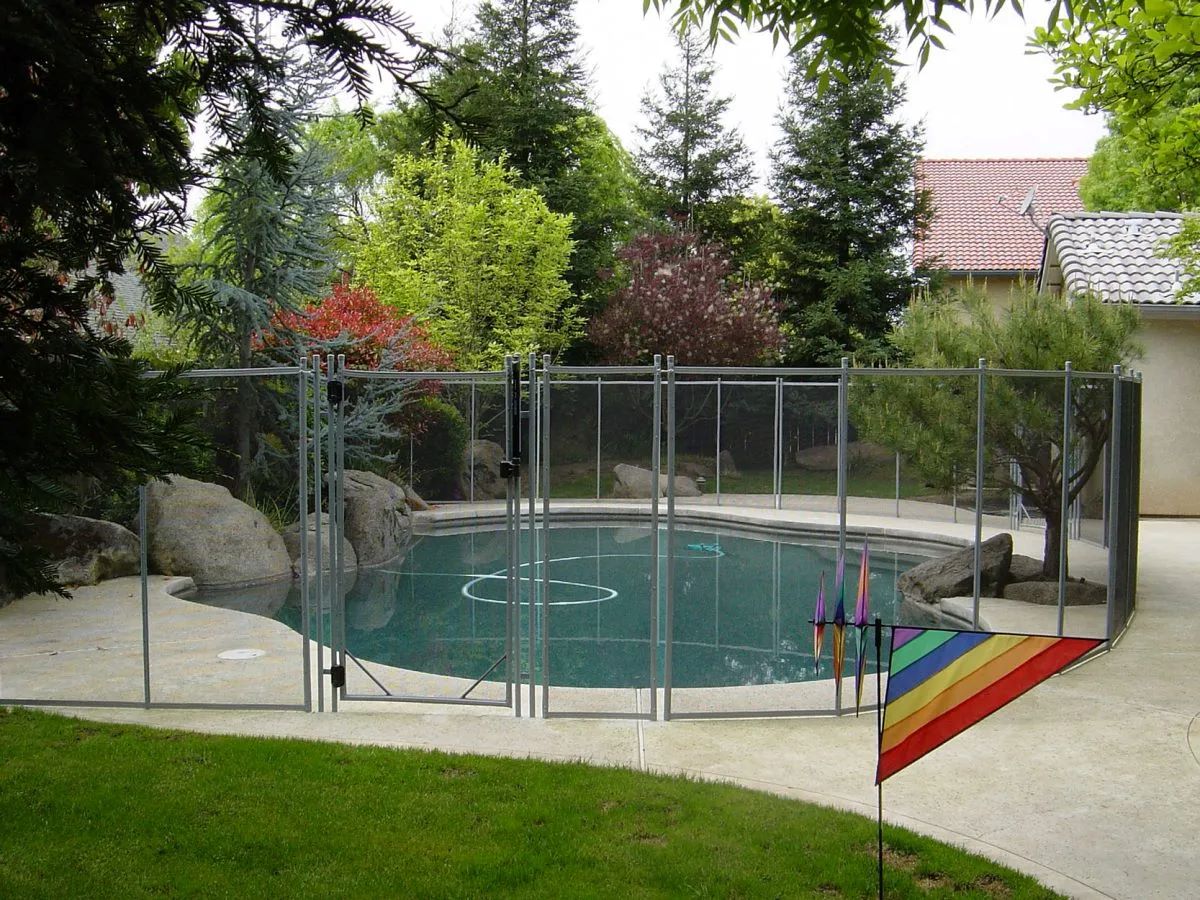
- Mesh Fences: Mesh fences provide a secure barrier around the pool area while allowing for visibility. They consist of a nylon fabric stretched between poles or posts and are removable when not in use. Mesh fences are often used for temporary or portable pool enclosures.
Consider factors such as your budget, desired level of privacy, maintenance requirements, and aesthetic preferences when selecting the right type of pool fence. Additionally, ensure that the fence you choose meets the local safety regulations and requirements for pool enclosures.
Once you have chosen the type of pool fence, you can move on to the next step: gathering the necessary tools and materials for the installation.
Step 3: Gathering the Necessary Tools and Materials
Before you begin the installation of your pool fence, it’s essential to gather all the necessary tools and materials. Having everything prepared beforehand will make the installation process smoother and more efficient. Here is a list of the common tools and materials you will need:
- Tape Measure: Use a tape measure to accurately measure the pool area and ensure precise fence placement.
- Chalk or Marking Paint: Chalk or marking paint will help you mark the layout of the fence on the ground, making it easier to visualize the installation.
- Shovel or Post Hole Digger: Depending on the soil type, you may need a shovel or a post hole digger to dig the holes for the fence posts.
- Level: A level is necessary to ensure that the fence posts are straight and upright during installation.
- Cement or Quick-Setting Concrete: Cement or quick-setting concrete is used to secure the fence posts in the ground and provide stability.
- Screws or Nails: Depending on the type of fence you choose, you will need screws or nails to attach the fence panels to the posts.
- Hinges and Latches: If your pool fence includes a gate, you will need hinges and latches to install the gate properly.
- Safety Glasses and Gloves: It’s important to prioritize safety during the installation process. Safety glasses and gloves will protect you from any potential hazards.
- Additional Materials: Depending on the specific requirements of your pool fence, you may need additional materials such as brackets, brackets, or spacers.
Make sure to double-check the manufacturer’s instructions for your chosen pool fence type to ensure you have all the necessary tools and materials. Additionally, consider purchasing or renting any specialized equipment if required.
By gathering all the tools and materials beforehand, you’ll be well-prepared to proceed with the installation process smoothly. Next, we will move on to marking the fence layout in preparation for digging the post holes.
Step 4: Marking the Fence Layout
Now that you have gathered all the necessary tools and materials, it’s time to mark the layout of your pool fence. Properly marking the fence layout ensures accurate placement and helps you visualize the final result. Here’s how to proceed:
- Measure and Plan: Use your tape measure to measure and mark the desired distance from the edge of the pool where the fence will be installed. Take into account any local regulations regarding the required distance between the pool edge and the fence.
- Chalk or Marking Paint: Use chalk or marking paint to create a clear and visible outline of the fence layout on the ground. This will serve as a guide for the installation process.
- Gate Placement: Determine the location for your gate and mark it accordingly. Ensure that the gate is easily accessible and convenient for entry and exit to the pool area.
- Post Spacing: Measure and mark the spacing between each fence post to ensure even placement. This spacing will depend on the specific requirements of your chosen pool fence.
- Verify Layout: Double-check your markings and layout to ensure accuracy. This step helps prevent any mistakes before you start digging the post holes.
Remember to refer to your local regulations and safety guidelines while marking the fence layout. It’s important to comply with all requirements to ensure the safety and security of your pool area.
Once you have marked the fence layout, you are ready to proceed to the next step: digging the fence post holes.
Read more: How To Install Fence On A Slope
Step 5: Digging the Fence Post Holes
Now that you have marked the layout of your pool fence, it’s time to start digging the fence post holes. The fence posts provide the structural support for the entire fence. Follow these steps to ensure proper placement of the fence posts:
- Start with the First Hole: Begin by digging the first fence post hole at the designated location. Use a shovel or a post hole digger to dig a hole that is deep enough to accommodate around one-third of the length of the fence post.
- Measure Proper Depth: Measure the depth of the hole to ensure it matches the required depth for your specific fence type. It’s important to have the proper depth for stability and durability.
- Repeat the Process: Continue digging the rest of the post holes along the marked fence layout, maintaining the recommended spacing between each hole. Make sure to check the levelness of each hole as you go to ensure a straight fence.
- Clear the Holes: Remove any rocks, debris, or roots from the holes to ensure a proper fit for the fence posts. This step is crucial for the stability and longevity of your pool fence.
It’s important to note that the specific instructions for digging the fence post holes may vary depending on your chosen fence type and local regulations. Some fences may require the use of cement or quick-setting concrete to secure the posts in place. Refer to the manufacturer’s instructions for your particular fence to ensure proper installation.
Once all the fence post holes are dug and cleared, you are ready to move on to the next step: installing the fence posts.
Before installing a pool fence, make sure to check your local regulations and requirements for pool safety barriers. Different areas may have specific rules regarding fence height, gate latching, and materials.
Step 6: Installing the Fence Posts
With the fence post holes dug and cleared, it’s time to install the fence posts. The fence posts provide the backbone of your pool fence, offering stability and support for the rest of the structure. Follow these steps to install the fence posts correctly:
- Place the First Post: Start by placing the first fence post into the first hole. Ensure that the post is level and upright by using a level. Adjust the positioning of the post as necessary to ensure it is perfectly vertical.
- Secure the Post: Once the first post is aligned correctly, fill the hole with cement or quick-setting concrete. Follow the manufacturer’s instructions to properly mix and pour the cement or concrete. Make sure the post remains level and stationary while the cement or concrete sets.
- Repeat the Process: Move on to the next fence post and repeat the steps of placing and securing it. Make sure to check the levelness and verticality of each post as you go along.
- Allow the Cement or Concrete to Cure: Give the cement or concrete ample time to cure before proceeding with the installation of the fence panels. This curing time will vary depending on the product used, so refer to the manufacturer’s instructions for specific guidelines.
It’s crucial to ensure that all fence posts are securely placed and properly supported. Proper installation of the fence posts is essential for the overall stability and durability of your pool fence.
Once the fence posts are installed, you can move on to the next step: attaching the fence panels.
Step 7: Attaching the Fence Panels
After successfully installing the fence posts, it’s time to attach the fence panels. The fence panels are what create the physical barrier around your pool area. Follow these steps to securely attach the fence panels:
- Measure and Trim: Measure the distance between each fence post to determine the length of the fence panels you’ll need. If necessary, trim the fence panels to fit properly between the posts.
- Position the First Panel: Start by attaching the first fence panel to the first two posts. Ensure that the panel is aligned properly and level with the ground. Use screws or nails that are recommended for your specific fence type to secure the panel to the posts.
- Continue with the Rest of the Panels: Move on to the next fence panel and repeat the process of positioning, aligning, and securing it to the corresponding posts. Ensure that each panel is evenly spaced and aligned with the previous one.
- Check for Stability and Levelness: Periodically check the stability and levelness of the fence panels as you go along. Adjust them as needed to ensure a straight and sturdy fence.
- Trim or Adjust Panels: If any panels need to be trimmed or adjusted to fit properly, do so before fully securing them to the posts. This will ensure a clean and seamless appearance.
- Secure the Top Rails: Depending on your fence design, you may have top rails that need to be attached. Secure the top rails to the fence posts using the appropriate screws or fasteners.
Properly attaching the fence panels is essential for the overall integrity and effectiveness of your pool fence. Take your time to ensure that each panel is securely fastened and properly aligned with the surrounding panels and posts.
Once all the fence panels are attached, you can proceed to the next step: installing the gate, if applicable.
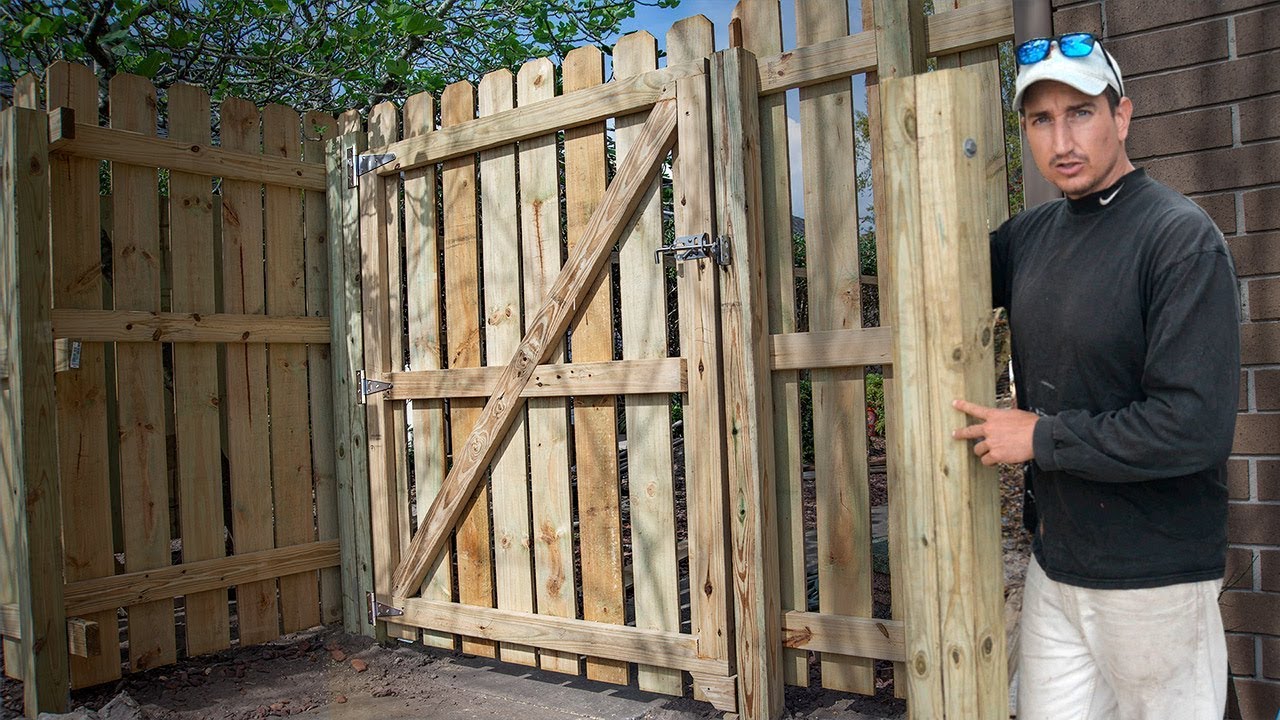
Step 8: Installing the Gate
If your pool fence design includes a gate, it’s important to install it properly to ensure easy access to the pool area while maintaining the required safety measures. Here’s how you can install the gate:
- Choose the Gate Location: Determine the ideal location for the gate, considering factors such as convenience, visibility, and compliance with local regulations. Ensure that there is enough space for the gate to swing open without obstruction.
- Prepare the Gate Opening: Measure and mark the gate opening on the fence panels. Ensure that the gate opening provides enough space for the gate to fit properly. Double-check the measurements to ensure accuracy.
- Install the Gate Posts: Depending on your specific gate style, you may need to install separate gate posts. Dig the necessary post holes for the gate posts and secure them with cement or quick-setting concrete. Ensure that the posts are level and properly aligned with the gate opening.
- Attach the Gate: With the gate posts securely in place, attach the gate to the posts using appropriate hinges. Make sure the gate swings freely and aligns properly with the gate opening. Adjust the hinges as needed to achieve a smooth and secure operation.
- Install the Gate Latch: Install a gate latch that is childproof and compliant with safety regulations. Make sure that the latch is secure and functions correctly. Test the latch to ensure it operates smoothly and securely locks the gate.
- Test the Gate: Before completing the installation, thoroughly test the gate to ensure its smooth operation and proper latching. Open and close the gate several times to ensure it functions as intended.
Properly installing the gate enhances the functionality and accessibility of your pool fence. It’s crucial to choose durable, high-quality gate hardware that is designed for pool safety and longevity.
Once the gate is installed, you can move on to the next step: securing the fence and gate.
Read more: How To Install An Aluminum Fence
Step 9: Securing the Fence and Gate
Securing the fence and gate is an important step in ensuring the overall safety and effectiveness of your pool fence. Here are some key points to consider when securing your fence and gate:
- Tighten all Fasteners: Check all screws, bolts, or nails used to secure the fence panels and gate. Make sure they are tightened securely to prevent any loose or wobbly components.
- Inspect the Gate Latch: Double-check the gate latch to ensure it is functioning smoothly and securely. Perform a test to ensure that the latch properly engages and keeps the gate closed.
- Check for Gaps or Openings: Carefully inspect the entire length of the fence to ensure there are no gaps or openings that may allow unauthorized access to the pool area. Make any necessary adjustments or repairs to eliminate these gaps.
- Secure the Bottom of the Fence: If your fence design allows, consider adding a bottom rail or securely fastening the bottom of the fence to prevent small children or pets from crawling underneath.
- Trim Vegetation: Trim any vegetation or overhanging branches near the fence or gate. This will prevent them from obstructing the fence or providing a means to climb over.
- Secure Gate Self-Closing Mechanism: If your gate design includes a self-closing mechanism, ensure that it is properly adjusted and functions correctly. This feature adds an extra layer of safety to prevent the gate from being inadvertently left open.
By taking the time to thoroughly secure your pool fence and gate, you can have peace of mind knowing that your pool area is properly protected. Regularly check and maintain the security of the fence and gate to ensure ongoing safety.
With the fence and gate properly secured, you’re almost done. The final step is to check for safety compliance.
Step 10: Checking for Safety Compliance
After completing the installation of your pool fence and gate, it’s essential to perform a thorough check for safety compliance. This step ensures that your pool fence meets all the necessary regulations and standards for optimal safety. Here’s what you should do:
- Review Local Regulations: Refer to the local pool fence regulations and guidelines specific to your area. Check for any requirements regarding fence height, spacing between panels, gate latching mechanisms, and other safety considerations.
- Measure Fence Height: Measure the height of your fence to ensure it meets the required minimum height according to local regulations. Make adjustments if necessary to comply with the guidelines.
- Check Spacing between Panels or Slats: Verify that the spacing between fence panels or slats complies with the local regulations. In most cases, the spacing should be narrow enough to prevent children from squeezing through or getting their heads stuck.
- Test Gate Latching Mechanism: Thoroughly test the gate’s latching mechanism to ensure it functions correctly. The gate latch should engage securely and require intentional effort to open, providing an additional safety barrier.
- Inspect Fence Integrity: Carefully inspect the overall integrity of the fence and gate. Check for any loose or damaged components, such as loose screws or broken panels. Make any necessary repairs as soon as possible.
- Consider Additional Safety Measures: Evaluate if there are any additional safety measures you can implement. This may include installing pool alarms, self-closing hinges, or adding a safety net or cover to the pool itself.
By thoroughly checking for safety compliance, you can ensure that your pool fence provides the highest level of protection and meets all the necessary requirements. Regularly inspect and maintain the fence to address any safety concerns promptly.
With the final step completed, you can now sit back and enjoy peace of mind knowing that your pool area is safely secured. Always supervise children and follow all pool safety guidelines to prevent accidents and maintain a secure swimming environment.
Congratulations on successfully installing your pool fence!
Conclusion
Installing a pool fence is a crucial step in ensuring the safety and security of your pool area. It provides a physical barrier that helps prevent accidents, keeps unauthorized individuals out, and ensures compliance with local regulations. By following the step-by-step guide outlined in this article, you can successfully install a pool fence that meets your specific needs.
Throughout the installation process, it’s important to assess the pool area, choose the right type of pool fence, gather the necessary tools and materials, mark the fence layout, dig the fence post holes, install the fence posts, attach the fence panels, install the gate (if applicable), secure the fence and gate, and perform a final check for safety compliance.
Remember to tailor the installation process to your specific situation and consult local regulations to ensure compliance. If you’re unsure about any aspect of the installation, it’s always advisable to seek professional assistance or consult reputable pool fence contractors.
Having a properly installed pool fence provides you with the peace of mind knowing that your pool area is secure and safe for everyone around. By taking the necessary precautions and following the installation steps outlined in this guide, you can enjoy your pool while prioritizing the well-being of your loved ones.
So, go ahead and take the necessary steps to install your pool fence, and enjoy a safer and more enjoyable pool experience!
Frequently Asked Questions about How To Install Pool Fence
Was this page helpful?
At Storables.com, we guarantee accurate and reliable information. Our content, validated by Expert Board Contributors, is crafted following stringent Editorial Policies. We're committed to providing you with well-researched, expert-backed insights for all your informational needs.


0 thoughts on “How To Install Pool Fence”