Articles
How To Install Steel Pipe
Modified: December 7, 2023
Learn how to install steel pipe with our informative articles. Find step-by-step guides and expert tips for a successful installation.
(Many of the links in this article redirect to a specific reviewed product. Your purchase of these products through affiliate links helps to generate commission for Storables.com, at no extra cost. Learn more)
Introduction
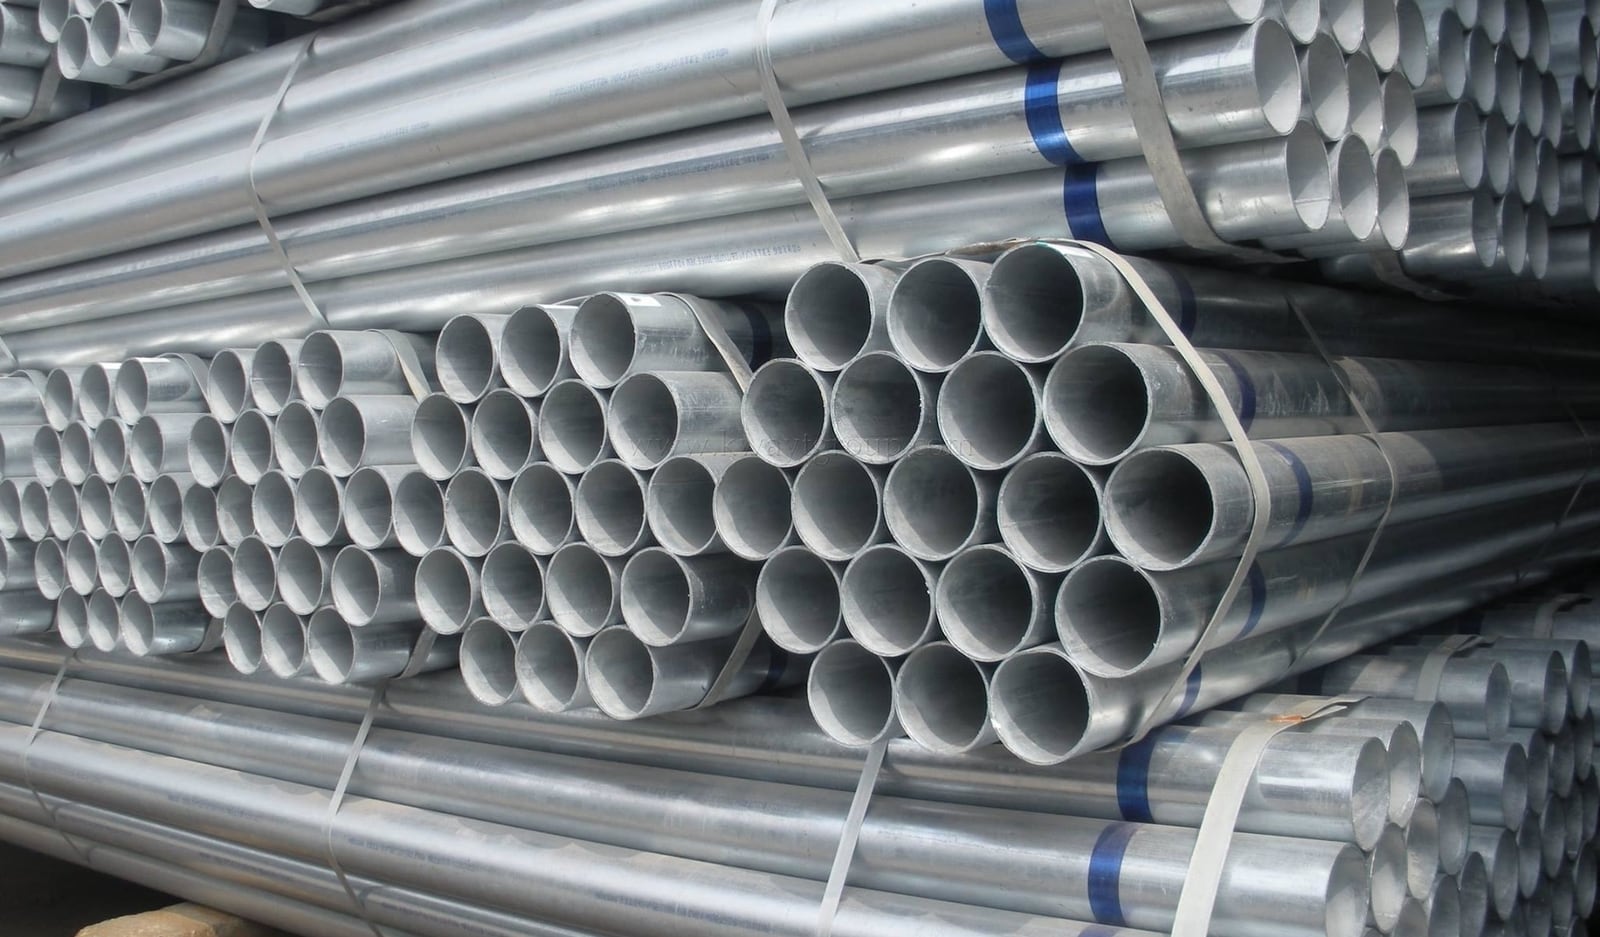
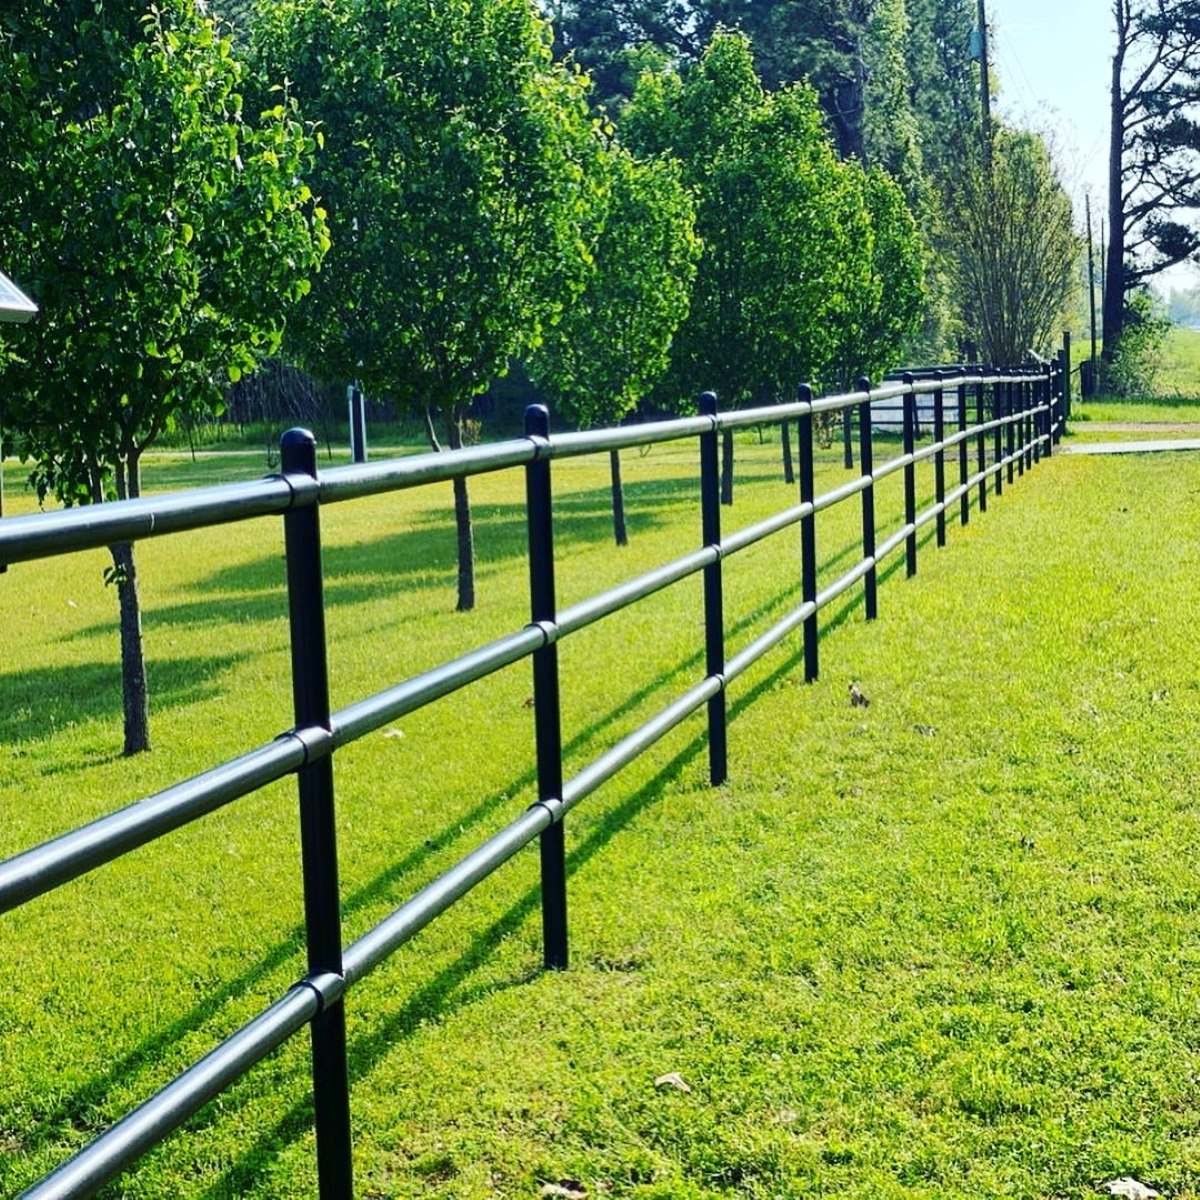
Installing steel pipe is a common task that may be required for various purposes, such as plumbing, ventilation, or structural projects. Steel pipes are durable and versatile, making them a popular choice in construction and industrial applications.
When it comes to installing steel pipe, it’s important to follow the proper procedures to ensure a secure and long-lasting connection. This article will guide you through the step-by-step process of installing steel pipe, from measuring and cutting the pipe to connecting and securing the joints.
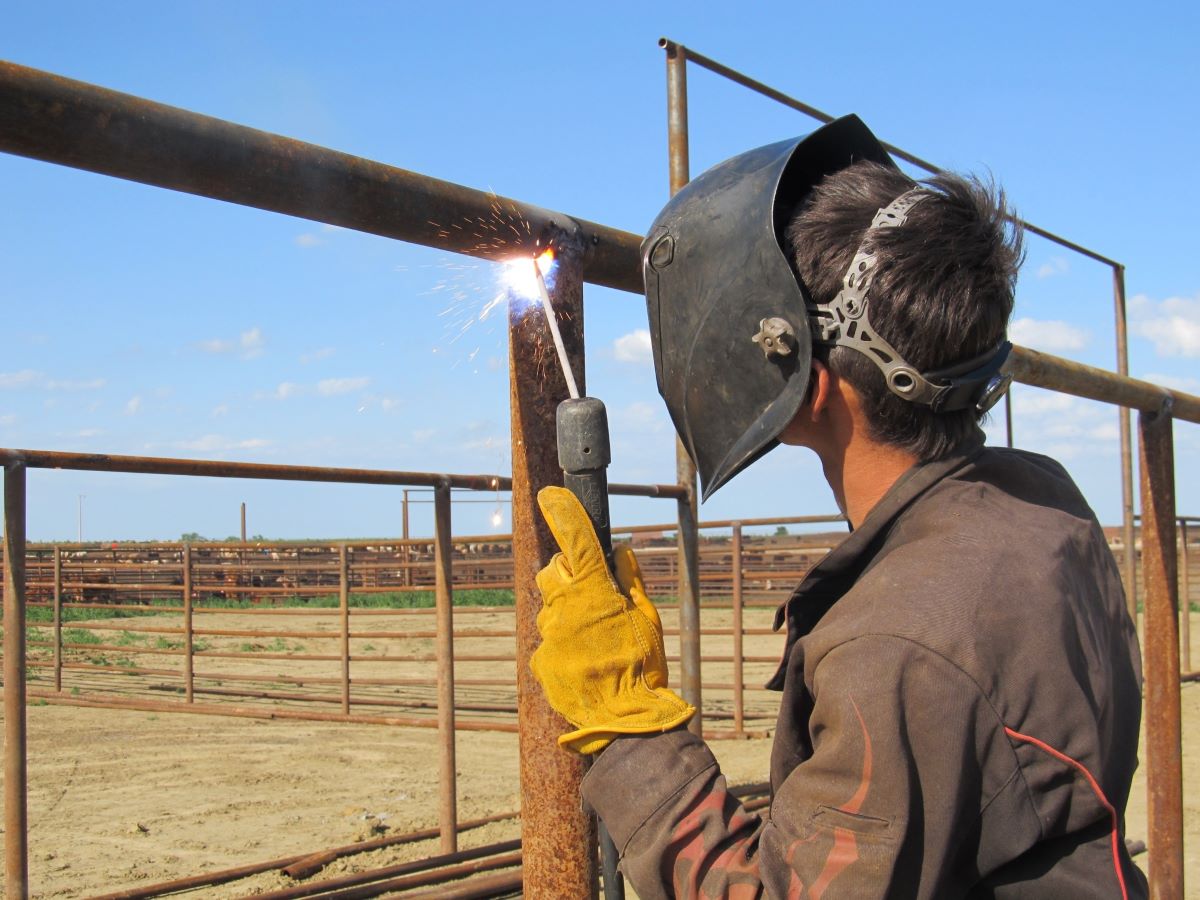
Before getting started, it’s essential to prioritize safety. Always wear protective gear, such as gloves and goggles, to prevent injuries while working with steel pipe. Additionally, ensure that the work area is free from any potential hazards, such as tripping hazards or flammable materials.
To successfully install steel pipe, you will need a specific set of tools and materials. This typically includes a tape measure, pipe cutter or hacksaw, threader and die set, pipe wrenches, pipe sealant, and pipe hangers or straps. Having these items readily available will make the installation process smoother and more efficient.
Now, let’s dive into the step-by-step process of installing steel pipe.
Key Takeaways:
- Prioritize safety, gather the right tools, and follow precise steps to successfully install steel pipe for various applications. Take pride in creating a durable and reliable system that will serve its purpose for years to come.
- From measuring and cutting to connecting and securing, each step in the steel pipe installation process is crucial. Follow safety precautions, use quality materials, and ensure tight, leak-free connections for a successful installation.
Read more: How To Install Steel Siding
Safety Precautions
Prioritizing safety is crucial when working with steel pipe. To ensure a safe working environment and prevent accidents, it’s important to follow these safety precautions:
- Wear appropriate protective gear: Always wear gloves, safety goggles, and steel-toed boots to protect yourself from potential injuries.
- Maintain a clean and organized work area: Clear away any clutter or obstacles in your work area to prevent tripping hazards. Keep flammable materials away from the work area to minimize the risk of fire.
- Use proper lifting techniques: Steel pipes can be heavy, so make sure to use proper lifting techniques to avoid straining your back or causing injury. Lift with your legs, not your back, and consider using equipment such as a dolly or forklift for heavier pipes.
- Be cautious of sharp edges: Steel pipes can have sharp edges, so handle them with care to avoid cuts or abrasions. Wear work gloves to protect your hands when handling the pipes.
- Use caution when cutting or threading pipes: When using a pipe cutter or threader, be cautious of the sharp blades and rotating parts. Follow the manufacturer’s instructions and use appropriate safety precautions.
- Secure the pipes properly: Ensure that the pipes are securely fastened using pipe hangers or straps to prevent them from falling or causing accidents.
- Use pipe sealant correctly: When applying pipe sealant, follow the manufacturer’s instructions. Avoid excessive use of sealant as it can cause leaks or difficult-to-remove residue.
- Be aware of potential hazards: If you are working in an area with existing plumbing or electrical systems, be mindful of these systems and take necessary precautions to avoid damaging them or causing hazards.
By following these safety precautions, you can minimize the risk of accidents and create a safer working environment when installing steel pipe.
Tools and Materials Required
Before starting the installation of steel pipe, gather the following tools and materials:
Tools:
- Tape measure: Used to accurately measure the length of the pipe.
- Pipe cutter or hacksaw: Necessary for cutting the steel pipe to the desired length.
- Threader and die set: Required for threading the pipe ends to create a secure connection.
- Pipe wrenches: Used for tightening the pipe connections.
Materials:
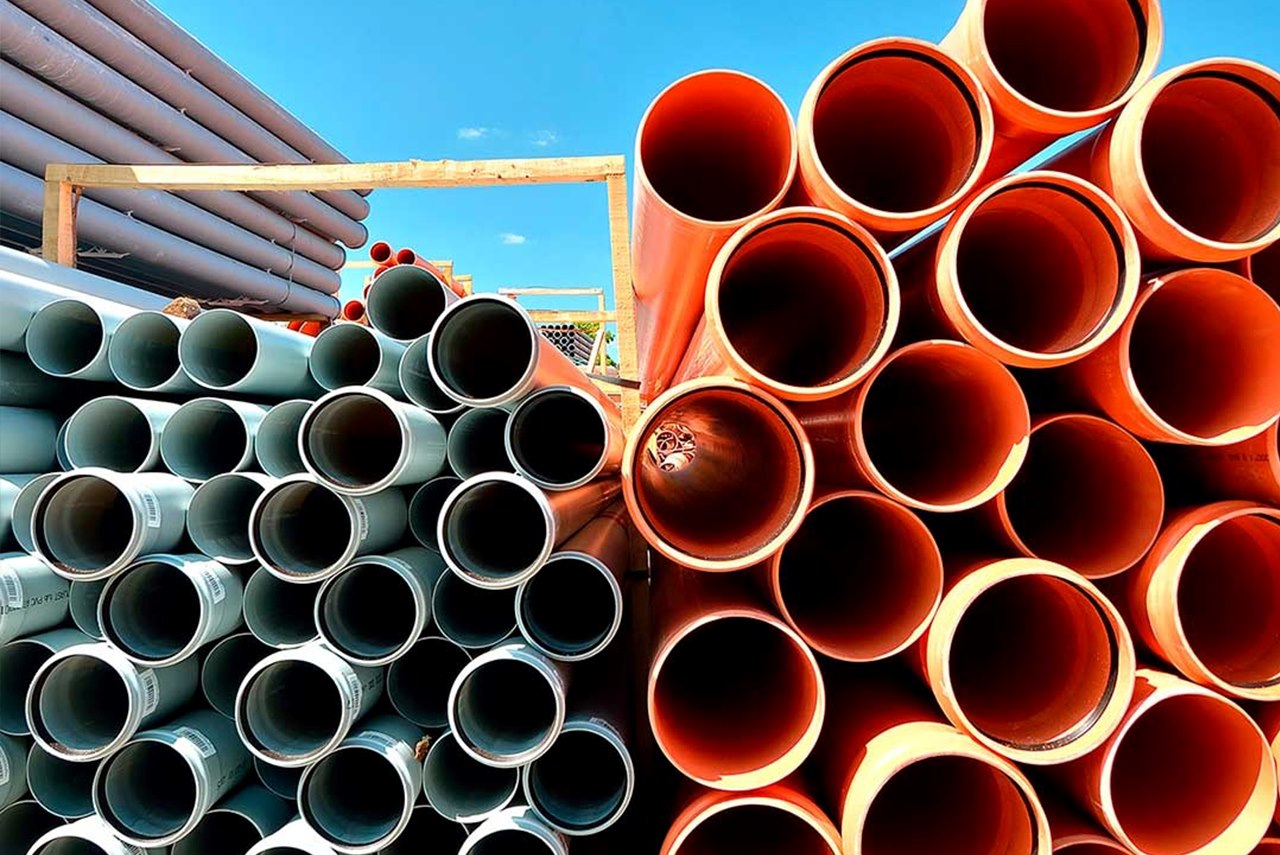
- Steel pipe: Choose the appropriate size and length of steel pipe for your specific project.
- Pipe sealant: A high-quality pipe sealant or thread tape is essential for creating a watertight seal.
- Pipe hangers or straps: These are used to secure the pipes to walls, floors, or ceilings to prevent movement and ensure stability.
It is important to select the right tools and materials for the job to ensure a successful installation. Using the correct tools will make the process easier and more efficient, while quality materials will provide a reliable and long-lasting connection.
Once you have gathered all the necessary tools and materials, you are ready to move on to the next steps of installing steel pipe.
Read more: How To Install Stove Pipe Into Chimney
Step 1: Measure and Mark the Pipe
The first step in installing steel pipe is to accurately measure and mark the pipe according to your project requirements. Follow these steps:
- Begin by measuring the length of the pipe you need. Use a tape measure to ensure precise measurements.
- Mark the measured length on the pipe using a permanent marker or chalk. Make a clear and visible mark on both ends of the pipe to indicate where it needs to be cut.
- If you need to make additional cuts or modifications to the pipe, mark those areas accordingly. For example, if you need to create a threaded section, mark the appropriate length where the threads will be located.
When measuring and marking the pipe, it’s crucial to be accurate. Be mindful of any obstructions or fittings that the pipe needs to connect to. Double-check your measurements before proceeding to the next step to ensure a proper fit and alignment of the steel pipe.
Once you have measured and marked the pipe, you are ready to move on to the next step: cutting the pipe.
Step 2: Cut the Pipe
After measuring and marking the steel pipe, the next step is to cut it to the desired length. Follow these steps to cut the pipe:
- Secure the pipe in a vice grip or pipe clamp to hold it steady during the cutting process. Make sure the pipe is positioned securely and does not move while cutting.
- Using a pipe cutter or hacksaw, align the cutting blade with the marked line on the pipe.
- If using a pipe cutter, rotate it around the pipe in a circular motion, tightening the cutter after each rotation to gradually cut through the pipe. Continue rotating and tightening until the pipe is completely cut.
- If using a hacksaw, position the blade at the marked line and start sawing back and forth. Apply even pressure and make continuous strokes until the pipe is cut through.
- Once the pipe is cut, use a deburring tool or file to remove any burrs or sharp edges from the cut ends of the pipe. This will ensure a smooth and clean surface for the next steps of the installation process.
It is essential to cut the pipe carefully and accurately to ensure proper fitment and alignment when connecting the pipes. Take your time to make precise cuts and double-check the measurements before proceeding to the next step.
With the pipe cut to the desired length and the edges deburred, you are now ready to move on to the next step: cleaning the pipe ends.
Step 3: Clean the Pipe Ends
After cutting the steel pipe, it is important to clean the ends of the pipe to ensure a proper and secure connection. Follow these steps to clean the pipe ends:
- Inspect the cut ends of the pipe for any rough edges, debris, or burrs.
- Using a deburring tool or a file, carefully remove any burrs or rough edges from the cut ends of the pipe. This will create a smooth surface for the next steps of the installation process.
- Once the ends of the pipe are deburred, clean them thoroughly using a wire brush or a cloth soaked in a solvent, such as acetone or mineral spirits. This will remove any dirt, oil, or debris that may hinder the connection.
It is important to have clean and debris-free pipe ends to ensure a tight and secure connection. Any residue or debris left on the pipe ends can prevent a proper seal or cause leaks. Take your time to clean the pipe ends thoroughly before proceeding to the next steps of the installation process.
With the pipe ends cleaned and prepared, you are now ready to move on to Step 4: threading the pipe ends.
Step 4: Thread the Pipe Ends
Threading the pipe ends is a crucial step in installing steel pipe, as it allows for a secure and leak-free connection. Follow these steps to thread the pipe ends:
- Secure the pipe in a vice grip or pipe clamp to hold it steady during the threading process. Make sure the pipe is positioned securely and does not move while threading.
- Attach a threader and die set to the pipe, matching the die size to the diameter of the pipe. The threader and die set will create the required threads on the pipe ends.
- Apply cutting oil or thread lubricant to the pipe and the cutting dies to reduce friction and facilitate the threading process. This will help ensure smooth and clean threads.
- Start by positioning the threader at the marked line on the pipe, aligned with the cutting dies. Slowly rotate the threader clockwise, applying steady pressure, until the threads are cut to the desired depth.
- After completing the threading process for one end of the pipe, reverse the pipe in the vice grip or pipe clamp and repeat the threading process for the other end.
Threading the pipe ends requires precision and care to ensure proper fitment and alignment when connecting the pipes. Make sure to follow the manufacturer’s instructions for the specific threader and die set you are using to achieve the correct thread size and depth.
Once the pipe ends are threaded, you are ready to move on to the next step: applying pipe sealant.
Read more: How To Install A Stainless Steel Sink
Step 5: Apply Pipe Sealant
Applying pipe sealant is an important step in the installation process of steel pipe, as it helps create a watertight and secure connection. Follow these steps to apply pipe sealant:
- Ensure that the threaded pipe ends are clean and free from any debris or residue.
- Using a clean brush or your finger, apply a generous amount of pipe sealant to the threaded section of one pipe end. Make sure to cover the entire threaded area evenly.
- Repeat the process for the other threaded section of the pipe.
- Once the pipe sealant is applied, gently screw the threaded ends of the pipes together. Start by hand tightening the connection, and then use pipe wrenches to securely tighten the joint. Make sure not to overtighten, as it can damage the threads.
Pipe sealant creates a tight seal between the threaded pipe ends, preventing leaks and ensuring a durable connection. It also helps lubricate the threads, making it easier to tighten the joint.
When applying pipe sealant, it is important to use a high-quality sealant that is suitable for steel pipe and compatible with the specific application. Follow the manufacturer’s instructions for the proper application of the sealant.
With the pipe sealant applied and the pipes connected, you are ready to move on to Step 6: connecting the pipes.
When installing steel pipe, make sure to properly clean and prepare the pipe ends before joining them with fittings. This will ensure a secure and leak-free connection.
Step 6: Connect the Pipes
Connecting the pipes is a critical step in the installation process of steel pipe, as it establishes the overall structure and functionality of the system. Follow these steps to connect the pipes:
- Ensure that the pipe ends with the applied pipe sealant are aligned and securely tightened.
- If required for your specific project, use couplings or connectors to join multiple sections of pipe together. These fittings are designed to create a secure and tight connection between the pipes.
- Insert one end of the pipe into the coupling or connector, ensuring that it is properly aligned and seated. Apply a gentle twisting motion while pushing the pipe into the fitting until it fits snugly.
- If necessary, use a rubber mallet or a hammer with a wooden block to tap the pipe gently into the fitting, ensuring a secure connection.
- Repeat the process for the other end of the pipe, connecting it to the adjacent section or fitting.
When connecting the pipes, it is important to verify that the connection is tight and secure. Ensure that the pipes are properly aligned and fully inserted into the fitting or coupling. This will help prevent any leaks or potential issues with the connection.
It is also essential to use high-quality fittings and connectors that are suitable for steel pipe and compatible with your specific application. Follow the manufacturer’s instructions for proper installation and use of these fittings.
With the pipes connected, you are ready to move on to Step 7: tightening the connections.
Step 7: Tighten the Connections
Tightening the connections is a crucial step in the installation process of steel pipe, as it ensures a secure and leak-free joint. Follow these steps to tighten the connections:
- Using pipe wrenches, grip the pipes and fittings at the connection points. Make sure to position the wrenches properly, one on each side of the joint.
- Apply steady and even pressure to the pipe wrenches in opposite directions, tightening the connection. Use a clockwise motion to tighten the joint.
- Avoid excessive force and be cautious not to overtighten, as it can damage the threads or fittings. Check the manufacturer’s specifications for the recommended torque or tightening guidelines.
- Continue tightening until the joint feels snug and secure. Ensure that there is no movement or play in the connection.
Tightening the connections properly is essential to achieve a strong and reliable joint. A well-tightened connection will prevent leaks and ensure the overall integrity of the steel pipe system.
It is important to use appropriate pipe wrenches that are suited for the size of the pipes and fittings. Using the correct tools will make the tightening process more efficient and minimize the risk of damaging the components.
With the connections properly tightened, you are ready to move on to Step 8: test for leaks.
Step 8: Test for Leaks
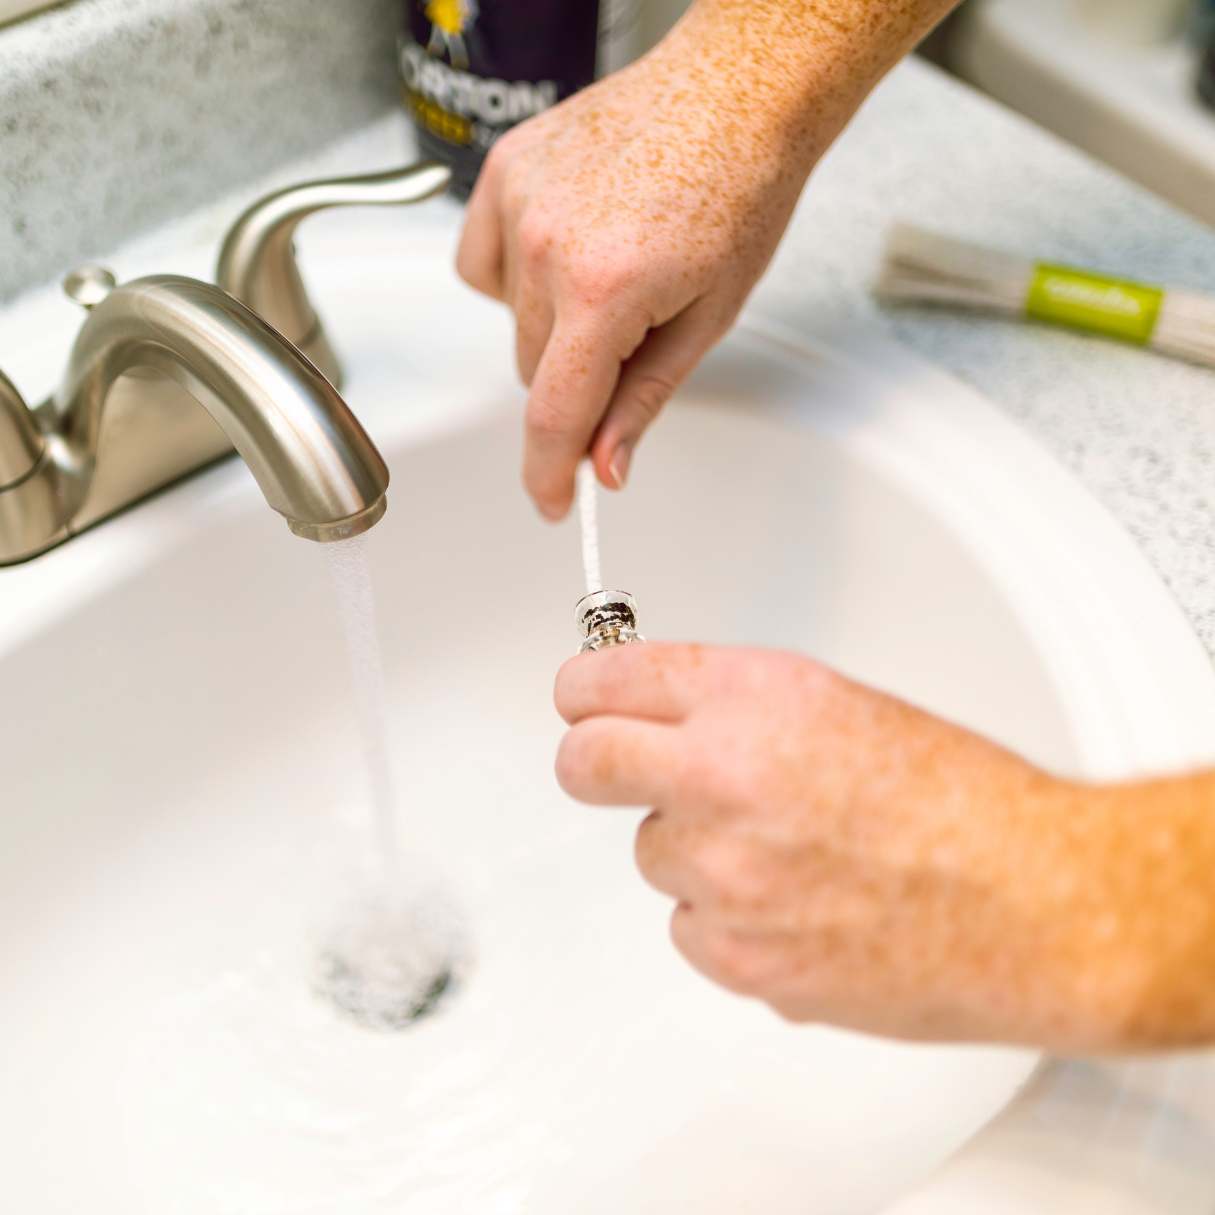
Testing for leaks is a critical step in the installation process of steel pipe to ensure that the connections are secure and watertight. Follow these steps to test for leaks:
- Close any valves or openings in the system to isolate the newly installed section of pipe.
- Inspect the connections visually, checking for any signs of water or moisture. Look for drips, puddles, or dampness around the joints.
- With a dry cloth or tissue, wipe each connection and feel for any moisture. Pay close attention to the threaded areas.
- If any leaks are detected, immediately turn off the water supply and address the issue. Ensure that the connection is properly tightened or reapply pipe sealant if necessary.
- Open the valves or turn on the water supply to pressurize the system. Monitor the connections closely for a few minutes to verify that there are no new leaks.
Testing for leaks is crucial to identify any potential issues with the newly installed steel pipe system. It allows you to address leaks early on, preventing further damage or water-related issues.
If leaks are detected, it is essential to rectify them promptly. This may involve re-tightening the connections, applying additional pipe sealant, or replacing faulty components. Ensure that all connections are secure and watertight before proceeding with the installation.
Once you have confirmed that there are no leaks, you can proceed to Step 9: securing the pipes.
Read more: How To Install Pex Pipe To Bathroom Sink
Step 9: Secure the Pipes
Securing the pipes is the final step in the installation process of steel pipe. Properly securing the pipes ensures stability and prevents movement or potential damage. Follow these steps to secure the pipes:
- Using pipe hangers or straps, secure the pipes to the walls, floors, or ceilings at regular intervals. Choose hangers or straps that are appropriate for the size and weight of the pipes.
- Position the hangers or straps around the pipe and attach them securely to the surface using screws or other appropriate fasteners.
- Ensure that the pipe is adequately supported and that there is no excessive sag or strain on the connections.
- Space the hangers or straps according to local building codes or manufacturer’s guidelines, typically every few feet or as recommended for the specific pipe size and application.
- Inspect the secured pipes to verify that they are stable and that there is no movement or vibration. Check all the hangers or straps to ensure they are securely fastened.
Properly securing the pipes is important to maintain the integrity of the installation and to prevent any potential damage or accidents. A securely supported pipe system not only ensures stability but also prolongs the lifespan of the pipes.
When selecting pipe hangers or straps, consider the material and construction of the pipes, as well as the specific installation requirements. Consult local building codes or seek professional advice if needed.
With the pipes properly secured, your steel pipe installation is complete. Take time to inspect the entire system and ensure that all connections, supports, and fittings are functioning correctly.
Congratulations on successfully installing steel pipe!
Conclusion
Installing steel pipe may seem like a daunting task, but by following the proper steps and taking necessary precautions, you can successfully complete the installation. From measuring and cutting the pipe to connecting and securing the joints, each step plays a vital role in creating a durable and reliable steel pipe system.
Throughout the installation process, it is essential to prioritize safety. Wear appropriate protective gear, maintain a clean work area, and use proper lifting techniques to prevent injuries. Additionally, be cautious of sharp edges and potential hazards in the vicinity.
Gathering the necessary tools and materials is vital to ensure a smooth installation. Having a tape measure, pipe cutter or hacksaw, threader and die set, pipe wrenches, pipe sealant, and pipe hangers or straps readily available will make your work easier and more efficient.
Remember to measure and mark the pipe accurately, and cut it precisely to fit your project requirements. Clean the pipe ends thoroughly to ensure a proper connection, and thread the pipe ends to create a secure joint. Apply pipe sealant generously before connecting the pipes and use proper tightening techniques to ensure a tight and leak-free connection.
Once the connections are tightened, be sure to test the system for leaks. Check each connection for any signs of moisture and take immediate action to rectify any leaks. Finally, secure the pipes with hangers or straps to provide stability and prevent movement.
By following these step-by-step instructions and taking the necessary precautions, you can successfully install steel pipe for various applications such as plumbing, ventilation, or structural projects. Always consult local building codes and regulations, and seek professional help if needed.
With the installation complete, take pride in your work and enjoy the benefits of a reliable and well-installed steel pipe system. Whether it’s providing plumbing solutions in a residential setting or supporting a complex industrial project, your correctly installed steel pipe will serve its purpose for years to come.
Frequently Asked Questions about How To Install Steel Pipe
Was this page helpful?
At Storables.com, we guarantee accurate and reliable information. Our content, validated by Expert Board Contributors, is crafted following stringent Editorial Policies. We're committed to providing you with well-researched, expert-backed insights for all your informational needs.
0 thoughts on “How To Install Steel Pipe”