Articles
How To Access Attic
Modified: August 31, 2024
Learn the best ways to access your attic with informative articles. Find step-by-step guides and tips for a safe and efficient attic entry.
(Many of the links in this article redirect to a specific reviewed product. Your purchase of these products through affiliate links helps to generate commission for Storables.com, at no extra cost. Learn more)
Introduction
Have you ever wondered what lies beyond the ceiling of your home? The attic, a mysterious and often neglected space, holds hidden treasures and secrets waiting to be discovered. Whether you are looking to declutter, conduct repairs, or simply satisfy your curiosity, accessing the attic is an essential step. In this article, we will guide you through the process of safely and effectively accessing your attic.
Before embarking on this adventure, it is important to note that accessing the attic requires caution and careful preparation. From clearing the pathway to finding the access point, each step is crucial to ensure your safety and the successful exploration of this hidden domain. So grab your flashlight and let’s begin the journey to unlocking the secrets of your attic!
Key Takeaways:
- Uncover the Hidden Treasures: Safely accessing your attic involves clearing the pathway, finding the access point, and preparing for entry. Take necessary precautions and explore the mysteries above your home with caution and curiosity.
- Prioritize Safety and Exploration: Navigating the attic requires careful steps and awareness of potential hazards. Take your time, use proper lighting, and exit safely to ensure a successful and revealing attic exploration.
Step 1: Clearing the pathway
The first step in accessing the attic is to clear the pathway leading to the access point. Attics are often used for storage, and over time they can become cluttered with boxes, old furniture, and various items that may block your way. Before attempting to enter the attic, take the time to clear any obstacles and create a safe and accessible pathway.
Start by removing any large and heavy objects that may impede your movement. This includes furniture, appliances, or other bulky items that may be stored near the access point. Carefully relocate these items to a different area, ensuring that they are securely stored and won’t obstruct the pathway or pose a safety hazard.
Next, assess the clutter and sort through the smaller items. Consider donating or discarding any items that are no longer needed, as this will not only clear the pathway but also help you declutter and organize your attic space. Group similar items together and store them in labeled boxes or containers to maximize efficiency and ease of access in the future.
It’s important to pay attention to electrical wires, pipes, and any other potential hazards that may be concealed among the clutter. Ensure that all wires are properly secured and tucked away to prevent tripping hazards. Additionally, check for any signs of water damage or leaks that may compromise the structural integrity of the pathway and address them before proceeding further.
By taking the time to clear the pathway, you will create a safe and unobstructed passage to the attic access point. This will not only make it easier to enter and exit the attic but also provide a more organized and functional space for future storage or exploration.
Step 2: Finding the access point
Once you have cleared the pathway, the next step is to locate the access point to your attic. The access point can vary depending on the type and layout of your home, so it’s important to familiarize yourself with the different possibilities.
The most common types of attic access points are:
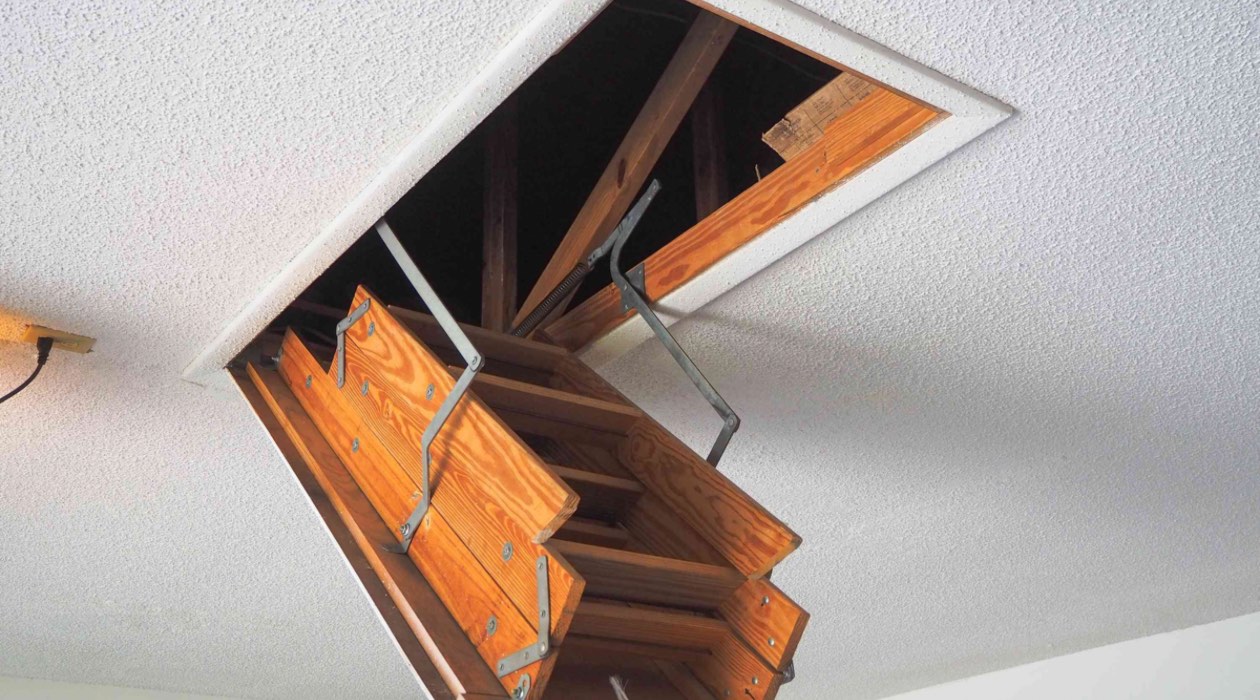
- Pull-down stairs: These are typically located in a hallway or closet ceiling and can be unfolded or extended to create a staircase leading to the attic.
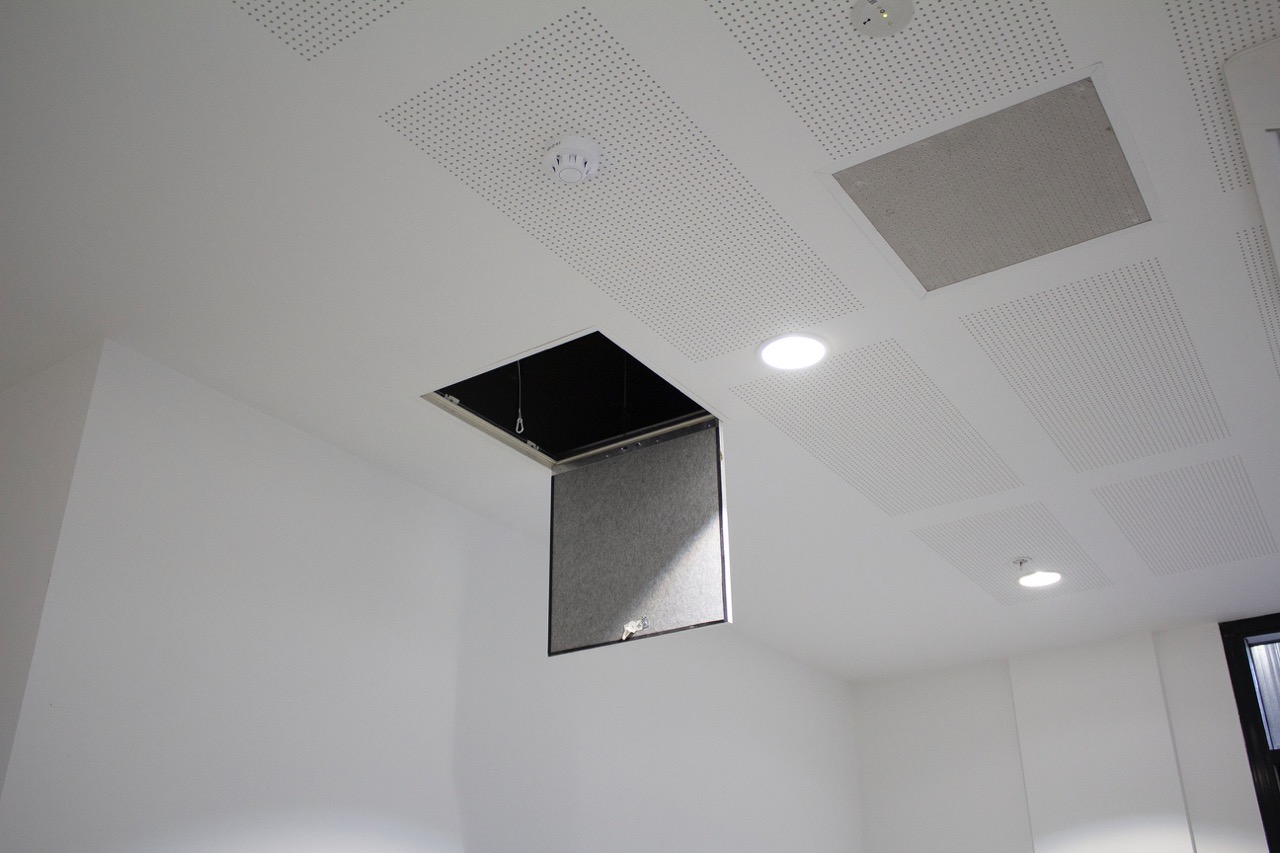
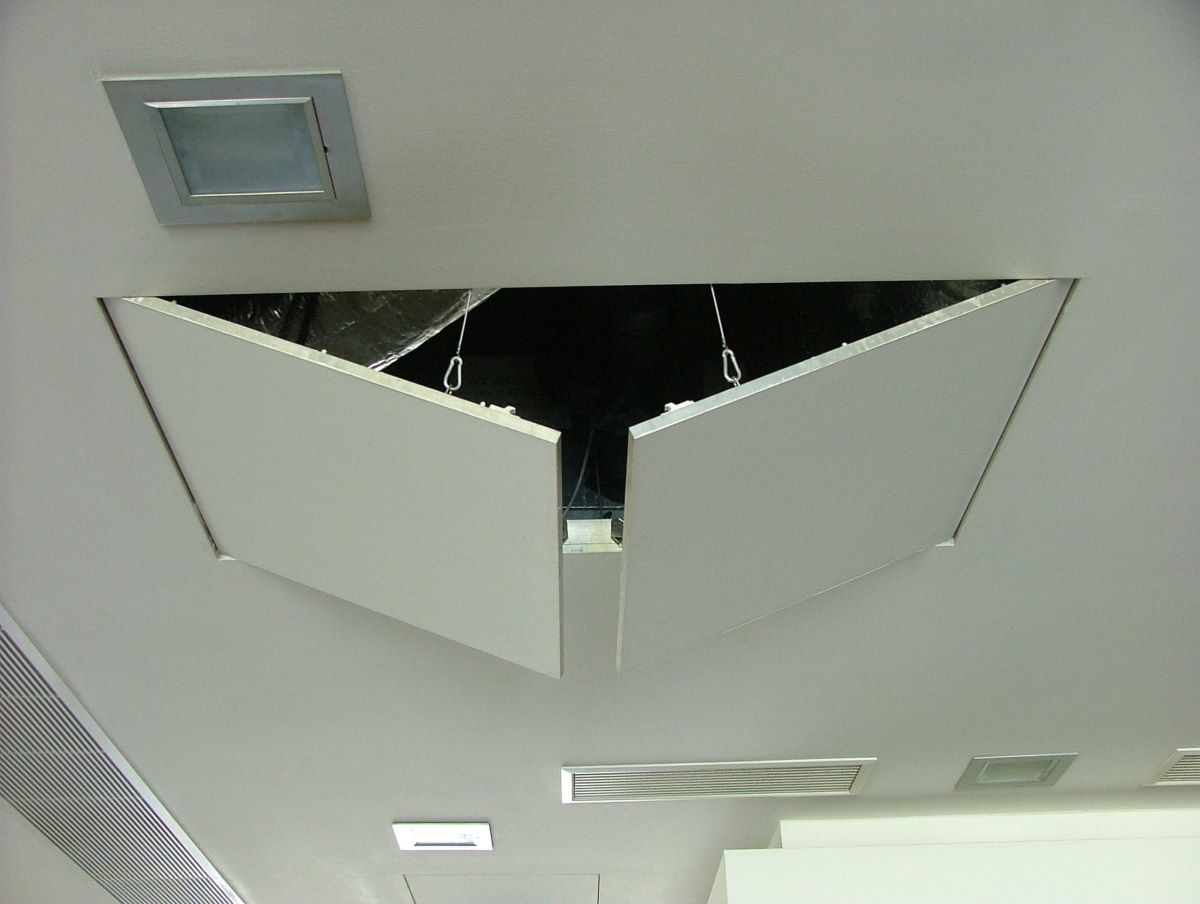
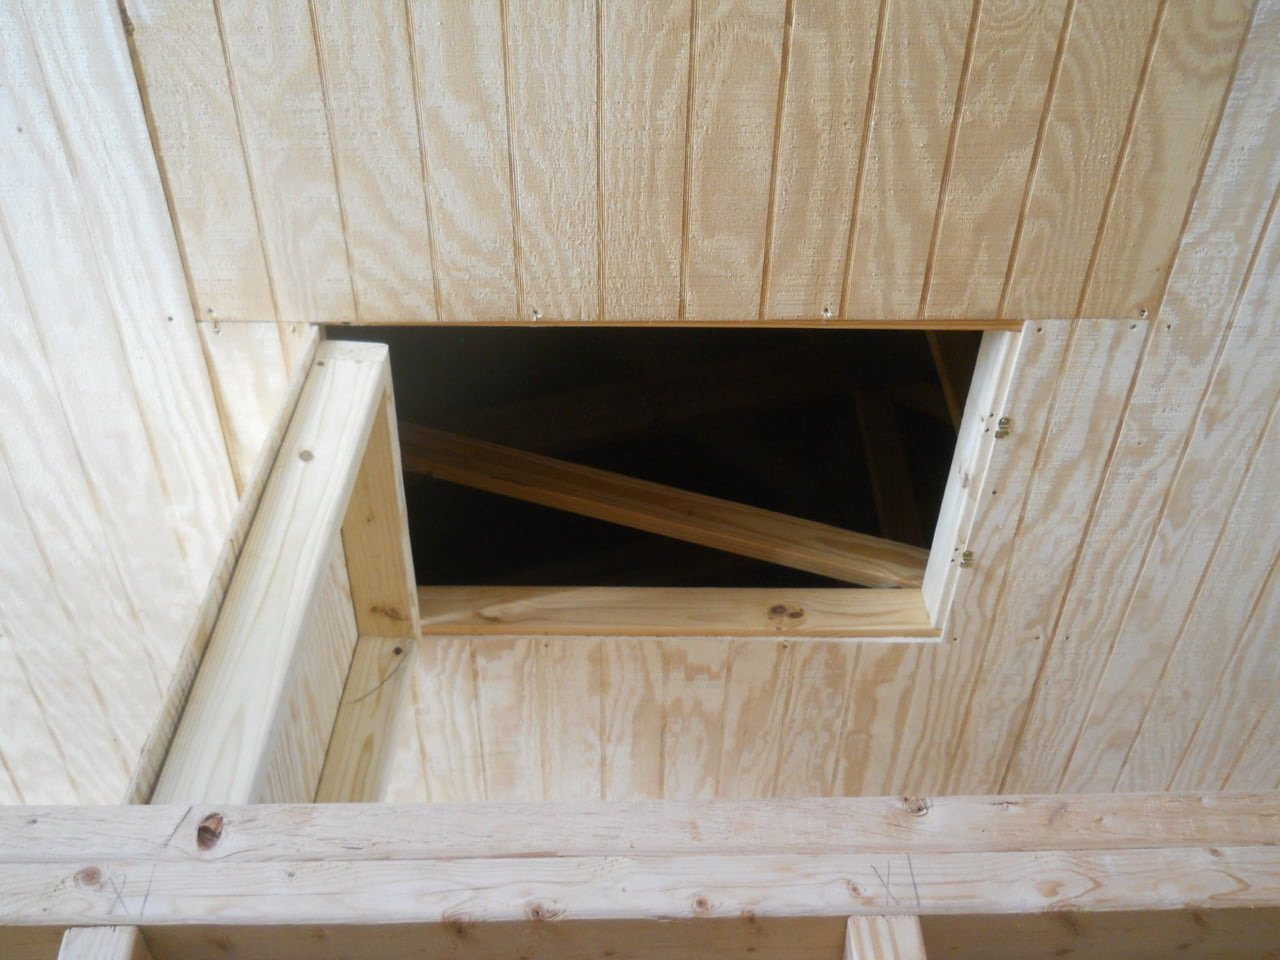
- Attic hatch: A small door or panel in the ceiling that can be opened to access the attic space. These hatches are often located in bedrooms, closets, or storage areas.
- Exterior access: In some cases, the attic may have an exterior entry point such as a hatch on the roof or a separate staircase leading to an upper-level balcony.
Start by examining the ceilings and walls of your home to identify any signs of an attic access point. Look for clues such as small doors, panels, or hatches that may blend in with the surrounding surfaces. In some cases, the access point may be hidden or disguised, so a keen eye and some investigation may be required.
If you’re unsure about the location of your attic access point, consult your home’s blueprints or architectural plans if available. These documents can provide valuable information regarding the layout of your home and the placement of the attic access.
If you still can’t locate the access point, consider seeking professional assistance. A contractor or home inspector with experience in attic access can help identify the access point and provide recommendations for accessing it safely.
Once you have successfully located the access point, take note of its dimensions, shape, and any additional equipment required for entry, such as a ladder or stool. This information will be helpful for the next steps as you prepare to enter the attic.
Step 3: Preparing to enter the attic
Before you can enter the attic, it’s important to take necessary precautions and gather the appropriate tools and equipment. Proper preparation ensures a safe and successful journey into this confined space.
Here are some important steps to take when preparing to enter the attic:
- Wear the right clothing: Attics can be dusty and potentially contain allergens or insulation materials. It’s recommended to wear long-sleeved clothing, long pants, gloves, and a dust mask to protect yourself from possible contamination or scratching against sharp objects.
- Use proper lighting: The attic can be dark, especially if it doesn’t have a built-in light source. Make sure to bring a reliable flashlight or headlamp to illuminate your path and enhance visibility in the attic.
- Check for pests: Attics are notorious for hosting insects, rodents, and other unwanted critters. Before entering the attic, inspect the access point and surrounding areas for any signs of pest activity. If you notice an infestation, it’s best to address it before proceeding further.
- Inspect the ladder or stairs: If your attic has a built-in ladder or pull-down stairs, ensure that they are secure and in good working condition. Check for loose hardware, damaged steps, or any signs of instability. For external access points, use a sturdy ladder that can safely support your weight, and position it on a stable surface.
- Inform others: Let someone know that you will be accessing the attic, especially if you’re doing it alone. In case of an emergency, having someone aware of your whereabouts can be crucial.
By taking these preparations seriously, you are minimizing potential risks and ensuring a smoother and safer entry into the attic. Remember, safety should always be the top priority throughout this process.
Make sure to have a sturdy ladder and a flashlight before attempting to access the attic. Always wear a dust mask and gloves to protect yourself from insulation and debris. Check for any signs of pests or mold before entering.
Step 4: Climbing into the attic
Now that you are properly prepared, it’s time to climb into the attic. This step requires careful maneuvering to ensure your safety and avoid any accidents.
Follow these steps to climb into the attic:
- Position the ladder or extend the pull-down stairs: Depending on the type of access point your attic has, position the ladder securely or extend the pull-down stairs. Ensure that they are stable and ready to support your weight.
- Test the stability: Before placing your weight on the access point, test its stability by applying gentle pressure. This will help determine if it can safely support your weight or if any adjustments need to be made.
- Face the ladder or access point: Stand facing the ladder or access point while maintaining a firm grip on the side rails or ladder rungs.
- Step onto the first rung or the access point: Place your foot securely onto the first rung of the ladder or the access point, ensuring proper footing and balance. Slowly transfer your weight onto the ladder or access point while holding the side rails or using the stair steps if using a pull-down staircase.
- Climb upward: Continue climbing the ladder or stairs, maintaining a steady pace and focusing on each step. Take your time and avoid rushing to prevent any slips or falls.
- Enter the attic: Once you have reached the top of the ladder or stairs, carefully step into the attic space. Ensure that you have a stable footing before fully entering the attic area.
As you climb into the attic, maintain awareness of your surroundings, particularly the ceiling height and any potential obstacles. Use your flashlight to illuminate the attic space and be cautious of any low-hanging objects or beams.
Remember, safety should always be your top priority when accessing the attic. Take it slow, be mindful of your movements, and exercise caution at all times.
Step 5: Navigating in the attic
Once you have successfully entered the attic, navigating through the space requires careful navigation and awareness of your surroundings. Attics can be cramped, dark, and filled with obstacles, so it’s crucial to proceed with caution.
Follow these steps to navigate through the attic:
- Use your flashlight: Since attics often lack proper lighting, rely on your flashlight to illuminate the area and help you see where you’re going. Make sure to aim the light in the direction you’re moving to ensure a clear path.
- Watch your footing: Attics typically have a combination of ceiling joists, insulation, and other structural elements. Take small, careful steps to avoid tripping or stepping on unstable areas. It’s best to walk along the joists whenever possible, as they provide a stable surface.
- Keep an eye out for hazards: Be on the lookout for sharp objects, exposed nails, or loose wiring. Take note of any signs of water damage or leaks, as these areas may be weakened and pose a risk of collapsing or causing injury.
- Avoid stepping on insulation: Insulation in the attic is meant to provide temperature regulation and should not be disturbed. Refrain from stepping directly on insulation to maintain its effectiveness and prevent any potential damage.
- Inspect the surroundings: As you navigate through the attic, take the opportunity to inspect the space. Look for signs of pests, mold growth, or any other issues that may require attention. If you notice any concerns, make a mental note or document them for future reference.
- Create a path: If your attic is particularly cluttered, create a clear pathway as you move along. Push aside any obstructions to ensure a safe and unhindered route.
While exploring the attic, be mindful of the space limitations and take breaks if needed. Attics can be hot and stuffy, so it’s important to stay hydrated and take breaks to avoid overheating.
If you encounter anything unusual or feel uncomfortable during your exploration, it’s best to retreat and seek professional advice or assistance. Your safety should always be a priority.
Step 6: Exiting the attic safely
After successfully navigating through the attic, it’s time to safely make your way back down and exit the space. Exiting the attic requires the same level of caution and attention as entering it.
Follow these steps to exit the attic safely:
- Turn around and face the access point: When you’re ready to leave the attic, turn around to face the access point. Take a moment to ensure that the area surrounding the access point is clear of any obstacles.
- Locate your footing: Step carefully, ensuring that you have a stable footing and maintain your balance as you make your way towards the access point.
- Descend the ladder or staircase: If you have a pull-down staircase, carefully fold or retract it back into its original position. If you’re using a ladder, descend it slowly and securely, ensuring each step is taken with stability.
- Evaluate your surroundings: Once you’re back on the ground, assess the area around the access point to ensure it’s safe and clear. Move any obstacles that may obstruct your path or present a tripping hazard.
- Secure the access point, if necessary: Depending on the type of access point, secure it properly once you have exited the attic. This may involve closing and latching a hatch or folding away a pull-down staircase.
As you exit the attic, take a moment to reflect on your experience and ensure that everything is left in a safe condition. If you made any temporary adjustments to the pathway or access point, be sure to restore them to their original state.
Remember to clean up any debris or materials you may have brought down from the attic and organize any items you moved to create a clear pathway. By leaving the area tidy and organized, you’ll ensure easier access for future visits to the attic.
Finally, double-check that you have securely closed and locked the access point, if applicable. This will prevent unauthorized access and maintain the security of your home.
Congratulations! You have successfully accessed and explored your attic, and now you can find comfort in knowing what lies beyond the ceiling of your home. Remember to review any findings or observations made during your attic exploration and address them accordingly. Regular maintenance and periodic inspections can help ensure the attic remains safe and functional for future use.
Conclusion
Accessing your attic can be an exciting and revealing experience. It provides you with the opportunity to declutter, conduct repairs, or simply satisfy your curiosity about the space above your home. By following the steps outlined in this article, you can safely and effectively access your attic and navigate through the hidden domain.
From clearing the pathway to finding the access point, preparing to enter the attic, climbing in, navigating through, and finally, safely exiting, each step is crucial for a successful attic exploration. It’s important to prioritize safety throughout the process, taking the necessary precautions and carefully maneuvering through the confined space.
As you explore the attic, be observant of any signs of issues such as pest infestations, water damage, or mold growth. These observations can help you address any potential problems and ensure the long-term health and integrity of your home.
Remember to document any findings or concerns for future reference and consider seeking professional assistance if needed. Attics can be challenging spaces to navigate, especially if you encounter structural or safety concerns that require expert attention.
By accessing your attic, you gain a deeper understanding of your home and have the opportunity to utilize the space for storage or other purposes. Regular maintenance and periodic inspections of the attic will keep it in optimal condition, ensuring its functionality and safety for years to come.
So, what secrets does your attic hold? Grab your flashlight, prepare yourself, and embark on the journey of unlocking the mysteries above your home. Happy attic exploration!
Frequently Asked Questions about How To Access Attic
Was this page helpful?
At Storables.com, we guarantee accurate and reliable information. Our content, validated by Expert Board Contributors, is crafted following stringent Editorial Policies. We're committed to providing you with well-researched, expert-backed insights for all your informational needs.


0 thoughts on “How To Access Attic”