Articles
How To Repair Metal Roof
Modified: December 7, 2023
Learn effective techniques and tips for repairing metal roofs with our informative articles. Ensure your roof stays strong and durable for years to come.
(Many of the links in this article redirect to a specific reviewed product. Your purchase of these products through affiliate links helps to generate commission for Storables.com, at no extra cost. Learn more)
Introduction
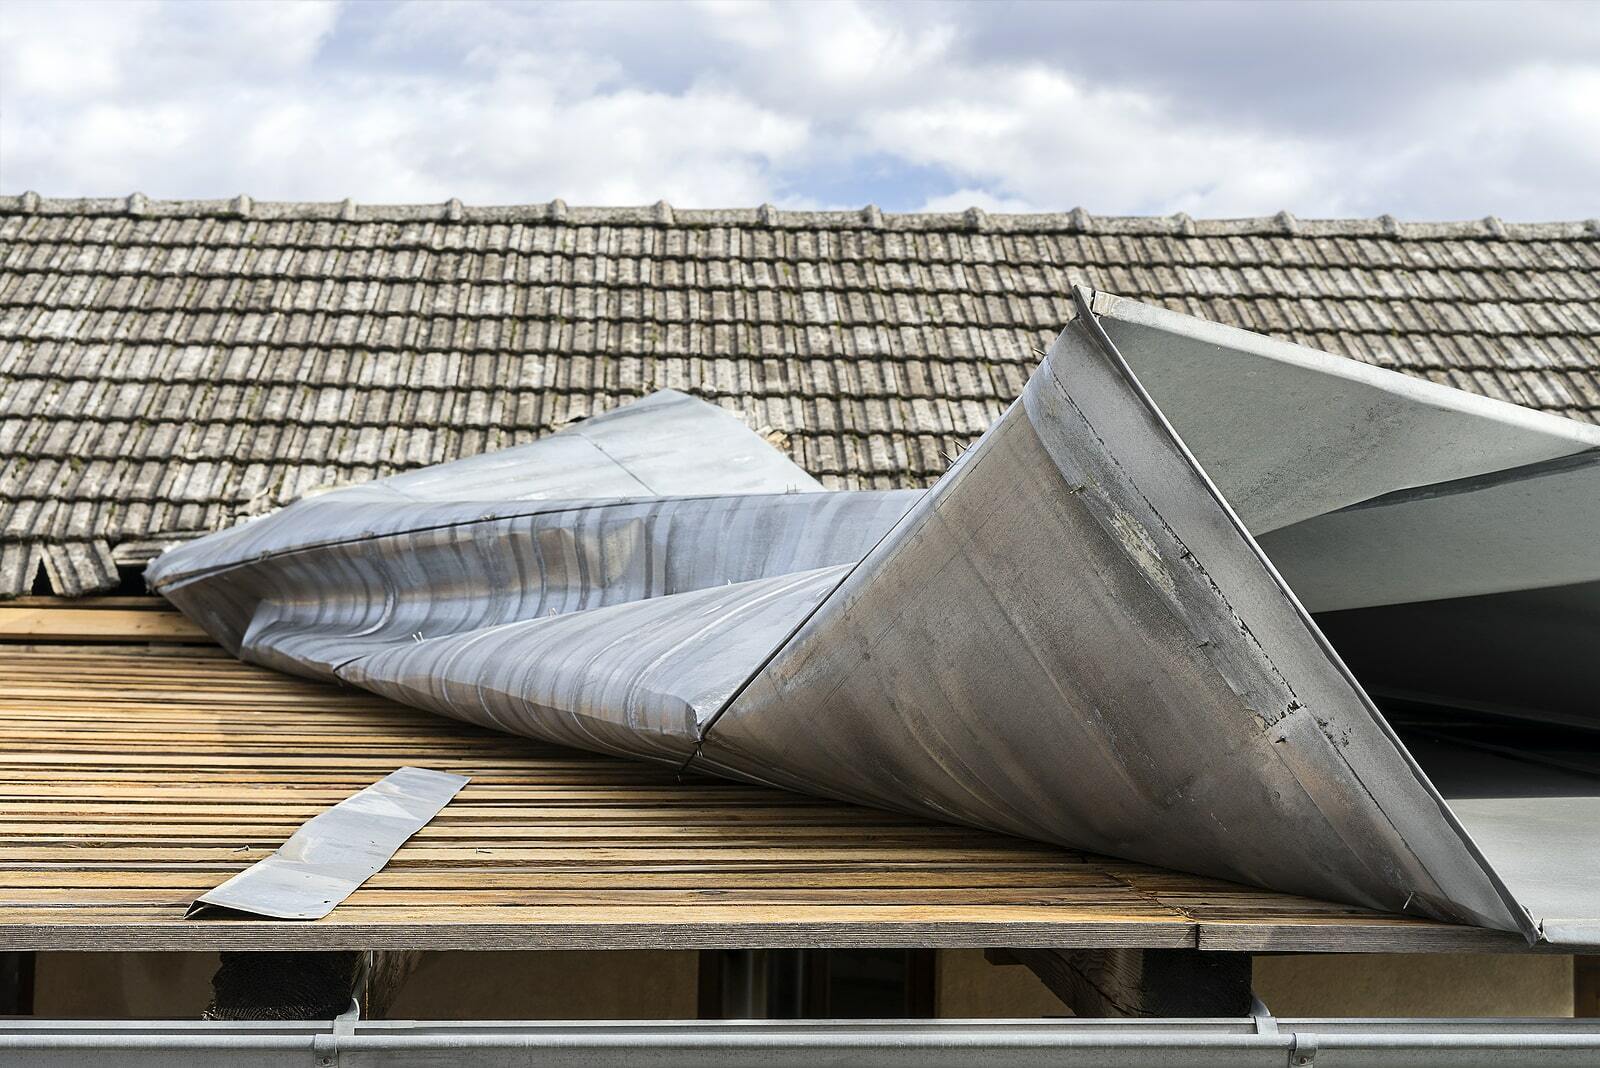
Roofing is an essential part of any building, providing protection against the elements and ensuring the structural integrity of the property. Among the various types of roofs, metal roofs are popular for their durability and longevity. However, over time, metal roofs can develop issues such as leaks or damage due to age, weather conditions, or improper installation.
Repairing a metal roof may seem like a daunting task, but with the right knowledge and tools, it can be done effectively. This article will guide you through the process of repairing a metal roof, from assessing the damage to applying the necessary repairs or sealants. By following these steps, you can restore the functionality and lifespan of your metal roof.
Before delving into the repair process, it is important to note that if you are unsure about the extent of the damage or do not have experience working with metal roofs, it is advisable to consult a professional roofing contractor. They have the expertise and equipment to identify the underlying issues and make the necessary repairs.
Now, without further ado, let’s dive into the steps involved in repairing a metal roof.
Key Takeaways:
- Assess the damage, gather materials, prepare the surface, apply the patch or sealant, secure the repair, and inspect the result to effectively repair a metal roof. Safety and professional help are crucial.
- Regular inspections, water tests, and prompt repairs are essential for maintaining a durable metal roof. Following the outlined steps and prioritizing safety will ensure long-lasting performance.
Read more: What Color Metal Roof Goes With Tan Siding
Step 1: Assessing the Damage
The first and most crucial step in repairing a metal roof is to assess the extent of the damage. This will help determine the appropriate repair method and materials required.
Start by visually inspecting your roof from the ground, using binoculars if necessary, to identify any obvious signs of damage. Look for missing or loose panels, rust spots, cracks, or areas with water stains on both the roof and the ceiling inside your building.
Next, safely climb up onto your roof using a sturdy ladder and carefully walk across the surface. Make sure to wear appropriate safety gear, including slip-resistant shoes and a harness if necessary.
Once on the roof, conduct a detailed inspection, paying close attention to the following:
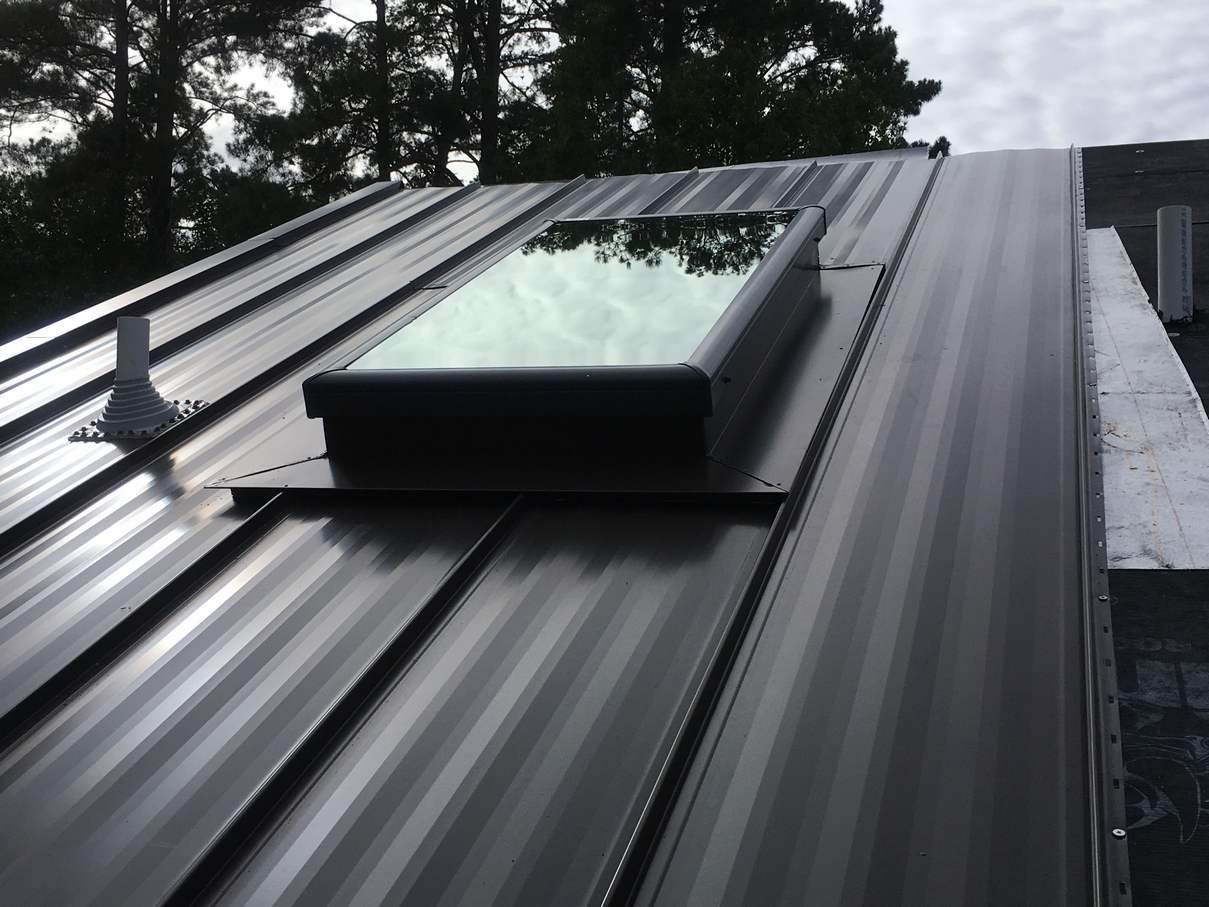
- Loose or damaged flashing: Check the metal strips that seal transitions between roof sections and around chimneys, vents, or skylights. If the flashing is loose, cracked, or damaged, it will need to be repaired or replaced to prevent water infiltration.
- Seams and joints: Inspect the seams and joints between metal panels. Look for gaps, lifted edges, or separation between panels. These areas are prone to leaks and should be repaired to maintain the integrity of the roof.
- Screws or fasteners: Examine the screws or fasteners that secure the metal panels to the roof structure. If any are missing, loose, or rusted, they should be replaced immediately to prevent further damage.
- Rust or corrosion: Metal roofs are susceptible to rust and corrosion over time, especially in areas with high humidity or saltwater exposure. Look for any signs of rust or corrosion and take note of the affected areas.
- Dents or punctures: Inspect the surface of the metal panels for dents, punctures, or other physical damage. These can compromise the integrity of the roof and may require patching or replacement.
Take detailed notes or pictures of the damage to help you plan for the repairs and communicate with professionals if needed.
Once you have assessed the damage, you can proceed to gather the necessary materials and tools for the roof repair.
Step 2: Gathering the Materials and Tools
After assessing the damage to your metal roof, it’s time to gather the materials and tools needed for the repair. Having everything on hand before starting the repair process will help save time and ensure a smoother workflow.
Here is a list of the materials and tools you will typically need for repairing a metal roof:
- Sealant: Choose a high-quality sealant specifically designed for metal roofs. Look for sealants that are waterproof, UV-resistant, and compatible with your roof material.
- Patch material: Depending on the severity of the damage, you may need a patch material such as metal patches, roofing cement, or roofing tape. Select a patch material that matches the color and material of your roof.
- Caulking gun: A caulking gun is essential for applying sealant smoothly and evenly. Make sure to have a compatible caulking gun for the type of sealant you are using.
- Screwdriver or drill: You may need to remove or tighten screws or fasteners on your metal roof. Have a screwdriver or drill with the appropriate attachments available.
- Wire brush: A wire brush is useful for cleaning and removing rust or corrosion from metal surfaces. It will help prepare the surface for repair and ensure better adhesion of the sealant or patch material.
- Roofing nails or screws: If any panels or flashing need to be replaced, you will need roofing nails or screws to secure them in place.
- Safety gear: Always prioritize safety when working on a roof. Wear gloves, safety glasses, and a helmet to protect yourself from potential hazards.
- Ladder: Choose a sturdy ladder that can safely support your weight and reach the damaged areas of the roof.
Before starting the repair, ensure that you have all the necessary materials and tools readily available. It can be frustrating to pause midway through the repair process to gather missing items.
Remember, if you are uncomfortable with any part of the repair or lack the necessary experience, it’s best to consult a professional roofing contractor. They will have access to specialized tools and equipment and can ensure the repair is done correctly.
With the materials and tools ready, you’re now prepared to move on to the next step: preparing the surface for repair.
Step 3: Preparing the Surface
Before applying any sealant or patch material, it’s crucial to properly prepare the surface of the metal roof. This step ensures better adhesion and longevity of the repairs.
Here are the steps to follow for preparing the surface:
- Clean the area: Begin by cleaning the damaged area of the roof. Use a broom or brush to remove any loose debris, leaves, or dirt. This will provide a clean surface for the repairs.
- Remove rust and corrosion: If you noticed any rust or corrosion on the roof during the assessment stage, it’s essential to remove it before proceeding. Use a wire brush or sandpaper to gently scrub the affected area and remove any loose rust or corrosion. This will help prevent further deterioration.
- Apply a primer: In some cases, it may be necessary to apply a primer before applying the sealant or patch material. Check the manufacturer’s instructions for the specific product you are using. A primer can enhance adhesion and increase the durability of the repair.
- Ensure a dry surface: It’s crucial to work on a dry surface when applying sealant or patching materials. If the area is wet, use a cloth or towel to dry it thoroughly. Moisture can compromise the effectiveness of the repair and lead to further damage in the future.
- Mask off the area: If you’re using sealant or adhesive with a thick consistency, it’s a good idea to mask off the surrounding area to prevent accidental spills or smears. Use painter’s tape or plastic sheeting to create a clean boundary around the repair area.
By thoroughly preparing the surface, you set a solid foundation for the repair work. This step ensures that the sealant or patch material will adhere properly and effectively prevent further damage or leaks.
Once the surface is prepared, you’re ready to move on to the next step: applying the patch or sealant to repair the metal roof.
Inspect your metal roof regularly for signs of damage such as rust, loose screws, or dents. Addressing issues promptly can prevent further damage and extend the life of your roof.
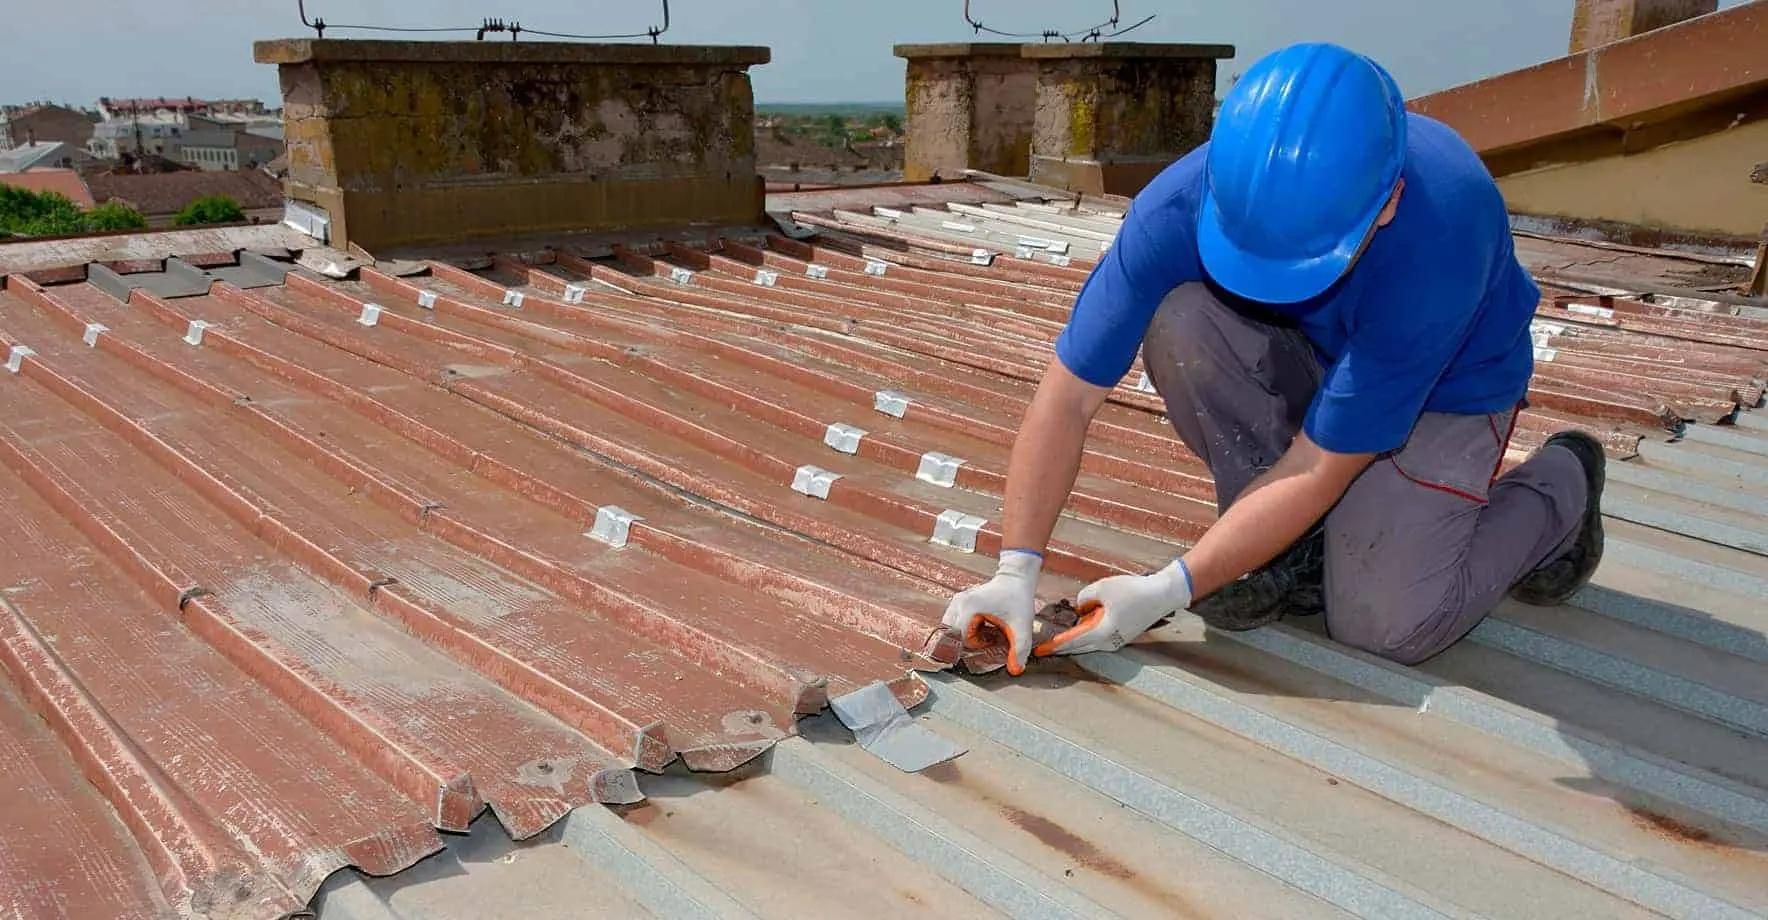
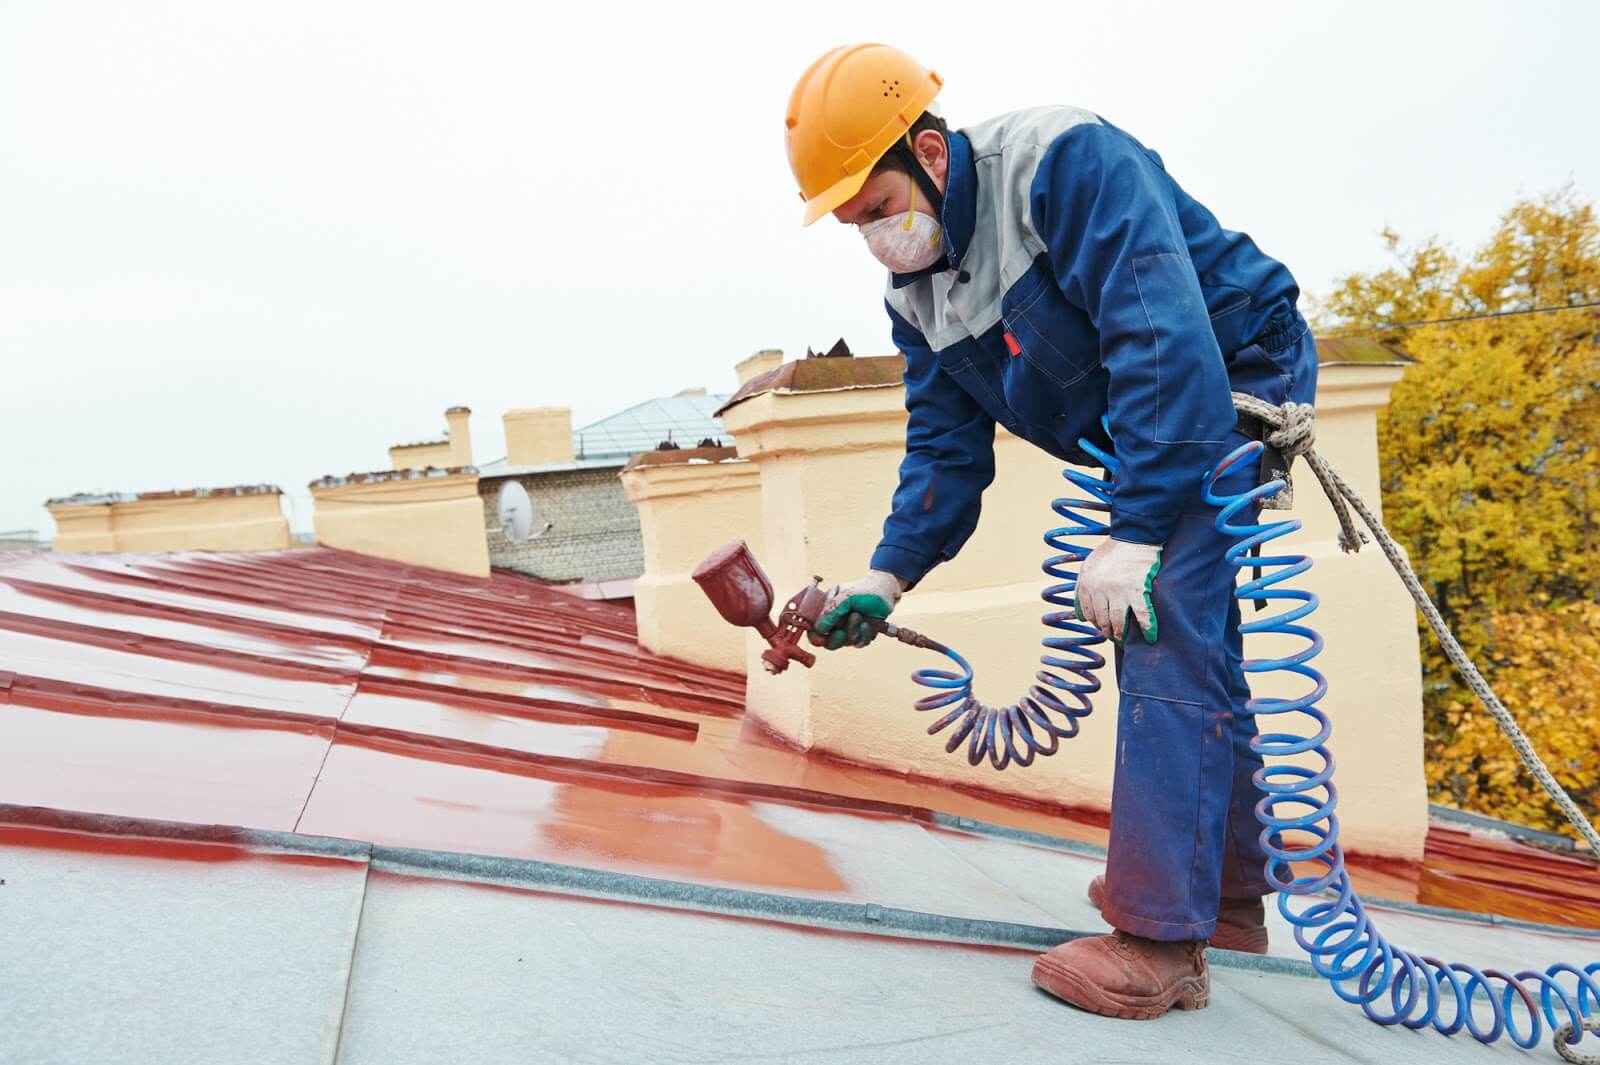
Step 4: Applying the Patch or Sealant
With the surface prepared, it’s time to apply the patch or sealant to repair the damaged area of your metal roof. The type of repair method will depend on the extent and nature of the damage.
Here’s a general guide on applying the patch or sealant:
- Read the instructions: Before starting the application process, carefully read and understand the instructions provided by the manufacturer of the sealant or patch material. Different products may have specific recommendations for application techniques and drying times.
- Apply sealant: If you are dealing with small cracks, gaps, or seams, using a sealant may be sufficient. Load the sealant tube into your caulking gun and cut the tip to the desired size. Apply the sealant smoothly and evenly along the damaged area, making sure to cover the entire affected section.
- Apply patch material: For larger holes or dents, you may need to use a patch material. Cut the patch material to the appropriate size, leaving a bit of extra material around the damaged area. Apply a layer of sealant around the perimeter of the damaged area and place the patch material over it, pressing down gently to ensure proper adhesion.
- Smooth and blend: Use a putty knife or a gloved finger to smooth out the sealant or patch material, blending it with the surrounding roof surface. This helps create a seamless repair and prevents any sharp edges or uneven surfaces that could trap water or debris.
- Allow drying time: Follow the manufacturer’s instructions on the drying time for the sealant or patch material. It’s important to allow sufficient time for the repair to cure and create a strong, watertight bond.
Remember to work carefully and in small sections to ensure proper application. Take breaks as needed to avoid fatigue and maintain the quality of the repair work.
Once the patch or sealant has dried, you can move on to the next step to secure the repair in place.
Read more: How To Seal Metal Roof
Step 5: Securing the Patch or Sealant in Place
After applying the patch or sealant to the damaged area of your metal roof, it’s important to secure it in place to ensure long-lasting effectiveness and prevent further damage.
Here are the steps to secure the patch or sealant:
- Check for adhesion: Before proceeding, check to ensure that the patch or sealant has properly adhered to the roof surface. Gently press on the repaired area to confirm that it is securely in place.
- Tighten fasteners: If you removed any screws or fasteners during the repair process, make sure to tighten them securely. This will help hold the metal panels or flashing in place and prevent them from coming loose in the future.
- Inspect surrounding areas: Take a moment to inspect the surrounding areas of the repaired spot. Look for any signs of lifting or separation and address them immediately. It’s important to ensure the overall integrity of the metal roof.
- Apply additional sealant: If necessary, apply an additional layer of sealant around the edges of the patch or repaired area. This can provide extra protection against water infiltration and add strength to the repair.
- Perform a water test: Once everything is secured in place, it’s a good idea to perform a water test to check for leaks or further damage. Use a hose to gently spray water over the repaired area and observe if any water seeps through. If you notice any leaks, address them immediately.
By taking these steps, you ensure that the patch or sealant is firmly in place and will effectively protect your metal roof from further damage.
Once you have secured the repair, it’s essential to inspect the overall condition of your metal roof to identify any additional areas that may need attention.
Let’s move on to the final step: inspecting the repair and ensuring the success of your efforts.
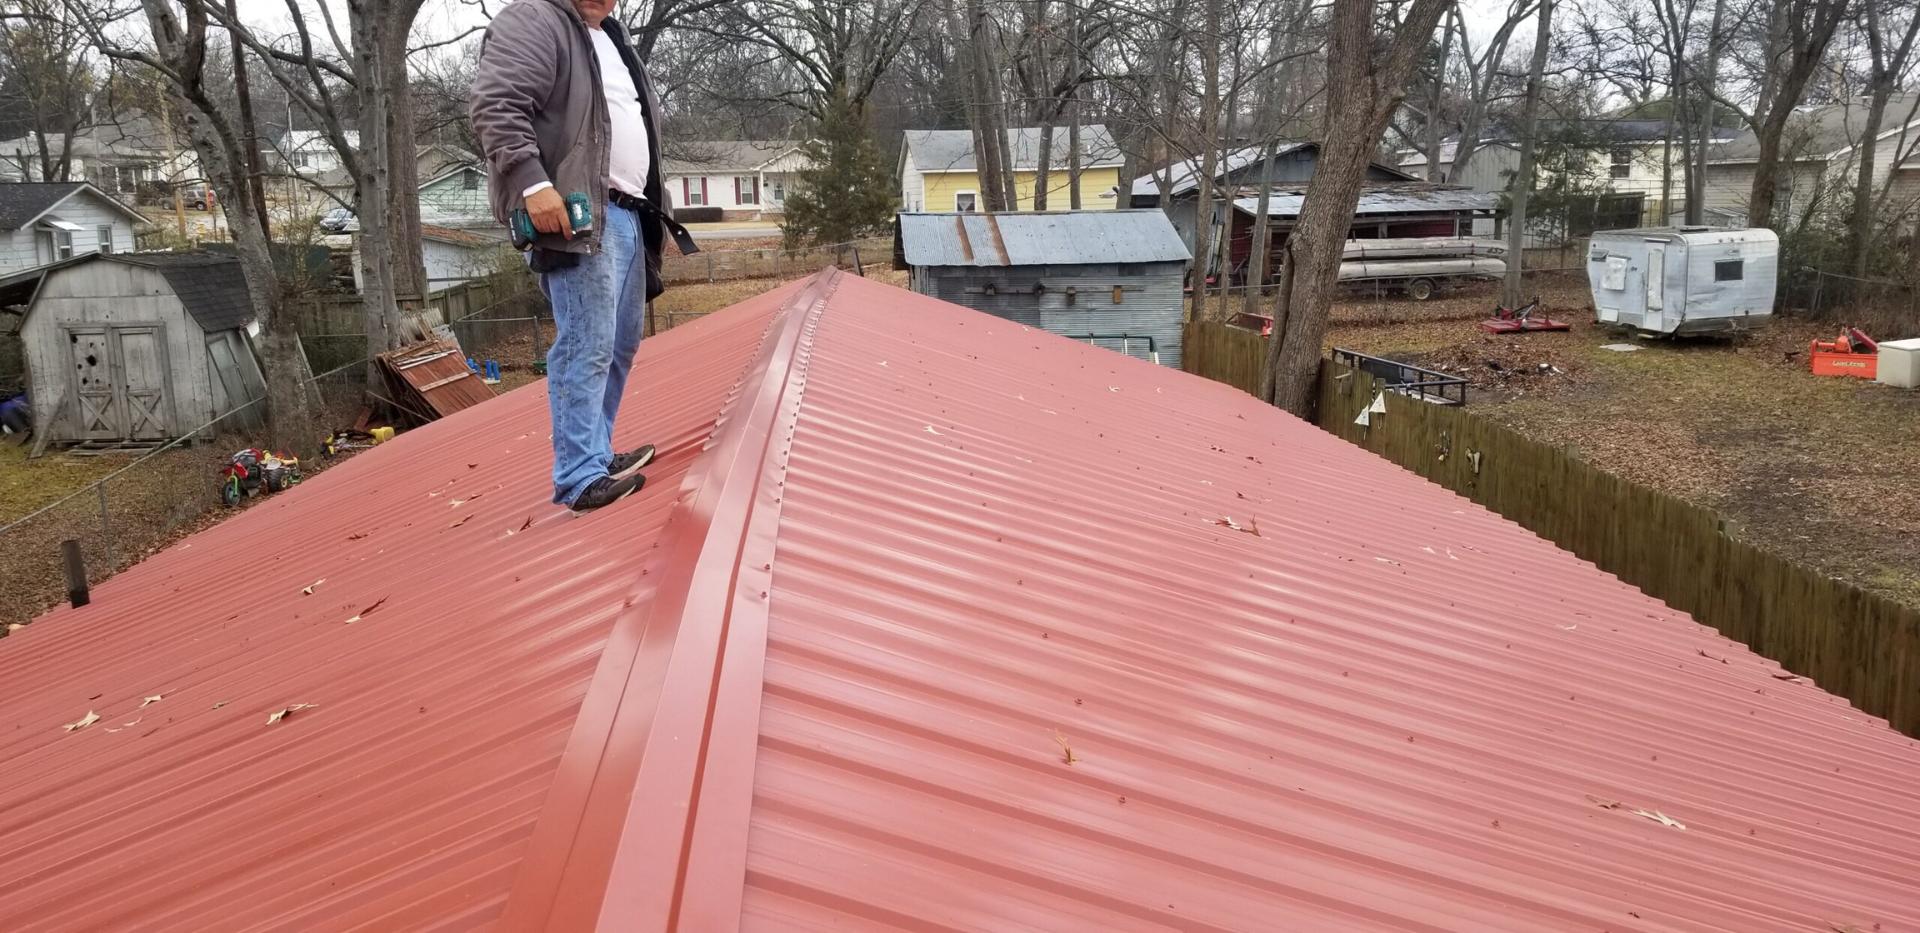
Step 6: Inspecting the Repair
After completing the repair process on your metal roof, it’s important to thoroughly inspect the repaired area to ensure the success of your efforts and identify any further issues that may need attention.
Here are the steps to follow when inspecting the repair:
- Visually examine the repair: Take a step back and visually examine the repaired area of your metal roof. Look for any visible signs of damage or issues. Check for smoothness, proper adhesion of the patch or sealant, and uniformity with the surrounding roof surface.
- Check for leaks: Perform another water test by gently spraying water over the repaired area and surrounding sections of the roof. Look for any signs of water seepage or leaks. If you find any, mark the area for further attention.
- Inspect the overall roof condition: While inspecting the repair, it’s also a good idea to check the overall condition of your metal roof. Look for any additional areas of damage, loose panels, or signs of wear and tear. Address any issues you find to ensure the longevity and effectiveness of your roof.
- Take note of any necessary follow-up: If you identify any areas that require further attention or additional repairs, make note of them. It’s important to address these issues promptly to prevent further damage or potential complications in the future.
Regular inspections of your metal roof, including the repaired areas, are essential for maintaining its integrity and preventing major issues down the line. Make it a routine to visually examine your roof and perform periodic water tests to ensure that it remains in optimal condition.
If you encounter any challenges during the inspection or feel uncertain about the results, don’t hesitate to consult a professional roofing contractor. They can provide expert advice and assistance to rectify any issues and ensure the longevity of your metal roof.
By following these steps and conducting a thorough inspection, you can have confidence in the success of your metal roof repair and enjoy a well-protected and durable roof for years to come.
With that, we conclude the guide on repairing a metal roof. Remember to prioritize safety, consult professionals when needed, and maintain regular maintenance to extend the lifespan of your roof.
Conclusion
Repairing a metal roof may seem like a daunting task, but with the right knowledge and approach, it can be accomplished effectively. By following the steps outlined in this guide, you can assess the damage, gather the necessary materials and tools, prepare the surface, apply the patch or sealant, secure the repair in place, and inspect the finished result.
Remember, safety should always be a top priority when working on your roof. If you are unsure about any aspect of the repair or lack experience with metal roofs, it’s recommended to consult a professional roofing contractor. They have the expertise, equipment, and knowledge to handle repairs efficiently and ensure the longevity and integrity of your metal roof.
By properly maintaining and promptly repairing your metal roof, you can extend its lifespan and preserve its functionality. Regular inspections, periodic water tests, and addressing any issues promptly will help prevent further damage and costly repairs in the future.
To recap, the key steps involved in repairing a metal roof are:
- Assessing the damage
- Gathering the materials and tools
- Preparing the surface
- Applying the patch or sealant
- Securing the repair in place
- Inspecting the repair
By following these steps and taking the necessary precautions, you can successfully repair your metal roof and ensure its long-lasting performance.
Remember, if you are unsure or uncomfortable with any part of the process, it’s always best to seek professional help. They can assess the situation, provide expert guidance, and carry out the repairs with precision and efficiency.
With proper care and maintenance, your metal roof will continue to protect your property and withstand the tests of time, weather, and wear. Take pride in your roof, and it will serve you well for many years to come.
Frequently Asked Questions about How To Repair Metal Roof
Was this page helpful?
At Storables.com, we guarantee accurate and reliable information. Our content, validated by Expert Board Contributors, is crafted following stringent Editorial Policies. We're committed to providing you with well-researched, expert-backed insights for all your informational needs.


0 thoughts on “How To Repair Metal Roof”