Articles
How To Keep Picture Frames From Tilting
Modified: October 18, 2024
Discover effective techniques to prevent picture frames from tilting with these informative articles. Avoid crooked frames and ensure a perfectly aligned display for your cherished photos and artwork.
(Many of the links in this article redirect to a specific reviewed product. Your purchase of these products through affiliate links helps to generate commission for Storables.com, at no extra cost. Learn more)
Introduction
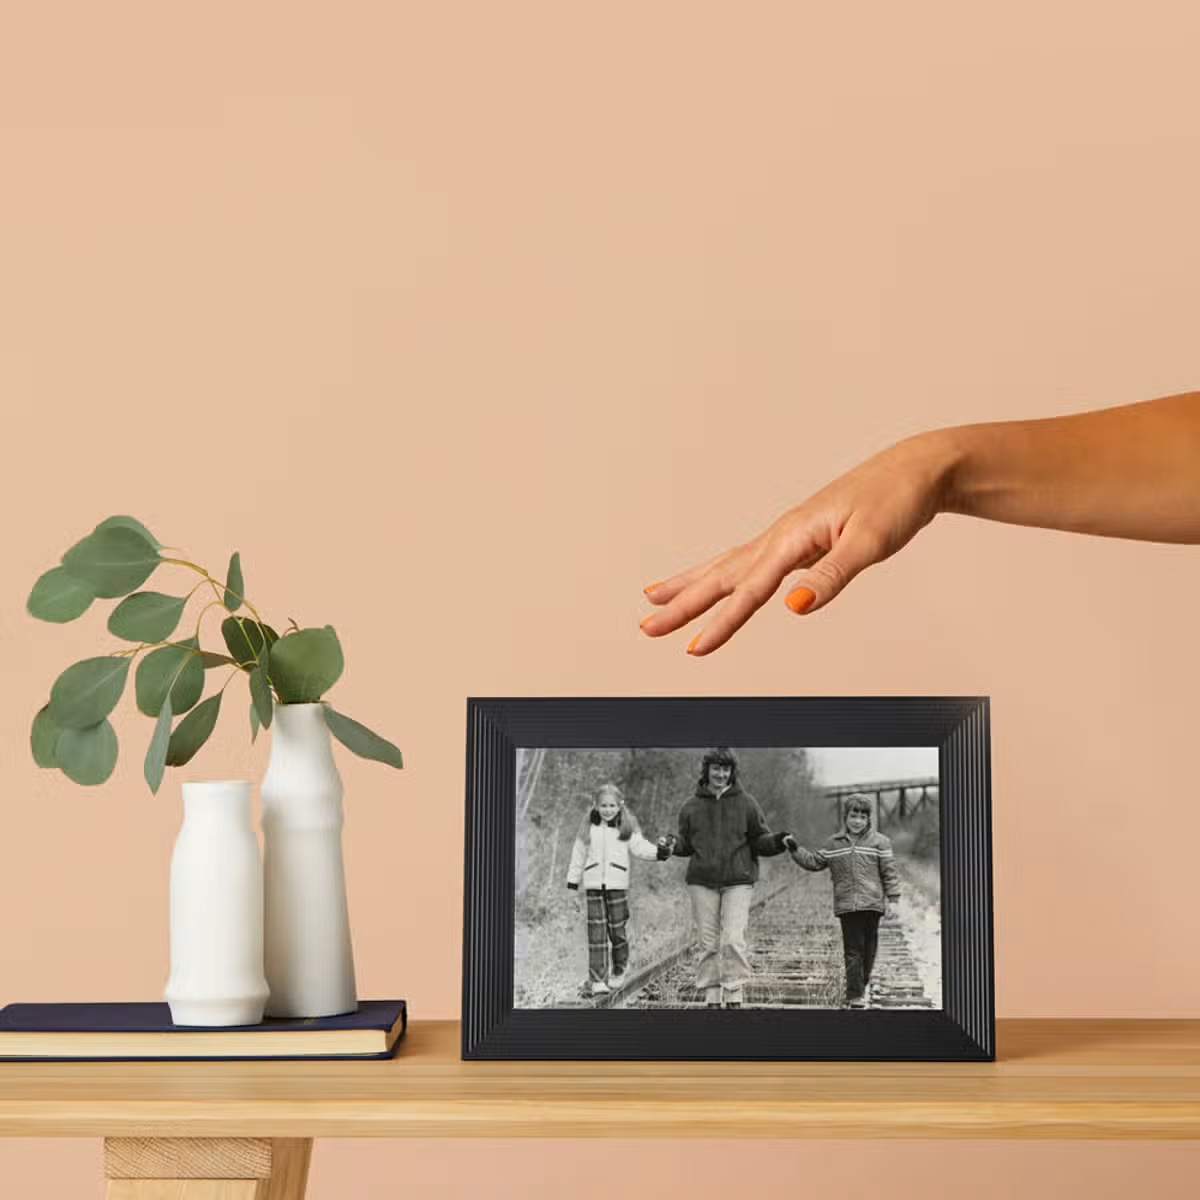
Welcome to our article on how to keep picture frames from tilting. Picture frames are a wonderful way to display cherished memories, artwork, and photographs. However, without proper support and stability, picture frames can often end up tilting or becoming crooked on your wall. This not only looks unsightly but can also be frustrating to constantly readjust.
The good news is that there are a variety of solutions and techniques to keep picture frames securely in place, ensuring they stay level and straight at all times. In this guide, we will walk you through the steps to understand the problem, choose the right hardware, measure and level your frames, and secure them effectively. We’ll also share some additional tips and tricks to help you achieve picture-perfect results.
By following these practical suggestions, you can enjoy your beautifully displayed pictures without the annoyance of constantly needing to adjust their positioning. Let’s dive in and discover how to keep your picture frames stable and straight!
Key Takeaways:
- Choose the right hardware: Select sturdy hanging hooks, wall anchors, and leveling tools to provide a solid foundation for your picture frames, ensuring they stay straight and secure on your walls.
- Take preventative measures: Use adhesive putty, consider weight distribution, and regularly check and adjust your frames to minimize tilting and maintain a visually pleasing display of your cherished memories and artwork.
Read more: How To Keep Picture Frames From Sliding
Understanding the Problem
Before we delve into the solutions, it’s important to understand why picture frames can tilt in the first place. There are several factors that contribute to this issue:
- Uneven walls: Walls can have subtle imperfections that create an uneven surface, making it difficult for picture frames to hang straight.
- Poorly installed hardware: If your picture frames are not properly equipped with sturdy and level hardware, they are more prone to tilting.
- Heavy or oversized frames: Larger frames or those with heavier artwork may put more strain on the hanging hardware, causing them to tilt over time.
- Vibrations or movement: If your picture frames are located in an area prone to vibrations or movement, such as near a door or in a high-traffic area, they may become easily tilted.
- Changes in climate: Extreme temperatures or humidity levels can cause the materials in the frame or the wall itself to expand or contract, leading to tilting.
Recognizing these potential causes will help you address the underlying issues and find the most effective solution for keeping your picture frames level and secure.
Choosing the Right Hardware
The key to preventing picture frames from tilting lies in selecting the right hardware. Here are some essential components to consider:
- Hanging hooks: Opt for sturdy hanging hooks that can support the weight of your frames. Look for hooks specifically designed for picture frames, such as D-rings or sawtooth hangers.
- Wall anchors: If you’re hanging frames on plaster or drywall, it’s important to use wall anchors to provide extra stability. Toggle bolts, plastic anchors, or screw-in anchors are popular choices.
- Picture wire or hanging strips: Depending on the size and weight of your frames, you may need to use picture wire or hanging strips. These provide additional support and help distribute the weight evenly, reducing the risk of tilting.
- Leveling tools: Invest in a good quality level to ensure your frames hang straight. A standard level or laser level will help you accurately position your frames.
When choosing hardware, it’s crucial to consider the weight and size of your frames. Heavier frames may require more heavy-duty hardware, while smaller frames can be adequately supported by lighter options.
It’s also important to thoroughly read and follow the instructions provided with the hardware you purchase. Different hardware may have specific requirements for installation, and following these guidelines will help ensure proper stability for your frames.
By selecting the appropriate hardware, you’re taking a significant step towards keeping your picture frames firmly in place and preventing tilting.
Measuring and Leveling
Proper measuring and leveling are essential to ensure your picture frames hang straight and remain level. Here’s a step-by-step guide to help you through the process:
- Mark the desired position: Use a pencil to mark the spot where you want your frame to hang. Make sure it’s at a suitable height and aligns with your visual preferences.
- Measure and mark the hanging point: Measure the distance between the top of your frame and the hanging point (such as the D-ring or sawtooth hanger). Transfer this measurement to your wall, making a mark at the corresponding height.
- Find the center: Measure the width of your frame and find the center point. Make a vertical mark on the wall where the center of your frame should align.
- Check for level: Place a level on top of your frame or against the wall to ensure it is straight. Adjust the position of your frame as needed until it is perfectly level.
Repeat these steps for each frame you’re hanging, ensuring they are all properly measured and leveled. Taking the time to execute this process accurately will significantly reduce the risk of tilting and provide a visually pleasing display.
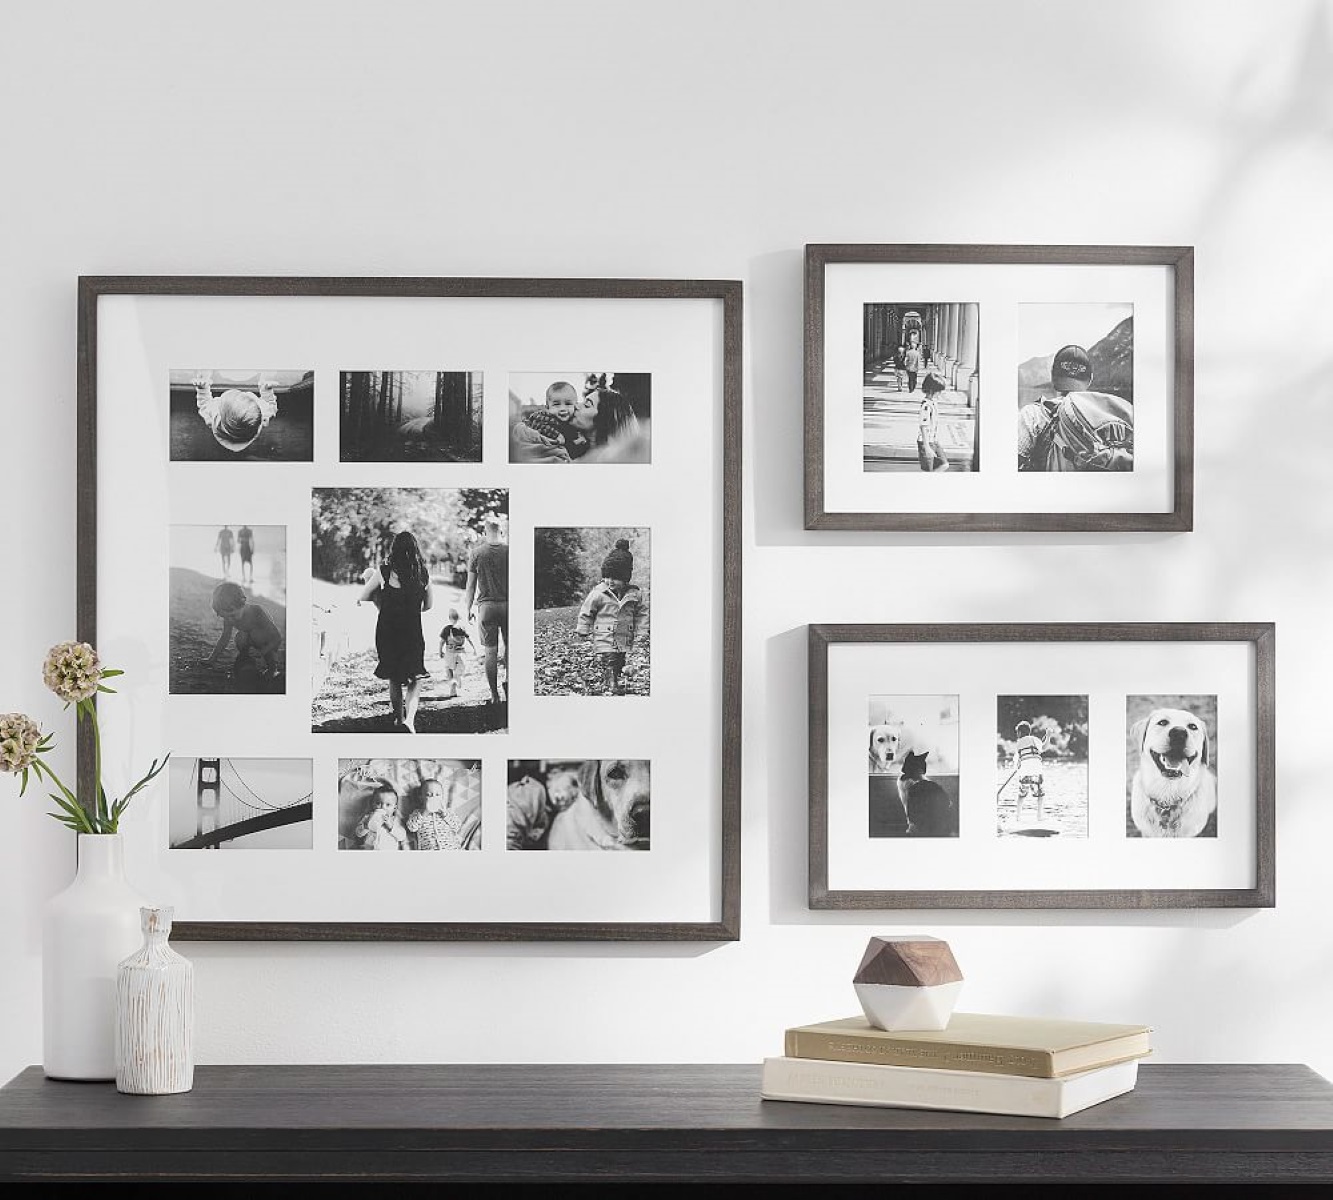
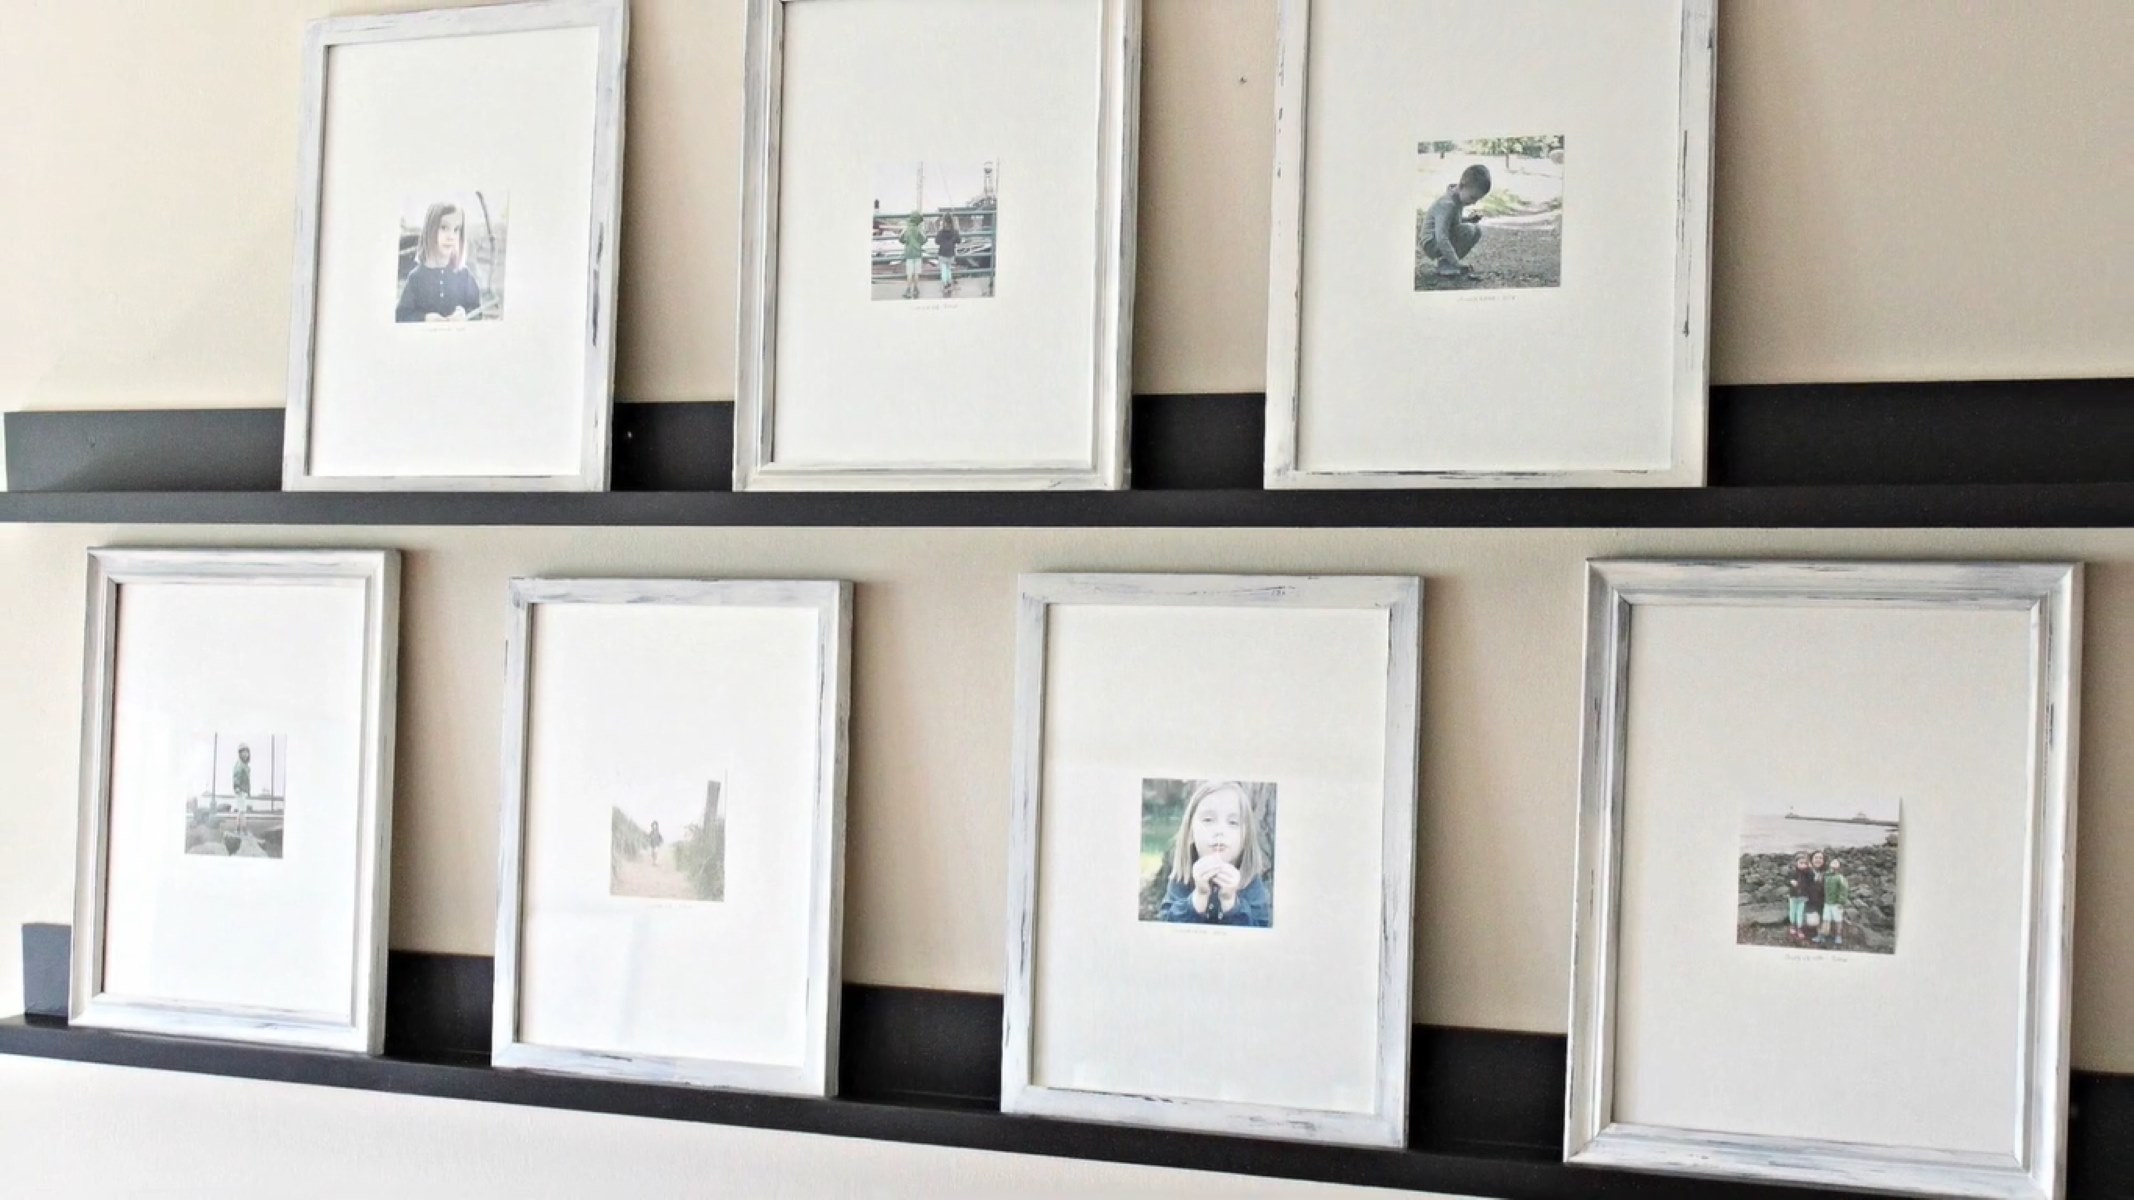
If you’re hanging multiple frames in a gallery-style arrangement, you can use painter’s tape to create a template on the wall. This will help you visualize the layout before committing to hanging the frames, allowing for easy adjustments and ensuring a cohesive display.
Remember, patience is key during the measuring and leveling process. Taking the time to get it right from the start will save you from the frustration of constantly adjusting and readjusting your picture frames.
Use adhesive rubber bumpers on the bottom corners of the frame to create friction and prevent tilting. Adjust the bumpers as needed for stability.
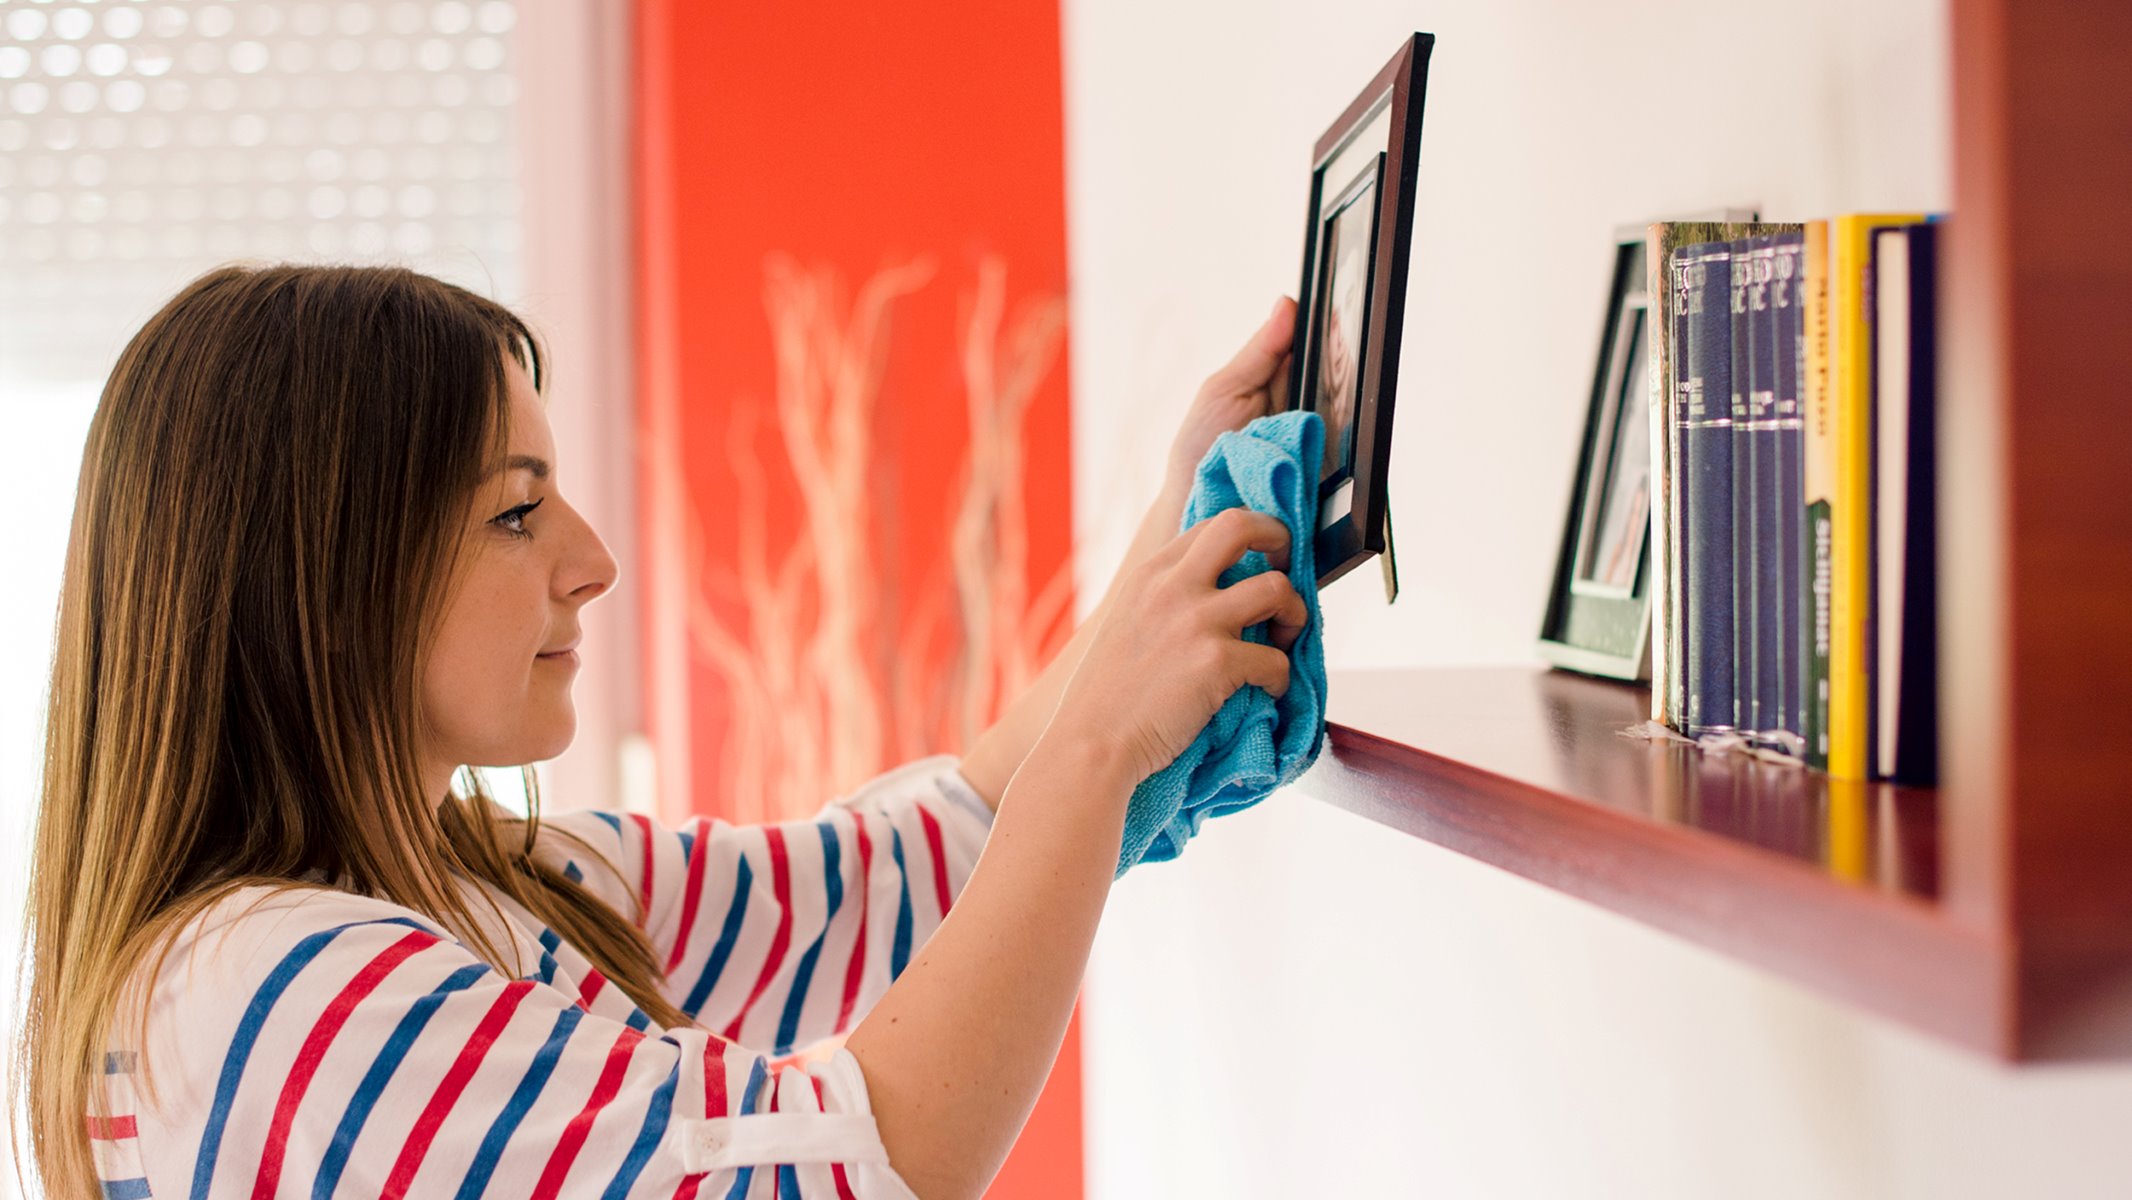
Securing the Picture Frame
Once you have measured, leveled, and marked the positions for your picture frames, it’s time to securely fasten them to the wall. Follow these steps to ensure your frames stay in place:
- Attach hanging hardware: Install the chosen hanging hooks, wall anchors, or picture wire as per the instructions provided with the hardware. Make sure they are firmly attached and aligned with the marked hanging points on your wall.
- Hang the frame: Gently lift your frame and carefully place it on the hanging hardware. Ensure that the frame is securely seated on the hooks or wire, and check for any signs of tilting or instability.
- Test for stability: Give your frame a gentle push to check if it stays in place. If it seems unstable or tilts, readjust the hanging hardware or level the frame, if necessary.
- Double-check leveling: Use a level to verify that your frame is still perfectly straight. If you notice any slight tilting, make small adjustments until it is level.
- Secure with adhesive strips (optional): For added stability, you can use adhesive strips on the bottom corners of the frame. This will minimize any movement caused by vibrations or accidental bumps.
By securely fastening your frames to the wall and double-checking their stability, you can minimize the chance of them tilting or becoming crooked. Regularly inspect the frames to ensure they remain securely in place, especially if any changes occur in the environment or wall conditions.
If you’re uncertain about the installation or feel uncomfortable doing it yourself, don’t hesitate to seek professional help. They will have the expertise to securely hang your frames and ensure they stay level and straight.
Read more: How To Make Picture Frames From Barn Wood
Additional Tips and Tricks
Here are some additional tips and tricks to help you keep your picture frames from tilting:
- Use adhesive putty: If your frames have a tendency to tilt even after using secure hardware, try using adhesive putty on the bottom corners. This will provide extra grip and prevent any movement.
- Consider weight distribution: If you have a group of frames to hang together, pay attention to the weight distribution. Place heavier frames closer to the center and lighter frames towards the edges to maintain balance.
- Use a backing board: For large or heavy frames, consider using a backing board behind the artwork. This will provide additional support and stability.
- Avoid direct sunlight: Excessive sunlight can cause materials to expand and contract, leading to frame tilting. Hang your frames away from direct sunlight or use UV-blocking glass to minimize the impact.
- Regularly check and adjust: Over time, frames may shift due to various factors. Make it a habit to periodically check and adjust the positioning of your frames to keep them level and straight.
Remember that the stability of your picture frames is influenced by several factors, including the quality of your walls, hardware, and environmental conditions. Taking these additional precautions will help you maintain a visually pleasing display that stays level and straight for years to come.
Conclusion
Keeping picture frames from tilting is a common challenge faced by many. However, with the right techniques and tools, you can achieve a stable and straight display that showcases your cherished memories and artwork beautifully.
Understanding the common causes of tilting frames and choosing the appropriate hardware are crucial first steps. By selecting sturdy hanging hooks, wall anchors, and leveling tools, you can ensure a solid foundation for your frames.
Measuring and leveling your frames accurately is key to achieving a visually appealing display. Taking the time to find the right height, centering, and adjusting any tilting will result in a professional-looking arrangement.
Securing your frames with the chosen hardware and occasionally checking for stability is essential. Regular inspections and minor adjustments will prevent constant tilting and keep your frames securely in place.
Additionally, considering additional tips and tricks, such as using adhesive putty or backing boards, will provide extra support and minimize any movement that could lead to tilting.
By following these guidelines and taking preventative measures, you can enjoy your picture-perfect display without the frustration of constantly readjusting tilting frames.
Remember, though, that every household is unique, and different materials and wall conditions may require specific approaches. If you encounter any difficulties or are uncertain about the installation, considering seeking professional assistance.
We hope this article has provided you with valuable insights and practical solutions to keep your picture frames from tilting. Now, go ahead and confidently showcase your artwork and cherished memories on your walls!
Frequently Asked Questions about How To Keep Picture Frames From Tilting
Was this page helpful?
At Storables.com, we guarantee accurate and reliable information. Our content, validated by Expert Board Contributors, is crafted following stringent Editorial Policies. We're committed to providing you with well-researched, expert-backed insights for all your informational needs.


0 thoughts on “How To Keep Picture Frames From Tilting”