Home>Articles>Which Joint Is Commonly Used For Picture Frames?
Articles
Which Joint Is Commonly Used For Picture Frames?
Modified: January 18, 2024
Learn about the commonly used joint for picture frames in this informative article. Discover the best techniques and tips for creating sturdy and visually appealing frames.
(Many of the links in this article redirect to a specific reviewed product. Your purchase of these products through affiliate links helps to generate commission for Storables.com, at no extra cost. Learn more)
Introduction
When it comes to framing pictures and artwork, one important aspect to consider is the type of joint used. A joint is a connection between two or more pieces of material that creates a strong and stable bond. Picture frames require sturdy joints to securely hold the artwork in place and maintain its structural integrity over time.
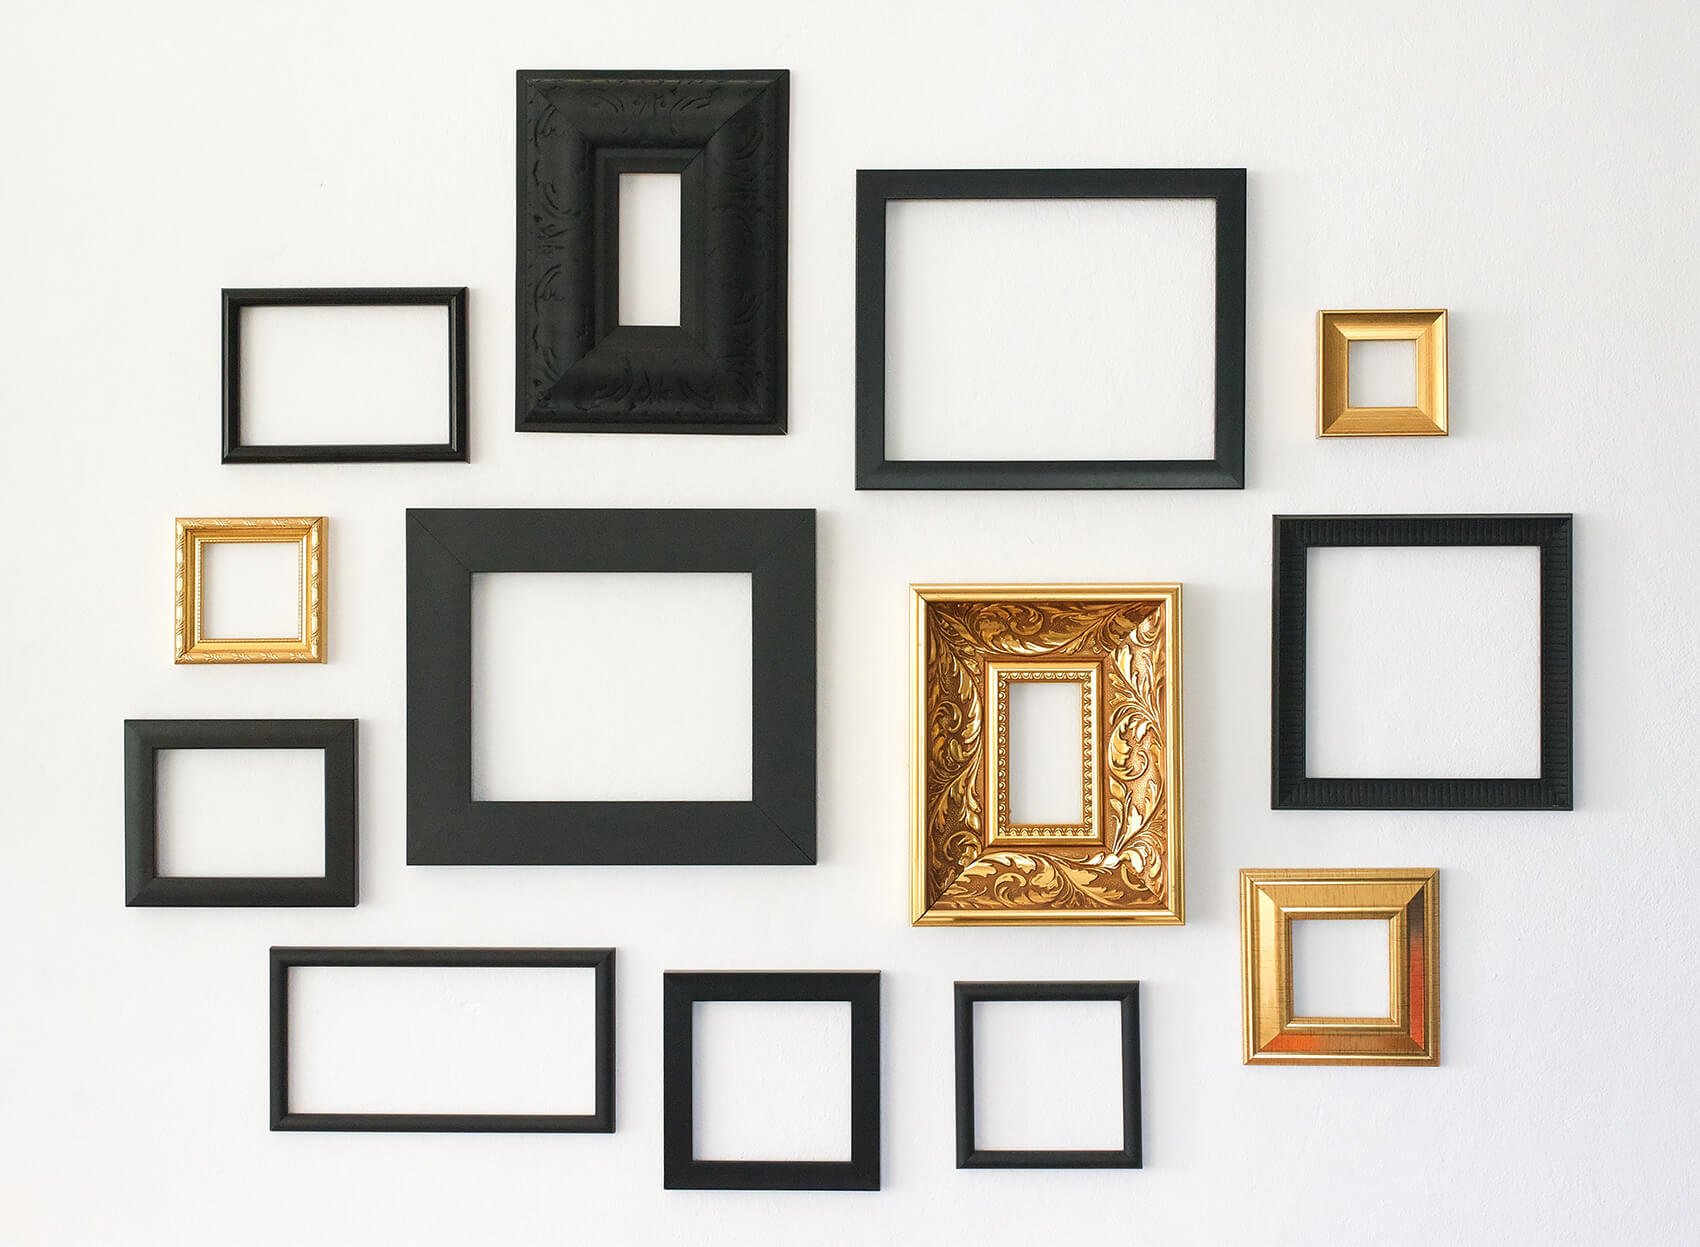
In the world of picture framing, there are several types of joints commonly used. Each joint has its unique characteristics, advantages, and considerations. Understanding the different joint options can help you make an informed decision when choosing a suitable joint for your picture frames.
In this article, we will explore the most commonly used joints in picture frames, including the butt joint, miter joint, rabbet joint, dado joint, and lap joint. We will delve into the details of each joint, discussing its construction, application, and notable features. Let’s dive in and discover which joint is commonly used for picture frames!
Key Takeaways:
- Choose the right joint for your picture frames based on size, weight, and design. Butt joints are simple, miter joints offer a clean look, rabbet joints provide functionality and creativity, dado joints offer stability, and lap joints are versatile.
- Understanding the characteristics and advantages of each joint empowers you to create beautifully crafted frames that showcase your artwork while providing lasting support and protection. Experiment with different joint options to create unique and visually stunning presentations for your artwork.
Butt Joint
The butt joint is one of the simplest and most commonly used joints in picture framing. It involves joining two pieces of material by simply butting the ends together at a 90-degree angle and fastening them with nails, screws, or adhesive.
This joint is relatively easy to construct, making it ideal for beginners or those looking for a quick and straightforward framing solution. However, it is worth noting that the butt joint alone may not provide the strongest connection, especially for larger or heavier frames.
To reinforce the butt joint and improve its strength, additional methods can be employed. One such method is the use of corner brackets or reinforcing plates. These metal plates or brackets can be attached to the inside corners of the frame, providing extra support and stability to the joint.
While the butt joint is commonly used for smaller or lightweight picture frames, it may not be the best choice for larger or more substantial frames that require added strength and stability. In such cases, other joint options like the miter joint or rabbet joint may be more suitable.
Despite its limitations, the butt joint remains a practical choice for simple and small picture frames. When reinforced properly or combined with additional framing methods, it can still provide adequate support for holding the artwork securely in place.
Next, let’s explore the miter joint, another widely used joint in picture framing that offers both strength and visual appeal.
Miter Joint
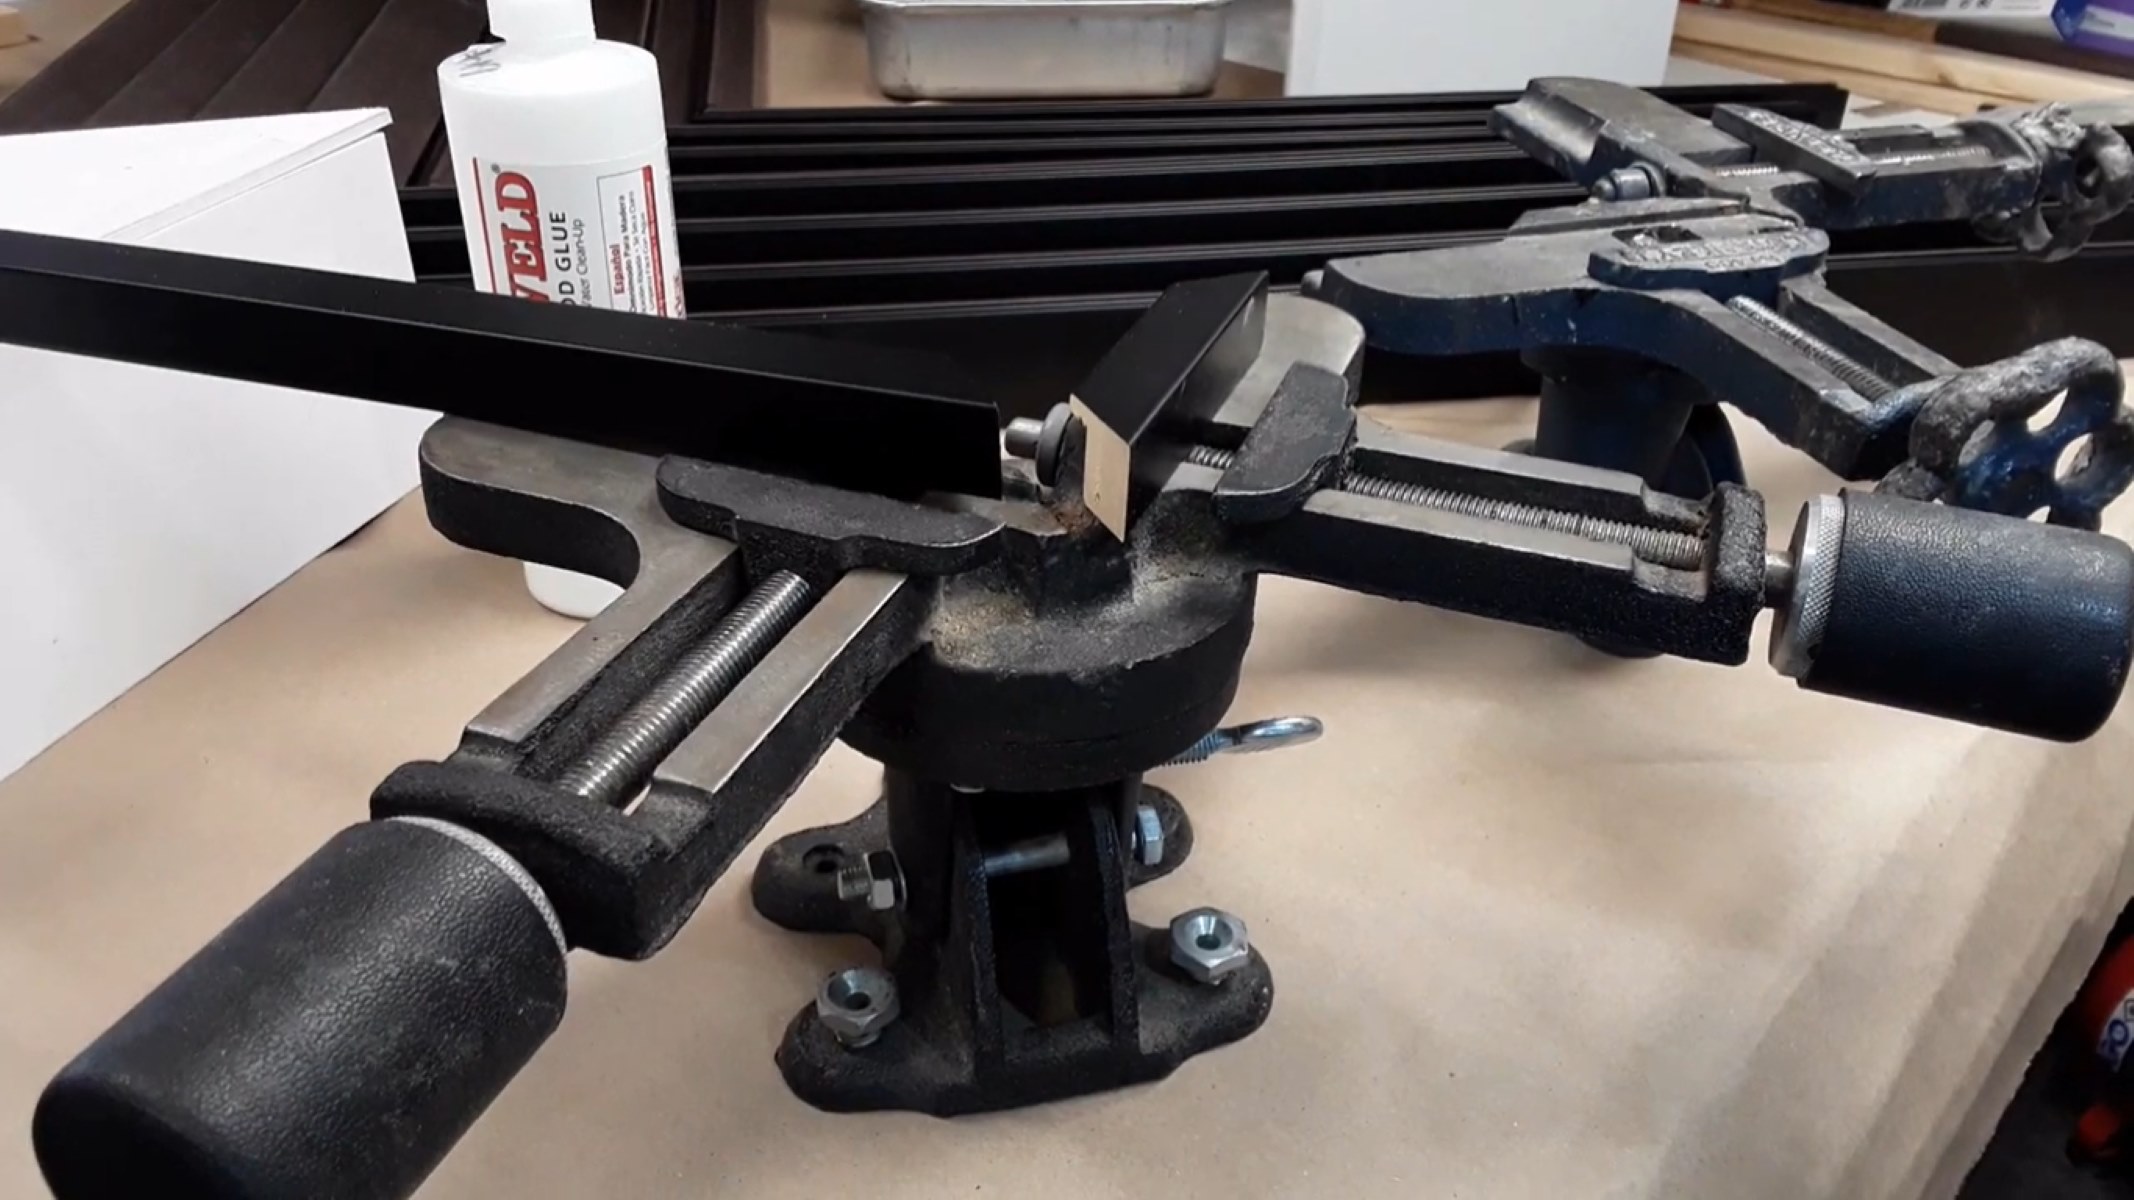
The miter joint is a popular choice for picture frames due to its clean and seamless appearance. It is created by cutting the ends of two frame pieces at a 45-degree angle and joining them together to form a right-angle corner.
What makes the miter joint particularly appealing is the absence of visible end grain, resulting in a smooth, continuous line along the corners of the frame. This creates a polished and professional look, enhancing the overall visual appeal of the artwork.
However, it’s important to note that the miter joint alone may not be the strongest option, especially for larger or heavier frames. To reinforce the joint, additional measures can be taken. One common method is the use of specialized framing glue or adhesive along with the miter cuts, creating a strong bond between the pieces. Another option is the inclusion of a spline, which is a thin strip of wood inserted into a groove cut along the mitered edges for added strength and stability.
When constructing a miter joint, precision is key. The angle of the cut must be exactly 45 degrees, and the pieces must align properly to achieve a seamless connection. The use of a miter saw or a miter box can greatly assist in achieving accurate cuts and ensuring a tight fit.
While the miter joint is commonly used in picture framing, it does require some skill and attention to detail. However, with practice and care, it can produce beautiful and professional-looking frames that showcase artwork elegantly.
Next, let’s explore the rabbet joint, another joint used in picture framing that offers both functionality and aesthetic possibilities.
Rabbet Joint
The rabbet joint is a commonly used joint in picture framing that offers both functionality and aesthetic possibilities. It involves cutting a groove or recess, known as a rabbet, along the inside edge of the frame. This rabbet allows the artwork and any necessary backing materials to fit snugly within the frame.
One of the main advantages of the rabbet joint is its ability to securely hold the contents of the frame in place. By creating a channel for the artwork and backing materials, the risk of shifting or slipping is minimized, ensuring that the artwork remains properly aligned and protected.
In addition to its functional benefits, the rabbet joint also offers creative options for framing design. The depth and width of the rabbet can be customized based on the specific requirements of the artwork and the desired visual effect. This allows for the inclusion of additional elements such as mat boards, spacers, or fillets, which can enhance the overall appearance of the framed piece.
When constructing a rabbet joint, precise measurements and careful craftsmanship are essential. The depth and width of the rabbet must be accurately calculated to accommodate the thickness of the artwork and any necessary backing materials. A table saw or router can be used to create the rabbet, ensuring clean and precise cuts.
To further strengthen the rabbet joint, adhesive or specialized framing glue can be used to secure the frame corners. This adds to the overall stability of the joint and reinforces the connection between the frame pieces.
The rabbet joint is a versatile and reliable option for picture framing projects. Its functional benefits, combined with its design possibilities, make it a popular choice among framers looking to create both secure and visually appealing frames.
Next, let’s explore the dado joint, another joint commonly used for picture frames.
The most commonly used joint for picture frames is the miter joint, where two pieces of wood are cut at a 45-degree angle and joined together to form a 90-degree corner. This joint provides a clean and seamless look for framing artwork or photographs.
Dado Joint
The dado joint is a strong and versatile joint commonly used in picture framing that provides stability and support to the frame. It is created by cutting a groove or channel, known as a dado, into one piece of material and inserting the other piece into it.
One of the main advantages of the dado joint is its ability to create a flush surface between the frame pieces, ensuring a seamless connection. This makes it ideal for frames where a smooth and continuous appearance is desired.
To create a dado joint, precise measurements and careful planning are crucial. The width and depth of the dado must be accurately calculated to accommodate the thickness of the frame material. This can be achieved using a table saw or a router equipped with a dado blade or bit.
Once the dado is cut, the second piece of the frame material is inserted into the groove. This creates a strong and secure bond between the two pieces, ensuring that the frame remains stable and sturdy.
While the dado joint provides excellent structural support, it may not be suitable for all frame designs. Its nature as an inset joint means that it may alter the overall aesthetic of the frame by creating visible gaps or edges in certain designs. It is important to carefully consider the desired finish and appearance before choosing the dado joint for your picture frame.
In addition to its strength and stability, the dado joint can also be enhanced with the use of adhesive or specialized framing glue. Applying glue to the joint prior to inserting the second piece can further reinforce the connection between the frame pieces and provide added durability.
The dado joint is a reliable choice for picture framing, particularly when strength and stability are paramount. Its ability to create a seamless connection between frame pieces makes it a popular option among framers who prioritize both form and function.
Lastly, let’s explore the lap joint, another joint commonly used for picture frames.
Read more: What Color Picture Frames Should I Use
Lap Joint
The lap joint is a versatile and stable joint commonly used in picture framing. It involves overlapping two pieces of frame material, creating a strong and secure connection.
One of the main advantages of the lap joint is its simplicity and ease of construction. It does not require any complicated cutting or specialized tools. The process involves cutting a notch or dado on one piece of the frame material and overlapping it with the other piece.
The lap joint provides a large gluing surface, resulting in a strong bond between the frame pieces. This ensures the stability and durability of the frame, even for larger or heavier artworks.
When constructing a lap joint, precision and attention to detail are important. The depth and width of the notch should be carefully calculated to allow for a snug fit between the two pieces. The use of a table saw or a router can assist in achieving accurate cuts.
In addition to gluing, the lap joint can also be reinforced with the use of screws or nails. These fasteners can further enhance the joint’s strength, particularly for frames that may undergo additional stress or handling.
One consideration when using the lap joint is the visible seam or line created by the overlapping pieces. While this may not be desirable for frames with a seamless appearance, it can be embraced as part of the design for frames that aim for a rustic or industrial aesthetic.
The lap joint offers a reliable and sturdy option for picture framing, particularly when strength and ease of construction are priorities. Its versatility and ability to handle larger or heavier artworks make it a popular choice among framers.
Now that we have explored the commonly used joints in picture framing, it’s important to choose a joint that meets your specific framing requirements and aesthetic vision. Remember to consider factors such as frame size, weight, and design when selecting the appropriate joint.
By understanding the different joint options and their characteristics, you can make informed decisions and create beautifully crafted frames that not only showcase your artwork but also provide lasting support and protection.
Good luck with your picture framing endeavors!
Conclusion
Choosing the right joint for your picture frames is essential to ensure the stability, durability, and aesthetic appeal of your framed artwork. In this article, we have explored several commonly used joints in picture framing, including the butt joint, miter joint, rabbet joint, dado joint, and lap joint.
The butt joint is a simple and easy-to-construct joint that is suitable for smaller or lightweight frames. However, it may not provide the strongest connection on its own and may require additional reinforcement.
The miter joint offers a clean and seamless appearance with its angled cuts, making it a popular choice for picture framing. However, it is important to reinforce the joint for added strength, especially for larger or heavier frames.
The rabbet joint provides both functionality and creative possibilities. By creating a recessed groove, it securely holds the artwork and backing materials while allowing for customization and visual enhancements.
The dado joint, an inset groove joint, offers strength and stability with its flush surface connection. Careful precision is required in its construction to ensure a tight fit and a strong bond between the frame pieces.
The lap joint, with its overlapping pieces, provides versatility, ease of construction, and a large gluing surface for a reliable and sturdy connection. It is a particularly suitable choice for larger or heavier artworks.
Ultimately, the choice of joint depends on various factors such as frame size, weight, design, and aesthetic preferences. It is important to consider the specific requirements of your artwork and select the joint that best meets those needs.
By understanding the characteristics and advantages of each joint, you can make informed decisions and create beautifully crafted frames that not only showcase your artwork but also provide lasting support and protection.
Remember to pay attention to precision, craftsmanship, and reinforcement when constructing your frames. And don’t be afraid to experiment with different joint options to create unique and visually stunning presentations for your artwork.
With this knowledge and newfound expertise in picture frame joints, you are well-equipped to embark on your framing projects with confidence and creativity. Happy framing!
Frequently Asked Questions about Which Joint Is Commonly Used For Picture Frames?
Was this page helpful?
At Storables.com, we guarantee accurate and reliable information. Our content, validated by Expert Board Contributors, is crafted following stringent Editorial Policies. We're committed to providing you with well-researched, expert-backed insights for all your informational needs.


0 thoughts on “Which Joint Is Commonly Used For Picture Frames?”