Articles
How To Lay Down Carpet
Modified: October 20, 2024
Learn all the tips and techniques for laying down carpet with our informative articles. Get expert advice on carpet installation and make your home look beautiful.
(Many of the links in this article redirect to a specific reviewed product. Your purchase of these products through affiliate links helps to generate commission for Storables.com, at no extra cost. Learn more)
Introduction
When it comes to adding warmth and comfort to a room, nothing beats the soft underfoot feel of a carpet. Whether you’re renovating your home or simply looking to update a tired-looking floor, laying down carpet can instantly transform a space. While it may seem like a daunting task, with the right tools and a step-by-step approach, you can achieve professional-looking results.
In this article, we will guide you through the process of laying down carpet, from gathering the necessary tools and materials to trimming and finishing the edges. By following these steps, you’ll be able to create a cozy and inviting atmosphere in any room. So, let’s dive in and get started on this exciting project!
Key Takeaways:
- Transform any room with a cozy and inviting atmosphere by following these step-by-step instructions for laying down carpet. Achieve professional-looking results with the right tools and materials.
- Ensure a durable and long-lasting carpet installation by properly preparing the floor, measuring and cutting the carpet, and finishing with regular cleaning and maintenance. Enjoy a comfortable and stylish space for years to come.
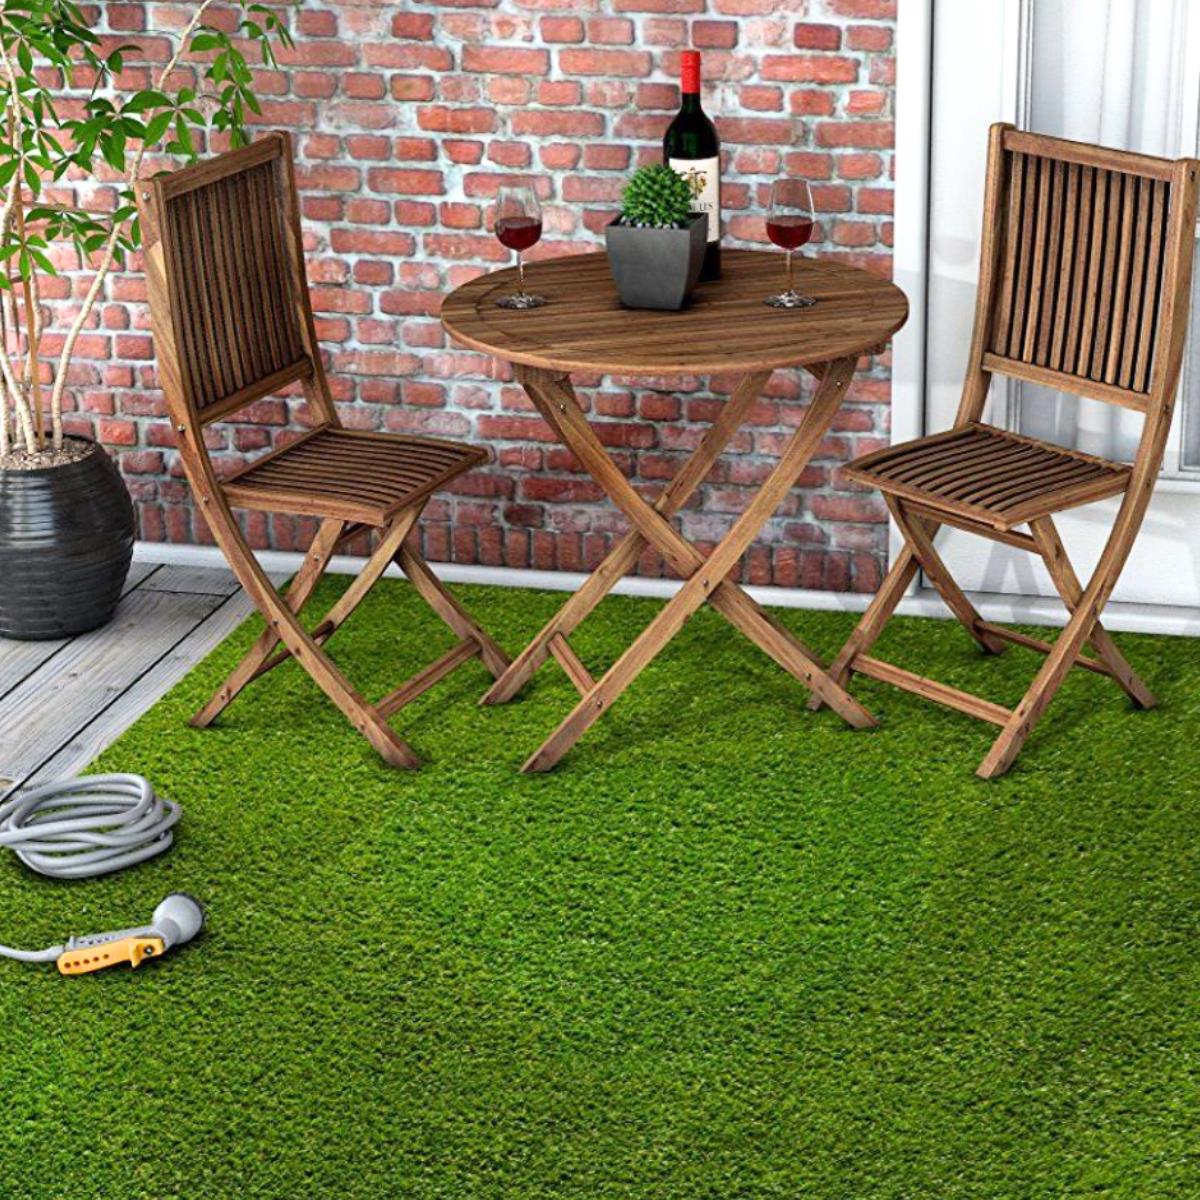
Read more: How To Lay Fake Grass Down
Step 1: Gather the necessary tools and materials
Before you begin laying down carpet, it’s important to gather all the tools and materials you’ll need. Having everything prepared beforehand will save you time and ensure a smooth installation process. Here’s a list of the essentials:
- Carpet – Measure the area where you plan to lay the carpet and purchase enough to cover that space. Consider buying a little extra to account for any mistakes or future repairs.
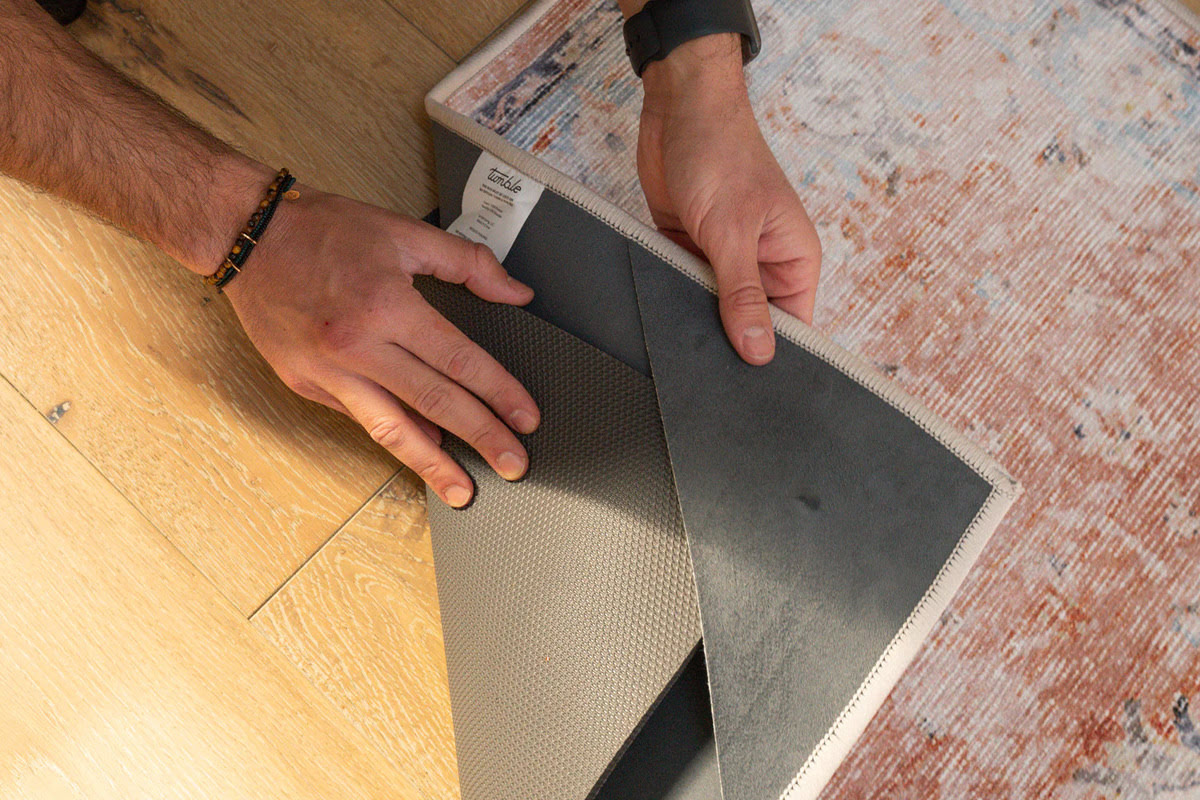
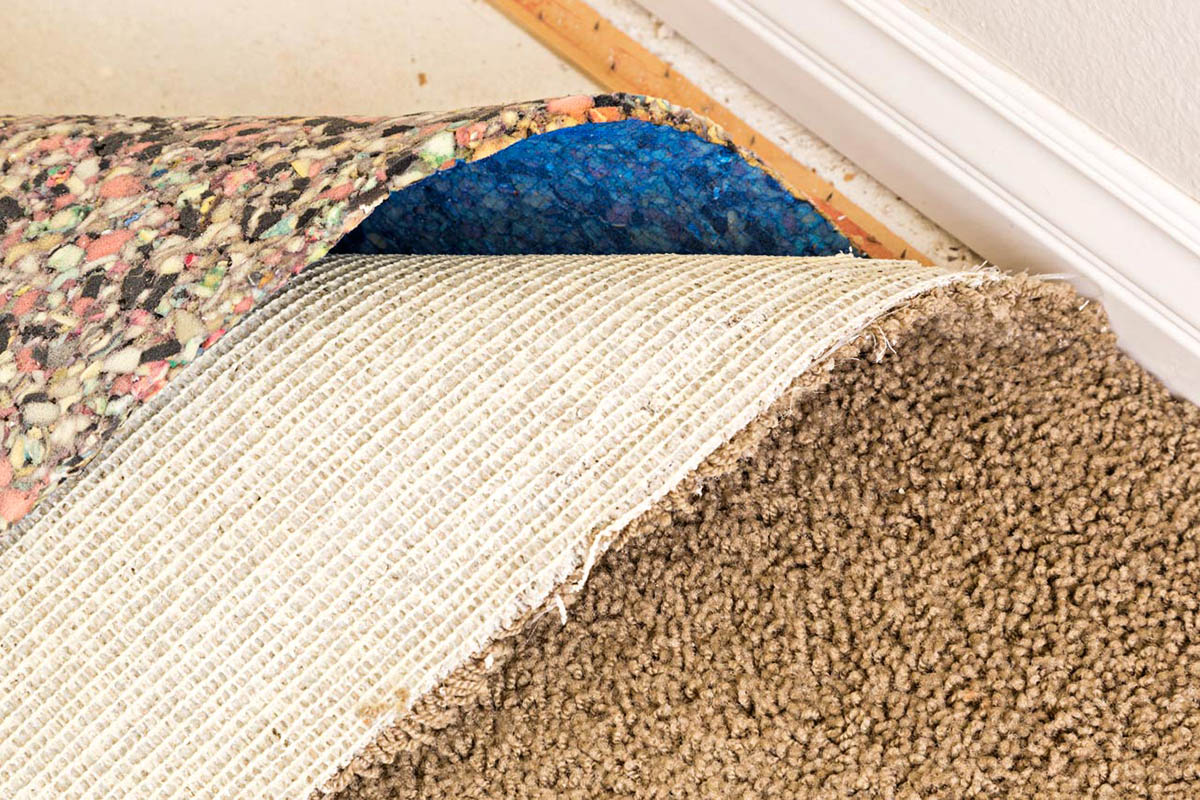
- Carpet padding – This provides cushioning and support for the carpet and helps to prolong its lifespan. Choose a padding that’s appropriate for the type of carpet you have.
- Carpet adhesive or double-sided carpet tape – Depending on the type of carpet and the surface you’re installing it on, you’ll need either adhesive or tape to secure the carpet in place.
- Knee kicker – This tool is used to stretch the carpet and achieve a tight fit along the edges.
- Carpet stretcher – For larger areas, a carpet stretcher is necessary to ensure the carpet is properly stretched and secured.
- Utility knife – You’ll need a sharp utility knife to cut the carpet to size.
- Measuring tape – Accurate measurements are crucial in determining the amount of carpet you’ll need and ensuring a proper fit.
- Tackless strips – These strips are used along the edges of the room to hold the carpet in place.
- Hammer – A hammer is needed to secure the tackless strips to the floor.
- Safety goggles and knee pads – Protect your eyes and knees during the installation process.
- Vacuum cleaner – Before laying down the new carpet, thoroughly clean the subfloor to ensure a smooth surface.
Once you have gathered all the necessary tools and materials, you’ll be well-prepared to move on to the next step: preparing the floor.
Step 2: Prepare the floor
Properly preparing the floor is essential for a successful carpet installation. Before laying down the carpet, you’ll need to ensure that the subfloor is clean, smooth, and free of any debris. Follow these steps to prepare the floor:
- Remove the old flooring: If there is existing flooring in the room, such as hardwood, vinyl, or laminate, you’ll need to remove it before installing the carpet. Use a pry bar or a floor scraper to carefully lift and remove the old flooring material.
- Clean the subfloor: Once you’ve removed the old flooring, thoroughly clean the subfloor. Use a vacuum cleaner to remove any dust, dirt, or loose particles. Pay special attention to corners and edges.
- Repair any damages: Inspect the subfloor for any damages, such as cracks or uneven areas. Fill in any holes or cracks with a floor leveling compound and use a sander to smooth out any rough spots. A level subfloor will ensure a uniform carpet installation.
- Check for squeaky floorboards: If you notice any squeaky floorboards, secure them by driving screws into the subfloor. This will help eliminate any noise once the carpet is installed.
- Install tackless strips: Measure and cut the tackless strips to fit along the perimeter of the room. Make sure the strips are positioned approximately 0.5 inches away from the wall. Secure the strips to the floor using a hammer and nails.
By taking the time to properly prepare the floor, you’ll ensure that the carpet installation goes smoothly and the end result is a durable and long-lasting carpet. Once the floor is ready, it’s time to move on to the next step: measuring and cutting the carpet.
Step 3: Measure and cut the carpet
Accurate measurements and precise cutting are crucial to a seamless carpet installation. Before you start, make sure you have all the necessary tools on hand, including a measuring tape, straight edge, and a sharp utility knife. Follow these steps to measure and cut the carpet:
- Measure the room: Start by measuring the length and width of the room. It’s important to measure at the longest and widest points, as rooms are often not perfectly square. Add a few extra inches to each measurement to ensure you have enough carpet to work with.
- Mark the carpet: Unroll the carpet and lay it flat with the backing side up. Use a marker or chalk to mark the dimensions of the room on the carpet’s backing. Make sure the markings are clear and easily visible.
- Cut the carpet: Using a straight edge as a guide, carefully score the backing of the carpet along the marked lines. Take your time to ensure clean and straight cuts. Once the backing is scored, fold the carpet over and use the utility knife to cut through the carpet fibers.
- Trim excess carpet: After cutting the carpet to size, check the fit in the room. It’s normal to have some excess carpet along the walls. Use the utility knife to trim away any excess, making sure to leave a small overlap that can be tucked under the baseboards.
It’s always a good idea to double-check your measurements and make any necessary adjustments before making any cuts. Remember, it’s easier to trim away excess carpet than it is to add more.
Once you’ve measured and cut the carpet, you’re ready to move on to the next step: applying the carpet adhesive or tape.
Step 4: Apply the carpet adhesive
Depending on the type of carpet you are installing, you will either use carpet adhesive or double-sided carpet tape to secure the carpet in place. Follow these steps to apply the adhesive:
- Prepare the adhesive: Read the instructions on the carpet adhesive packaging carefully and prepare the adhesive according to the manufacturer’s recommendations. Some adhesives may require mixing or dilution.
- Apply the adhesive: Starting from one corner of the room, use a trowel or a notched spreader to apply the adhesive onto the subfloor. Spread the adhesive evenly and consistently. Avoid applying excess adhesive, as it can seep through the carpet fibers and create a messy appearance.
- Place the carpet: Carefully roll the carpet back into place, starting from the corner where you applied the adhesive. Press down firmly to ensure the carpet adheres to the adhesive. Use a carpet roller or a rolling pin to roll the carpet and eliminate any air bubbles or creases.
- Repeat the process: Continue applying the adhesive and laying the carpet section by section, working your way across the room. Take your time to ensure that each section is properly aligned and fitted.
If you are using double-sided carpet tape instead of adhesive, the process is similar. Simply remove the backing of the tape and apply it to the subfloor along the edges and seams of the carpet. Press down firmly to ensure a secure bond. Repeat this process throughout the room, ensuring that the tape is placed near the edges and in the center of each section of the carpet.
Remember to work in small sections to avoid the adhesive or tape drying out before you have a chance to lay the carpet. Once you have applied the adhesive or tape and laid down the carpet, you’re ready to move on to the next step: laying down the carpet.
Before laying down carpet, make sure to properly prepare the subfloor by removing any debris, smoothing out any imperfections, and applying a moisture barrier if necessary. This will ensure a smooth and long-lasting installation.
Read more: How To Lay A Carpet Pad
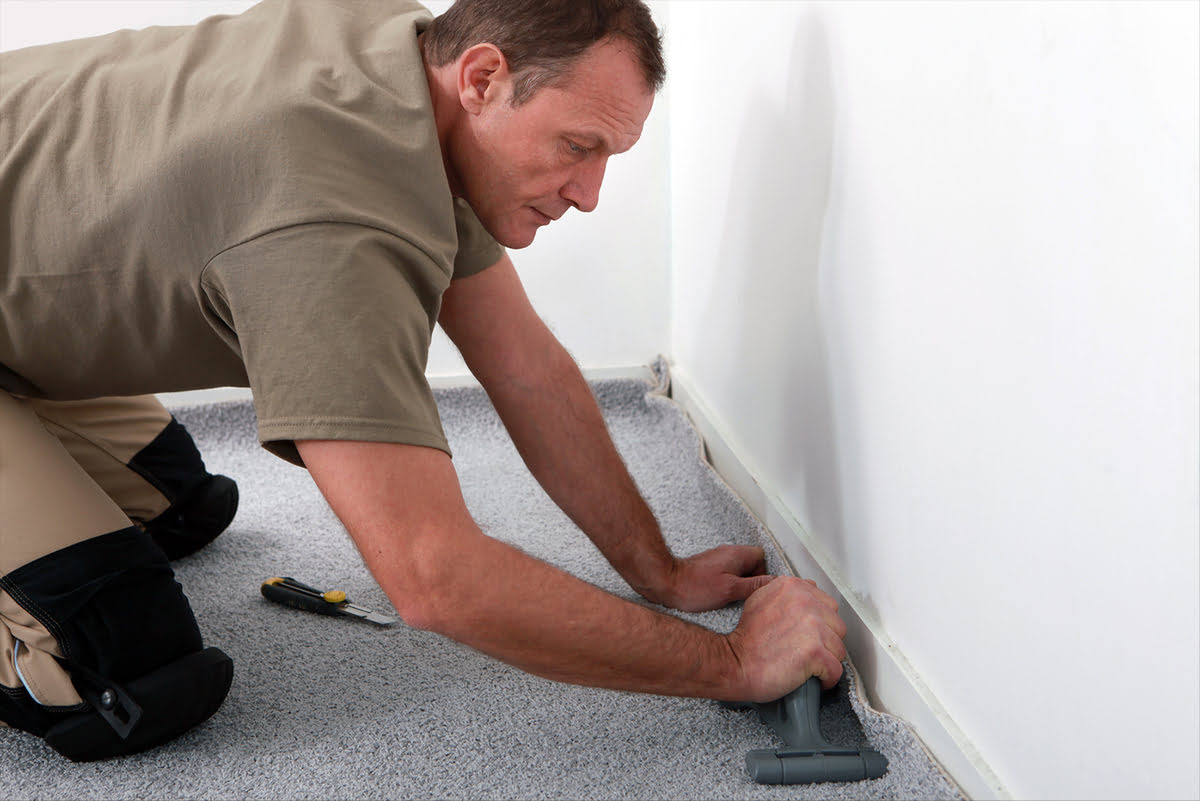
Step 5: Lay down the carpet
Now that the adhesive or tape has been applied, it’s time to lay down the carpet. Follow these steps to ensure a smooth and professional installation:
- Align the carpet: Starting from one corner of the room, carefully unroll the carpet, keeping it aligned with the walls and the edges of the room. Make sure the carpet covers the entire floor area.
- Stretch the carpet: Use a knee kicker to stretch the carpet along the edges of the room. Place the knee kicker about 3 inches from the wall and push down with your knee to attach the carpet to the tackless strips.
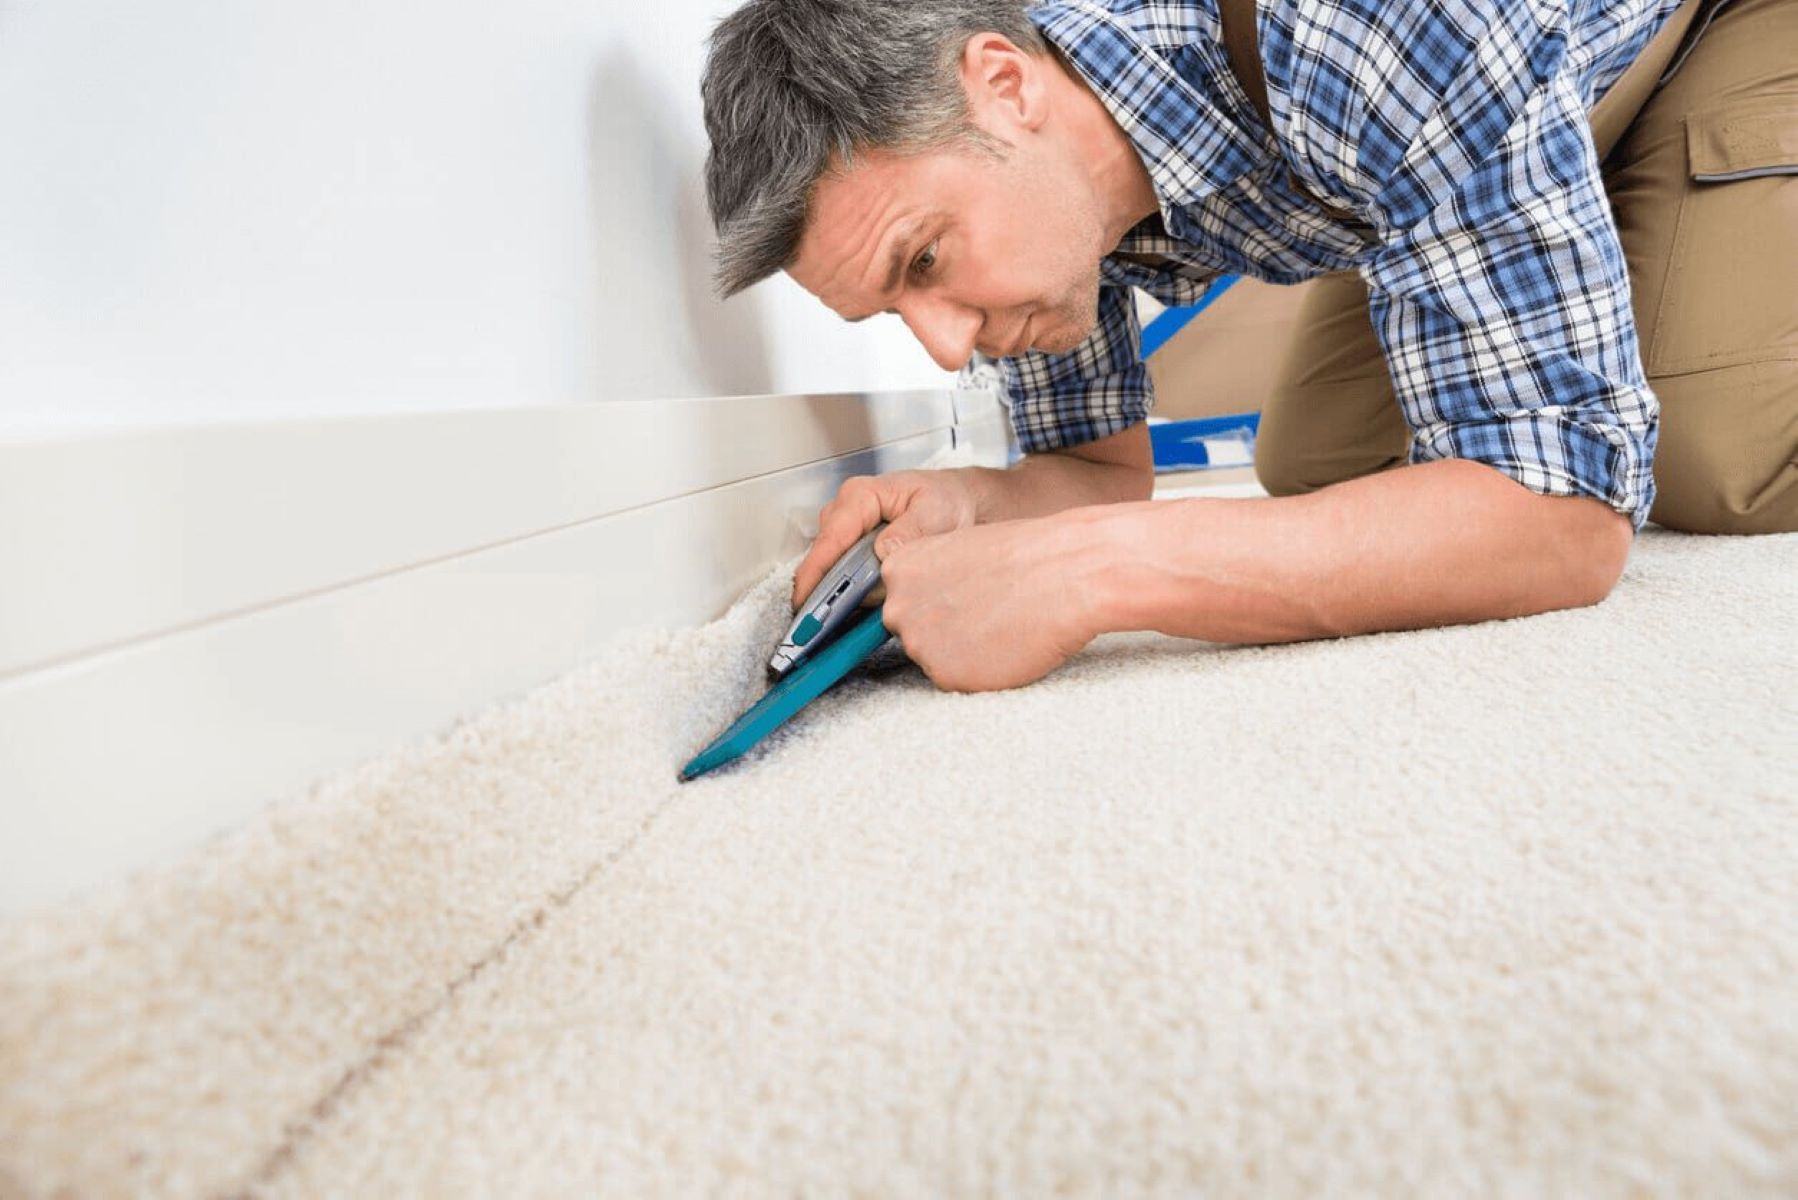
- Trim excess carpet: As you stretch the carpet, you may notice excess material along the edges. Use a straight edge and a utility knife to trim away any excess carpet, ensuring a neat and seamless finish.
- Smooth out wrinkles: As you continue to lay down the carpet, use a carpet stretcher to remove any wrinkles or creases. This will help achieve a flat and even surface. Stretch the carpet into place and secure it to the tackless strips.
- Ensure proper alignment: As you progress across the room, make sure the carpet is properly aligned with the walls and any seams are smooth and nearly invisible. Use a carpet roller or a rolling pin to press down on the seams and ensure a secure bond.
Take your time and work carefully to ensure the carpet is properly stretched and aligned. Regularly step back and assess the overall appearance to make sure everything looks even and symmetrical. Once you have laid down the carpet, it’s time to move on to the next step: trimming and finishing the edges.
Step 6: Trim and finish the edges
Trimming and finishing the edges of the carpet is the final step in achieving a polished and professional look. Follow these steps to ensure clean and seamless edges:
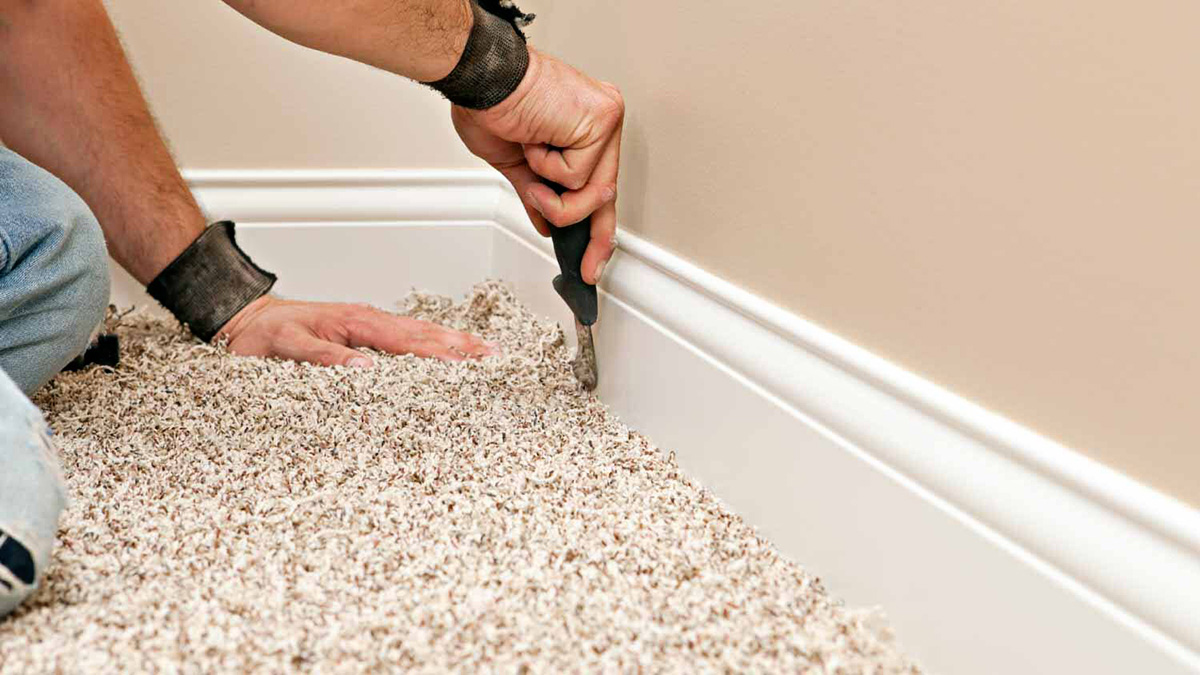
- Trim excess carpet: Use a straight edge and a sharp utility knife to trim away any excess carpet along the edges of the room. Make sure to leave a small overlap that can be tucked under the baseboards or floor trim.
- Tuck the carpet: With the excess trimmed, use a putty knife or a carpet tucker to neatly tuck the edges of the carpet between the baseboards and the tackless strips. Use gentle pressure and work your way around the room.
- Trim around doorways: To create a clean and seamless transition around doorways, make diagonal cuts at the corners of the doorway and tuck the carpet edges under the door frame. Use a carpet trimmer or a utility knife to make precise cuts.
- Secure the edges: If desired, use carpet trim or transition strips to secure the edges of the carpet and provide a finished look. These can be installed with adhesive or nails, depending on the type of trim or strip.
Take your time and ensure that the edges are neatly trimmed and tucked. This will give your carpet installation a professional appearance and prevent any tripping hazards or frayed edges.
Once you have trimmed and finished the edges, take a moment to step back and admire your newly installed carpet. It’s now time to move on to the final step: cleaning and maintaining the carpet.
Step 7: Clean and maintain the carpet
Once you have successfully installed your new carpet, it’s important to establish a regular cleaning and maintenance routine to keep it looking fresh and extend its lifespan. Follow these tips to effectively clean and maintain your carpet:
- Vacuum regularly: Regular vacuuming is essential to remove dirt, dust, and debris that can accumulate in the carpet fibers. Aim to vacuum high-traffic areas at least once a week, and other areas every one to two weeks.
- Address spills and stains promptly: Accidents happen, so it’s important to address spills and stains as soon as possible. Blot the area with a clean cloth or paper towel to absorb the liquid, and then treat the stain with a carpet stain remover according to the manufacturer’s instructions.
- Protect against furniture marks: To prevent furniture marks from forming on your carpet, use furniture pads or coasters under the legs of heavy furniture. This will distribute the weight and minimize indentations.
- Rotate furniture: To prevent uneven wear and tear, periodically rearrange your furniture to shift the weight and traffic patterns on the carpet. This will help maintain a more uniform appearance over time.
- Professional cleaning: While regular vacuuming and spot cleaning are important, it’s also recommended to have your carpet professionally cleaned every 12 to 18 months. Professional cleaning will remove deeper dirt and grime and revitalize the carpet fibers.
- Protect against sunlight: If your carpet is exposed to direct sunlight, use window coverings, such as curtains or blinds, to protect against fading and damage from UV rays.
- Regular maintenance: Keep an eye out for loose seams, snags, or any signs of damage. Repair or restore these issues promptly to prevent further deterioration.
By following these cleaning and maintenance practices, you can keep your carpet looking its best for years to come. A well-maintained carpet not only enhances the aesthetic appeal of your space but also provides a comfortable and cozy environment for you and your family to enjoy.
With the completion of these steps, you have successfully laid down and finished your carpet installation. Congratulations! Now, sit back, relax, and enjoy your newly transformed space.
Conclusion
Laying down carpet may initially seem like a complex and overwhelming task, but with the right tools, materials, and step-by-step approach, it can be easily accomplished. By following the detailed steps outlined in this article, you can achieve a professional-looking carpet installation that adds warmth, comfort, and style to any room.
From gathering the necessary tools and materials to preparing the floor, measuring and cutting the carpet, applying the adhesive, laying down the carpet, and finally trimming and finishing the edges, each step plays a crucial role in creating a seamless and durable result.
Remember to take your time throughout the process, ensuring proper measurements, alignment, and stretching of the carpet. Attention to detail and a meticulous approach will ensure a smooth and precise installation.
Once the carpet is laid down and the edges are trimmed and finished, it’s important to establish a regular cleaning and maintenance routine to keep your carpet looking its best. Regular vacuuming, prompt stain treatment, and periodic professional cleaning are essential to preserving the appearance and prolonging the lifespan of your carpet.
Laying down carpet is a rewarding project that can transform the look and feel of your space. Whether you’re updating a single room or renovating your entire home, following these steps will help you achieve a beautiful and comfortable flooring solution that you can enjoy for years to come.
So, roll up your sleeves, gather your tools, and get ready to take on the exciting and fulfilling task of laying down carpet!
Frequently Asked Questions about How To Lay Down Carpet
Was this page helpful?
At Storables.com, we guarantee accurate and reliable information. Our content, validated by Expert Board Contributors, is crafted following stringent Editorial Policies. We're committed to providing you with well-researched, expert-backed insights for all your informational needs.