Home>Garden Essentials>How To Tack Down Grass Carpet On Patio
Garden Essentials
How To Tack Down Grass Carpet On Patio
Modified: September 1, 2024
Learn how to easily tack down a grass carpet on your patio and transform it into a beautiful garden space. Follow our step-by-step guide today!
(Many of the links in this article redirect to a specific reviewed product. Your purchase of these products through affiliate links helps to generate commission for Storables.com, at no extra cost. Learn more)
Introduction
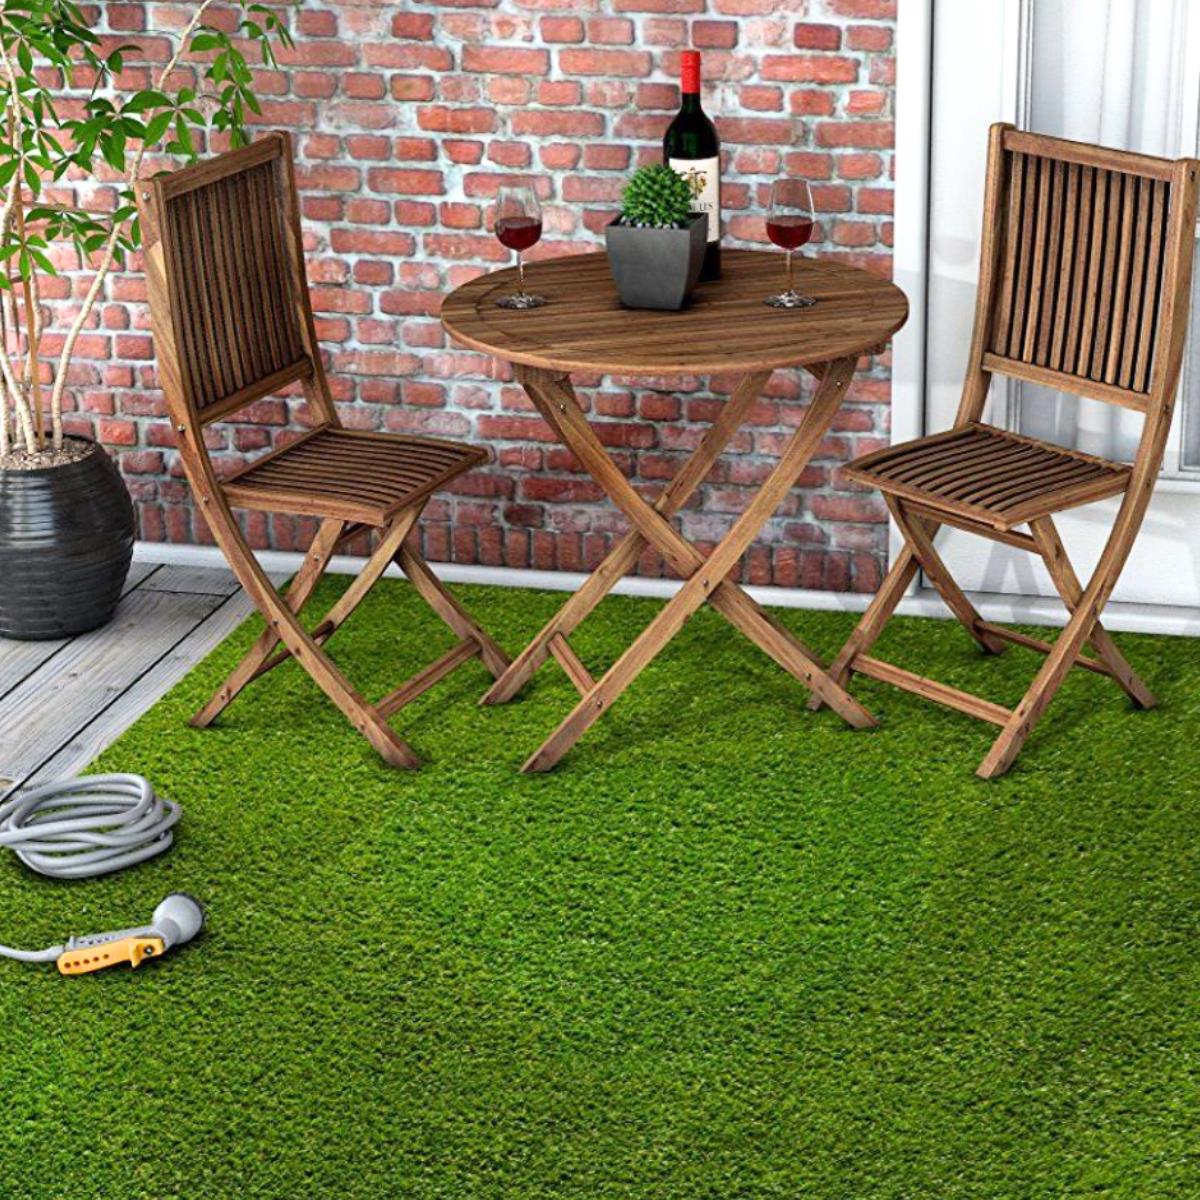
Welcome to the world of garden design and landscaping! If you have a patio that needs a fresh look, adding a grass carpet can be a wonderful way to bring the beauty of nature into your outdoor space. Whether you want to create a cozy nook for relaxation or a vibrant area for entertaining, laying down a grass carpet can transform your patio into a lush oasis.
In this article, we will guide you through the process of tackling down a grass carpet on your patio, ensuring a durable and visually appealing installation. We will cover each step in detail, from preparing the patio surface to securing the edges and adding finishing touches.
So, grab your gardening gloves and let’s dive into this exciting project!
Key Takeaways:
- Prepare your patio by cleaning, repairing, and applying a primer or sealer before laying down a grass carpet. This sets the stage for a durable and visually appealing installation.
- After securing the grass carpet, add finishing touches like decorative elements and outdoor lighting to create a welcoming and inviting patio space. Regular maintenance will keep it looking fresh and vibrant.
Read more: How To Tack Carpet Back Down
Step 1: Prepare the Patio
Before you start laying down the grass carpet, it’s important to properly prepare the patio surface. This will ensure a smooth and even installation, as well as provide a solid foundation for the carpet.
First, clear the patio of any furniture, plants, or debris. Give it a good sweep to remove dirt, leaves, and other loose particles. If you have any weeds or unwanted vegetation, make sure to pull them out or treat the area with a weed killer.
Next, inspect the patio for any cracks, uneven areas, or gaps. If you notice any issues, it’s recommended to repair or fill them to create a level surface. Use a suitable filler or patching compound, following the manufacturer’s instructions, and allow it to dry completely.
Once the surface is clean and repaired, consider applying a primer or sealer. This will help improve adhesion and create a barrier between the patio surface and the grass carpet. Follow the product instructions on how to apply the primer or sealer, and allow it to dry thoroughly.
Lastly, check the drainage of your patio. Make sure it slopes away from your house to prevent water from pooling or seeping into your property. If needed, adjust the slope by adding or removing soil. This will help maintain the integrity of your grass carpet, as excessive moisture can cause damage or hinder its growth.
By properly preparing the patio, you’ll create an optimal environment for your grass carpet, ensuring its longevity and beauty for years to come.
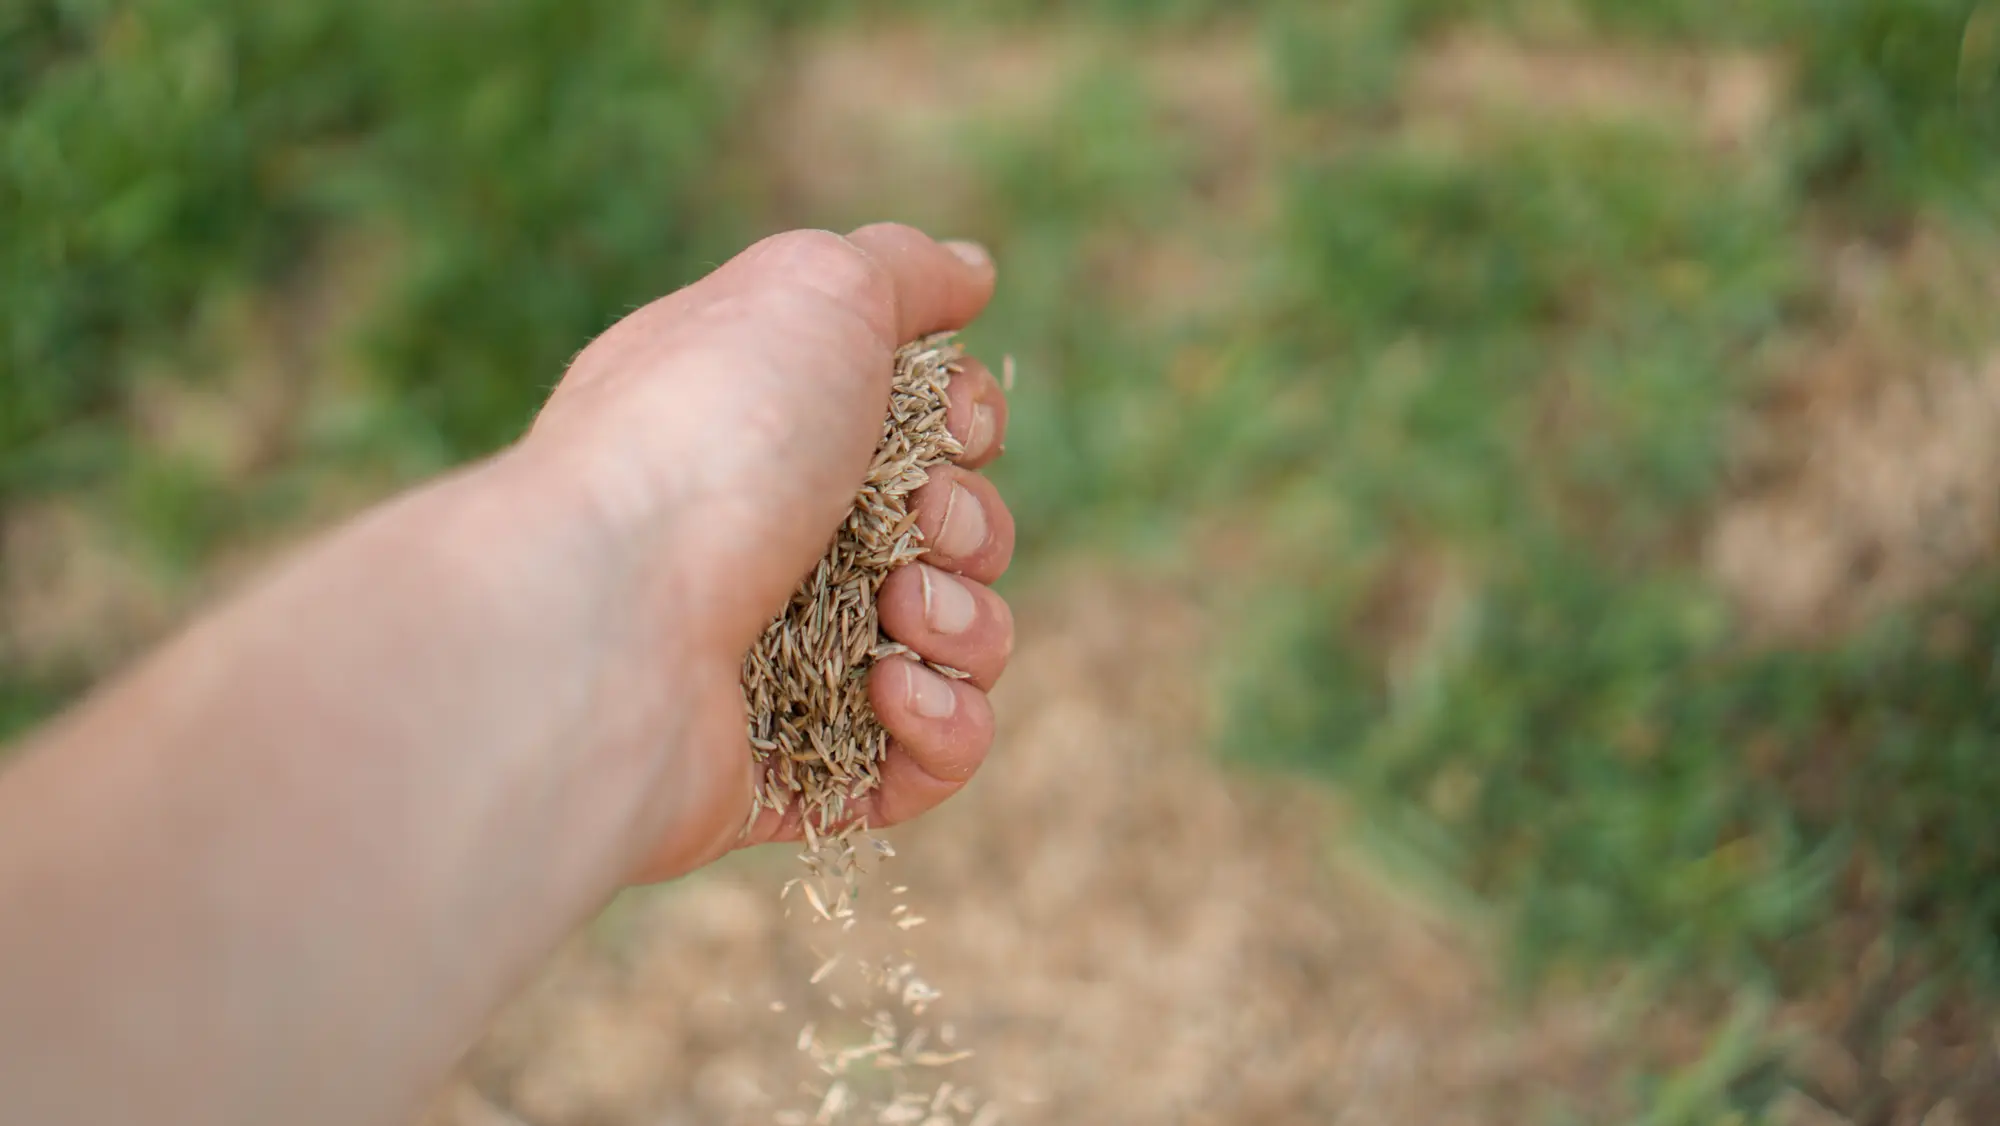
Step 2: Measure and Cut the Grass Carpet
Now that your patio is prepared, it’s time to measure and cut the grass carpet to fit the area perfectly. This step is crucial in achieving a professional-looking installation.
Start by measuring the dimensions of your patio using a measuring tape. Take accurate measurements of the length and width, and make note of any irregular shapes or obstacles that need to be accommodated.
When you have the measurements, transfer them onto the back of the grass carpet using a marker or chalk. Use a straightedge or a long, straight board to ensure clean and precise lines.
Before cutting, consider the direction in which you want the grass fibers to run. This will affect the overall appearance of the carpet. Most people choose to have the fibers run towards the viewing area or perpendicular to the longest edge of the patio, but it’s ultimately a personal preference.
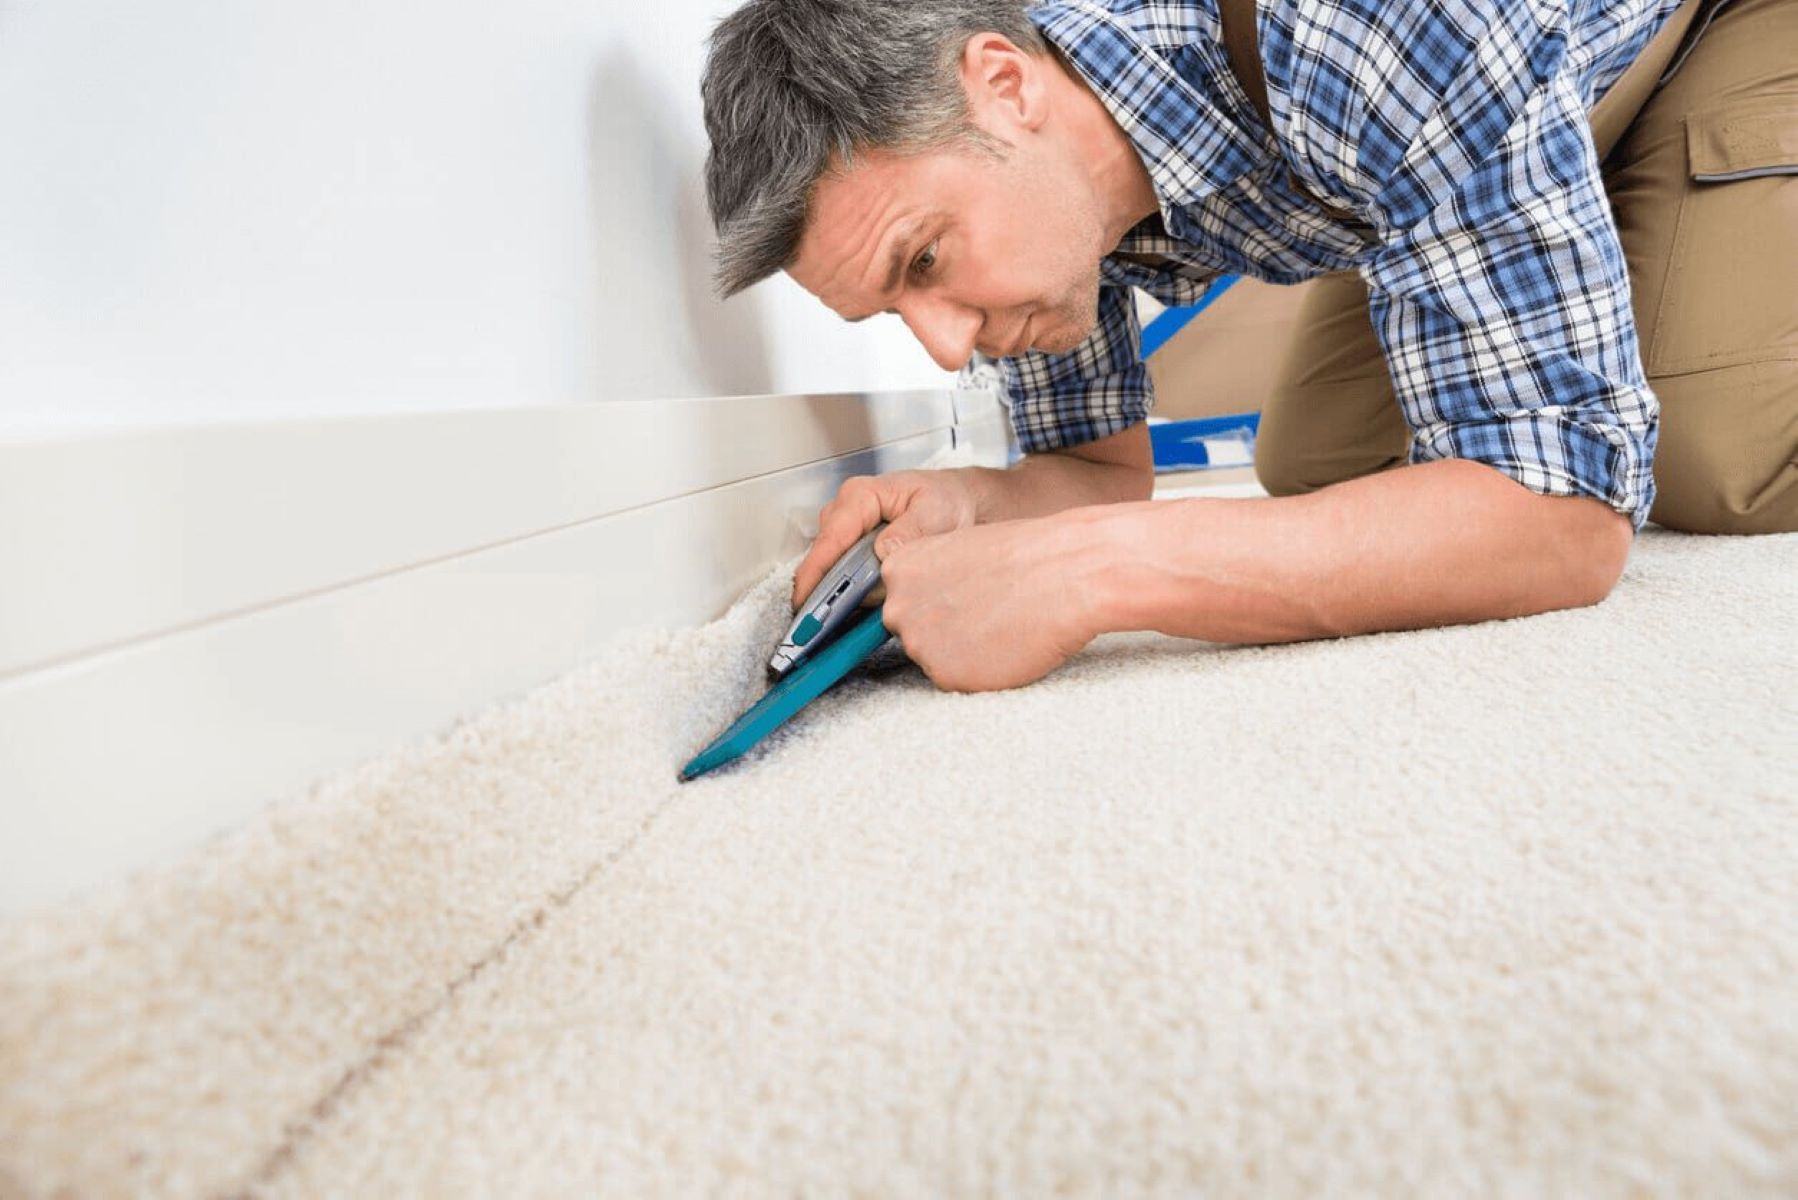
Once you’ve marked the measurements, it’s time to cut the grass carpet. Use a sharp utility knife or carpet cutter to make clean cuts along the marked lines. Take your time and apply consistent pressure to ensure a smooth and even cut.
If you need to cut around obstacles such as posts or pillars, make small incisions and carefully trim around them. Ensure proper alignment and a snug fit.
Remember to cut the grass carpet slightly larger than the measurements, as you can always trim off excess later. It’s better to have a little extra material to work with rather than coming up short and needing to purchase additional carpet.
Once you’re done cutting, step back and double-check the dimensions and the overall fit of the grass carpet on your patio. Make any necessary adjustments before moving on to the next step.
By taking accurate measurements and carefully cutting the grass carpet, you’ll ensure a precise and custom fit that enhances the overall aesthetic of your patio.
Step 3: Clean the Patio Surface
After measuring and cutting the grass carpet, it’s essential to clean the patio surface thoroughly. This will create an ideal environment for the adhesive or tape to adhere to and ensure a strong and long-lasting installation.
Start by sweeping or vacuuming the patio to remove any dirt, dust, or debris that may have accumulated. Pay special attention to the corners and edges, as these areas can often collect more dirt.
Once the loose particles have been removed, wash the patio surface using a mild detergent and water. Scrub the area with a stiff-bristle brush or use a pressure washer if available. This will help remove any stubborn stains, grime, or algae that may be present.
After cleaning, rinse the patio thoroughly with clean water to remove any soap residue. Allow the surface to dry completely before proceeding to the next step. This is crucial, as moisture can interfere with the adhesive or tape’s effectiveness.
If you notice any mold or mildew during the cleaning process, consider using a diluted bleach solution to treat the affected areas. Follow the manufacturer’s instructions and take necessary precautions to protect yourself while handling cleaning products.
Inspect the patio surface again after it has dried to ensure it is free from debris, dirt, and any signs of mold or mildew. Make any additional cleaning adjustments as needed.
Cleaning the patio surface thoroughly will not only provide a clean and fresh canvas for your grass carpet installation but also help maintain the integrity of the adhesive or tape used to secure it in place.
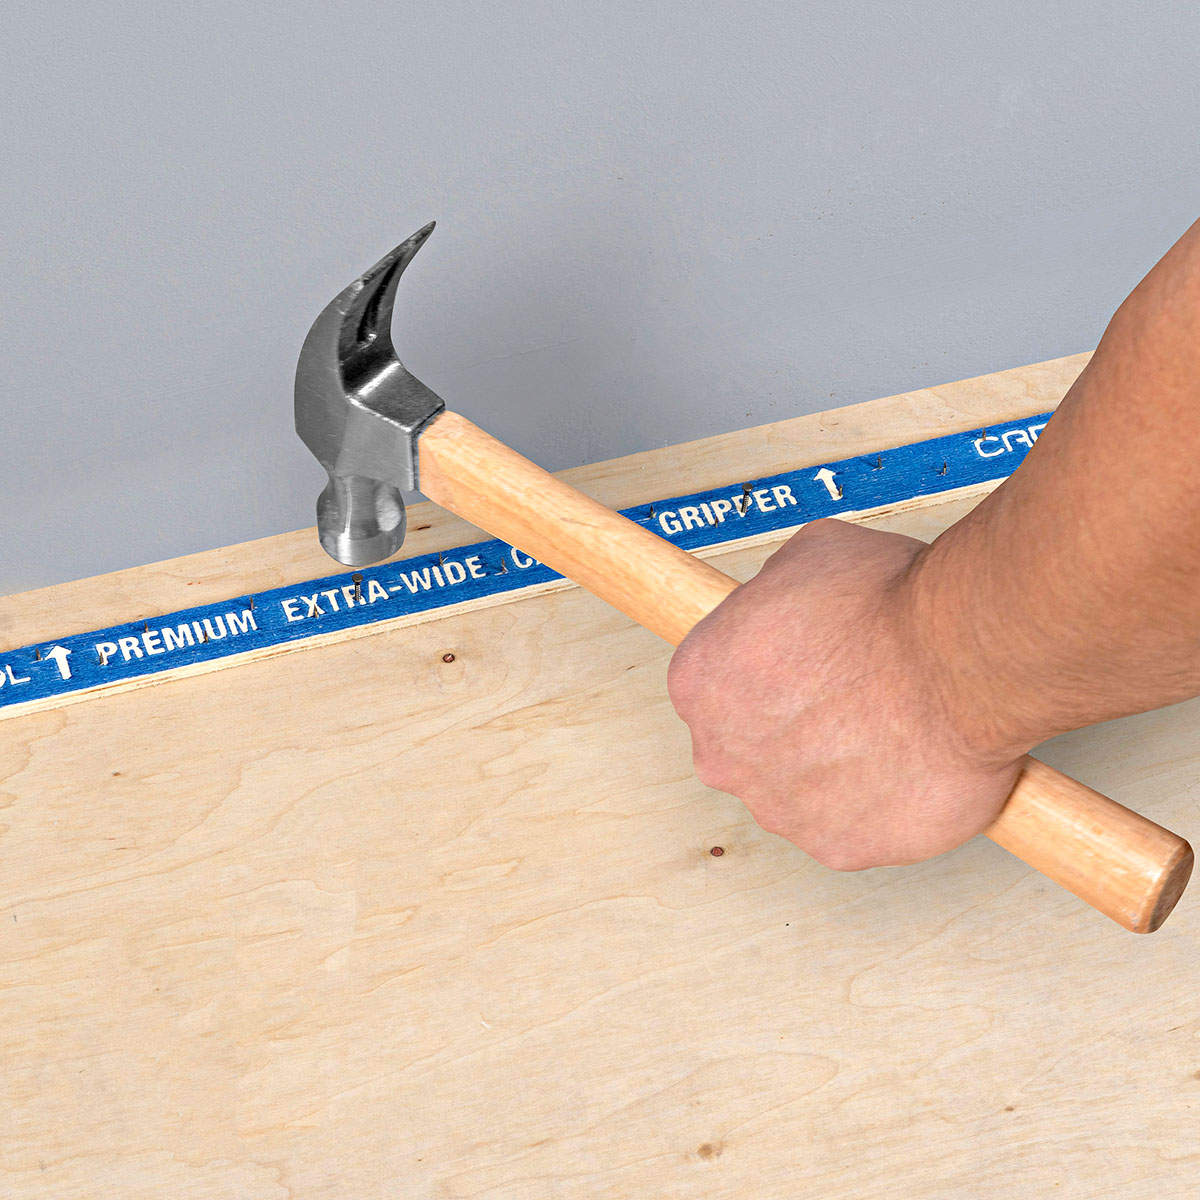
Step 4: Apply Adhesive or Double-Sided Tape
Now that the patio surface is clean and dry, it’s time to apply the adhesive or double-sided tape that will securely hold the grass carpet in place.
If you’re using adhesive, choose a high-quality outdoor adhesive specifically designed for artificial grass installations. Follow the manufacturer’s instructions for the application and usage of the adhesive.
Using a trowel or a suitable application tool, carefully apply the adhesive onto the patio surface. Start from one corner and work your way across the area, ensuring even coverage. Avoid applying excessive adhesive, as it can seep through the grass carpet and create lumps or an uneven appearance.
If you prefer to use double-sided tape, opt for a heavy-duty outdoor tape that is designed to withstand varying weather conditions. Cut the tape into manageable strips or sections and position them strategically across the patio surface.
When applying the double-sided tape, make sure to leave a small gap between each strip. This will allow water to drain through the gaps and prevent pooling or water damage underneath the grass carpet.
Both adhesive and double-sided tape provide effective methods of securing the grass carpet, but it’s important to choose the option that best suits your specific needs and preferences.
Take your time during this step to ensure proper coverage and alignment of the adhesive or tape. Smooth out any wrinkles or bubbles as you go along, using a straightedge or your hands to press the grass carpet firmly onto the surface.
Once the adhesive or tape has been applied, allow it to dry or set according to the manufacturer’s instructions. This may involve a waiting period of several hours or overnight.
By applying the adhesive or double-sided tape correctly, you’ll ensure a secure and stable foundation for your grass carpet, preventing any shifting or movement over time.
Use double-sided carpet tape to tack down grass carpet on your patio. Make sure the surface is clean and dry before applying the tape, and press down firmly to secure the carpet in place.
Read more: How To Remove Carpet Tack Strips
Step 5: Lay and Smooth the Grass Carpet
Now that the adhesive or double-sided tape has dried or set, it’s time to lay down the grass carpet and ensure a smooth and even surface.
Start by positioning one edge of the grass carpet against a straight edge or wall, ensuring it is aligned with the desired orientation and direction of the grass fibers. Gently unroll the carpet across the patio, keeping it taut and free from wrinkles or folds.
As you lay down the grass carpet, work methodically across the patio surface, smoothing out the carpet as you go. Use your hands or a soft brush to gently push the fibers in one direction, ensuring they lie flat and face the same way.
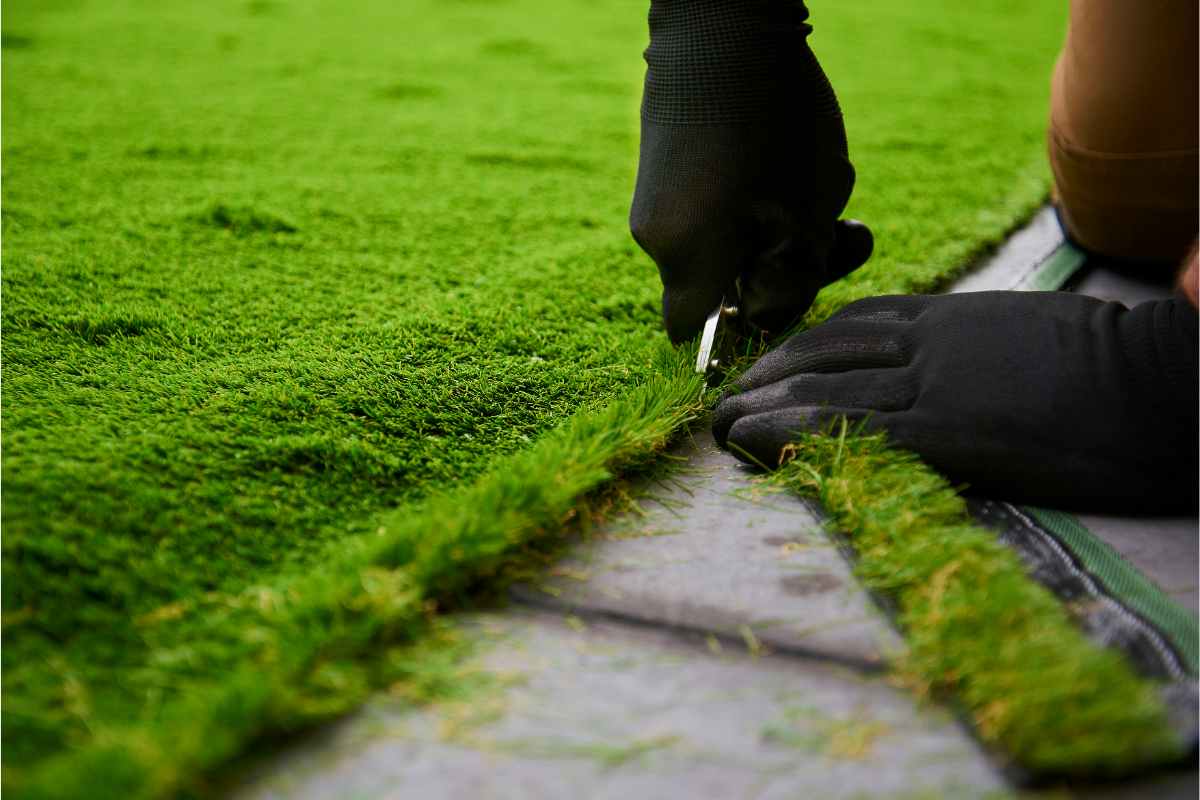
Pay attention to any seams or edges where the carpet meets. Make sure they are flush and seamless, and adjust if necessary. A seamless transition between sections will create a more natural and professional appearance.
If there are any obstacles or irregular shapes on your patio, such as pillars or steps, carefully cut and shape the grass carpet to fit around them. Remember to leave a slight overlap for a neater finish.
Continue laying down the grass carpet until the entire patio surface is covered. Take breaks if needed and step back periodically to assess the overall appearance and alignment.
Once the carpet is in place, use a broom or brush to brush against the grain of the grass fibers. This will help lift them up and make the carpet appear fuller and more vibrant.
Smooth out any remaining wrinkles or imperfections by lightly walking across the grass carpet or using a weighted roller. This will help ensure a flat and uniform surface.
Take your time during this step to ensure the grass carpet is laid down neatly and smoothly. A careful and deliberate approach will result in a visually pleasing and professionally installed patio.
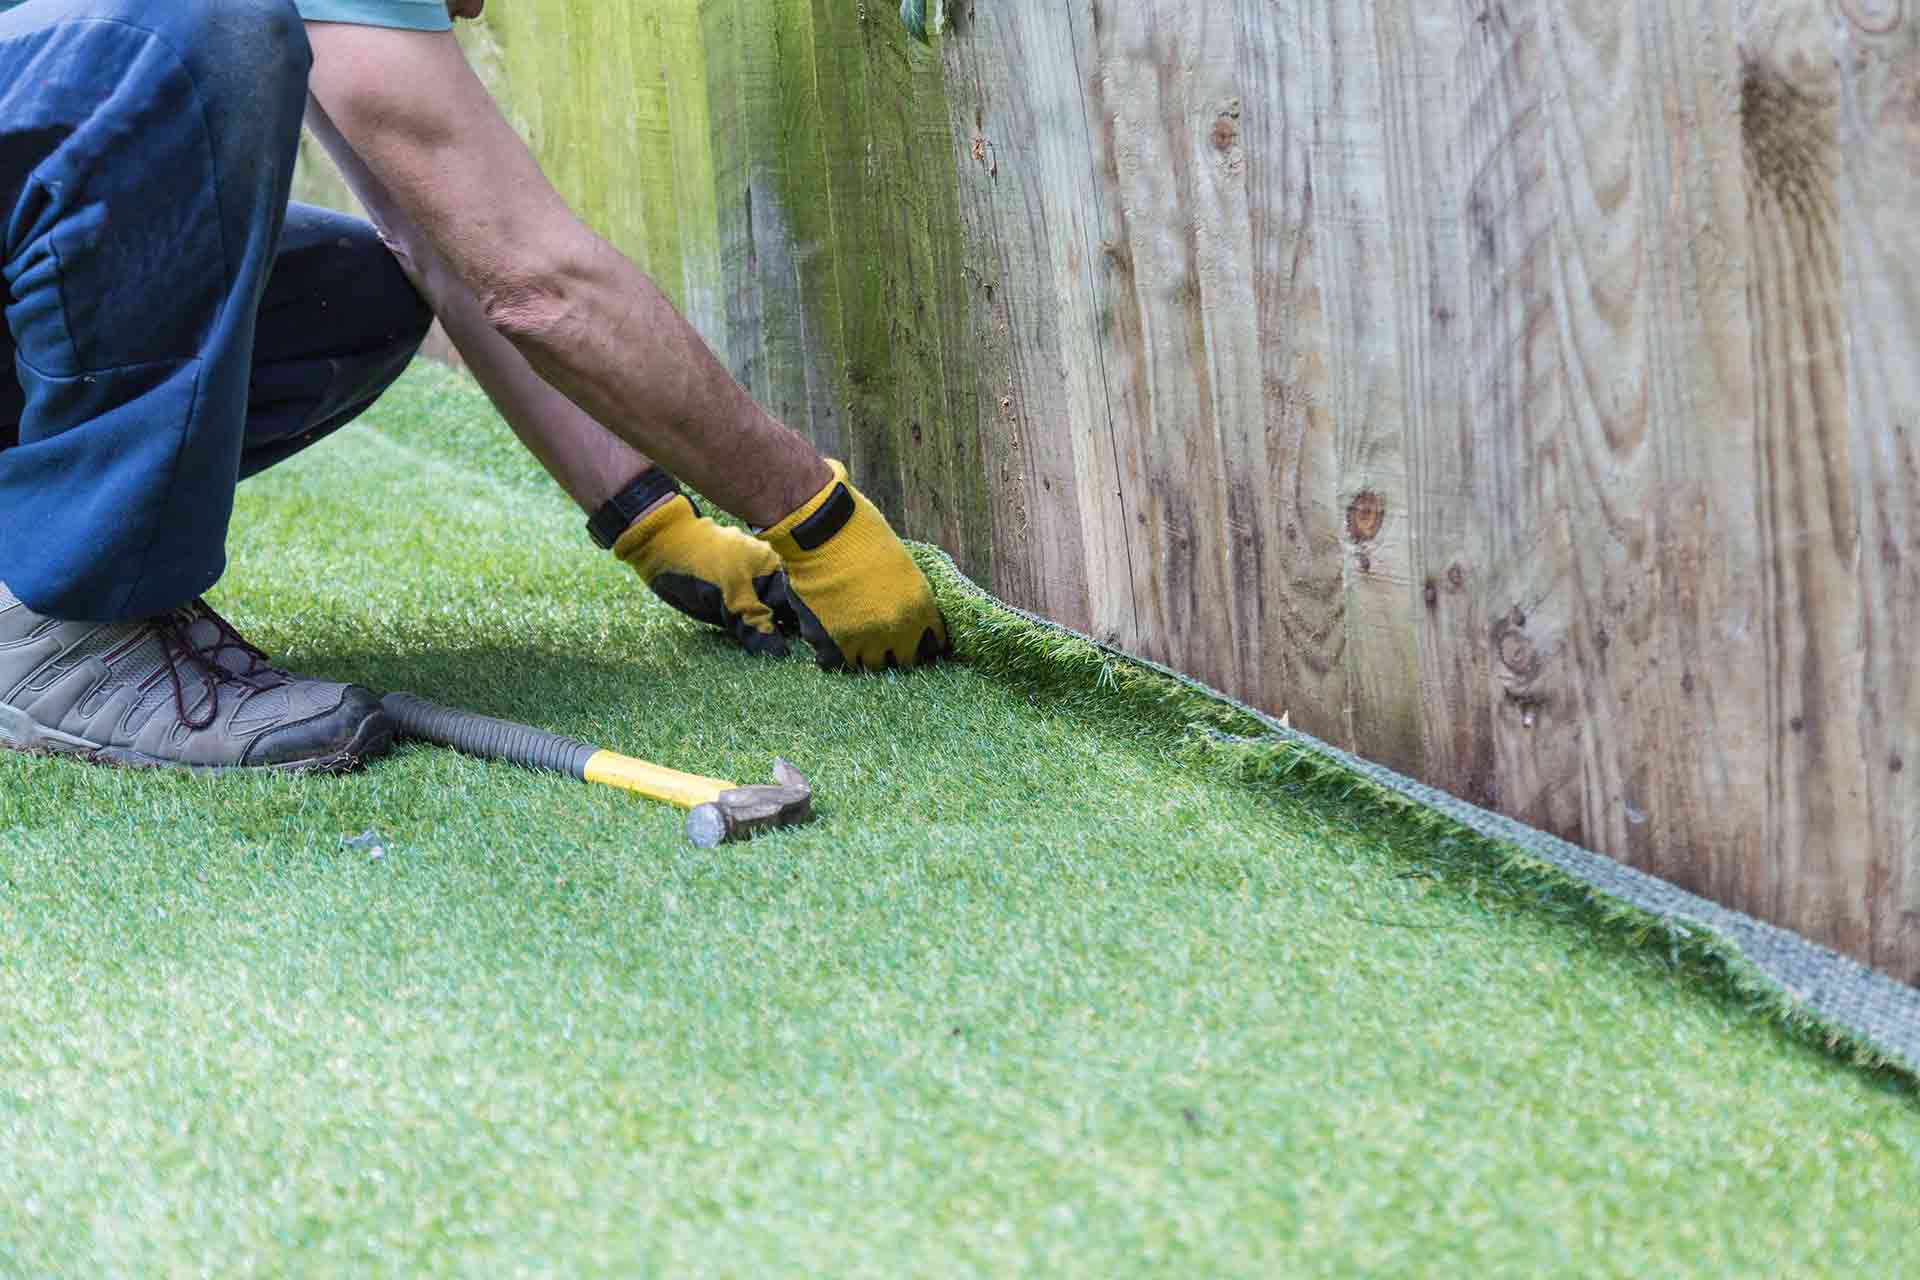
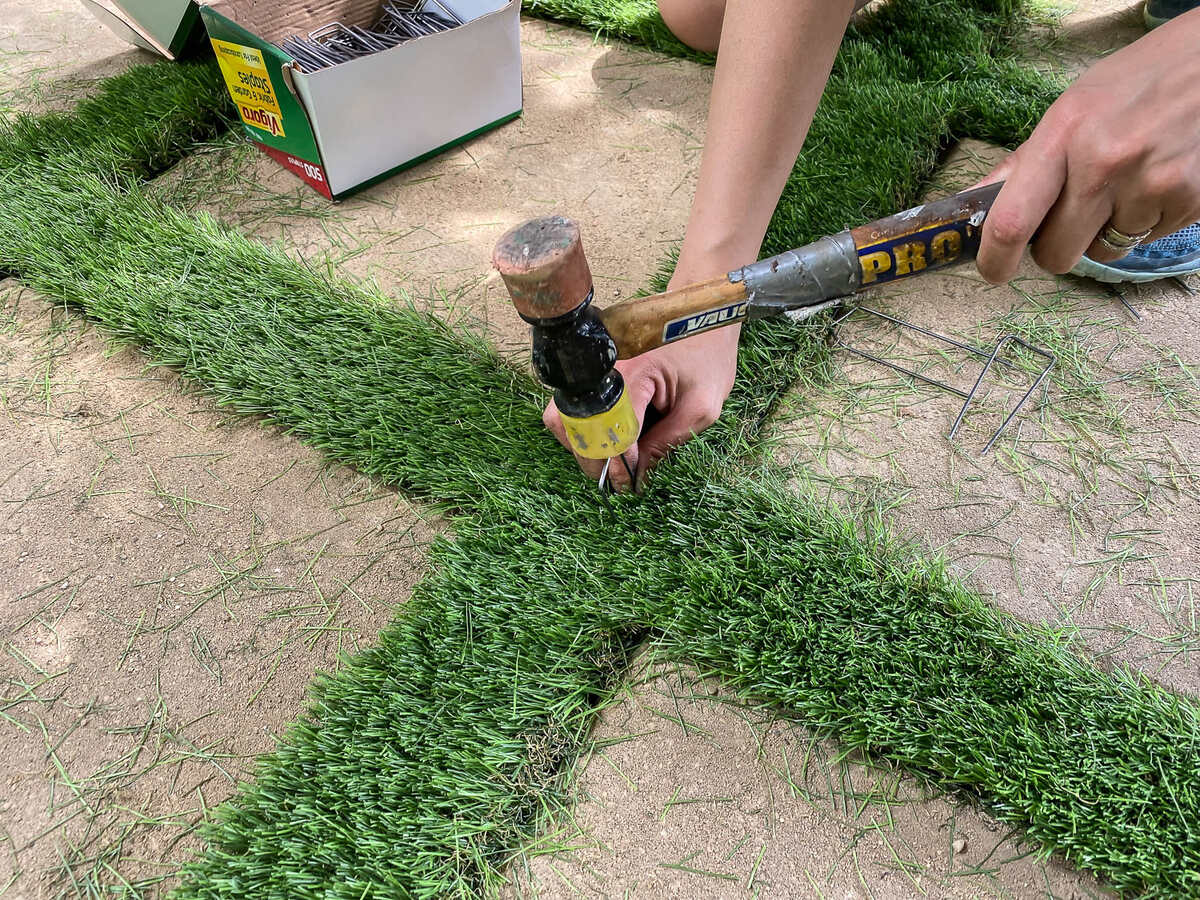
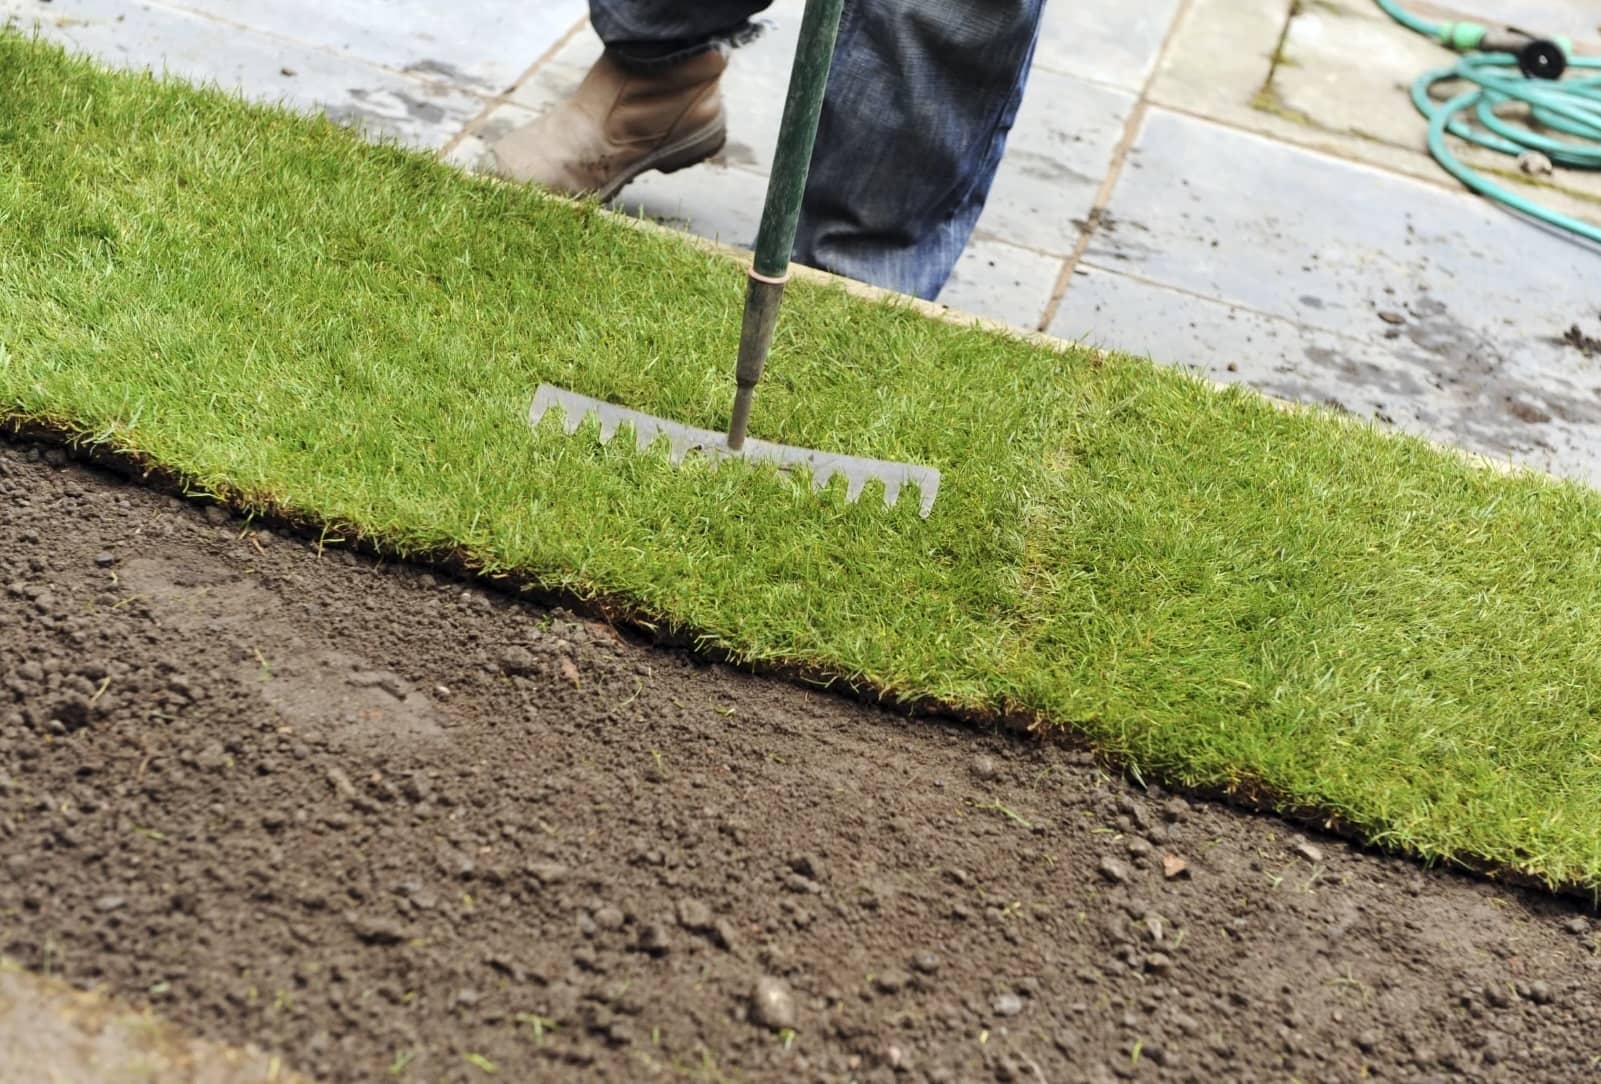
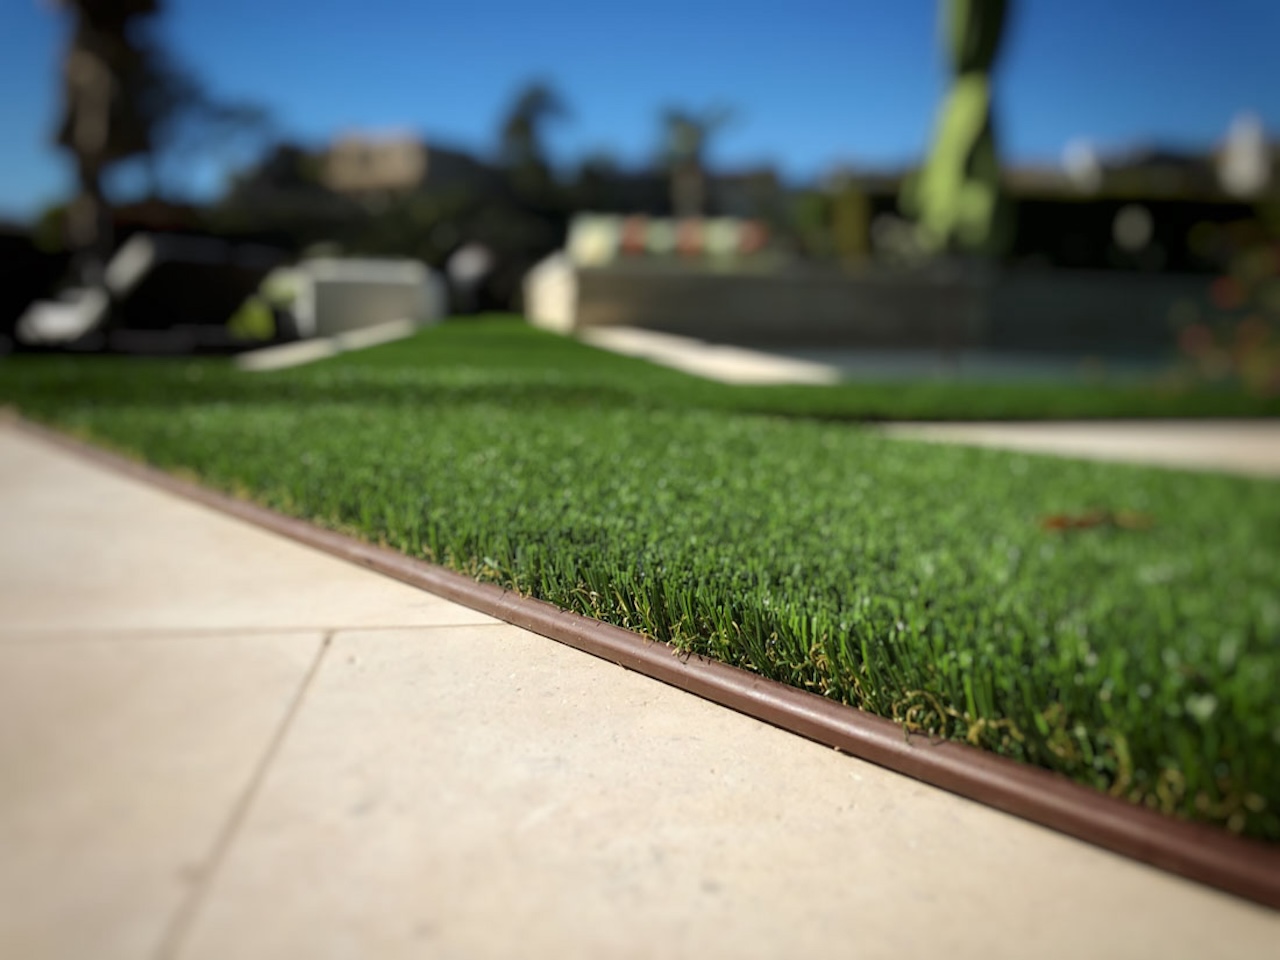
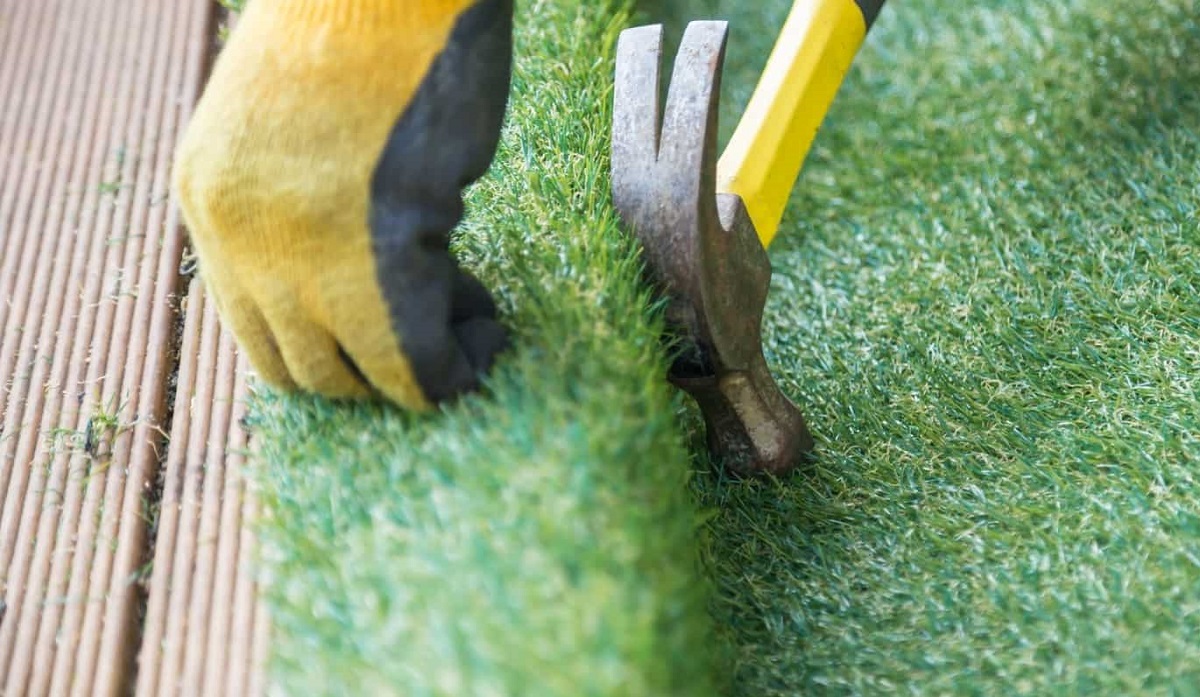
Step 6: Secure the Edges and Corners
With the grass carpet laid down, it’s time to secure the edges and corners to ensure a secure and long-lasting installation.
If you’re using adhesive, carefully lift up the edges of the grass carpet and apply the adhesive along the perimeter of the patio. Use a trowel or suitable application tool to evenly spread the adhesive. Press the edges of the carpet firmly into the adhesive, smoothing out any wrinkles or bubbles as you go.
For double-sided tape, carefully lift up the edges of the grass carpet and apply the tape along the perimeter of the patio. Ensure that the tape is positioned right up against the edge of the carpet. Press the edges of the carpet firmly onto the tape, smoothing out any imperfections.
When securing the corners, fold the excess grass carpet neatly and create a clean and tidy fold. Apply adhesive or double-sided tape to hold the folded corners in place securely.
Once the edges and corners are secured, use your hands or a soft brush to smooth out any visible seams or uneven areas. This will create a seamless and cohesive look throughout the patio.
If you prefer an extra layer of protection for the edges, you can add landscape edging or border materials. This will not only enhance the aesthetics of your patio but also provide a physical barrier to prevent the grass carpet from fraying or unraveling.
Take your time during this step to ensure that the edges and corners are securely fastened. A well-secured grass carpet will withstand foot traffic, weather conditions, and maintain its neat appearance over time.
Step 7: Add Finishing Touches
Now that the grass carpet is securely in place, it’s time to add those final touches that will elevate the look and feel of your patio.
First, inspect the entire surface of the carpet to ensure it is free from any debris or loose fibers. Use a soft broom or brush to gently sweep away any dirt or leaves that may have accumulated on the carpet.
Next, consider adding some decorative elements to enhance the overall ambiance of your patio. Place potted plants, colorful outdoor cushions, or decorative accessories strategically around the space to create a welcoming and inviting atmosphere.
If you have any furniture or outdoor fixtures, arrange them in a way that complements the grass carpet and maximizes the functionality of your patio. This will provide both visual appeal and functionality for you and your guests to enjoy.
Consider incorporating outdoor lighting to illuminate the patio during the evening hours. String lights, lanterns, or solar-powered fixtures can add a warm and cozy glow to your outdoor space.
Lastly, make it a habit to regularly maintain and care for your grass carpet to keep it looking fresh and vibrant. This may include brushing the fibers to keep them upright, gently rinsing or hosing down the carpet to remove any dirt or stains, and periodically checking for any signs of damage or wear.
By adding these finishing touches, you’ll create a beautiful and inviting patio space that seamlessly blends with the natural aesthetics of the grass carpet.
Congratulations, your grass carpet patio installation is complete! Now it’s time to sit back, relax, and enjoy your transformed outdoor oasis.
Conclusion
Transforming your patio with a grass carpet can bring the beauty of nature and a touch of tranquility to your outdoor space. By following the steps outlined in this guide, you can successfully tackle down a grass carpet on your patio and create a stunning and functional area for relaxation and entertainment.
Starting with proper preparation of the patio surface, measuring and cutting the grass carpet to fit perfectly, cleaning the patio thoroughly, and applying the appropriate adhesive or double-sided tape, you set the foundation for a successful installation. Laying and smoothing the grass carpet with care ensures a professional-looking finish, and securing the edges and corners guarantees its longevity and stability.
Adding those final touches, such as maintaining and caring for the grass carpet and incorporating decorative elements and outdoor lighting, will elevate the overall aesthetics and create a welcoming atmosphere. Your grass carpet patio can become your own personal retreat, where you can unwind, entertain, and enjoy the beauty of the outdoors.
Remember, regular maintenance and care will keep your grass carpet looking fresh and vibrant. Brushing the fibers, rinsing away dirt and stains, and periodically checking for any damage will help prolong its lifespan and ensure it remains a stunning feature of your patio for years to come.
So, roll out that grass carpet, secure it in place, and add those finishing touches. Your patio will be transformed into a lush and inviting space that will surely be the envy of your neighbors and a source of joy and relaxation for you and your loved ones.
Frequently Asked Questions about How To Tack Down Grass Carpet On Patio
Was this page helpful?
At Storables.com, we guarantee accurate and reliable information. Our content, validated by Expert Board Contributors, is crafted following stringent Editorial Policies. We're committed to providing you with well-researched, expert-backed insights for all your informational needs.


0 thoughts on “How To Tack Down Grass Carpet On Patio”