Home>Furniture>Living Room Furniture>How To Make A Window Seat Cushion
Living Room Furniture
How To Make A Window Seat Cushion
Modified: March 16, 2024
Learn how to make a comfortable window seat cushion for your living room furniture. Transform your space with this DIY project today!
(Many of the links in this article redirect to a specific reviewed product. Your purchase of these products through affiliate links helps to generate commission for Storables.com, at no extra cost. Learn more)
Introduction
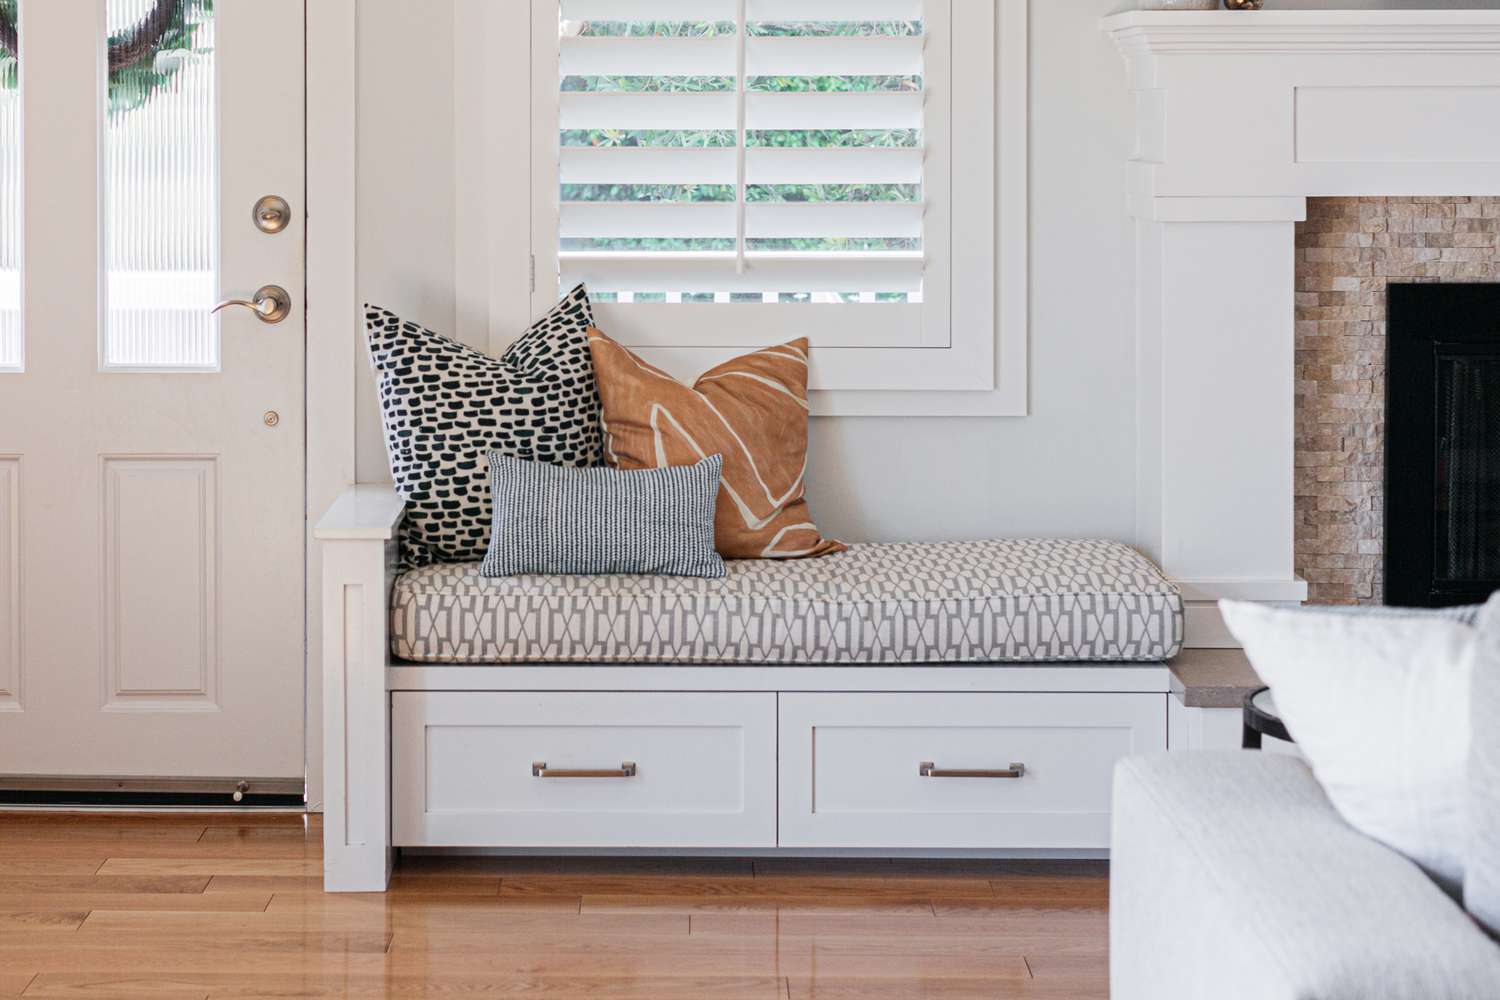
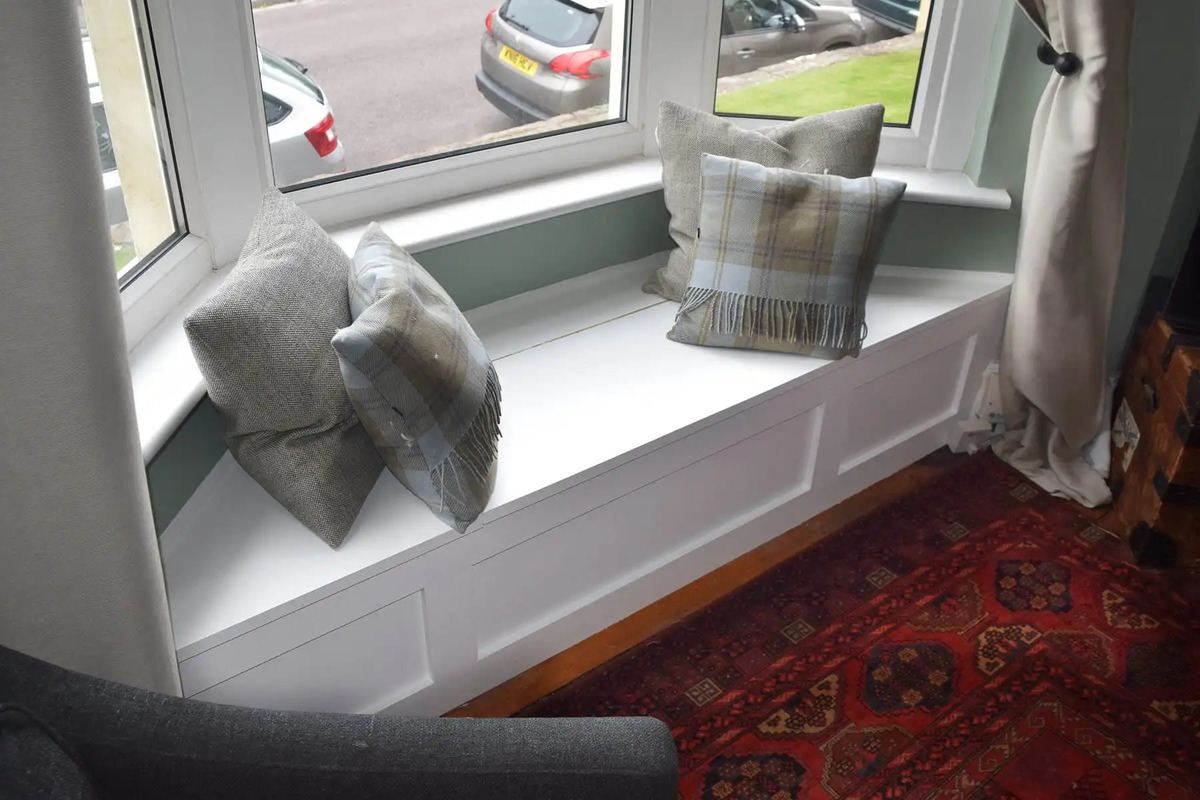
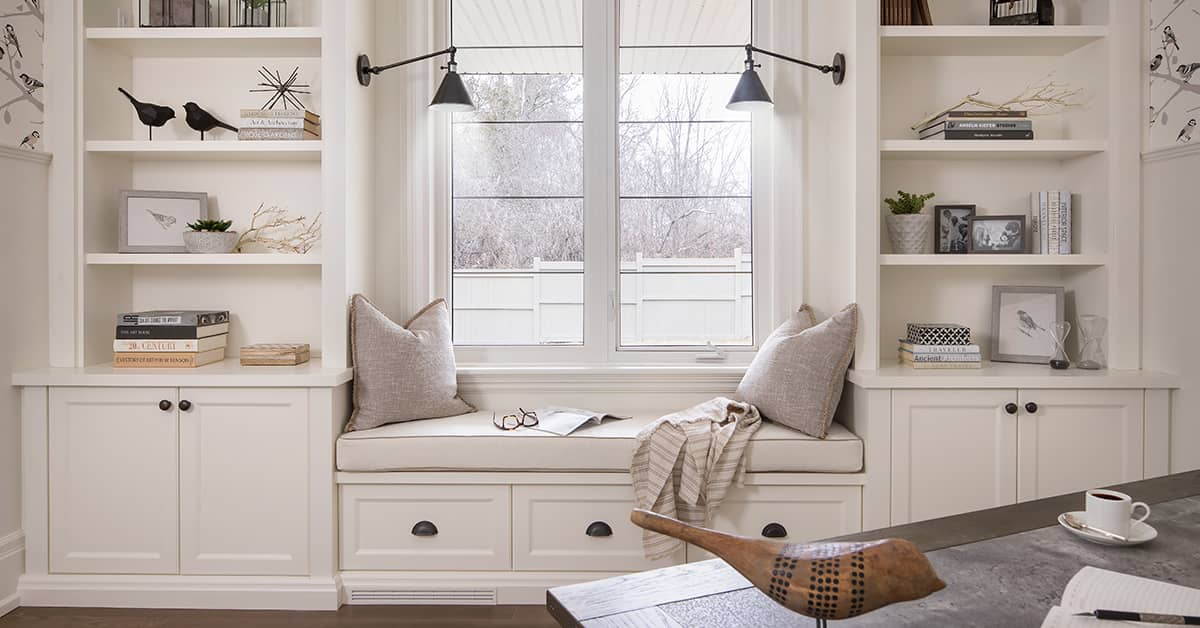
Welcome to our comprehensive guide on how to make a window seat cushion! Adding a window seat cushion can transform any nook or bay window into a cozy and inviting space. Whether you’re looking to create a cozy reading corner or a place for leisurely lounging, a custom-made window seat cushion can provide both comfort and style.
In this article, we will walk you through the step-by-step process of creating a window seat cushion that perfectly fits your space. We’ll cover everything from measuring and cutting the foam to choosing the right fabric and sewing the cushion cover. So, grab your measuring tape and let’s get started!
Before we dive into the details, let’s discuss the benefits of adding a window seat cushion to your home. Firstly, a window seat cushion provides extra seating options, especially in smaller living spaces where every inch counts. Additionally, it can make use of awkward or underutilized areas such as bay windows or alcoves, ultimately maximizing the functionality of your home. Moreover, a window seat cushion can add a touch of charm and elegance, enhancing the overall aesthetics of your living space. Whether you’re going for a classic, modern, or bohemian look, a well-crafted cushion can tie the whole decor together.
Now that we understand the advantages of having a window seat cushion, it’s time to gather all the necessary materials for this DIY project. Let’s move on to the first step: gathering materials.
Key Takeaways:
- Transform any nook or bay window into a cozy space by following our guide to make a custom window seat cushion. It’s a fun DIY project that adds comfort and style to your home.
- Choosing the right foam and fabric, measuring accurately, and adding decorative accents are key to creating a personalized window seat cushion that fits perfectly and enhances your living space.
Read more: How To Sew A Window Seat Cushion With Piping
Step 1: Gather Materials
Before you begin making your window seat cushion, it’s essential to gather all the necessary materials. Having everything you need on hand will help streamline the process and ensure a smooth crafting experience. Here’s a list of materials you’ll need:
- Foam: The main component of your cushion, choose a high-density foam that offers both comfort and durability. Measure the dimensions of your window seat to determine the appropriate foam size.
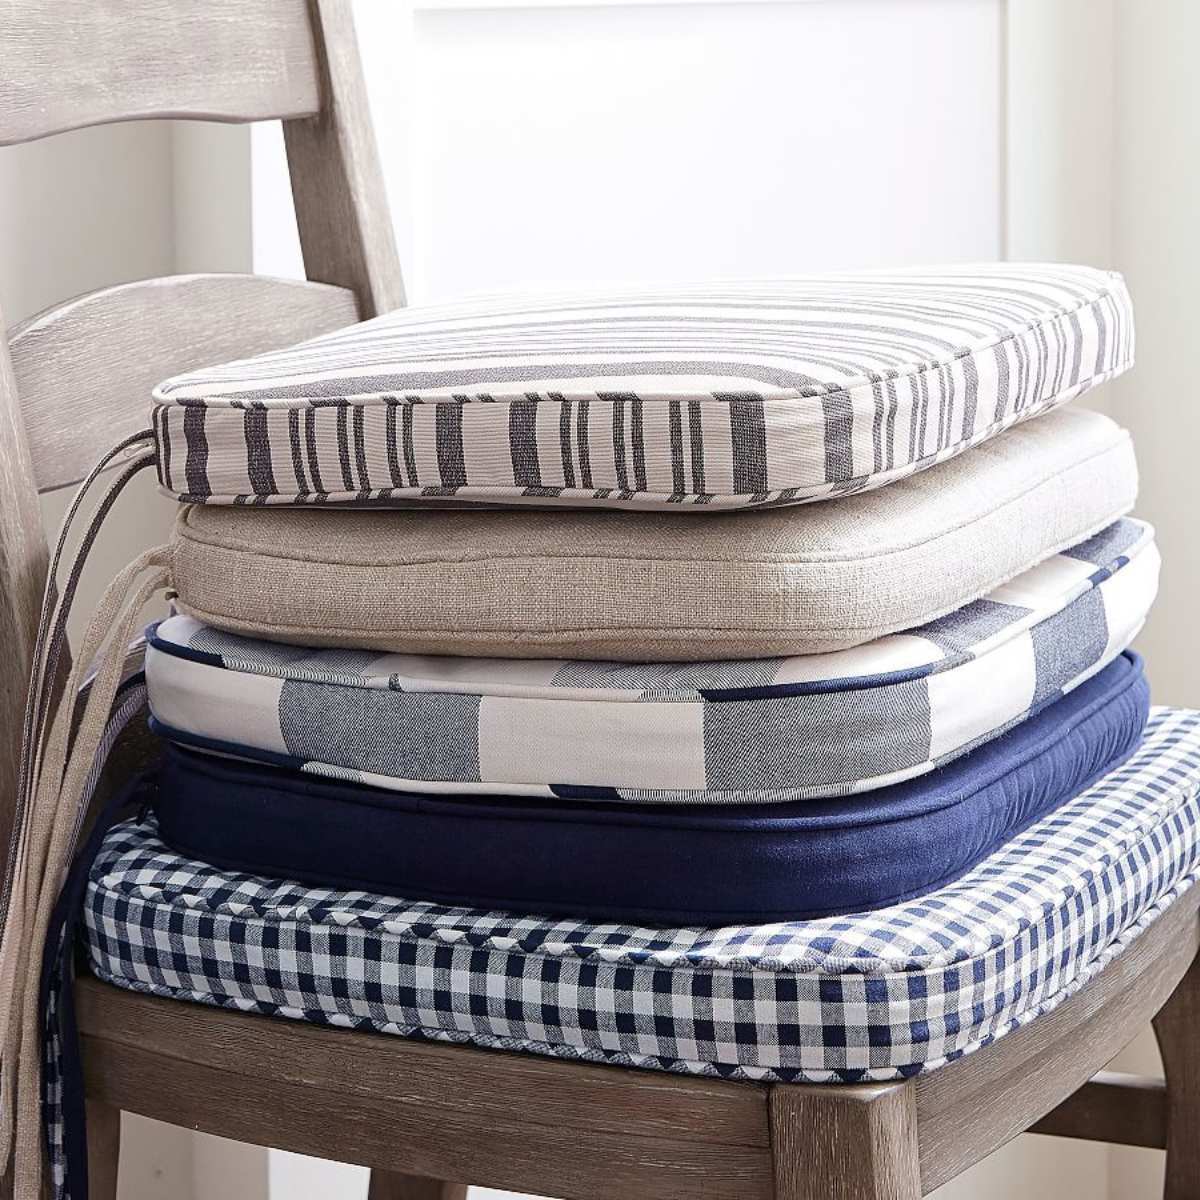
- Fabric: Select a fabric that suits your style and complements the overall look of your space. Consider factors such as color, pattern, and durability. Upholstery fabric or outdoor fabric are great options as they are resistant to wear and fading.
- Sewing machine: If you’re planning to sew your cushion cover, a sewing machine will be necessary for efficient and sturdy stitching.
- Measuring tape: Accurate measurements are crucial for achieving a well-fitted cushion. Make sure you have a measuring tape handy to measure the dimensions of your window seat.
- Scissors: To cut the foam and fabric to the desired size and shape, a good pair of scissors is essential.
- Sewing pins: These will help secure the fabric in place during the sewing process.
- Thread: Choose a thread color that matches or complements your fabric for a seamless finish.
- Iron: An iron will come in handy for pressing the fabric and achieving crisp edges.
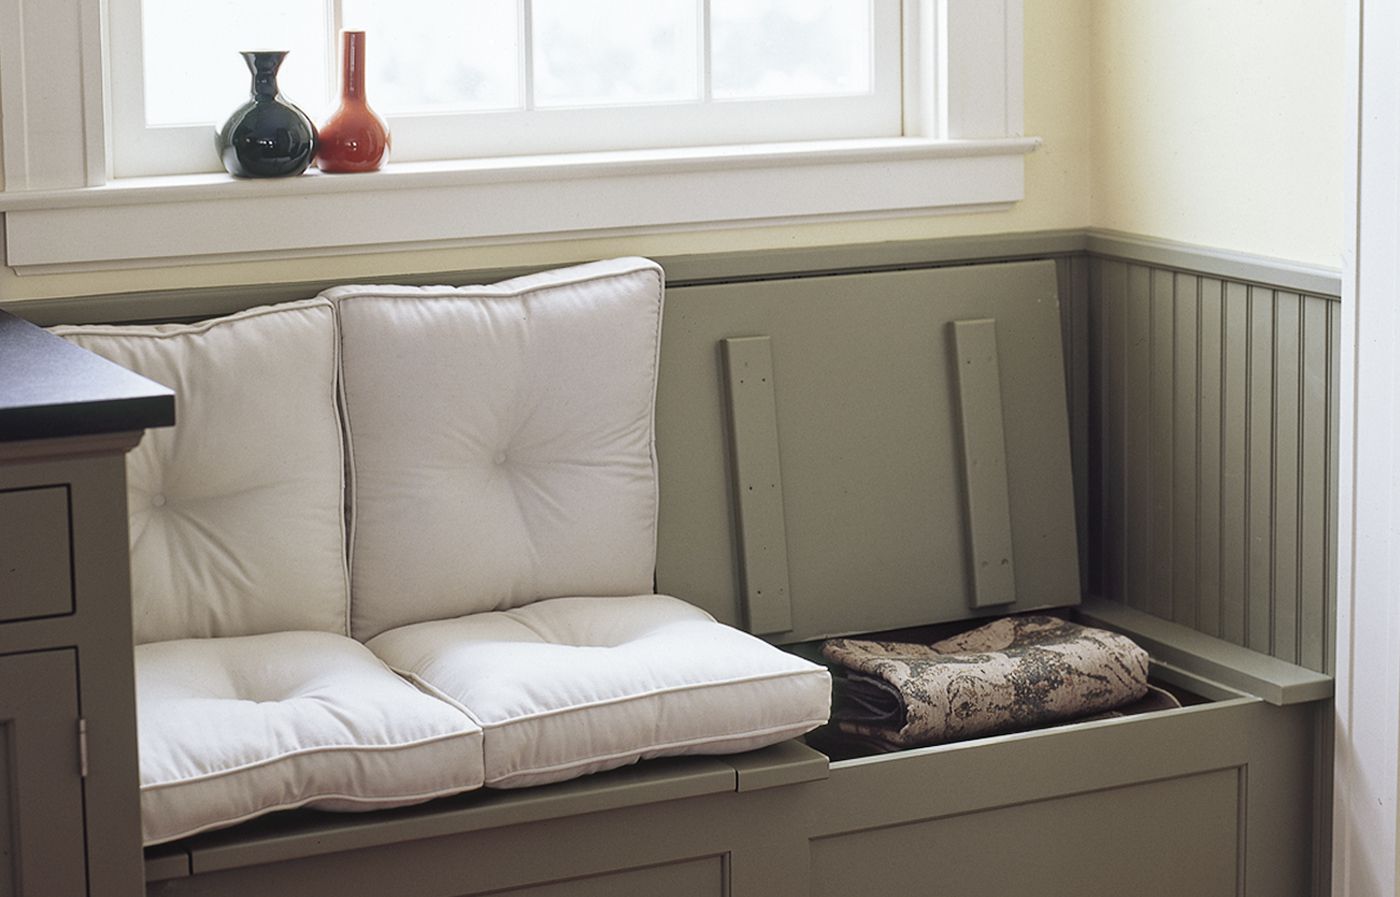
- Fasteners (optional): Depending on your preference, you may choose to add Velcro or ties to secure the cushion to the window seat.
Once you have gathered all the necessary materials, you’re ready to move on to the next step: measuring the window seat.
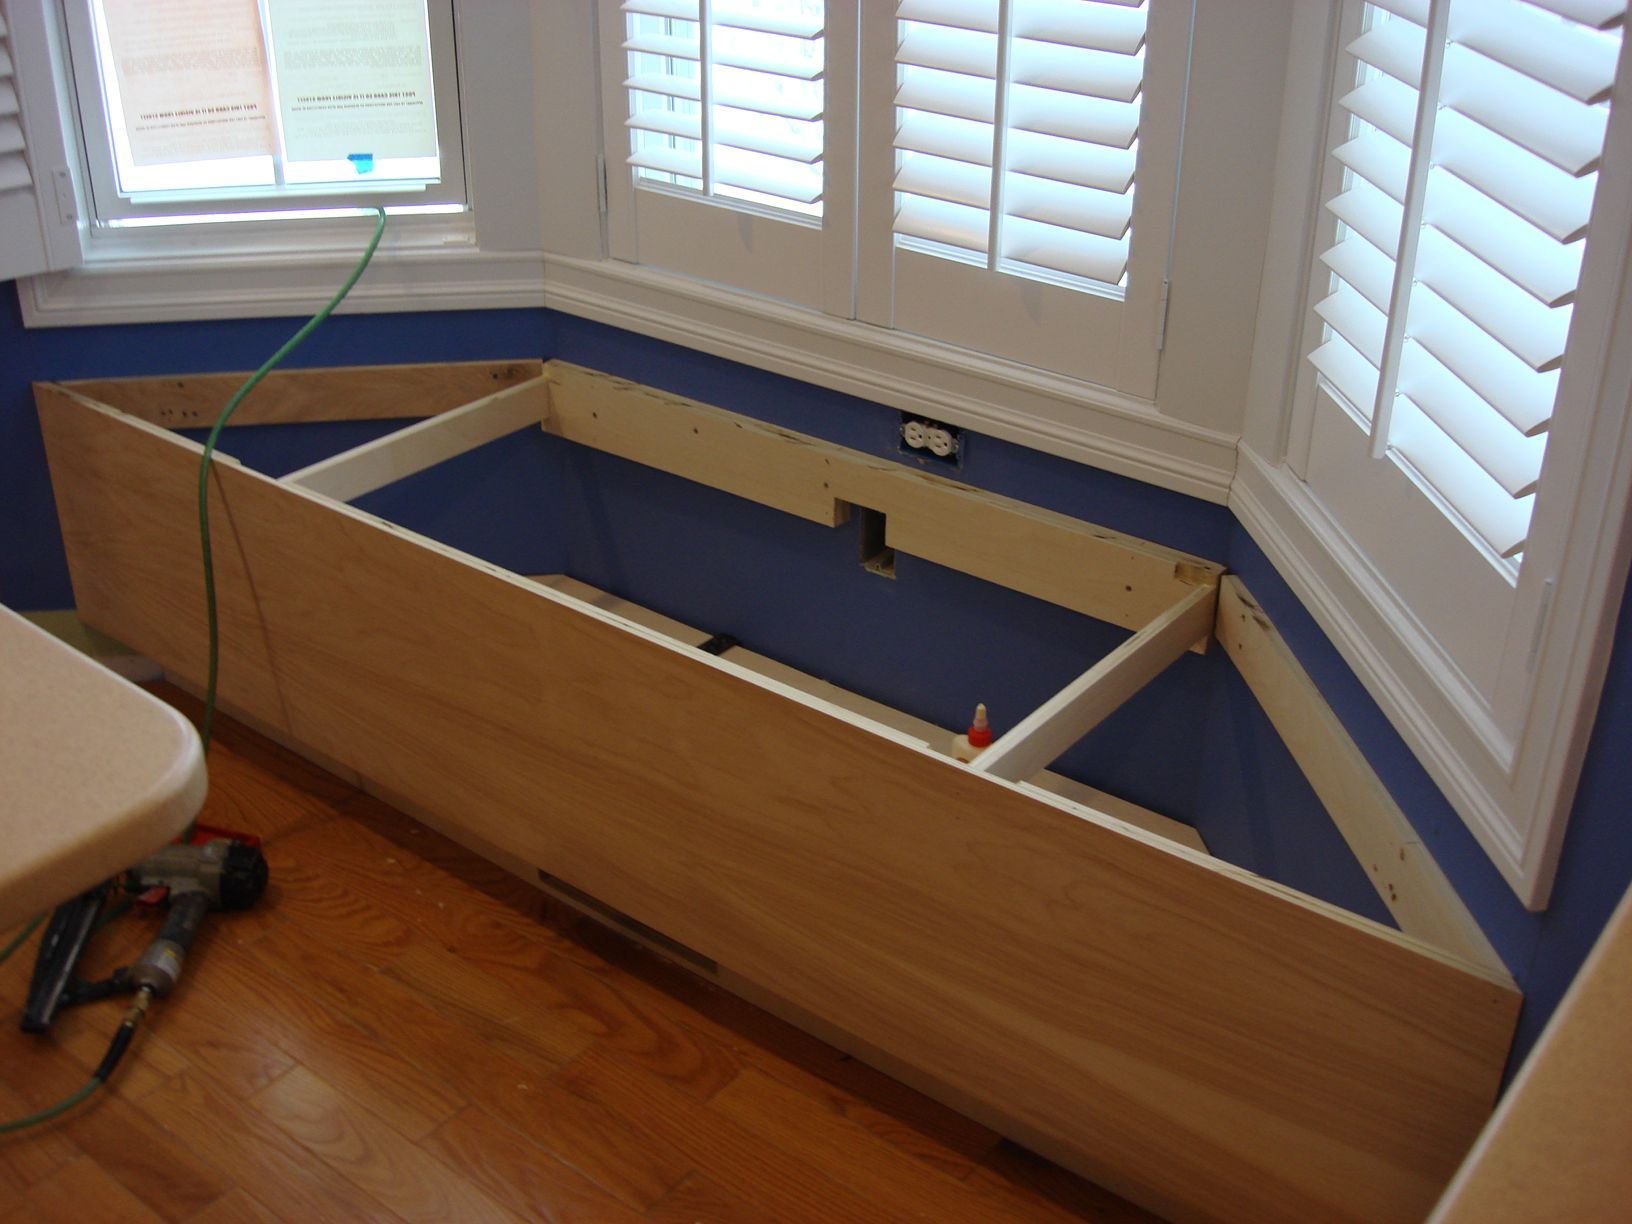
Step 2: Measure the Window Seat
Accurate measurements are crucial to ensure that your window seat cushion fits perfectly. Before proceeding with any cutting or sewing, take the time to measure your window seat properly. Here’s how to do it:
- Start by measuring the length of the window seat. Use a measuring tape to measure from one end of the seat to the other. Write down the measurement to refer to later.
- Next, measure the width of the window seat. Again, use a measuring tape and measure from the front edge of the seat to the back edge. Make sure to measure at the widest point to accommodate any curves or angles.
- If your window seat has any angled sides or irregular shapes, it’s essential to measure those as well. Use the measuring tape to determine the length and width of any additional sections. Note down these measurements separately.
Remember, accuracy is key when measuring your window seat. Take your time and double-check your measurements to ensure a precise fit for your cushion. If you’re unsure, it’s always better to measure twice than to end up with a cushion that doesn’t fit properly.
Once you have all the necessary measurements, you can move on to the next step: choosing the right foam for your window seat cushion.
Step 3: Choose the Right Foam
Choosing the right foam is crucial for creating a comfortable and durable window seat cushion. The foam you select should provide adequate support while ensuring a cozy seating experience. Here are a few factors to consider when choosing foam for your cushion:
Density: Foam density refers to the weight of the foam per cubic foot. Higher density foams are generally more durable and provide better support. For a window seat cushion, it’s recommended to choose a foam with a density of at least 1.8 pounds per cubic foot.
Thickness: The thickness of the foam will depend on personal preference and the available space in your window seat. Consider a thickness of 2 to 4 inches for optimal comfort.
Firmness: Foam firmness is measured using the Indentation Load Deflection (ILD) rating. A higher ILD rating indicates firmer foam, while a lower rating indicates softer foam. Choose a firmness level that suits your comfort preference.
Quality: Opt for high-quality foam that is resistant to sagging and will retain its shape over time. Look for foam that is specifically designed for upholstery or cushion making.
When purchasing foam, it’s important to have the dimensions of your window seat on hand. Most foam suppliers will cut the foam to size for you, based on your measurements. If you prefer to cut the foam yourself, make sure you have the appropriate tools, such as an electric knife or a foam cutting saw, to achieve clean and precise cuts.
Now that you have an understanding of the factors to consider when choosing foam, you can move on to the next step: cutting the foam to size.
Step 4: Cut the Foam to Size
Now that you have the right foam for your window seat cushion, it’s time to cut it to the precise size. Follow these steps to ensure accurate and clean cuts:
- Start by measuring the length and width of your window seat cushion using the measurements you took earlier. Use a measuring tape to mark the dimensions directly on the foam.
- Using a straight edge or a ruler, connect the marks you made on the foam to create straight cutting lines.
- If your window seat has any angled sides or irregular shapes, make additional marks on the foam to indicate these sections. Use a flexible measuring tape or a piece of string to measure the angles accurately.
- Next, prepare your cutting tool. An electric knife or a foam cutting saw is recommended for clean and precise cuts. Ensure that the blade is sharp to avoid tearing or jagged edges.
- With your cutting tool in hand, carefully follow the marked lines and cut the foam to the desired size and shape. Take your time and make slow, steady cuts to achieve the best results.
- Once you have cut the foam, make sure to remove any loose fragments or debris. Use a vacuum cleaner or a soft brush to gently clean the foam surface.
It’s important to note that foam can be challenging to manipulate, especially if it’s thick or dense. If you find it difficult to cut the foam on your own, consider seeking the assistance of a professional or a foam supplier who can cut the foam to your exact specifications.
Now that your foam is cut to the correct size, you’re ready to move on to the next step: selecting the fabric for your window seat cushion.
Read also: 15 Amazing Window Seat Cushion For 2025
Step 5: Select Fabric
Selecting the right fabric for your window seat cushion is crucial to achieve the desired look and durability. Consider factors such as color, pattern, texture, and the overall style of your space. Here are some tips to help you choose the perfect fabric:
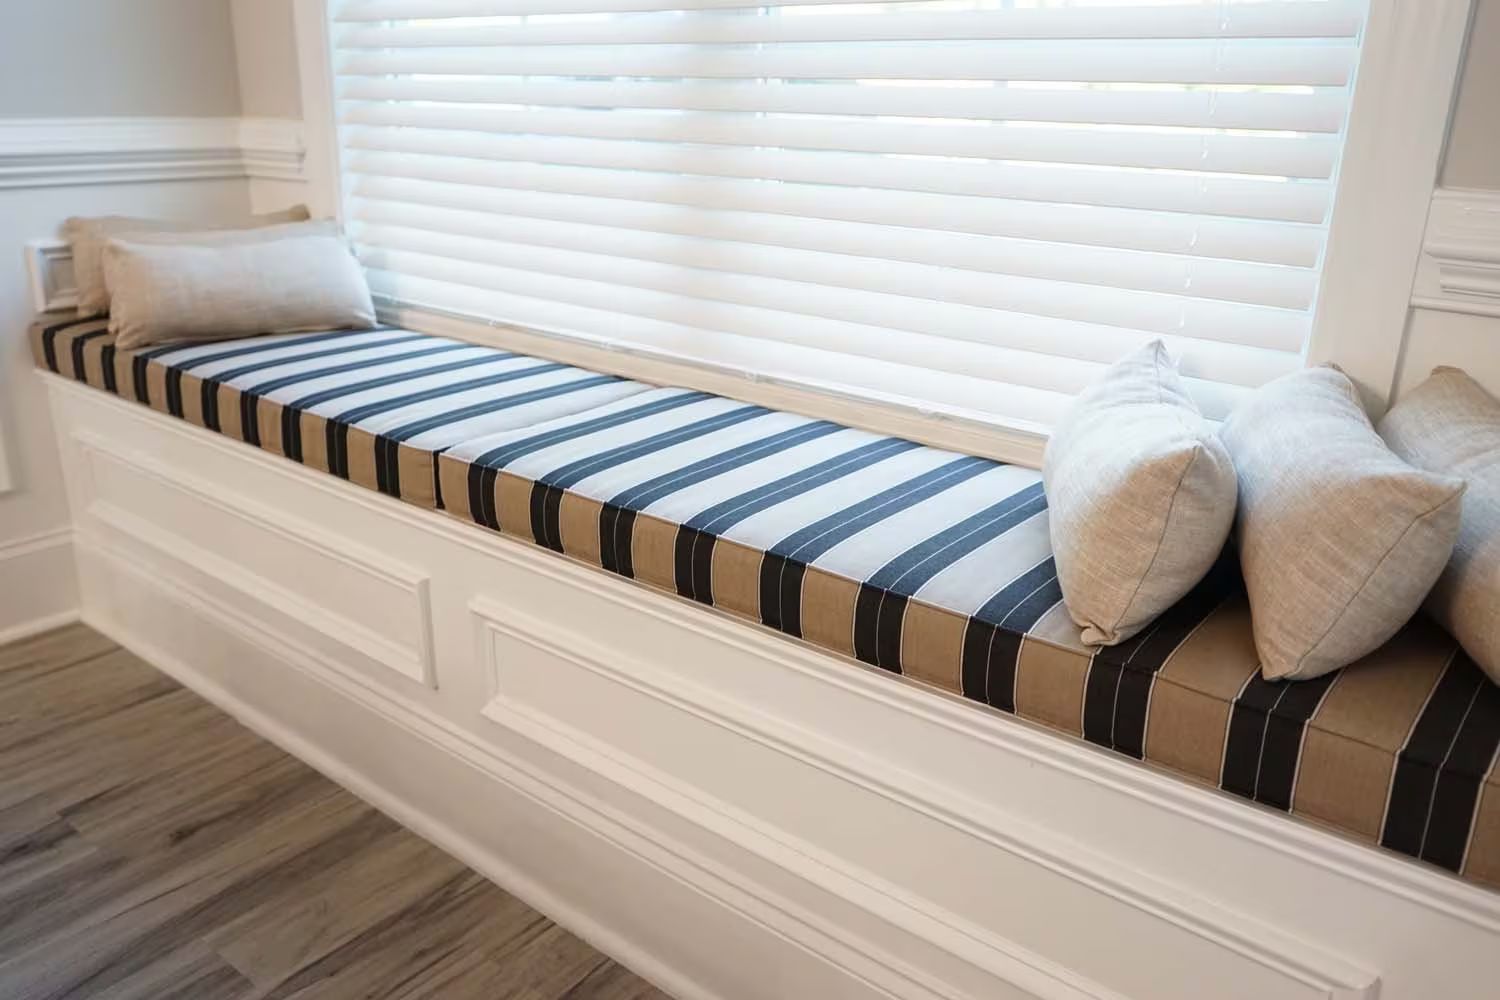
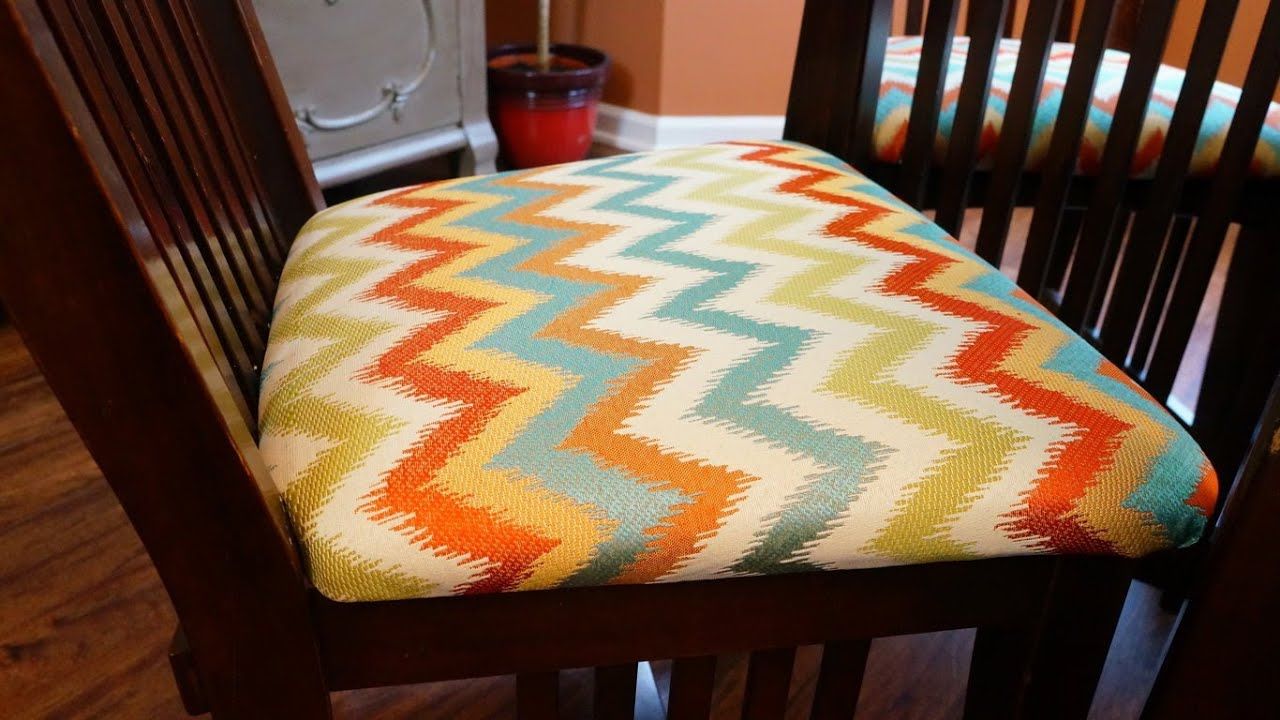
Color and Pattern: Think about the color scheme of your room and choose a fabric color that complements it. You can either go for a fabric that blends seamlessly with your existing decor or opt for a contrasting color to make a statement. When it comes to patterns, you have a wide range of options, from solids and stripes to floral and geometric designs. Choose a pattern that suits your personal style and enhances the overall aesthetic of the room.
Texture: Consider the texture of the fabric and how it will feel against your skin. If you’re looking for a soft and cozy feel, consider fabrics like velvet or chenille. If you prefer a more durable and easy-to-clean option, choose a fabric with a smooth or woven texture.
Durability: Since the window seat cushion will be subjected to regular use and potential spills or stains, it’s important to select a fabric that is durable and easy to maintain. Look for fabrics that are labeled as upholstery or outdoor fabric, as they tend to be more resistant to wear and tear.
Care Instructions: Check the care instructions for the fabric you’re considering. Ensure that it can be easily spot cleaned, machine washed, or dry cleaned, depending on your preferences and maintenance routine.
Visit local fabric stores or explore online options to browse through a wide variety of fabrics and find the perfect one for your window seat cushion. Request fabric samples if available, as this will help you visualize how the fabric will look and feel in your space.
Once you have chosen the fabric, you’re ready to move on to the next step: measuring and cutting the fabric to cover your window seat cushion.
When measuring for your window seat cushion, be sure to account for the thickness of the foam and the fabric when determining the final dimensions. This will ensure a snug and comfortable fit for your cushion.
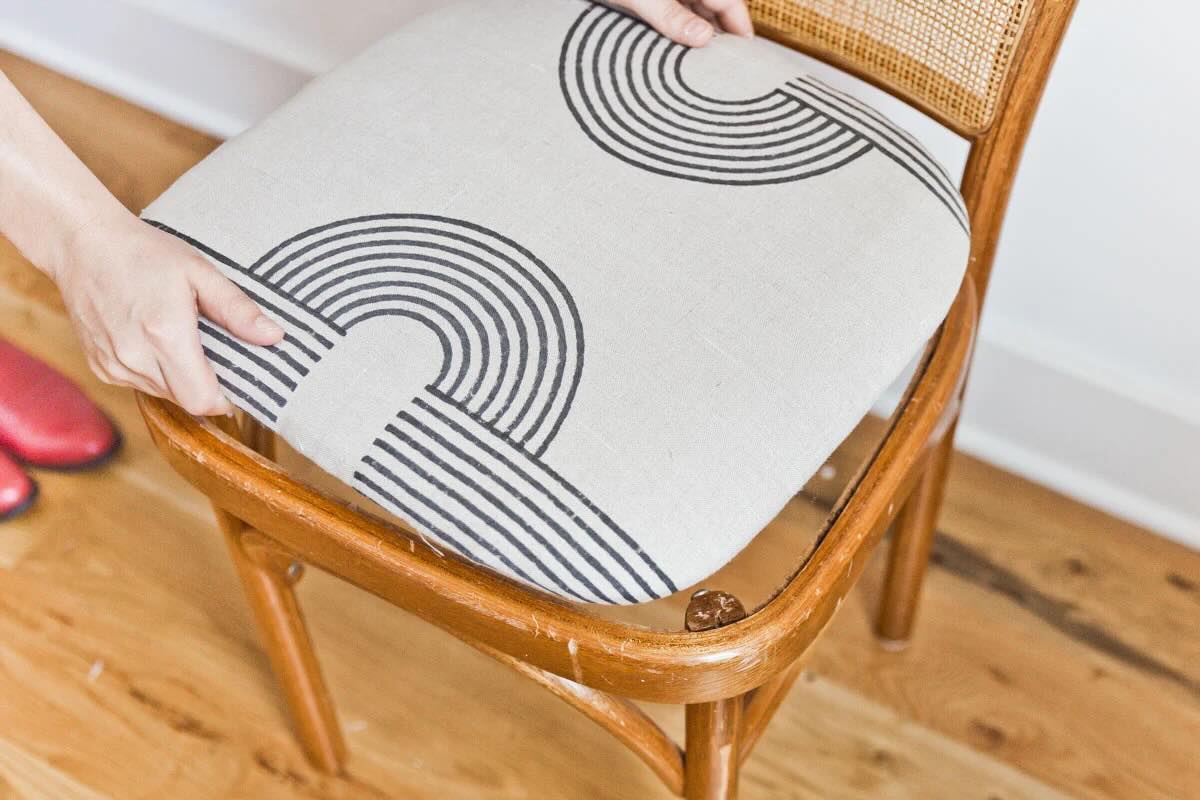
Step 6: Measure and Cut the Fabric
With the fabric chosen, it’s time to measure and cut it to create the cover for your window seat cushion. Follow these steps to ensure a precise fit:
- Lay the fabric on a clean, flat surface and ensure that it is free from wrinkles or folds.
- Place your foam cushion on top of the fabric, ensuring that it is centered and aligned.
- Starting from one side of the foam, carefully pull the fabric over the top of the cushion. Smooth out any wrinkles or creases as you go.
- Continue pulling the fabric tightly over the cushion, working your way around all sides. Ensure that the fabric is snug and smooth, without any excess fabric hanging over the edges.
- Once the fabric is positioned correctly, use sewing pins to secure it in place. This will prevent shifting or sliding while you cut the fabric.
- Using fabric scissors, carefully trim the excess fabric, following the contours of the foam cushion. Take your time to achieve clean and even cuts.
- Remove the pins and flip the fabric cover right side out to check the fit. Make any necessary adjustments if you notice any areas that require additional trimming.
Remember to leave some extra fabric on each side to allow for seam allowances when sewing the cushion cover together. This will ensure a snug fit once the cover is sewn and fitted onto the foam cushion.
If you don’t have sewing skills or prefer a no-sew option, you can use fabric glue or Velcro to secure the fabric instead of sewing. Simply fold the edges of the fabric and use glue or Velcro strips to create a secure closure.
Now that your fabric is cut to size, you’re ready to move on to the next step: sewing the cushion cover (if desired) or adding any desired accents.
Step 7: Sew the Cushion Cover
If you have chosen to sew the cushion cover, this step will guide you through the process of stitching the fabric together to create a professionally finished look. Follow these steps to sew the cushion cover:
- Prepare your sewing machine by threading it with a coordinating thread and ensuring that you have a suitable needle for your fabric.
- Place the fabric pieces with the right sides facing each other. Pin the edges together, leaving one side open for inserting the foam cushion.
- Using a straight stitch, sew along the pinned edges, removing the pins as you go. Sew with a seam allowance of about ½ an inch (1.27 cm) to ensure a secure seam.
- Reinforce the corners and stress points by backstitching a few stitches at the beginning and end of each seam. This will prevent the seams from coming undone with regular use.
- Once all sides are sewn, carefully trim any excess fabric and clip the corners to reduce bulk and create crisp corners when the cover is turned right side out.
- Turn the cover right side out through the open side and gently push out the corners to give them a clean shape.
- Check the fit by sliding the foam cushion into the cover. Adjust the cover as needed to ensure a snug fit.
- If you’re satisfied with the fit, hand-sew the open side of the cover closed using a slip stitch or use a sewing machine to stitch it shut.
Once the cover is sewn, give it a final press with an iron to remove any wrinkles and create a smooth finish. Your cushion cover is now ready to be fitted onto the foam cushion and attached to the window seat!
If sewing is not your preferred method or you don’t have access to a sewing machine, you can explore alternative options such as fabric glue, tape, or using fusible interfacing to adhere the fabric together.
With the cushion cover sewn, you can now move on to the next step: adding any desired accents or decorative elements to enhance the look of your window seat cushion.
Step 8: Add any Desired Accents
To elevate the look of your window seat cushion and make it truly unique, consider adding some accents or decorative elements. Here are a few ideas to inspire you:
- Piping or Trim: Adding piping or trim along the edges of your cushion can create a polished and professional finish. Choose a coordinating or contrasting fabric to accentuate the shape of the cushion.
- Buttons: Sewing buttons onto the cushion cover can add a touch of elegance and visual interest. You can create a tufted effect by sewing buttons through the cushion and attaching them on the other side.
- Embroidery or Applique: Personalize your cushion cover by adding embroidery or applique designs. This could be a monogram, a pattern, or any other design that reflects your style and interests.
- Contrasting Panels: If you’re using a patterned fabric, consider adding solid-colored fabric panels to create a visually appealing contrast. This can be done by cutting additional fabric pieces and sewing them onto the main fabric panels.
- Decorative Stitching: Experiment with decorative stitching techniques to add visual interest to your cushion cover. It could be zigzag stitching, embroidery stitches, or any other decorative stitch patterns your sewing machine offers.
When adding accents, ensure that they are securely attached to the cushion cover. Use thread that matches the color of the accents to maintain a cohesive look. Take your time and pay attention to detail to create beautifully customized accents that enhance the overall appearance of your window seat cushion.
Once you have added your desired accents, it’s time to move on to the next step: attaching Velcro or ties to secure the cushion.
Read more: How Thick Should My Window Seat Cushion Be
Step 9: Attach Velcro or Ties for Securing the Cushion
To ensure that your window seat cushion stays in place and doesn’t slide around, it’s essential to attach some form of fastener. There are two common options for securing the cushion: Velcro and ties. Here’s how to attach them:
Velcro:
- Measure and cut two equal-sized strips of Velcro tape. One strip will be attached to the bottom surface of the foam cushion, while the other strip will be attached to the corresponding area of the window seat.
- Use fabric glue or a strong adhesive to secure one side of the Velcro tape to the bottom surface of the foam cushion. Ensure that it is centered and aligned with the edges of the cushion.
- Attach the other side of the Velcro tape to the corresponding area of the window seat. If the seat is made of wood or a similar material, use screws to securely fasten the Velcro tape.
- Press the cushion firmly onto the Velcro tape on the window seat to secure it in place.
Ties:
- Cut fabric strips or ribbon into equal-sized pieces, approximately 8 to 12 inches long.
- Create loops with the fabric strips by folding them in half and sewing the ends together. Space the loops evenly along the edges of the cushion cover.
- Attach the corresponding ends of the fabric strips to the window seat using screws or another secure method.
- To secure the cushion, simply tie the fabric loops around the fasteners on the window seat.
By attaching Velcro or ties to your window seat cushion, you can ensure that it stays securely in place even during frequent use. Choose the option that best suits your preference and the design of your cushion.
Once the fasteners are attached, it’s time for the final step: attaching the cushion to the window seat and enjoying your cozy new addition.
Step 10: Attach the Cushion to the Window Seat
Congratulations, you’re almost done! The final step is to attach the cushion to your window seat. Follow these steps to secure the cushion in place:
- Ensure that the surface of the window seat is clean and free from any debris.
- Place the cushion onto the window seat, aligning it properly with the edges of the seat.
- If you have chosen Velcro as the fastening method, press the cushion firmly onto the Velcro tape on the seat. The Velcro strips should securely hold the cushion in place.
- If you have chosen ties, carefully tie the fabric loops around the fasteners attached to the window seat. Adjust the tightness until the cushion feels secure.
- Gently test the cushion to ensure that it is properly attached and doesn’t move or shift when pressure is applied.
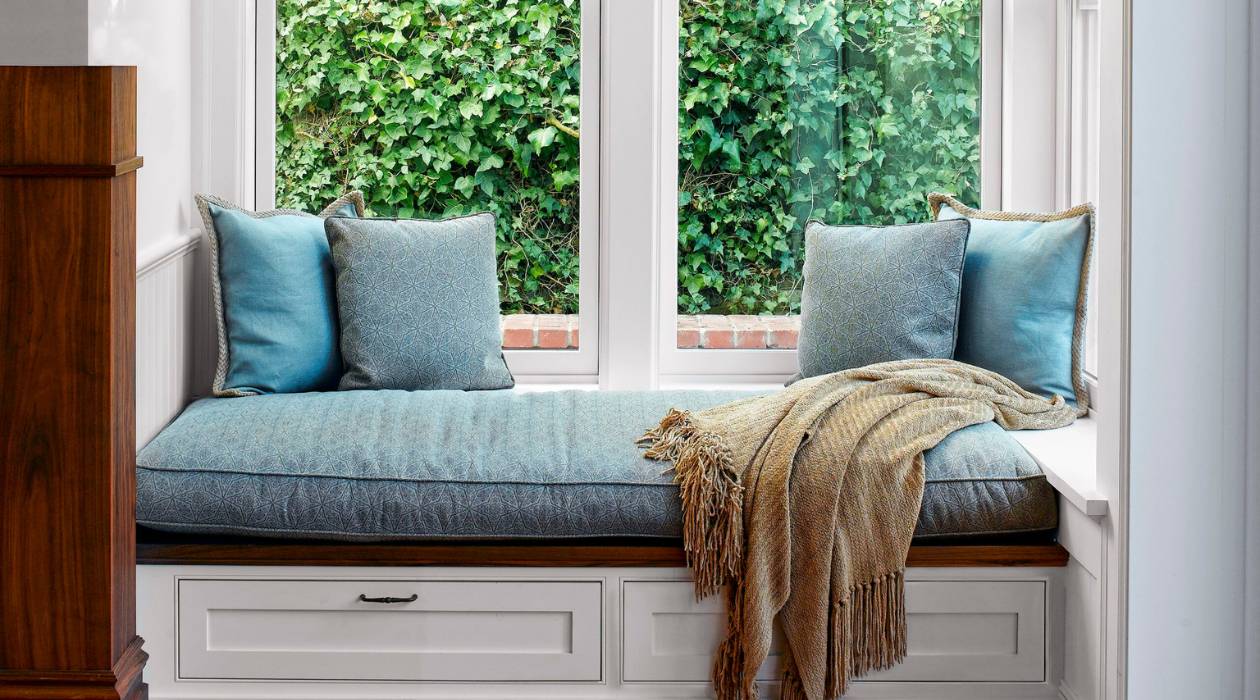
- Step back and admire your newly finished and secured window seat cushion!
Now that the cushion is securely attached, you can enjoy the comfort and aesthetics it brings to your window seat. Whether you use it for relaxation, reading, or simply enjoying the view, your custom-made cushion will provide a cozy space in your home.
Remember to regularly clean and maintain your window seat cushion to keep it in top condition. Follow the care instructions for the fabric you selected to ensure it remains fresh and beautiful for years to come.
With the completion of this final step, your window seat cushion project is finished. Sit back, relax, and enjoy the coziness of your new window seat!
Thank you for following our step-by-step guide on how to make a window seat cushion. We hope you found this tutorial helpful and that it has inspired you to create a comfortable and stylish addition to your living space.
Conclusion
Congratulations on completing your window seat cushion project! By following the steps outlined in this comprehensive guide, you have successfully created a custom-made cushion that perfectly fits your window seat. Not only does it provide added comfort, but it also enhances the overall aesthetic appeal of your living space.
Throughout this DIY journey, you learned how to gather the necessary materials, accurately measure the window seat, choose the right foam and fabric, and sew the cushion cover. You also explored the option of adding accents and secured the cushion to the window seat using Velcro or ties. Now, you can sit back and enjoy your cozy and inviting window seat.
Remember, the possibilities for customization are endless. Feel free to experiment with different fabrics, colors, patterns, and decorative elements to create a window seat cushion that truly reflects your personal style and adds a unique touch to your space. Whether you prefer a classic, modern, or eclectic look, your window seat cushion serves as a versatile and functional addition to your home.
Don’t forget to regularly clean and maintain your cushion to keep it in pristine condition. Follow the care instructions for the fabric you chose, and address any spills or stains promptly to ensure long-lasting durability.
We hope that this guide has empowered you with the knowledge and inspiration to embark on more DIY projects in the future. Creating your own home decor not only saves money but also allows you to infuse your living space with your personal touch and creativity.
Thank you for joining us on this journey to make a window seat cushion. We hope you enjoy many comfortable and memorable moments on your beautiful new seating area. Happy crafting!
Frequently Asked Questions about How To Make A Window Seat Cushion
Was this page helpful?
At Storables.com, we guarantee accurate and reliable information. Our content, validated by Expert Board Contributors, is crafted following stringent Editorial Policies. We're committed to providing you with well-researched, expert-backed insights for all your informational needs.

0 thoughts on “How To Make A Window Seat Cushion”