Home>Furniture>Living Room Furniture>How To Make Window Seat Cushions
Living Room Furniture
How To Make Window Seat Cushions
Modified: March 16, 2024
Learn how to make comfortable window seat cushions for your living room furniture. Transform your space with these DIY cushion tips and tricks.
(Many of the links in this article redirect to a specific reviewed product. Your purchase of these products through affiliate links helps to generate commission for Storables.com, at no extra cost. Learn more)
Introduction
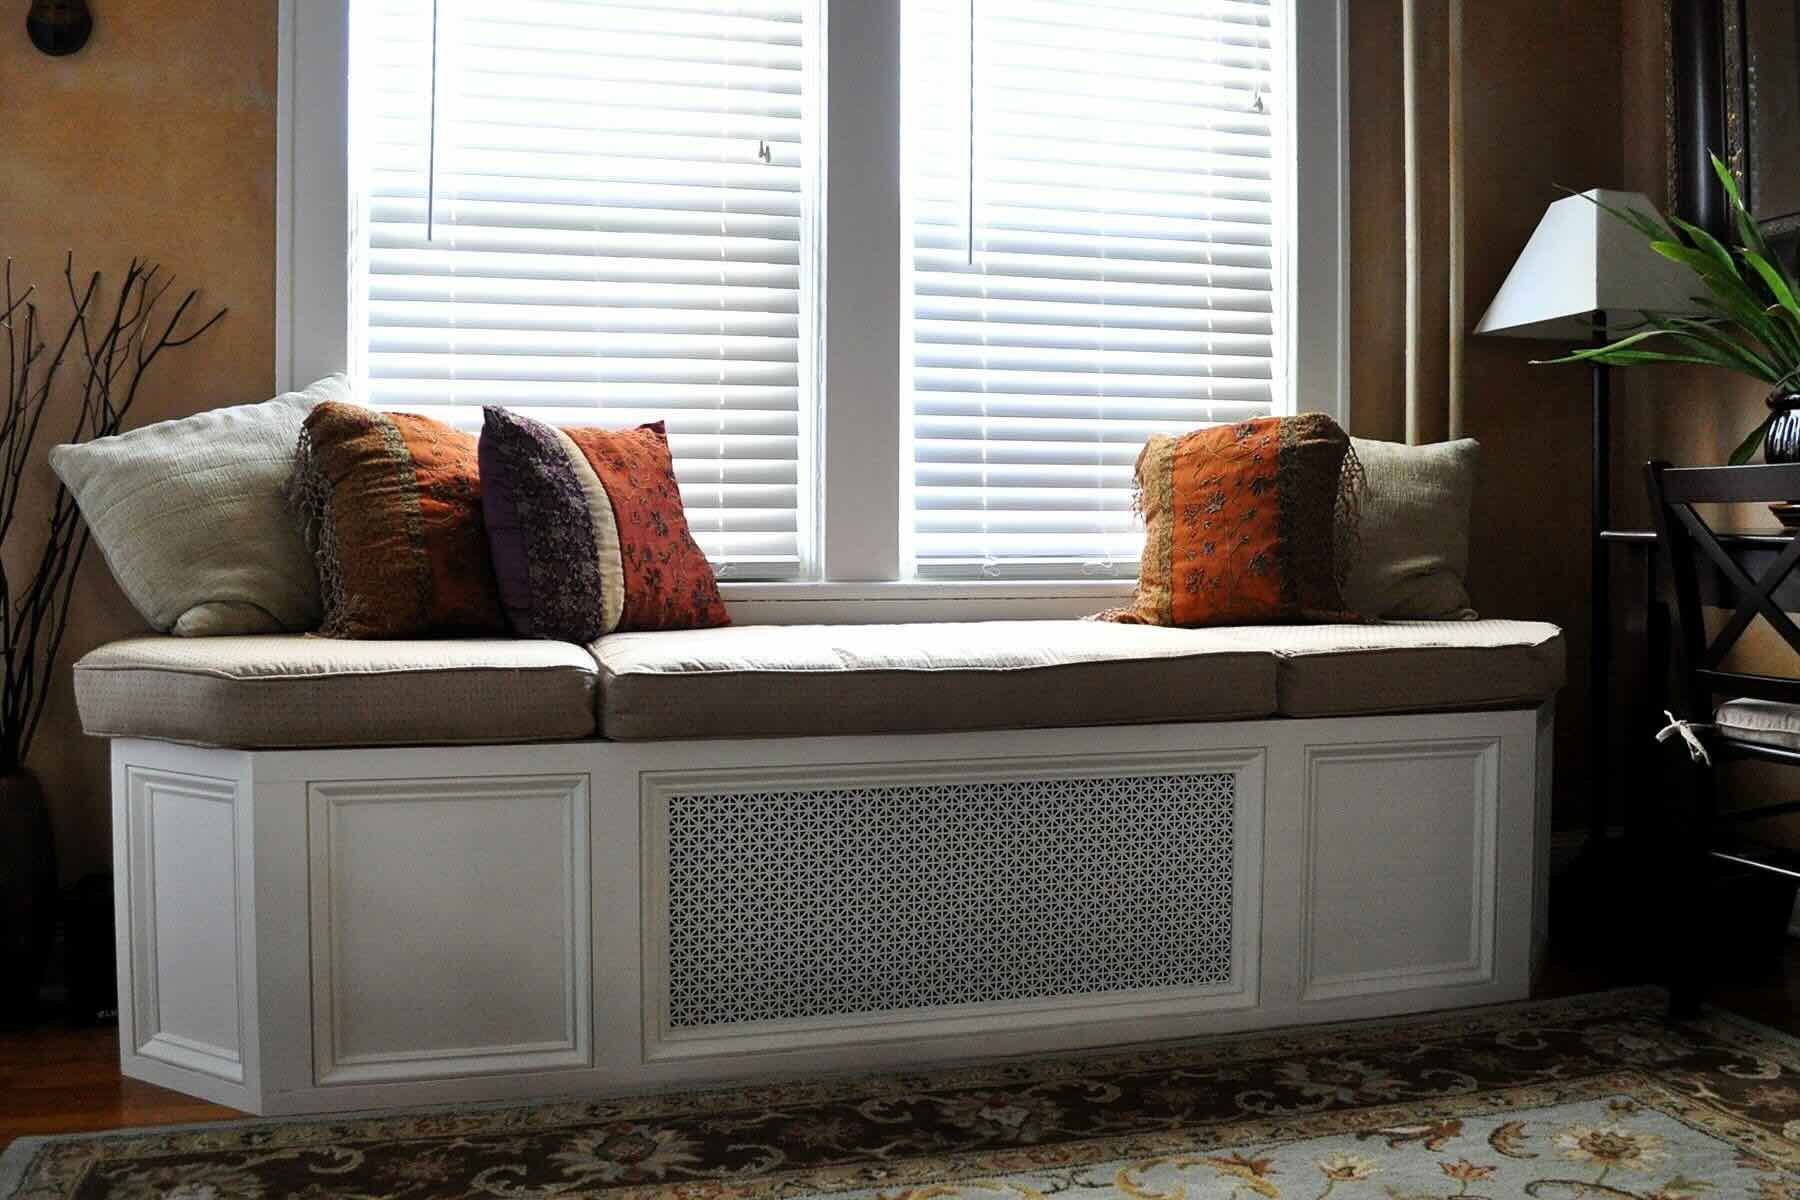
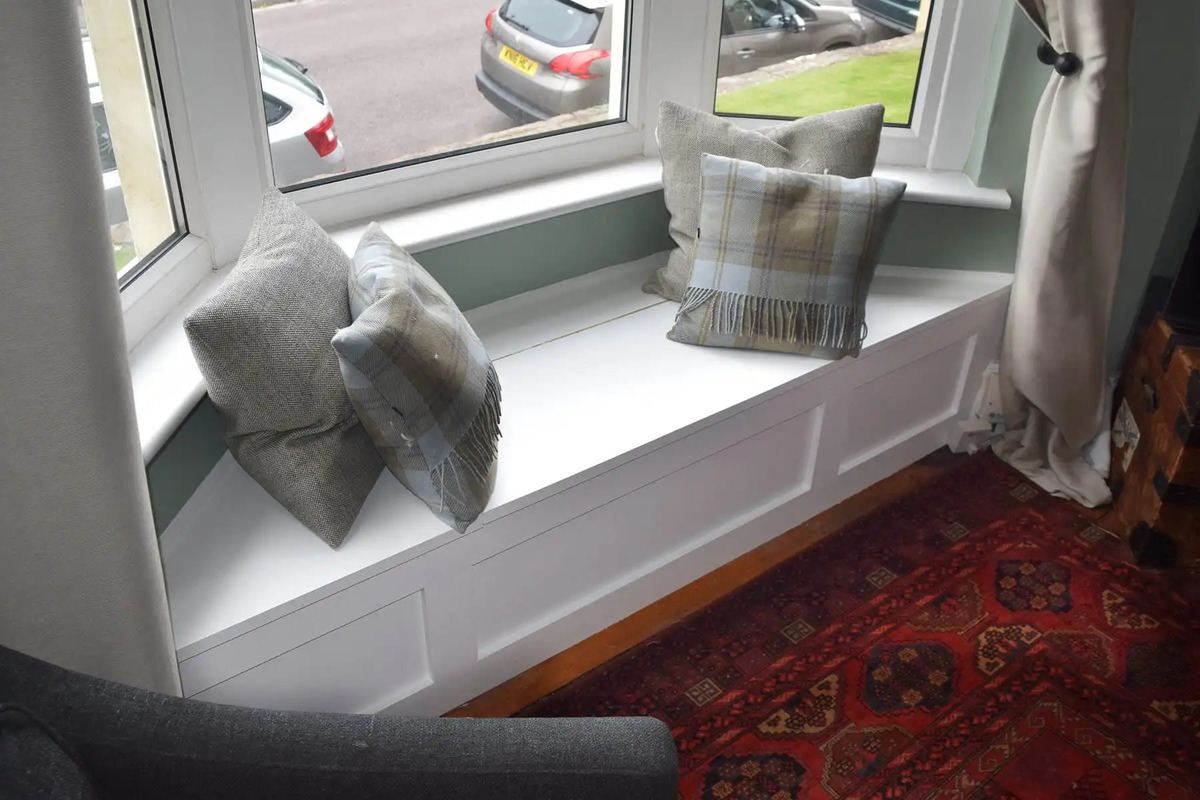
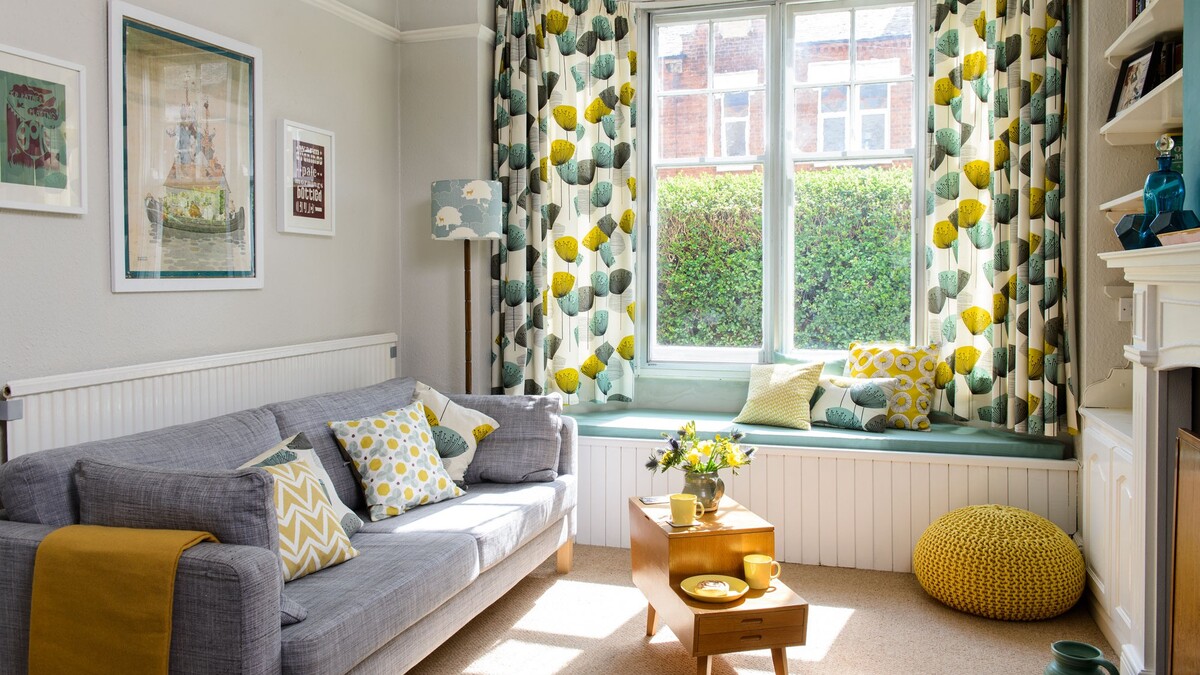
Welcome to the ultimate guide on how to make window seat cushions. If you have a cozy window nook that begs for a comfortable seating area, a custom-made cushion is the perfect solution. Not only will it add a touch of style and comfort to your space, but it will also allow you to maximize the functionality of your window seat.
Whether you’re a seasoned DIY enthusiast or a complete beginner, this comprehensive guide will walk you through the step-by-step process of creating beautiful and comfortable window seat cushions. So roll up your sleeves, gather your materials, and let’s get started!
Creating a custom window seat cushion requires careful planning and attention to detail. This guide will cover everything you need to know, from measuring and cutting the fabric to sewing the cushion cover and attaching it to your window seat. We’ll also explore different options for foam or padding, as well as decorative touches to personalize your cushion.
Before we dive into the process, let’s take a look at the materials you’ll need to get started. Having these on hand will ensure a smooth and efficient project:
Key Takeaways:
- Create custom window seat cushions for a cozy and stylish seating area. Follow the step-by-step guide to measure, cut, sew, and add foam, then personalize with decorative options.
- Enjoy the DIY process of making window seat cushions. Gather materials, measure accurately, sew with care, and add personal touches for a unique and comfortable seating space.
Read more: How To Make A Window Seat Cushion
Materials Needed
Here’s a list of the materials you’ll need to make your window seat cushions:
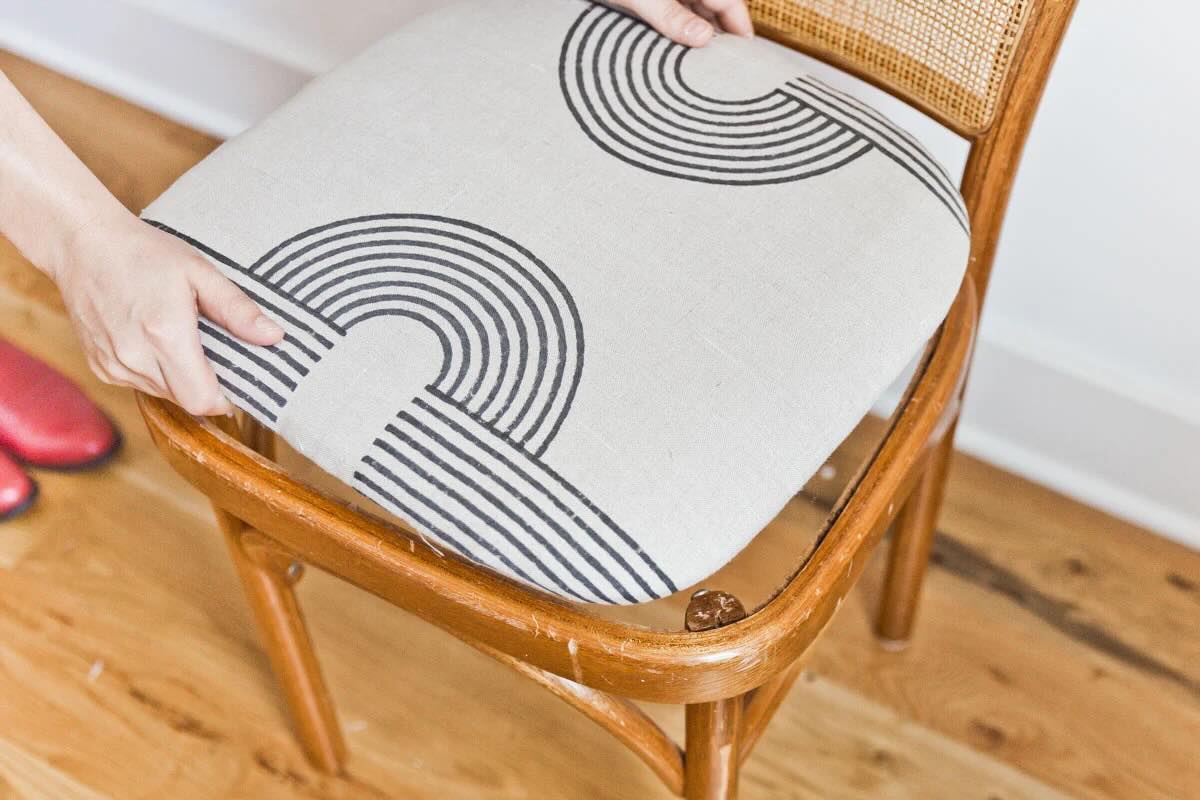
- Fabric: Choose a sturdy and durable fabric that complements your decor. Consider factors such as color, pattern, and texture.
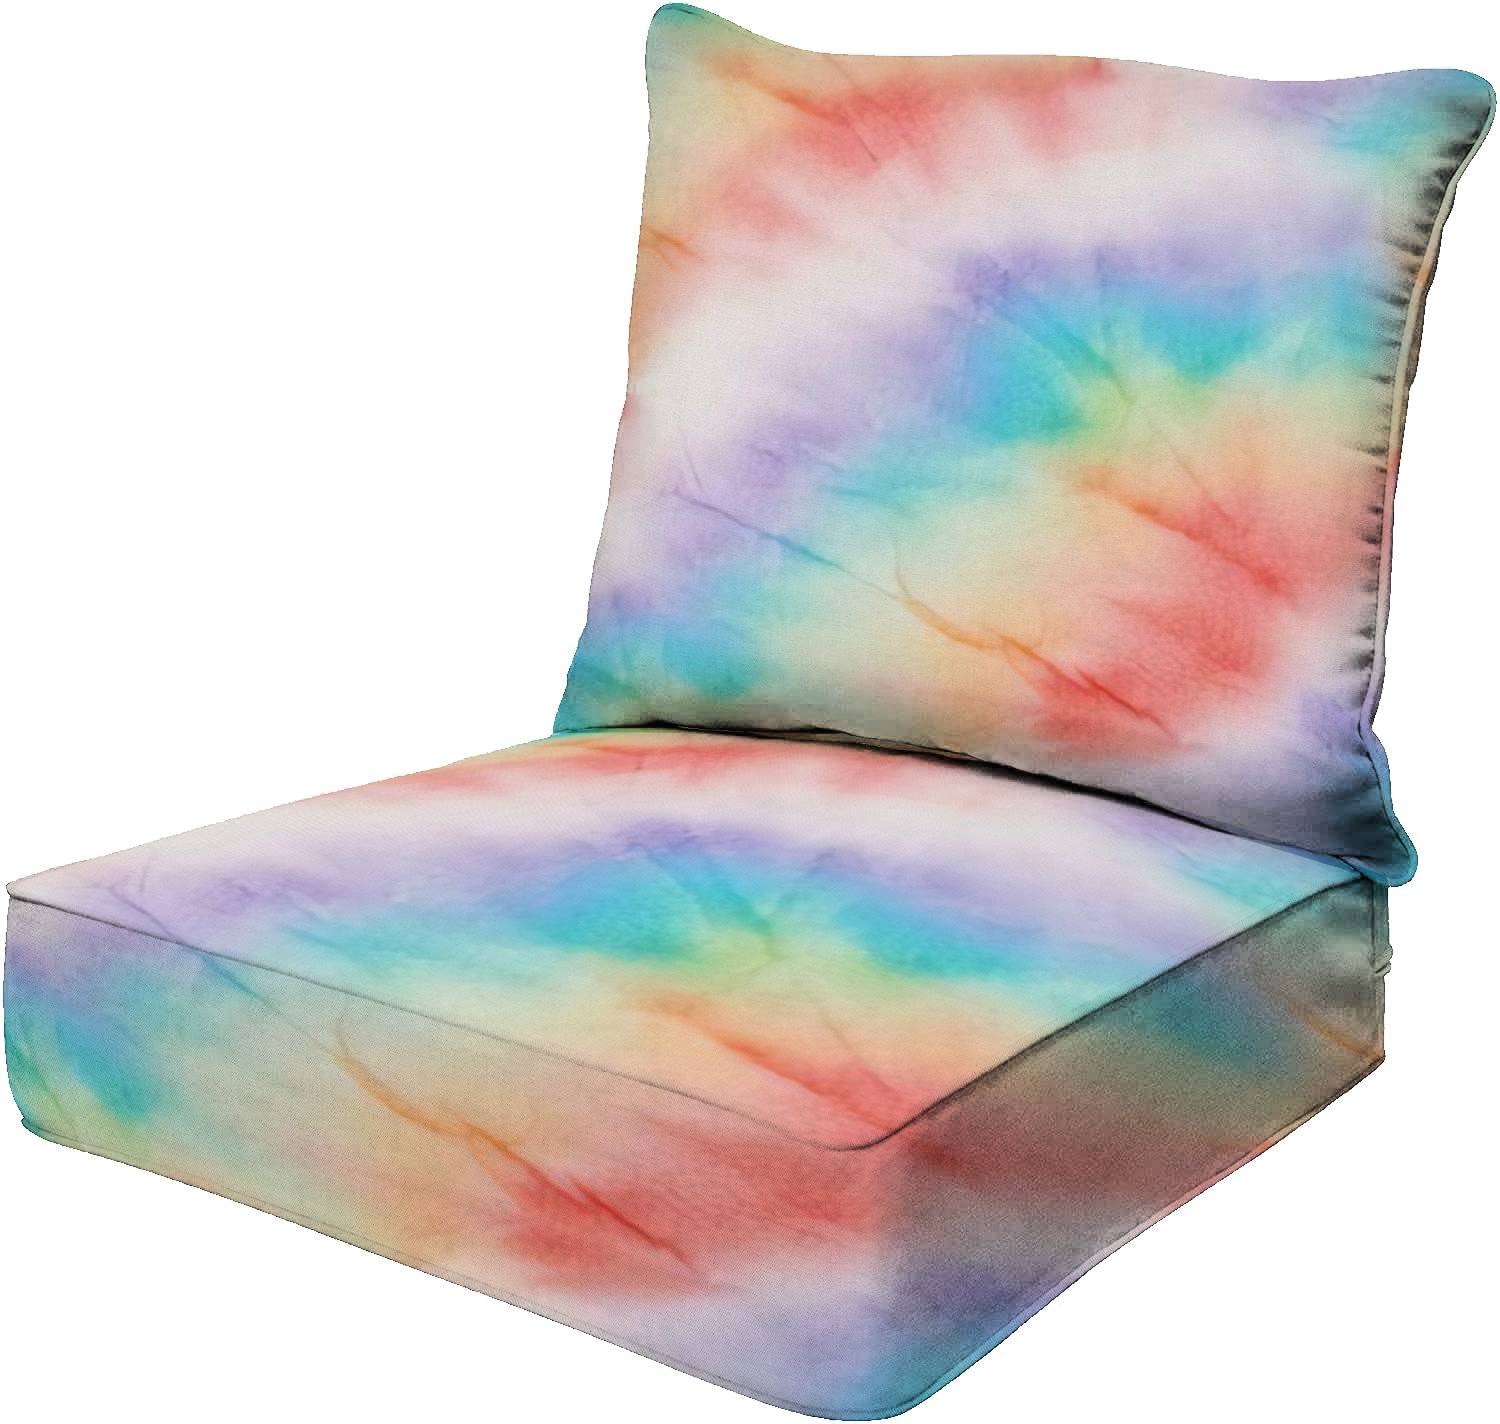
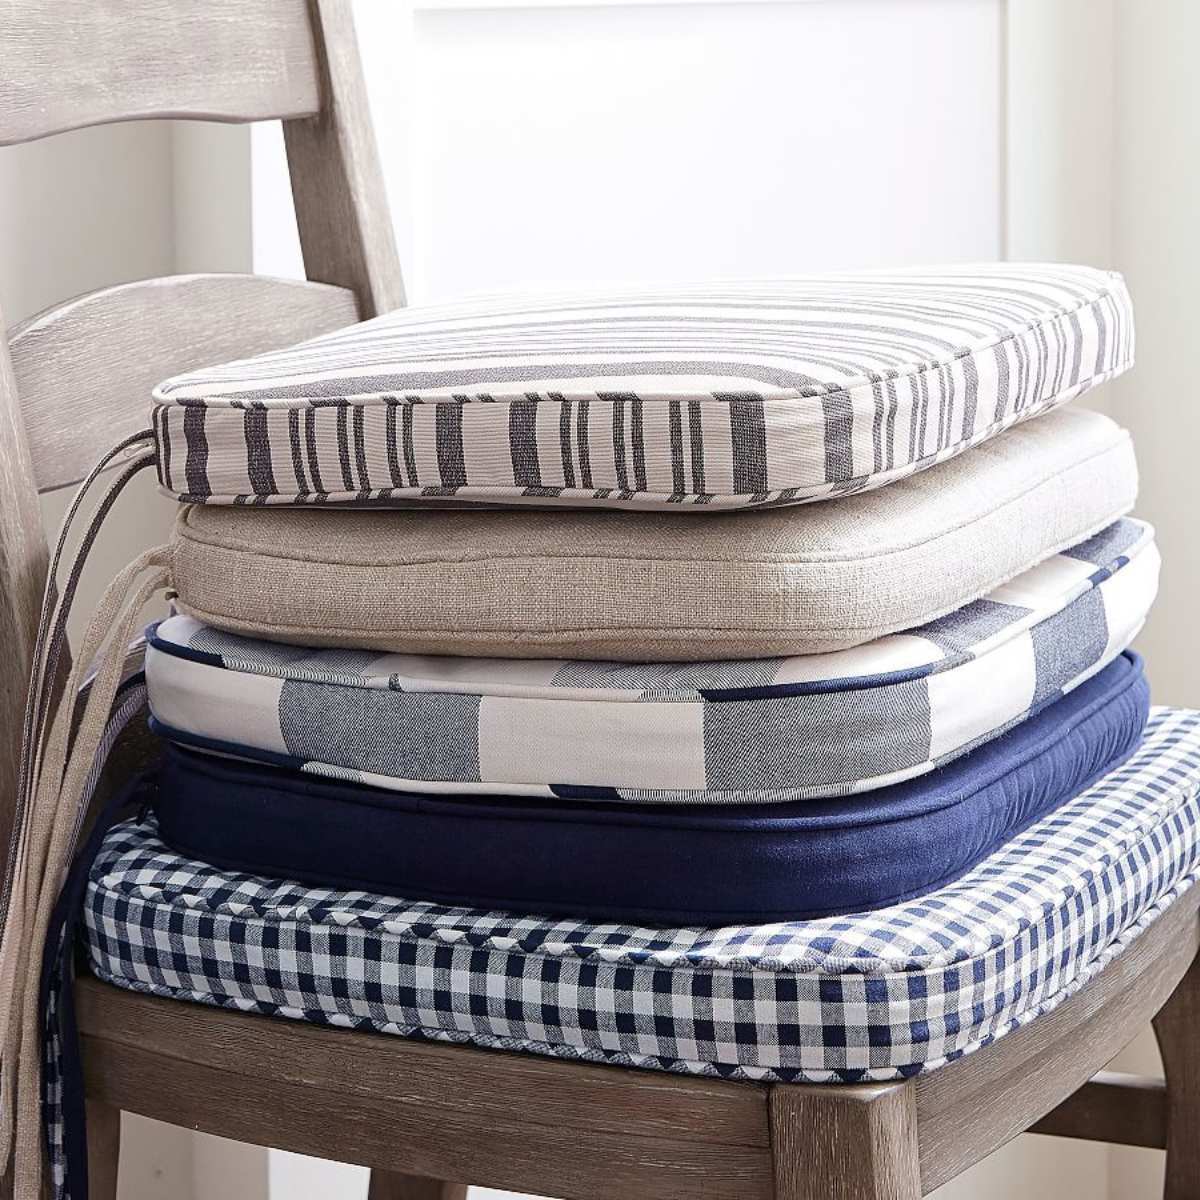
- Foam or padding: Select a comfortable and high-quality material to provide cushioning. Foam is recommended for its resilience and support.
- Measuring tape: Accurate measurements are vital for ensuring a proper fit.
- Scissors: Invest in a pair of sharp fabric scissors for precise cutting.
- Sewing machine: While hand sewing is an option, a sewing machine will make the process faster and more efficient.
- Thread: Choose a thread that matches your fabric for a seamless finish.
- Velcro or zippers: These will be used to secure the cushion cover to the window seat.
- Pins: Pins are essential for holding fabric layers together during the sewing process.
- Measuring ruler: A ruler or measuring stick will aid in accurate measurements and straight lines.
Having these materials on hand will ensure that you have everything you need to complete the project without any delays. Now that you have your supplies ready, let’s move on to the next step: measuring and cutting the fabric.
Measuring and Cutting
Before you begin cutting your fabric, it’s essential to take accurate measurements of your window seat. This will ensure that your cushion fits perfectly and provides optimum comfort. Follow these steps to measure and cut your fabric:
- Measure the length and width of your window seat. Use a measuring tape to get precise measurements from the back edge to the front edge and from side to side.
- Add a few inches to each measurement to account for seam allowances and a snug fit. This will prevent your cushion from being too tight or too loose.
- Transfer your measurements to the fabric, using a measuring ruler to draw straight lines. Double-check your measurements before cutting to avoid any mistakes.
- Using sharp fabric scissors, carefully cut along the marked lines. Take your time to ensure clean and precise cuts.
Once you’ve cut the main piece of fabric to match the dimensions of your window seat, you may also need to cut additional pieces if you plan on adding decorative elements or if you’ll be using a different fabric for the cushion sides or back. Make sure to label each piece to avoid confusion during the sewing process.
Remember, it’s always better to measure twice and cut once. Taking the time to measure accurately will save you from any potential headaches later on. With your fabric cut to size, let’s move on to the next step: sewing the cushion cover.
Sewing the Cushion Cover
Now that you have your fabric cut to size, it’s time to sew the cushion cover. Follow these steps to create a beautifully tailored cover for your window seat cushion:
- Start by folding the fabric in half with the right sides facing each other. Pin the edges together to secure them for sewing.
- Using a sewing machine, stitch along the pinned edges, leaving one side open for inserting the foam or padding. Use a straight stitch and backstitch at the beginning and end to reinforce the seam.
- Once the sides are stitched, remove any excess fabric by trimming the seam allowance. Be careful not to cut the stitches.
- Turn the cover right-side out, gently pushing out the corners to create clean edges. Use a pencil eraser or a chopstick to achieve crisp corners.
- Iron the cover to remove any wrinkles or creases. This step will give your cushion cover a polished and professional look.
- If desired, you can topstitch along the edges for added durability and a decorative finish. This step is optional but can add a nice touch to the overall design.
Once your cushion cover is sewn and pressed, it’s time to move on to the next step: adding foam or padding to make your cushion comfortable and cozy. Let’s continue with the process.
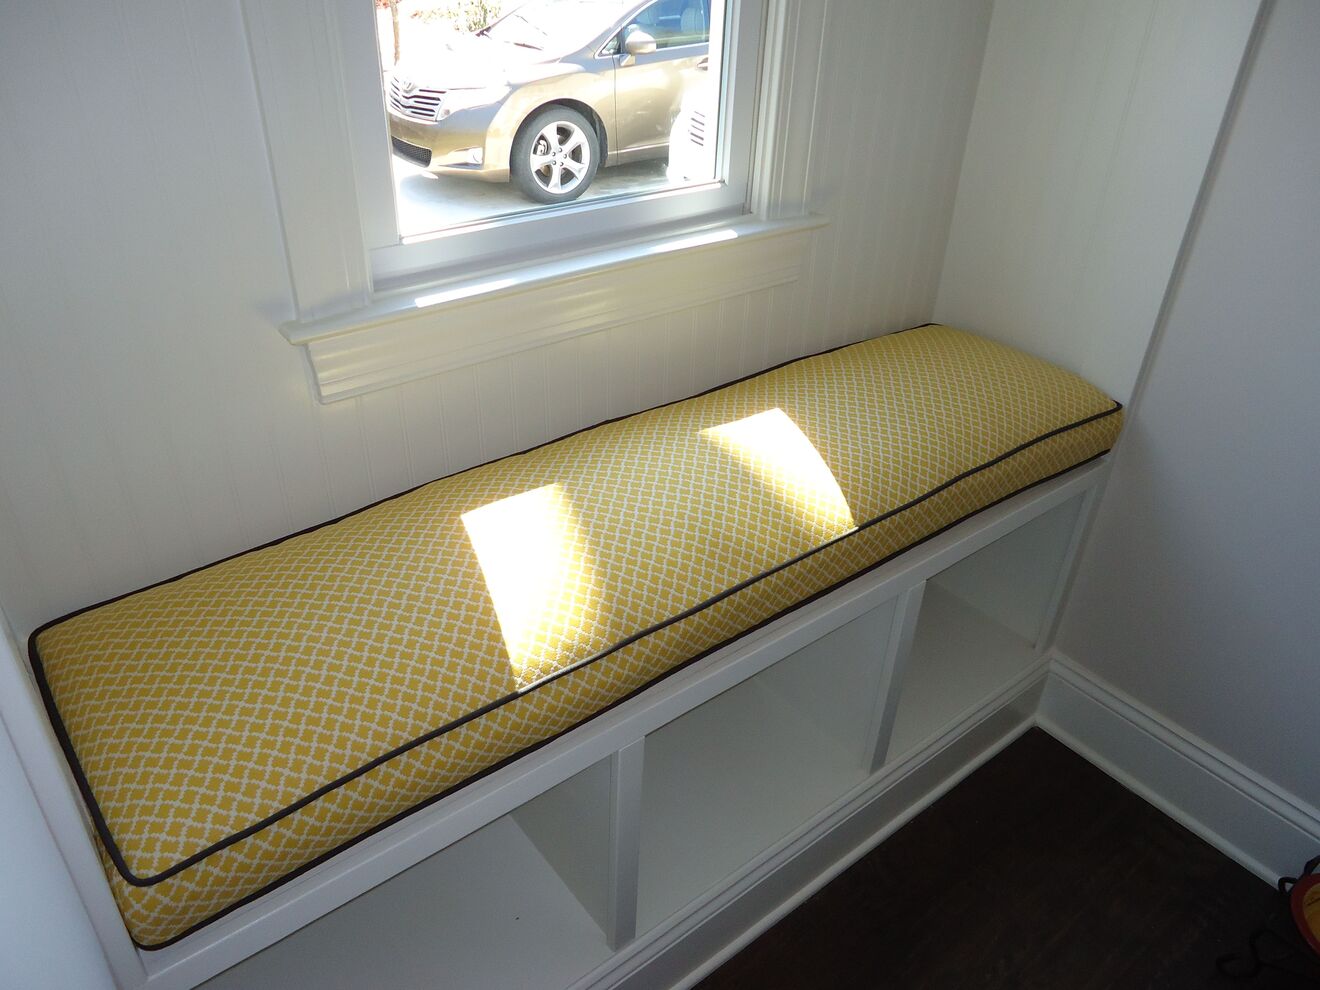
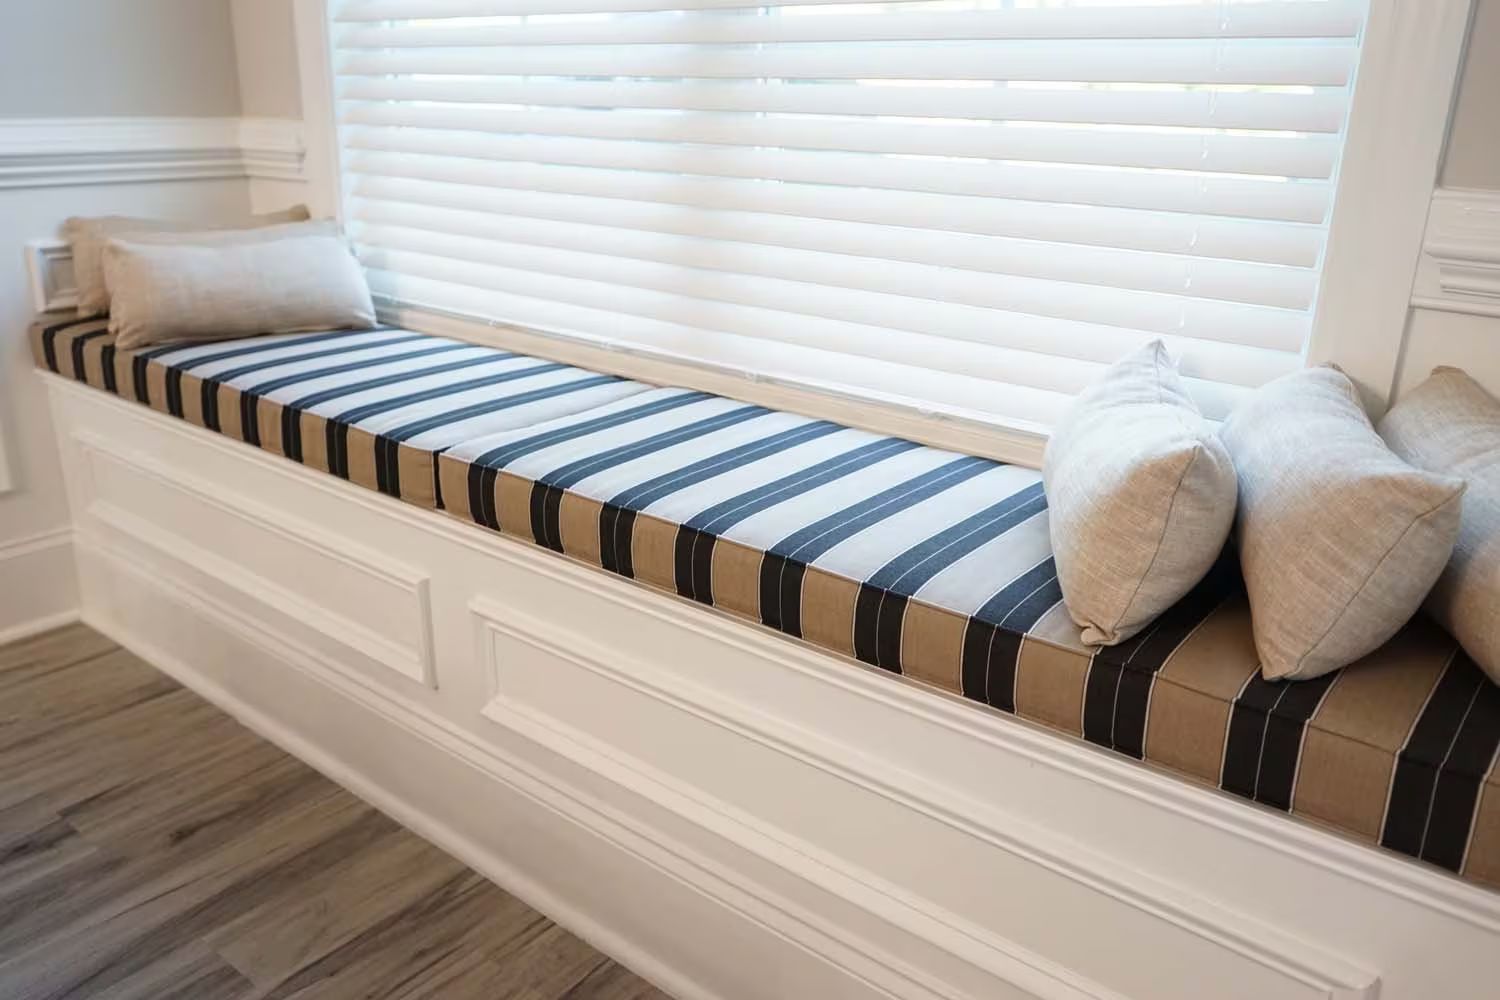
When making window seat cushions, be sure to measure the window seat accurately to ensure a perfect fit. Use high-density foam for durability and comfort, and choose a durable, easy-to-clean fabric for the cover.
Adding Foam or Padding
Now that you have the cushion cover ready, it’s time to add the foam or padding to make your window seat cushion soft and comfortable. Follow these steps to ensure a plush seating experience:
- Measure the dimensions of your window seat to determine the size of the foam or padding needed. Cut the foam or padding accordingly using sharp scissors or a utility knife.
- Place the foam or padding inside the cushion cover, making sure it fits snugly. If necessary, trim the foam or padding to achieve the desired fit.
- For extra softness, you can add a layer of batting or stuffing over the foam or padding. This will provide additional cushioning and a plush feel.
- Smooth out any wrinkles or lumps in the foam or padding to ensure an even and comfortable surface.
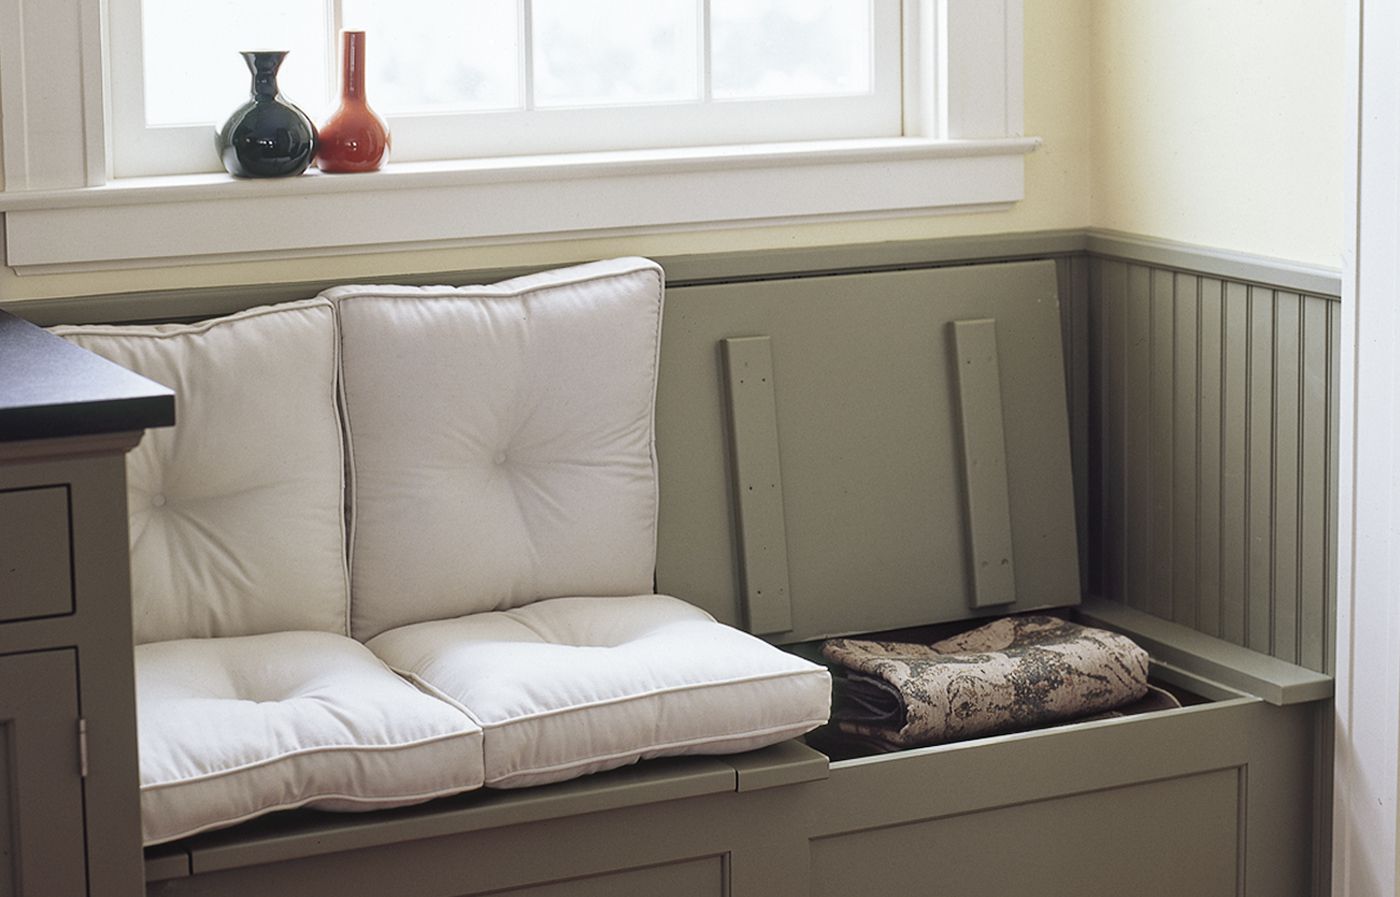
With the foam or padding in place, your window seat cushion is almost complete. The next step is to attach Velcro or zippers to secure the cushion cover to the window seat. Let’s explore these options in the next section.
Read more: How To Make A No-Sew Window Seat Cushion
Attaching Velcro or Zippers
To secure your window seat cushion to the seat itself, you have the option of using either Velcro or zippers. Here’s how you can attach them:
Velcro:
- Measure and cut two strips of Velcro tape—one for the cushion cover and one for the window seat.
- Attach one side of the Velcro tape to the bottom of the cushion cover, sewing it securely along the edge.
- Attach the other side of the Velcro tape to the top surface of the window seat, ensuring it aligns with the tape on the cushion cover when placed on the seat.
- Press the cushion firmly onto the window seat to secure it in place using the Velcro.
Zippers:
- Measure and cut a piece of zipper tape slightly shorter than the length of the cushion cover opening.
- Position the zipper tape along the edge of the cushion cover opening, with the zipper teeth facing down and the fabric edges aligned.
- Using a zipper foot on your sewing machine, stitch the zipper tape in place, making sure to sew close to the teeth but not too close to avoid catching the fabric.
- Repeat the same process for the other side of the zipper tape on the opposite edge of the cushion cover opening.
- Attach the corresponding zipper slider to the zipper tape, ensuring it zips smoothly and securely.
Whether you choose Velcro or zippers, both options will allow you to easily remove the cushion cover for cleaning or replacement. Choose the method that suits your preference and sewing skill level.
With your cushion cover securely attached to the window seat, it’s time to add some finishing touches and consider decorative options. Let’s explore these in the next section.
Finishing Touches and Decorative Options
Now that your window seat cushion is complete, it’s time to add some finishing touches and explore decorative options to personalize your seating area. Here are a few ideas to consider:
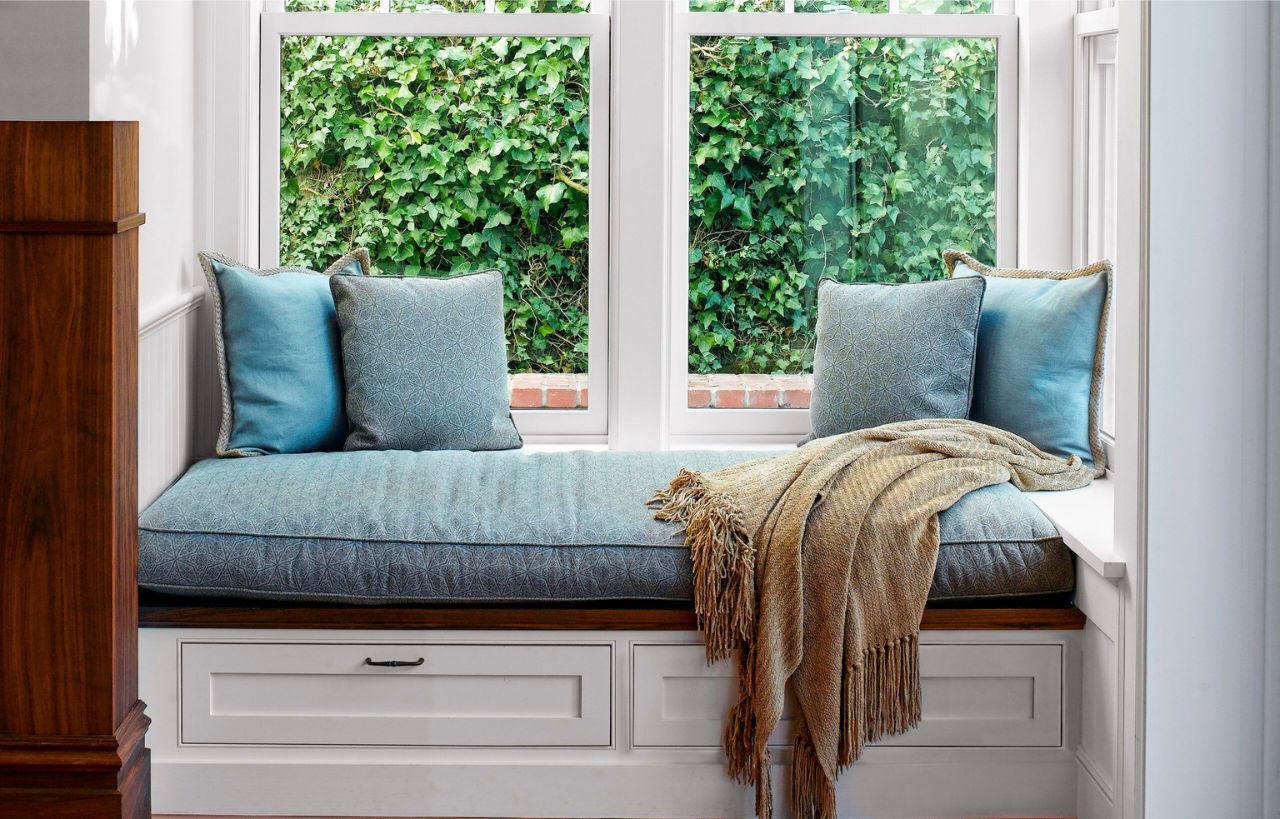
- Piping or Trim: Consider adding piping or decorative trim along the edges of your cushion cover. This will add a polished and finished look to your window seat.
- Buttons: Sewing buttons onto your cushion cover can create a tufted effect, adding a touch of elegance to the overall design.
- Embroidery or Applique: Get creative by adding embroidery or applique designs to your cushion cover. This allows you to customize the cushion with unique patterns or thematic elements.
- Cushion Ties: If you prefer a more streamlined look, consider adding fabric ties to the corners of the cushion cover. These can be attached to the window seat to keep the cushion in place without the need for Velcro or zippers.
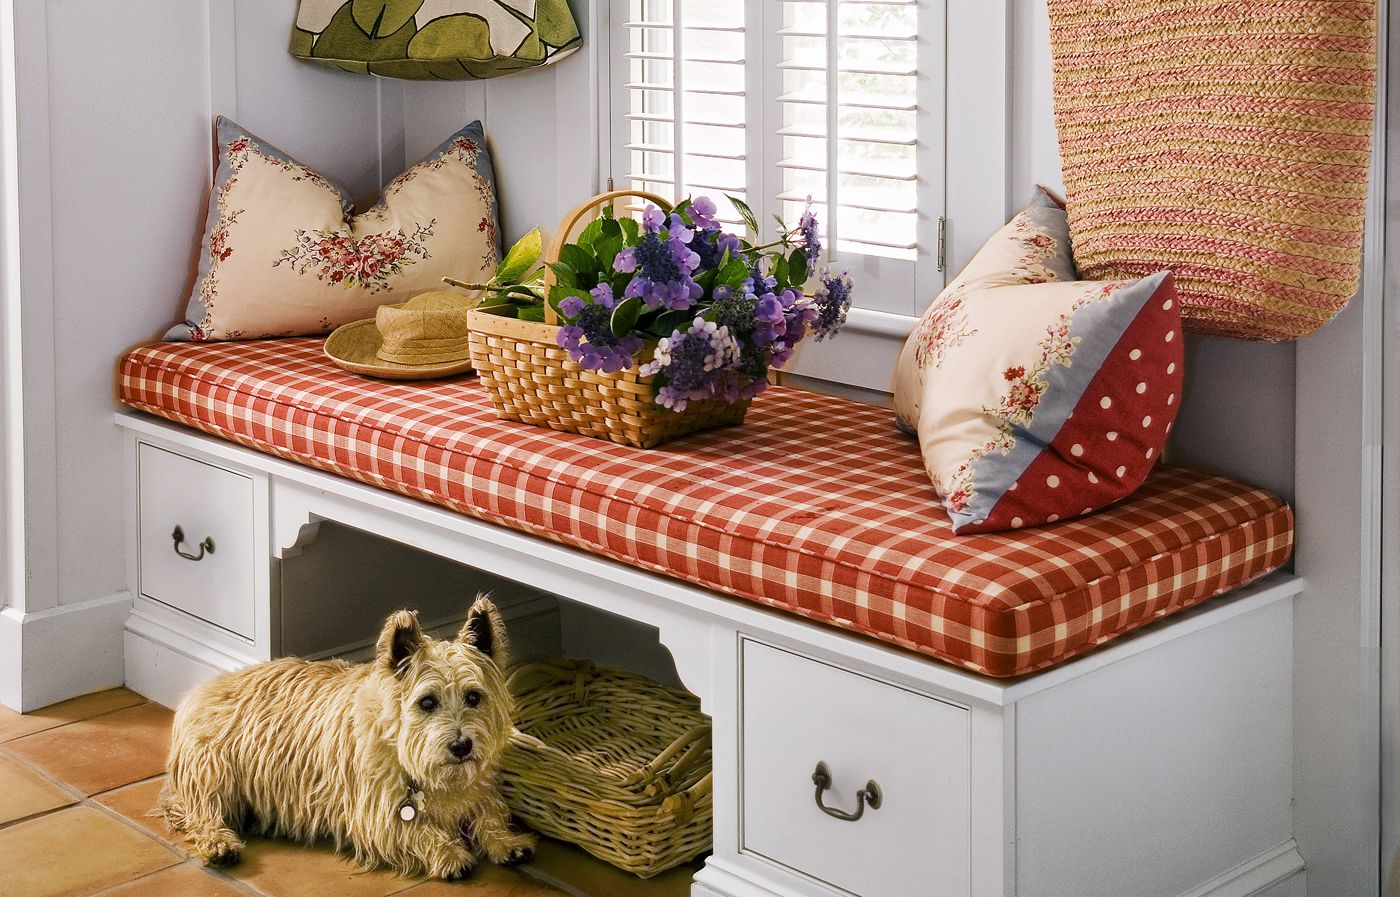
- Additional Pillows: Enhance the comfort and aesthetic appeal of your window seat by adding coordinating throw pillows. Mix and match colors, patterns, and textures for a visually appealing arrangement.
Remember, the goal is to create a window seat cushion that not only provides comfort but also reflects your personal style. Explore different options to find the perfect combination of elements that will make your window seat a cozy and inviting space.
Now that you have all the information and inspiration you need, it’s time to put your skills to the test and create your own window seat cushions. Enjoy the process and take pride in your handmade creation!
With that, we come to the end of our guide on how to make window seat cushions. We hope you found this article helpful and that it has inspired you to tackle this enjoyable DIY project. Happy crafting!
Conclusion
Creating custom window seat cushions is a rewarding DIY project that allows you to transform your window nook into a comfortable and stylish seating area. By following the steps outlined in this guide, you can confidently make your own window seat cushions and enjoy the process of designing and crafting.
Remember to gather all the necessary materials, measure and cut your fabric accurately, and sew the cushion covers with attention to detail. Adding foam or padding will ensure optimal comfort, and attaching Velcro or zippers will keep the cushion covers securely in place.
Don’t forget to add your own personal touch through finishing touches and decorative options like piping, buttons, or embroidery. These additions will make your window seat cushions truly unique and reflective of your style.
Taking on this DIY project allows you to tailor your window seat cushions to fit your space perfectly. It’s also a fantastic opportunity to showcase your creativity and design skills.
We hope this guide has provided you with valuable insights and inspiration to embark on your window seat cushion-making journey. So, gather your materials, unleash your creativity, and enjoy the process of creating beautiful and comfortable window seat cushions!
Happy crafting!
Frequently Asked Questions about How To Make Window Seat Cushions
Was this page helpful?
At Storables.com, we guarantee accurate and reliable information. Our content, validated by Expert Board Contributors, is crafted following stringent Editorial Policies. We're committed to providing you with well-researched, expert-backed insights for all your informational needs.

0 thoughts on “How To Make Window Seat Cushions”