Home>Gardening & Outdoor>Outdoor Structures>How To Make A Floor For A Shed
Outdoor Structures
How To Make A Floor For A Shed
Modified: April 22, 2024
Learn how to build a durable and functional floor for your outdoor shed with our step-by-step guide. Create a solid foundation for your shed with our expert tips.
(Many of the links in this article redirect to a specific reviewed product. Your purchase of these products through affiliate links helps to generate commission for Storables.com, at no extra cost. Learn more)
Introduction
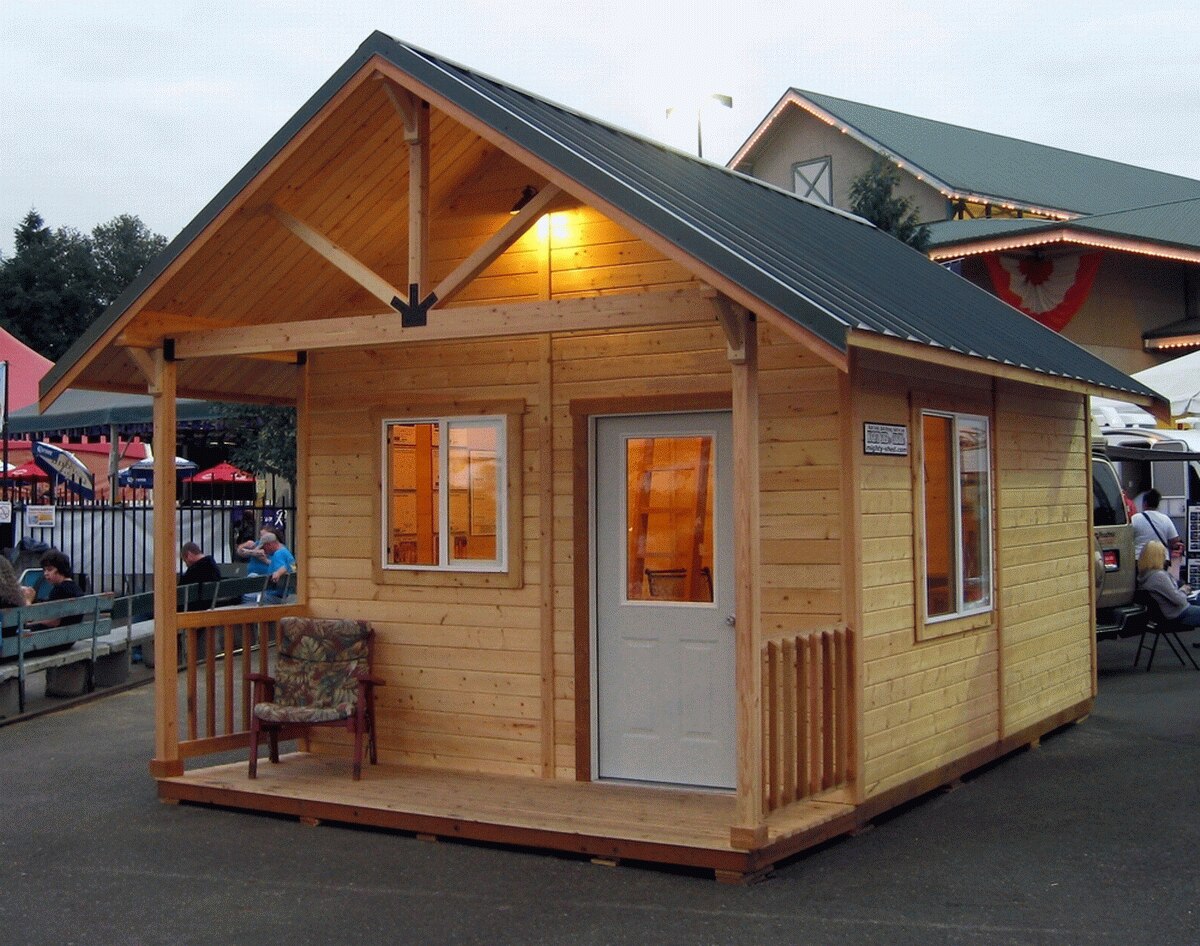
Creating a sturdy and reliable floor for your shed is crucial for ensuring the longevity and functionality of the structure. Whether you plan to use your shed for storage, as a workshop, or any other purpose, a well-constructed floor is essential for providing a stable and level surface. In this comprehensive guide, we will walk you through the step-by-step process of building a solid floor for your shed. From gathering the necessary materials and tools to the final installation, you will gain the knowledge and confidence to tackle this project with ease.
A well-built shed floor not only provides a level base for the shed itself but also helps to protect your belongings from moisture and pests. By following the detailed instructions in this guide, you will be able to create a durable and functional floor that meets your specific needs. Whether you are a seasoned DIY enthusiast or a novice looking to expand your skills, this guide will equip you with the essential knowledge to complete this project successfully.
So, roll up your sleeves, gather your tools, and let's dive into the process of constructing a solid and reliable floor for your shed. With a bit of effort and the right guidance, you can create a space that not only meets your practical needs but also enhances the overall appeal and functionality of your outdoor area. Let's get started!
Key Takeaways:
- Building a shed floor requires careful planning, precise measurements, and the right materials. By following step-by-step instructions, you can create a sturdy and reliable space for storage, workshops, or other activities.
- A well-constructed shed floor not only provides a level base for the shed but also protects belongings from moisture and pests. Attention to detail and thoroughness throughout the construction process contribute to the functionality and longevity of the shed.
Read more: How To Make A Floor For A Metal Shed
Step 1: Gather Materials and Tools
Before embarking on the construction of a shed floor, it is essential to gather all the necessary materials and tools to ensure a smooth and efficient building process. Here is a comprehensive list of the items you will need:
Materials:
- Pressure-treated lumber for the floor frame
- Exterior-grade plywood or oriented strand board (OSB) for the floor surface
- Galvanized nails or screws
- Gravel or crushed stone for the foundation
- Concrete blocks or solid concrete piers
- Moisture barrier or landscape fabric
Tools:
- Tape measure
- Level
- Hammer or nail gun
- Circular saw
- Power drill with screwdriver bits
- Shovel
- Wheelbarrow
- Work gloves and safety goggles
By ensuring that you have all the required materials and tools on hand, you can streamline the construction process and minimize interruptions. Additionally, it is advisable to double-check the quantities of lumber, fasteners, and other items to avoid delays due to shortages.
Once you have gathered all the necessary materials and tools, you are ready to move on to the next step: preparing the foundation for your shed floor. With careful planning and attention to detail, you can set the stage for a successful and rewarding construction experience.
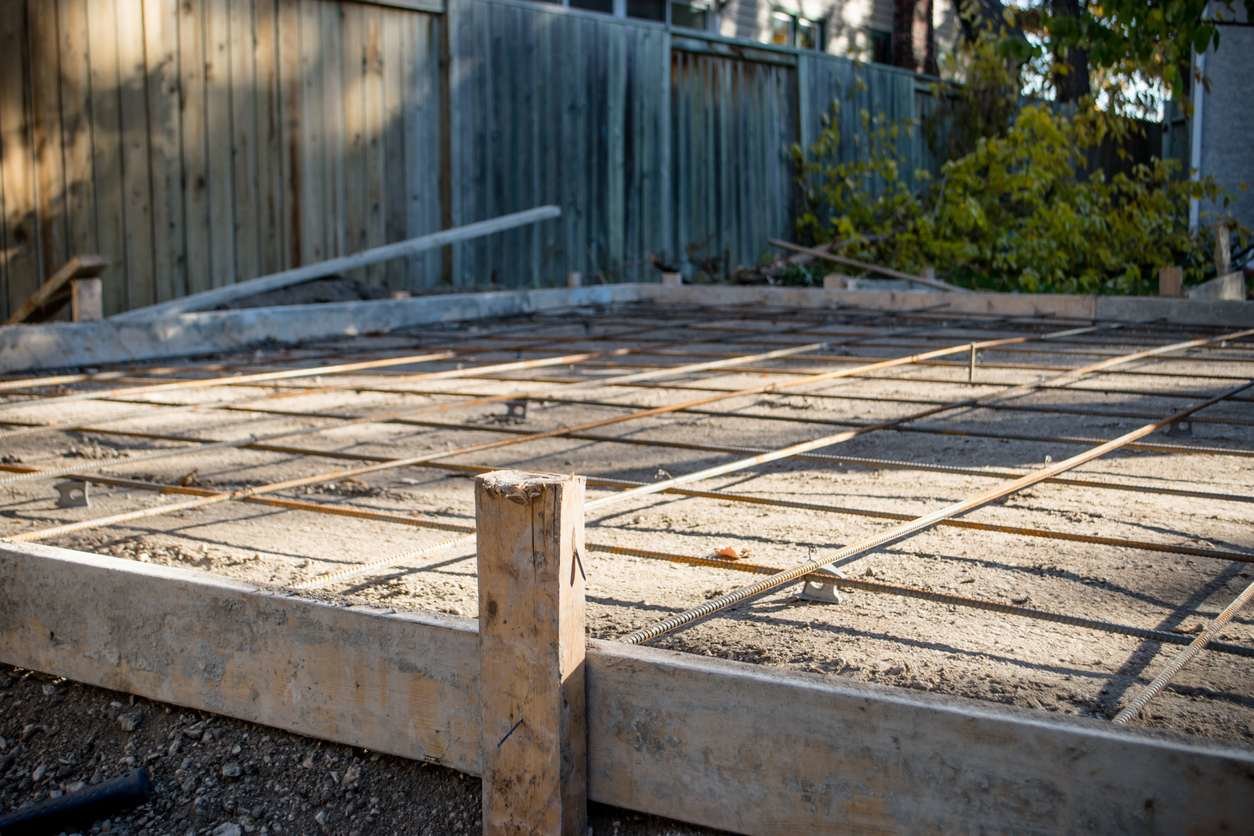
Step 2: Prepare the Foundation
Before constructing the floor for your shed, it is crucial to prepare a solid and level foundation. The foundation serves as the base on which the floor structure will rest, providing stability and preventing moisture from seeping into the shed. Here are the key steps to prepare the foundation:
Read more: How To Insulate The Floor Of A Shed
1. Clear the Area:
Begin by clearing the area where the shed will be located. Remove any vegetation, rocks, or debris, and ensure that the ground is relatively level. This step is essential for creating a stable base for the foundation.
2. Mark the Layout:
Use stakes and string to outline the perimeter of the shed. Double-check the dimensions and ensure that the layout is square by measuring diagonally from corner to corner. This will help you establish the exact location for the foundation.
3. Excavate the Site:
Using a shovel, excavate the area within the marked perimeter to a depth of several inches. The depth of the excavation will depend on the type of foundation you plan to use. For example, if you are using concrete blocks or piers, the excavation will need to accommodate their height.
4. Add Gravel or Crushed Stone:
Once the site is excavated, spread a layer of gravel or crushed stone evenly across the area. This will provide a stable and well-draining base for the foundation. Use a tamper to compact the gravel and ensure a solid foundation.
Read more: How To Replace A Shed Floor
5. Install Concrete Blocks or Piers:
Depending on your shed’s size and design, you can choose to use solid concrete blocks or concrete piers to support the floor frame. Place the blocks or piers at strategic intervals within the excavated area, ensuring that they are level and properly aligned.
6. Use Moisture Barrier:
To further protect the floor structure from moisture, consider laying a moisture barrier, such as landscape fabric, over the gravel or crushed stone. This will help prevent ground moisture from seeping into the shed, prolonging the life of the floor.
By meticulously preparing the foundation, you are laying the groundwork for a durable and long-lasting shed floor. A well-executed foundation ensures that the floor structure will remain stable and secure, providing a reliable base for all your shed-related activities.
With the foundation in place, you are now ready to proceed to the next step: constructing the floor frame for your shed.
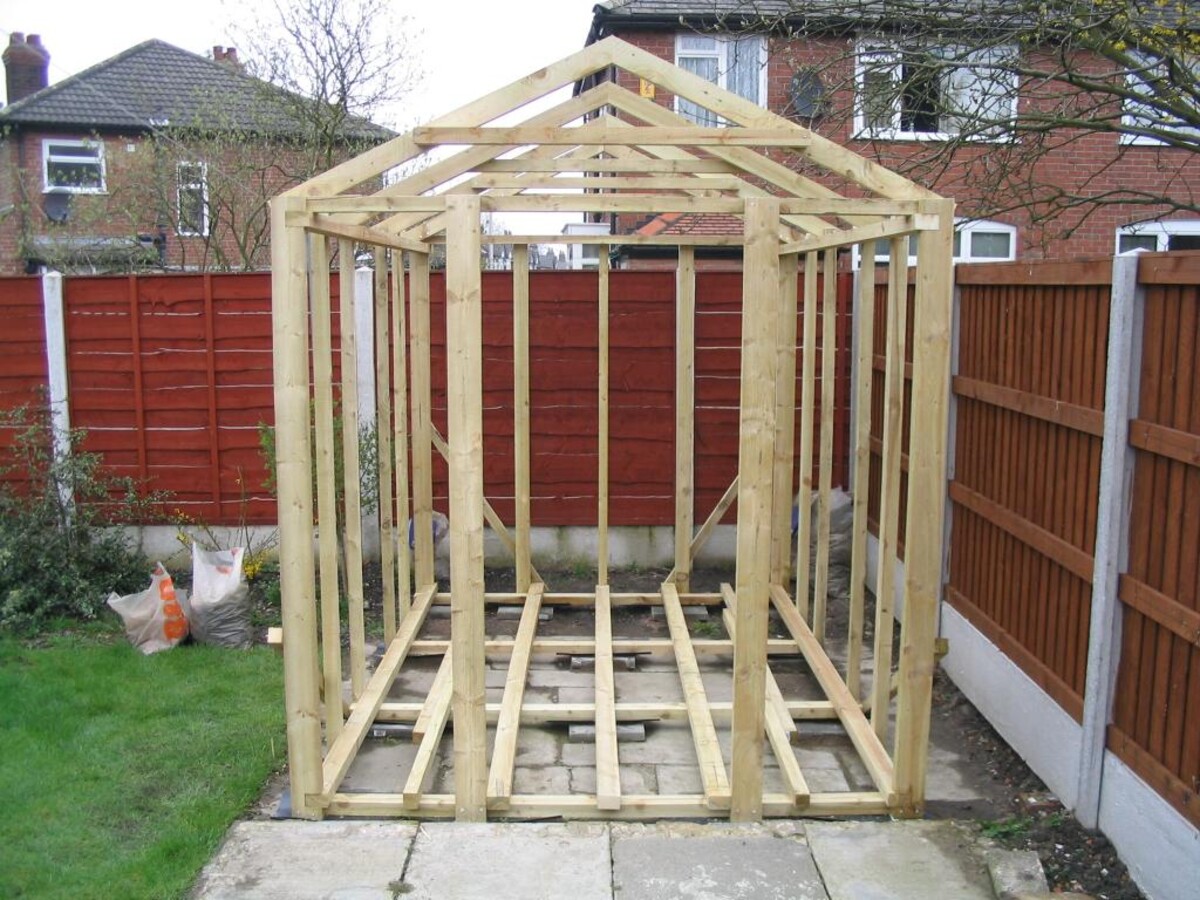
Step 3: Build the Floor Frame
Constructing a sturdy floor frame is essential for providing the structural support and stability necessary for your shed. The floor frame serves as the skeleton on which the floorboards will be installed, and it plays a crucial role in distributing the shed’s weight evenly. Here are the key steps to build the floor frame:
1. Measure and Cut the Lumber:
Begin by measuring and cutting the pressure-treated lumber to the dimensions required for the floor frame. Use a tape measure and a circular saw to ensure precise cuts, and double-check the measurements to guarantee accuracy.
Read more: How To Build A Floor For A Shed
2. Assemble the Outer Frame:
Lay out the cut lumber to create the outer perimeter of the floor frame. Use galvanized nails or screws to secure the corners, ensuring that the frame is square and level. A level is essential for confirming that the frame is even and will provide a flat surface for the floorboards.
3. Add Interior Joists:
Once the outer frame is assembled, add interior joists at regular intervals to provide additional support. The spacing between the joists will depend on the size of your shed, but a common spacing is 16 inches on center. Secure the joists to the outer frame using nails or screws, ensuring that they are level and well-aligned.
4. Check for Squareness and Level:
Before proceeding further, double-check the squareness and levelness of the floor frame. This step is crucial for ensuring that the floor will be flat and stable. Adjust the frame as needed to correct any discrepancies in squareness or levelness.
5. Reinforce the Corners:
To enhance the strength and stability of the floor frame, consider adding corner brackets or braces at each corner. This additional reinforcement helps prevent shifting and ensures that the frame remains solid and secure.
Read more: How To Seal A Shed Floor
6. Treat Exposed Ends:
Since the floor frame will be in direct contact with the ground, it is advisable to treat any exposed cut ends of the lumber with a wood preservative or sealer. This extra step helps protect the wood from moisture and prolongs its lifespan.
By meticulously constructing the floor frame, you are establishing a robust foundation for the shed’s floor. The carefully assembled frame will provide the necessary support for the floorboards and ensure the overall stability of the shed structure.
With the floor frame in place, you are now ready to move on to the next step: installing the floorboards to complete the shed’s floor.
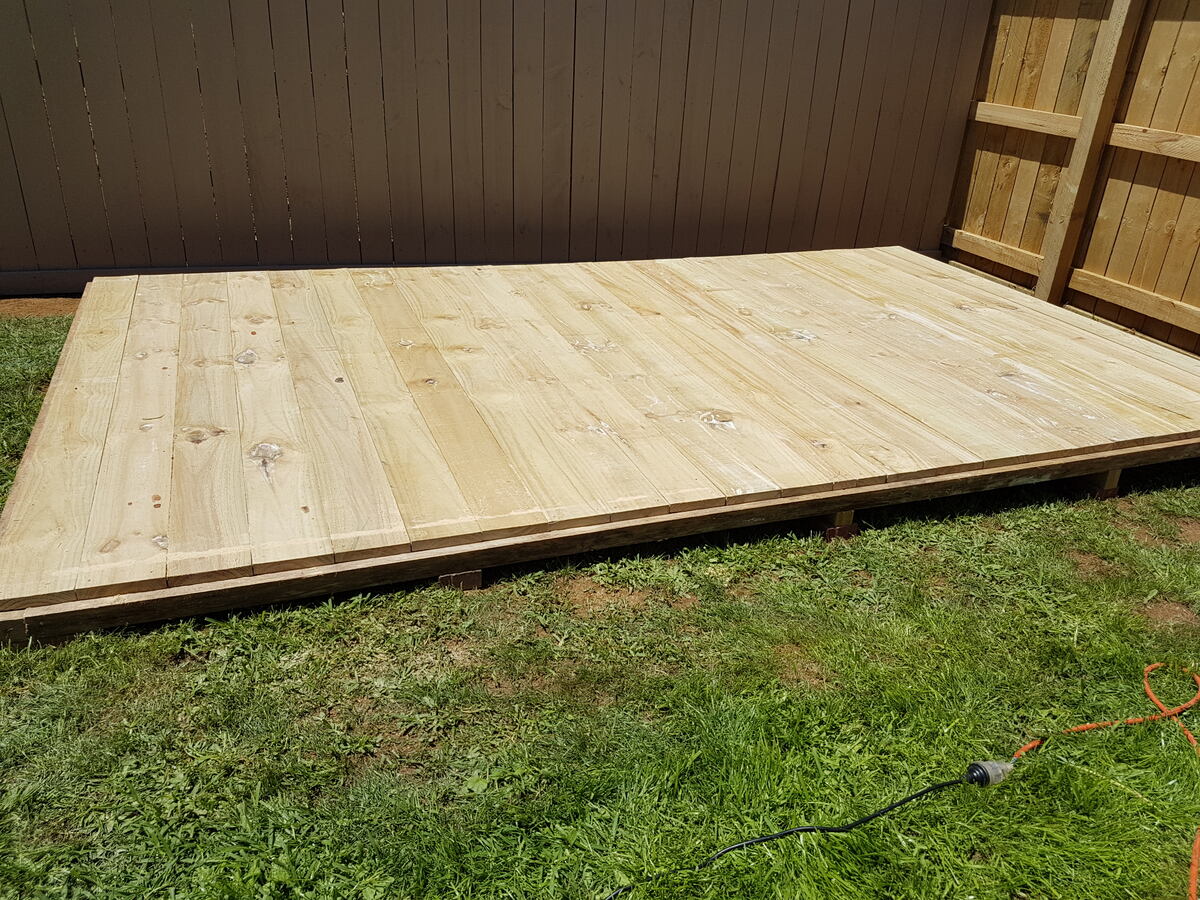
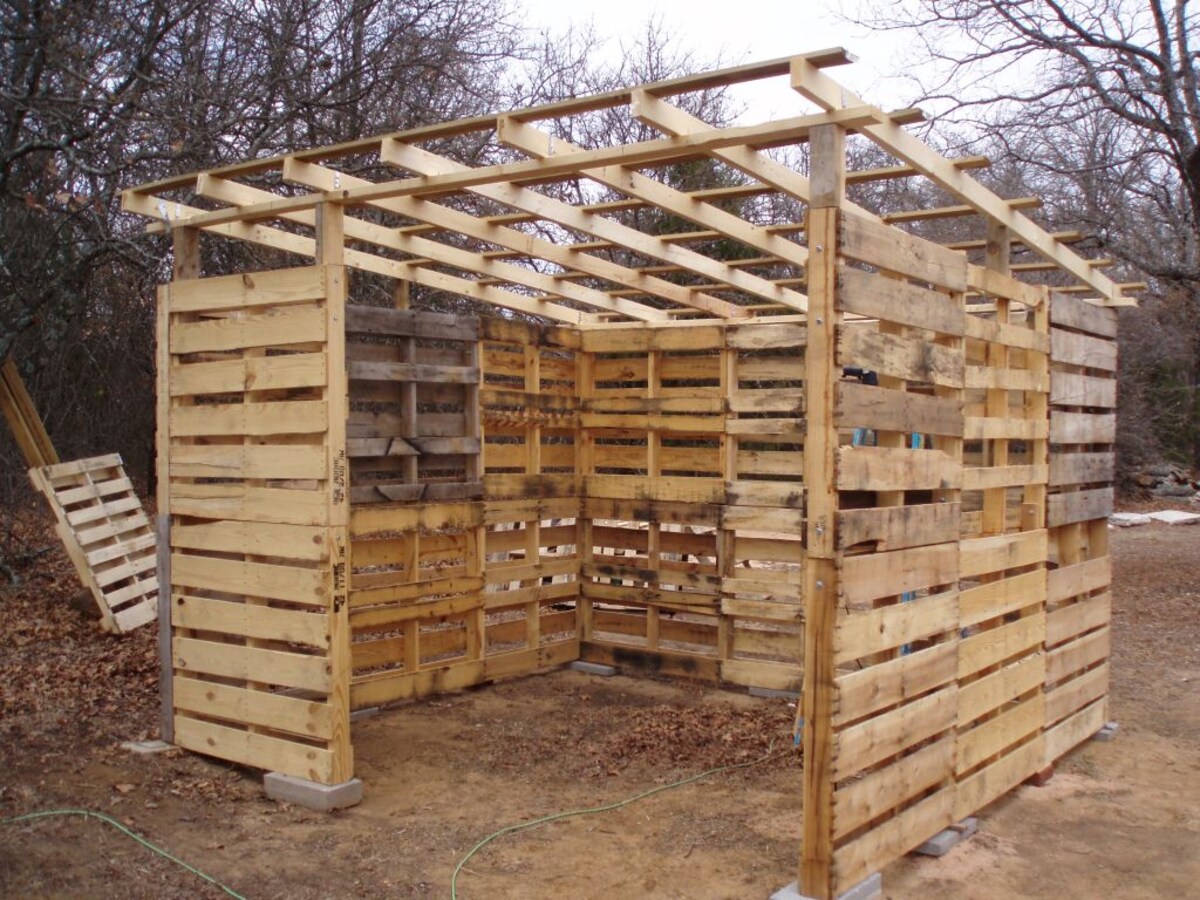
Step 4: Install the Floorboards
With the floor frame securely in place, the next crucial step in building a shed floor is to install the floorboards. The floorboards provide the surface on which you will walk and place items within the shed, and they play a significant role in protecting the floor frame from moisture and wear. Here are the key steps to install the floorboards:
1. Choose the Right Material:
Select high-quality exterior-grade plywood or oriented strand board (OSB) for the floor surface. These materials are designed to withstand moisture and provide a durable, smooth surface for the shed floor.
2. Measure and Cut the Floorboards:
Using precise measurements, carefully cut the plywood or OSB panels to fit the dimensions of the shed floor. Ensure that the panels are cut accurately to avoid gaps or uneven edges that could compromise the integrity of the floor surface.
Read more: How To Insulate Shed Floor
3. Lay Out the Floorboards:
Place the cut panels onto the floor frame, ensuring that they fit snugly and cover the entire floor area. Leave a small gap between the panels to account for potential expansion due to changes in humidity and temperature.
4. Secure the Floorboards:
Use galvanized nails or screws to secure the floorboards to the floor frame. Start at one corner and work your way across, ensuring that each panel is firmly attached to the frame. Pay special attention to the edges and corners to prevent any potential movement or warping of the floorboards.
5. Treat the Floorboards:
To protect the floorboards from moisture and prolong their lifespan, consider applying a wood preservative or sealant to the exposed edges and surfaces. This extra step can significantly enhance the durability of the shed floor, especially in humid or damp environments.
6. Check for Smoothness and Stability:
Once the floorboards are installed, carefully inspect the entire floor surface for any protruding nails, uneven areas, or loose panels. Address any issues promptly to ensure that the floor provides a smooth and stable surface for your shed.
By meticulously installing the floorboards, you are creating a solid and reliable surface for your shed, ensuring that it can withstand daily use and protect the underlying floor frame. A well-installed floor not only enhances the functionality of the shed but also contributes to its overall durability and longevity.
With the floorboards securely in place, you are now ready to proceed to the final step: securing the floor and adding finishing touches to complete the construction of your shed floor.
Read more: How To Build A Shed Floor
Step 5: Secure the Floor in Place
Once the floorboards are installed, the final step in creating a robust shed floor is to secure the entire structure in place. This involves ensuring that the floor remains stable, level, and well-protected against external elements. Here are the key actions to secure the floor in place:
1. Check for Stability:
Before proceeding further, carefully inspect the entire shed floor to ensure that it is stable and free from any noticeable movement. Walk across the floor and apply pressure to different areas to assess its overall stability and firmness.
2. Add Additional Support:
Depending on the size and intended use of the shed, you may need to add additional support to reinforce the floor structure. This can include installing diagonal bracing or additional joists to enhance the overall stability of the floor.
3. Apply a Protective Finish:
To safeguard the shed floor from moisture, consider applying a protective finish, such as a weather-resistant sealant or paint. This additional layer of protection helps shield the floor from water damage and prolongs its lifespan, especially in outdoor environments.
Read more: What To Use For Shed Flooring
4. Seal Gaps and Joints:
Inspect the floorboards for any visible gaps or joints and seal them using a high-quality construction adhesive or sealant. This step helps prevent moisture from seeping between the floorboards, reducing the risk of water damage and rot over time.
5. Level the Floor:
Use a level to ensure that the shed floor is perfectly level in all directions. Adjust the floor as needed by adding shims or adjusting the support structure to achieve a flat and even surface. A level floor not only enhances the shed’s functionality but also contributes to its overall aesthetic appeal.
6. Secure the Floor to the Foundation:
Once the floor is stable and level, secure it to the foundation using anchor bolts or heavy-duty screws. This step helps prevent the floor from shifting or moving, especially in areas prone to high winds or seismic activity.
By meticulously securing the shed floor in place, you are ensuring that it remains a solid and reliable foundation for your shed. A well-secured floor provides the necessary support for all your storage and workspace needs, offering peace of mind and long-term durability.
With the shed floor securely in place and ready for use, you have successfully completed the construction of a sturdy and functional floor for your shed. Your efforts have created a reliable space that can accommodate a variety of activities and provide valuable storage for your belongings.
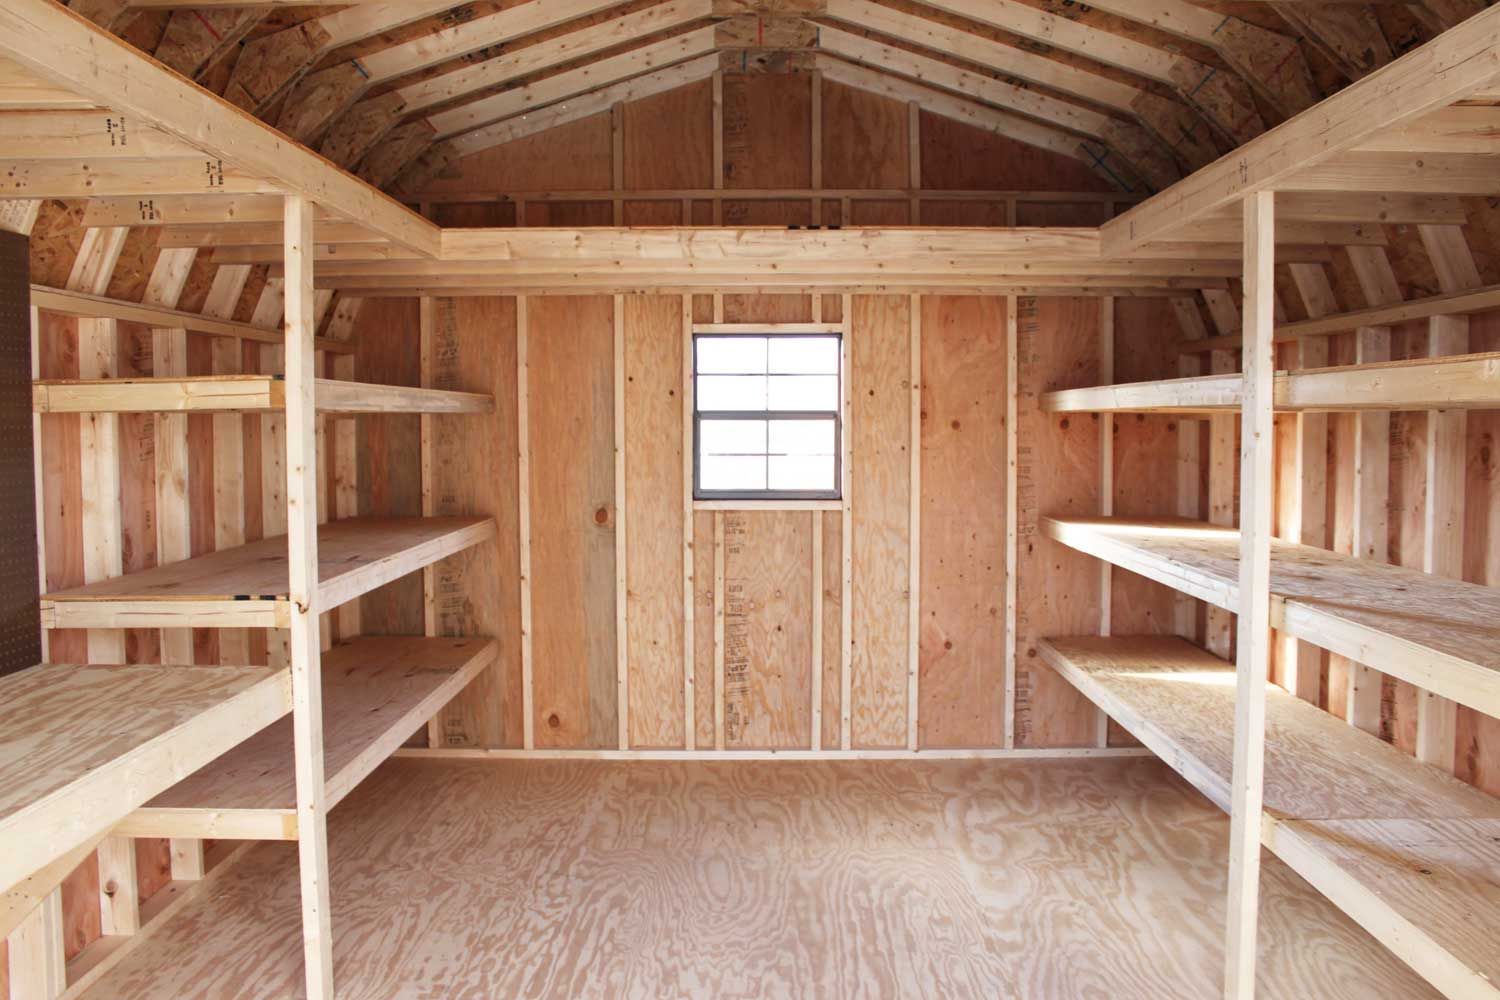
Conclusion
Congratulations on successfully completing the construction of a durable and functional floor for your shed! By following the comprehensive steps outlined in this guide, you have laid the groundwork for a reliable space that can accommodate your storage, workshop, or recreational needs. The solid foundation and carefully constructed floor provide the stability and protection necessary to ensure the longevity of your shed.
Building a shed floor is a rewarding DIY project that not only enhances the usability of your outdoor space but also allows you to develop valuable skills in construction and carpentry. By gathering the essential materials and tools, preparing a solid foundation, constructing a sturdy floor frame, installing durable floorboards, and securing the entire structure in place, you have demonstrated your commitment to creating a space that meets your specific requirements.
It is important to remember that a well-built shed floor not only provides a level base for the shed itself but also helps protect your belongings from moisture and pests. The attention to detail and thoroughness exhibited throughout the construction process will undoubtedly contribute to the functionality and longevity of your shed.
As you admire the completed shed floor, take pride in the knowledge that you have created a space that can serve as a reliable storage area, a productive workshop, or a cozy retreat within your outdoor environment. The skills and expertise you have gained from this project can be applied to future endeavors, empowering you to tackle new DIY challenges with confidence.
Whether you are a seasoned DIY enthusiast or a novice looking to expand your skills, the successful completion of this project is a testament to your dedication and perseverance. As you move forward, consider the possibilities that your newly constructed shed floor opens up, and envision the ways in which it will enhance your outdoor living experience.
With a well-constructed shed floor, you have set the stage for creating a space that not only meets your practical needs but also enhances the overall appeal and functionality of your outdoor area. Your efforts have transformed a simple shed into a valuable asset that can enrich your daily life and provide a reliable storage solution for years to come.
Now, as you prepare to utilize your shed for various activities and storage needs, take a moment to appreciate the craftsmanship and dedication that went into creating a solid and reliable floor. Your attention to detail and commitment to quality have resulted in a space that can truly enhance your outdoor lifestyle.
Frequently Asked Questions about How To Make A Floor For A Shed
Was this page helpful?
At Storables.com, we guarantee accurate and reliable information. Our content, validated by Expert Board Contributors, is crafted following stringent Editorial Policies. We're committed to providing you with well-researched, expert-backed insights for all your informational needs.

0 thoughts on “How To Make A Floor For A Shed”