Home>Furniture>Living Room Furniture>How To Make Cheap Bench Cushions
Living Room Furniture
How To Make Cheap Bench Cushions
Modified: March 16, 2024
Create comfortable and affordable bench cushions for your living room furniture. Learn how to make cheap bench cushions with our easy step-by-step guide.
(Many of the links in this article redirect to a specific reviewed product. Your purchase of these products through affiliate links helps to generate commission for Storables.com, at no extra cost. Learn more)
Introduction
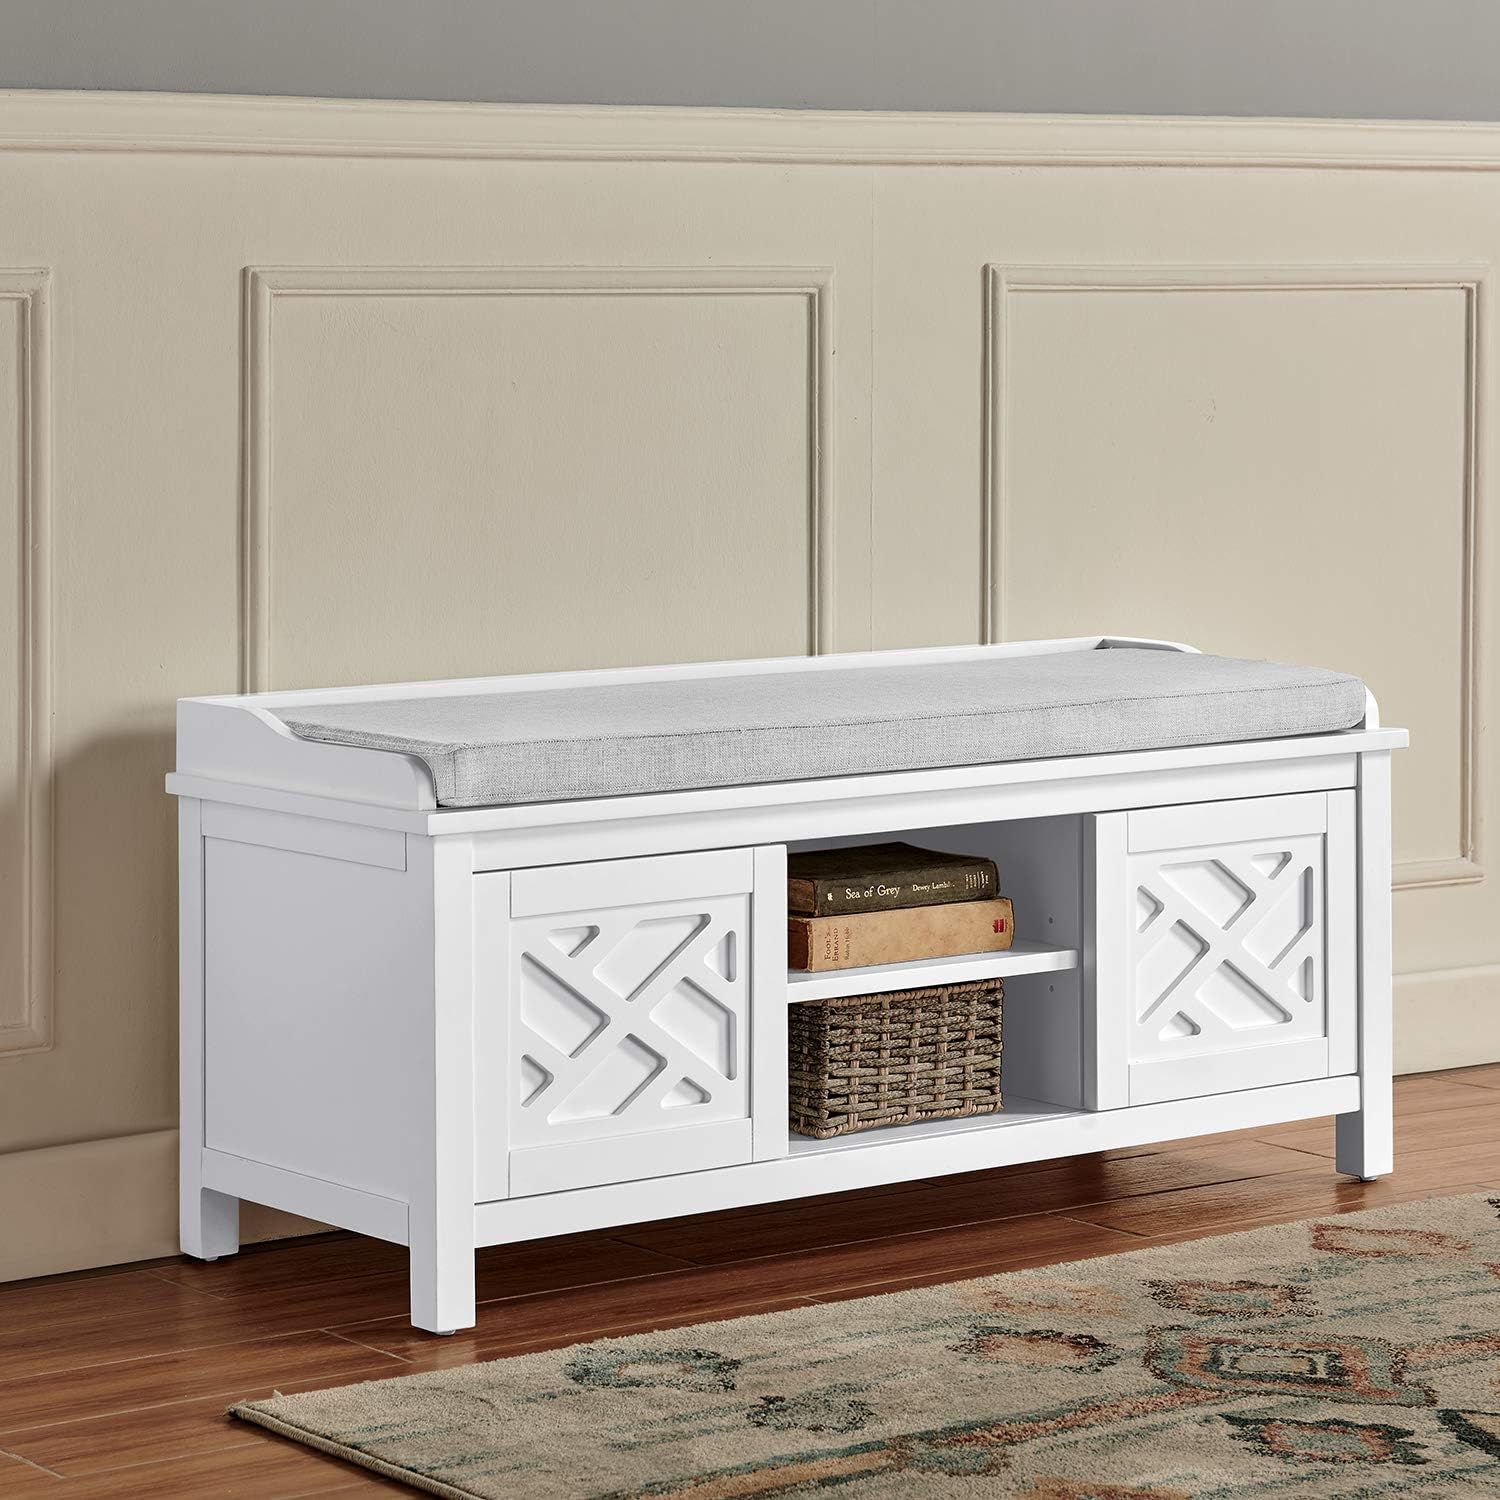
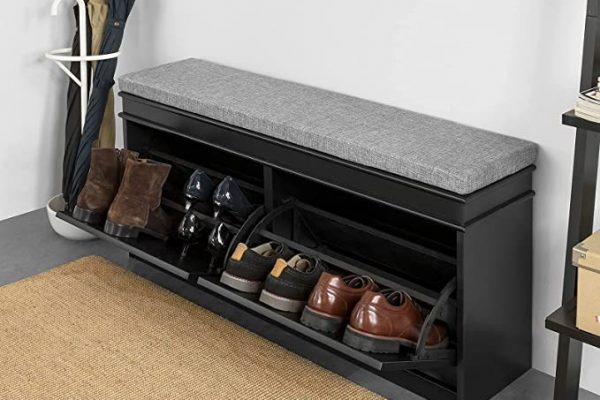
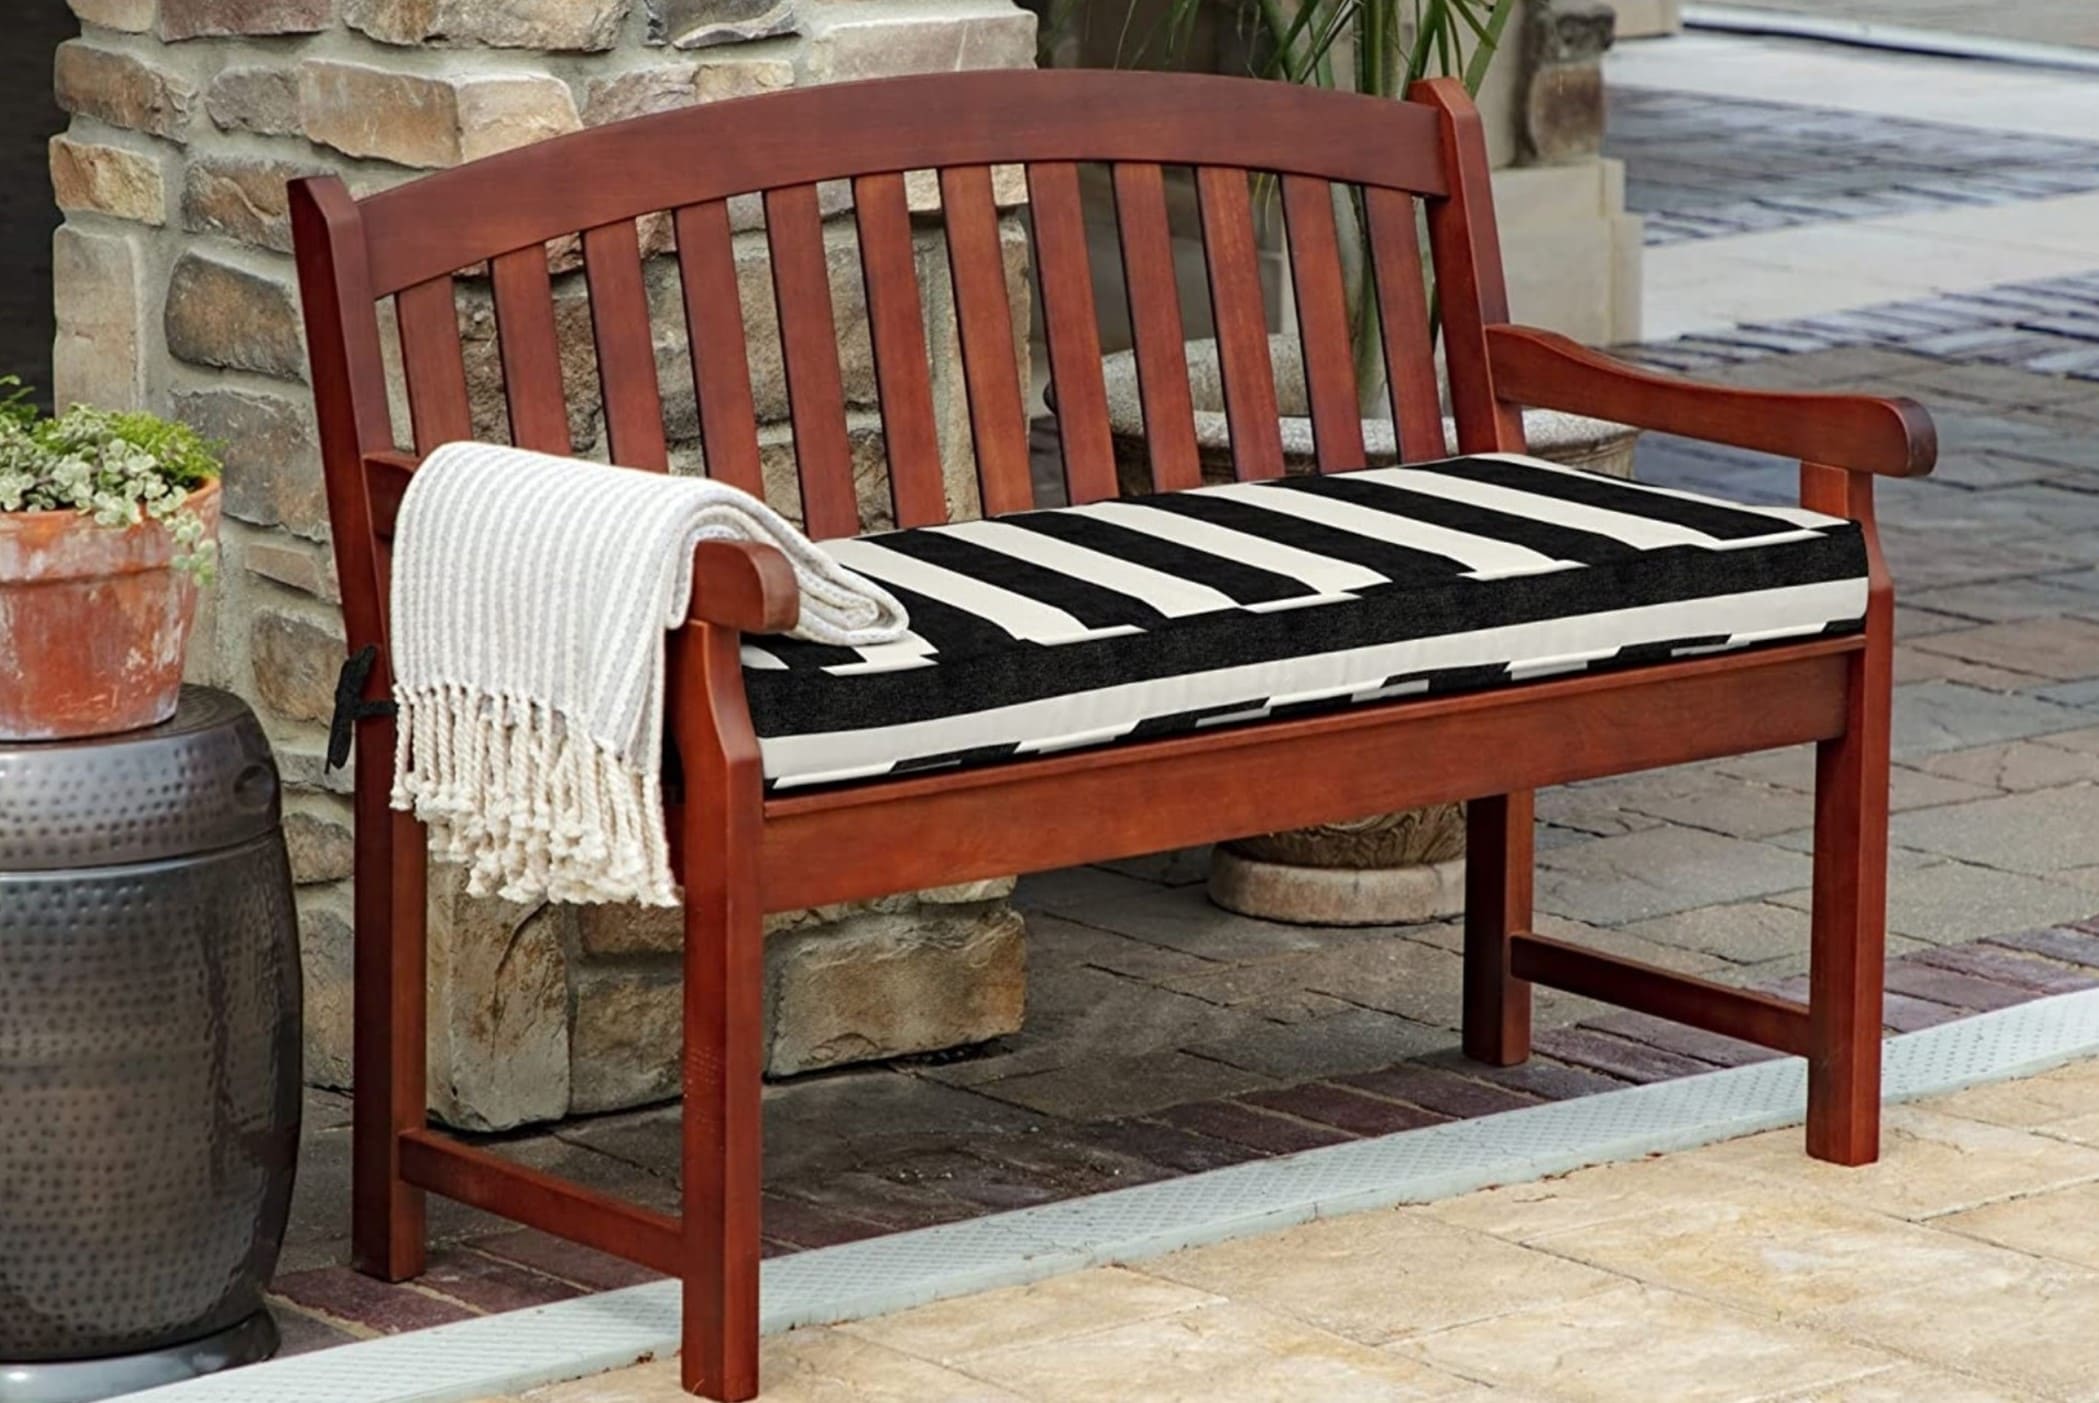
When it comes to furnishing your living room, one of the most essential elements is comfortable seating. A cozy bench can provide a versatile and stylish seating option, but finding the right cushions to match your decor can be a challenge. Luckily, you don’t have to break the bank to create custom bench cushions that fit your style and budget.
In this guide, we will walk you through the step-by-step process of making cheap bench cushions that will give your living room a fresh and inviting look. Whether you’re a seasoned DIY enthusiast or just starting out, this project is simple enough for anyone to tackle. So let’s gather the materials and get started!
Key Takeaways:
- Create custom bench cushions using affordable materials like fabric and foam. Add optional finishing touches for a unique and stylish look that matches your living room decor.
- With basic sewing skills and creativity, anyone can make cheap bench cushions that are comfortable, durable, and personalized to their taste. Enjoy the DIY process and take pride in your handmade cushions!
Read also: 14 Best Bench Cushions For 2024
Materials Needed
Before we jump into the DIY process, let’s gather the materials you’ll need to make your own cheap bench cushions. Don’t worry, you won’t need any fancy or expensive tools for this project. Here’s what you’ll need:
- Fabric: Choose a durable fabric that matches your decor and is suitable for upholstery. Measure the dimensions of your bench to determine how much fabric you’ll need.
- Foam: Look for affordable foam that is the appropriate thickness for your desired cushion. You can purchase foam from a fabric or craft store, or even repurpose an old foam mattress to save some money.
- Thread: Select a thread color that complements your fabric.
- Scissors: Make sure you have a sharp pair of fabric scissors for cutting the fabric.
- Sewing Machine (optional): If you have a sewing machine, it will make the process quicker and easier. However, if you don’t have one, you can still sew the cushions by hand using a needle and thread.
- Straight Pins: These will be useful for holding the fabric in place while sewing.
- Measuring Tape: A measuring tape will help you accurately measure the dimensions of your bench and fabric.
- Zipper (optional): If you want to be able to remove and wash the cushion covers, you can add a zipper to the design.
- Decorative Trim (optional): If you want to add a decorative touch to your cushions, consider adding trim or piping.
Once you have gathered all the necessary materials, you’ll be ready to start creating your cheap bench cushions.
Step 1: Measurements
The first step in making your cheap bench cushions is to accurately measure the dimensions of your bench. This will ensure that your cushions fit perfectly and provide optimal comfort. Here’s how to do it:
- Measure the length of your bench from one end to the other. Be sure to take into account any armrests or other obstacles.
- Measure the width of your bench, including any armrests or extensions.
- Measure the thickness of the foam you’ll be using for the cushion. This will determine how deep your cushion will be.
Once you have gathered these measurements, you can calculate the size of the fabric pieces you’ll need to cut. For the top and bottom of the cushion, add twice the thickness of the foam to the length and width measurements. For example, if your bench measures 48 inches long and 18 inches wide, and your foam is 2 inches thick, you’ll need to cut fabric pieces that are 52 inches long and 22 inches wide.
Additionally, you’ll need to cut fabric pieces for the sides of the cushion. Measure the perimeter of the top and bottom fabric pieces and add twice the thickness of the foam to get the length of the side fabric pieces. For example, if the perimeter of your top and bottom pieces is 140 inches and your foam is 2 inches thick, you’ll need to cut four side fabric pieces that are 144 inches long.
Once you have all your measurements, it’s time to move on to the next step: choosing the fabric.
Step 2: Choosing the Fabric
Now that you have your measurements sorted out, it’s time to choose the fabric for your cheap bench cushions. When selecting the fabric, there are a few factors to consider:
- Durability: Since the bench cushions will be subjected to daily use, it’s important to choose a durable fabric that can withstand wear and tear. Look for upholstery-grade fabrics that are made to handle frequent use.
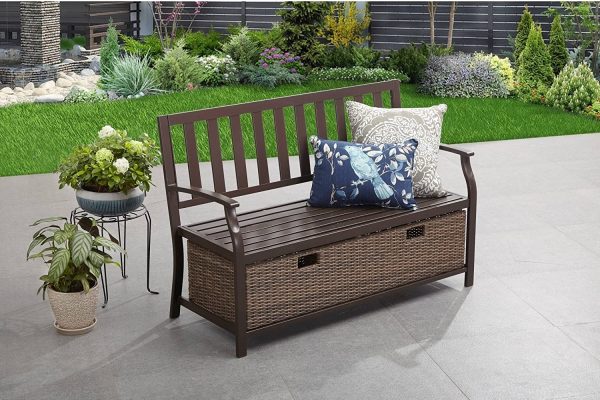
- Color and Pattern: Consider the color scheme and style of your living room when selecting the fabric for your bench cushions. Opt for colors and patterns that complement your existing decor or add a pop of color to the space.
- Texture: Think about the texture of the fabric and how it will feel against your skin. You may want to choose a soft and cozy fabric for added comfort.
Visit your local fabric store or browse online to find a wide selection of fabrics to choose from. Don’t hesitate to ask for assistance if you need help determining which fabrics are suitable for upholstery. Remember, you don’t have to splurge on expensive designer fabrics to achieve a stylish and comfortable look.
Once you’ve chosen your fabric, make sure to purchase enough yardage to cover all the pieces you’ll be cutting. It’s always a good idea to buy a little extra fabric to account for any mistakes or adjustments during the sewing process.
Now that you have your fabric, it’s time to move on to the next step: cutting the fabric.
Step 3: Cutting the Fabric
With your chosen fabric in hand, it’s time to cut the pieces for your cheap bench cushions. Follow these steps to ensure accurate and clean cuts:
- Smooth out your fabric on a large, flat surface. Make sure there are no wrinkles or creases that could affect your measurements.
- Using your measurements from Step 1, mark the dimensions on the fabric with a fabric marker or chalk.
- Using a ruler or straight edge, connect the marked points to create straight lines for cutting.
- Carefully cut along the marked lines using fabric scissors. Take your time to ensure clean and even cuts.
Remember to cut the top and bottom fabric pieces according to the measurements calculated in Step 1. Also, cut the side fabric pieces according to the perimeter measurement calculated in Step 1.
If you’re adding a zipper to your cushion design for easy removal and washing, you’ll also need to cut a separate piece of fabric for the zipper enclosure. This piece should be the length of the cushion and about four to six inches wide, depending on the desired size of the opening.
Once all the fabric pieces are cut, double-check their dimensions to ensure they match your measurements. It’s always better to be precise and make any necessary adjustments before moving on to the next step.
Now that you have your fabric pieces ready, it’s time to sew the bench cushion together in the next step.
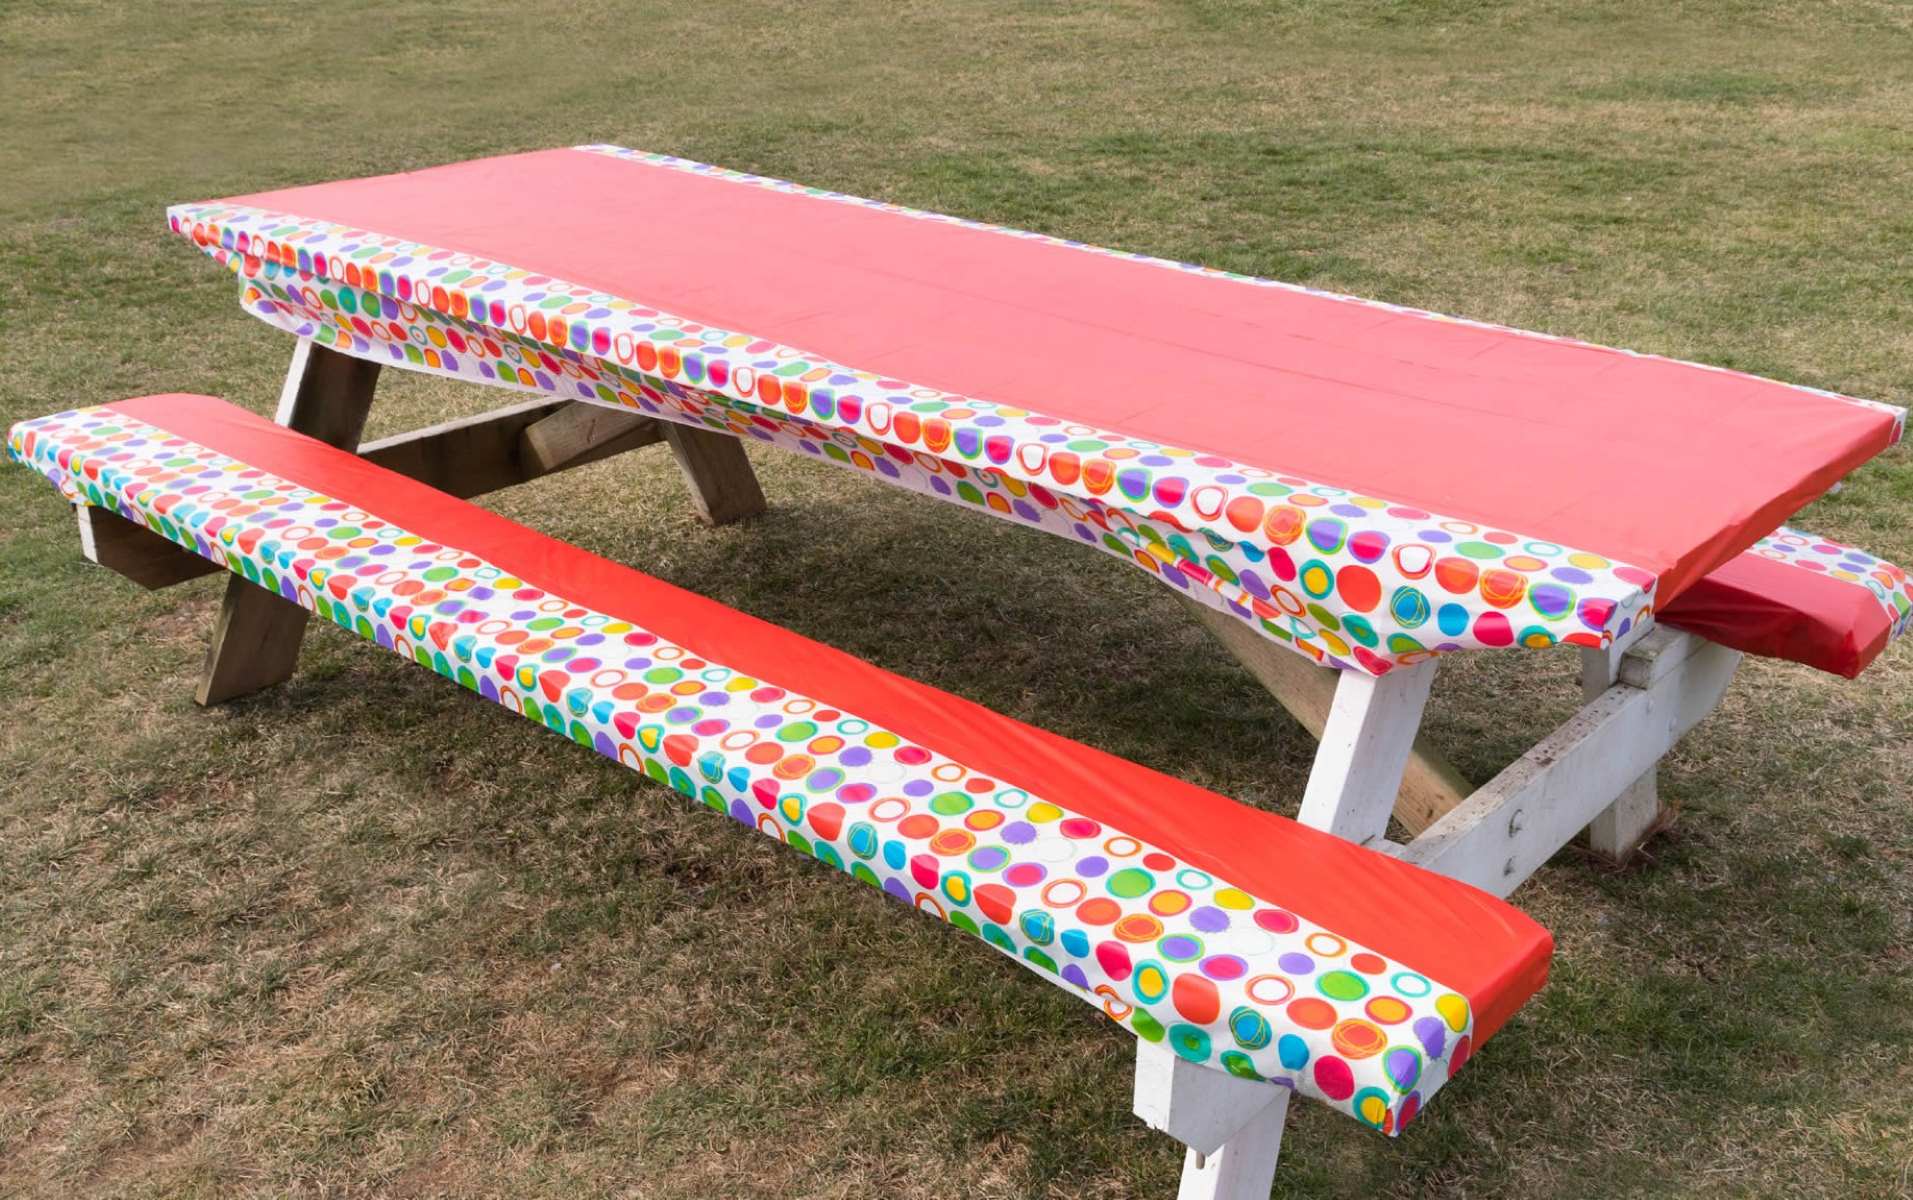
Consider using inexpensive materials such as foam mattress toppers or outdoor fabric to make affordable bench cushions. You can also repurpose old pillows or cushions to save money.
Read more: How To Make A Cheap Patio
Step 4: Sewing the Bench Cushion
Now that you have your fabric pieces cut to size, it’s time to sew them together to create your cheap bench cushion. Follow these steps to sew the cushion:
- Place the top fabric piece right side up on your work surface.
- If you’re adding a zipper, fold and press one long edge of the zipper strip about half an inch inward. Align the folded edge with one long edge of the top fabric piece, right sides together. Pin the zipper strip in place.
- Using a zipper foot on your sewing machine, sew along the pinned edge to attach the zipper strip to the top fabric piece.
- Unfold the zipper strip and press the fabric flat.
- Place one side fabric piece right side down on top of the top fabric piece, aligning the raw edges on one short side. Pin the fabric pieces together.
- Using a straight stitch, sew along the pinned edge, securing the side fabric to the top fabric piece. Repeat this process for the other three sides, sewing on the remaining side fabric pieces.
- Once all sides are sewn, trim the excess fabric and corners to reduce bulk and create clean edges.
- If you’re not adding a zipper, leave an opening along one side for inserting the foam later. Make sure to backstitch at the beginning and end of the opening to reinforce the stitches.
After you’ve sewn the cushion together, turn it right side out and use a point turner or a blunt object to gently push out the corners for a crisp finish.
If you prefer a removable cover for easy cleaning, add a zipper to the open edge. Simply attach the zipper along the opening, making sure the teeth of the zipper are facing the inside of the cushion.
Once the cushion is sewn and turned right side out, it’s time to add the foam in the next step.
Step 5: Adding the Foam
Now that you have your cushion cover sewn, it’s time to add the foam to create a comfortable seating surface. Follow these steps to add the foam:
- Measure the dimensions of the cushion cover to ensure that your foam is the correct size. Trim the foam, if necessary, to fit inside the cover.
- If your foam is thicker than desired, you can trim it down using a serrated knife or an electric carving knife. Be sure to use smooth, even strokes to achieve a clean cut.
- Once the foam is the correct size and shape, insert it into the cushion cover through the opening. Make sure the foam is centered and fits snugly.
- If the foam is not staying in place, you can use a spray adhesive to attach it to the fabric. Apply a light, even coat of adhesive to the foam and press it firmly into the cover.
- Allow the adhesive to dry according to the manufacturer’s instructions before proceeding to the next step.
Once the foam is securely in place, take the time to fluff and adjust it to ensure an even distribution of cushioning. Smooth out any wrinkles or bumps in the fabric cover to achieve a professional-looking finish.
If you added a zipper in the previous step, carefully close the zipper to encase the foam fully. If you left an opening for inserting the foam, you can now stitch it closed using a needle and matching thread. Use a ladder stitch or slip stitch for an invisible seam.
With the foam added, your bench cushion is almost complete. In the next step, we’ll discuss optional finishing touches you can add to your cushion.
Step 6: Closing the Cushion
Now that you’ve added the foam and the cushion cover is complete, it’s time to close the cushion securely. Follow these steps to ensure your cushion stays intact:
- If you added a zipper to your cushion, make sure it is fully zipped closed.
- If you left an opening in the cushion cover for inserting the foam, it’s time to stitch it closed. Thread a needle with a matching thread color and knot the end.
- Use a ladder stitch or slip stitch to join the edges of the opening together. This stitch will create a nearly invisible seam.
- Take small, even stitches along the edge of the fabric, inserting the needle through one side and then the other.
- Pull the thread tight to close the opening, but be careful not to pull too tightly and distort the shape of the cushion.
- Continue stitching until you reach the end of the opening. Knot the thread securely, trim any excess, and bury the knot inside the cushion.
Once the cushion is closed, give it a final fluff and smooth out any wrinkles or creases. Take a step back and admire your handiwork!
Now that your bench cushion is complete, it’s time to consider optional finishing touches that can enhance the overall look and functionality of your cushions.
Step 7: Optional Finishing Touches
Now that your cheap bench cushion is assembled and closed, it’s time to consider some optional finishing touches that can add a touch of style and functionality. Here are a few ideas:
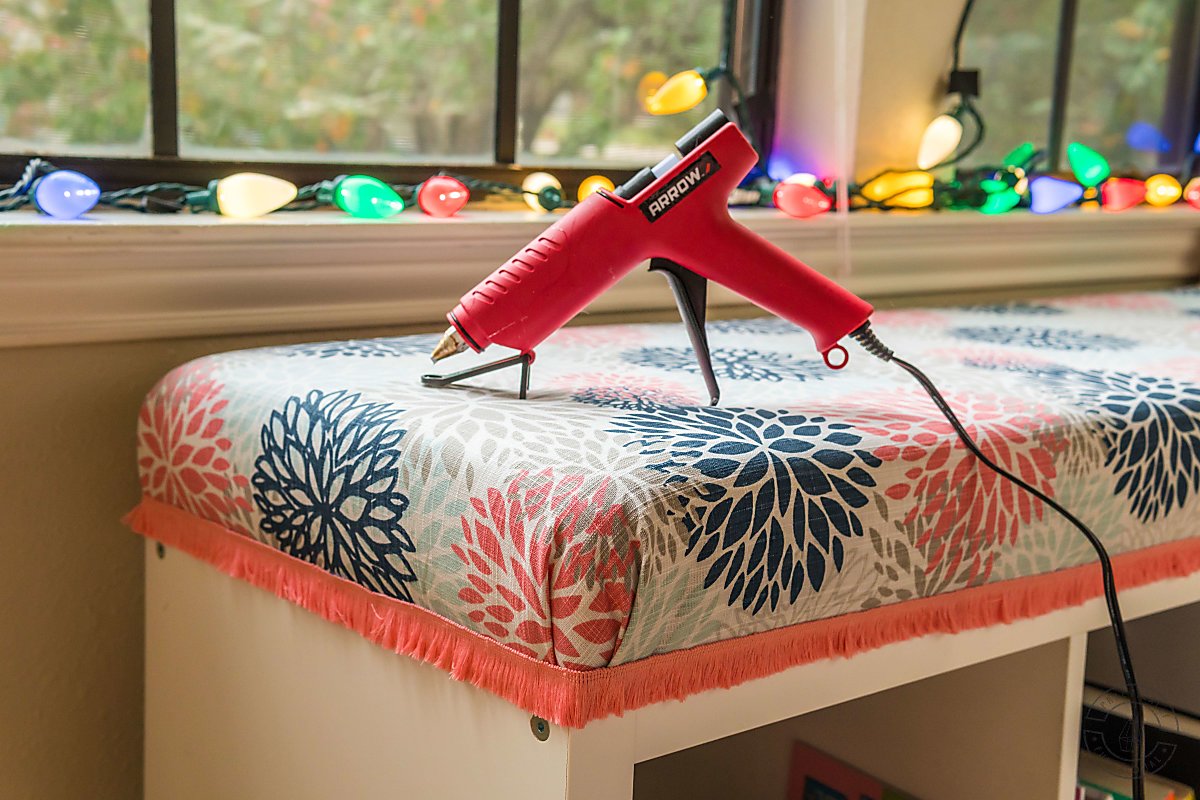
- Decorative Trim: Add a decorative trim or piping along the edges of the cushion to give it a polished and tailored look. Choose a trim that complements your fabric and sewing skills, whether it’s a simple bias tape or a more intricate trim.
- Button Tufting: If you want to add an elegant and classic touch, consider adding button tufting to your cushion. This can be done by attaching fabric-covered buttons to the cushion and pulling them through the foam and fabric to create tufts. This technique adds depth and dimension to the cushion.
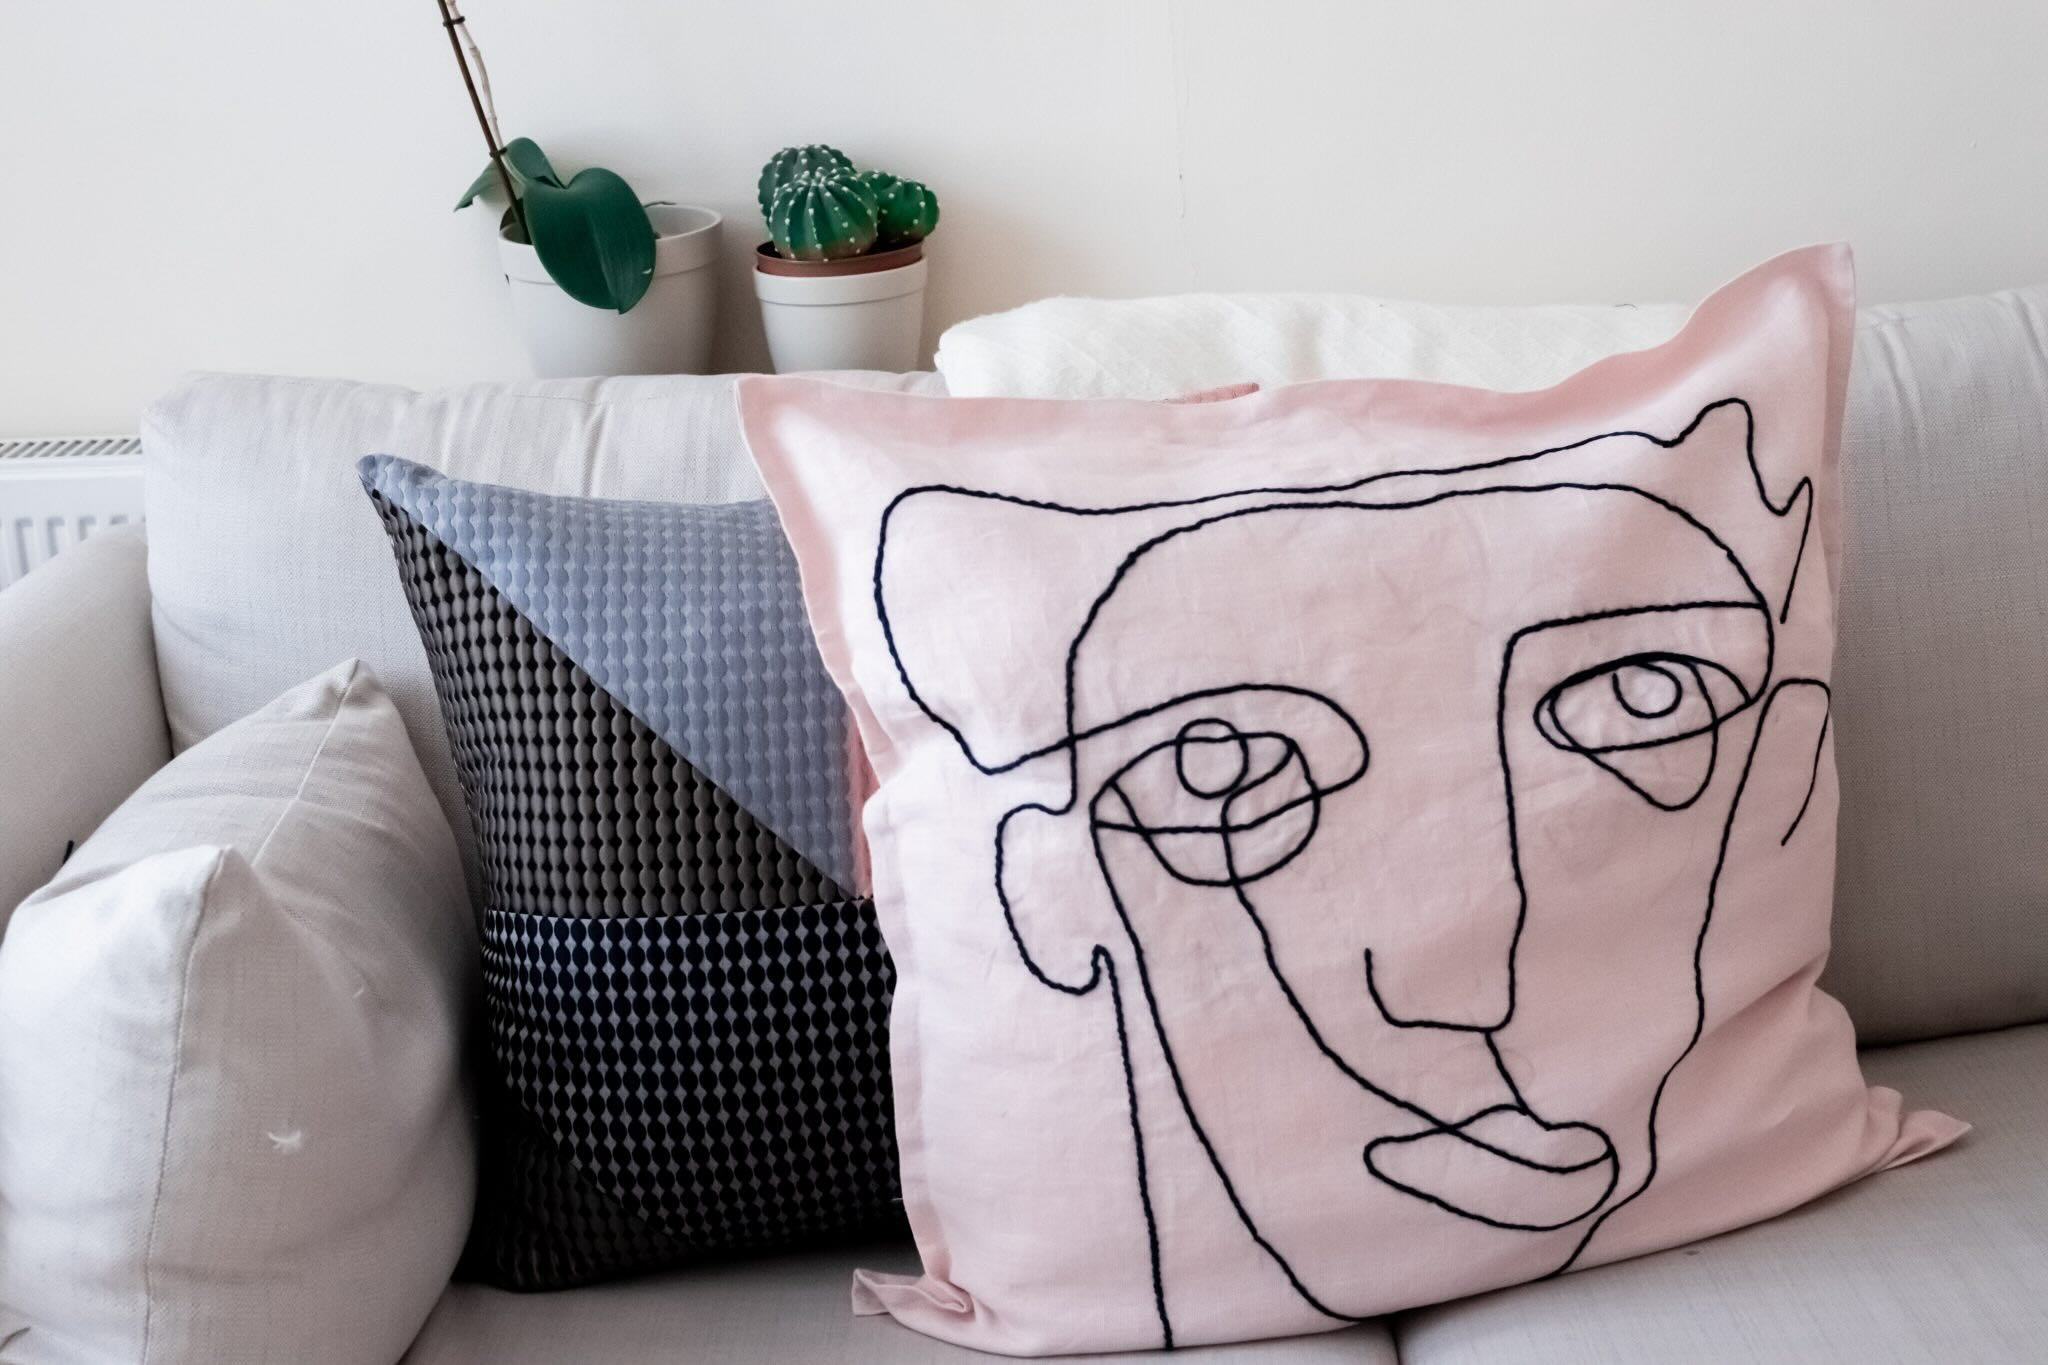
- Contrasting Fabrics: Mix and match different fabrics to create a unique and eye-catching cushion. You can use a contrasting fabric for the sides or add a fabric panel to the top for a pop of color or pattern.
- Embroidery or Appliques: Personalize your cushion by adding embroidery or appliques. You can stitch initials, patterns, or designs onto the fabric to create a custom and personalized touch.
- Additional Cushion Layers: To amp up the comfort level of your bench cushion, consider adding additional layers of batting or foam. This will create a plush and luxurious feel, perfect for relaxing on your bench.
Remember, these finishing touches are optional and can be customized according to your style and preferences. Get creative and have fun transforming your cheap bench cushion into a unique and beautiful addition to your living room.
With these optional finishing touches in mind, your cheap bench cushion is now complete and ready to be placed on your bench. Enjoy the comfort and style it adds to your living room!
As you can see, creating cheap bench cushions doesn’t have to be complicated or expensive. With a little creativity and some basic sewing skills, you can make custom cushions that perfectly fit your living room decor. So, gather your materials, follow the steps, and get ready to relax and enjoy your newly made bench cushions!
Remember to have fun and take pride in your DIY project. Happy cushion-making!
Conclusion
Congratulations on making your own cheap bench cushions! By following the step-by-step process outlined in this guide, you have created custom cushions that not only enhance the comfort of your living room, but also reflect your unique style and personality.
With just a few materials and some basic sewing skills, you were able to transform simple fabric and foam into beautiful cushions that perfectly fit your bench. The measurements, fabric selection, cutting, sewing, and optional finishing touches all contributed to the creation of a functional and visually appealing piece of furniture.
Not only did you save money by making your own cushions, but you also gained the satisfaction of completing a DIY project and adding a personal touch to your living space. Plus, with the ability to choose the fabric, colors, and design elements, you have the freedom to create cushions that perfectly match your existing decor or make a bold statement.
By following the tips and techniques provided in this guide, you have learned how to make cheap bench cushions efficiently and effectively. Whether you’re an experienced DIY enthusiast or a beginner, this project has showcased how anyone can create custom cushions with a bit of creativity and patience.
Now that you have the knowledge and skills, you can apply them to other projects and continue to personalize and beautify your living space. From pillows to curtains, the possibilities are endless!
Remember, the most important thing is to have fun and enjoy the process. So gather your materials, put on your creative hat, and let your imagination run wild as you embark on your next DIY adventure.
Thank you for following this guide, and we hope that your new cheap bench cushions bring both comfort and style to your living room for years to come!
Frequently Asked Questions about How To Make Cheap Bench Cushions
Was this page helpful?
At Storables.com, we guarantee accurate and reliable information. Our content, validated by Expert Board Contributors, is crafted following stringent Editorial Policies. We're committed to providing you with well-researched, expert-backed insights for all your informational needs.

0 thoughts on “How To Make Cheap Bench Cushions”