Articles
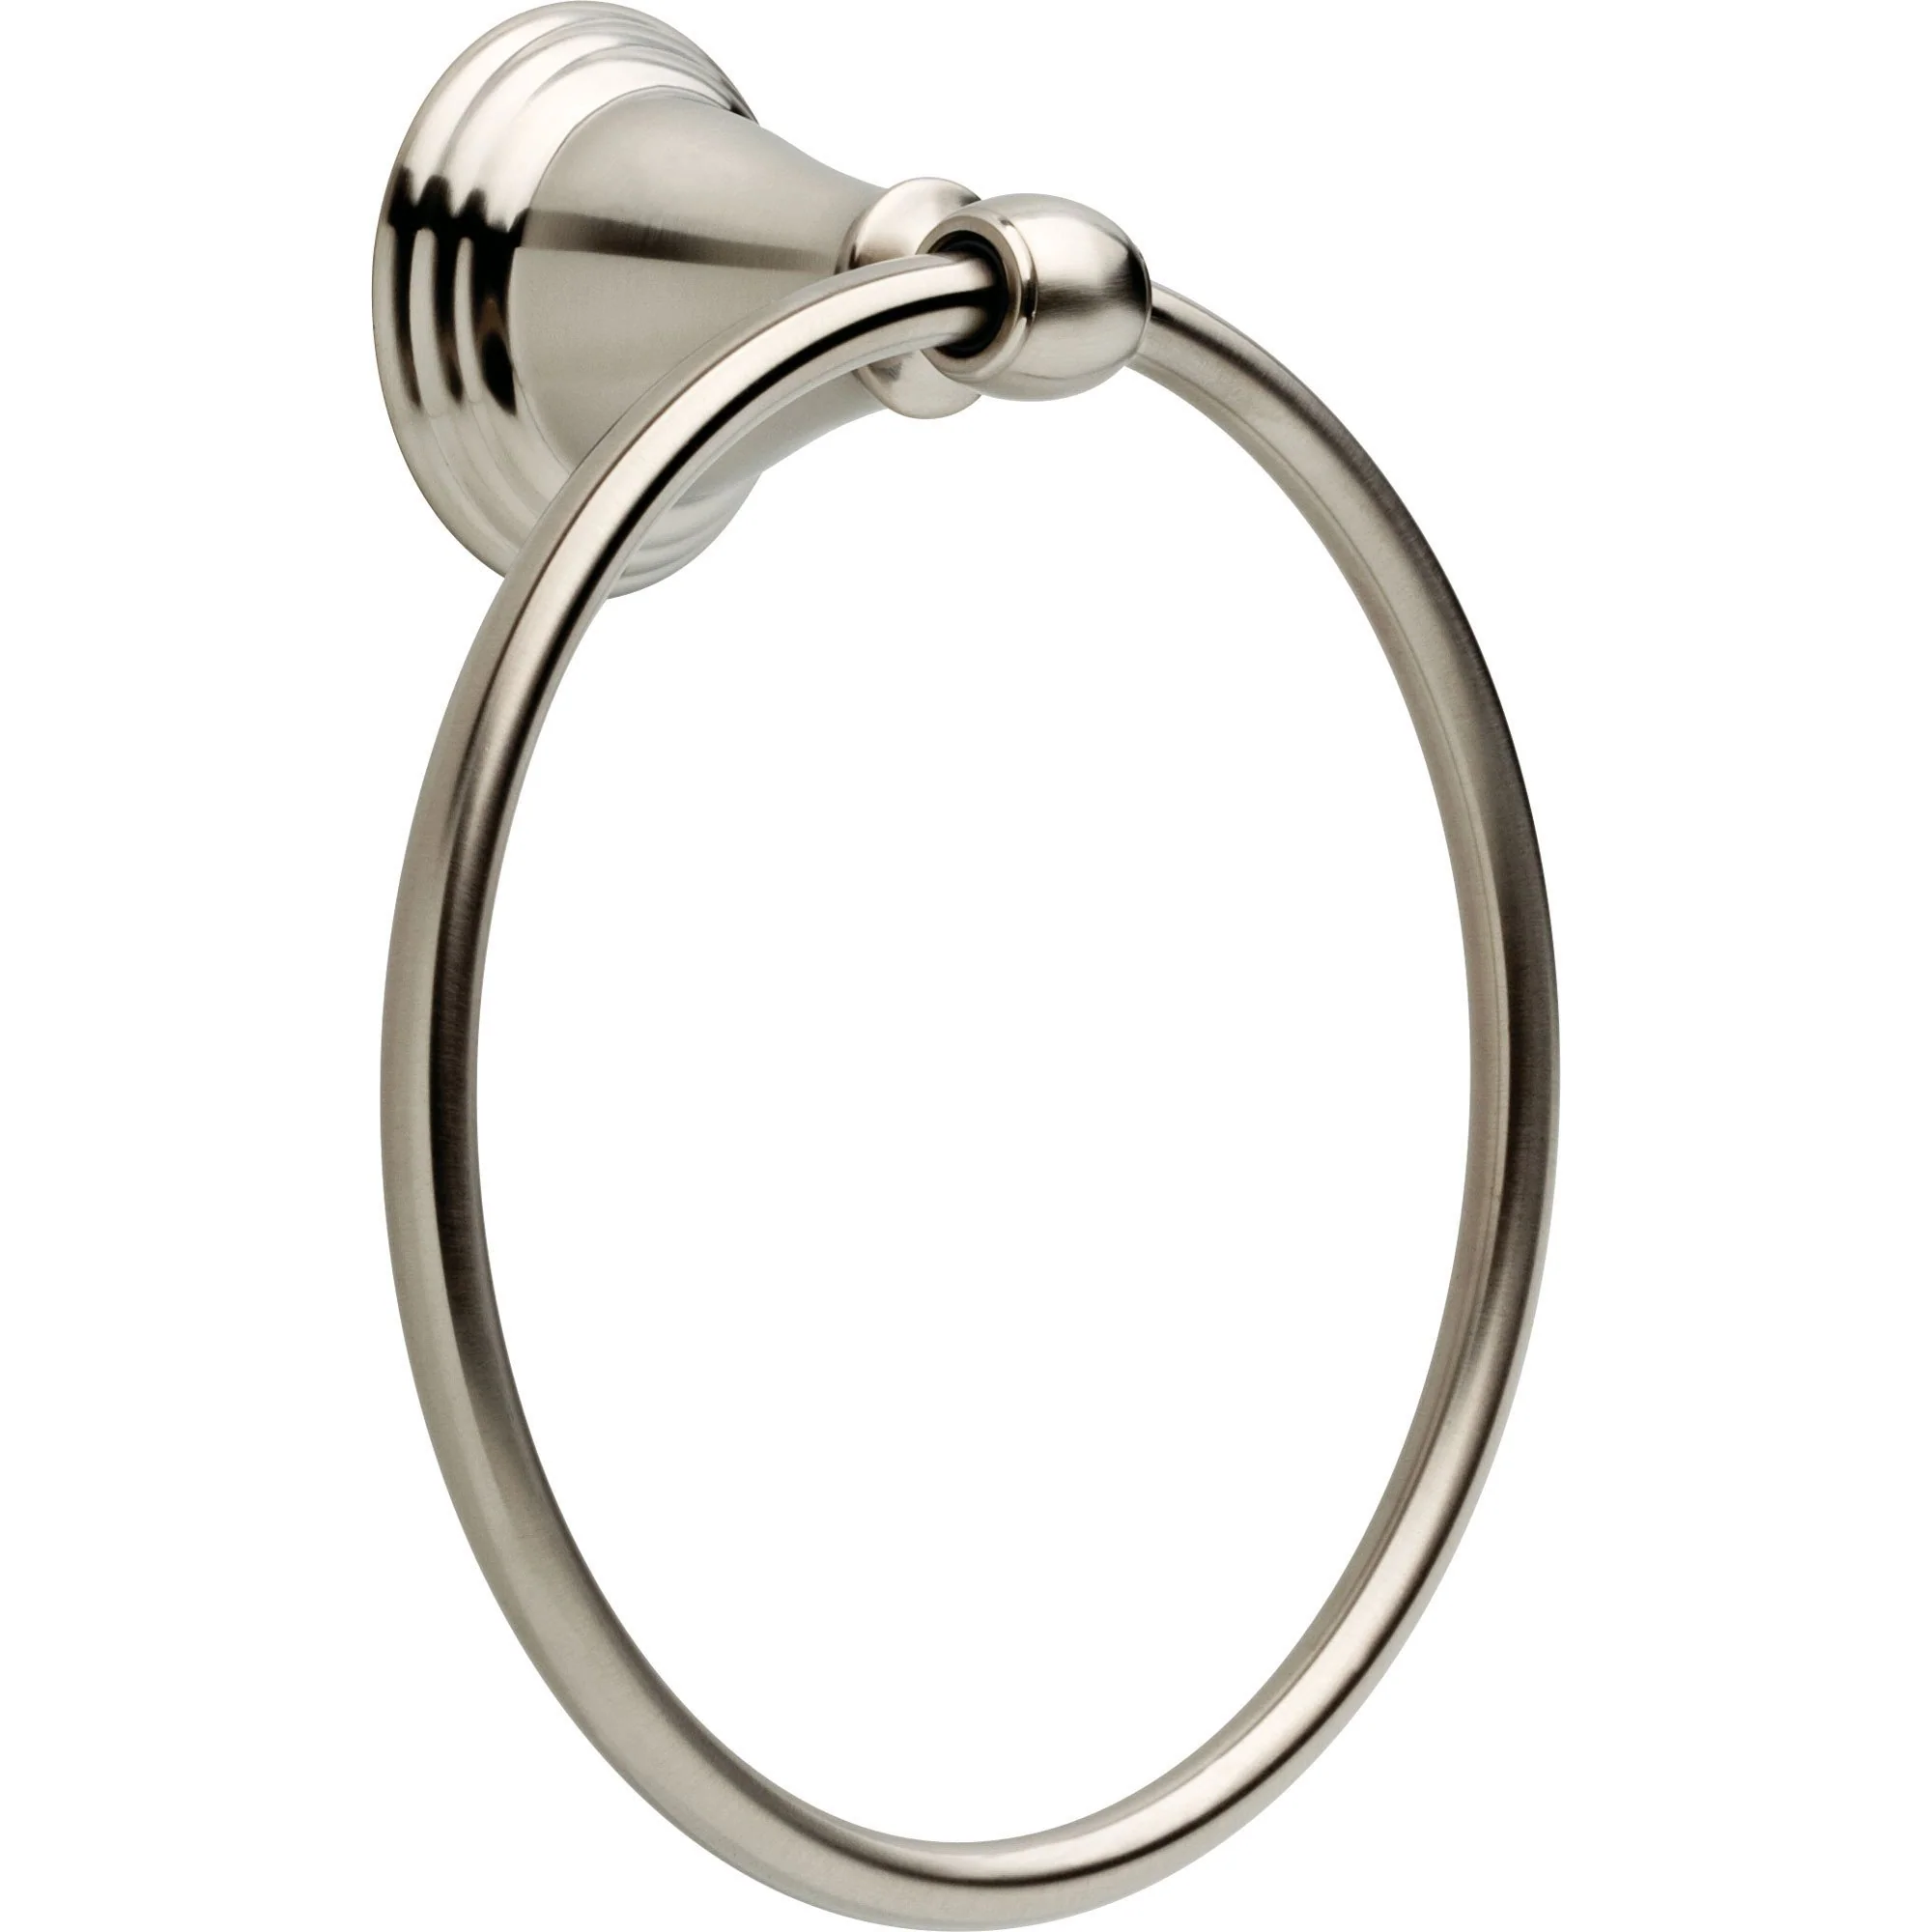
How To Remove Delta Towel Bar
Modified: October 27, 2024
Learn how to remove a Delta towel bar easily with these step-by-step articles. Discover expert tips and tricks for a hassle-free removal process.
(Many of the links in this article redirect to a specific reviewed product. Your purchase of these products through affiliate links helps to generate commission for Storables.com, at no extra cost. Learn more)
Introduction
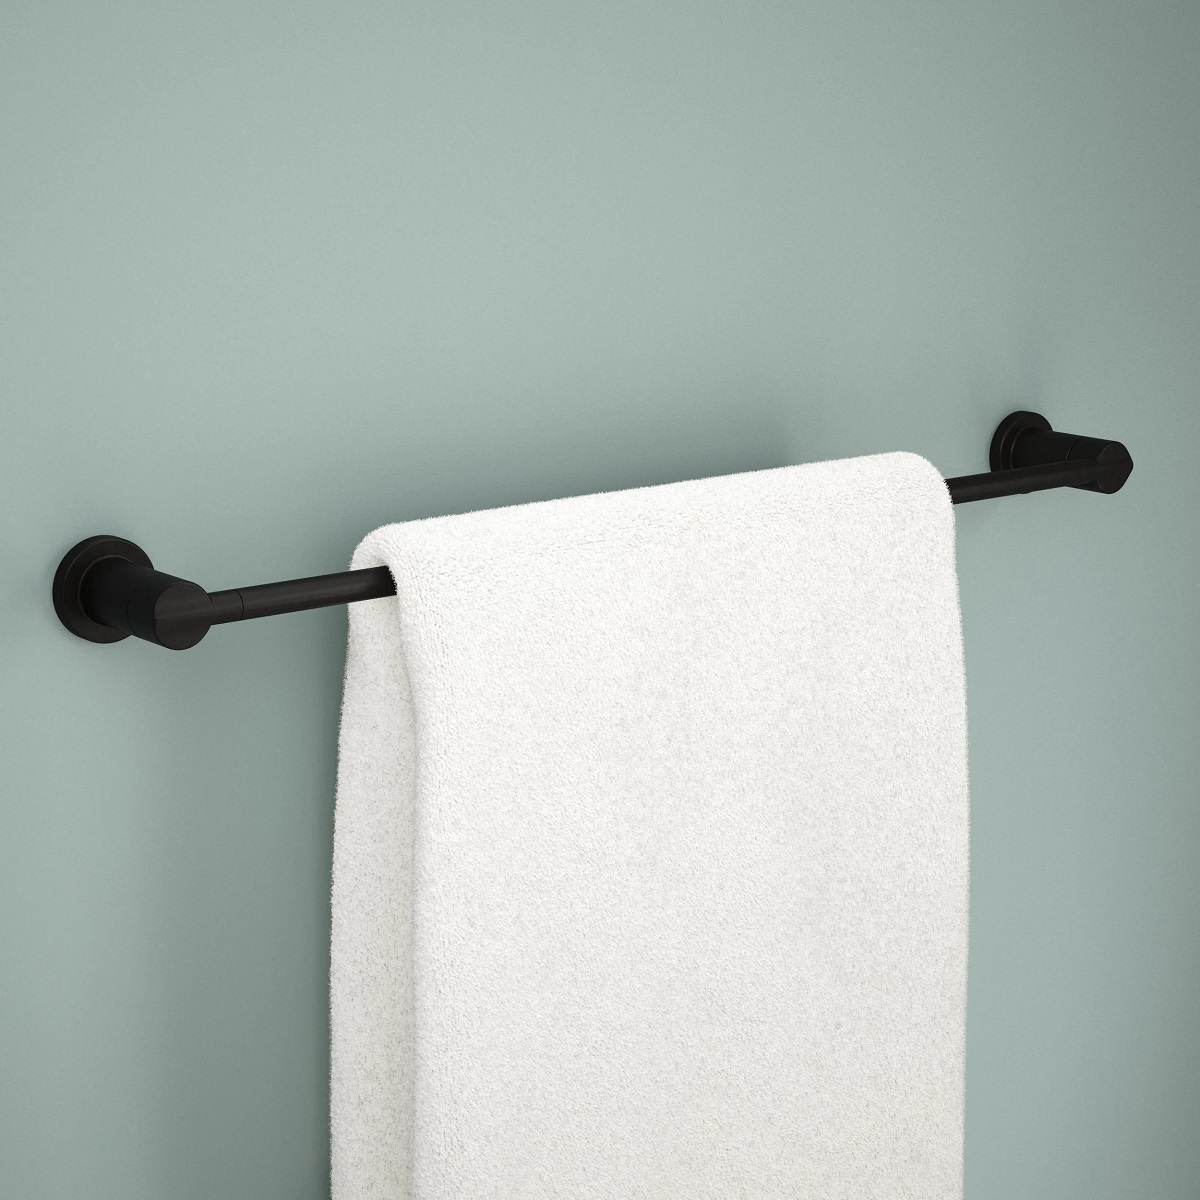
Having a towel bar in your bathroom is a great convenience for hanging and organizing your towels. However, there may come a time when you need to remove a Delta towel bar for various reasons, such as replacing it with a new one or making repairs in your bathroom. Removing the towel bar may seem like a daunting task, but with the right tools and a little know-how, you can easily accomplish it.
In this article, we will guide you through the step-by-step process of removing a Delta towel bar. Whether you’re a DIY enthusiast or a homeowner looking to make some changes in your bathroom, we’ve got you covered. So let’s get started!
Key Takeaways:
- Easily remove a Delta towel bar by gathering the right tools, releasing the mounting brackets, and patching any wall damage. Enjoy a refreshed bathroom space with improved functionality and aesthetics.
- Whether replacing with a new towel bar or making repairs, follow the step-by-step guide to confidently remove a Delta towel bar. Take your time, stay safe, and appreciate the refreshed bathroom space.
Read more: How To Remove Towel Bar With No Screws
Step 1: Gather the Necessary Tools
Before you begin the process of removing your Delta towel bar, it’s important to gather the necessary tools. Having the right tools on hand will make the task much easier and more efficient. Here are the tools you’ll need:
- Phillips screwdriver: This will be used to remove any screws holding the towel bar in place.
- Flathead screwdriver: You may need this tool to pry off any decorative covers or caps that are covering the screws.
- Adjustable wrench: If your towel bar is affixed to the wall with nuts and bolts, you’ll need an adjustable wrench to loosen and remove them.
- Putty knife: This tool will come in handy if there is any adhesive or caulk securing the towel bar to the wall.
- Utility knife: If there is any caulk or silicone around the edges of the towel bar, a utility knife can be used to carefully cut through it.
- Pliers (optional): In some cases, you may need pliers to hold the back of a screw while you unscrew the front.
Make sure to have all these tools readily available before you begin the towel bar removal process. This will save you time and frustration as you won’t have to stop and search for tools in the middle of the project.
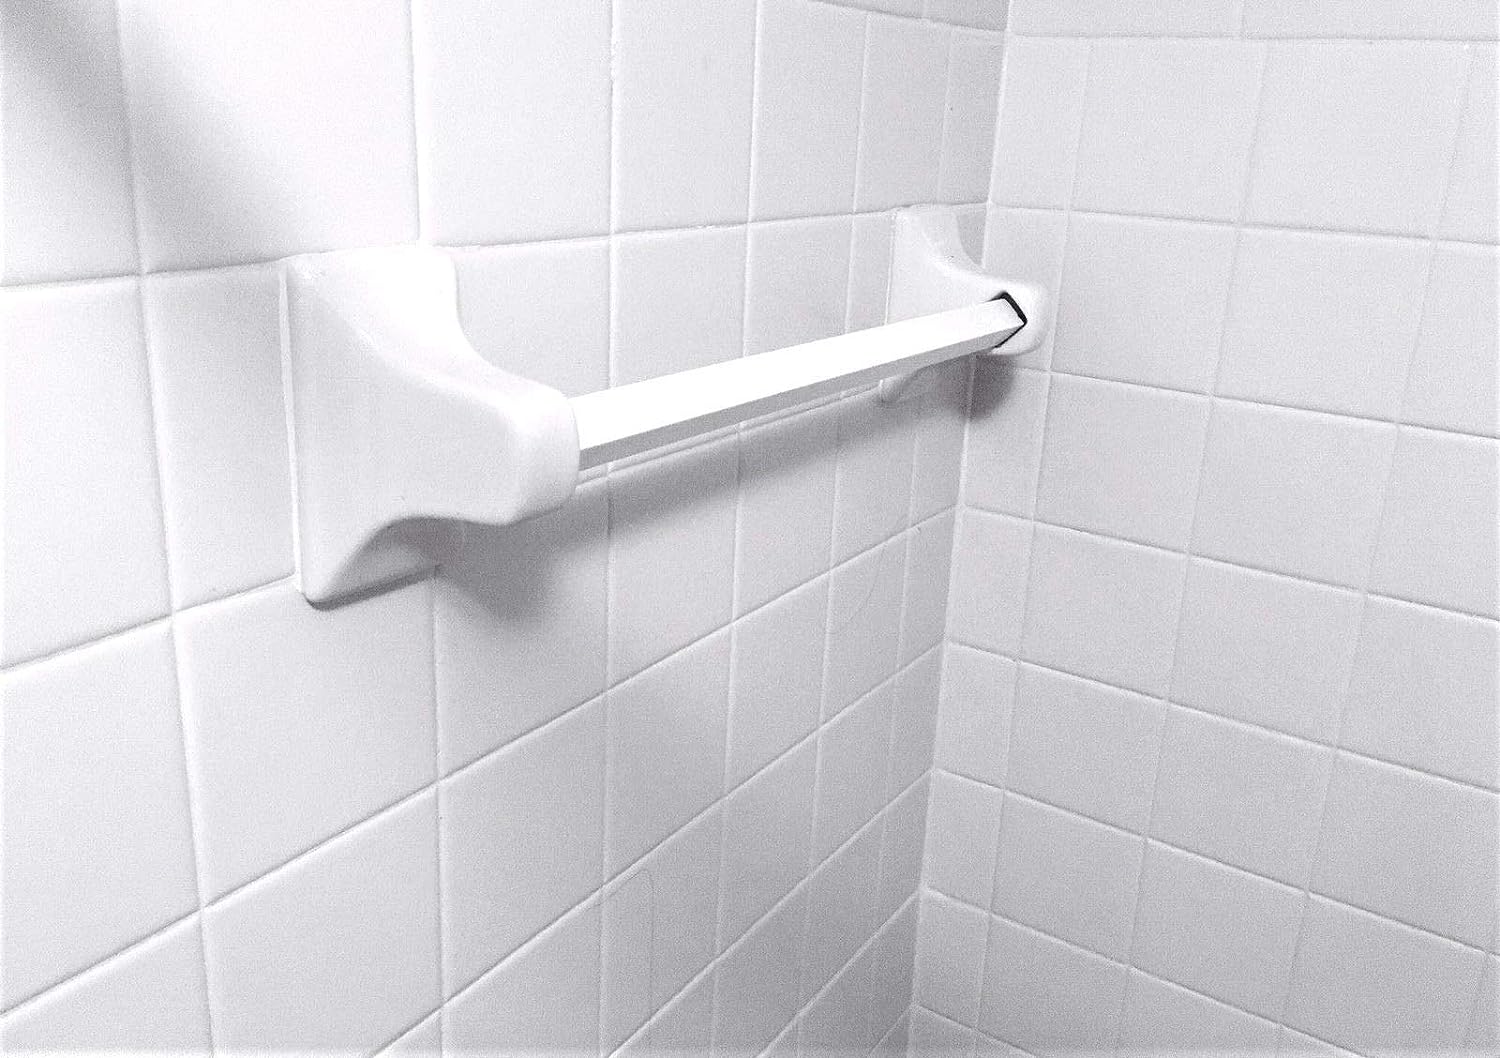
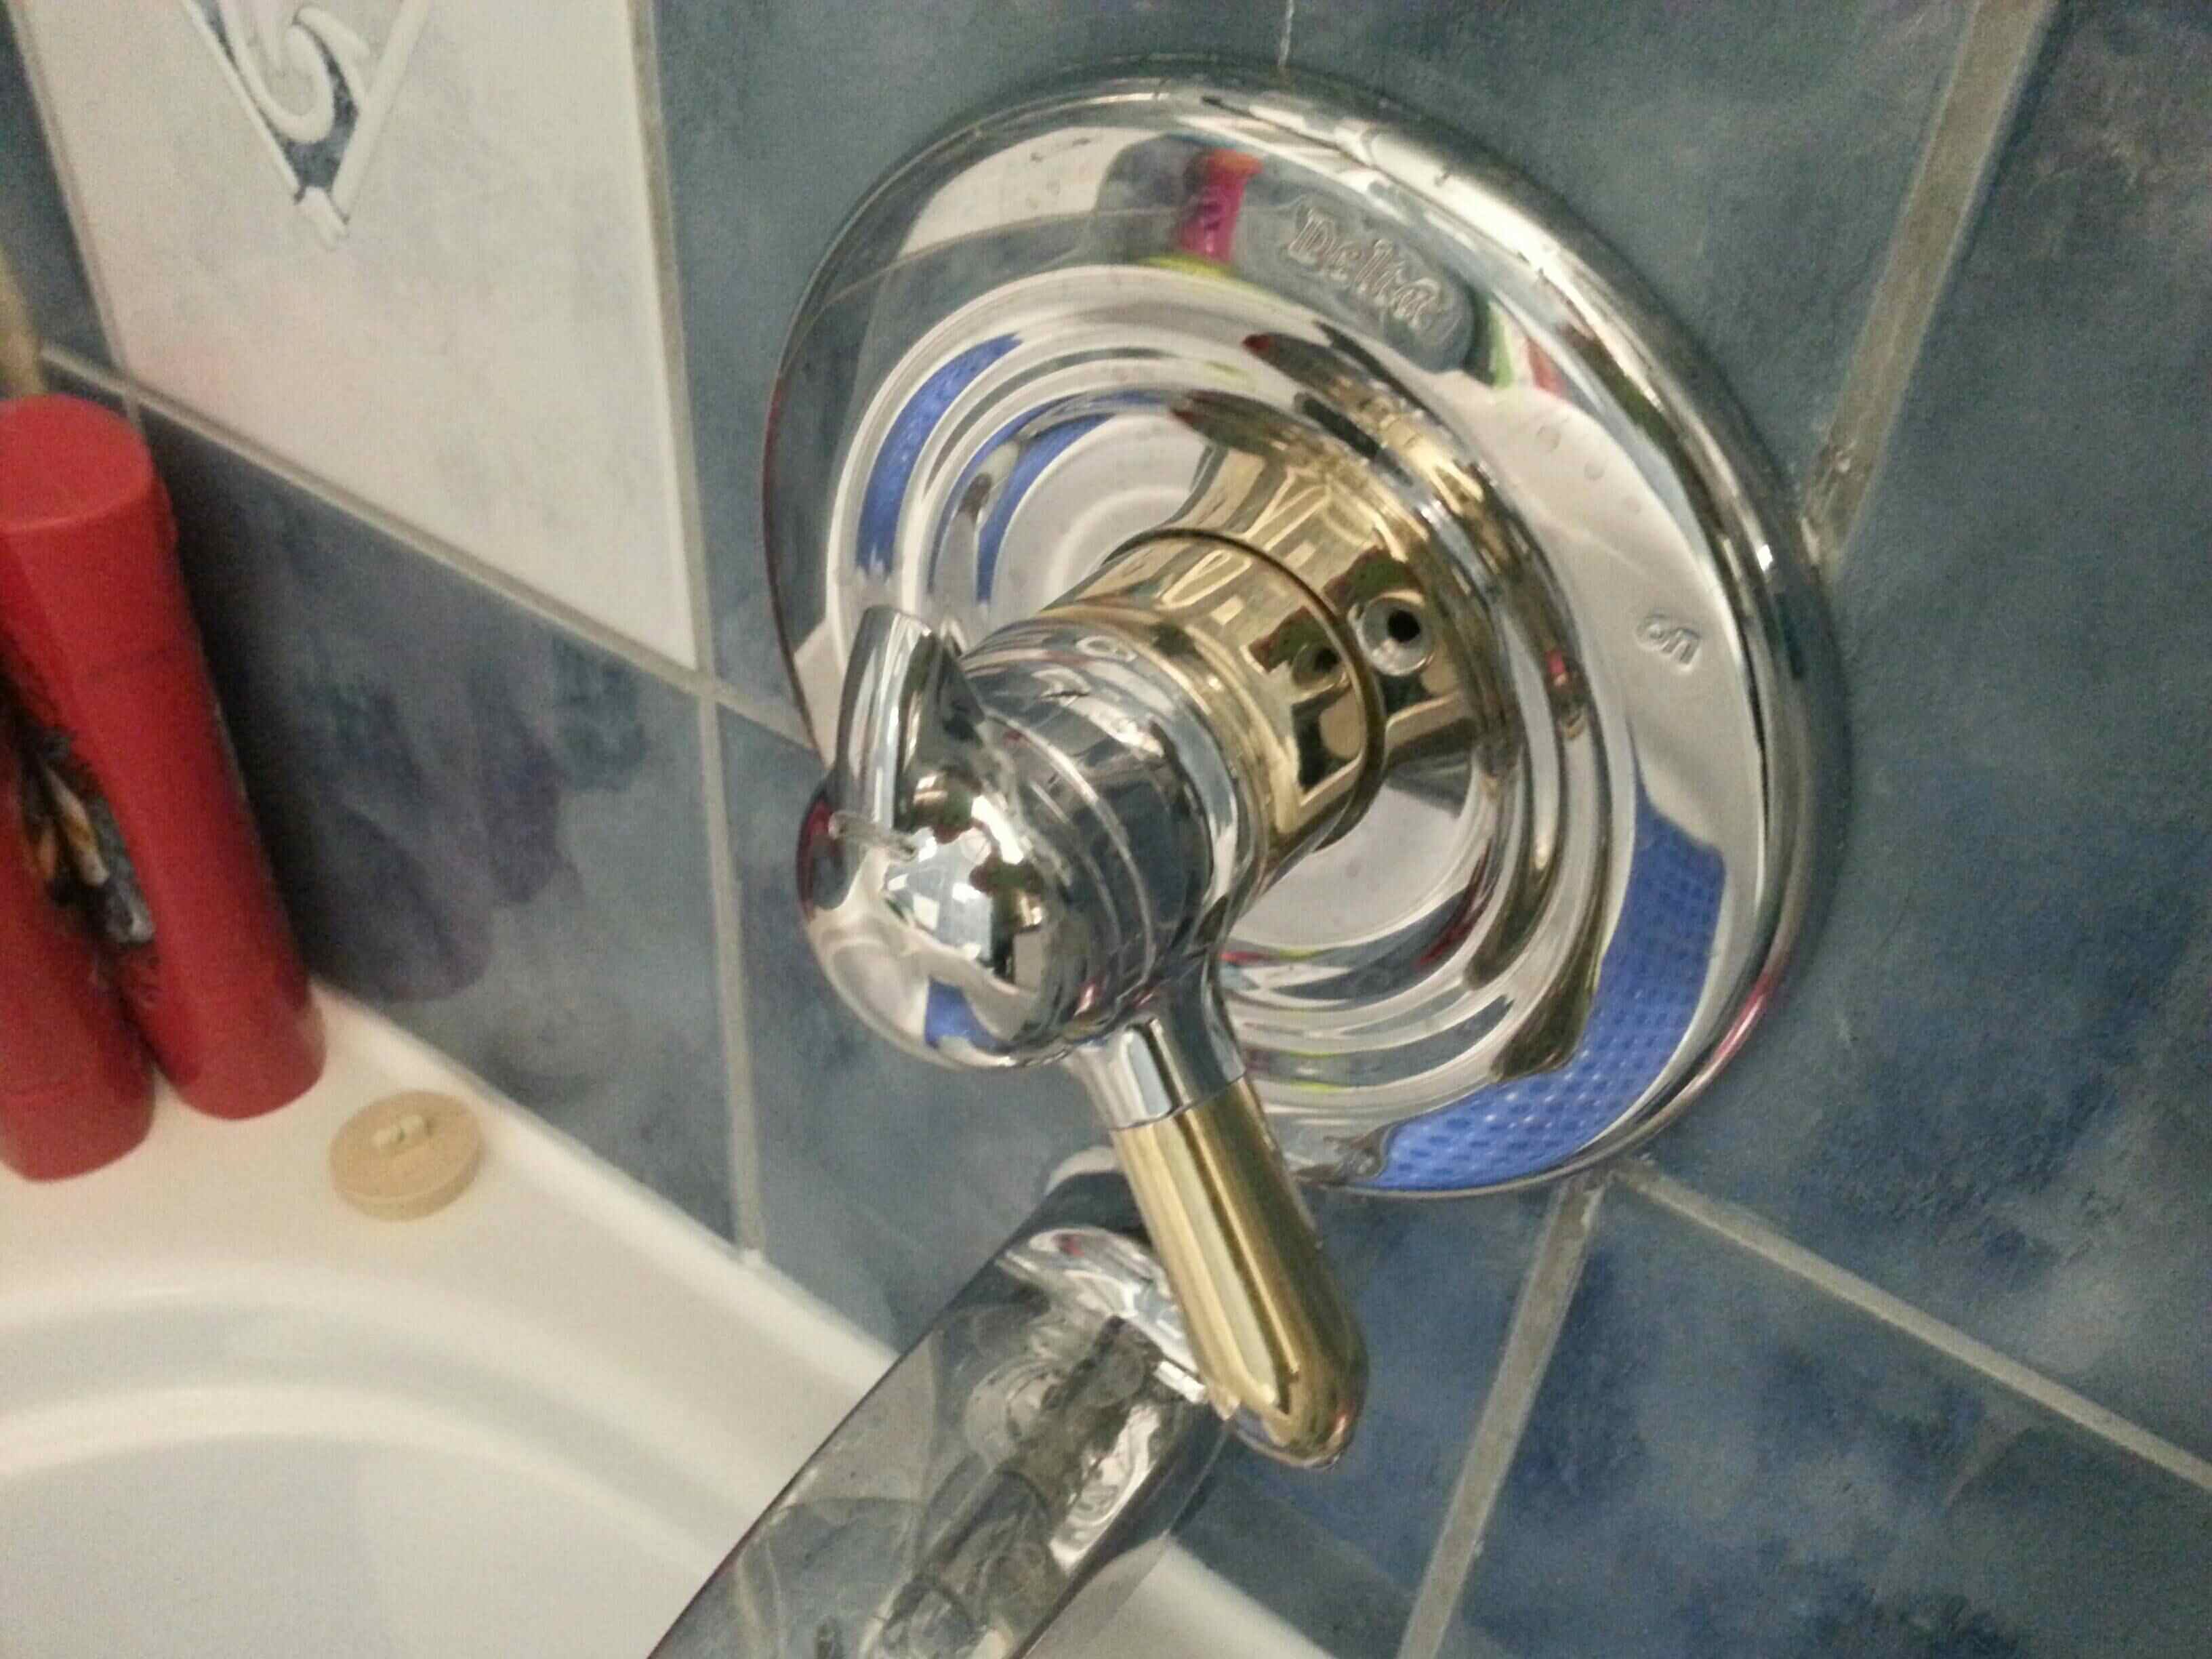
Step 2: Remove the Towel Bar Mounting Brackets
Once you have gathered all the necessary tools, it’s time to start removing the towel bar mounting brackets. These brackets are what hold the towel bar securely to the wall. Follow these steps:
- Locate the mounting brackets: The first step is to locate the mounting brackets on either end of the towel bar. These brackets are typically hidden by decorative covers or caps that need to be removed.
- Remove the decorative covers or caps: Use a flathead screwdriver to pry off the decorative covers or caps. Gently insert the screwdriver into the seam between the cover and the wall and apply light pressure to pop them off.
- Loosen the screws: Once the covers are removed, you’ll see the screws that hold the mounting brackets in place. Use a Phillips screwdriver to loosen and remove these screws. If the screws are difficult to turn, you can use pliers to hold the back of the screw while you unscrew the front.
- Set aside the mounting brackets: Once the screws are removed, set aside the mounting brackets. You may need them if you plan to reuse the towel bar or install a new one.
By following these steps, you should be able to successfully remove the towel bar mounting brackets. Keep in mind that some towel bars may have different types of mounting systems, such as adhesive or caulk. If this is the case, you’ll need to proceed to the next step to release the towel bar from the mounting brackets.
Step 3: Release the Towel Bar from the Mounting Brackets
Now that you have removed the mounting brackets, it’s time to release the towel bar from these brackets. The method will vary depending on the type of towel bar and its attachment to the brackets. Follow these steps:
- Examine the towel bar: Take a close look at how the towel bar is attached to the mounting brackets. It may be held in place by screws, nuts and bolts, or adhesive/caulk.
- Unscrew or loosen the screws: If the towel bar is held in place by screws, use a Phillips screwdriver to unscrew them and release the bar. Be sure to save the screws if you plan on reusing the towel bar.
- Loosen nuts and bolts: In some cases, the towel bar may be secured to the mounting brackets using nuts and bolts. Use an adjustable wrench to loosen and remove these nuts and bolts.
- Remove adhesive or caulk: If the towel bar is attached with adhesive or caulk, use a putty knife or utility knife to carefully break the seal and release the bar from the brackets. Take care not to damage the wall surface.
- Release the towel bar: Once the screws, nuts and bolts, or adhesive/caulk are removed, gently lift the towel bar to release it from the mounting brackets.
With these steps, you should be able to successfully release the towel bar from the mounting brackets. Remember to handle the towel bar with care to avoid any damage or injury. If you plan on reinstalling the same towel bar or installing a new one, proceed to the next step to patch and repair any damage.
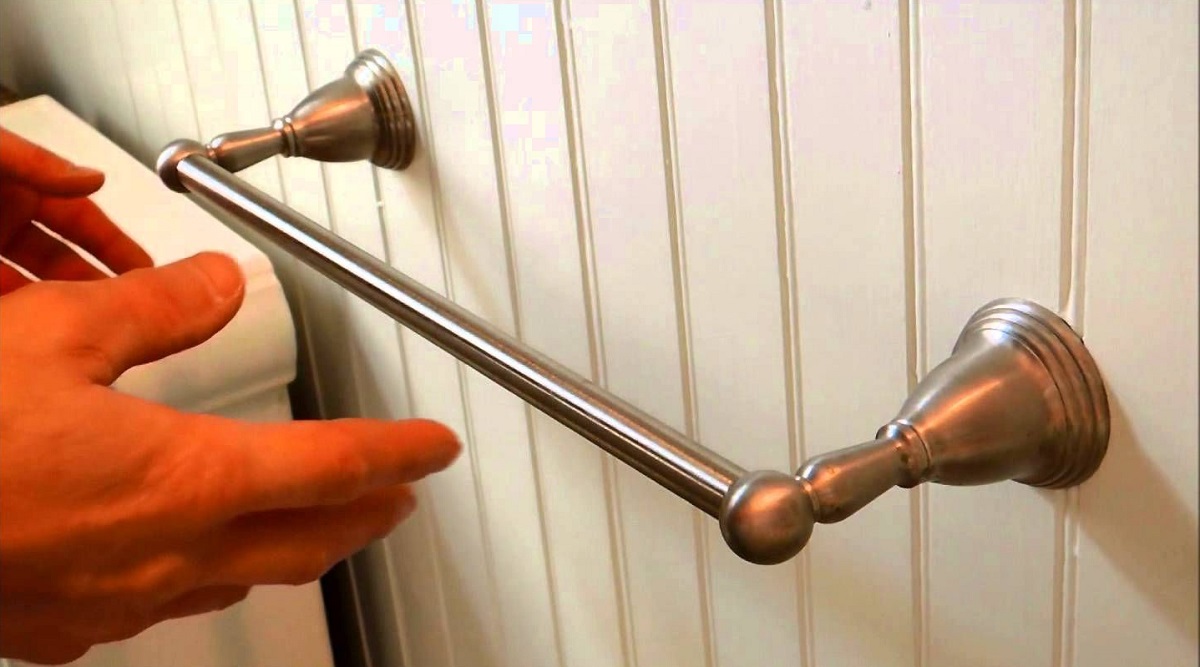
Use a screwdriver to remove the set screws on the base of the towel bar. Once the screws are removed, gently pull the bar away from the wall to detach it. If there is any adhesive, use a putty knife to carefully pry it off.
Step 4: Patch and Repair Any Damage
After removing the towel bar, it’s time to assess the condition of the wall and make any necessary repairs. Follow these steps to patch and repair any damage:
- Inspect the wall: Examine the area where the towel bar was mounted. Look for any holes, cracks, or damage to the wall surface.
- Fill in holes or cracks: If there are small nail or screw holes, use a spackling compound or wall filler to fill them in. Apply the compound with a putty knife, smooth it out, and let it dry according to the manufacturer’s instructions. For larger holes or cracks, you may need to use a patching kit or consult a professional for repairs.
- Sand and smooth the area: Once the compound is dry, use medium-grit sandpaper to sand the patched areas until they are smooth and level with the surrounding wall.
- Repaint the wall: If necessary, touch up the patched areas with paint that matches the rest of the wall. Allow the paint to dry completely before proceeding.
By following these steps, you can effectively patch and repair any damage caused by removing the towel bar. This will help to ensure a seamless and fresh look to your bathroom wall.
Keep in mind that the repair process may vary depending on the extent of the damage and the type of wall surface you have. If you are unsure about how to proceed or if the damage is significant, it is advisable to seek professional assistance.
Read more: How To Remove Rectangular Towel Bar
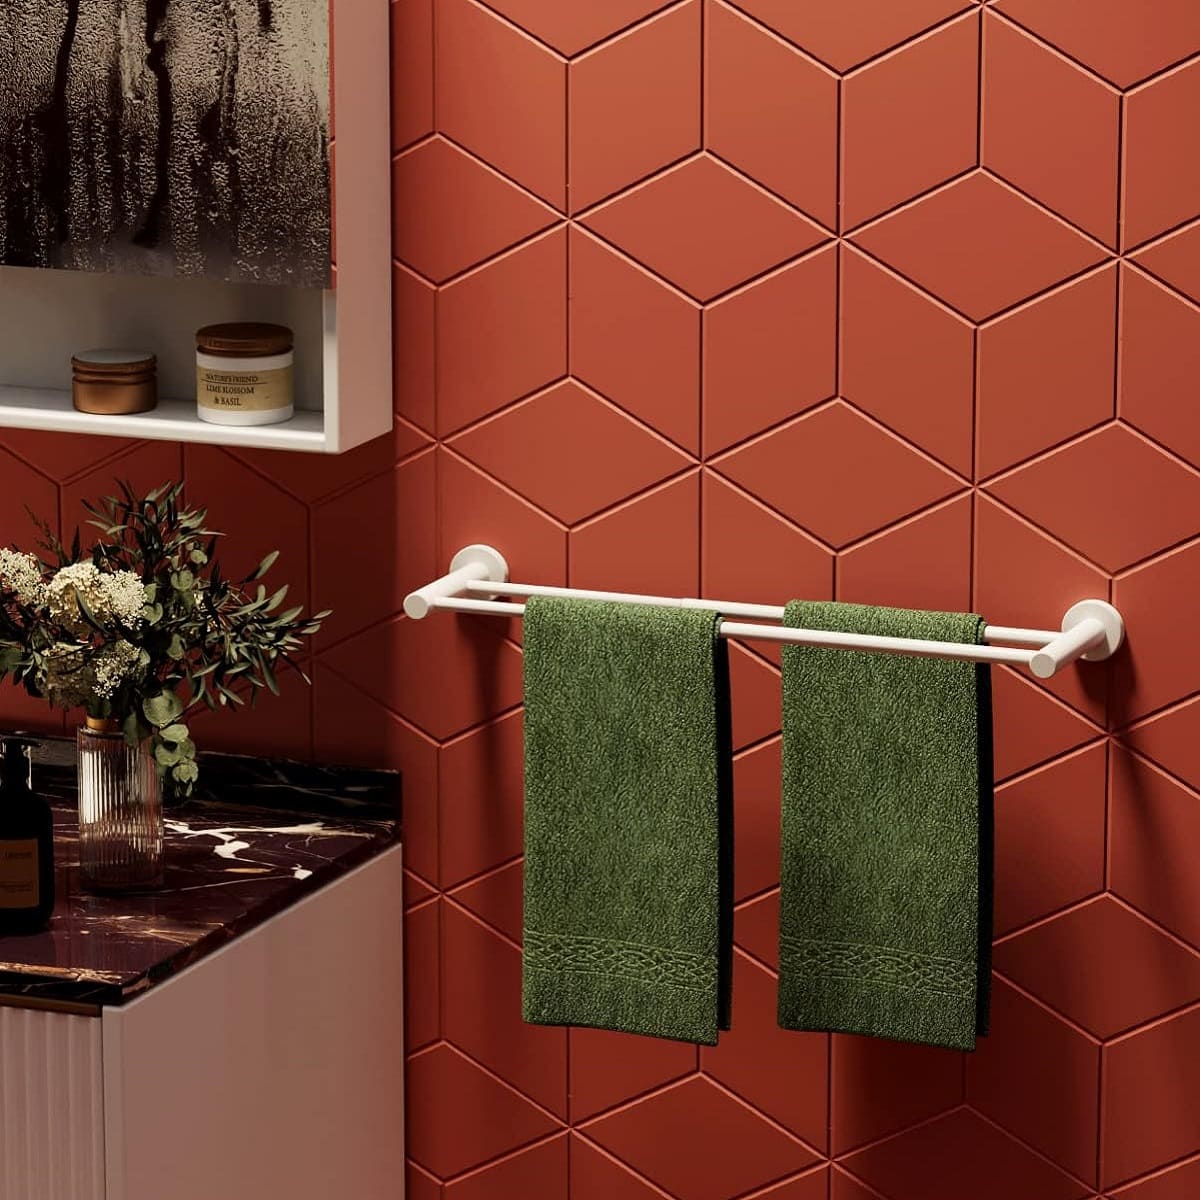
Step 5: Install a New Towel Bar (Optional)
If you have removed the Delta towel bar with the intention of installing a new one, you can proceed with the installation process. Follow these steps to install a new towel bar:
- Measure and mark the placement: Use a measuring tape to determine the desired placement for your new towel bar. Mark the spots where the mounting brackets will be installed.
- Attach the mounting brackets: Depending on the design of your new towel bar, follow the manufacturer’s instructions to attach the mounting brackets to the wall. This may involve using screws, anchors, or other hardware provided.
- Secure the towel bar: Once the brackets are securely in place, attach the towel bar to the brackets according to the manufacturer’s instructions. This may involve tightening screws, sliding the bar onto the brackets, or other methods.
- Check the stability: After installing the new towel bar, test its stability by gently pulling on it. Ensure that it is securely attached to the wall and can support the weight of towels without sagging or wobbling.
Remember to follow the instructions provided by the manufacturer for your specific towel bar. The installation process may vary depending on the design and style of your chosen towel bar.
If you are unsure about installing a new towel bar yourself, consider consulting a professional plumber or handyman for assistance. They can ensure that the towel bar is installed correctly and securely.
However, if you do not plan on installing a new towel bar, you can conclude the removal process at this step. Enjoy your newly updated bathroom and the additional space it provides!
Conclusion
Removing a Delta towel bar may seem like a challenging task, but with the right tools and knowledge, it can be a straightforward process. By following the step-by-step guide outlined in this article, you can safely and effectively remove a Delta towel bar from your bathroom wall.
Remember to gather all the necessary tools before you begin the removal process to ensure a smooth and efficient experience. Take your time to carefully remove the mounting brackets, release the towel bar, and patch any damage that may have occurred.
If you plan to install a new towel bar, make sure to follow the manufacturer’s instructions provided with the new bar. Take accurate measurements, attach the mounting brackets securely, and ensure the towel bar is stable and able to support the weight of your towels.
However, if you do not plan on installing a new towel bar, take the time to appreciate the refreshed space in your bathroom. Patching and repairing any damage caused by the removal of the towel bar will help achieve a seamless and polished look.
Lastly, always keep safety in mind and seek professional assistance if you are unsure about any step of the process or if you encounter significant difficulties. A professional plumber or handyman can provide expertise and ensure a successful towel bar removal.
With the knowledge gained from this article, you are now equipped to confidently remove a Delta towel bar and make any necessary repairs or upgrades to your bathroom. Enjoy the process and the improved functionality and aesthetics of your bathroom space!
Frequently Asked Questions about How To Remove Delta Towel Bar
Was this page helpful?
At Storables.com, we guarantee accurate and reliable information. Our content, validated by Expert Board Contributors, is crafted following stringent Editorial Policies. We're committed to providing you with well-researched, expert-backed insights for all your informational needs.


0 thoughts on “How To Remove Delta Towel Bar”