Home>Articles>How To Make A Towel Bar For An Antique Basin Stand

Articles
How To Make A Towel Bar For An Antique Basin Stand
Modified: August 27, 2024
Learn how to create a custom towel bar for your vintage basin stand with our informative articles. Transform your bathroom with this DIY project!
(Many of the links in this article redirect to a specific reviewed product. Your purchase of these products through affiliate links helps to generate commission for Storables.com, at no extra cost. Learn more)
Introduction
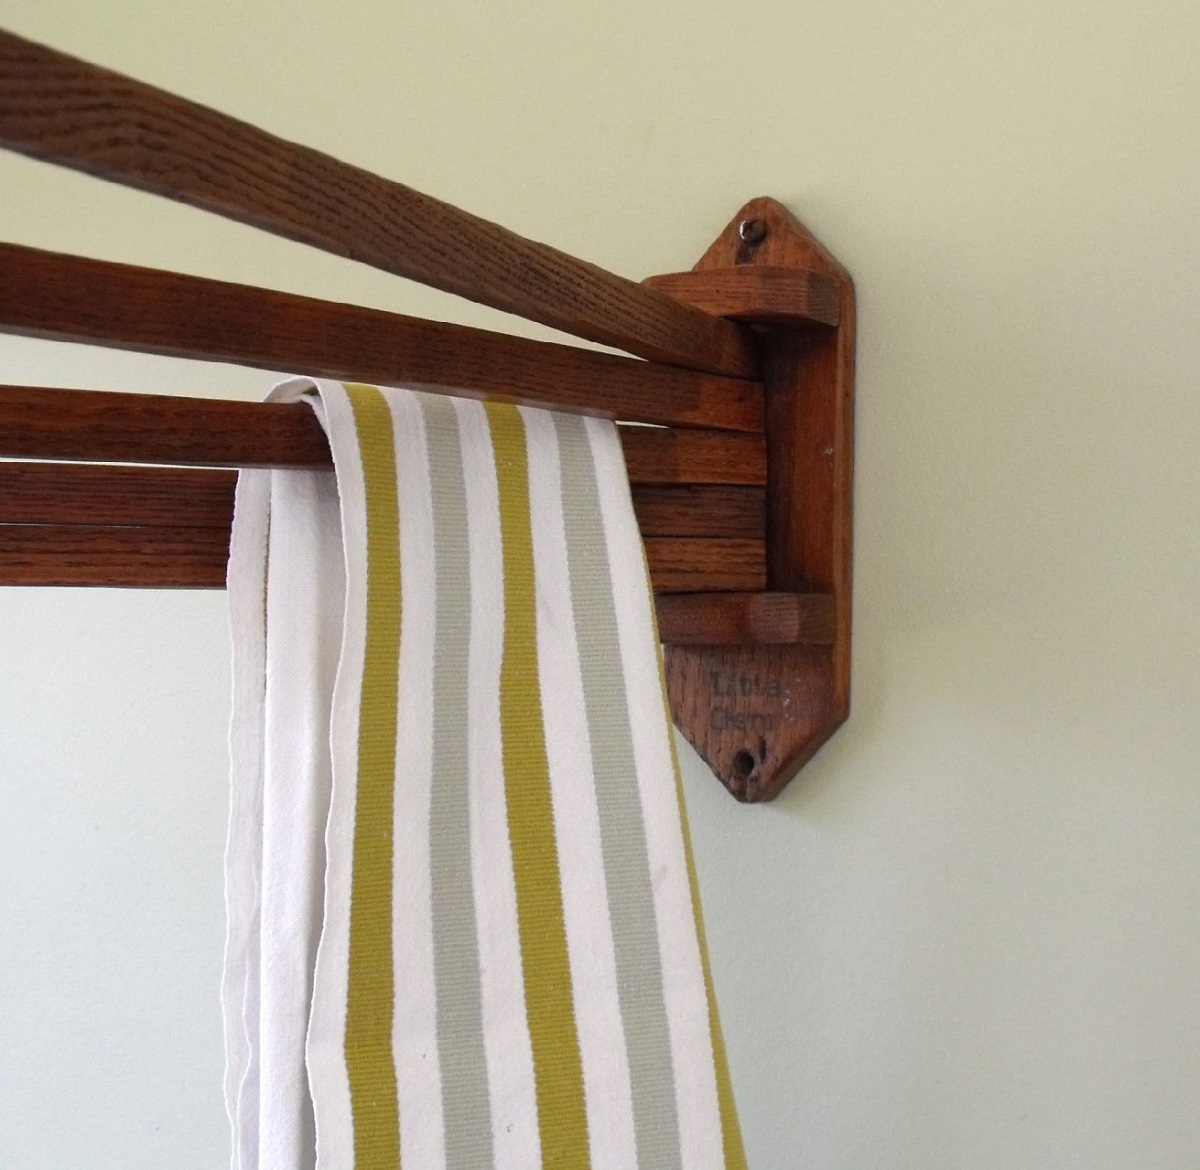
Welcome to this DIY guide on how to make a towel bar for an antique basin stand. Adding a towel bar to your antique basin can not only provide a practical solution for hanging towels, but it can also enhance the overall aesthetic appeal of your bathroom. By following a few simple steps, you can create a custom towel bar that perfectly complements your antique basin stand. Whether you are a seasoned DIY enthusiast or just starting out, this project is achievable and rewarding.
In this guide, we will walk you through the process of measuring and planning, cutting the wood, sanding and smoothing, and finally staining or painting to create a beautiful towel bar that will blend seamlessly with your antique basin stand.
Before we begin, let’s take a look at the materials you will need for this project.
Key Takeaways:
- Create a custom towel bar to complement your antique basin stand by measuring, cutting, sanding, and staining or painting the wood. Attach securely using towel bar brackets for a functional and stylish addition to your bathroom.
- Prioritize safety, precision, and attention to detail when making a towel bar for an antique basin stand. Enjoy the rewarding process of adding a touch of craftsmanship to your bathroom while expressing your creativity through DIY projects.
Read more: How To Make A Wooden Towel Bar
Materials Needed
Before starting this project, gather the following materials:
- Wood: Select a high-quality wood that matches the desired look of your antique basin stand. The size of the wood will depend on the length of the towel bar you want to create.
- Saw: A handsaw or circular saw can be used to cut the wood to the desired length.
- Sandpaper: Choose sandpaper with different grits to smooth out the wood and create a polished finish.
- Stain or Paint: Select a stain or paint color that complements the color scheme of your bathroom and matches the antique basin stand.
- Brushes or Applicators: Use brushes or foam applicators to apply the stain or paint evenly onto the wood surface.
- Towel Bar Brackets: Purchase towel bar brackets that are suitable for the size and weight of the towel bar you are creating.
- Screws: Get screws that are appropriate for securing the towel bar brackets to the wood.
- Screwdriver or Drill: Use a screwdriver or drill to attach the towel bar brackets securely.
- Level: A level tool will ensure that the towel bar is straight when mounted on the wall.
- Measuring Tape: Use a measuring tape to accurately measure the length and spacing of your towel bar.
- Pencil: A pencil will come in handy for marking measurements and indicating where to make cuts.
- Protective Gear: Don’t forget safety goggles and gloves to protect yourself during the cutting and sanding processes.
Now that you have the necessary materials, let’s move on to the step-by-step process of creating your towel bar for an antique basin stand.
Step 1: Measure and Planning
The first step in creating a towel bar for an antique basin stand is to accurately measure the space where you want to install it. Measure the width of your antique basin stand to determine the ideal length for your towel bar. Keep in mind that you will want to leave some space on either side of the basin for functional and aesthetic reasons.
Once you have determined the length of the towel bar, mark the measurement on the wood using a pencil. Use a straight edge or a level to ensure a straight and even line.
Next, plan the spacing between the brackets that will hold the towel bar. The distance between the brackets will depend on the width of the basin stand and your personal preference. Typically, a spacing of around 18-24 inches is suitable for hanging towels.
Measure and mark the positions for the brackets on the wood, ensuring they are evenly spaced and centered. Make sure to leave enough space at each end of the wood for the brackets to be securely attached.
Double-check your measurements and marks before moving on to the next step. Accuracy and precision are crucial to ensure a well-fitted towel bar for your antique basin stand.
Now that you have measured and planned everything, it’s time to move on to cutting the wood.
Step 2: Cutting the Wood
With your measurements and marks in place, it’s time to cut the wood for your towel bar. Use a handsaw or circular saw to cut along the marked line, ensuring a clean and straight cut. Take your time and work slowly to achieve the desired result.
If you have access to a miter saw or table saw, you can use it to make precise and angled cuts on the ends of the wood for a more polished and professional look. This step is optional but can add a touch of elegance to your towel bar.
Once the wood is cut to the desired length, take a moment to check the fit against your antique basin stand. Ensure that the towel bar is neither too long nor too short, and that it aligns perfectly with the width of the basin stand.
If necessary, make any adjustments by trimming a little from each end until the fit is just right. Remember to measure twice and cut once to avoid any unnecessary mistakes.
Now that you have successfully cut the wood to the correct length, it’s time to move on to the next step: sanding and smoothing.
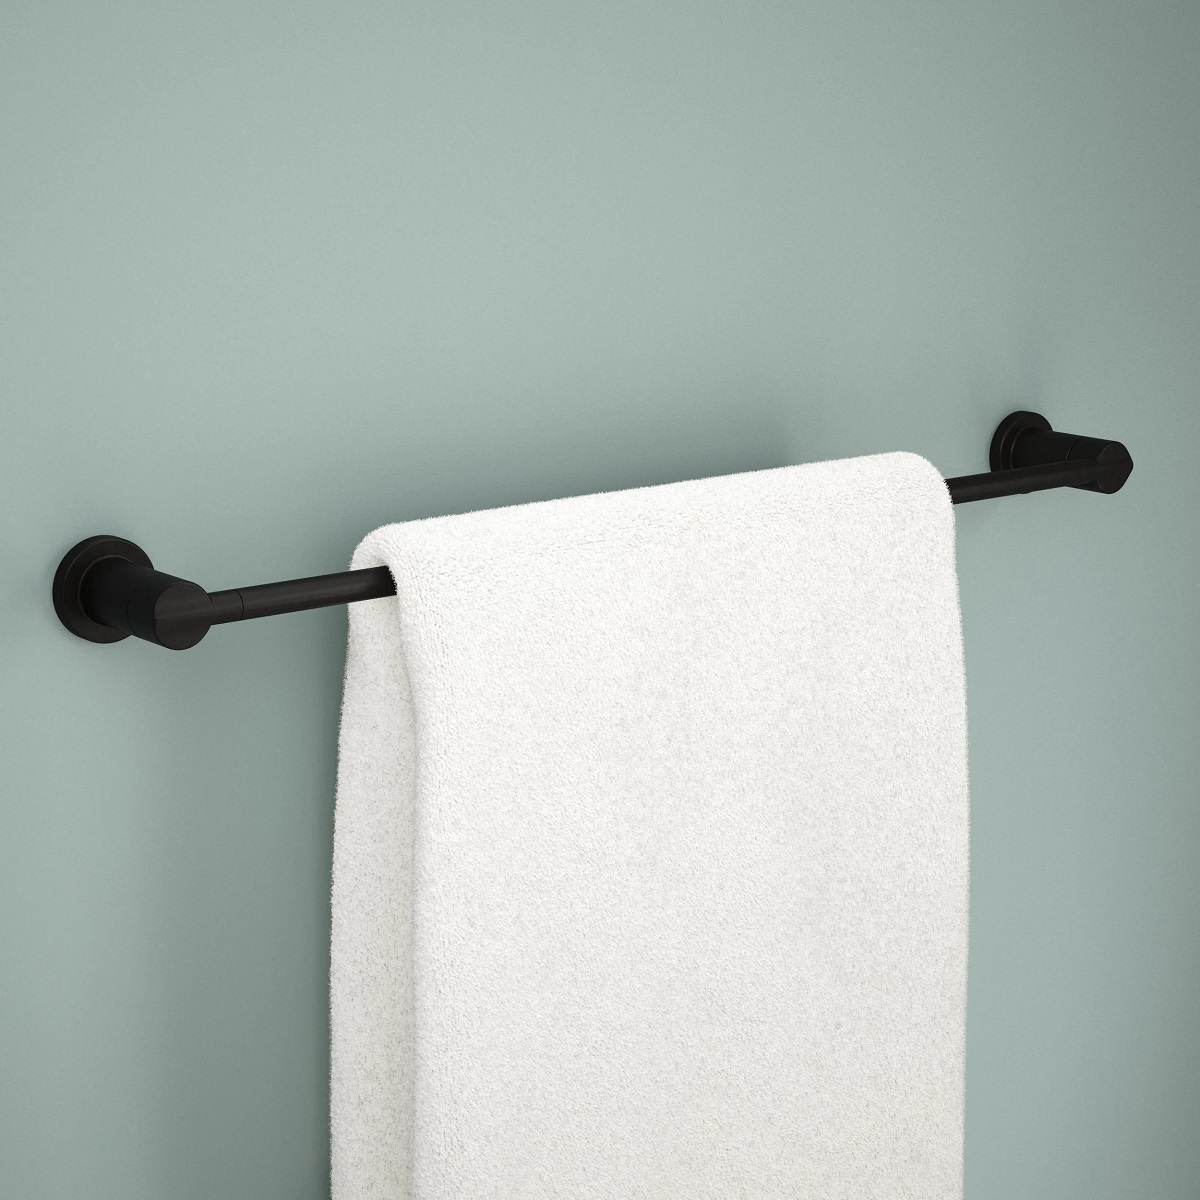
Consider using a wooden dowel or metal pipe as the towel bar, attaching it to the antique basin stand with decorative brackets for a vintage look. Make sure to measure the space carefully before purchasing materials.
Step 3: Sanding and Smoothing
Now that you have your towel bar cut to size, it’s time to focus on sanding and smoothing the wood to create a beautiful and polished finish. This step is crucial for both the appearance and functionality of your towel bar.
Start by using rough-grit sandpaper to remove any rough edges, splinters, or imperfections on the surface of the wood. Sand in the direction of the grain to achieve a smooth and consistent finish. Be sure to sand the edges as well to round them off and prevent any sharp corners.
Next, switch to a finer-grit sandpaper to further smooth the surface of the wood. This will help remove any leftover roughness from the initial sanding and leave a silky, touchable texture.
Throughout the sanding process, periodically run your hand along the surface of the wood to check for smoothness. If you encounter any rough spots, continue sanding until you achieve a uniformly smooth finish.
After the sanding is complete, use a clean cloth or brush to remove any dust or debris from the wood. This will ensure that the surface is clean and ready for the next step: staining or painting.
By taking the time to sand and smooth the wood, you’ll not only improve the overall aesthetic of your towel bar but also ensure that it feels comfortable to touch and won’t snag or damage your towels.
With the wood now sanded and smooth, we can move on to the next step: staining or painting the towel bar to match your antique basin stand.
Read more: How To Make A Galvanized Pipe Towel Bar
Step 4: Staining or Painting
In this step, you will have the opportunity to add color and personality to your towel bar by applying a stain or paint of your choice. The staining or painting process will not only enhance the appearance but also provide protection to the wood.
If you prefer the natural beauty of the wood grain to shine through, staining would be the ideal option. Choose a wood stain that complements the color of your antique basin stand and follow the manufacturer’s instructions for application. Use a brush or foam applicator to evenly coat the surface of the wood with the stain. Apply multiple coats if necessary, allowing each coat to dry before applying the next.
If you prefer a more vibrant or unique look, painting your towel bar is a great option. Select a paint color that matches your bathroom decor or creates a striking contrast. Apply a primer coat before painting to ensure better adhesion and coverage. Once the primer is dry, use a brush or roller to apply the paint evenly, making sure to cover all sides of the wood. Apply multiple coats as needed, allowing each coat to dry before applying the next.
Whether you choose to stain or paint, remember to follow the drying instructions provided with the product and allow ample drying time. This will ensure that the finish is fully cured and durable.
Once the stain or paint has dried, you can move on to the next step: attaching the towel bar to your antique basin stand.
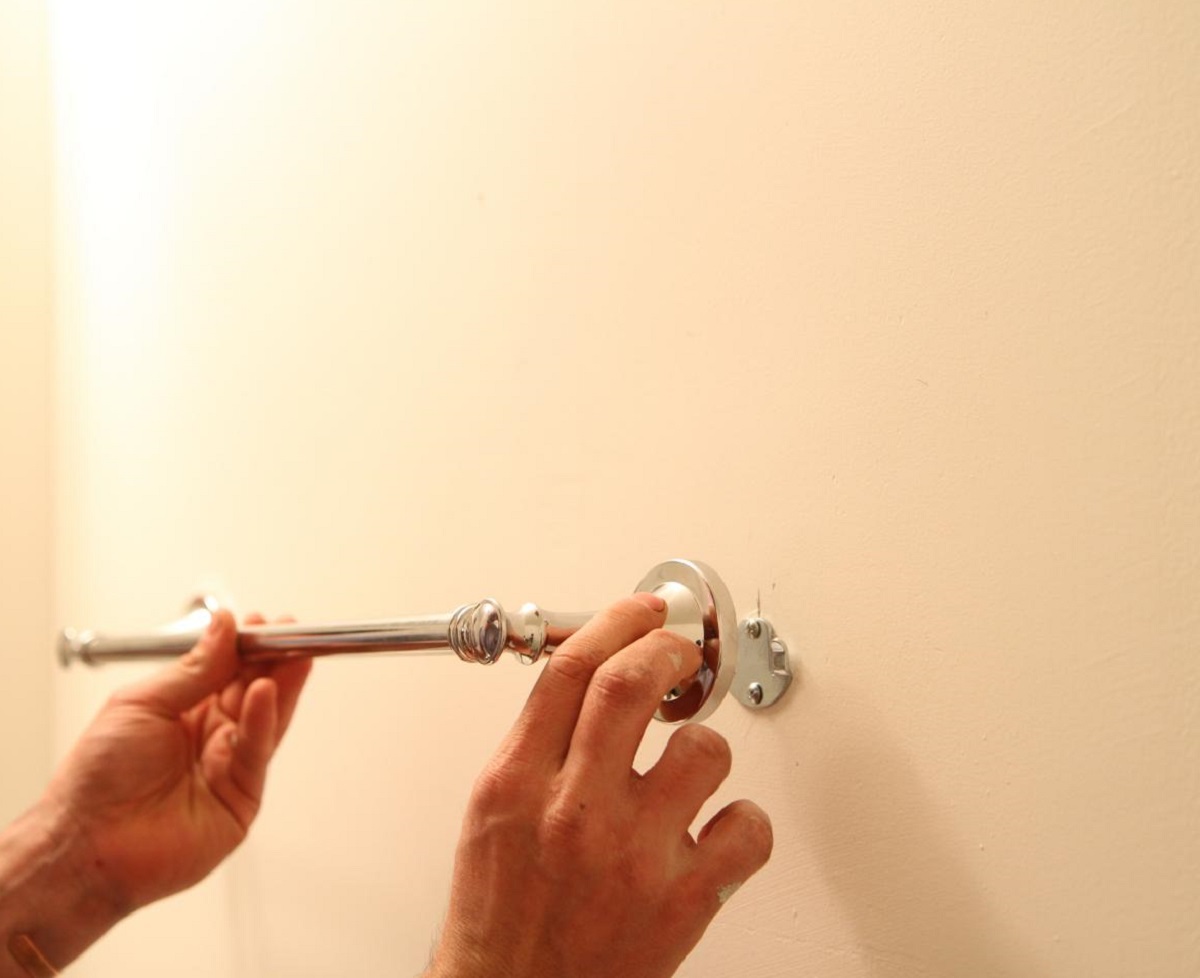
Step 5: Attaching the Towel Bar
Now that you have your beautifully stained or painted towel bar, it’s time to attach it securely to your antique basin stand. This step will require the use of towel bar brackets.
Begin by positioning the towel bar brackets on the marked positions along the bottom side of the wood. Ensure that they are aligned properly and evenly spaced. Use a pencil to mark the screw holes on the wood through the bracket holes.
Next, use a screwdriver or drill to attach the brackets to the wood using the marked screw holes. Make sure to use screws that are appropriate for the size and weight of your towel bar. Tighten the screws securely, but be cautious not to overtighten and risk damaging the wood.
Once the brackets are securely attached, hold the towel bar against your antique basin stand to determine the desired height. Use a level tool to ensure that the towel bar is straight and aligned with the basin stand.
With the towel bar in the correct position, use a pencil to mark the screw hole positions on the wall or tile where the brackets will be mounted. Use appropriate wall anchors or screws to attach the brackets to the wall, ensuring they are securely mounted. Verify that the towel bar is level once again before tightening the screws.
Finally, test the sturdiness of the towel bar by applying gentle pressure and hanging a towel. Make any necessary adjustments and tighten the screws further if needed.
And there you have it! You have successfully attached the towel bar to your antique basin stand. Take a step back and admire your creation.
Congratulations! You have completed the process of making a towel bar for an antique basin stand. Your bathroom now boasts a functional and stylish addition that perfectly complements your antique decor.
We hope you enjoyed this DIY project and that it brings both practicality and beauty to your bathroom for years to come.
Happy crafting!
Conclusion
Creating a towel bar for an antique basin stand is a rewarding DIY project that allows you to add functionality and charm to your bathroom. By following the steps outlined in this guide, you can successfully make a custom towel bar that complements the style and aesthetic of your antique basin stand.
Starting with careful measurements and planning, you can ensure that your towel bar fits perfectly alongside your antique basin stand. Cutting the wood to the desired length and sanding it smooth creates a polished surface for the next step, staining or painting. Choosing the right finish gives your towel bar a personalized touch that matches your bathroom decor.
Attaching the towel bar securely to your antique basin stand is the final step, utilizing towel bar brackets and carefully mounting them to the wall. Ensuring that the towel bar is level and sturdy allows you to enjoy its functionality for hanging towels or other bathroom accessories.
Throughout the project, attention to detail and precision is key to achieving the desired result. Take your time, measure twice, and cut once to ensure a professional-looking outcome. Don’t forget to prioritize safety by wearing protective gear during cutting and sanding processes.
By completing this DIY project, you have not only created a practical towel bar but also added a touch of craftsmanship to your bathroom. Your antique basin stand now has a functional and visually appealing accessory that enhances the overall aesthetics of the space.
We hope you found this guide helpful and enjoyed the process of making your towel bar. Customizing your bathroom with DIY projects is a wonderful way to express your creativity and make your space truly unique.
Happy DIY-ing!
Frequently Asked Questions about How To Make A Towel Bar For An Antique Basin Stand
Was this page helpful?
At Storables.com, we guarantee accurate and reliable information. Our content, validated by Expert Board Contributors, is crafted following stringent Editorial Policies. We're committed to providing you with well-researched, expert-backed insights for all your informational needs.


0 thoughts on “How To Make A Towel Bar For An Antique Basin Stand”