Home>Articles>How To Make A Pillowcase Without Using A Zipper

Articles
How To Make A Pillowcase Without Using A Zipper
Modified: August 16, 2024
Learn how to make a pillowcase without relying on a zipper with our informative articles. Find step-by-step instructions and helpful tips to create beautiful pillowcases.
(Many of the links in this article redirect to a specific reviewed product. Your purchase of these products through affiliate links helps to generate commission for Storables.com, at no extra cost. Learn more)
Introduction:
Have you ever wanted to make your own pillowcase without the hassle of using a zipper? Look no further! In this article, we will walk you through a simple and easy method to create a pillowcase without the need for a zipper. This DIY project is perfect for beginners or anyone looking to add a personal touch to their bedroom decor.
Creating a pillowcase without a zipper not only saves time but also allows for more creativity in choosing fabrics and designs. You can customize your pillowcase to match your bedroom decor or create a unique and personalized gift for a loved one. So, let’s gather our materials and get started on this fun and fulfilling project!
Key Takeaways:
- Create personalized pillowcases without zippers using this easy DIY method. Choose soft, durable fabrics, measure accurately, and add finishing touches for a professional look. Get creative and enjoy sewing!
- Making pillowcases without zippers is a fun and fulfilling project for beginners and DIY enthusiasts. Customize your bedding, hone your sewing skills, and impress loved ones with thoughtful handmade gifts.
Materials Needed:
Before we dive into the step-by-step process, let’s gather all the materials you will need for making a pillowcase without using a zipper:
- Fabric of your choice – Make sure to choose a fabric that is soft, durable, and complements your bedroom decor.
- Scissors – A good pair of fabric scissors is essential for cutting the fabric neatly and accurately.
- Measuring tape – To measure the dimensions of your pillow and fabric accurately.
- Sewing machine – While you can opt to hand sew the pillowcase, a sewing machine will make the process faster and more efficient.
- Thread – Choose a thread color that matches your fabric for a seamless finish.
- Pins – Pins are useful for securing the fabric in place while sewing.
- Ruler or straight edge – This will come in handy for measuring and marking the fabric for cutting and folding.
- Iron and ironing board – Ironing the fabric before and during sewing helps create crisp and professional-looking seams.
- Pillow insert – Don’t forget to have the appropriate-sized pillow insert on hand to fit your pillowcase!
Now that you have all the necessary materials, let’s move on to the step-by-step process of making a pillowcase without a zipper.
Step 1: Measure and Cut Fabric
The first step in making a pillowcase without a zipper is to measure and cut the fabric to the appropriate size. Follow these steps:
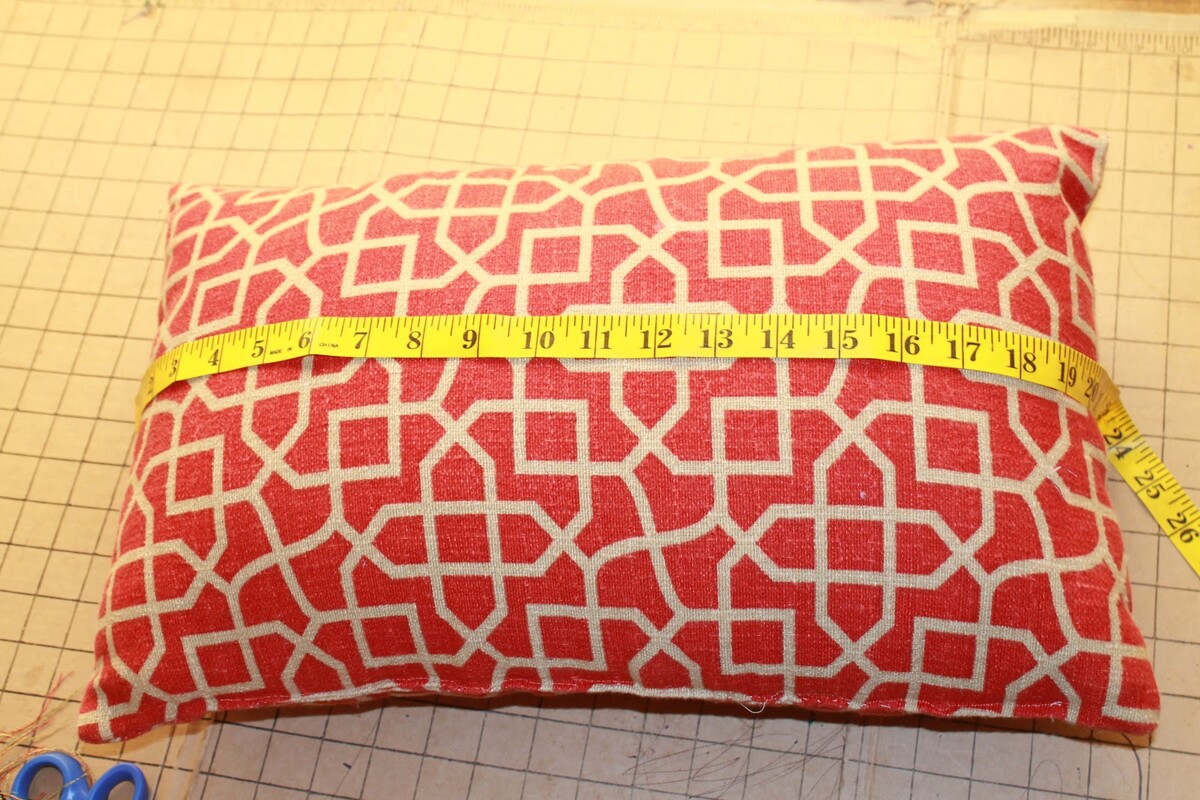
- Measure your pillow: Use a measuring tape to measure the dimensions of your pillow. This will determine the size of the fabric you need to cut. Measure the width and the length, and write down the measurements.
- Add seam allowance: To ensure a proper fit, add an additional 1 inch to both the width and length measurements. This will account for the seam allowance.
- Cut the fabric: Lay your fabric flat on a cutting surface. Use a ruler or straight edge to measure and mark the fabric based on the adjusted measurements from step 2. Carefully cut along the marked lines using fabric scissors. Take your time to keep the edges straight and even.
Once you have cut the fabric to the desired size, you are ready to move on to the next step: folding and hemming the edges.
Step 2: Fold and Hem Edges
After cutting the fabric to the appropriate size, the next step in making a pillowcase without a zipper is to fold and hem the edges. Follow these steps:
- Prepare the fabric: Lay your fabric flat with the wrong side facing up. Smooth out any wrinkles or creases.
- Fold one short edge: Take one short edge of the fabric and fold it over by about ½ inch. Use your fingers or an iron to press the fold down firmly. This will create a clean, finished edge for your pillowcase.
- Hem the edge: Once the fold is in place, fold the edge over one more time, this time by 1 inch. This will enclose the raw edge. Pin the folded edge in place to secure it. Repeat this process for the other short edge of the fabric.
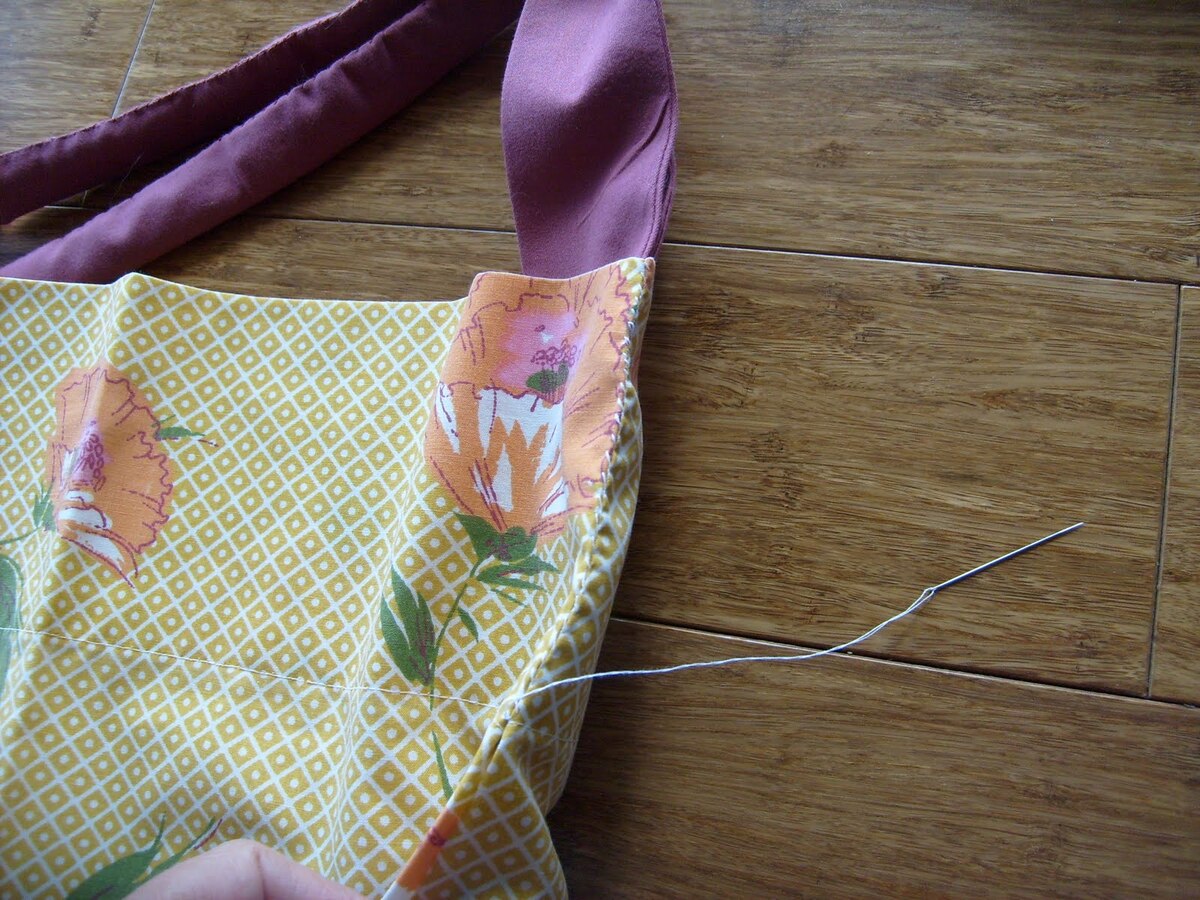
- Sew the hems: Using a sewing machine or by hand, sew along the folded edge of each hem. Use a straight stitch and backstitch at the beginning and end of the seam to secure it. Remove the pins as you sew.
- Press the seams: After sewing, press the seams with an iron to create crisp and neat edges. Be sure to iron the hems on both short edges of the fabric.
With the edges folded and hemmed, your fabric is now ready for the next step: sewing the pillowcase together.
Use an envelope-style closure for your pillowcase. Cut two pieces of fabric, overlap them in the middle, and sew around the edges. Turn it inside out and you have a pillowcase without a zipper!
Step 3: Sewing the Pillowcase
Now that the edges of your fabric are neatly folded and hemmed, it’s time to sew the pillowcase together. Follow these steps:
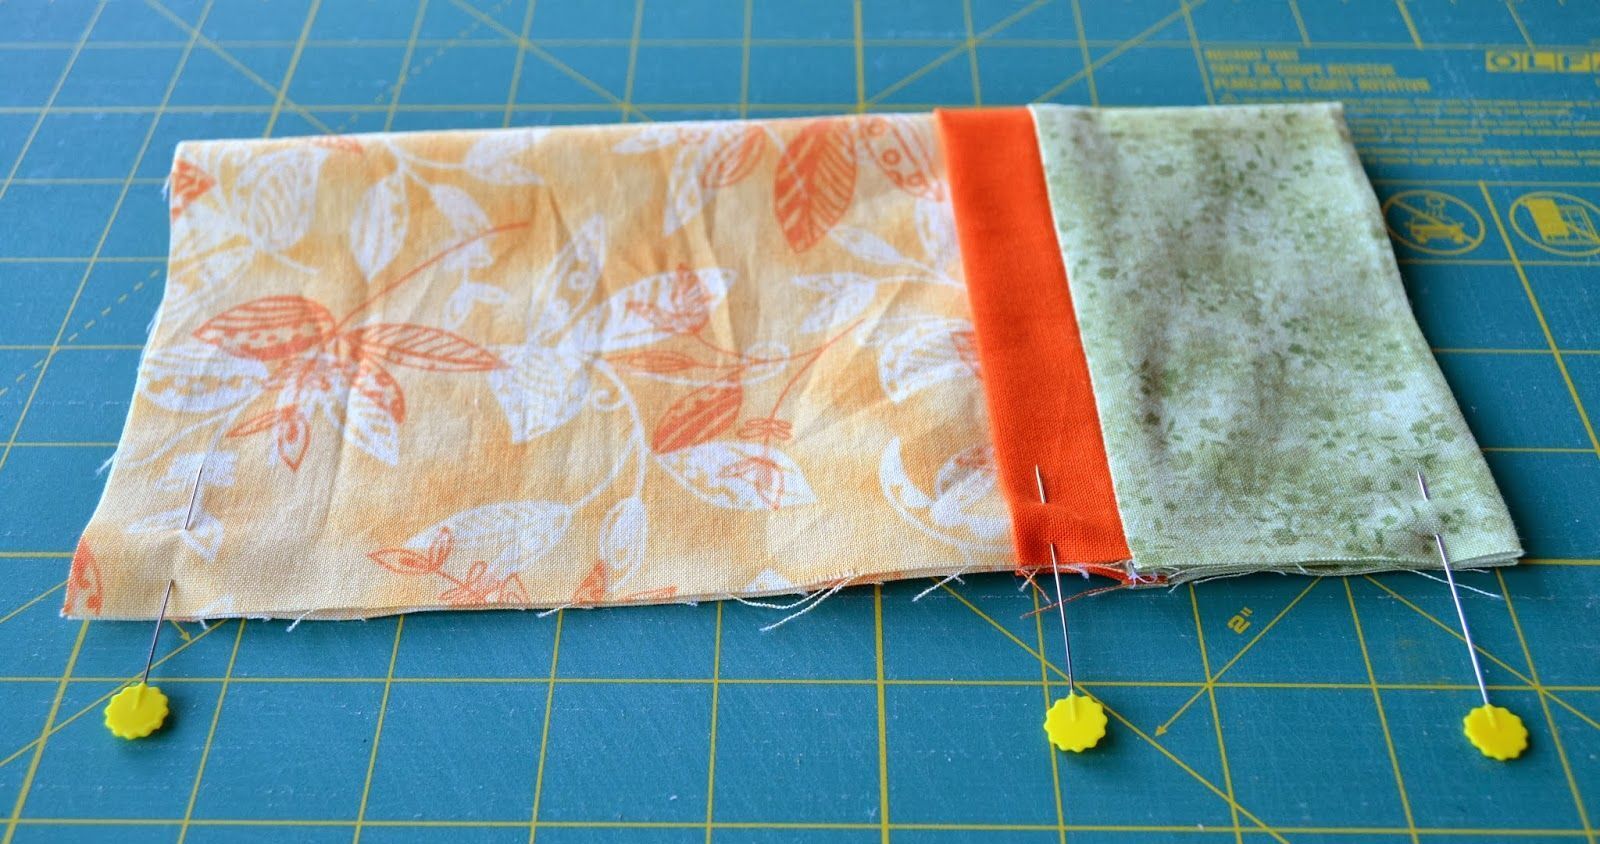
- Place the fabric right sides together: Take your fabric piece and fold it in half lengthwise, ensuring that the right sides of the fabric are facing each other. Align the edges and corners.
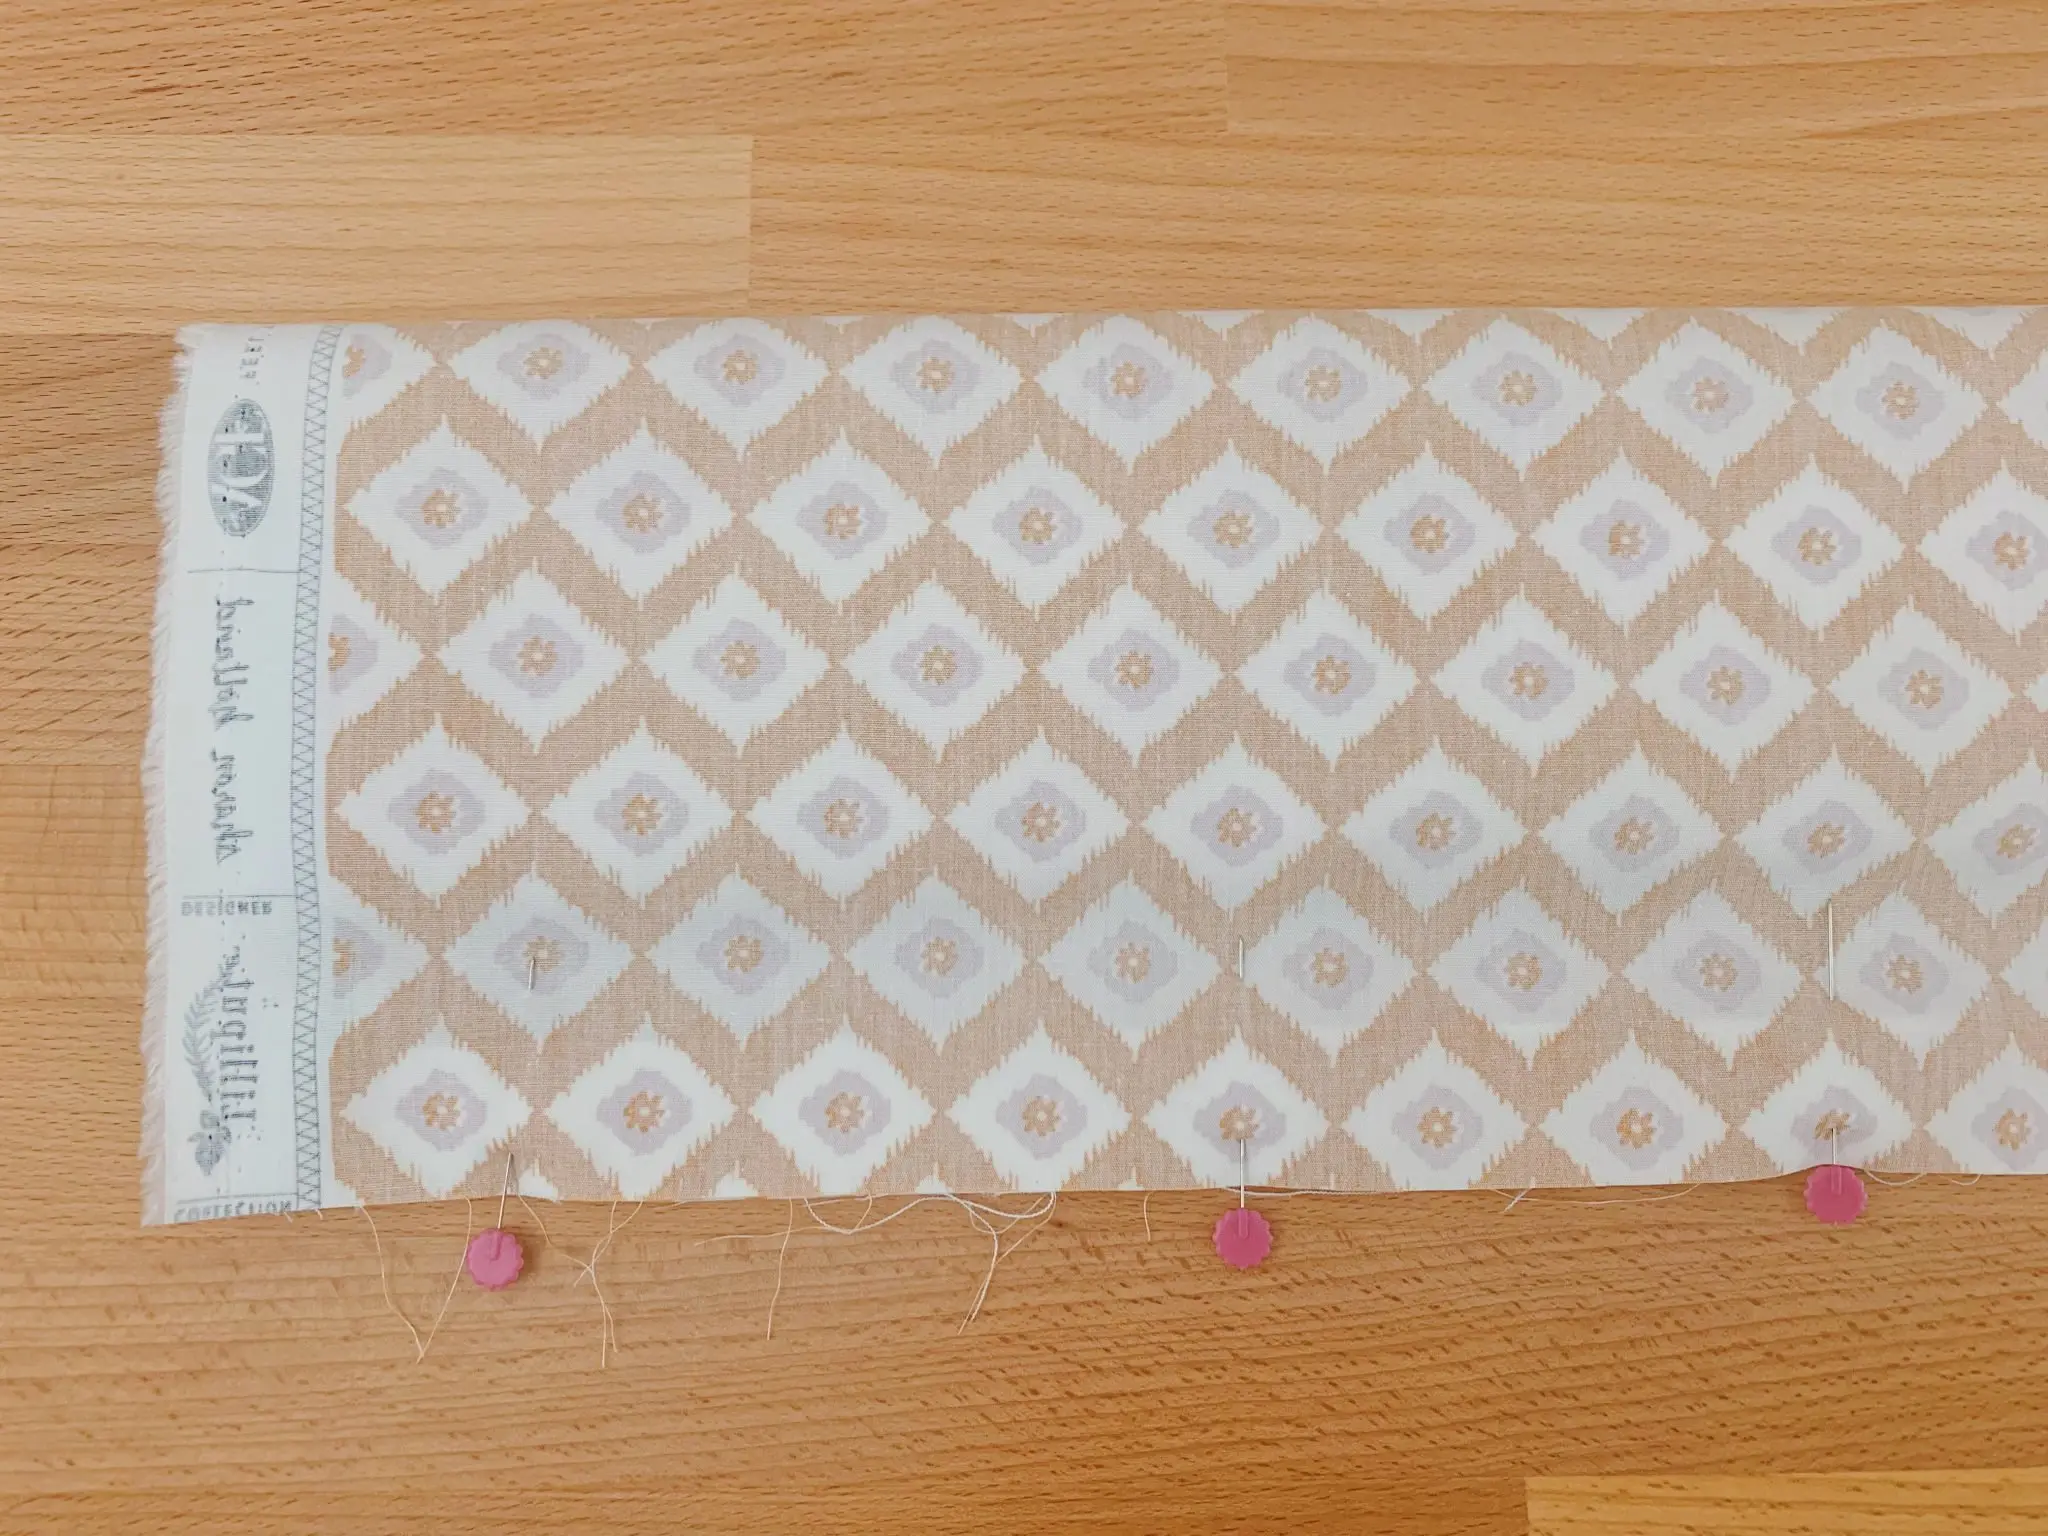
- Pin the sides: Use pins to secure the sides of the fabric together. Start at the top edge and continue pinning down the side edge, making sure to match up the raw edges.
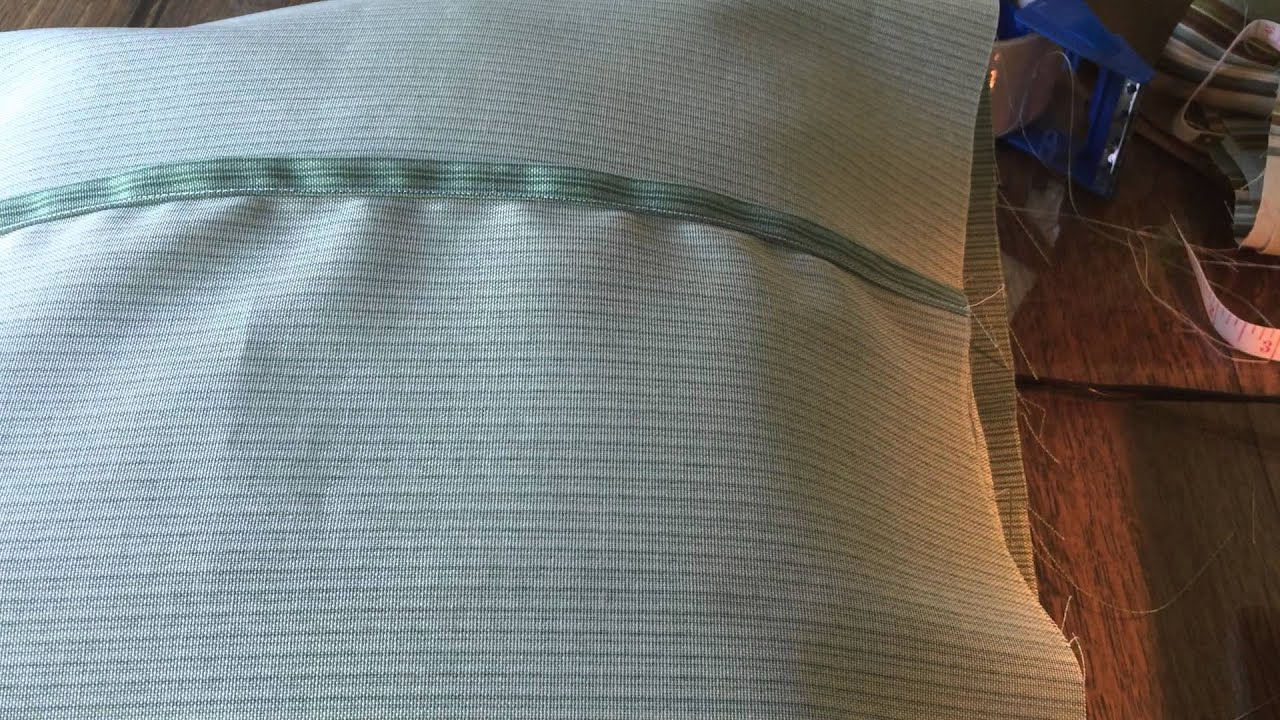
- Sew the sides: Using a sewing machine or by hand, sew along the pinned edge of the fabric, starting from the top and working your way down. Use a straight stitch and backstitch at the beginning and end of the seam to secure it. Remove the pins as you sew.
- Press the seam: After sewing, press the seam open or to one side with an iron. This will create a flat, professional-looking finish to the seam.
By now, your pillowcase should be taking shape! However, there’s one more step to add those finishing touches.
Read more: How To Make A Child’s Pillowcase
Step 4: Finishing Touches
Now that you’ve sewn the sides of the pillowcase together, it’s time to add the finishing touches to complete your pillowcase without a zipper. Follow these steps:
- Trim excess fabric: If there is any excess fabric or loose threads, trim them carefully with fabric scissors. This will give your pillowcase a clean and polished look.
- Turn the pillowcase right side out: Reach inside the pillowcase through the opening and pull the fabric through, turning the pillowcase right side out. Use your fingers or a blunt object to gently push out the corners for a crisp finish.
- Iron the pillowcase: Once the pillowcase is turned right side out, give it a final press with an iron. This will smooth out any wrinkles and give your pillowcase a professional look.
- Insert the pillow: Open the pillowcase and slide the pillow insert inside. Adjust the pillow as needed to ensure a snug fit.
- Close the opening: To close the opening, fold the raw edges of the fabric inward and pin them together. Sew along the edge, either by hand or using a sewing machine, to secure the opening and complete your pillowcase.
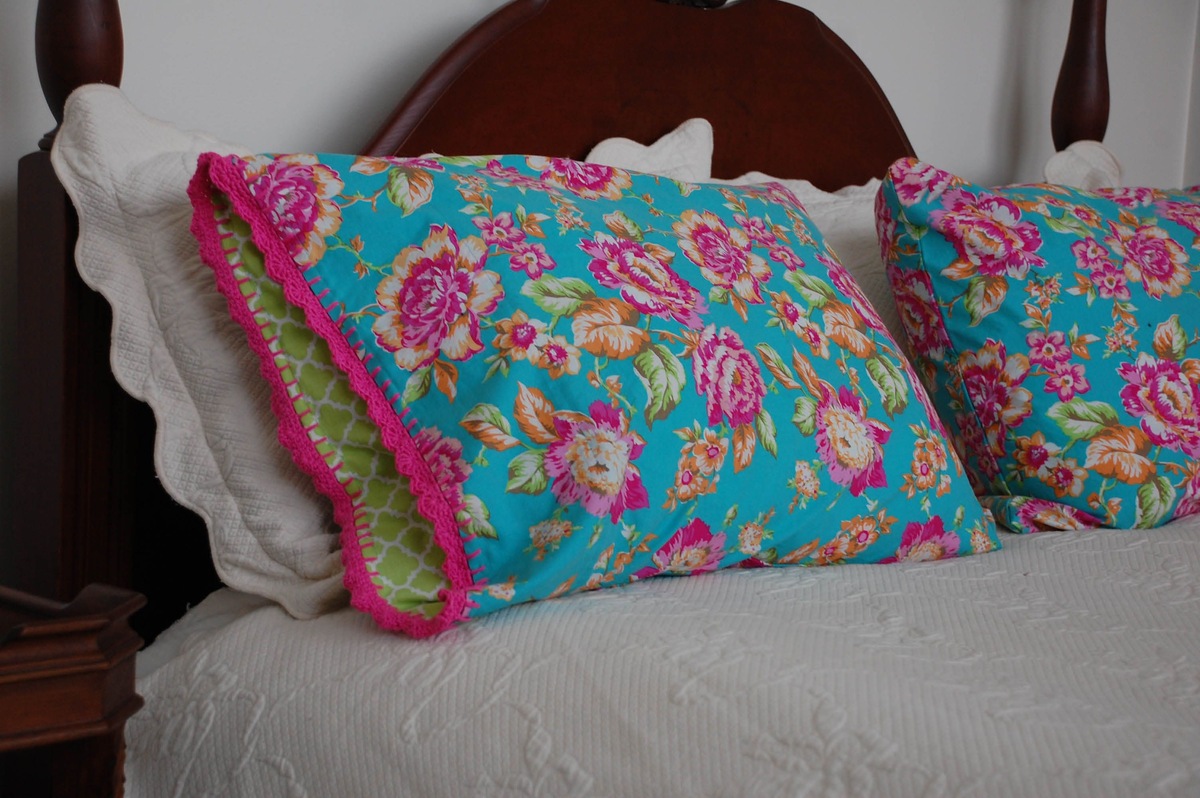
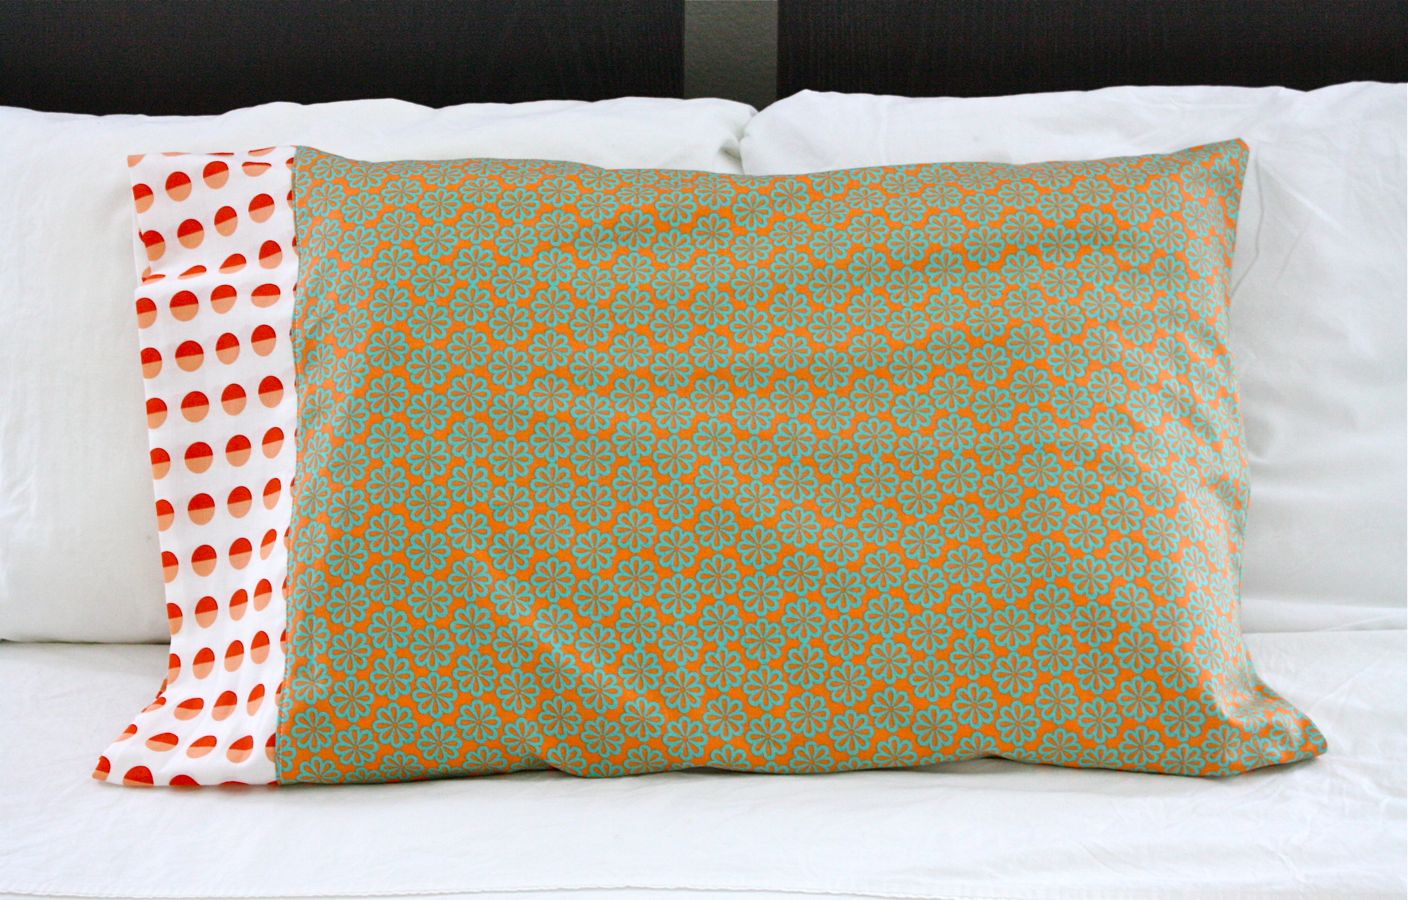
And there you have it – a beautifully finished pillowcase without the use of a zipper! Take a step back and admire your handiwork. Your new pillowcase is ready to adorn your bed or make a thoughtful gift for someone special.
Remember, you can experiment with different fabrics, patterns, and trims to personalize your pillowcase and match your bedroom decor. Get creative and have fun with this DIY project!
Conclusion:
Congratulations! You have successfully learned how to make a pillowcase without using a zipper. This simple and straightforward method allows you to create customized pillowcases that are both functional and stylish. By following the steps outlined in this article, you can easily make pillowcases to match your bedroom decor, make unique gifts, or simply add a personal touch to your space.
Remember to choose a fabric that is soft, durable, and complements your aesthetic preferences. Take accurate measurements, fold and hem the edges neatly, and sew the pillowcase together with precision. Adding those finishing touches, such as trimming excess fabric and pressing the pillowcase, will give it a polished and professional appearance.
Whether you’re a beginner or an experienced DIY enthusiast, this project is perfect for honing your sewing skills and unleashing your creativity. Plus, making your own pillowcase without a zipper is a cost-effective way to customize your bedding collection.
So what are you waiting for? Gather your materials, follow the steps outlined above, and enjoy the satisfaction of creating something beautiful with your own hands. Get ready to cozy up with your new pillowcase or impress your loved ones with thoughtful and handmade gifts. Happy sewing!
Frequently Asked Questions about How To Make A Pillowcase Without Using A Zipper
Was this page helpful?
At Storables.com, we guarantee accurate and reliable information. Our content, validated by Expert Board Contributors, is crafted following stringent Editorial Policies. We're committed to providing you with well-researched, expert-backed insights for all your informational needs.



0 thoughts on “How To Make A Pillowcase Without Using A Zipper”