Home>Articles>How To Make Peach Ice Cream Without An Ice Cream Maker

Articles
How To Make Peach Ice Cream Without An Ice Cream Maker
Modified: December 7, 2023
Learn how to make delicious peach ice cream at home without the need for an ice cream maker. Follow our step-by-step articles and enjoy a refreshing treat!
(Many of the links in this article redirect to a specific reviewed product. Your purchase of these products through affiliate links helps to generate commission for Storables.com, at no extra cost. Learn more)
Introduction
Ice cream is a beloved treat enjoyed by people of all ages. Its creamy texture and delicious flavors make it the perfect dessert to cool down on a hot summer day. While traditional ice cream recipes may require an ice cream maker to achieve that perfect consistency, there are alternative methods that allow you to make homemade ice cream without the need for specialized equipment.
In this article, we will be exploring how to make peach ice cream without an ice cream maker. This refreshing and fruity flavor is sure to delight your taste buds and impress your family and friends. With just a few simple ingredients and some patience, you can create a batch of creamy and luscious peach ice cream right in your own kitchen.
So, if you’re ready to embark on a homemade ice cream adventure, let’s gather our ingredients and dive into the step-by-step process of making peach ice cream without an ice cream maker.
Key Takeaways:
- Enjoy homemade peach ice cream without an ice cream maker by preparing ripe peaches, making a creamy base, and manually churning the mixture for a luscious and refreshing dessert.
- Create creamy peach ice cream without specialized equipment, savoring the delightful burst of peach flavor in every scoop and exploring endless variations with different fruits and mix-ins.
Ingredients
Before we begin, let’s gather all the ingredients we’ll need to make peach ice cream without an ice cream maker. The following measurements will yield approximately 4 servings:
- 2 cups of ripe peaches, peeled and diced
- 1 cup of heavy cream
- 1 cup of whole milk
- 3/4 cup of granulated sugar
- 1 teaspoon of vanilla extract
- A pinch of salt
It’s important to note that the quality of the ingredients used will greatly impact the final taste and texture of the ice cream. Choose ripe and flavorful peaches for the best results, and opt for high-quality dairy products to ensure a rich and creamy ice cream.
Now that we have our ingredients ready, let’s move on to the step-by-step process of making peach ice cream without an ice cream maker.
Step 1: Preparing the Peaches
The first step in making peach ice cream without an ice cream maker is to prepare the peaches. Start by selecting ripe and flavorful peaches that are slightly soft to the touch. Avoid using overripe peaches as they may become too mushy in the ice cream.
Begin by washing the peaches thoroughly under cold water to remove any dirt or residue. Once clean, gently pat them dry with a kitchen towel. Now, it’s time to peel the peaches. This can be done by blanching them in boiling water for approximately 30 seconds, then transferring them to an ice water bath to cool. The skins should easily slide off when touched.
After peeling, slice the peaches in half and remove the pit. Proceed to dice the peaches into small cubes. You can adjust the size of the cubes according to your preference. If you prefer larger chunks of peach in your ice cream, go for bigger pieces. If you prefer a smoother texture, dice the peaches into smaller pieces.
Once the peaches are prepared, set them aside while we move on to the next step.
Step 2: Making the Ice Cream Base
Now that the peaches are prepared, it’s time to make the ice cream base. In a medium-sized mixing bowl, combine the heavy cream, whole milk, granulated sugar, vanilla extract, and a pinch of salt. Whisk the mixture together until the sugar is completely dissolved.
Whisking the ingredients together ensures that the sugar is evenly distributed throughout the base. This will result in a smoother and more consistent sweetness in the final ice cream.
Once the base is well-mixed, cover the bowl with plastic wrap and refrigerate for at least 1 hour. Chilling the base allows the flavors to meld together and helps achieve a creamier texture when it comes time to churn the ice cream.
While the base is chilling, you can clean up your workspace and prepare for the next steps.
Now that the ice cream base is ready, let’s move on to the next step: adding the peaches to the base.
To make peach ice cream without an ice cream maker, blend together frozen peaches, condensed milk, and vanilla extract until smooth. Then, fold in whipped cream and freeze until firm. Enjoy!
Step 3: Adding the Peaches to the Base
With the ice cream base chilled and ready, it’s time to incorporate the delicious peaches we prepared earlier. Take the bowl of base out of the refrigerator and give it a gentle stir to ensure it is well mixed.
Next, add the diced peaches into the ice cream base. Make sure to fold them in gently to avoid crushing or mashing the peaches too much. The goal is to distribute the peach pieces evenly throughout the base, creating a delightful burst of peach flavor in every bite.
Once the peaches are added, give the mixture one final stir to incorporate them evenly. Be careful not to overmix, as this can result in a loss of texture and a less creamy consistency.
Now that the peaches are incorporated, it’s time to move on to the next step: churning the mixture.
Read more: How To Make Ice Cream With Ice Cream Maker
Step 4: Churning the Mixture
Churning the ice cream mixture is a crucial step in the process as it helps incorporate air into the base, creating a creamy and smooth texture. While traditional ice cream makers churn the mixture automatically, we’ll be using a manual method to achieve the same results.
To begin, transfer the ice cream base with the peaches to a freezer-safe container. Make sure the container is large enough to accommodate the mixture with some extra room, as it will expand during the freezing process.
Place the container in the freezer for about an hour until the mixture starts to firm around the edges. At this point, remove the container from the freezer and give the mixture a good stir with a spatula. Be sure to scrape the frozen edges back into the center, mixing in any unmixed parts.
Repeat this process of removing the container from the freezer and stirring the mixture every 30 minutes for the next 2 to 3 hours. This frequent stirring prevents large ice crystals from forming and ensures a smoother and creamier texture.
Continue this process until the ice cream has thickened and reached your desired consistency. It may take 4 to 5 hours or more, depending on the temperature of your freezer and the desired firmness of the ice cream.
Once the ice cream has reached the desired consistency, it’s time to move on to the final step: freezing the ice cream.
Step 5: Freezing the Ice Cream
After churning the ice cream mixture, it’s time to freeze it to achieve the perfect texture and firmness. Transfer the partially frozen ice cream into a lidded container, ensuring that it is well-covered to prevent any freezer burn.
Place the container back into the freezer and let the ice cream freeze for a minimum of 4 hours or overnight. This will allow the ice cream to fully set and develop its delicious flavors.
During the freezing process, it’s important to avoid any unnecessary disturbances to the ice cream container. Opening and closing the freezer door frequently can cause temperature fluctuations, which may result in a less desirable texture.
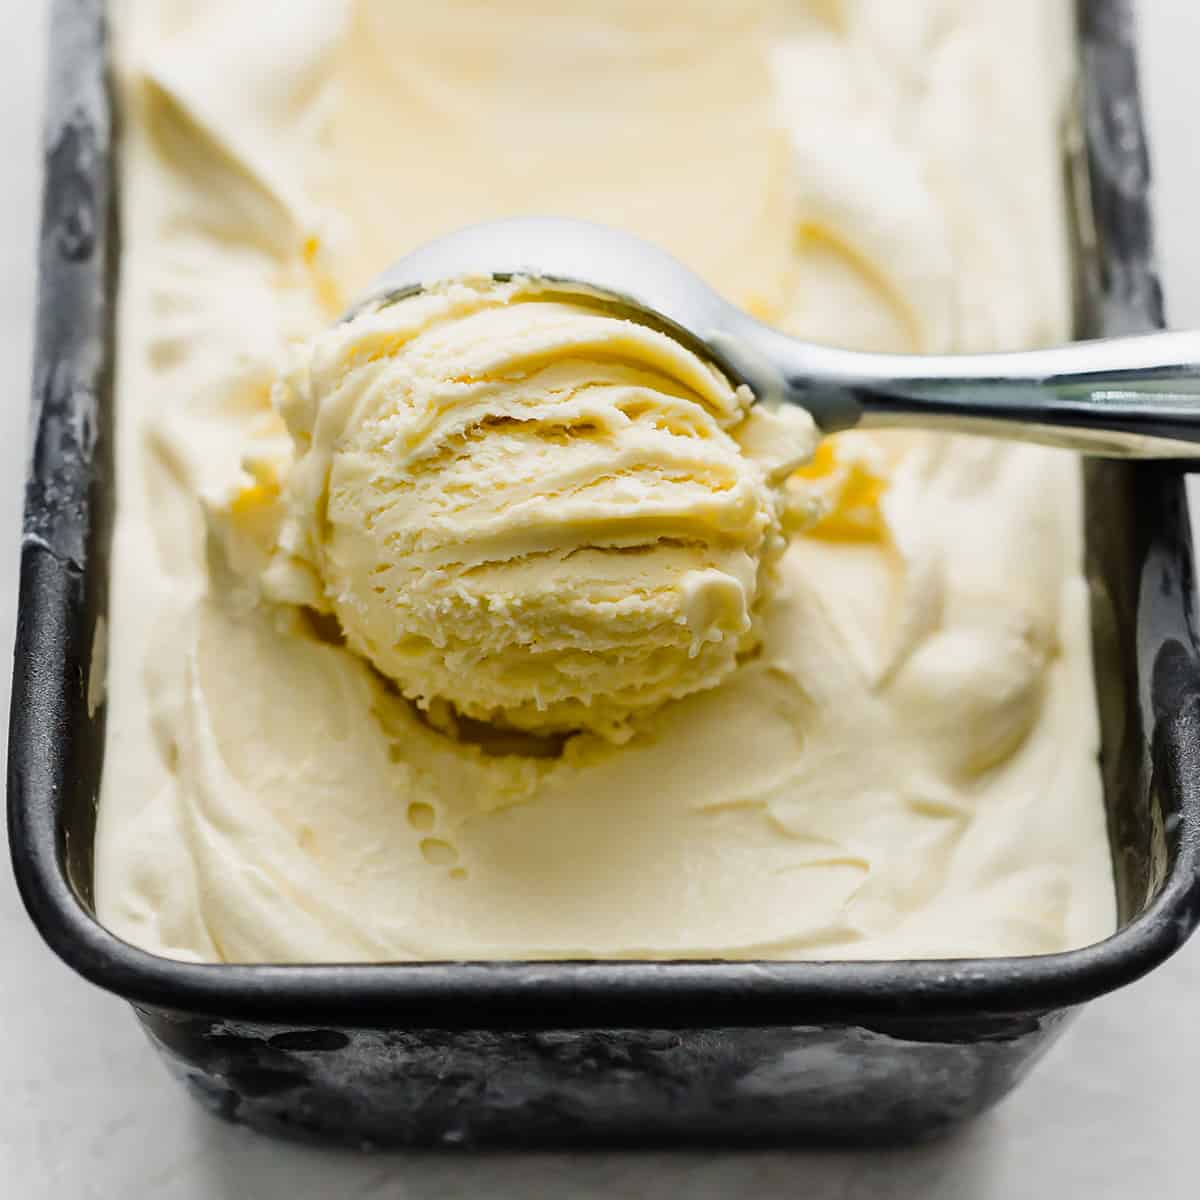
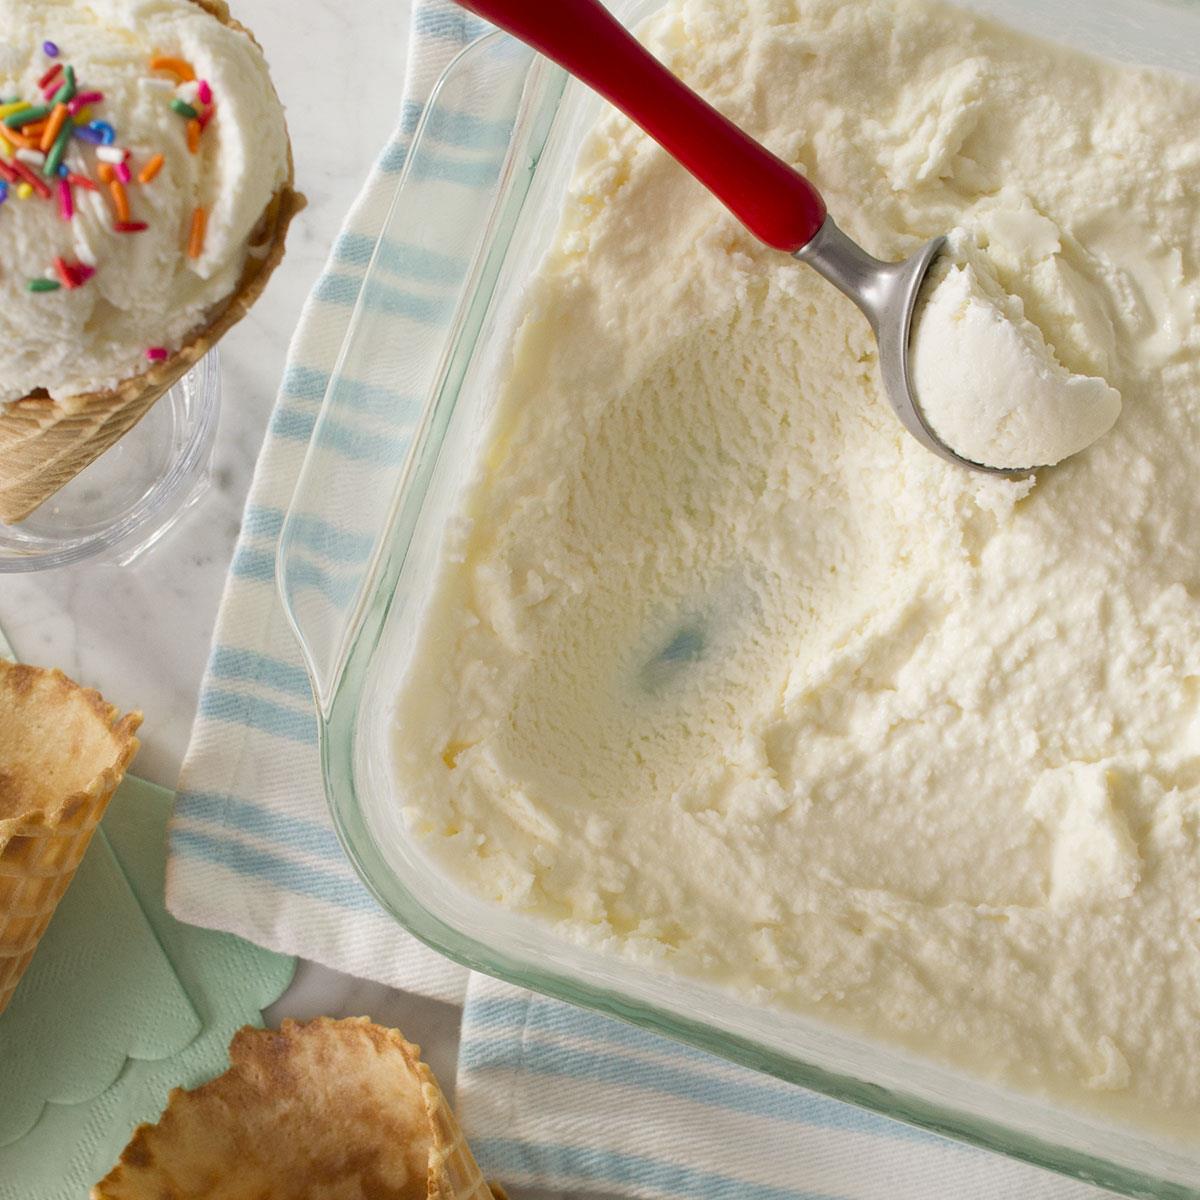
Once the ice cream has hardened, it is ready to be served and enjoyed. However, if you prefer a softer texture, let the ice cream sit at room temperature for a few minutes before scooping.
Now that the ice cream is frozen and ready, let’s move on to the final step: serving and enjoying!
Step 6: Serving and Enjoying
Congratulations! You’ve successfully made delicious peach ice cream without an ice cream maker. Now, it’s time to savor the fruits of your labor.
To serve the ice cream, remove the container from the freezer and let it sit at room temperature for a few minutes to soften slightly. This will make it easier to scoop and enjoy.
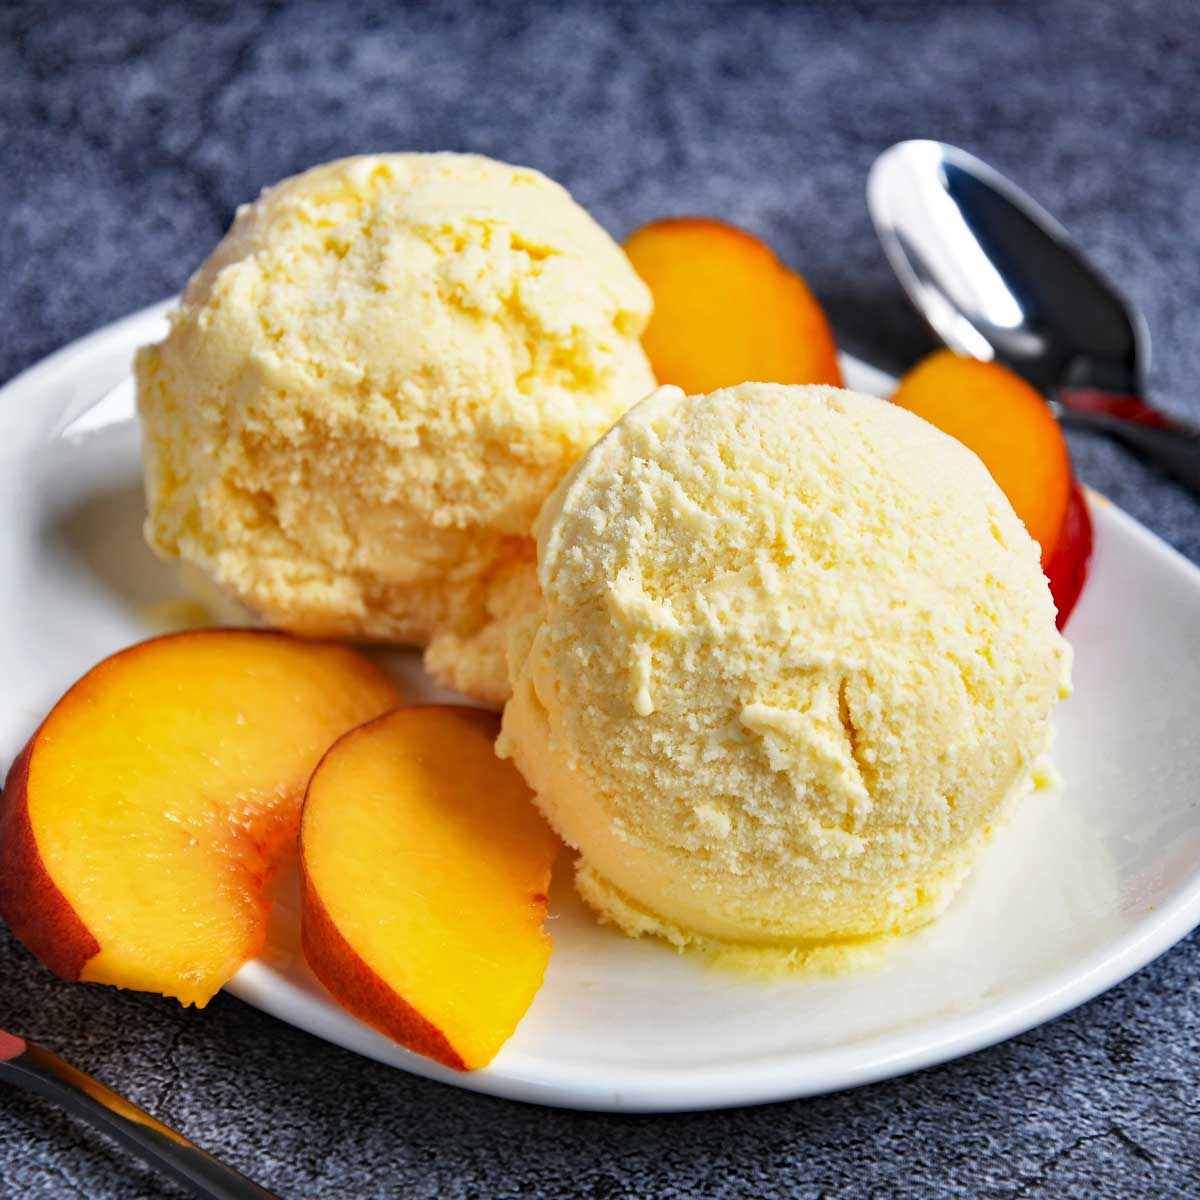
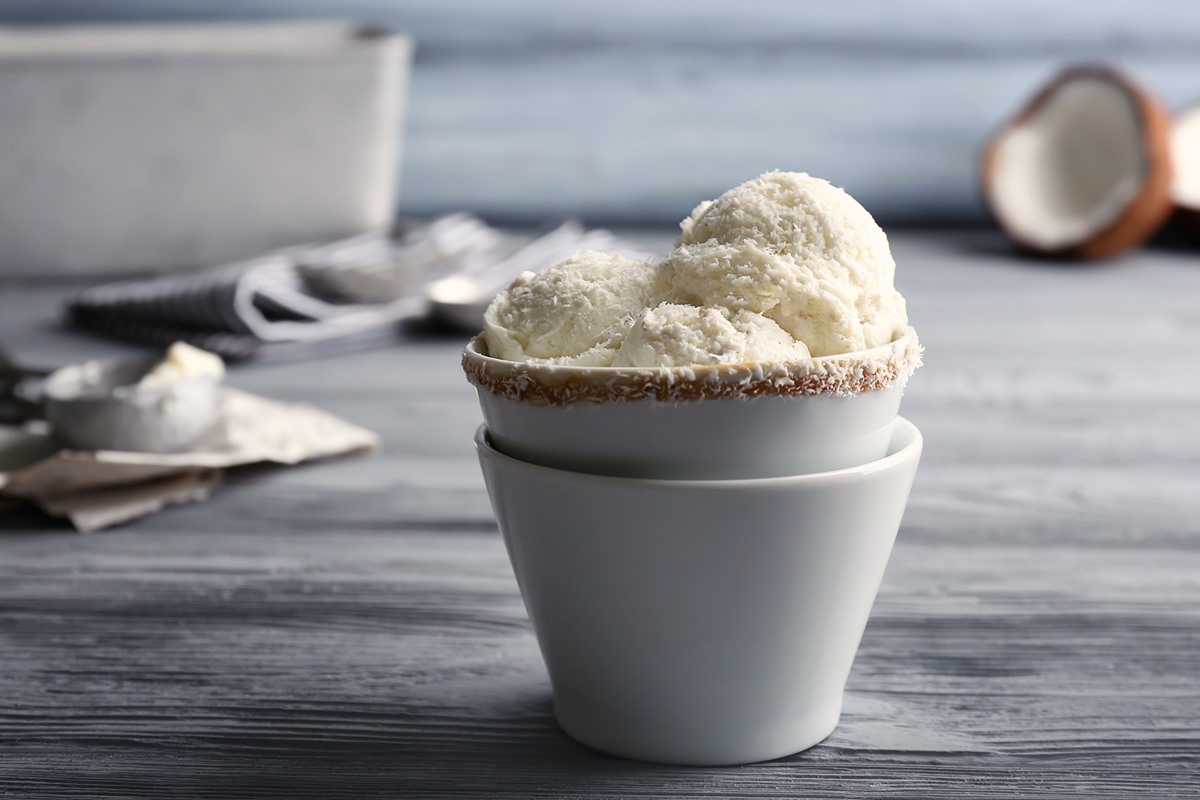
Using an ice cream scoop, portion out the desired amount of peach ice cream into bowls or cones. You can also get creative and add some extra toppings like fresh peach slices, crushed cookies, or a drizzle of caramel sauce to enhance the flavor and presentation.
Once served, dig in and enjoy the creamy and refreshing taste of homemade peach ice cream. The luscious texture, combined with the sweet and tangy flavors of the peaches, will surely satisfy your dessert cravings.
If you have any leftovers, be sure to store them in a well-sealed container in the freezer to maintain freshness.
Now that you know how to make peach ice cream without an ice cream maker, you can explore different variations by substituting peaches with other fruits or adding in additional mix-ins like chocolate chips or nuts. The possibilities are endless!
So, gather your ingredients, follow these simple steps, and delight in the process of creating homemade ice cream that’s bursting with peachy goodness. Happy scooping!
Frequently Asked Questions about How To Make Peach Ice Cream Without An Ice Cream Maker
Was this page helpful?
At Storables.com, we guarantee accurate and reliable information. Our content, validated by Expert Board Contributors, is crafted following stringent Editorial Policies. We're committed to providing you with well-researched, expert-backed insights for all your informational needs.


0 thoughts on “How To Make Peach Ice Cream Without An Ice Cream Maker”