Home>Articles>How To Make Homemade Ice Cream With Electric Ice Cream Maker

Articles
How To Make Homemade Ice Cream With Electric Ice Cream Maker
Modified: October 20, 2024
Learn how to make delicious homemade ice cream with an electric ice cream maker. Our articles provide step-by-step instructions and helpful tips to ensure perfect results every time.
(Many of the links in this article redirect to a specific reviewed product. Your purchase of these products through affiliate links helps to generate commission for Storables.com, at no extra cost. Learn more)
Introduction
Ice cream is the perfect treat to enjoy during hot summer days, or any time you’re craving a sweet and cold dessert. While store-bought options are readily available, there’s something special about making homemade ice cream. Not only do you have control over the ingredients, but you can also customize the flavors to suit your preferences. And with the help of an electric ice cream maker, creating a batch of creamy goodness is easier than ever before.
In this article, we will guide you through the process of making homemade ice cream with an electric ice cream maker. We will cover everything from choosing the right machine to preparing the ice cream base, using the ice cream maker, and storing your delicious creations. Get ready to indulge in the creamy delight of homemade ice cream!
Key Takeaways:
- Enjoy the creamy delight of homemade ice cream by choosing the right electric ice cream maker and following simple steps to prepare, churn, and store your personalized frozen treats.
- Overcome common challenges and enhance your ice cream-making skills with troubleshooting tips, allowing you to create perfect homemade ice cream with unique flavors and textures.
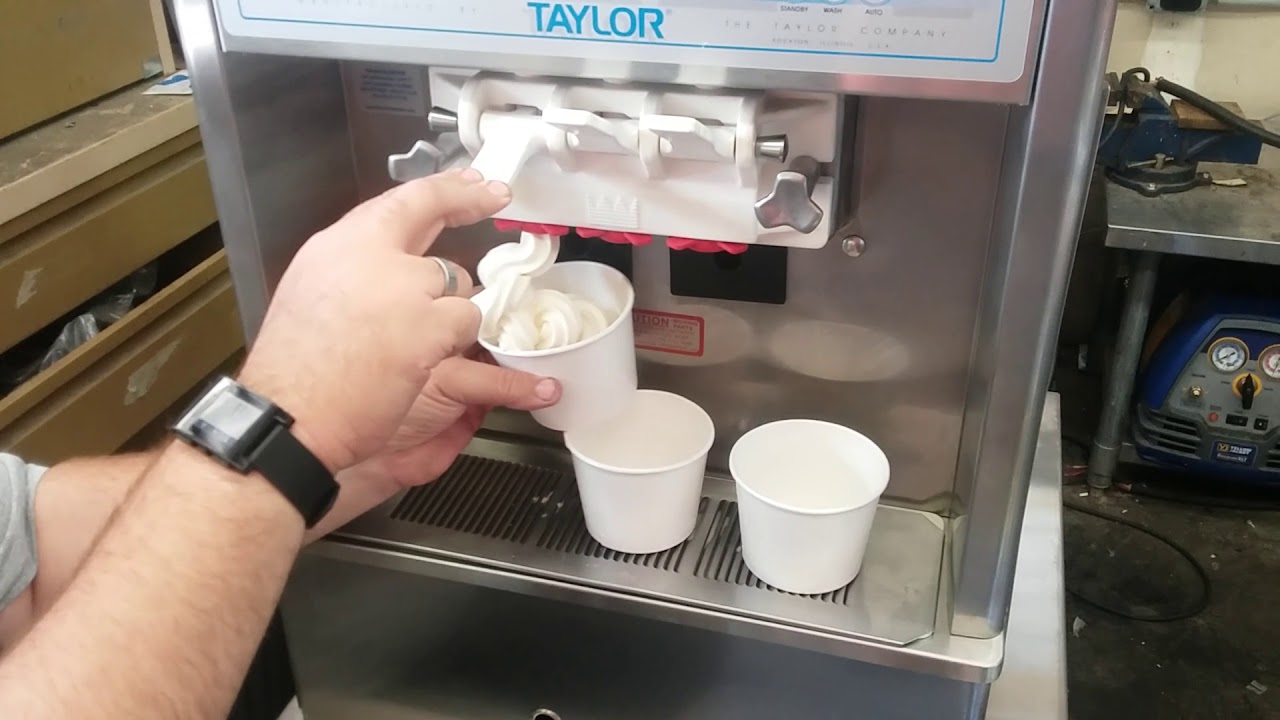
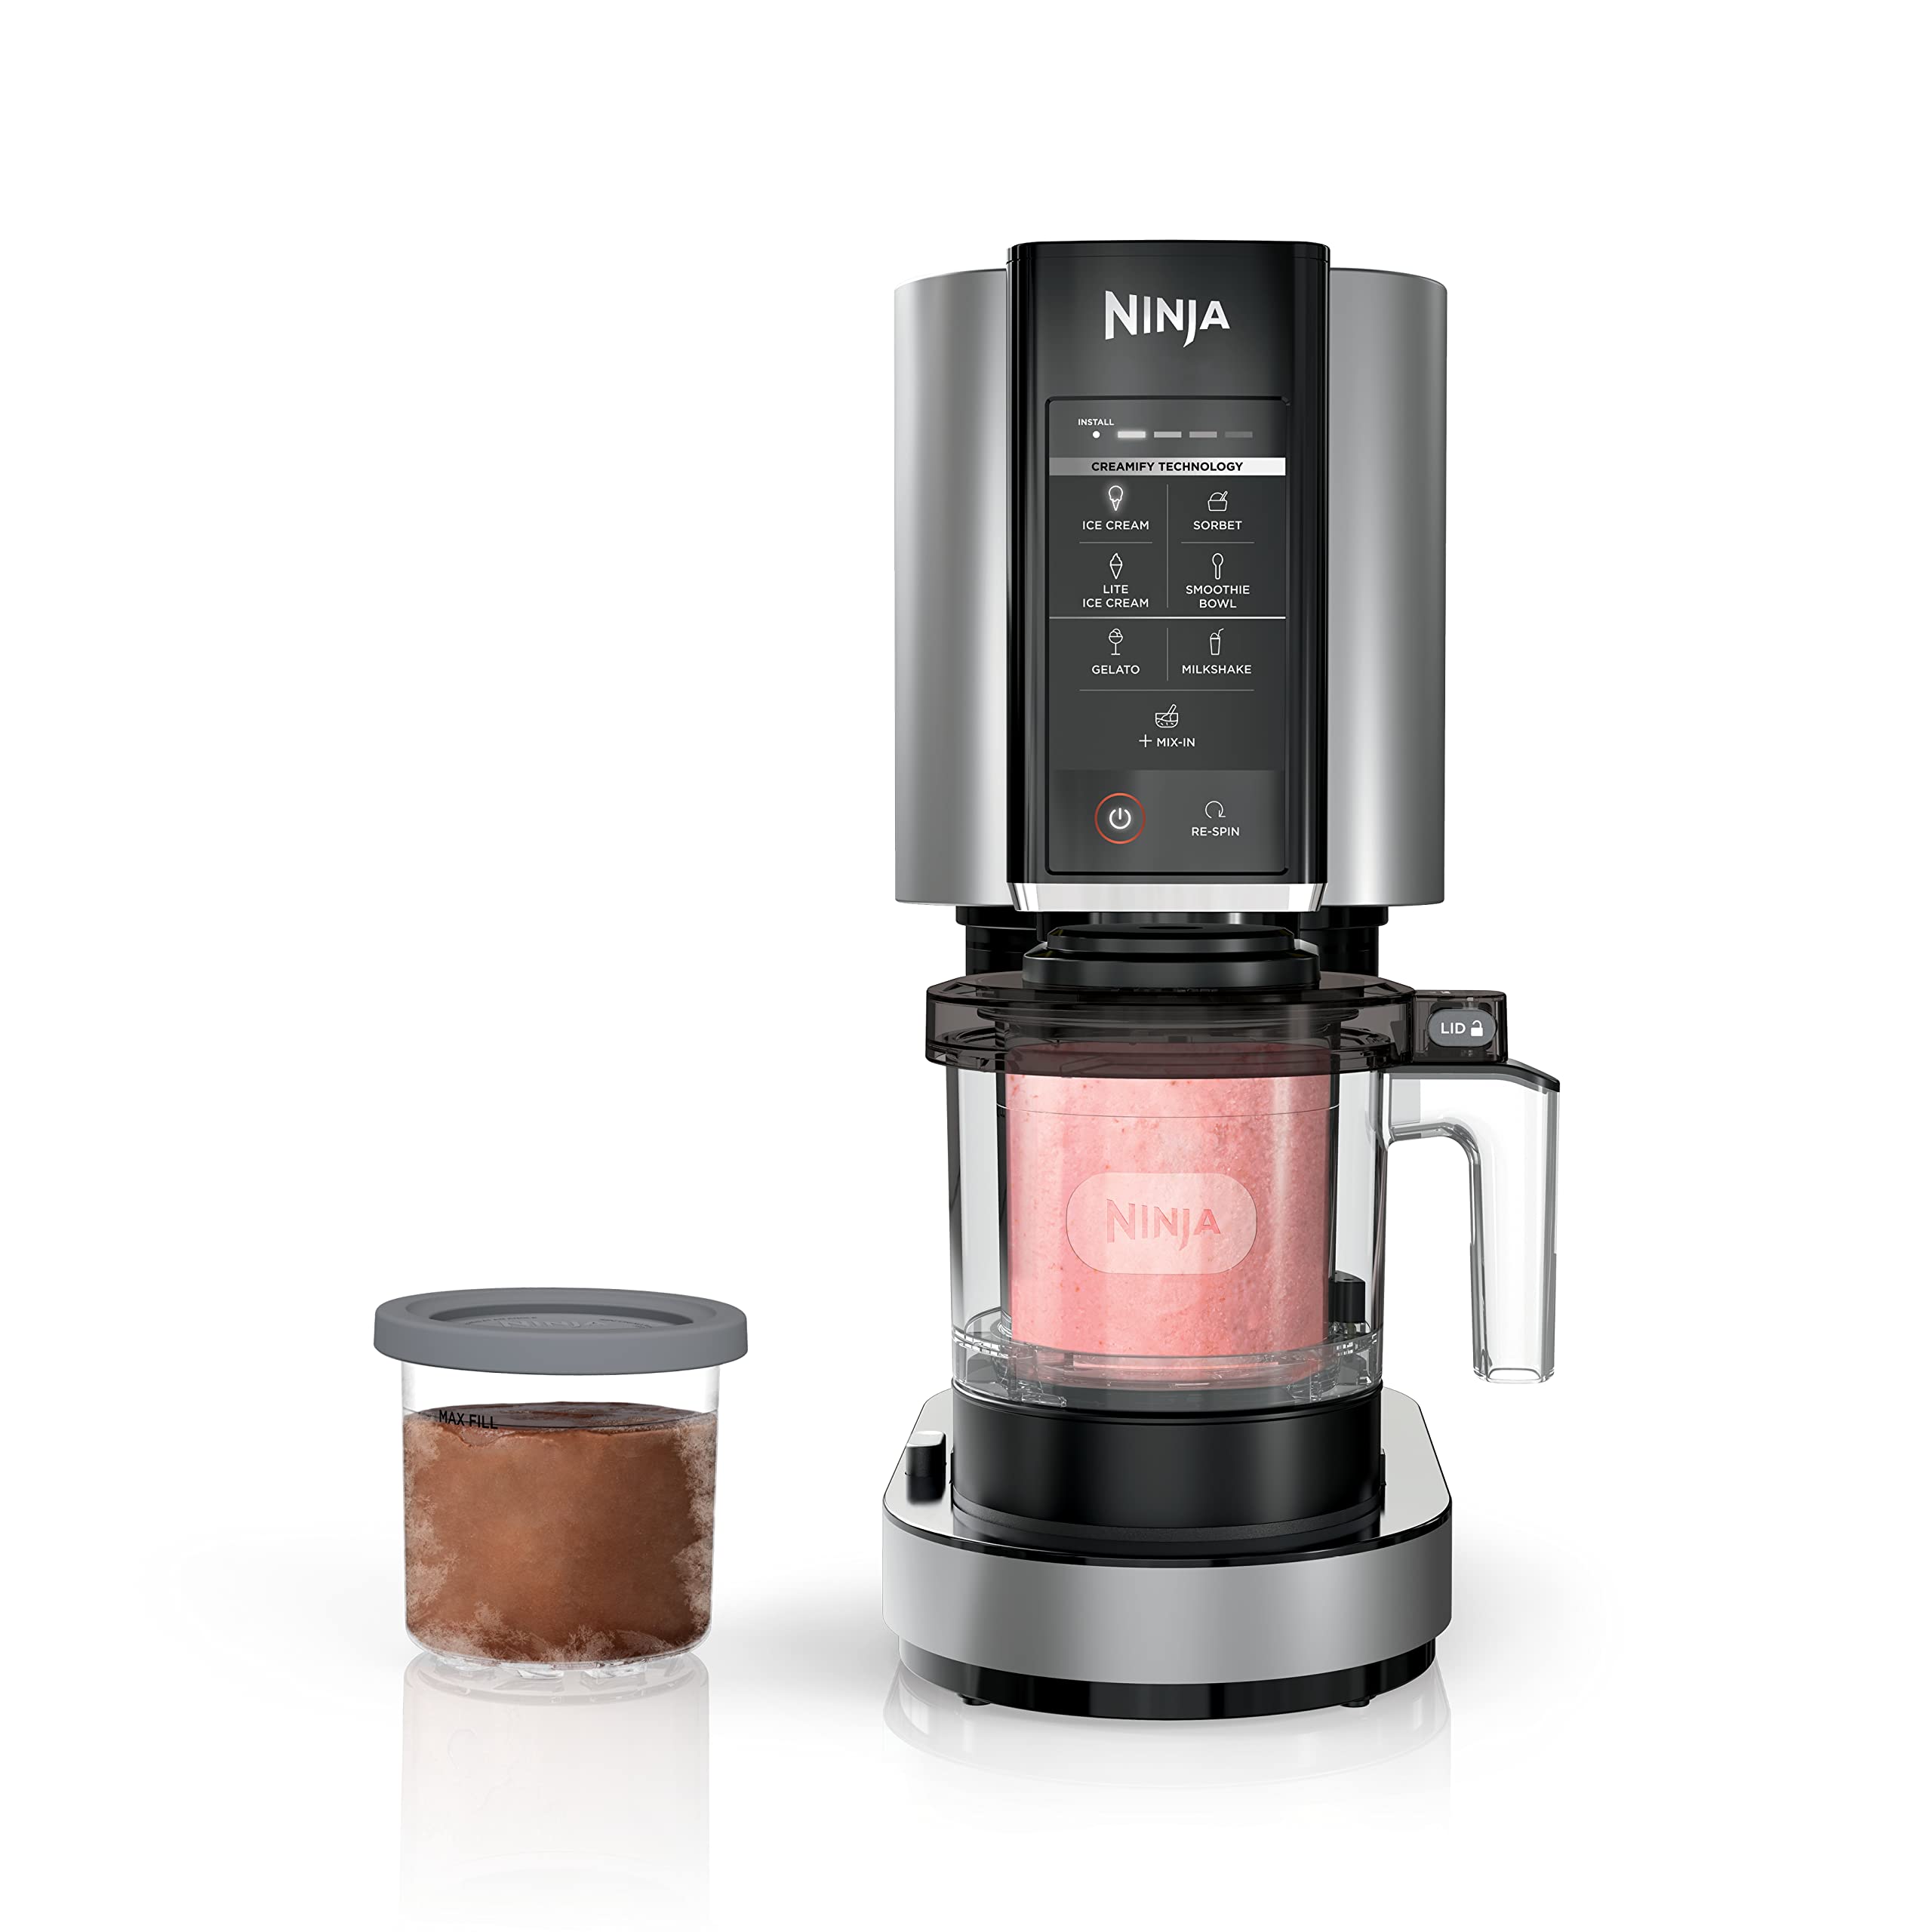
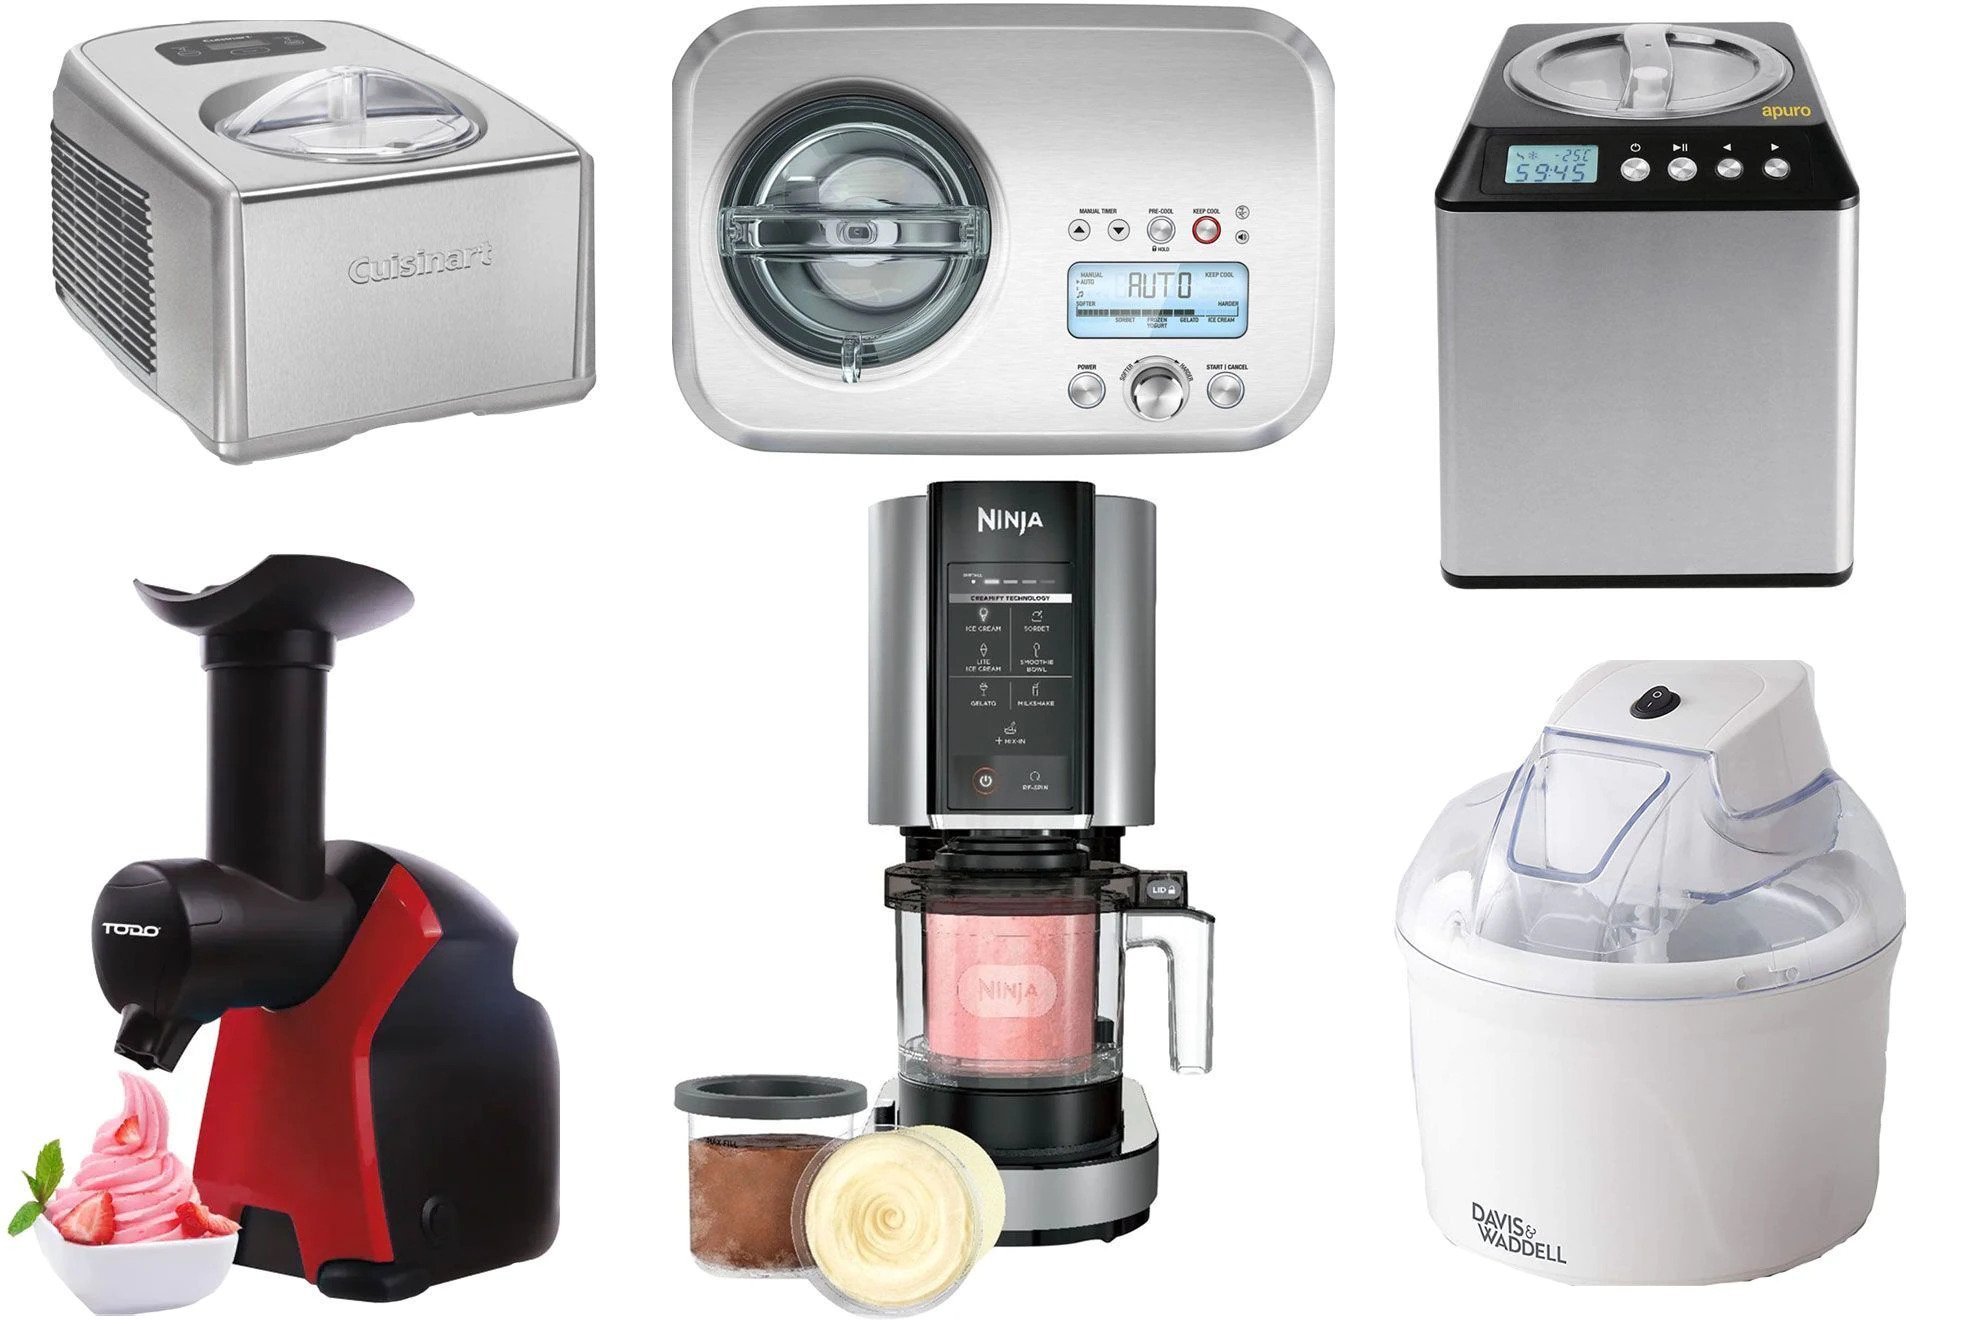
Choosing the Right Electric Ice Cream Maker
When it comes to making homemade ice cream, having an electric ice cream maker is a game-changer. These machines automate the churning process, saving you time and effort compared to manual methods. But with so many options available in the market, how do you choose the right electric ice cream maker? Here are a few factors to consider:
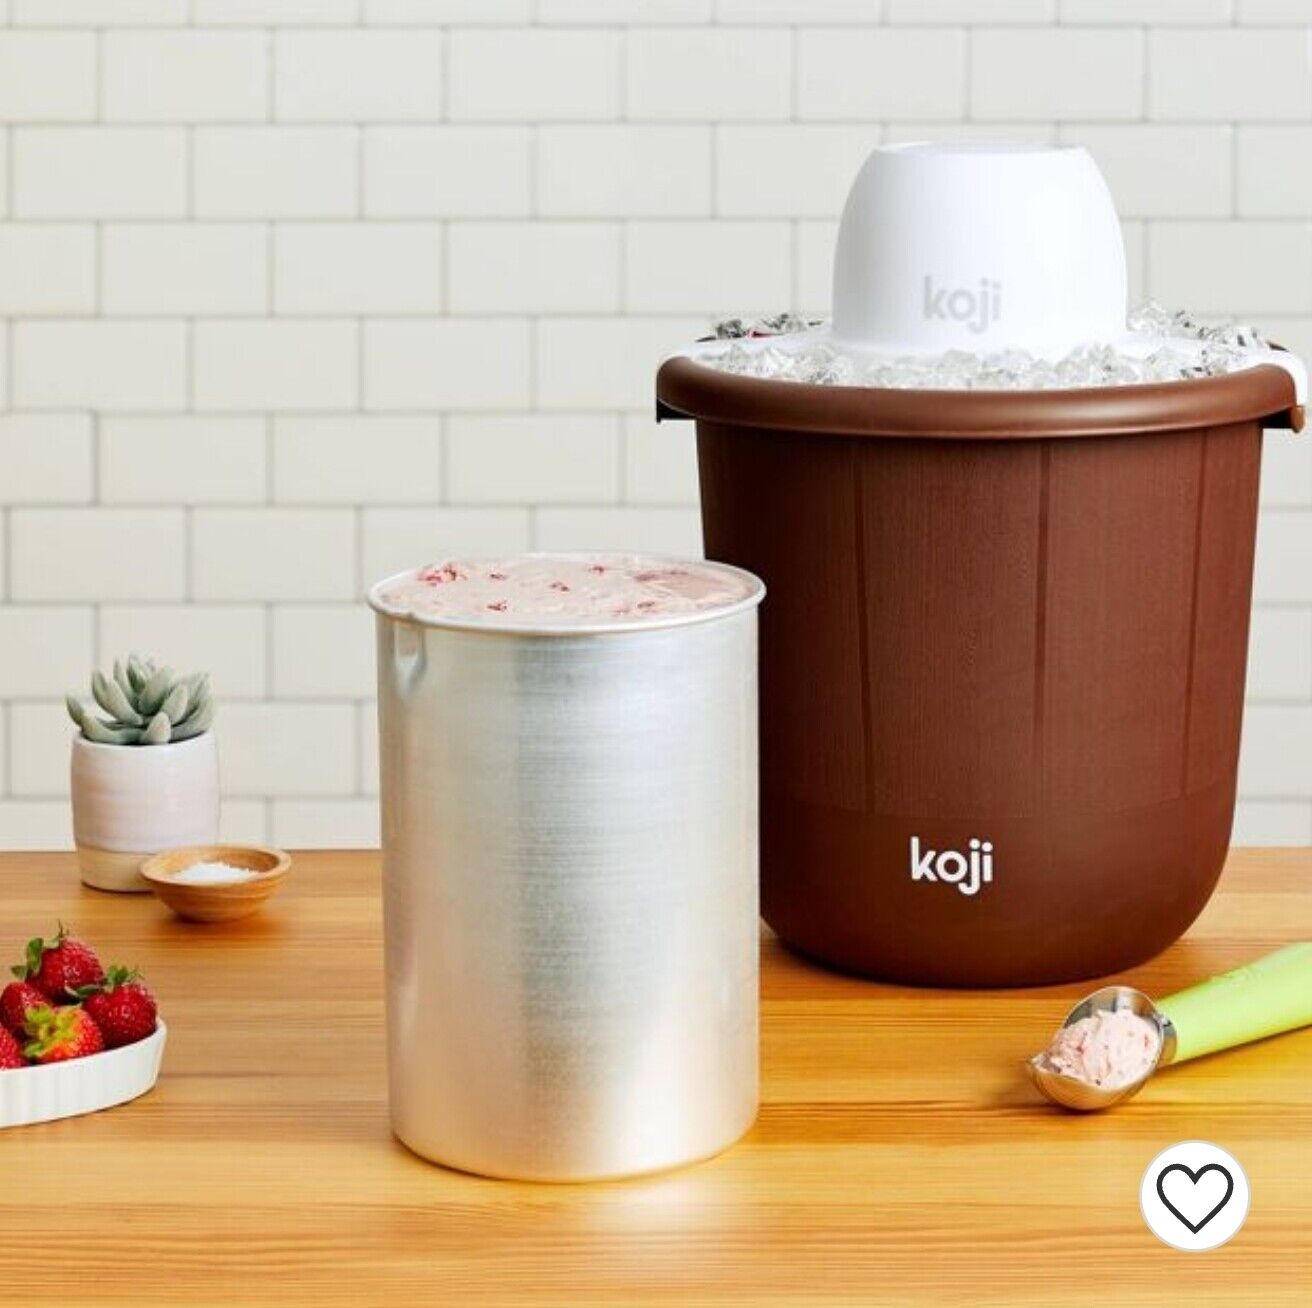
- Type of Machine: Electric ice cream makers come in various types, including freezer bowl, compressor, and manual-style machines. Freezer bowl machines require freezing the bowl in advance, while compressor machines have built-in freezing capabilities. Manual-style machines require ice and rock salt for freezing. Consider your preferences and convenience when choosing the type of machine.
- Capacity: Think about how much ice cream you want to make at a time. Electric ice cream makers range in capacity from 1 quart to 6 quarts or more. If you have a large family or plan to make ice cream for gatherings, a higher capacity machine would be ideal.
- Construction and Durability: Look for machines made from sturdy materials like stainless steel or BPA-free plastic. Ensure that the machine’s motor and parts are durable and built to last, so you can enjoy making ice cream for years to come.
- Convenience Features: Consider the additional features offered by the machine, such as a timer, automatic shut-off, or a built-in freezer for continuous use. These features can enhance your experience and make the ice cream-making process more convenient.
- User Reviews and Ratings: Before making a purchase, read reviews from other users to get an idea of the machine’s performance, ease of use, and reliability. Pay attention to the overall ratings and feedback to make an informed decision.
By considering these factors, you can find the electric ice cream maker that suits your needs and preferences. Whether you’re a beginner or an experienced ice cream enthusiast, having the right machine will ensure a smooth and enjoyable ice cream-making experience.
Ingredients and Tools
Making homemade ice cream requires a few key ingredients and tools. Here’s what you’ll need to gather before you start:
- Ice Cream Base: The base of your ice cream consists of cream, milk, sugar, and flavorings. Choose high-quality ingredients for the best results. You can also use alternative milks like almond, coconut, or soy milk for a dairy-free option.
- Flavorings and Mix-Ins: Get creative with your flavors by adding ingredients like vanilla extract, cocoa powder, fruit puree, crushed cookies, nuts, or chocolate chips. Experiment with different combinations to discover unique and delicious creations.
- Ice and Rock Salt: If you’re using a manual-style ice cream maker, you’ll need ice and rock salt for the freezing process. The ice and salt create a freezing environment that helps churn the ice cream mixture.
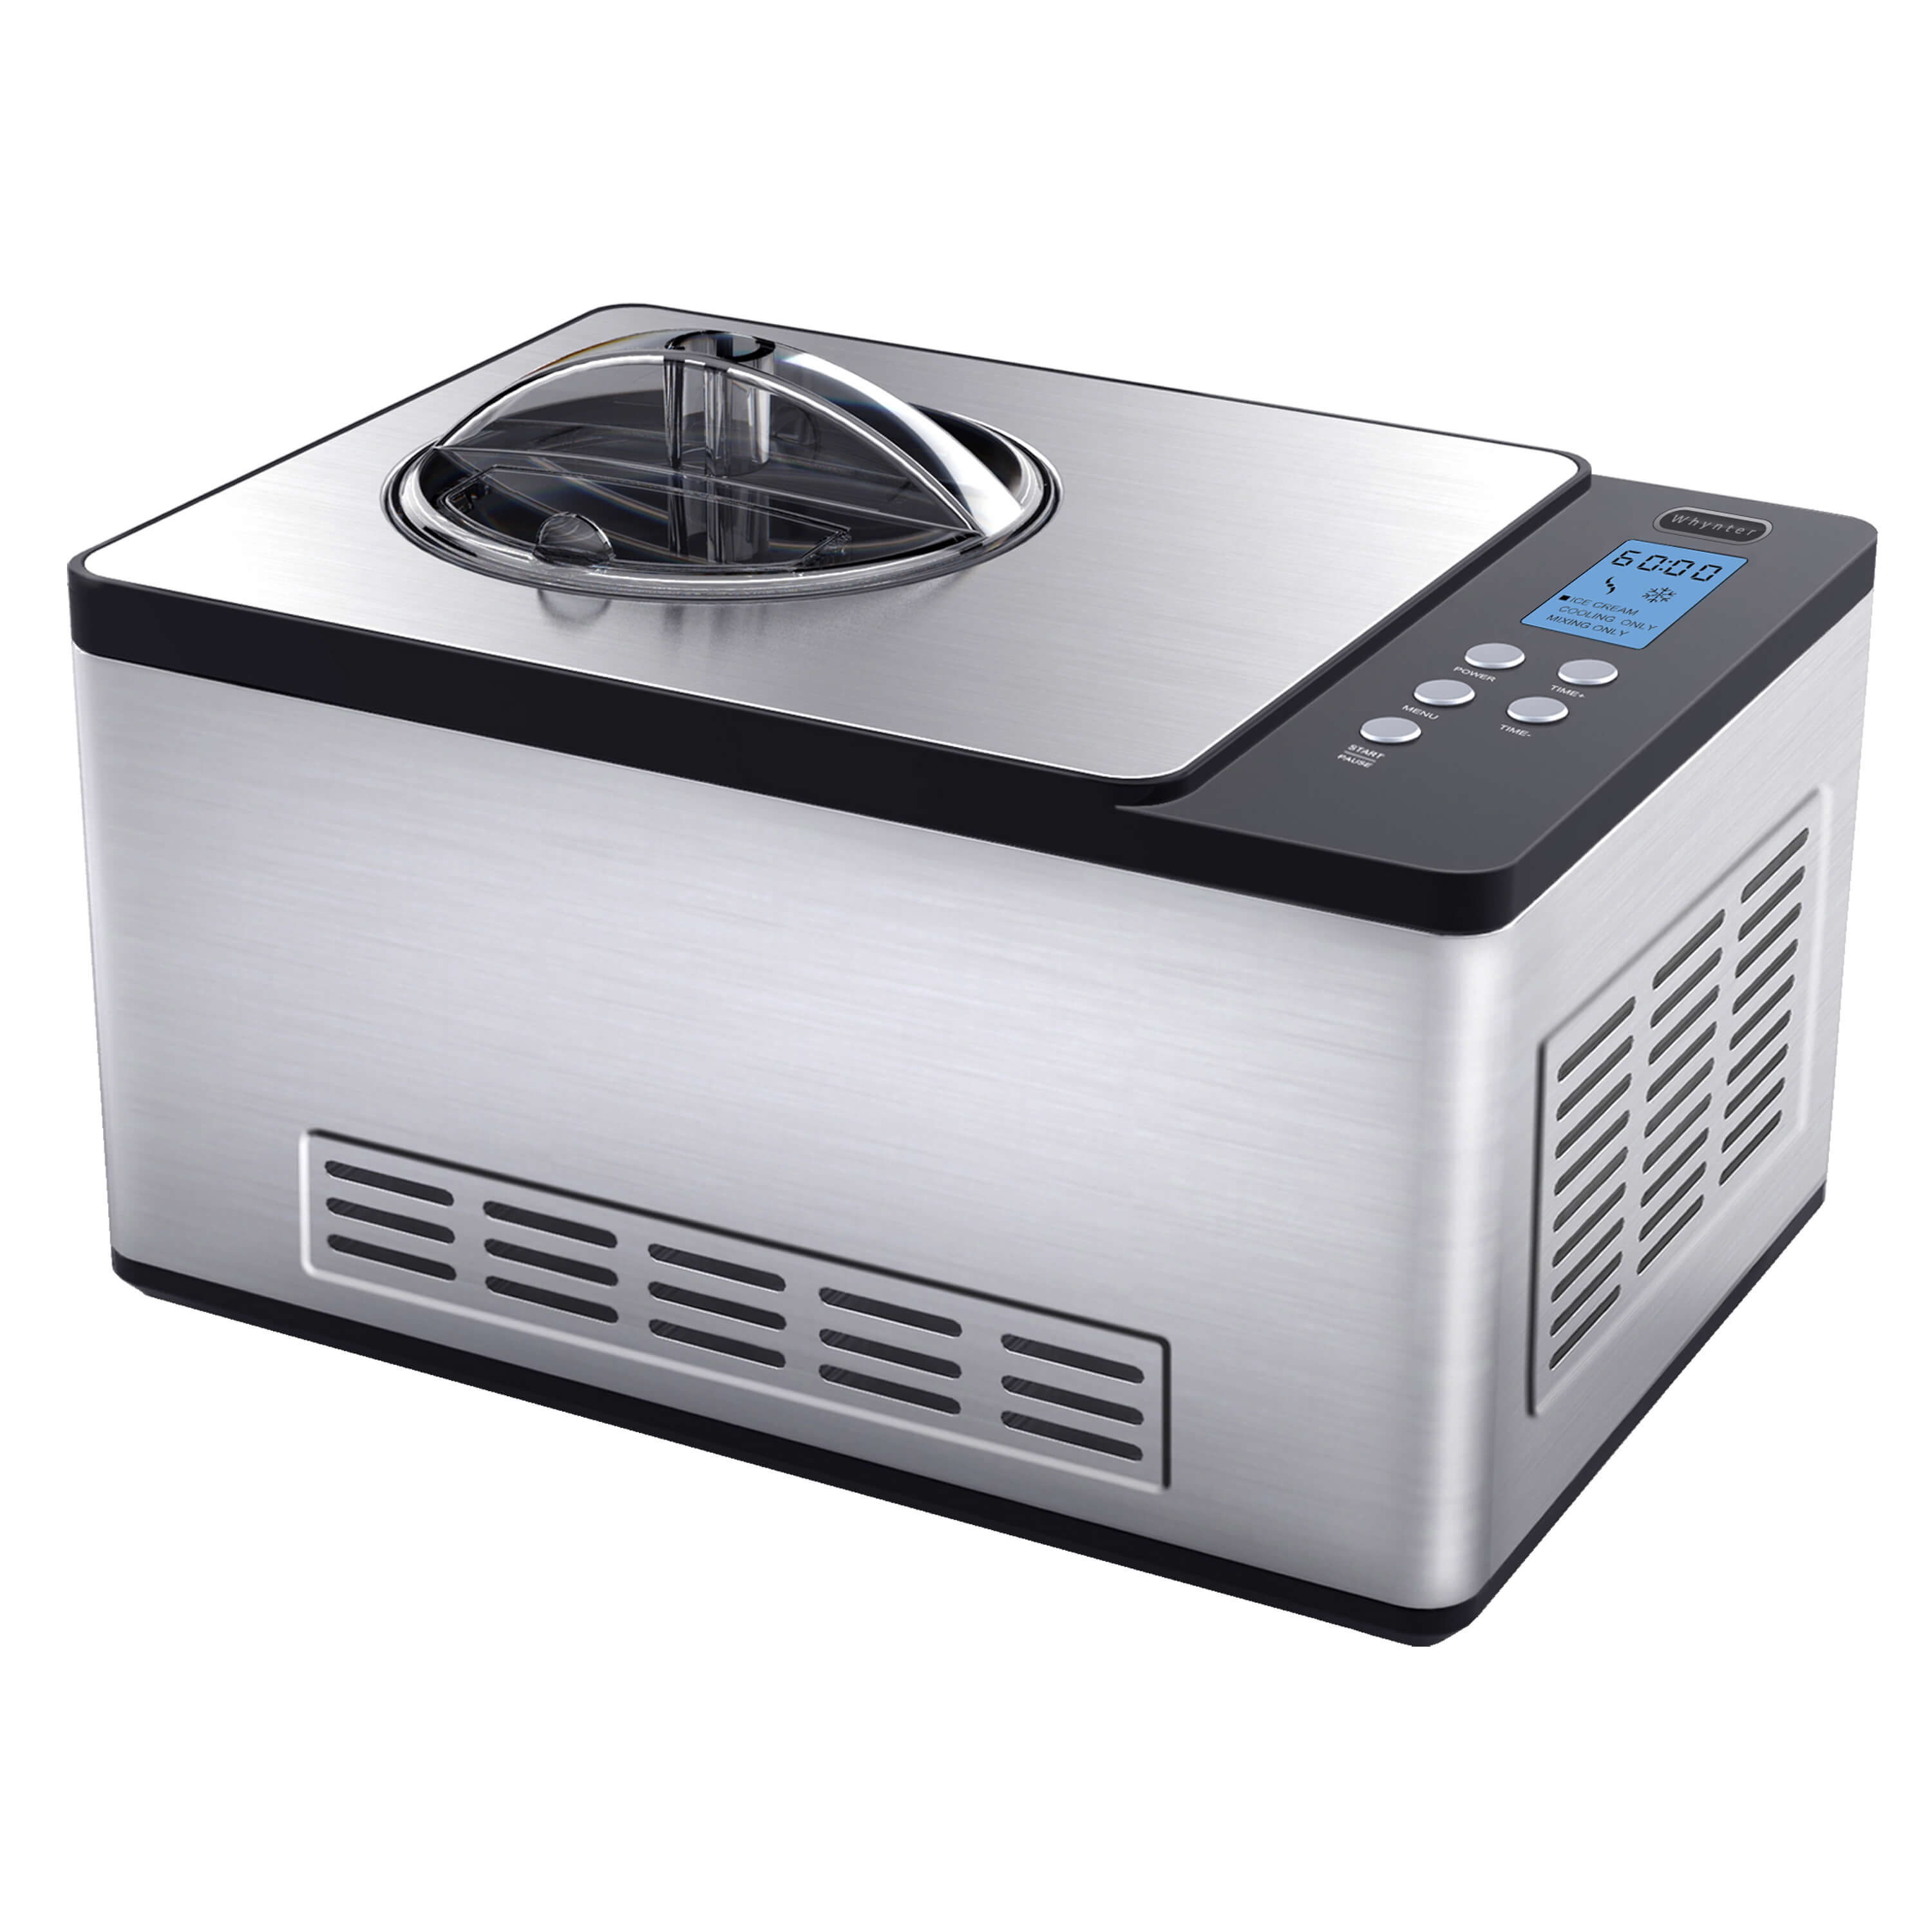
- Electric Ice Cream Maker: We’ve already covered the factors to consider when choosing an electric ice cream maker. Make sure you have the machine of your choice ready and assembled.
- Bowls and Utensils: You’ll need mixing bowls, measuring cups and spoons, a whisk or electric mixer, a spatula, and a ladle or large spoon for scooping the ice cream.
- Freezer-Safe Container: Once your ice cream is churned, you’ll need a container to store it in the freezer. Choose a container with a tight-fitting lid to prevent ice crystals from forming.
Having these ingredients and tools ready beforehand will ensure a smooth and hassle-free ice cream-making process. Take some time to gather everything you need, and let’s move on to preparing the ice cream base!
Preparing the Ice Cream Base
The ice cream base is the foundation of your homemade ice cream, providing the creamy and rich texture we all love. Here’s how you can prepare the perfect ice cream base:
- Choose Your Recipe: There are countless ice cream recipes available, ranging from classic vanilla to adventurous flavors. Select a recipe that resonates with your taste buds or get creative and develop your own unique flavor combination.
- Gather Your Ingredients: Refer to the chosen recipe and gather the required ingredients. Measure them accurately to ensure the right balance of flavors.
- Mix the Base: In a mixing bowl, combine the cream, milk, sugar, and any flavorings or extracts specified in the recipe. Use a whisk or electric mixer to blend the ingredients until the sugar has dissolved and the mixture is well combined.
- Taste and Adjust: Before chilling the ice cream base, take a small spoonful and taste it. Adjust the flavors by adding more sugar, vanilla extract, or other flavorings, according to your preference. Remember, the flavors will intensify when frozen, so go easy on strong additives.
- Cover and Chill: Once you’re satisfied with the taste, cover the mixing bowl with plastic wrap or a lid. Place it in the refrigerator and let the ice cream base chill for at least 2 hours or overnight. Chilling allows the flavors to meld together and for the mixture to reach the optimal temperature for churning in the ice cream maker.
By following these steps, you’ll have a perfectly prepared ice cream base, ready to be transformed into a delightful frozen treat. Take your time during the preparation process to ensure the best flavors and textures in your homemade ice cream. Now that the base is chilling, let’s move on to the next step – using the electric ice cream maker!
Chilling the Ice Cream Mixture
Before using your electric ice cream maker, it’s crucial to chill the ice cream mixture to the proper temperature. This step ensures that the mixture is sufficiently cold for the churning process. Here’s how you can chill your ice cream mixture:
- Remove the Ice Cream Base from the Refrigerator: Retrieve the chilled ice cream base from the refrigerator.
- Mix and Remove Any Air Bubbles: Stir the mixture gently with a spoon or spatula to ensure that any settled ingredients are evenly distributed. This step will also help remove any air bubbles that may have formed during the chilling process.
- Cover and Allow for Further Cooling: Recover the mixing bowl containing the ice cream base and let it sit at room temperature for about 5-10 minutes. This additional cooling time will help the mixture reach an optimal temperature for churning.
- Check for Desired Consistency: Test the consistency of the ice cream base by dipping a spoon into the mixture and running your finger across the back of the spoon. The base should leave a clean line and not easily drip off the spoon. If it’s too liquidy, return the mixture to the refrigerator and chill for a little longer.
Chilling the ice cream mixture allows the flavors to develop and ensures a smoother texture. Remember, it’s essential not to skip this step as it significantly impacts the overall quality of the final ice cream. Once your mixture is adequately chilled and at the desired consistency, you’re ready to move on to the exciting part – using the electric ice cream maker.
To ensure a creamy texture, chill the ice cream mixture in the refrigerator for at least 2 hours before pouring it into the electric ice cream maker. This will help the mixture freeze evenly and prevent ice crystals from forming.
Read more: How To Make Ice Cream In Ice Cream Machine
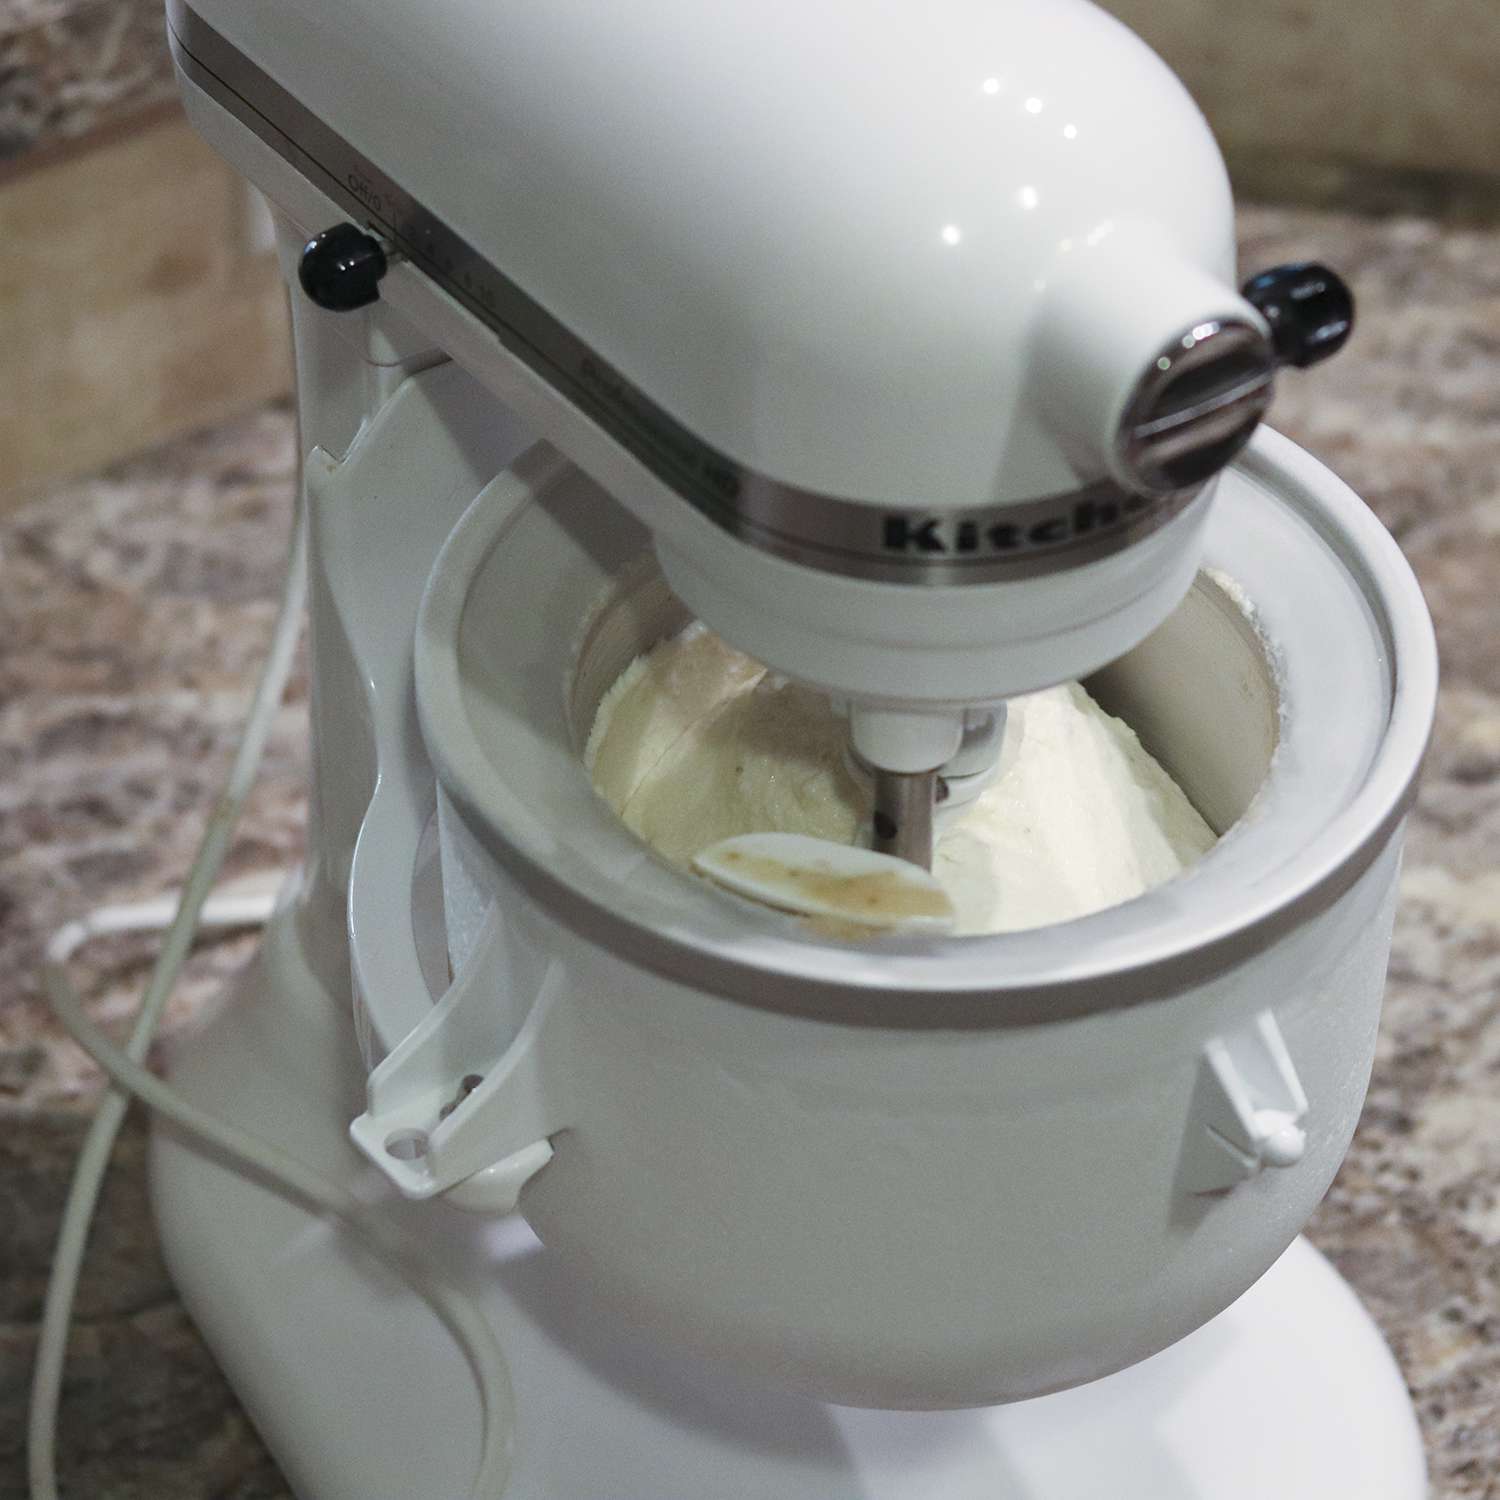
Using the Electric Ice Cream Maker
Now that your ice cream mixture is properly chilled, it’s time to use the electric ice cream maker to transform it into a creamy and irresistible frozen dessert. Here’s a step-by-step guide on how to use the machine:
- Prepare the Ice Cream Maker: Read the manufacturer’s instructions for your specific machine to ensure proper setup. Some machines may require the freezer bowl to be pre-frozen, while others have built-in freezing capabilities. Make sure all parts of the machine are clean and ready for use.
- Turn On the Machine: Plug in the electric ice cream maker and turn it on. It will begin to churn, creating a cool and freezing environment for the ice cream mixture.
- Add the Ice Cream Base: Slowly pour the chilled ice cream base into the machine’s bowl. Be careful not to overfill it, as the mixture will expand as it freezes. Leave room for the churning process.
- Churn the Ice Cream: Follow the manufacturer’s instructions regarding the churning time and speed. Typically, it takes about 20-30 minutes for the mixture to reach a thick and creamy consistency. Avoid lifting the lid or interrupting the churning process too often, as this can result in slower freezing and a less creamy texture.
- Check for Desired Consistency: After the recommended churning time, check the ice cream’s consistency. It should be thick and creamy, similar to soft-serve ice cream. If it’s not quite there, allow it to churn for a few more minutes until the desired texture is achieved.
Once the ice cream has reached the perfect consistency, it’s time to add any mix-ins or flavors you desire. Now, let’s move on to the next step of enhancing your homemade ice cream with delicious additions!
Adding Mix-ins and Flavors
Now that your ice cream is churned to a smooth and creamy consistency, it’s time to take it to the next level by adding mix-ins and flavors. This step allows you to personalize your homemade ice cream and create unique combinations that suit your taste preferences. Here’s how you can add mix-ins and flavors to your ice cream:
- Mix-in Options: Consider the mix-ins you want to incorporate into your ice cream. Popular choices include chopped nuts, chocolate chips, cookie dough, fruit chunks, caramel swirls, or sprinkles. Get creative and try different combinations to achieve the perfect balance of flavors and textures.
- Add Mix-ins: Once the ice cream is churned, turn off the machine and remove the lid. Add your chosen mix-ins directly into the ice cream. Use a spatula or spoon to gently fold them into the mixture, ensuring even distribution.
- Flavor Enhancements: To add additional flavors, consider incorporating extracts, spices, or sauces. Vanilla extract, cocoa powder, coffee, or fruit purees are excellent options for enhancing the taste of your ice cream.
- Mix and Combine: Use a spatula or spoon to gently mix the ice cream, incorporating the mix-ins and flavors evenly. Be careful not to overmix; you want to maintain the texture and appearance of the mix-ins while infusing the flavors throughout.
Adding mix-ins and flavors allows you to customize your ice cream and create a unique taste experience. Don’t be afraid to get creative and experiment with different combinations. Just remember to fold in the mix-ins gently to maintain the creamy texture of the ice cream.
Now that your ice cream is loaded with irresistible flavors, it’s time to move on to the final steps – freezing and storing your homemade creation!
Freezing and Storing Homemade Ice Cream
After you’ve added the desired mix-ins and flavors to your homemade ice cream, the next step is to properly freeze and store it to maintain its freshness and texture. Follow these steps to ensure your ice cream stays delicious:
- Transfer to a Freezer-Safe Container: Using a spatula, transfer the freshly churned ice cream from the machine’s bowl to a freezer-safe container. Choose a container with a tight-fitting lid to prevent air from entering and ice crystals from forming.
- Smooth the Surface: Use the back of a spoon or a spatula to smooth the surface of the ice cream, creating an even layer. This helps prevent any ice crystals or freezer burn from forming on the top.
- Seal and Label the Container: Ensure the lid of the container is tightly sealed to prevent air from entering. Label the container with the flavor and date of preparation, as homemade ice cream is best consumed within 2-3 months.
- Place in the Freezer: Put the container in the freezer and allow the ice cream to freeze for a minimum of 4-6 hours, or until it reaches a firm consistency. Avoid frequently opening the freezer door, as this can cause temperature fluctuations and affect the texture of the ice cream.
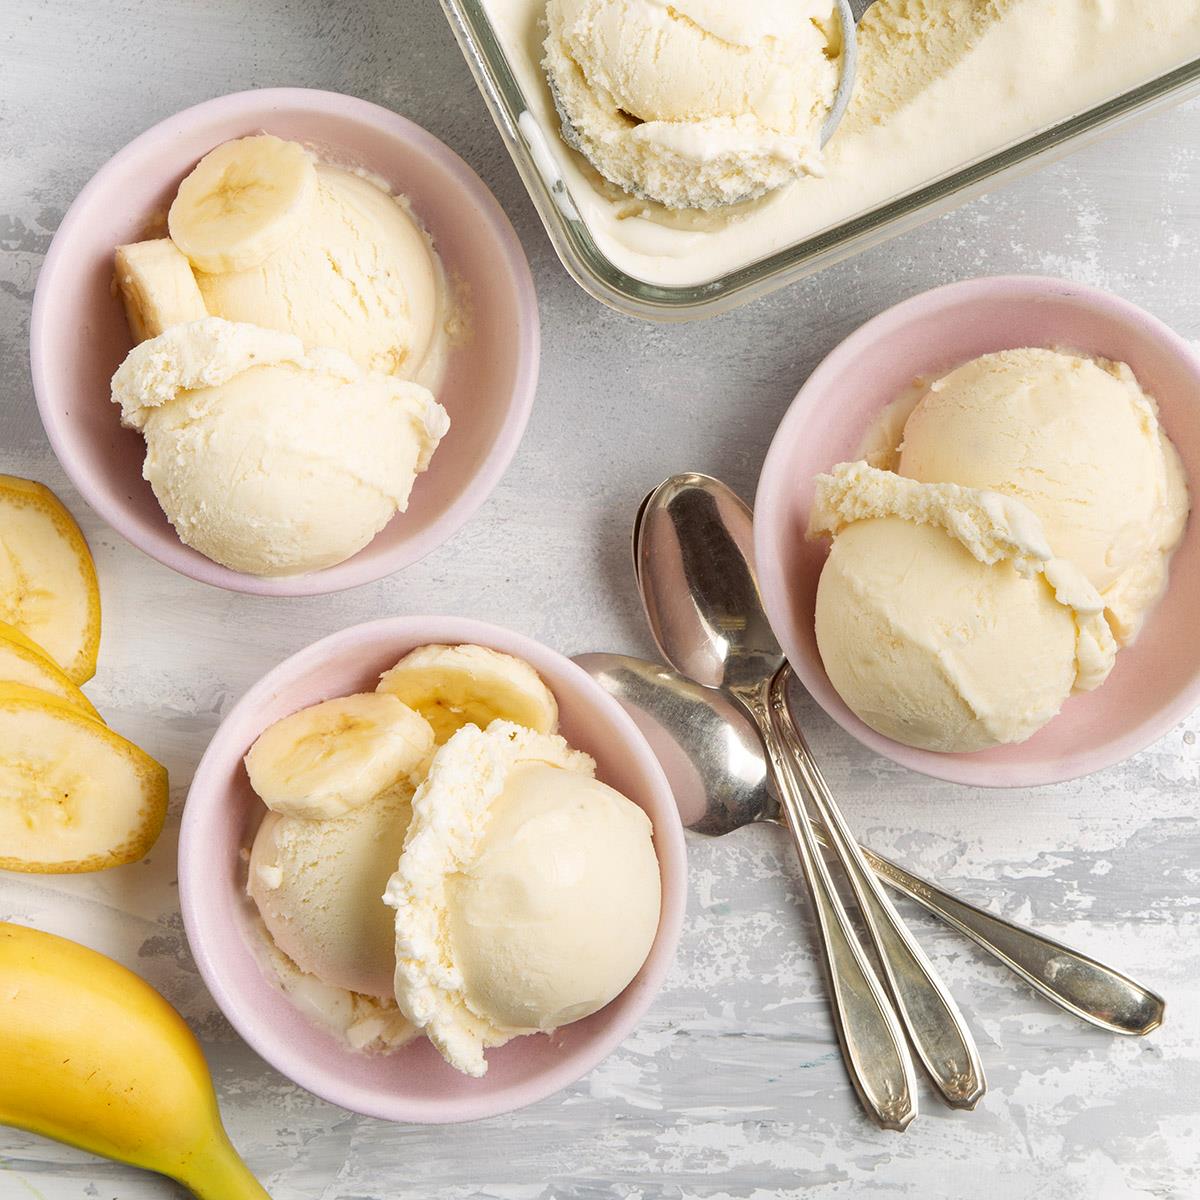
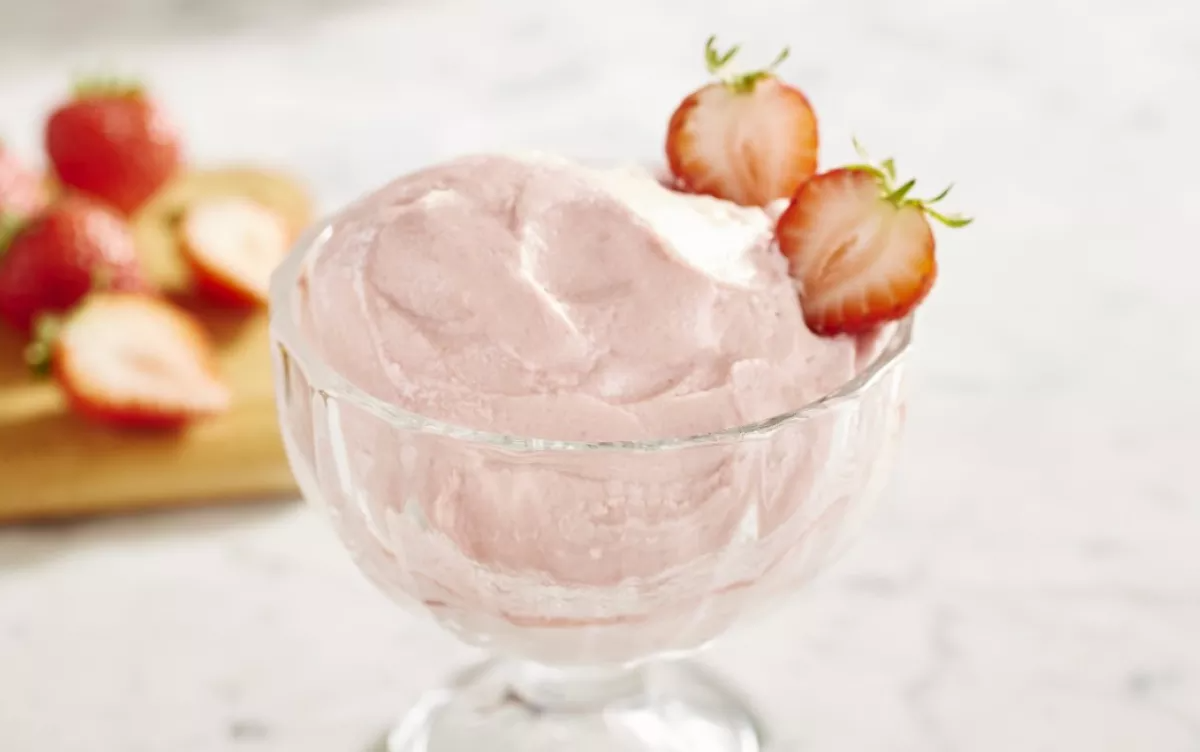
Once your homemade ice cream is fully frozen, it’s ready to be enjoyed whenever you desire a sweet treat. Scoop the frozen ice cream into bowls or cones, and indulge in the creamy goodness that you created with love.
Remember, homemade ice cream tends to harden more than commercially produced ice cream due to the absence of certain additives. To soften the ice cream before serving, allow it to sit at room temperature for a few minutes or microwave it for a few seconds at a low power setting, checking frequently to avoid melting.
With these freezing and storing tips, you can savor your homemade ice cream for weeks to come. So go ahead and stock your freezer with your delicious creations!
Troubleshooting Tips
While making homemade ice cream can be a delightful experience, it’s not uncommon to encounter a few challenges along the way. Here are some troubleshooting tips to help you overcome common issues and ensure your homemade ice cream turns out perfectly:
- Ice Cream Not Freezing: If your ice cream mixture is not freezing properly, make sure that the freezer bowl is properly chilled or that the compressor machine is functioning correctly. Also, check that the mixture is chilled enough before adding it to the machine. If the issue persists, try placing the mixture in the refrigerator for a little longer to reach a colder temperature.
- Ice Crystal Formation: Ice crystals can form in homemade ice cream, resulting in a gritty texture. To minimize crystal formation, make sure the ice cream mixture is thoroughly chilled before churning. Additionally, store the ice cream in an airtight container to prevent air from entering and causing freezer burn.
- Ice Cream Too Soft: If your ice cream turns out too soft after churning, it may not have been chilled adequately. Return the mixture to the refrigerator for a longer chilling time before churning. Additionally, double-check the churning time specified in the recipe and make sure to follow it correctly.
- Overrun: Overrun refers to the increase in volume of ice cream during the churning process. Too much overrun can result in a light texture and loss of richness. To reduce overrun, avoid overfilling the ice cream machine and follow the recommended capacity guidelines. Additionally, make sure to churn the ice cream for the specified time and not exceed it.
- Uneven Mix-ins: Sometimes, mix-ins like nuts or chocolate chips may sink to the bottom of the ice cream during churning. To ensure even distribution of mix-ins, you can add them in layers while transferring the ice cream to the storage container. Alternatively, fold in the mix-ins gently during the last few minutes of churning.
By keeping these troubleshooting tips in mind, you can overcome common issues and achieve the perfect homemade ice cream. Remember, practice makes perfect, and don’t be discouraged if your first attempt isn’t flawless. Keep experimenting and honing your ice cream-making skills, and soon you’ll be creating frozen treats that rival your favorite ice cream shop!
Read more: How To Store Homemade Ice Cream
Conclusion
Making homemade ice cream with an electric ice cream maker is a fun and rewarding experience. With just a few simple steps, you can create delicious frozen treats that are customized to your taste preferences. By choosing the right machine, gathering the necessary ingredients and tools, and following the steps outlined in this article, you can enjoy the creamy goodness of homemade ice cream whenever you want.
From preparing the ice cream base to chilling the mixture, using the electric ice cream maker, adding mix-ins and flavors, and finally freezing and storing your creations, each step is essential in achieving the perfect homemade ice cream. Moreover, by following troubleshooting tips, you can overcome common challenges and improve your technique along the way.
Homemade ice cream offers endless possibilities when it comes to flavors and mix-ins. Get creative and experiment with different combinations – whether it’s the classic vanilla, chocolate, or more adventurous flavors like mint chocolate chip or salted caramel. Let your imagination run wild and surprise your friends and family with unique frozen delights.
Remember, the joy of making homemade ice cream is not just in the end result, but also in the process itself. Enjoy the aroma of the ice cream base, the anticipation of waiting for it to chill and churn, and the satisfaction of savoring the creamy goodness you created from scratch.
So, embrace your inner ice cream enthusiast, invest in an electric ice cream maker, and start crafting your own frozen masterpieces. With a little practice and the recipes and tips provided in this article, you’ll soon become a connoisseur of homemade ice cream, delighting your taste buds and impressing your loved ones with your culinary skills.
Frequently Asked Questions about How To Make Homemade Ice Cream With Electric Ice Cream Maker
Was this page helpful?
At Storables.com, we guarantee accurate and reliable information. Our content, validated by Expert Board Contributors, is crafted following stringent Editorial Policies. We're committed to providing you with well-researched, expert-backed insights for all your informational needs.


0 thoughts on “How To Make Homemade Ice Cream With Electric Ice Cream Maker”