Articles
How To Make Custom Shower Curtains
Modified: January 5, 2024
Learn how to make custom shower curtains with our helpful articles. Find step-by-step guides, tips, and inspiration to create your unique bathroom decor.
(Many of the links in this article redirect to a specific reviewed product. Your purchase of these products through affiliate links helps to generate commission for Storables.com, at no extra cost. Learn more)
Introduction
Welcome to the world of custom shower curtains! If you’re tired of the generic and mundane shower curtains you find at the store, why not create your own personalized masterpiece? Making a custom shower curtain allows you to add a touch of creativity and personality to your bathroom decor. Plus, it’s much easier than you may think!
In this article, we will guide you through the process of making your own custom shower curtain. From measuring your shower to choosing the perfect fabric and adding the finishing touches, we’ll cover it all. So let’s dive in and unleash your creativity!
Key Takeaways:
- Unleash Your Creativity: Making a custom shower curtain is an easy and fun way to add a personal touch to your bathroom decor. From choosing the fabric to adding the finishing touches, let your imagination guide you!
- Elevate Your Shower Experience: Creating a custom shower curtain allows you to express your unique style and craftsmanship. Enjoy a refreshing and personalized shower experience with a one-of-a-kind curtain that reflects your personality.
Read more: How To Make A Shower Curtain
Materials Needed
Before you start making your custom shower curtain, gather the following materials:
- Fabric: Choose a durable and water-resistant fabric that suits your personal style. Measure the length and width of your shower to determine how much fabric you’ll need.
- Scissors or Rotary Cutter: These will be used to cut the fabric to the desired size.
- Measuring Tape: A measuring tape will help you accurately measure the dimensions of your shower.
- Sewing Machine: If you have access to a sewing machine, it will make the process much easier and faster. However, you can also sew the curtain by hand if you prefer.
- Thread: Choose a thread color that complements your fabric choice.
- Pins: Pins will help you hold the fabric in place while sewing.
- Grommets or Buttonhole Kit: Depending on your preference, choose either grommets or a buttonhole kit to create openings for the curtain hooks or rings.
- Hooks or Rings: These will be used to hang your custom shower curtain. Choose a style that complements your overall bathroom decor.
- Iron and Ironing Board: These will be used to press and smooth the fabric.
Once you have gathered all the necessary materials, you’ll be ready to start creating your custom shower curtain!
Step 1: Measuring the Shower
Before you can begin making your custom shower curtain, you need to measure the dimensions of your shower. This will ensure that your curtain fits perfectly and provides adequate coverage. Here’s how to do it:
- Start by measuring the width of your shower. Use a measuring tape to measure from one wall to the other.
- Next, measure the height of your shower. Measure from the top of the shower rod or track down to where you want the curtain to end.
- Write down these measurements so that you can refer to them later when cutting your fabric.
- It’s important to consider any additional length you may want to add for a proper drape or if you prefer a longer curtain.
- Keep in mind that it’s better to have a curtain that is slightly too long than too short, as you can always trim it later.
Once you have your measurements, you’ll be ready to move on to the next step: choosing the fabric for your custom shower curtain.
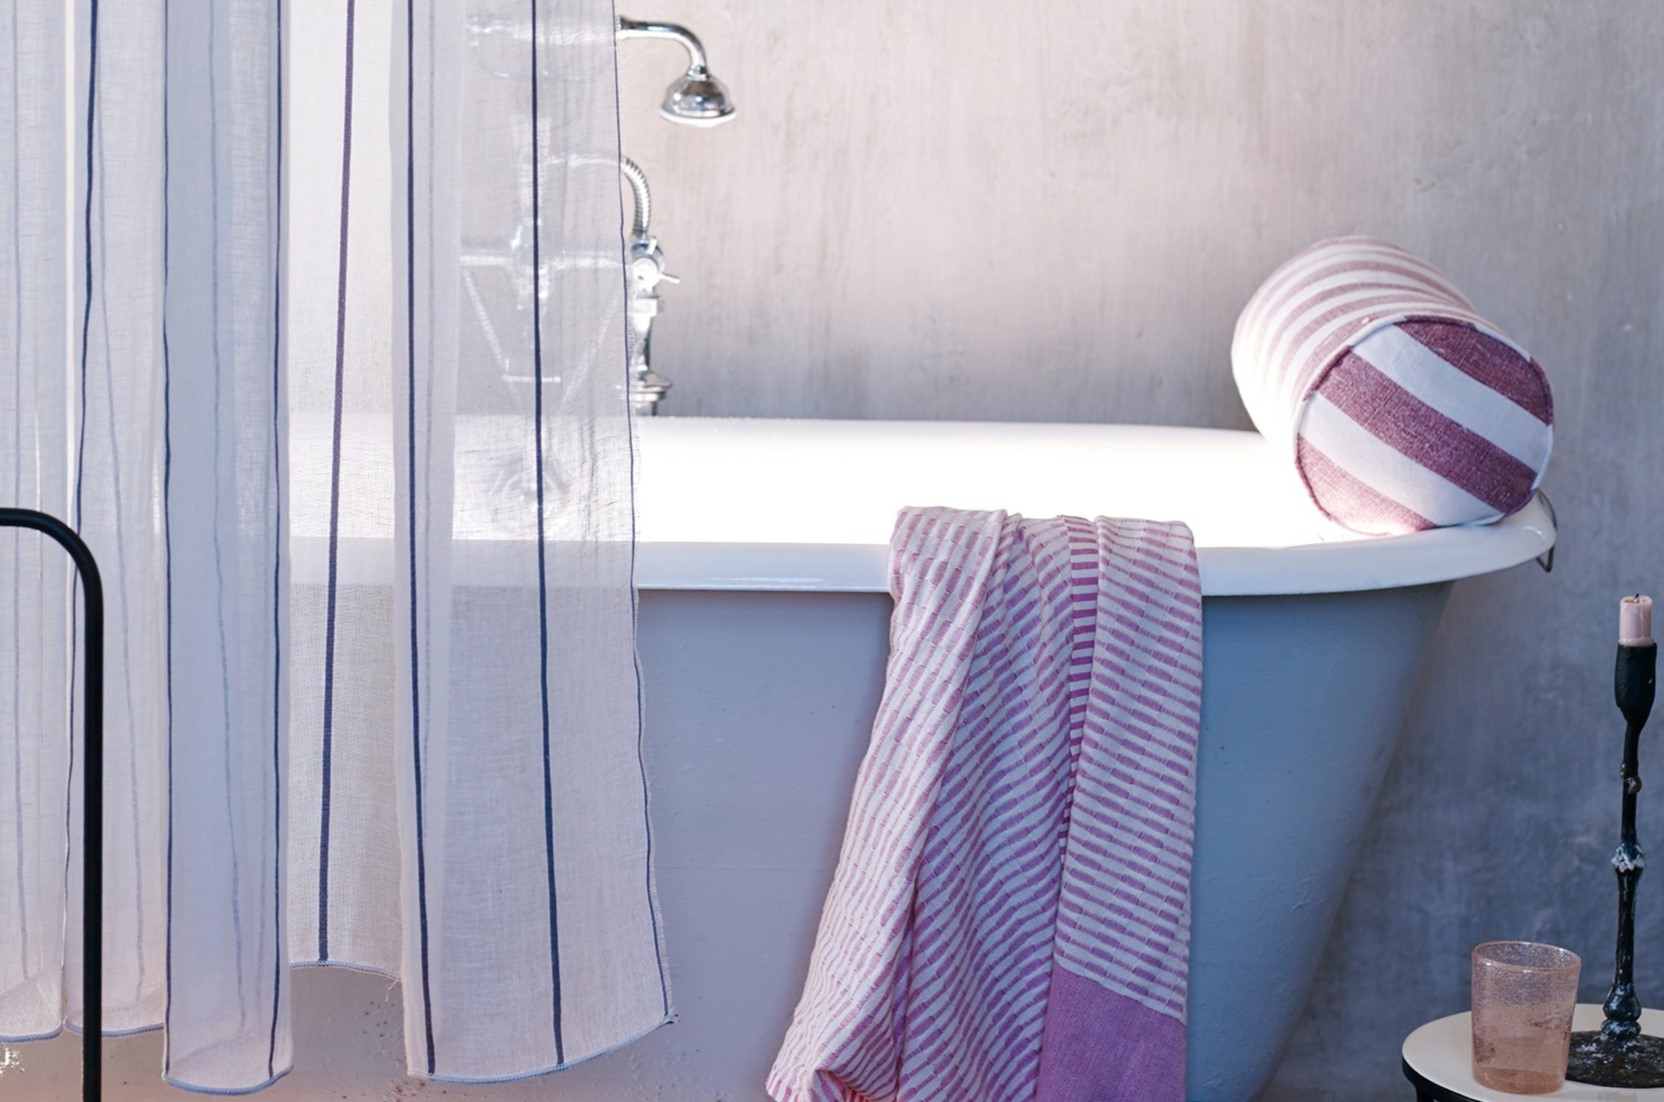
Step 2: Choosing the Fabric
Choosing the right fabric for your custom shower curtain is essential. You want to select a fabric that is not only visually appealing but also durable and water-resistant. Here are a few factors to consider when choosing your fabric:
- Water Resistance: Look for fabrics that have a water-resistant or waterproof coating. This will ensure that your shower curtain doesn’t get soaked and can easily repel water.
- Durability: Since your shower curtain will be exposed to moisture and frequent use, it’s important to choose a fabric that is durable and can withstand daily wear and tear.
- Design and Style: Consider the overall aesthetic and theme of your bathroom. Choose a fabric that complements your existing decor or adds a pop of color and pattern.
- Maintenance: Keep in mind the care instructions for the fabric. Look for fabrics that are easy to clean and maintain, as they will likely need regular washing to keep them fresh and free from mildew.
Once you’ve considered these factors, head to your local fabric store or browse online to find the perfect fabric for your custom shower curtain. Don’t be afraid to get creative and choose a fabric that reflects your unique style and personality!
Step 3: Cutting the Fabric
Now that you have your measurements and chosen the perfect fabric, it’s time to cut the fabric to the desired size for your custom shower curtain. Follow these steps:
- Prepare your work area by clearing a space large enough to lay out the fabric.
- Using your measurements from Step 1, mark the dimensions of your shower curtain on the fabric. Use a ruler or measuring tape to ensure accurate and straight lines.
- If your fabric has a pattern or design that needs to be aligned, take extra care to line it up correctly.
- Once you have marked the fabric, use a high-quality pair of scissors or a rotary cutter to cut along the lines. Take your time and make precise cuts to ensure clean and even edges.
- Double-check the dimensions and make any necessary adjustments before moving on to the next step.
Be sure to save any excess fabric in case you need it for future repairs or projects. Once your fabric is cut to size, you’re ready to move on to hemming the edges in the next step.
When making custom shower curtains, be sure to measure your shower space accurately to ensure the curtain will fit properly. This will help avoid any issues with water leaking out of the shower.
Read more: How To Make A Ruffled Shower Curtain
Step 4: Hemming the Edges
Creating a neat and finished edge is an important step in making your custom shower curtain. Hemming the edges will not only provide a professional look but also prevent fraying and prolong the lifespan of your curtain. Follow these steps to hem the edges:
- Start by folding over the raw edge of the fabric by about half an inch. Use a ruler or a measuring tape to ensure a consistent width for the hem.
- Pin the folded edge in place along the entire length of the fabric. This will keep the hem secure and prevent it from shifting during the sewing process.
- Using a sewing machine or a needle and thread, sew a straight stitch along the pinned edge. Make sure to backstitch at the beginning and end of the seam to secure the thread.
- Remove the pins as you sew, making sure to maintain the straight line of the hem.
- Once you’ve sewn the first side, repeat the process for the remaining three sides of the curtain.
- After all the edges are hemmed, give the curtain a final press with an iron to flatten out any wrinkles and provide a crisp finish.
By hemming the edges of your custom shower curtain, you’ll achieve a clean and polished look that is sure to elevate your bathroom decor. Now, it’s time to move on to the next step: adding grommets or buttonholes.
Step 5: Adding Grommets or Buttonholes
Adding grommets or buttonholes to your custom shower curtain will allow you to easily hang it using hooks or rings. Follow these steps to add the desired openings:
- Determine the spacing and number of grommets or buttonholes you want for your curtain. The standard spacing is usually around 6-8 inches apart.
- If you’re using grommets, place the template provided with the grommet kit on the fabric where you want the hole to be. Trace around the template and mark the center of the circle.
- Use sharp scissors or a hole punch tool to cut out the marked circles. Take care to make clean and precise cuts.
- If you’re using a buttonhole kit, mark the desired locations for the buttonholes along the top edge of the fabric. Use a ruler to ensure they are evenly spaced and aligned.
- Follow the instructions that come with the buttonhole kit to create the buttonholes. This usually involves using a special foot attachment on your sewing machine and selecting the appropriate stitch settings.
- Once you’ve added all the grommets or buttonholes, give the curtain a final press to flatten out any wrinkles and make sure the openings are clean and even.
Adding grommets or buttonholes to your custom shower curtain will provide a professional and functional finish. Now, it’s time to move on to the next step: attaching the hooks or rings!
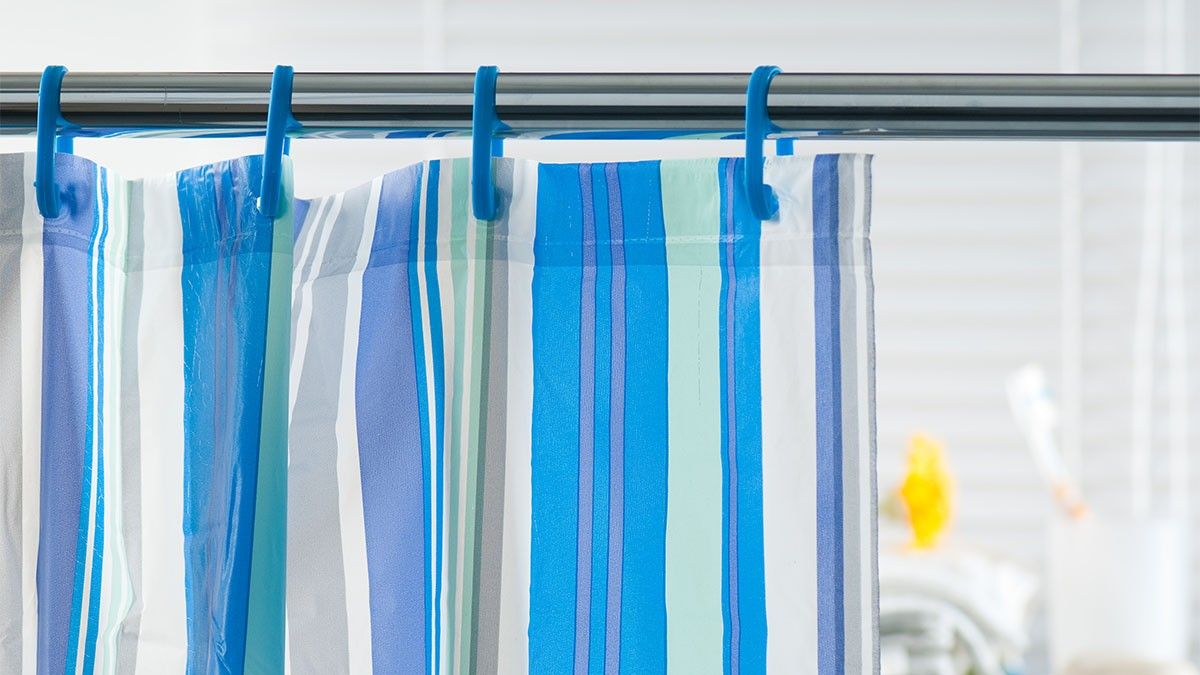
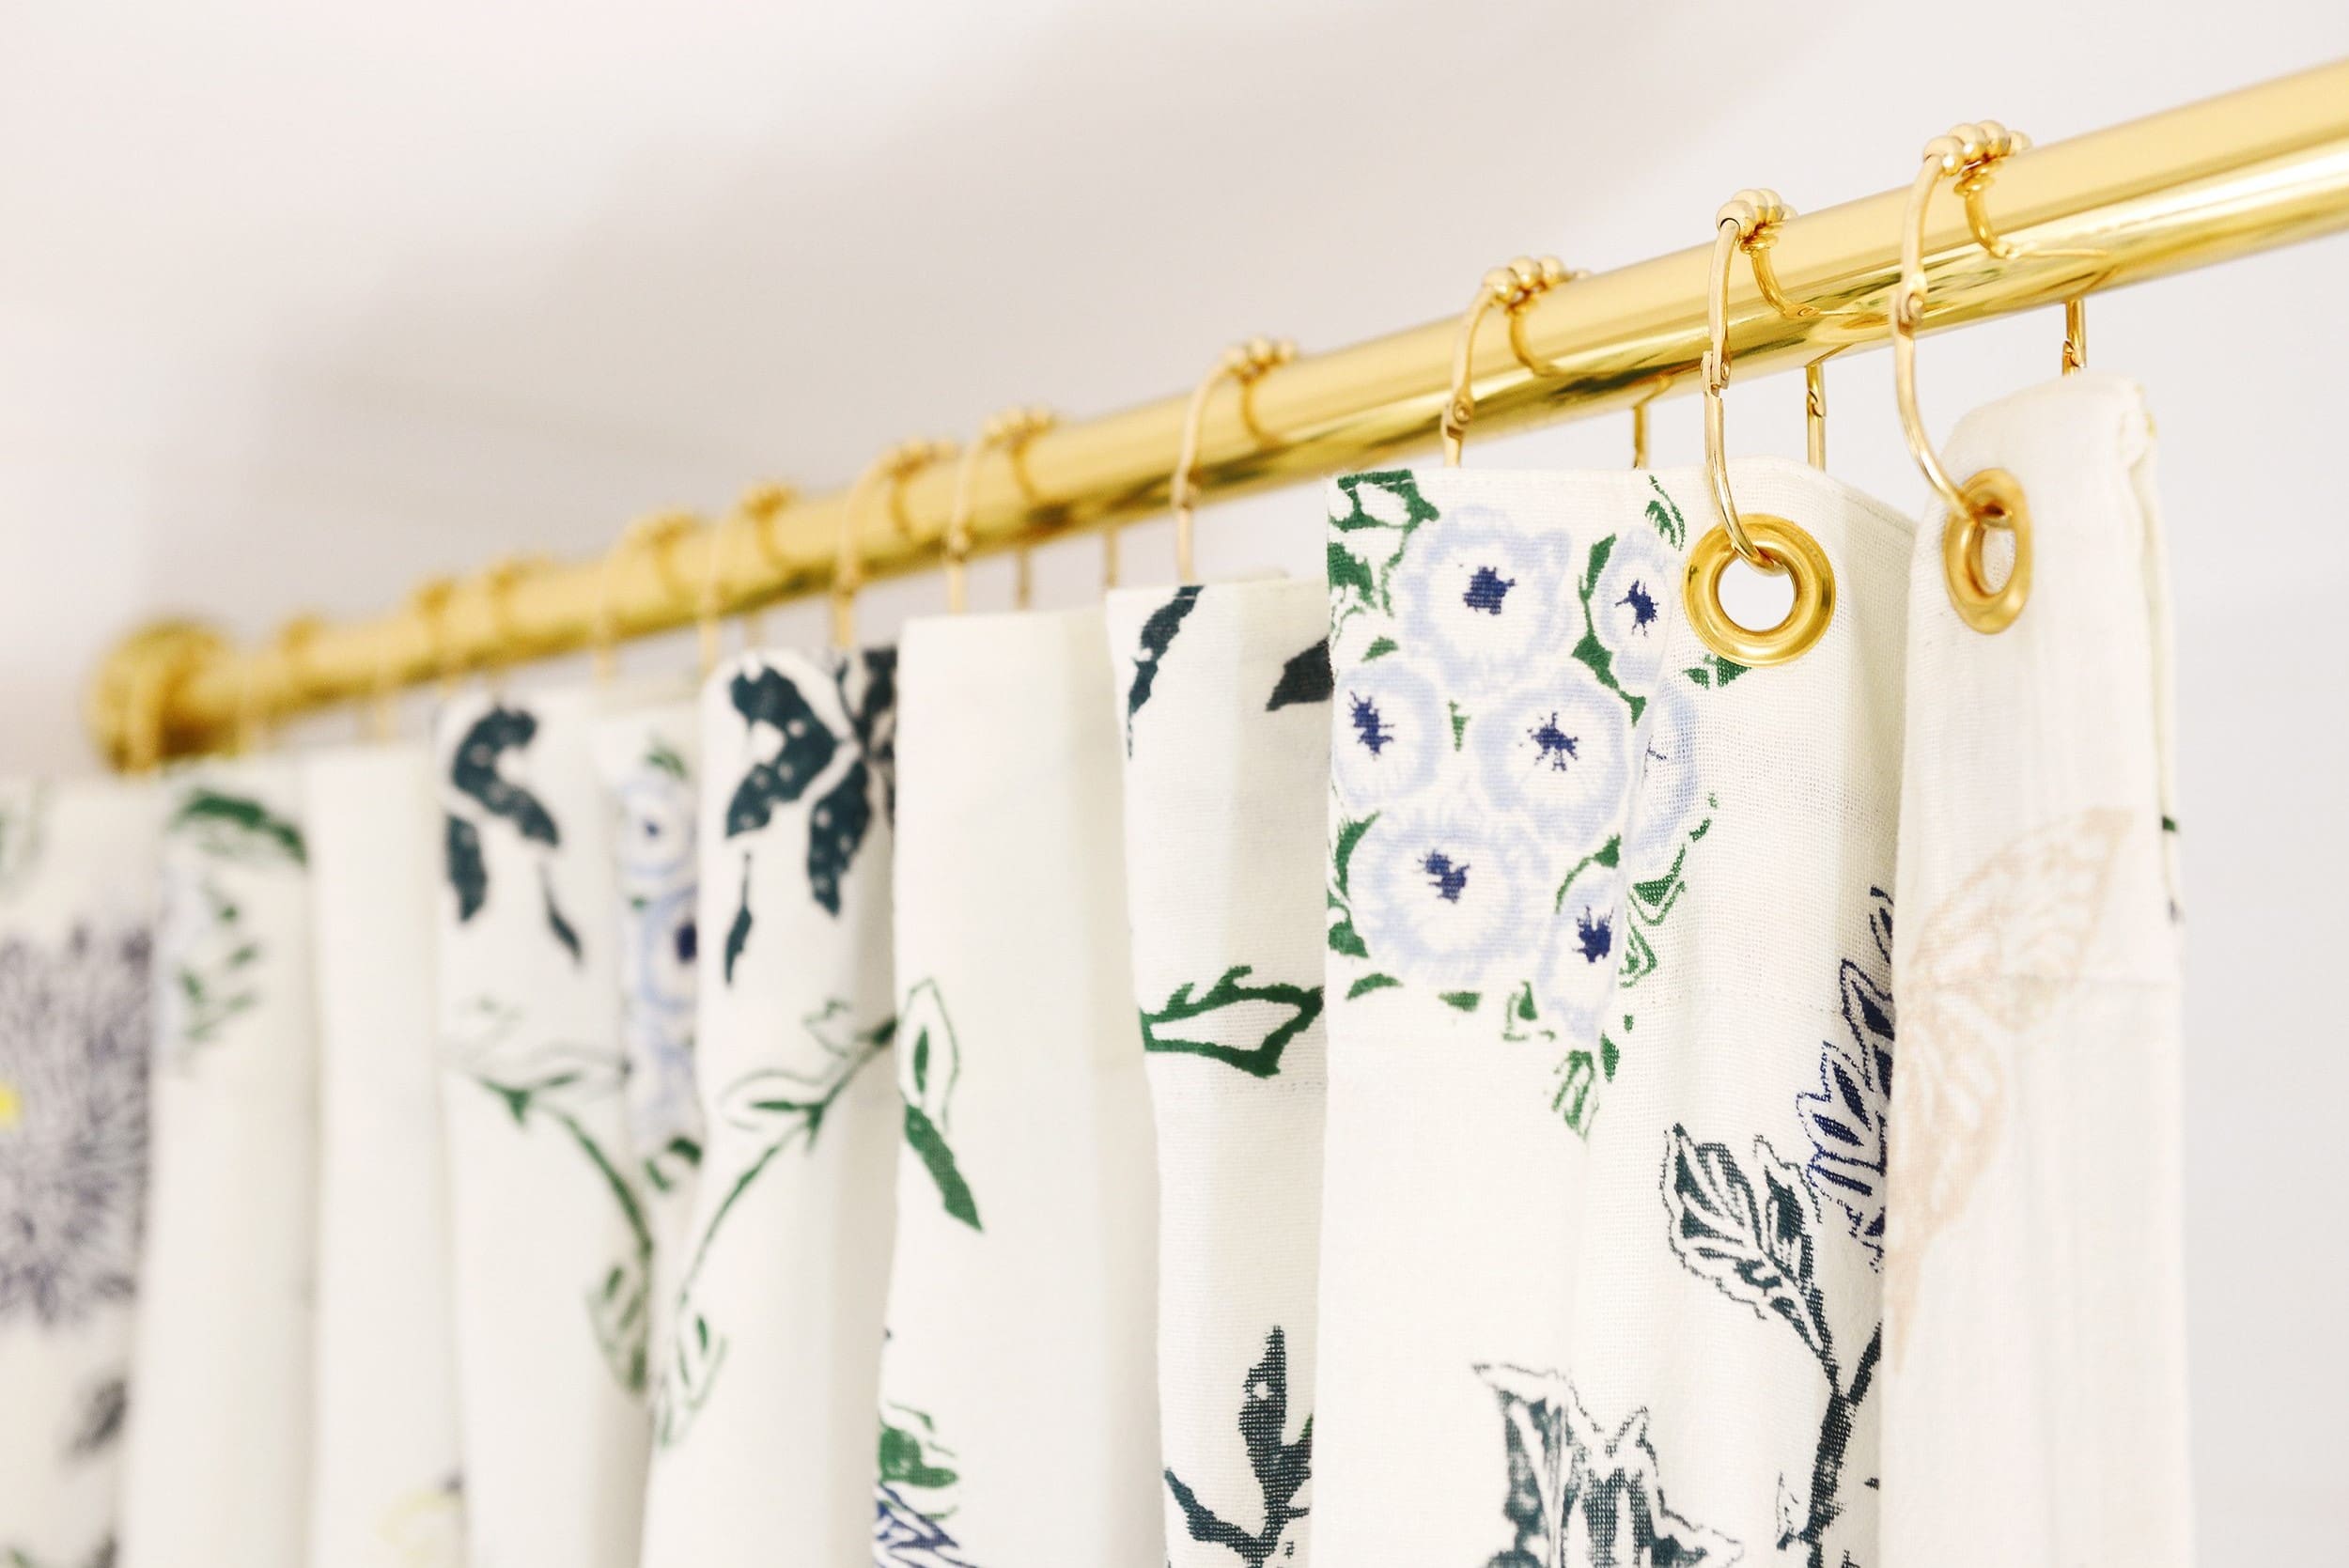
Step 6: Attaching the Hooks or Rings
Now that you’ve added the grommets or buttonholes to your custom shower curtain, it’s time to attach the hooks or rings that will allow you to hang it. Here’s how:
- Start by gathering the hooks or rings that you’ve chosen for your curtain. Make sure they are the appropriate size and style to fit through the openings you’ve created.
- If you’re using hooks, simply insert them through the grommets or buttonholes along the top edge of the curtain. Make sure they are securely fastened and evenly spaced.
- If you’re using rings with clips, open the clip and slide it through the grommet or buttonhole. Close the clip to secure the ring in place. Repeat this process for each grommet or buttonhole.
- Ensure that the hooks or rings are evenly distributed along the top edge of the curtain for a balanced and symmetrical look.
Take a step back and admire your handiwork. Your custom shower curtain is now ready to hang! In the next step, we’ll guide you on how to properly hang the curtain in your shower.
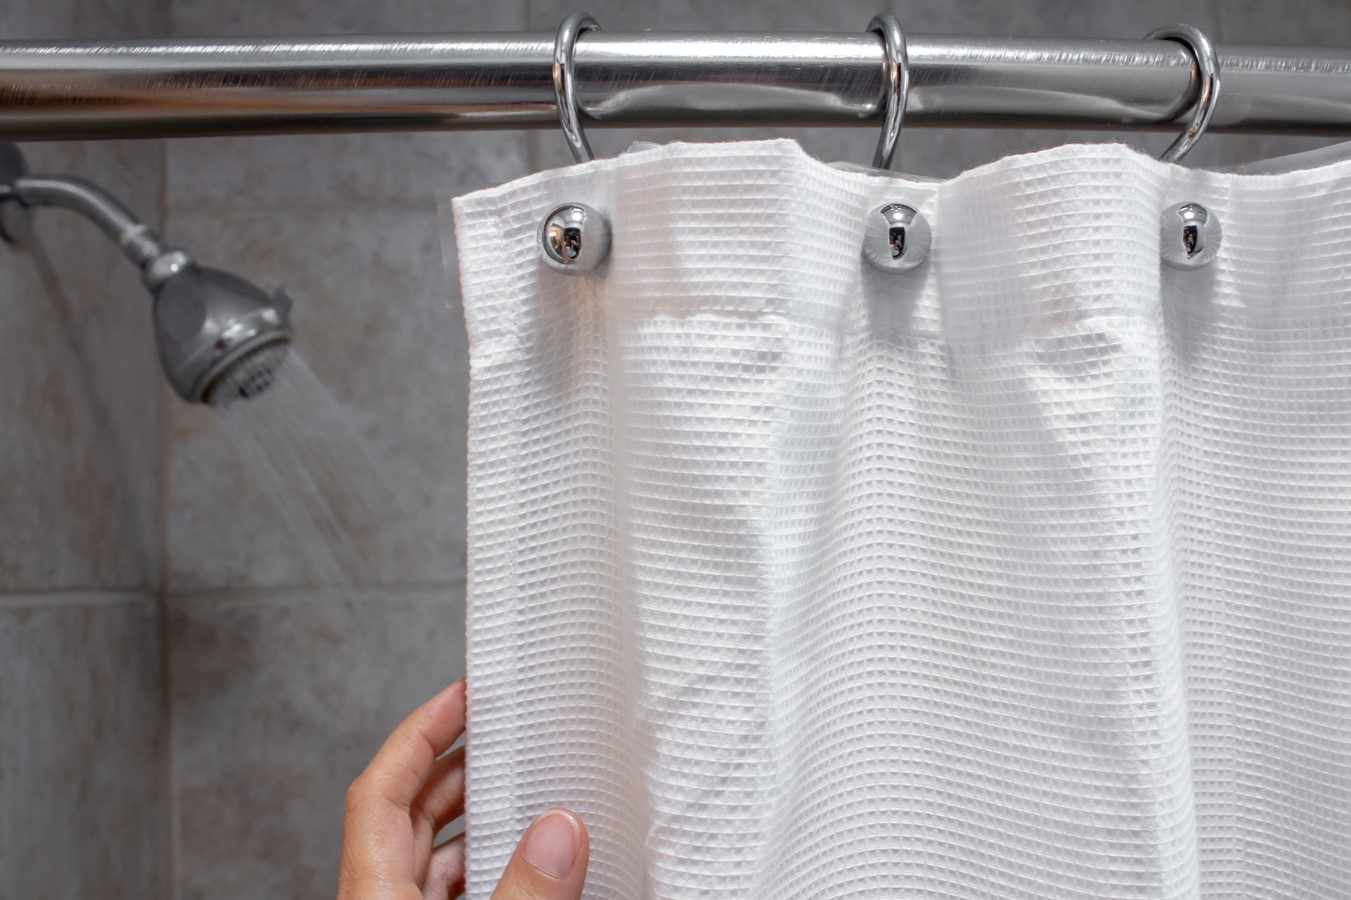
Step 7: Hanging the Custom Shower Curtain
Now that you have completed the process of creating your custom shower curtain, it’s time to hang it in your bathroom. Follow these steps to ensure a proper and secure installation:
- Start by removing your old shower curtain, if you have one, along with the hooks or rings.
- Attach the hooks or rings of your custom shower curtain to the shower rod or track. Make sure they are evenly spaced and securely fastened.
- Slide the hooks or rings along the rod or track until the curtain is evenly distributed and hangs straight.
- Check that the curtain is at the desired height and length. Adjust as needed.
- Smooth out any wrinkles or creases in the fabric by gently tugging and arranging it.
- Step back and admire your handcrafted custom shower curtain!
Now you can enjoy a refreshing and personalized shower experience with your unique and customized curtain.
Remember to periodically clean and maintain your custom shower curtain to keep it looking fresh and free from mildew. Follow the care instructions for your specific fabric and take care not to use abrasive cleaners that could damage or stain the fabric.
By following these steps, you can easily create a one-of-a-kind shower curtain that adds a touch of personalization and style to your bathroom decor.
So go ahead, step into your bathroom oasis and enjoy the beauty of your custom shower curtain!
Read more: How To Make A Shower Curtain Valance
Conclusion
Congratulations on successfully creating your own custom shower curtain! By following the steps outlined in this article, you have not only added a personal touch to your bathroom decor but also showcased your creativity and craftsmanship.
Making a custom shower curtain allows you to express your unique style and create a focal point in your bathroom. From choosing the perfect fabric to hemming the edges and adding the finishing touches, each step played a crucial role in bringing your vision to life.
Remember, the possibilities are endless when it comes to designing your custom shower curtain. Whether you opt for vibrant patterns, elegant textures, or minimalist designs, the choice is yours. Let your imagination guide you, and don’t be afraid to experiment with different fabrics, colors, and embellishments.
Not only does a custom shower curtain enhance the aesthetic appeal of your bathroom, but it also adds a personal touch to your daily routine. It’s amazing how a simple change like a custom curtain can elevate your overall shower experience and make your space feel welcoming and unique.
Now that you’ve completed your custom shower curtain project, don’t hesitate to share your creation with friends and family. They’ll surely be impressed by your creativity and may even be inspired to embark on their own DIY journey.
Remember to regularly clean and maintain your custom shower curtain to ensure its longevity and pristine appearance. By following the care instructions for your specific fabric, you can keep your curtain looking fresh and vibrant for years to come.
So go ahead and enjoy your newly crafted custom shower curtain. Step into your bathroom oasis and revel in the satisfaction of creating a piece that truly reflects your style and personality.
Happy showering!
Frequently Asked Questions about How To Make Custom Shower Curtains
Was this page helpful?
At Storables.com, we guarantee accurate and reliable information. Our content, validated by Expert Board Contributors, is crafted following stringent Editorial Policies. We're committed to providing you with well-researched, expert-backed insights for all your informational needs.


0 thoughts on “How To Make Custom Shower Curtains”