Home>Furniture & Design>Bathroom Accessories>How To Make A Shower Curtain Valance
Bathroom Accessories
How To Make A Shower Curtain Valance
Modified: February 24, 2024
Learn how to create a stylish shower curtain valance to enhance your bathroom decor with our easy step-by-step guide. Elevate your bathroom accessories with this simple DIY project.
(Many of the links in this article redirect to a specific reviewed product. Your purchase of these products through affiliate links helps to generate commission for Storables.com, at no extra cost. Learn more)
Introduction
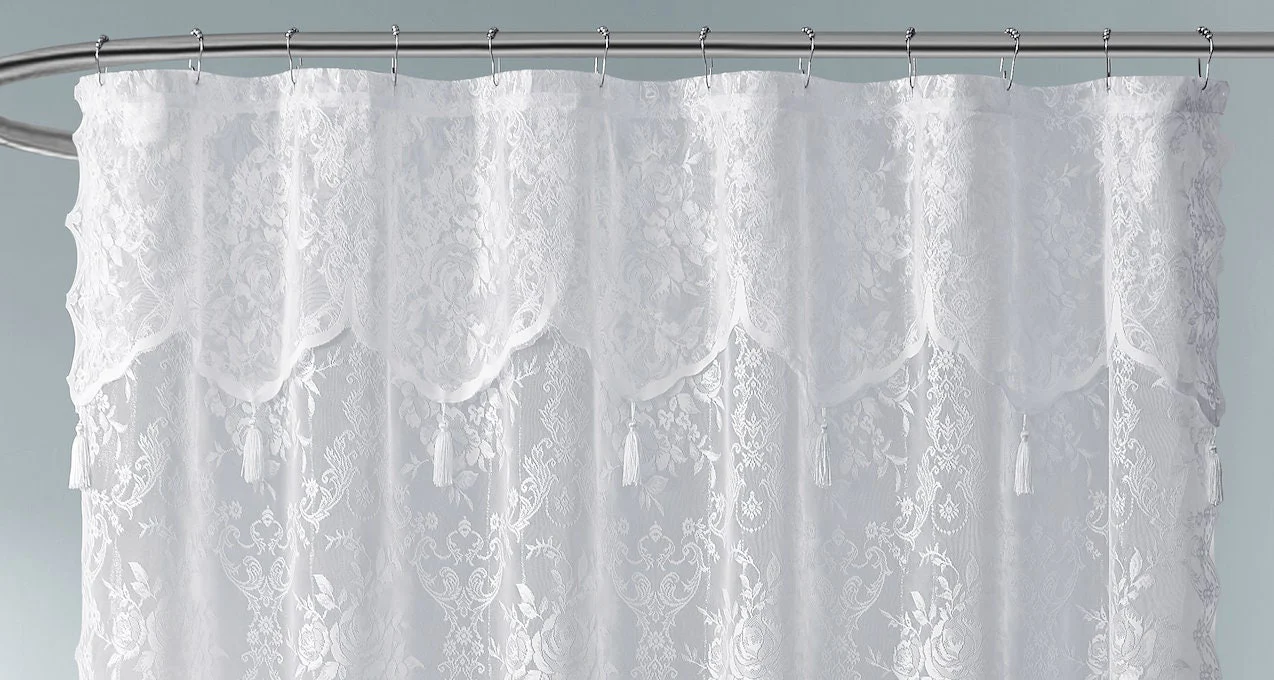
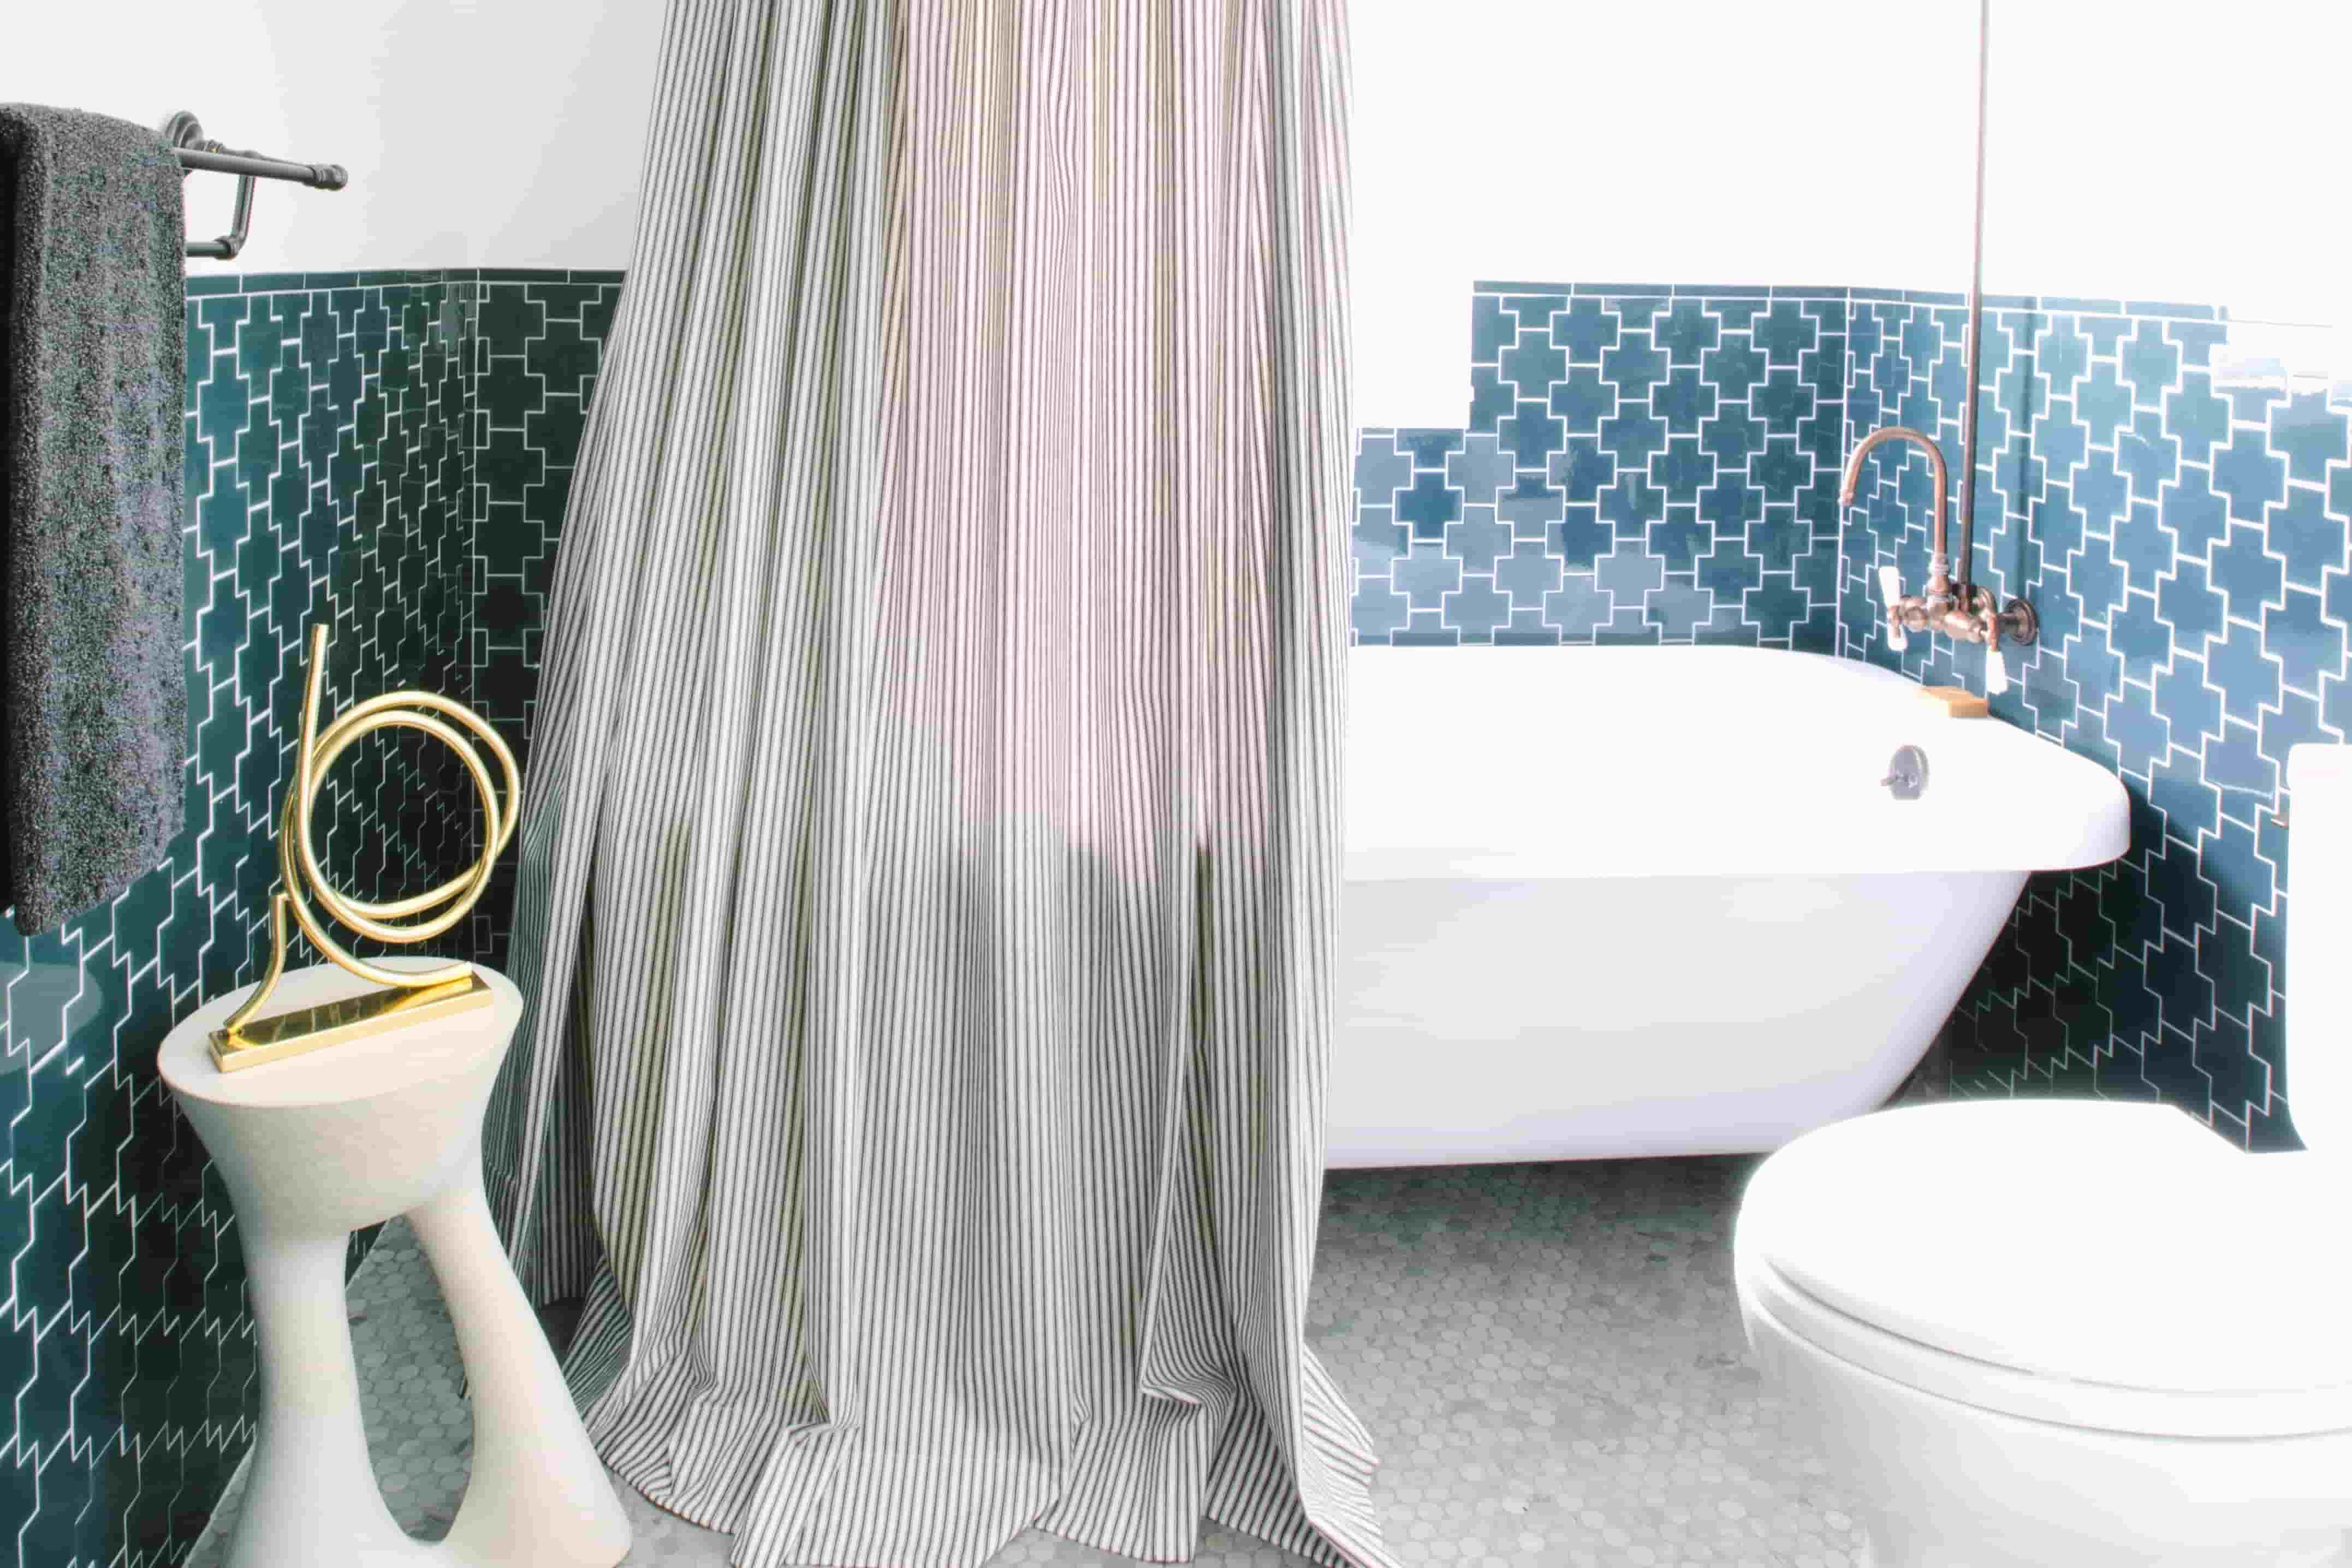
Creating a shower curtain valance is a fantastic way to add a touch of elegance and personality to your bathroom. A valance not only enhances the aesthetic appeal of your shower space but also provides a practical solution for concealing the shower curtain rod and adding a decorative element to the room. Whether you're aiming for a classic, modern, or whimsical look, a shower curtain valance can be customized to suit your style and preferences.
By crafting your own shower curtain valance, you have the freedom to select the fabric, color, and design that perfectly complements your bathroom decor. This DIY project allows you to infuse your personal flair into the space, creating a cohesive and inviting atmosphere. Additionally, making a shower curtain valance can be a cost-effective alternative to purchasing a pre-made valance, providing you with the opportunity to showcase your creativity while saving money.
In this comprehensive guide, we will walk you through the step-by-step process of creating a shower curtain valance. From measuring and cutting the fabric to attaching the valance to the curtain rod, each stage will be explained in detail to ensure that you can successfully complete this project with confidence. Whether you're a seasoned crafter or a novice DIY enthusiast, this guide is designed to be accessible and easy to follow, empowering you to transform your bathroom with a charming and functional shower curtain valance.
So, gather your materials and let's embark on this creative journey to elevate the ambiance of your bathroom with a beautifully crafted shower curtain valance. With a few simple steps and a touch of creativity, you'll soon be enjoying the delightful transformation of your shower space.
Key Takeaways:
- Elevate your bathroom with a personalized touch by creating a shower curtain valance. Infuse your style, save money, and enjoy the transformation with this DIY project.
- From fabric selection to hanging the valance, crafting a shower curtain valance is a rewarding and creative way to add elegance and personality to your bathroom.
Read more: How To Make Valance Curtains
Materials Needed
To embark on the exciting journey of creating a shower curtain valance, you will need a few essential materials and tools to bring your vision to life. Before diving into this delightful DIY project, ensure that you have the following items at your disposal:
-
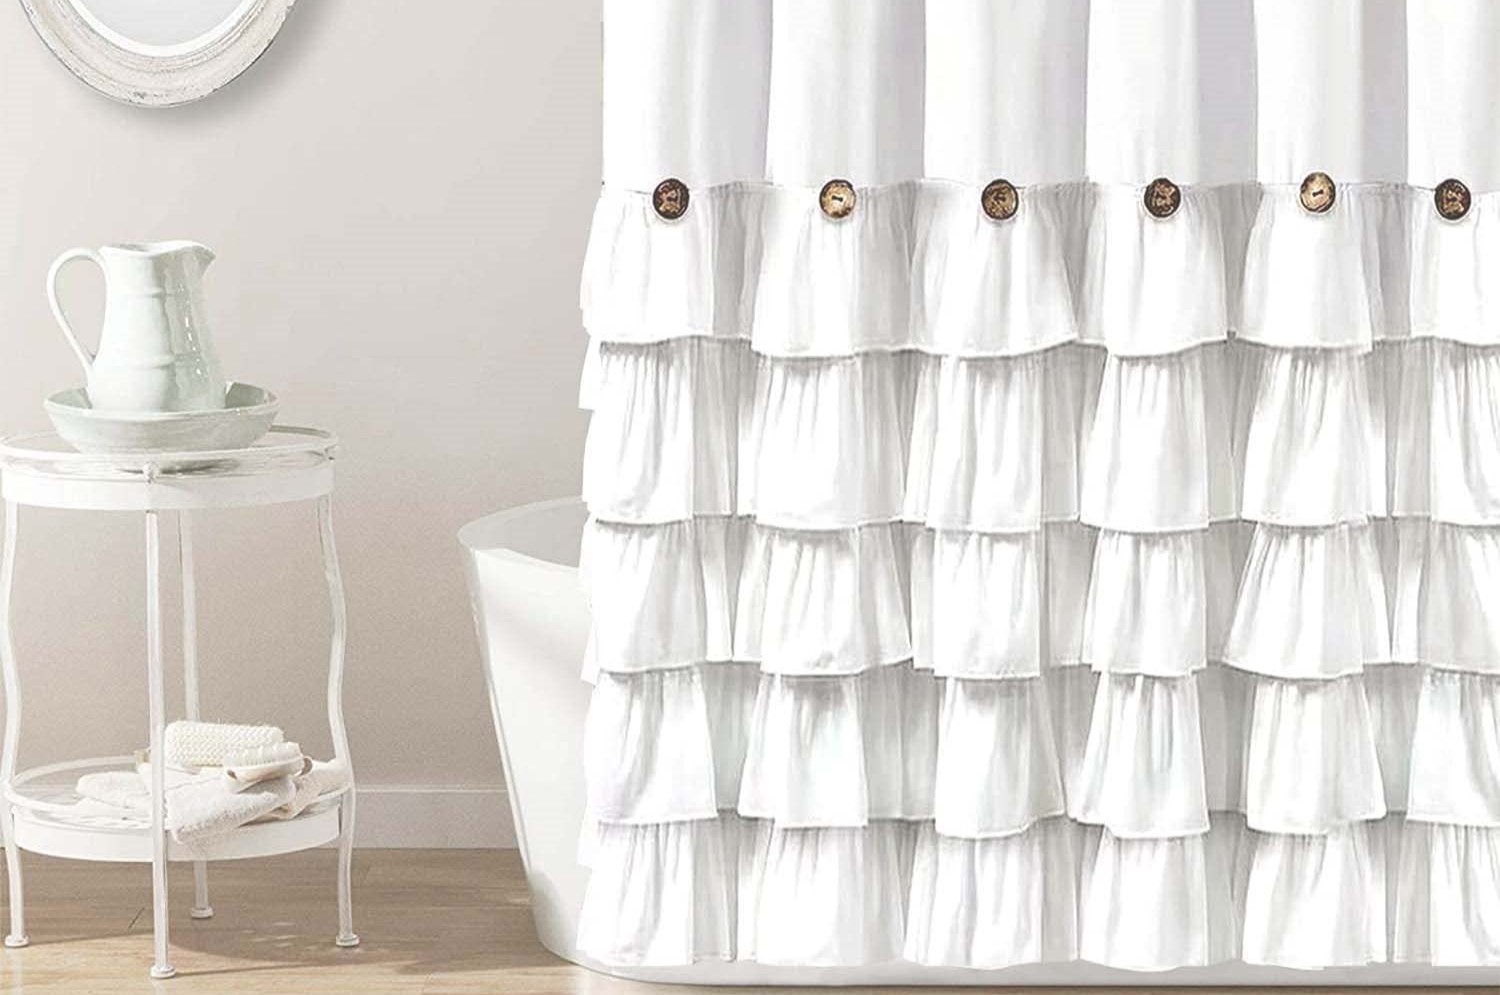
Fabric: Select a fabric that aligns with your aesthetic preferences and complements the existing decor of your bathroom. Whether you opt for a vibrant pattern, a solid color, or a textured fabric, choose a material that resonates with your personal style and enhances the ambiance of the space.
-
Measuring Tape: Accurate measurements are crucial for ensuring that your shower curtain valance fits perfectly. A reliable measuring tape will enable you to determine the dimensions of the fabric required for the valance, as well as the rod pocket and overall length of the valance.
-
Scissors: High-quality fabric scissors are essential for cutting the fabric with precision. Sharp, durable scissors will facilitate clean and accurate cuts, allowing you to achieve a professional-looking finish for your shower curtain valance.
-
Sewing Machine or Needle and Thread: Depending on your proficiency with sewing, you can choose to use a sewing machine or hand-sew the valance. If you opt for a sewing machine, ensure that it is equipped with a suitable needle for sewing through the chosen fabric.
-
Thread: Select a thread color that complements the fabric of your shower curtain valance. The thread should be strong and durable to withstand the weight of the fabric and ensure secure stitching.
-
Pins: Straight pins are indispensable for securing the fabric in place during the sewing process. They will help you maintain alignment and prevent the fabric from shifting as you work on the valance.
-
Curtain Rod: To hang the shower curtain valance, you will need a curtain rod that fits the dimensions of your shower space. Choose a rod that complements the style of the valance and provides sturdy support for the fabric.
-
Iron and Ironing Board: A well-pressed fabric is essential for achieving a polished and professional appearance. An iron and ironing board will enable you to smooth out any wrinkles and creases in the fabric before and after sewing.
-
Optional Embellishments: If you desire to add decorative elements to your shower curtain valance, consider embellishments such as tassels, fringe, or decorative trims. These embellishments can enhance the visual appeal of the valance and infuse it with a touch of individuality.
Gathering these materials will set the stage for an enjoyable and rewarding DIY experience as you embark on the journey of creating a stunning shower curtain valance for your bathroom. With these essential items at hand, you are well-equipped to bring your creative vision to fruition and elevate the ambiance of your shower space with a beautifully crafted valance.
Step 1: Measure and Cut the Shower Curtain
The first step in creating a shower curtain valance involves precise measurements and accurate cutting of the fabric. Before commencing this stage, ensure that you have selected a suitable fabric that aligns with your aesthetic preferences and complements the existing decor of your bathroom. Once you have the chosen fabric at hand, follow these detailed instructions to measure and cut the shower curtain valance:
-
Measure the Width: Begin by measuring the width of your shower area to determine the desired width of the valance. Use a measuring tape to ascertain the width of the space where the valance will be hung. It is essential to consider the fullness of the valance, so you may choose to multiply the width measurement by a factor of 1.5 to 2, depending on the desired gathered effect.
-
Determine the Length: Next, measure the desired length of the valance. Consider how far you want the valance to extend from the top of the curtain rod. Whether you prefer a subtle, tailored look or a more dramatic, flowing effect, the length of the valance can be customized to suit your preferences.
-
Cut the Fabric: Once the width and length measurements have been determined, carefully cut the fabric according to these dimensions. Use sharp fabric scissors to ensure clean, straight edges. Take your time to achieve precise cuts, as the accuracy of the measurements and cuts will significantly impact the overall appearance of the valance.
-
Create the Rod Pocket: If the fabric for the valance does not already include a rod pocket, you may need to allocate additional fabric for this purpose. The rod pocket should be wide enough to accommodate the curtain rod and allow for easy hanging of the valance. Ensure that the rod pocket is positioned at the top edge of the fabric, ready for the next stage of the process.
By meticulously measuring and cutting the shower curtain fabric, you lay the foundation for a beautifully tailored valance that perfectly complements your bathroom decor. Attention to detail during this stage will contribute to the professional and polished appearance of the valance, setting the stage for the subsequent steps in the creation process. With the fabric cut to the desired dimensions and the rod pocket prepared, you are now ready to progress to the next stage of crafting your shower curtain valance.
Step 2: Sew the Rod Pocket
With the fabric cut to the desired dimensions and the top edge prepared for the rod pocket, the next crucial step in creating a shower curtain valance is sewing the rod pocket. This essential component allows the valance to be effortlessly hung on the curtain rod, providing a neat and tailored appearance. Whether you are using a sewing machine or opting for hand-sewing, the process of sewing the rod pocket requires precision and attention to detail to ensure a secure and professional finish.
To begin, fold the top edge of the fabric over to create a pocket that is wide enough to accommodate the curtain rod. The width of the rod pocket should be slightly larger than the diameter of the rod to allow for easy hanging and movement. Use straight pins to secure the folded edge in place, ensuring that the fabric remains aligned and the pocket maintains an even width along the entire length of the valance.
Once the rod pocket is pinned in position, it's time to sew along the bottom edge of the pocket to secure it in place. If you are using a sewing machine, select a suitable thread color that complements the fabric and ensure that the machine is equipped with a needle designed for sewing through the chosen material. Sew a straight stitch along the bottom edge of the pocket, reinforcing the top edge of the fabric and creating a sturdy pocket that can support the weight of the valance.
If you prefer hand-sewing, use a needle and thread to carefully stitch along the bottom edge of the pocket, employing a strong and secure stitch to ensure the durability of the rod pocket. Take your time to maintain even stitching and secure the fabric firmly in place, as the rod pocket plays a pivotal role in the functionality and appearance of the valance.
Upon completing the sewing process, remove the straight pins and inspect the rod pocket to ensure that it is securely attached and capable of accommodating the curtain rod. Smooth out any wrinkles or creases in the fabric, and press the rod pocket with an iron to achieve a crisp and polished finish.
By sewing the rod pocket with precision and care, you have successfully prepared the valance for effortless hanging and added a professional touch to the overall appearance. With the rod pocket securely in place, the valance is now ready for the next stage of the creation process, bringing you one step closer to enjoying the delightful transformation of your shower space.
When making a shower curtain valance, be sure to measure the width of your shower area and add extra fabric for fullness. This will ensure that the valance looks full and luxurious when hung up.
Step 3: Attach the Valance to the Curtain Rod
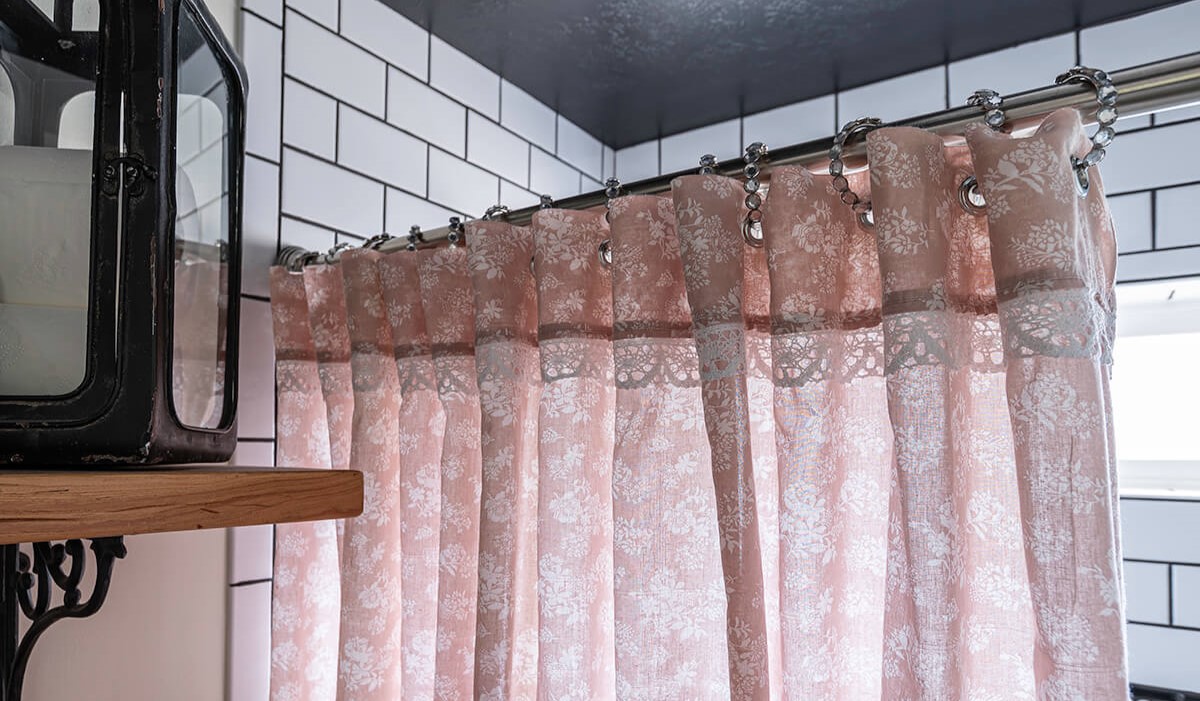
With the rod pocket neatly sewn into the fabric, the next pivotal step in creating a shower curtain valance is attaching it to the curtain rod. This stage brings the valance to life, allowing it to gracefully adorn your shower space and contribute to the overall ambiance of the room. Whether you have selected a decorative curtain rod or a simple, functional design, the process of attaching the valance involves precision and attention to detail to ensure a secure and polished presentation.
To begin, carefully slide the curtain rod through the rod pocket of the valance, ensuring that the fabric gathers evenly along the length of the rod. Take your time to distribute the fabric smoothly, allowing the valance to drape elegantly and achieve a balanced and tailored appearance. If you have opted for a gathered effect, adjust the fabric to create gentle, uniform folds that enhance the visual appeal of the valance.
Once the valance is evenly distributed along the curtain rod, position the rod on the designated hooks or brackets within the shower area. Ensure that the rod is securely fastened and level, providing a stable foundation for the valance. Whether you are using tension rods, wall-mounted brackets, or decorative hooks, it is essential to verify that the rod is firmly in place before proceeding to the final stage of hanging the valance.
As you position the curtain rod, step back and assess the placement of the valance to ensure that it aligns with your aesthetic vision for the space. Take the opportunity to make any necessary adjustments to the gathering of the fabric, ensuring that the valance drapes elegantly and complements the overall decor of the bathroom. Pay attention to the symmetry and balance of the valance, aiming for a cohesive and visually pleasing presentation.
With the valance securely attached to the curtain rod and elegantly displayed in your shower space, take a moment to appreciate the transformative impact it has on the ambiance of the room. The carefully crafted valance adds a touch of sophistication and charm to the bathroom, elevating the visual appeal and creating a welcoming and cohesive atmosphere. Whether you have chosen a classic, contemporary, or whimsical design, the valance serves as a delightful focal point, infusing the space with personality and style.
By successfully attaching the valance to the curtain rod, you have brought your creative vision to fruition, culminating in a beautifully crafted and thoughtfully designed addition to your bathroom decor. With the valance elegantly adorning the shower area, you are now ready to revel in the delightful transformation of your shower space, basking in the charm and allure of your handcrafted shower curtain valance.
Read more: How To Make A Shower Curtain
Step 4: Hang the Shower Curtain Valance
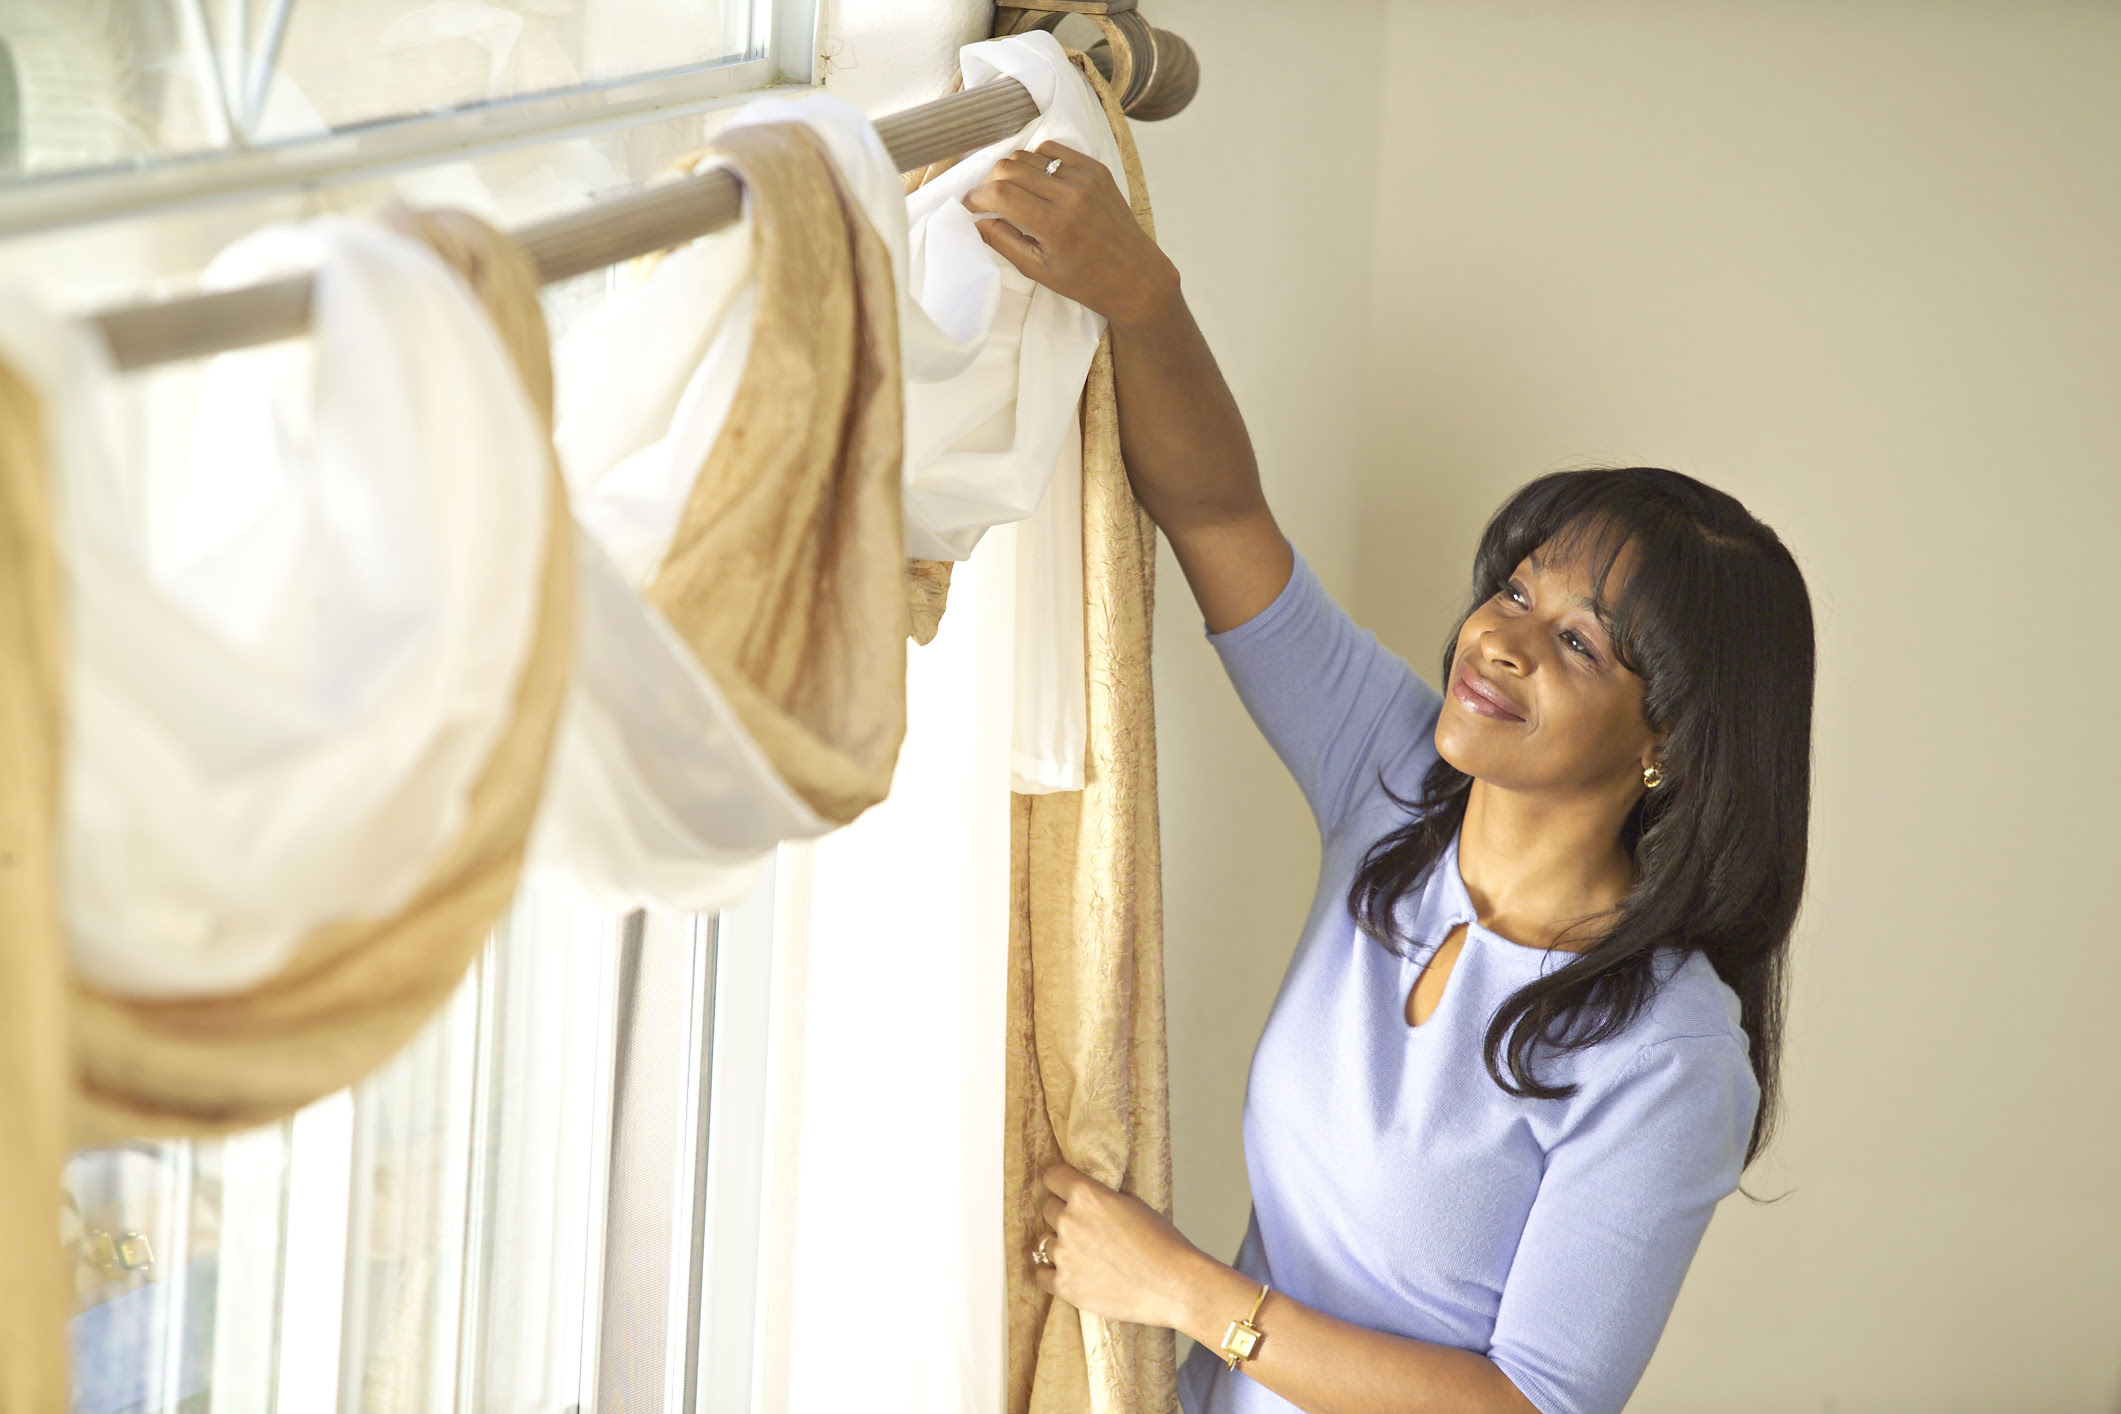
Hanging the shower curtain valance is the culminating step that brings your creative endeavor to fruition, transforming your bathroom with a touch of elegance and personality. This pivotal stage allows you to showcase your handcrafted valance, infusing the shower space with charm and style. Whether you have chosen a tailored, flowing, or gathered design, the process of hanging the valance involves attention to detail and a keen eye for achieving a polished and visually appealing presentation.
To begin, carefully position the curtain rod with the attached valance within the designated space above the shower area. Whether you are using tension rods, wall-mounted brackets, or decorative hooks, ensure that the rod is securely fastened and level, providing a stable foundation for the valance. Verify that the rod is aligned with your aesthetic vision for the space, allowing the valance to complement the overall decor of the bathroom.
As you position the curtain rod, take a step back to assess the placement of the valance and make any necessary adjustments to the gathering of the fabric. Ensure that the valance drapes elegantly, creating gentle, uniform folds that enhance the visual appeal of the space. Pay attention to the symmetry and balance of the valance, aiming for a cohesive and visually pleasing presentation that elevates the ambiance of the room.
Once the curtain rod and valance are securely in place, step back and admire the transformative impact of your handcrafted creation. The valance serves as a delightful focal point, infusing the shower space with personality and style. Whether you have chosen a classic, contemporary, or whimsical design, the valance adds a touch of sophistication and charm to the bathroom, creating a welcoming and cohesive atmosphere.
With the valance elegantly adorning the shower area, revel in the delightful transformation of your bathroom space, basking in the charm and allure of your handcrafted shower curtain valance. The carefully crafted valance adds a touch of elegance and personality to the room, elevating the visual appeal and creating a welcoming and cohesive atmosphere. As you admire your completed project, take pride in the artistry and creativity that have contributed to the enhancement of your bathroom decor.
Conclusion
In conclusion, the process of creating a shower curtain valance is a delightful journey that culminates in the transformation of your bathroom space. By embarking on this DIY project, you have the opportunity to infuse your personal style and creativity into the decor, resulting in a charming and functional addition to your shower area. From selecting the fabric and meticulously measuring and cutting the valance to sewing the rod pocket and elegantly hanging the finished creation, each step contributes to the overall allure and ambiance of the room.
As you admire the completed shower curtain valance, take pride in the artistry and craftsmanship that have brought your vision to life. The valance serves as a captivating focal point, enhancing the visual appeal of the bathroom and creating a cohesive and inviting atmosphere. Whether you have chosen a classic, modern, or whimsical design, the valance reflects your unique taste and adds a touch of sophistication to the space.
Furthermore, the process of crafting a shower curtain valance allows you to exercise your creativity while achieving a practical and aesthetically pleasing solution for concealing the curtain rod. The tailored finish and attention to detail in each stage of the creation process contribute to the professional and polished appearance of the valance, elevating the overall decor of the bathroom.
By customizing the fabric, color, and design of the valance, you have the opportunity to align it with your personal preferences and the existing decor of the bathroom. This DIY project not only provides a cost-effective alternative to purchasing a pre-made valance but also allows you to tailor the design to perfectly complement the ambiance of the space.
In essence, the creation of a shower curtain valance is a rewarding and fulfilling endeavor that empowers you to transform your bathroom with a touch of elegance and individuality. As you revel in the delightful transformation of your shower space, the handcrafted valance stands as a testament to your creativity and craftsmanship, enriching the ambiance of the room and leaving a lasting impression on all who experience its charm.
Frequently Asked Questions about How To Make A Shower Curtain Valance
Was this page helpful?
At Storables.com, we guarantee accurate and reliable information. Our content, validated by Expert Board Contributors, is crafted following stringent Editorial Policies. We're committed to providing you with well-researched, expert-backed insights for all your informational needs.

0 thoughts on “How To Make A Shower Curtain Valance”