Articles
How To Make A Stringer For Stairs
Modified: October 18, 2024
Learn how to make a stringer for stairs with our step-by-step articles. Get expert tips and guidance to create sturdy and safe stairs for your home.
(Many of the links in this article redirect to a specific reviewed product. Your purchase of these products through affiliate links helps to generate commission for Storables.com, at no extra cost. Learn more)
Introduction
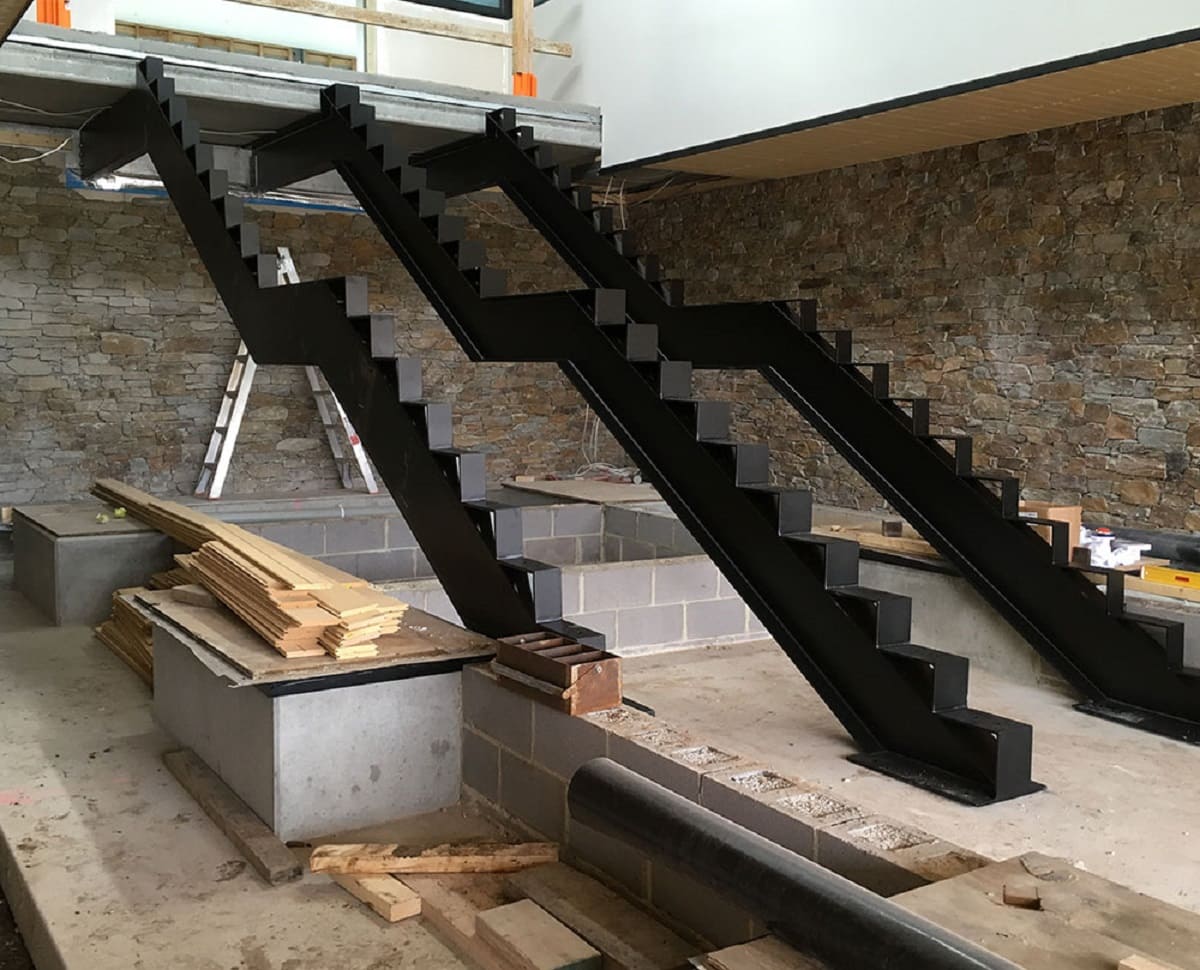
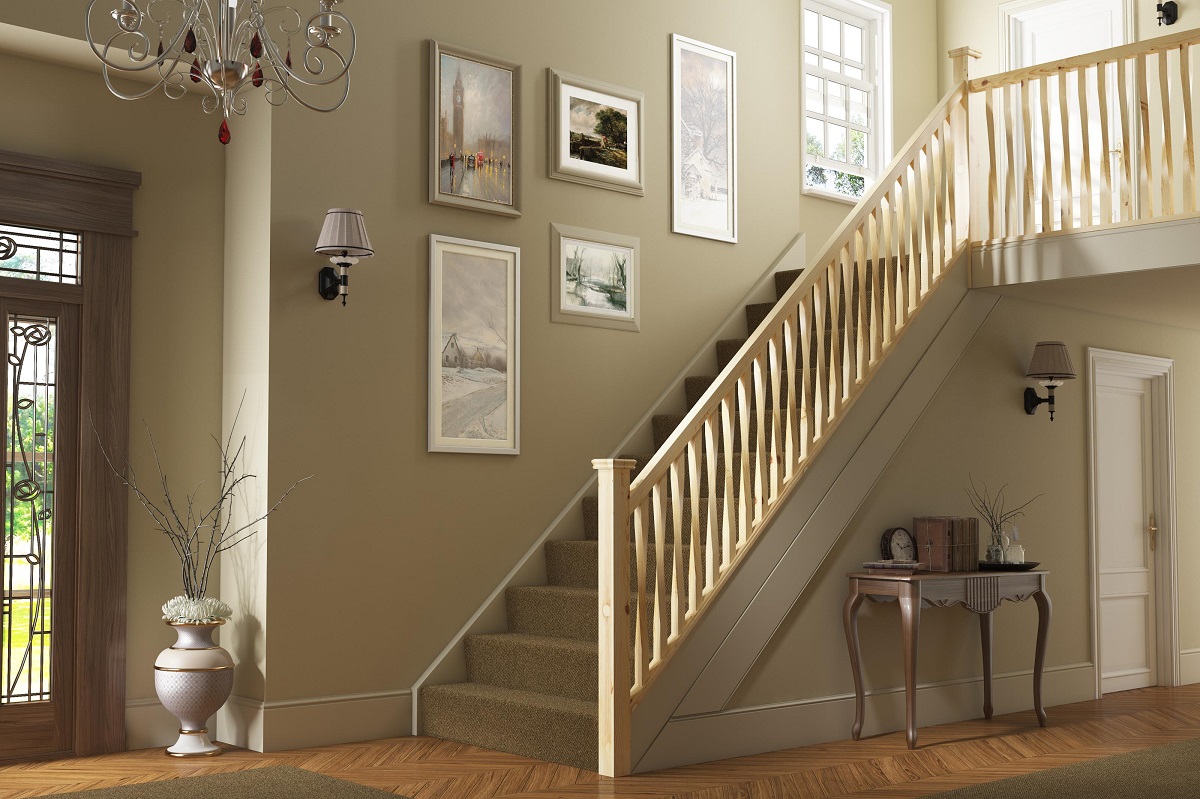
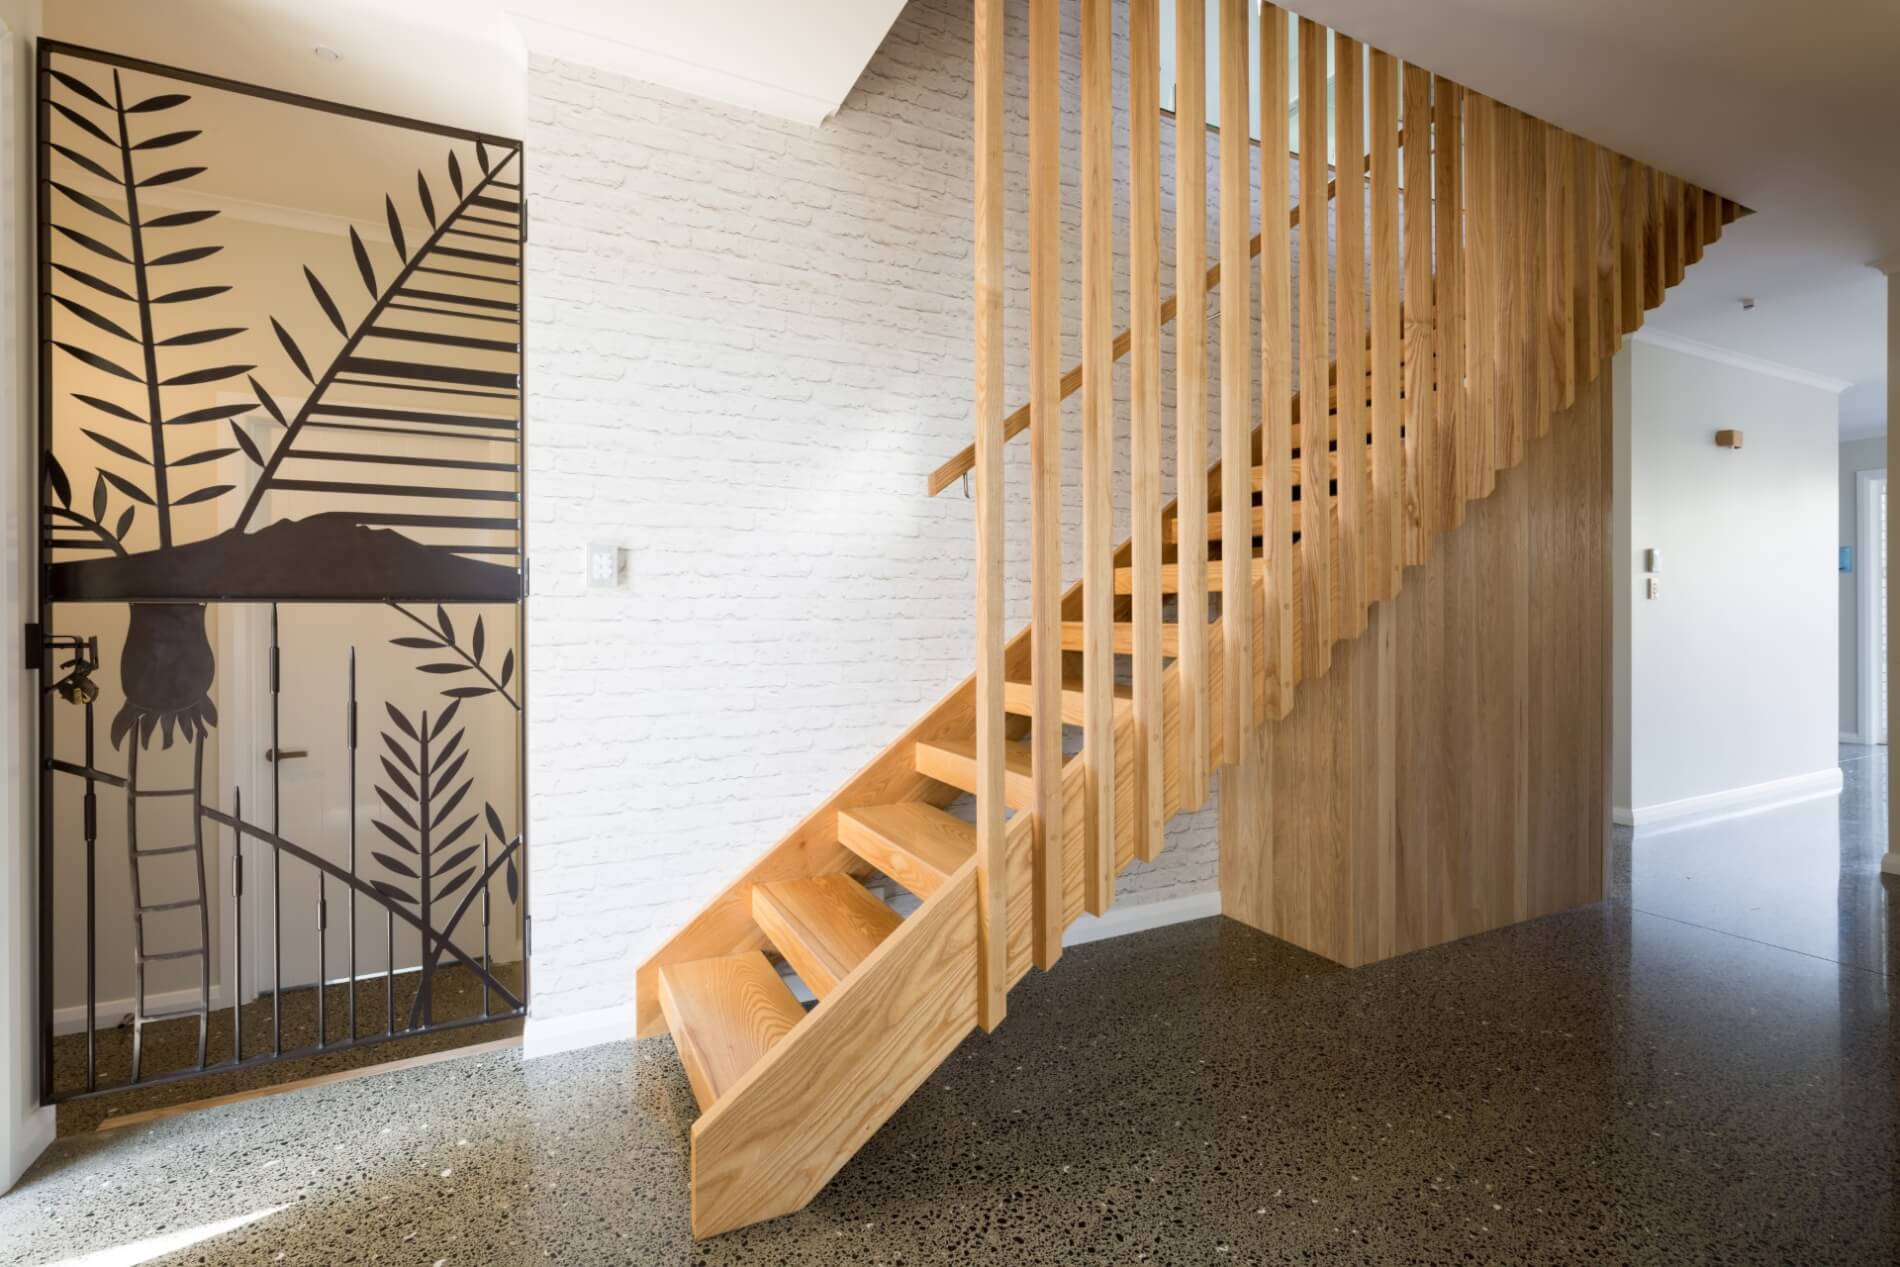
Welcome to this comprehensive guide on how to make a stringer for stairs. If you’re considering building a staircase for your home or any other construction project, having a stringer is essential. A stringer is the structural component that supports the steps of a staircase and helps distribute the weight evenly. It ensures the stability and safety of the staircase.
In this article, we will walk you through the process of making a stringer for stairs step by step. Whether you’re a DIY enthusiast or a professional builder, this guide will provide you with the necessary information and tips to successfully create a strong and durable stringer.
Before we delve into the steps, let’s discuss the materials you will need for this project.
Key Takeaways:
- Building a strong and durable stringer for stairs requires precise measurements, accurate cuts, and attention to safety. Whether you’re a DIY enthusiast or a professional builder, this guide equips you with the knowledge and skills to create a reliable staircase component.
- Prioritize safety, take your time, and follow the step-by-step process to successfully make a stringer for stairs. With the right materials and careful execution, you can ensure the stability and support of your staircase for years to come.
Read more: What Is Stringer On Stairs
Materials Needed
Before you begin making a stringer for stairs, gather the following materials:
- Lumber: You will need pressure-treated lumber or other suitable materials for the stringer. The size and quantity of lumber will depend on the dimensions of your staircase.
- Tape Measure: A tape measure will help you accurately measure the length, width, and height of your staircase.
- Pencil: Use a pencil to mark measurements and guidelines on the lumber.
- Circular Saw: A circular saw is essential for cutting the lumber into the desired shape and size.
- Protractor: A protractor is useful for measuring and marking the angles needed to create the stringer.
- Square: A square will help you ensure that the angles and lines are straight and accurate.
- Clamps: Clamps will come in handy to secure the lumber while you make the necessary cuts.
- Safety Gear: Wear safety goggles, gloves, and a dust mask to protect yourself during the cutting process.
Having these materials ready will make the process smoother and more efficient. Now, let’s move on to the steps involved in making a stringer for stairs.
When making a stringer for stairs, ensure accurate measurements and use a sturdy material like pressure-treated lumber to ensure durability and safety.
Steps to Make a Stringer for Stairs
Now that you have gathered the necessary materials, let’s dive into the step-by-step process of making a stringer for stairs:
- Measure and Calculate: Begin by measuring the height, width, and depth of the staircase. Use these measurements to calculate the number of risers and the dimensions of the stringer. You can use online calculators or the stair-building code in your area as a reference.
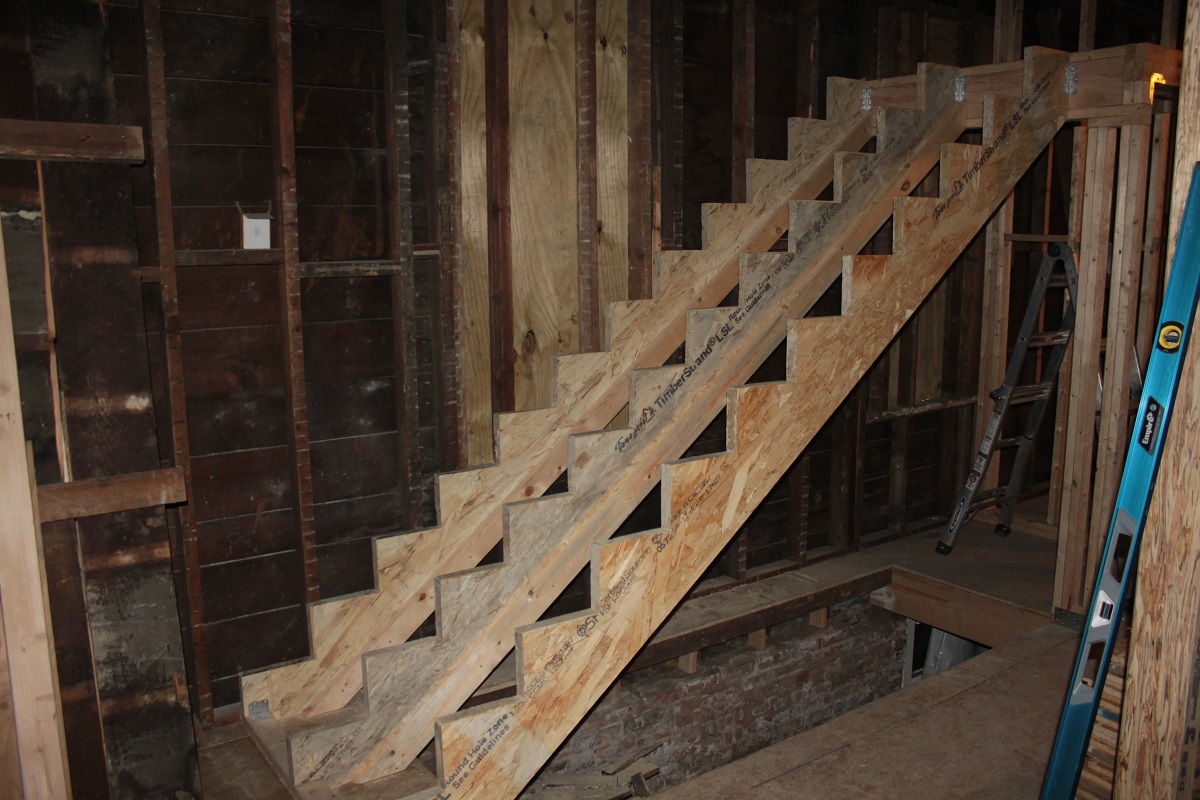
- Mark the Stringer: Use a pencil and a tape measure to mark the dimensions of the stringer on the lumber. Start by marking the riser height on the board, then calculate and mark the position of each subsequent riser.
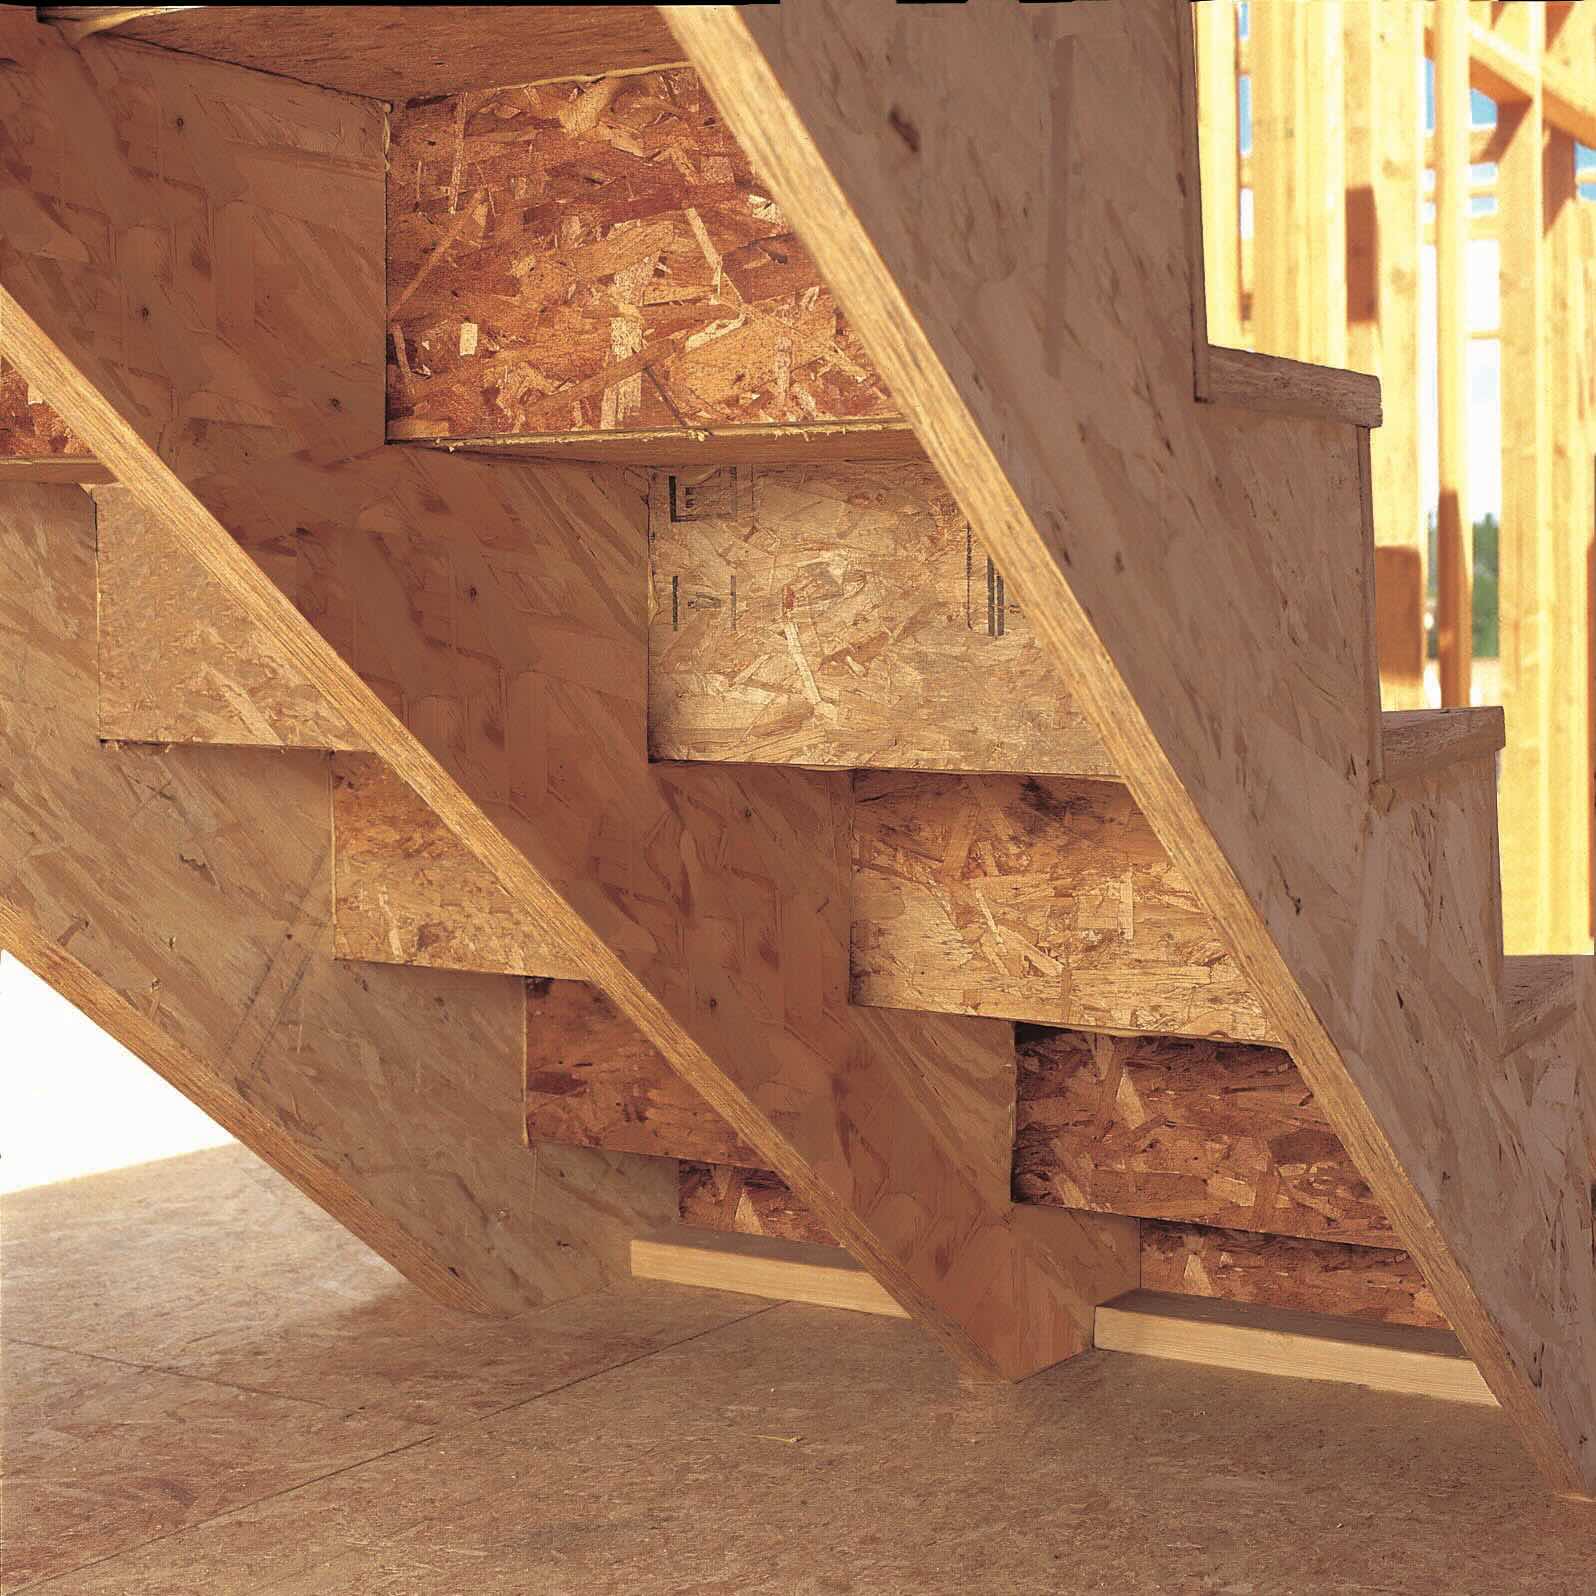
- Draw the Notches: Determine the desired tread depth and mark it on the stringer. Use a square and a pencil to draw a horizontal line at this mark. Then, calculate and mark the position of each notch, which will accommodate the treads.
- Cut the Notches: Using a circular saw, carefully cut along the marked lines to create the notches for the treads. Take your time and ensure that the cuts are precise and clean.
- Create the Stringer Pattern: Once you have cut the notches, use the first stringer as a template to create additional stringers if necessary. This will ensure consistency and accuracy.
- Test Fit the Stringer: Before installing the stringer, perform a test fit by placing it in position on the staircase. Make any adjustments or trims as needed to ensure a perfect fit.
- Install the Stringer: Once you are satisfied with the fit, secure the stringer to the framing of the staircase using screws or nails. Ensure that it is level and properly aligned.
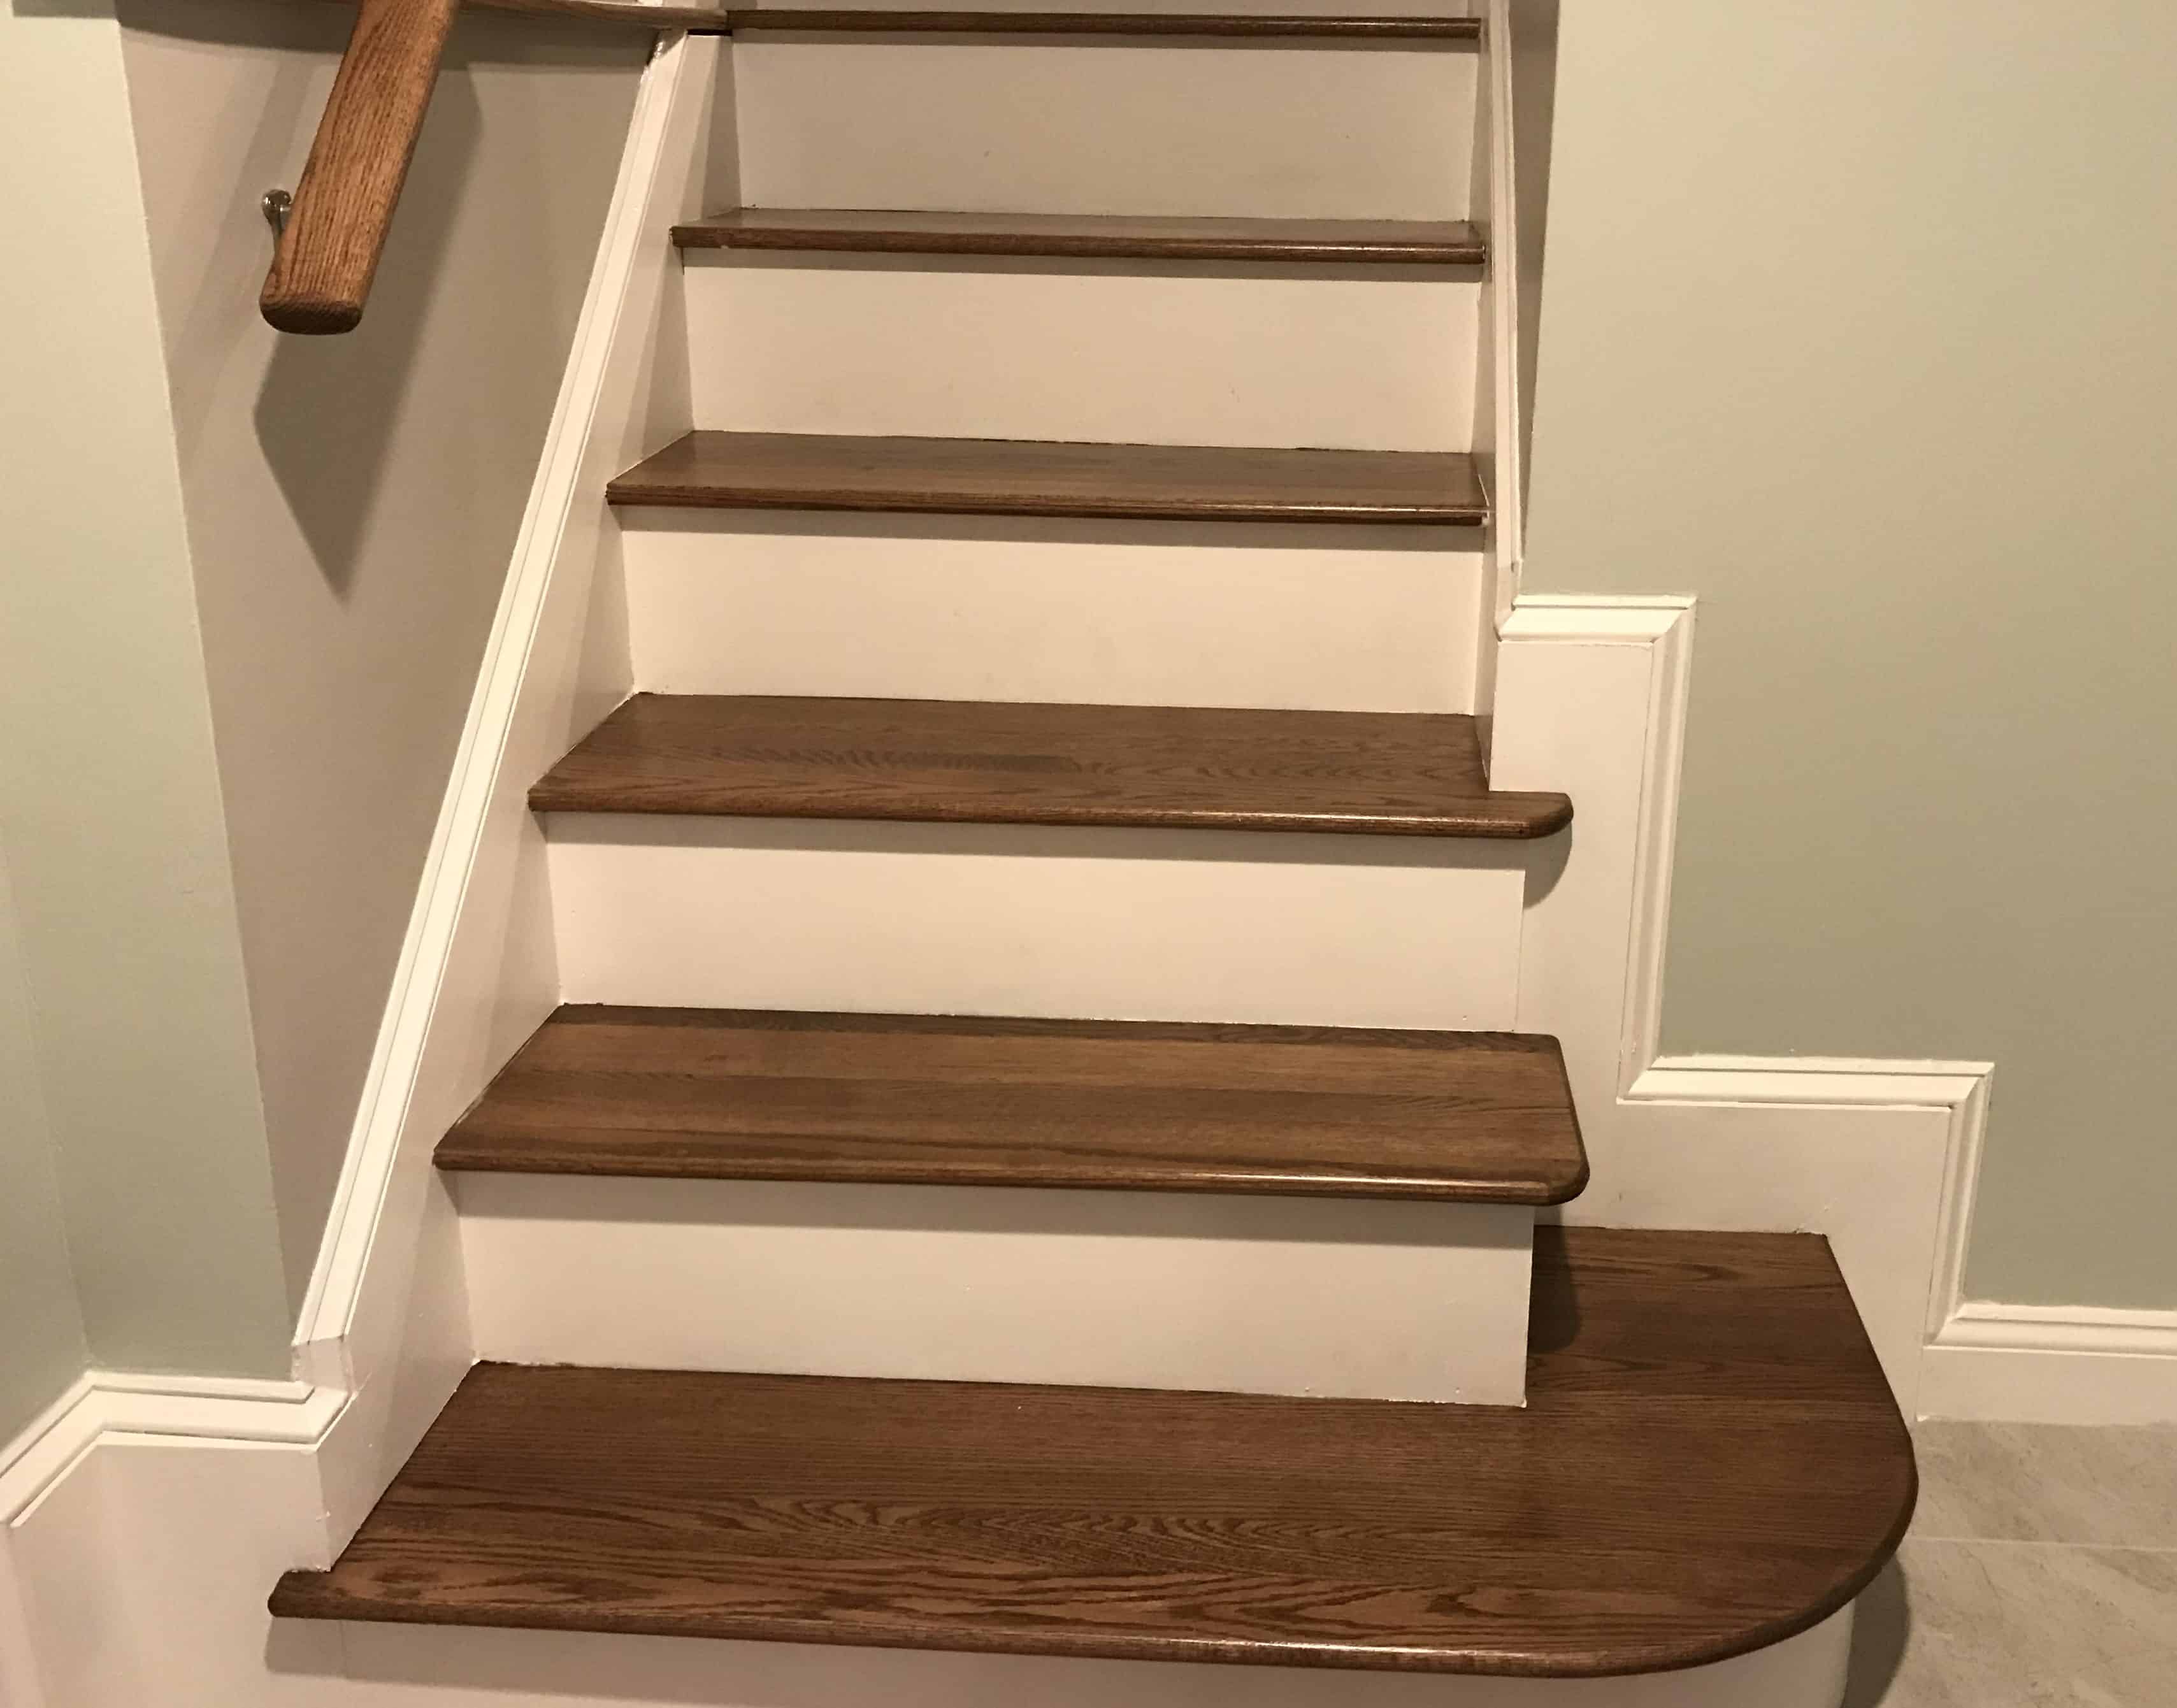
- Attach the Treads and Risers: Lastly, install the treads and risers onto the stringer, securing them with adhesive and nails or screws. Use a level to ensure that each step is even and properly aligned.
Remember to follow all safety precautions throughout the process, such as wearing protective gear and using tools properly. Take your time and double-check your measurements and cuts to ensure a precise and sturdy stringer.
With the completion of these steps, you have successfully made a stringer for stairs! Let’s wrap up this guide.
Conclusion
Congratulations! You have reached the end of this guide on how to make a stringer for stairs. By following the step-by-step instructions and using the necessary materials, you now have the knowledge and skills to create a strong and sturdy stringer for your staircase.
Remember, the stringer is a crucial component as it provides support and stability to the stairs. Pay close attention to your measurements and cuts, ensuring accuracy and precision throughout the process. Take your time and make adjustments as needed to ensure a perfect fit.
Additionally, always prioritize safety by wearing appropriate protective gear and using tools properly. Circular saws can be dangerous if mishandled, so exercise caution and follow safety guidelines to prevent accidents.
Whether you’re a DIY enthusiast or a professional builder, this guide has provided you with valuable information and tips to successfully create a stringer for stairs. Now, go ahead and put your newfound knowledge into practice!
We hope this guide has been helpful to you in your staircase-building project. Should you have any questions or need further assistance, don’t hesitate to consult with professionals or seek additional resources. Good luck, and may your staircase be a functional and beautiful addition to your space!
Now that you've got the hang of crafting a stringer for stairs, why not tackle more DIY home improvement projects? Our guide offers practical advice to transform your space with your own hands, ensuring every corner reflects your style and functionality. If woodworking piques your interest, don't miss our list of the 14 best woodworking projects for the upcoming year. These selections promise to inspire and challenge both novice and seasoned woodworkers. Ready to enhance your skills and your home? Dive into these exciting articles next!
Frequently Asked Questions about How To Make A Stringer For Stairs
Was this page helpful?
At Storables.com, we guarantee accurate and reliable information. Our content, validated by Expert Board Contributors, is crafted following stringent Editorial Policies. We're committed to providing you with well-researched, expert-backed insights for all your informational needs.


0 thoughts on “How To Make A Stringer For Stairs”