

Articles
How To Make Narrow Stairs Wider
Modified: May 6, 2024
Learn how to widen narrow stairs with these informative articles. Get expert tips and advice on making your stairs more spacious and functional.
(Many of the links in this article redirect to a specific reviewed product. Your purchase of these products through affiliate links helps to generate commission for Storables.com, at no extra cost. Learn more)
Introduction
Welcome to our comprehensive guide on how to make narrow stairs wider. If you’re faced with a tight staircase configuration that poses daily challenges, don’t worry! With the right tools, materials, and proper planning, you can transform your narrow stairs into a more spacious and functional feature in your home.
Many older homes or small living spaces often have narrow staircases that can be inconvenient to navigate. They may feel cramped, making it difficult to carry large items or allowing for limited accessibility. By widening the stairs, you can make them more user-friendly, improve safety, and enhance the overall appearance of your staircase.
Before embarking on this project, it’s important to understand that widening stairs is a complex task that may require professional assistance, depending on the complexity of your existing staircase and your DIY skills. However, if you’re experienced in home improvement projects and have the necessary tools, you can tackle this project yourself with patience and careful execution.
In this guide, we’ll outline the steps involved in widening narrow stairs, from assessing the feasibility to the finishing touches. We’ll cover everything you need to know to complete the project successfully. So, let’s dive in!
Key Takeaways:
- Widening narrow stairs requires thorough assessment, planning, and precise execution. Prioritize safety, comply with building codes, and consider professional assistance for a successful and functional staircase transformation.
- The process of widening narrow stairs involves meticulous steps, from removing existing components to adding finishing touches. Attention to detail, proper materials, and safety measures are essential for a visually appealing and safe staircase.
Assessing the Feasibility of Widening Narrow Stairs
Before you start the process of widening your narrow stairs, it’s essential to assess the feasibility of the project. This requires evaluating the existing structure and determining if it can handle the modifications required to widen the staircase. Here are the key factors to consider:
- Available Space: Measure the width of your existing staircase to determine how much space you have to work with. Ideally, you’ll need at least 36 inches of width for a comfortable stairway. If your current staircase falls short, you’ll need to evaluate if there are ways to create additional space.
- Structural Integrity: Examine the structure of your staircase to ensure it is sturdy and can support any modifications. Look for signs of wear, damage, or weakness. If you notice any issues, consult with a structural engineer or a professional carpenter to assess if the staircase can be widened without compromising its integrity.
- Building Codes: Check local building codes and regulations to ensure compliance when widening your stairs. Some jurisdictions have specific requirements regarding staircase dimensions, handrail heights, and safety features. Familiarize yourself with these codes to avoid any potential issues during the project.
- Budget and Time Constraints: Assess your budget and available time for the project. Widening narrow stairs can be a significant undertaking that may require professional help and a range of materials. Determine if you have the resources and the capacity to commit to the project from start to finish.
Based on the assessment, you can determine if widening your narrow stairs is feasible. If you encounter structural limitations or safety concerns that cannot be effectively addressed, it may be necessary to consider alternative options such as remodeling the existing staircase or exploring other creative solutions to improve accessibility.
However, if you find that widening the stairs is a viable option, proceed to the planning and preparation phase of the project. This includes creating a detailed plan, gathering the necessary tools and materials, and ensuring that you have the required skills to accomplish the task.
Planning and Preparation
Once you have determined that widening your narrow stairs is both feasible and within your capabilities, it’s time to move on to the planning and preparation stage. This phase is crucial to ensure a smooth and successful project execution. Here are the key steps to follow:
- Create a Detailed Plan: Measure the available space and determine how much wider you want to make the staircase. Consider factors such as the layout of the surrounding area and any potential obstacles that may affect the new staircase width. Sketch out a detailed plan that includes measurements and dimensions to guide you during the construction process.
- Gather the Necessary Tools and Materials: Compile a list of tools and materials you’ll need for the project. This may include a tape measure, circular saw, drill, hammer, chisel, level, safety goggles, lumber, new treads and risers, handrails, balustrades, and other hardware. Ensure that you have everything on hand before starting the construction process.
- Consider Safety Measures: Safety is paramount when working on any construction project. Make sure you have proper safety equipment, such as gloves, ear protection, and dust masks. Also, consider installing temporary barriers or signs to warn others of ongoing construction and prevent accidents.
- Obtain Permits: Check with your local building authorities to determine if you need any permits or permissions to undertake the widening of your stairs. Some regions require permits for structural modifications, and it’s crucial to comply with these regulations to avoid potential legal issues.
- Consult Professionals if Needed: If you have any doubts about your abilities or encounter structural complexities during the planning stage, don’t hesitate to consult with professionals. A structural engineer or experienced carpenter can provide valuable insights and guidance to ensure the project is carried out safely and effectively.
By taking the time to plan and prepare thoroughly, you will minimize the potential for setbacks and maximize the efficiency of the construction process. Once you have everything in place, you’re ready to move on to the next step: removing the existing staircase components.
Removing Existing Staircase Components
Now that you have completed the planning and preparation phase, it’s time to start the process of widening your narrow stairs. The first step is to remove the existing staircase components. Follow these guidelines to ensure a safe and efficient removal:
- Clear the Area: Remove any furniture, rugs, or obstacles near the stairs to create a clear workspace. This will provide ample room for maneuvering and prevent any potential damage to surrounding items.
- Work from Top to Bottom: Begin removing the staircase components from the top, starting with the handrail and balustrades. Use a screwdriver or drill to loosen and remove any screws or nails securing these elements. Be careful while working at heights and use a ladder or scaffolding for stability and safety.
- Remove Treads and Risers: After removing the handrail and balustrades, focus on the treads and risers. Start from the top step and work your way down. Use a pry bar or hammer and chisel to carefully loosen and remove the treads and risers. Take care not to damage the surrounding structure or walls.
- Inspect and Reinforce the Structure: Once all the components are removed, inspect the underlying structure for any signs of damage or weakness. Repair any issues as necessary and reinforce the structure if required to ensure it can support the widened stairs.
- Clean and Prepare the Work Area: Remove any debris or leftover materials from the stairs and surrounding area. Clean the surfaces thoroughly and prepare them for the installation of the new staircase components.
By following these steps, you will successfully remove the existing staircase components and prepare the space for the widening process. Remember to take your time and exercise caution during this phase to avoid injuries or damage to the surrounding structure. With the old components removed, you can now move on to extending the staircase structure to accommodate the widened stairs.
Extending the Staircase Structure
With the existing staircase components removed, it’s time to move on to the next step in widening your narrow stairs: extending the staircase structure. This phase involves adding additional support for the widened stairs. Follow these steps to ensure proper extension of the staircase structure:
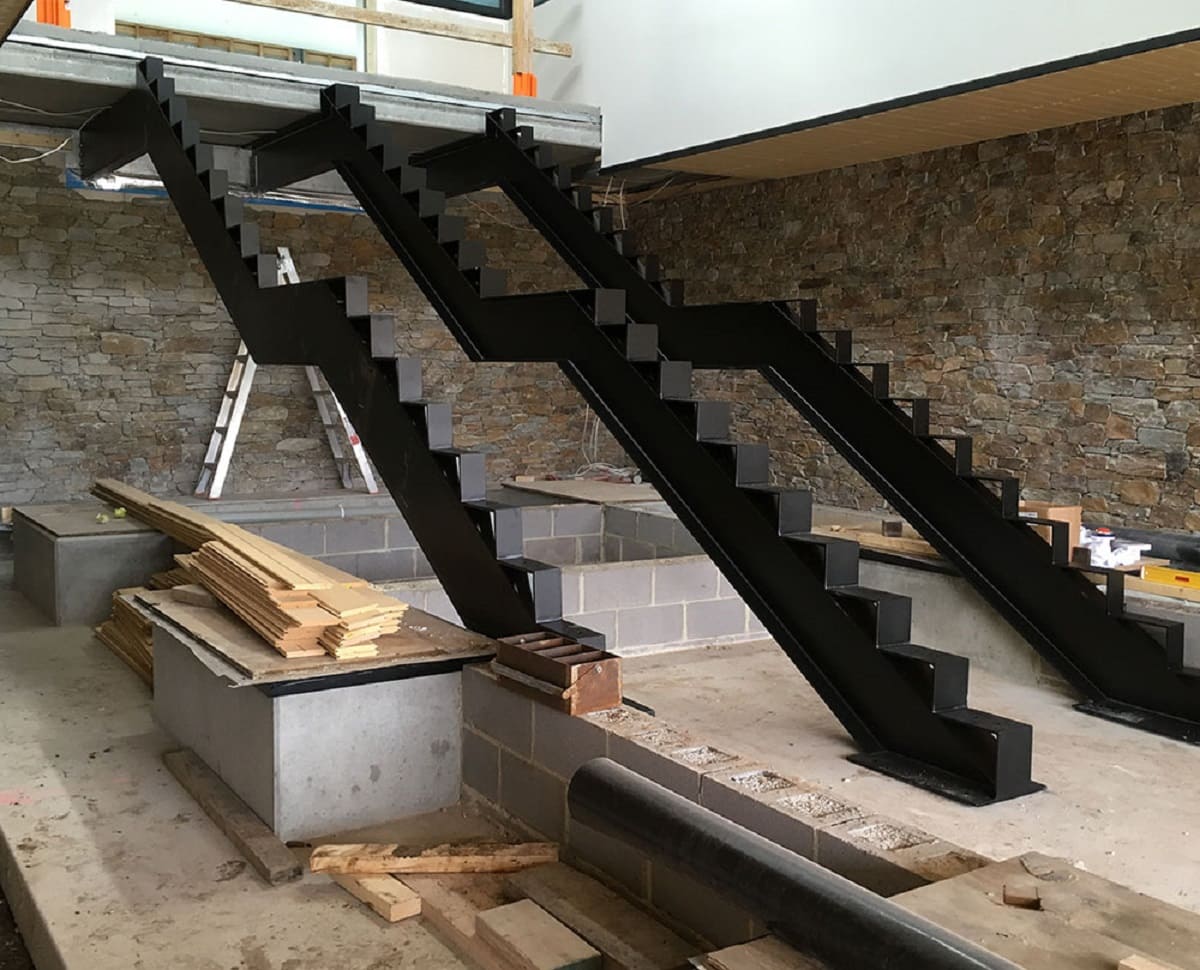
- Measure and Cut Extensions: Measure the width of the desired widened stairs and cut extensions for the stringers. These extensions will be attached to the existing stringers to accommodate the wider steps. Use a circular saw to make precise cuts, ensuring the extensions match the height and depth of the original stringers.
- Attach Extensions to Existing Stringers: Securely attach the extensions to the existing stringers using screws or nails. Make sure the extensions are aligned properly and leveled with the existing stringers. Use a level to ensure accuracy and stability.
- Install Additional Supports: To reinforce the extended structure, install additional supports, such as joists or brackets, between the extensions and the existing stringers. This will provide additional stability and prevent any sagging or shifting of the stairs over time.
- Secure the New Stair Treads and Risers: Using screws or nails, attach the new treads and risers to the extended structure. Make sure they are securely fastened and leveled. Use a level to check for any unevenness and make adjustments as necessary.
- Double-Check for Stability: Once all the components are in place, double-check the stability and structural integrity of the extended staircase. Use your weight or a heavy object to test the stability of each step. If you notice any wobbling or instability, reinforce the structure with additional supports.
It’s essential to ensure that the extended staircase structure is sturdy and capable of supporting the weight and movement of individuals using the stairs. If you are unsure about the structural integrity or need further guidance, consult with a professional carpenter or structural engineer to ensure a secure and safe outcome.
With the staircase structure extended, you can now proceed to the next step: adjusting handrails and balustrades to accommodate the wider stairs.
Consider installing a spiral staircase to maximize space or consult a professional to assess if the existing structure can be modified to widen the stairs.
Adjusting Handrails and Balustrades
Now that you have extended the staircase structure to accommodate the wider stairs, it’s important to adjust the handrails and balustrades accordingly. This step ensures that the safety and aesthetic aspects of your staircase are maintained. Follow these guidelines to properly adjust the handrails and balustrades:
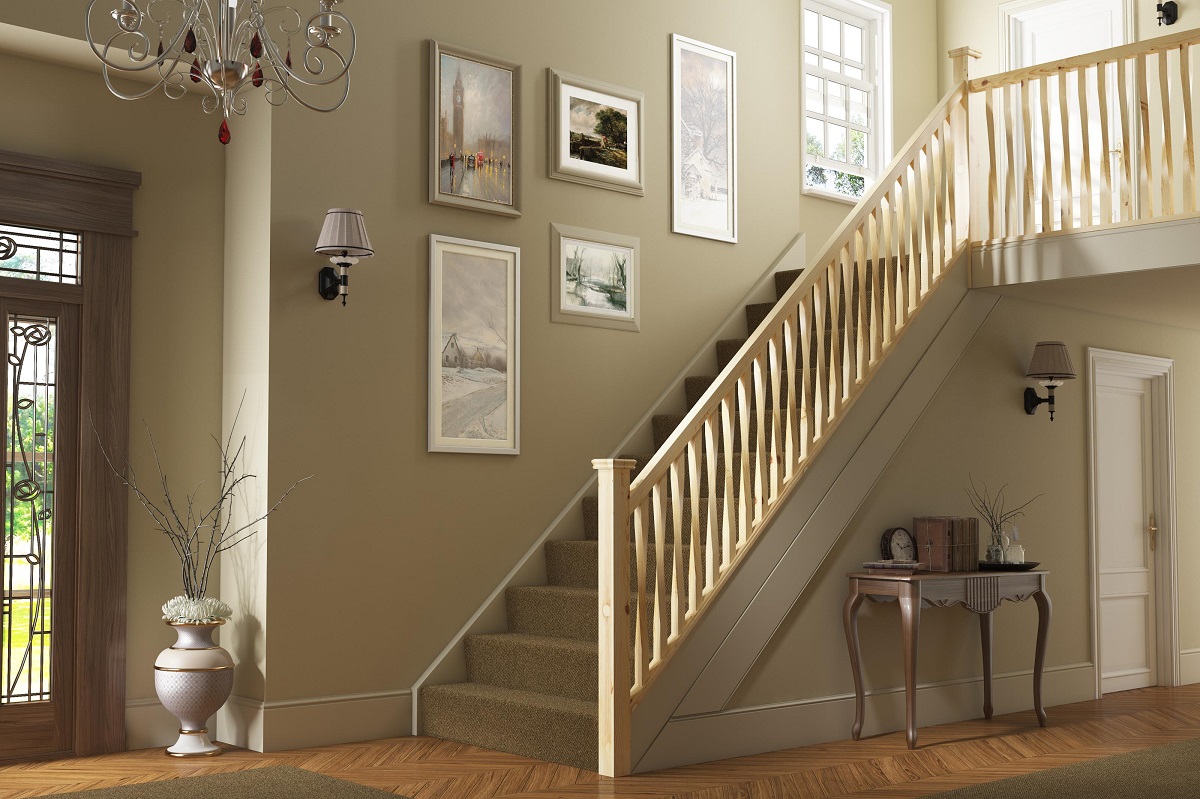
- Measure and Cut Handrails: Measure the new width of the stairs and cut the handrail to fit the extended structure. Use a saw or a suitable cutting tool to make precise cuts. Ensure that the handrail aligns with the new width of the stairs and the desired height for comfortable use.
- Attach Handrails: Securely attach the handrail to the newel posts or mounting brackets using appropriate screws. Make sure it is level and sturdy, providing a secure support while ascending or descending the stairs. Use a level to ensure accurate alignment and adjust if necessary.
- Adjust Balustrades: If your staircase has balustrades or spindles, you may need to adjust their placement. Measure the new distance between the balustrades and ensure it follows local building codes and safety standards. Make any necessary adjustments to align the balustrades with the wider stairs.
- Secure Balustrades: Secure the balustrades to the handrails and the desired height using appropriate screws or fasteners. Ensure that they are properly aligned and provide adequate safety and support while using the stairs.
- Check for Stability: Once the handrails and balustrades are adjusted, check for stability and give them a firm shake to ensure they are securely attached. Make any necessary adjustments or reinforcements as needed to ensure they can withstand constant use over time.
It’s crucial to ensure that the handrails and balustrades are properly aligned and securely attached to provide necessary support and safety while using the wider stairs. If you have any doubts or concerns about the adjustments, consult with a professional carpenter or contractor who can provide expertise and assistance.
With the handrails and balustrades properly adjusted, you can now move on to installing the new treads and risers, which will complete the widening of your narrow stairs.
Installing New Treads and Risers
Installing new treads and risers is the next crucial step in widening your narrow stairs. These components not only contribute to the visual appeal of your staircase but also provide the necessary support and functionality. Follow these steps to properly install the new treads and risers:
- Select Suitable Materials: Choose the type and material for your new treads and risers. Options include hardwood, laminate, carpet, or other suitable materials that align with your desired aesthetic and budget. Consider factors such as durability, maintenance, and slip-resistance when making your selection.
- Measure and Cut Treads and Risers: Measure the height and width of each step and cut the new treads and risers to fit perfectly. Use a saw or appropriate cutting tool to make accurate cuts, ensuring that each piece aligns with the specific step measurements.
- Dry Fit the Treads and Risers: Before permanently attaching the treads and risers, dry fit them to see how they align with the extended staircase structure and the surrounding area. Make any necessary adjustments to ensure a perfect fit and proper alignment.
- Apply Adhesive: Once you’re satisfied with the dry fit, apply a suitable adhesive to the back of each tread and riser. Follow the manufacturer’s instructions for the recommended adhesive and application method. Make sure to use enough adhesive to secure the treads and risers firmly in place.
- Attach the Treads and Risers: Carefully place each tread and riser in its designated position, pressing firmly to ensure a strong bond with the adhesive. Use a level to ensure that each step is level and adjust as needed. Allow the adhesive to dry according to the manufacturer’s instructions.
- Secure with Nails or Screws: For added stability, you may choose to secure the treads and risers with nails or screws in addition to the adhesive. This step is especially important if you’re using hardwood treads that need extra reinforcement. Use appropriate fasteners and ensure they are countersunk for a seamless finish.
By following these steps, you’ll be able to install the new treads and risers effectively. This will complete the process of widening your narrow stairs, resulting in a safer and more aesthetically pleasing staircase. Remember to take your time during installation to ensure accuracy and precision in each step.
With the new treads and risers securely in place, you’re almost finished! The last step involves adding the finishing touches and implementing safety measures to ensure your widened stairs are not only functional but also meet the necessary safety standards.
Finishing Touches and Safety Measures
As you near the completion of widening your narrow stairs, it’s important to focus on the finishing touches and implementing safety measures. These final steps will enhance the overall appearance and functionality of your staircase while prioritizing the safety of those using it. Follow these guidelines to add the finishing touches and ensure a safe staircase:
- Apply a Finish: Depending on the material you’ve chosen for your treads and risers, apply a suitable finish to protect and enhance their appearance. Whether it’s staining hardwood treads or applying a sealant to laminate or carpet, the finish will provide durability and enhance the aesthetics of your staircase.
- Install Skirting Boards: Install skirting boards along the sides of the staircase to cover any gaps and provide a clean and finished look. This will also prevent any potential tripping hazards and protect the edges of your new treads and risers.
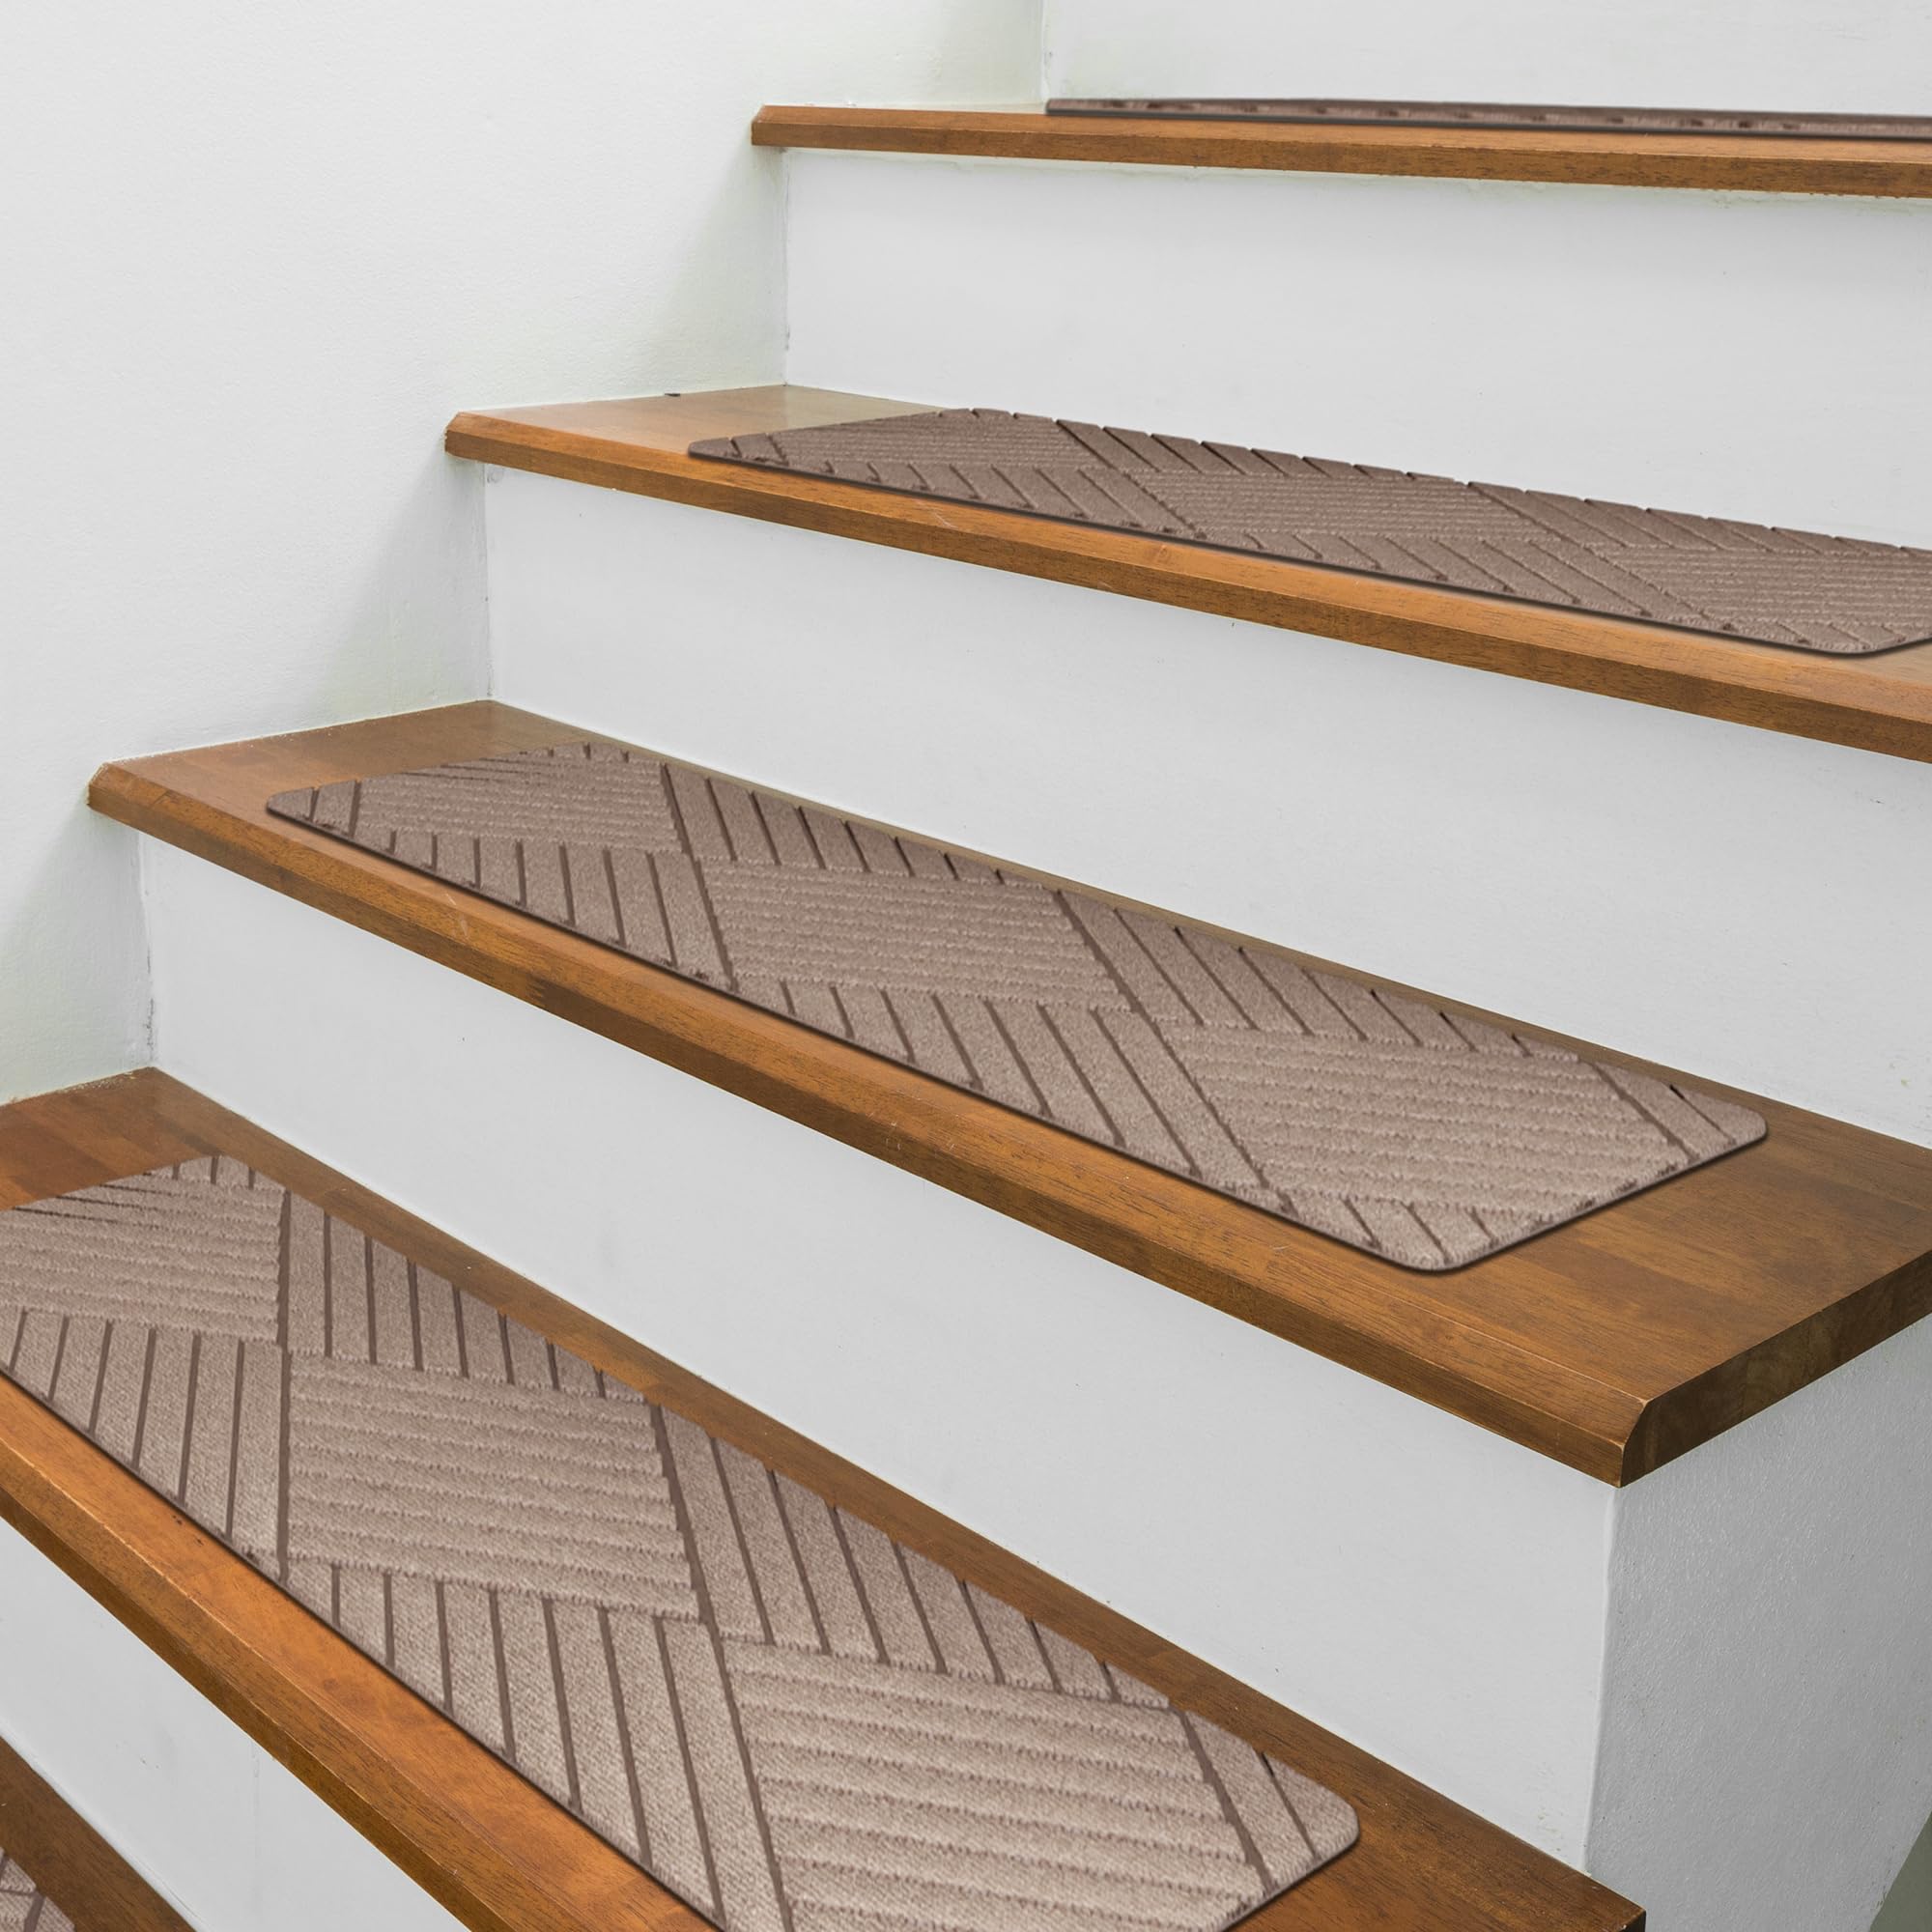
- Add Anti-Slip Tread Covers: To improve safety, consider adding anti-slip tread covers on the steps. These covers provide additional traction, minimizing the risk of slips and falls, especially in high-traffic areas. You can find various options, such as adhesive strips or rubber treads, designed for this purpose.
- Ensure Adequate Lighting: Good lighting is essential for safe navigation on the stairs. Install sufficient lighting along the staircase to ensure visibility, especially in dimly lit areas or at night. Consider using LED lighting or motion-sensor lights for energy efficiency and convenience.
- Verify Balustrade Height and Stability: Double-check that the height of your balustrade meets local building codes and safety regulations. Ensure that it is properly secured, stable, and provides adequate support. Make any necessary adjustments or reinforcements to ensure the balustrade is safe and reliable.
- Check Handrail Security: Ensure that the handrail is securely attached and offers a firm grip. Check for any loose screws or fasteners and tighten them if needed. A secure and sturdy handrail is essential for maintaining balance and providing support while using the stairs.
By focusing on these finishing touches and safety measures, you will achieve a visually appealing and safe staircase. Remember to regularly inspect and maintain your widened stairs to address any issues promptly and ensure their long-term durability and safety.
Congratulations! You have successfully widened your narrow stairs, improving accessibility and functionality in your home. Enjoy the benefits of your newly enhanced staircase.
Disclaimer: This guide provides general information and suggestions for widening narrow stairs. However, it is important to consult with professionals and follow local building codes and regulations for specific requirements and safety guidelines.
Conclusion
Congratulations on completing your journey of widening narrow stairs! This comprehensive guide has provided you with the necessary steps and considerations to transform your cramped staircase into a more spacious and functional feature in your home.
By assessing the feasibility, planning and preparing diligently, removing existing components, extending the staircase structure, adjusting handrails and balustrades, installing new treads and risers, and adding the finishing touches and safety measures, you have successfully widened your stairs. This valuable home improvement project has not only improved the accessibility and functionality of your staircase but also enhanced the overall aesthetics of your home.
Throughout the process, it’s important to prioritize safety and ensure compliance with local building codes and regulations. If you encounter any doubts or complexities during the widening project, don’t hesitate to seek guidance from professionals in the field, such as structural engineers or experienced carpenters.
Remember, widening narrow stairs can be a challenging undertaking and may require specific skills and tools. If at any point you feel uncomfortable or uncertain, it’s best to enlist the help of professionals to ensure a safe and successful outcome.
Now that your widened stairs are complete, take the time to admire and appreciate your hard work. Your efforts have transformed a previously cramped and inconvenient space into a functional and aesthetically pleasing staircase.
Enjoy the benefits of your widened stairs, whether it’s the ability to easily carry items up and down, improved accessibility for everyone in your household, or simply the satisfaction of a well-executed home improvement project.
Remember to regularly inspect and maintain your widened stairs to address any issues that may arise and to ensure their long-term durability and safety.
Thank you for joining us on this journey of widening narrow stairs. We hope that this guide has been informative and helpful in your home improvement endeavors. Enjoy your wider and more inviting staircase!
After mastering the art of expanding narrow stairs, why stop there in enhancing your home? Dive into our guide on selecting home renovation essentials with "10 Best Hardwood Floors for Home Renovation." Ready for more hands-on work? Don't miss out on practical ways to tackle DIY home projects on your own. Both articles offer valuable insights and step-by-step methods to bring your home improvement dreams to life!
Frequently Asked Questions about How To Make Narrow Stairs Wider
Was this page helpful?
At Storables.com, we guarantee accurate and reliable information. Our content, validated by Expert Board Contributors, is crafted following stringent Editorial Policies. We're committed to providing you with well-researched, expert-backed insights for all your informational needs.






0 thoughts on “How To Make Narrow Stairs Wider”