Articles
How To Build A Dog Ramp Over Stairs
Modified: August 17, 2024
Learn how to build a dog ramp over stairs with our informative and detailed articles. Ensure your furry friend's safety and mobility today.
(Many of the links in this article redirect to a specific reviewed product. Your purchase of these products through affiliate links helps to generate commission for Storables.com, at no extra cost. Learn more)
Introduction
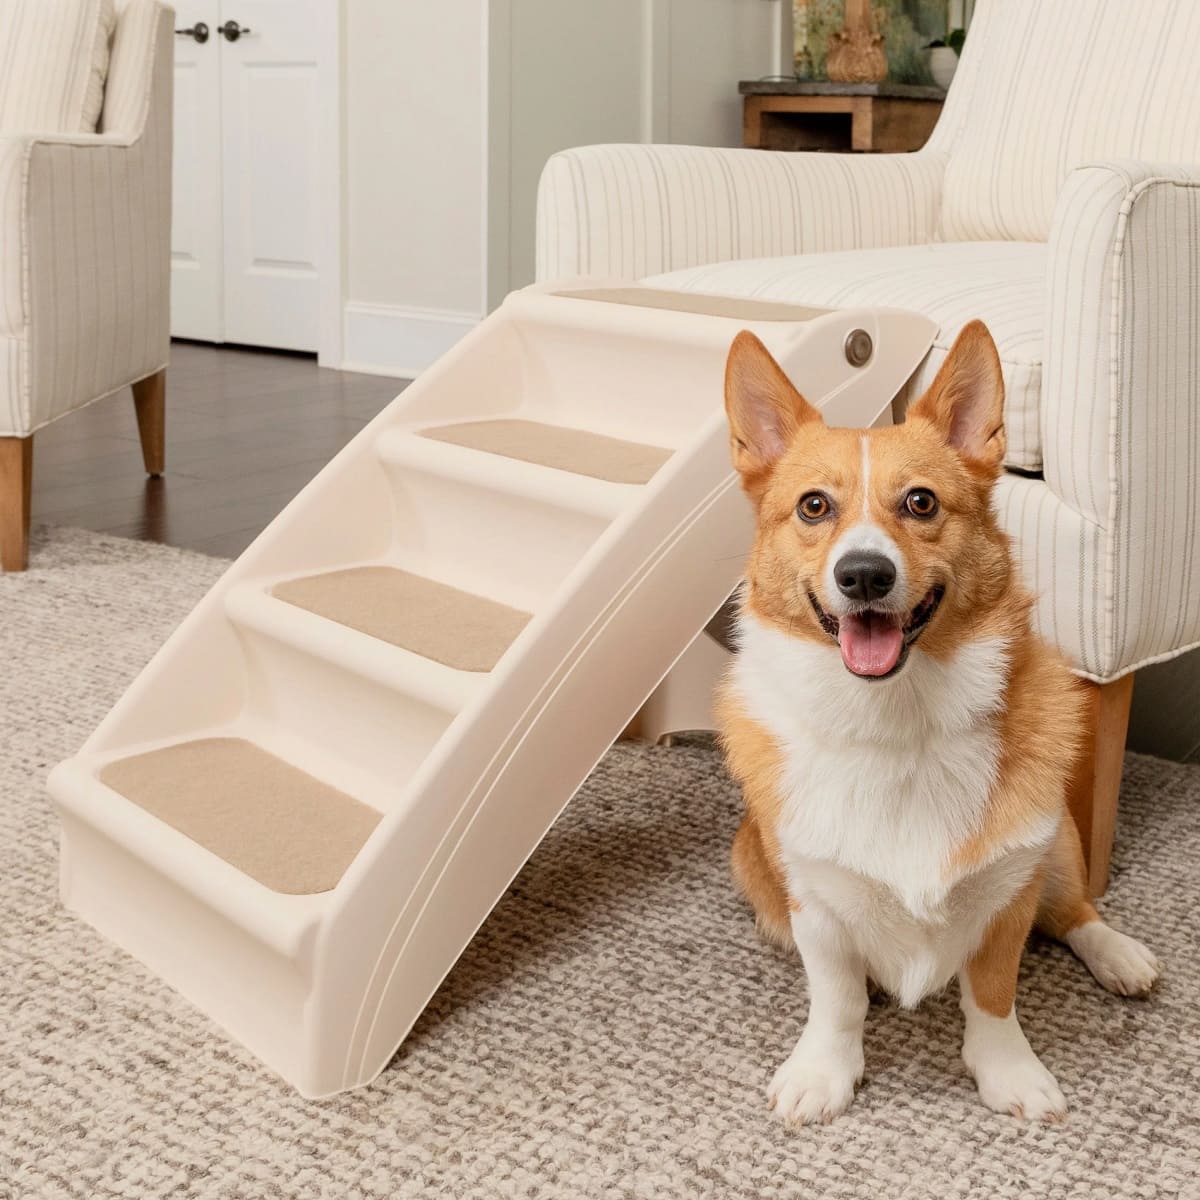
Having a dog that struggles with stairs can be a challenge. Whether it’s due to age, mobility issues, or simply fear, navigating stairs can become a daunting task for our furry friends. Fortunately, building a dog ramp over stairs can provide a safe and convenient solution.
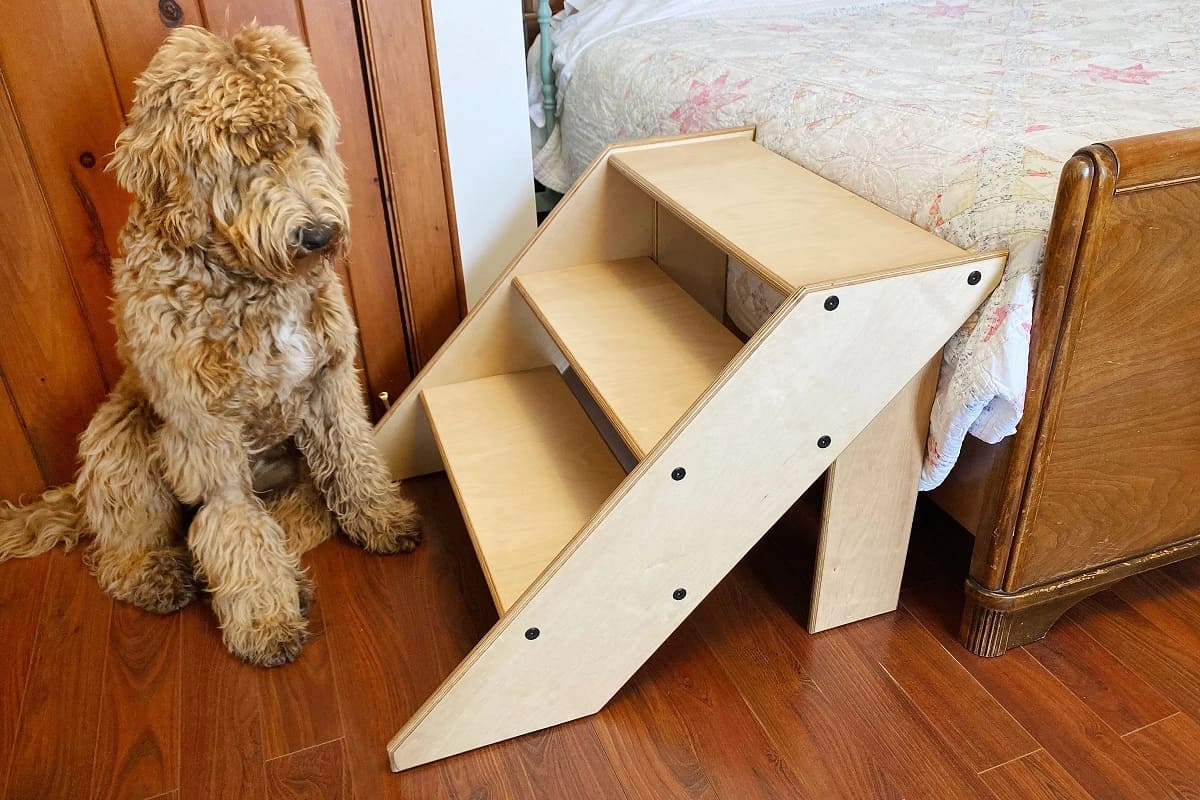
A dog ramp provides an inclined surface that allows your canine companion to easily walk up and down stairs without putting strain on their joints or risking injury. Not only does it make their life easier, but it also gives you peace of mind knowing that your dog can comfortably move between different levels of your home.
In this article, we will guide you through the step-by-step process of building a dog ramp over stairs. Whether you have basic DIY skills or are new to construction projects, following our instructions will enable you to create a reliable and sturdy ramp that suits your dog’s needs.
Before we dive into the details, it’s essential to gather the necessary materials and tools. Here’s a list of what you’ll need:
- Measuring tape
- Plywood (1/2-inch thickness)
- 2×4 lumber boards
- Wood screws
- Drill
- Saw (circular or jigsaw)
- Sandpaper
- Non-slip surface (such as carpet or rubber mat)
- Paint or stain (optional)
Once you have all the necessary materials, we can move on to the first step: measuring and gathering materials.
Key Takeaways:
- Building a dog ramp over stairs provides a safe and convenient solution for dogs struggling with mobility issues, age, or fear of stairs. It enhances their independence and reduces the risk of injuries.
- By following the step-by-step instructions and taking the time to build a sturdy and reliable dog ramp, you can provide your furry friend with increased mobility and comfort while minimizing strain on their joints.
Read more: How To Build A Ramp Over Stairs
Step 1: Measure and Gather Materials
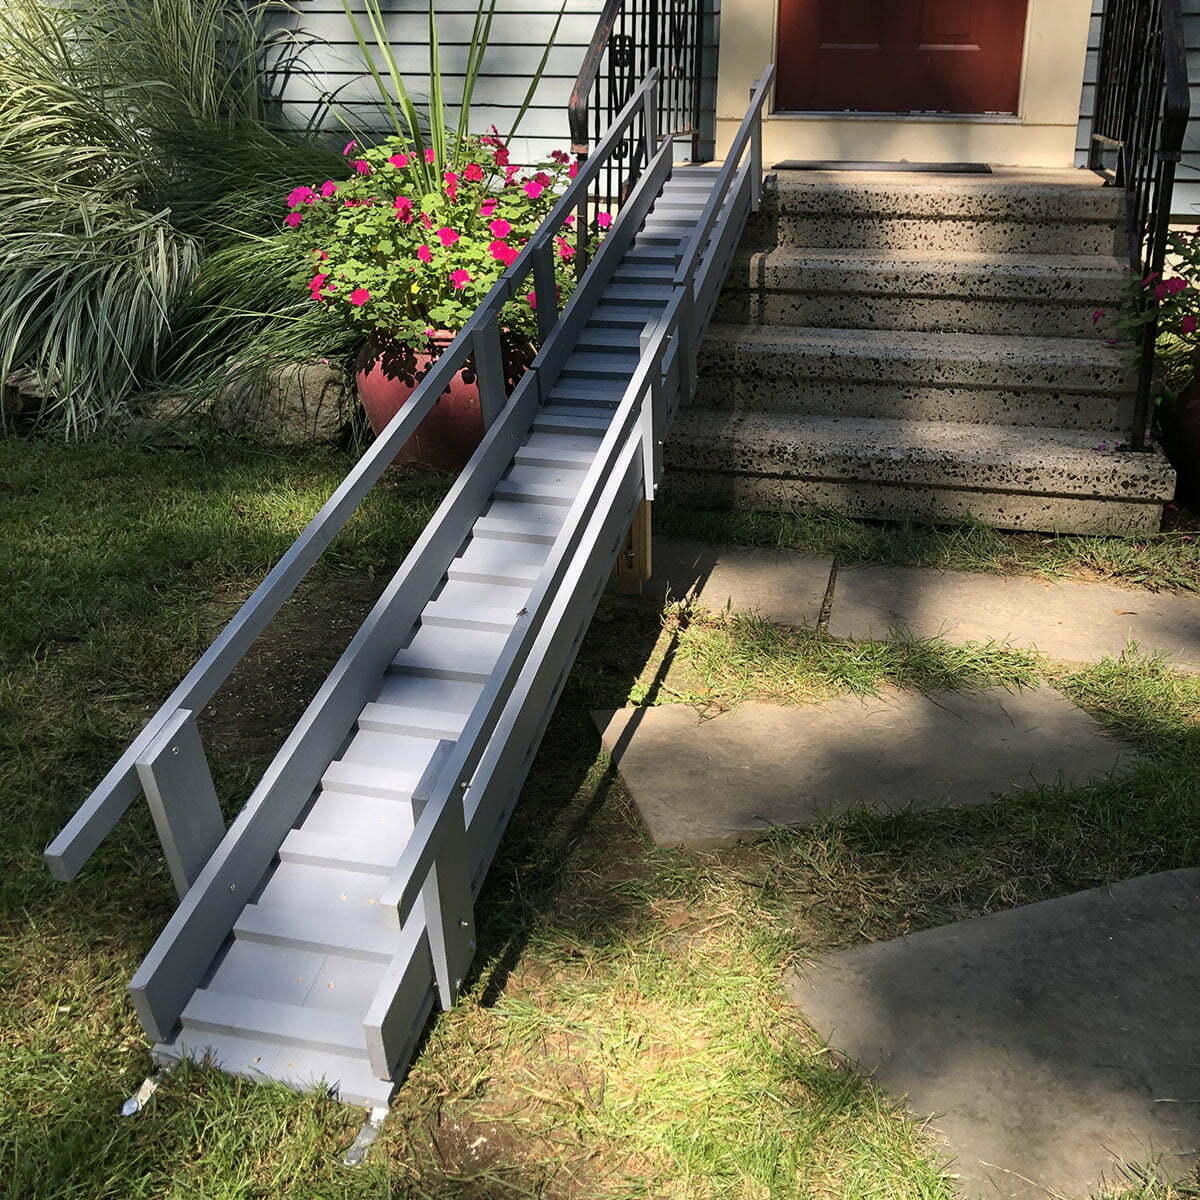
The first step in building a dog ramp over stairs is to accurately measure the space where the ramp will be installed. Start by measuring the height of the stairs and the distance from the top of the stairs to the ground. These measurements will help determine the appropriate angle and length of the ramp.
Next, gather all the necessary materials listed in the introduction. Ensure that you have the correct size of plywood and lumber boards to match the measurements of your stairs. It’s important to choose sturdy materials that can support your dog’s weight and withstand regular use.
Additionally, consider whether you want to paint or stain the ramp. While this step is optional, it can add a touch of style and protection to your ramp. If you decide to proceed with painting or staining, make sure you have the appropriate supplies on hand.
Once you have all the materials gathered, it’s time to move on to the next step: cutting and assembling the base.
Step 2: Cut and Assemble the Base
Now that you have your materials ready, it’s time to cut and assemble the base of the dog ramp. The base will provide stability and support for the ramp structure.
Start by measuring and marking the dimensions of the base on the plywood. Use a saw, such as a circular saw or jigsaw, to carefully cut the plywood according to your measurements. Make sure to follow safety precautions and wear protective eyewear while cutting.
Next, cut the 2×4 lumber boards to the desired length for the sides of the base. These boards will serve as the frame for the ramp. The length will depend on the measurements of your stairs and the desired angle of the ramp.
To assemble the base, lay the cut plywood on a flat surface and position the 2×4 boards along the edges. Use wood screws to secure the boards to the plywood, ensuring a sturdy connection. It’s recommended to place screws at regular intervals along the boards to provide additional support.
Once the base is securely assembled, you can move on to the next step: building the ramp frame.
Step 3: Build the Ramp Frame
Building the ramp frame is an important step in creating a stable and secure dog ramp. The frame will provide the structure for attaching the ramp surface and ensuring the ramp can support your dog’s weight.
Start by measuring and cutting additional 2×4 lumber boards to create the support beams for the ramp frame. These beams should be cut to match the length and width of the base. The number of support beams will depend on the size and weight of your dog, as well as the dimensions of the ramp.
Once the support beams are cut, position them along the length of the ramp base. Make sure they are evenly spaced and aligned with the edges of the base. Use wood screws to attach the support beams securely to the base.
Next, it’s time to add additional cross beams for added stability. Measure and cut shorter pieces of 2×4 lumber to fit between the support beams. These cross beams should be evenly spaced along the length of the ramp frame. Attach them to the support beams with wood screws.
Double-check that the ramp frame is sturdy and level. Make any necessary adjustments before moving on to the next step.
With the ramp frame complete, you can now proceed to the next step: attaching the ramp surface.
When building a dog ramp over stairs, make sure to use non-slip materials on the ramp surface to prevent your dog from slipping and falling. This will provide a safe and secure way for your dog to navigate the stairs.
Step 4: Attach the Ramp Surface
Attaching the ramp surface is a crucial step in the construction of your dog ramp. This surface will provide traction and stability for your furry friend as they navigate up and down the ramp.
Start by measuring and cutting a piece of plywood to fit the dimensions of the ramp frame. Make sure it covers the entire length and width of the frame, leaving no gaps or overhangs. Sand the edges of the plywood to ensure a smooth surface.
Once the plywood is prepared, position it on top of the ramp frame. Ensure it is centered and aligned with the edges of the frame. Use wood screws to secure the plywood to the frame, making sure to place screws at regular intervals along the edges and center of the ramp.
After attaching the plywood, it’s time to add a non-slip surface to provide traction for your dog. Options include adhesive-backed carpet or a rubber mat. Measure and cut the chosen material to fit the dimensions of the ramp surface. Secure it in place with staples, adhesive, or screws, depending on the type of surface you’re using.
Test the ramp surface to ensure it is secure and provides adequate grip. Make any needed adjustments before moving on to the final step: adding traction and finishing touches.
Read more: How To Build A Ramp For A Deck
Step 5: Add Traction and Finishing Touches
Adding traction and applying finishing touches to your dog ramp will not only enhance its functionality but also improve its overall appearance.
To improve traction, you can consider adding traction strips or adhesive grip tape to the ramp surface. These textured surfaces will provide additional grip and stability for your dog as they use the ramp. Make sure to apply the traction strips or grip tape evenly along the ramp, focusing on the areas where your dog’s paws will make contact.
Once you have added traction, you may choose to apply a protective coat of paint or stain to the entire ramp. This step is optional but can help to protect the wood from wear and tear and add a visually appealing finish. Select a pet-safe paint or stain and carefully apply it according to the manufacturer’s instructions.
Lastly, take a moment to inspect the ramp for any sharp edges or rough surfaces that could potentially harm your furry friend. Sand down any rough spots and ensure that all edges are smooth and safe.
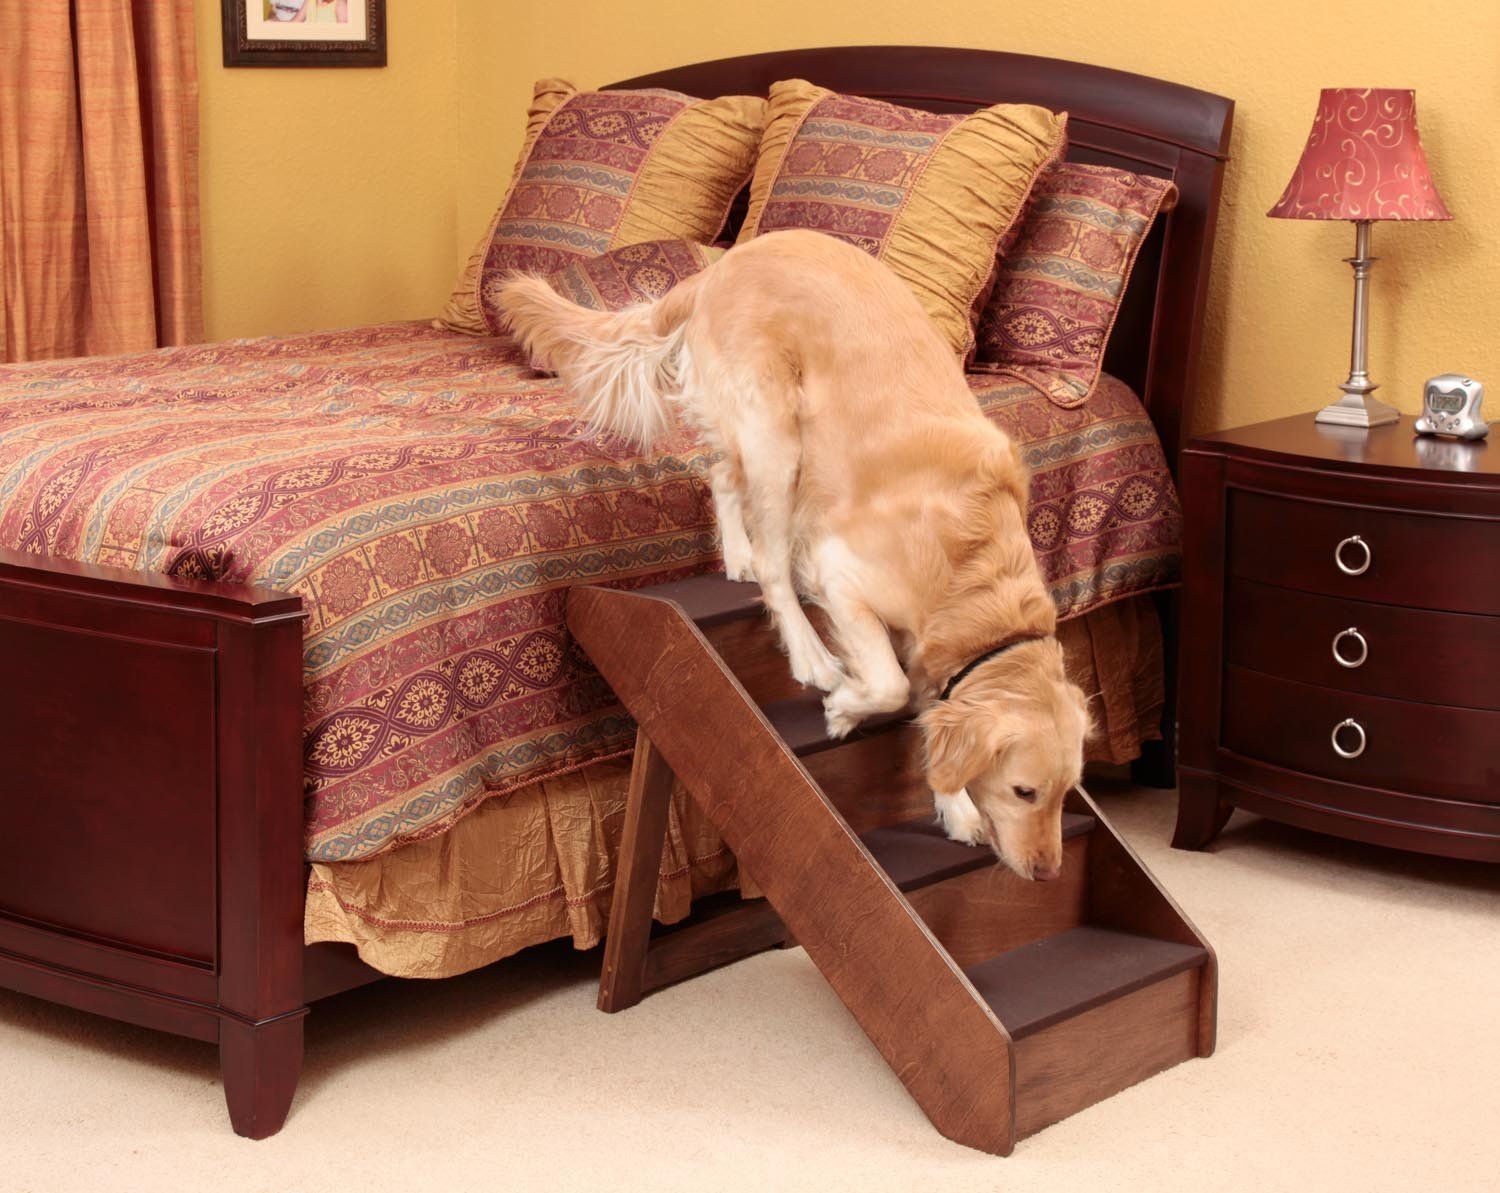
With the traction applied and finishing touches complete, your dog ramp over stairs is now ready to be used. Give your dog some time to become familiar with the ramp by encouraging and rewarding them as they use it. Gradually increase their confidence by practicing regularly until they can confidently navigate the stairs with ease.
Remember to regularly inspect and maintain the ramp to ensure its stability and safety for your beloved pet. Making any necessary repairs or adjustments will prolong the life and usability of the ramp.
By following these steps and putting in a little bit of time and effort, you can provide a safe and convenient way for your dog to navigate the stairs. Your dog will appreciate the added mobility and comfort, and you will have peace of mind knowing that they can move freely between different levels of your home.
Now that you have the knowledge to build a dog ramp over stairs, it’s time to get started on this rewarding DIY project!
Conclusion
Building a dog ramp over stairs can be a game-changer for both you and your furry friend. It provides a safe and convenient solution for dogs who struggle with stairs due to age, mobility issues, or fear. By following the step-by-step instructions outlined in this article, you can create a reliable and sturdy dog ramp that suits your dog’s needs.
Throughout the construction process, it’s important to keep in mind the measurements, materials, and safety precautions. Accurately measuring the space and gathering the necessary materials will ensure a precise and functional ramp. Choosing sturdy materials and taking the time to assemble the base and frame properly will result in a stable and secure ramp structure.
Attaching the ramp surface and adding traction is essential for the safety of your dog. The surface should provide grip and stability to prevent slipping while your dog uses the ramp. Applying finishing touches, such as a protective coat of paint or stain, not only enhances the ramp’s appearance but also protects it from wear and tear.
By taking the time to build a dog ramp over stairs, you are providing your furry friend with increased mobility and independence. It allows them to navigate between different levels of your home with ease, reducing the strain on their joints and minimizing the risk of injuries.
Remember to familiarize your dog with the ramp gradually, encouraging and rewarding them during the training process. Regular maintenance and inspections will ensure the ramp remains in good condition and safe for your dog to use over the long term.
Now that you have the knowledge and guidance to build your own dog ramp, it’s time to roll up your sleeves and embark on this rewarding DIY project. Your dog will thank you for it, and you’ll be rewarded with the joy of watching your furry companion confidently conquer the stairs!
Frequently Asked Questions about How To Build A Dog Ramp Over Stairs
Was this page helpful?
At Storables.com, we guarantee accurate and reliable information. Our content, validated by Expert Board Contributors, is crafted following stringent Editorial Policies. We're committed to providing you with well-researched, expert-backed insights for all your informational needs.


0 thoughts on “How To Build A Dog Ramp Over Stairs”