Articles
How To Make Handrails For Stairs
Modified: October 20, 2024
Learn how to make handrails for stairs with our informative articles. Get step-by-step instructions and expert tips for a safe and stylish staircase.
(Many of the links in this article redirect to a specific reviewed product. Your purchase of these products through affiliate links helps to generate commission for Storables.com, at no extra cost. Learn more)
Introduction
Handrails play a vital role in providing safety and support on staircases. Whether you are looking to replace an existing handrail or install a new one, this comprehensive guide will walk you through the steps of making handrails for stairs. Not only will you ensure the safety of yourself and your loved ones, but you will also add a touch of style and elegance to your home.
Making handrails for stairs may seem like a daunting task, but with the right materials, tools, and a little bit of guidance, you can easily create a sturdy and visually appealing handrail. This project can be completed by both experienced DIY enthusiasts and beginners looking to enhance their woodworking skills.
In this article, we will cover everything you need to know about making handrails for stairs. From understanding the materials needed to step-by-step instructions for installation, you will gain the knowledge and confidence to tackle this project.
Key Takeaways:
- Crafting handrails for stairs involves meticulous planning, material selection, precise measurements, and careful installation. By following the steps outlined in this guide, you can create a sturdy, visually appealing, and functional handrail that enhances both safety and style in your home.
- From choosing the right handrail style and material to preparing, cutting, shaping, and finishing the handrail, this comprehensive guide equips you with the knowledge and skills to confidently undertake the project. Regular maintenance and adherence to safety guidelines will ensure the longevity and effectiveness of your handrail.
Read more: When Are Handrails Required On Stairs
Materials Needed
Before you begin making handrails for stairs, it’s important to gather all the necessary materials. Having everything you need on hand will make the process smoother and more efficient. Here are the materials you will need:
- Handrail material (such as wood, metal, or PVC)
- Handrail brackets
- Wood screws
- Drill and driver bits
- Saw (circular saw or miter saw)
- Sandpaper or sanding block
- Hammer
- Measuring tape
- Pencil
- Level
- Stud finder
- Wood glue
- Finishing materials (such as stain, paint, or varnish)
The type and quantity of materials you need will depend on the size and design of your handrail, as well as your personal preferences. Ensure that the handrail material is suitable for the specific requirements of your stairs, such as weight-bearing capacity.
It’s also important to choose quality materials that are durable and will withstand regular use. Opt for handrail brackets that are sturdy and can securely hold the handrail in place.
Once you have gathered all the necessary materials, you will be ready to move on to the next steps of measuring, planning, and selecting the style and material of your handrail.
Step 1: Measuring and Planning
Before you start making the handrail, it’s crucial to accurately measure your staircase to ensure a precise fit. Here are the steps to follow:
- Measure the length of the staircase: Use a measuring tape to determine the overall length of the staircase where the handrail will be installed. Take into account any corners or angles.
- Measure the height: Measure the vertical distance from the bottom of the first step to the top of the last step. This will determine the height of your handrail.
- Determine the position: Decide on the position of the handrail, whether it will be attached to the wall or installed on the balusters.
- Locate studs: If you plan to mount the handrail to the wall, use a stud finder to locate the wall studs. These will provide the necessary support for the handrail.
- Consider the building codes: Check with your local building codes to ensure compliance with the height and spacing requirements for handrails.
Once you have taken all the necessary measurements and planned the position of the handrail, you will have a solid foundation to proceed with the next steps. Accurate measurements are crucial to ensure a proper fit and a secure handrail that meets safety standards.
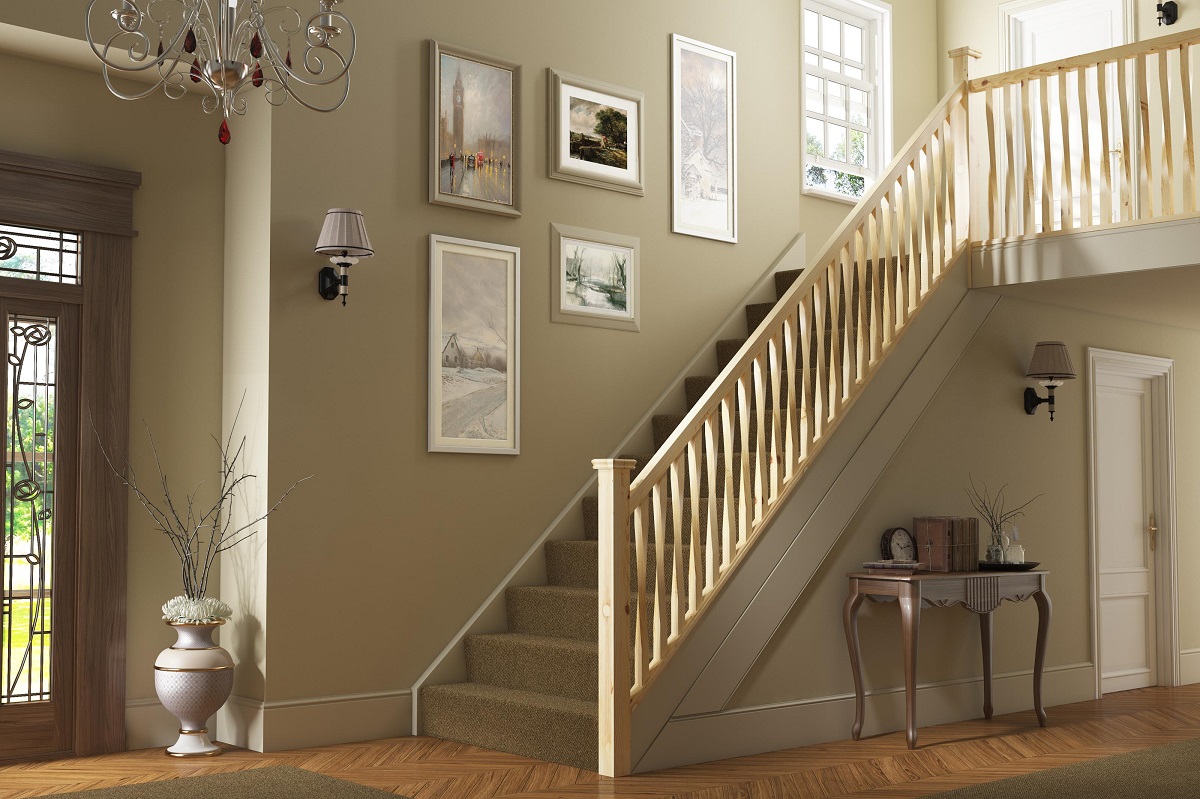
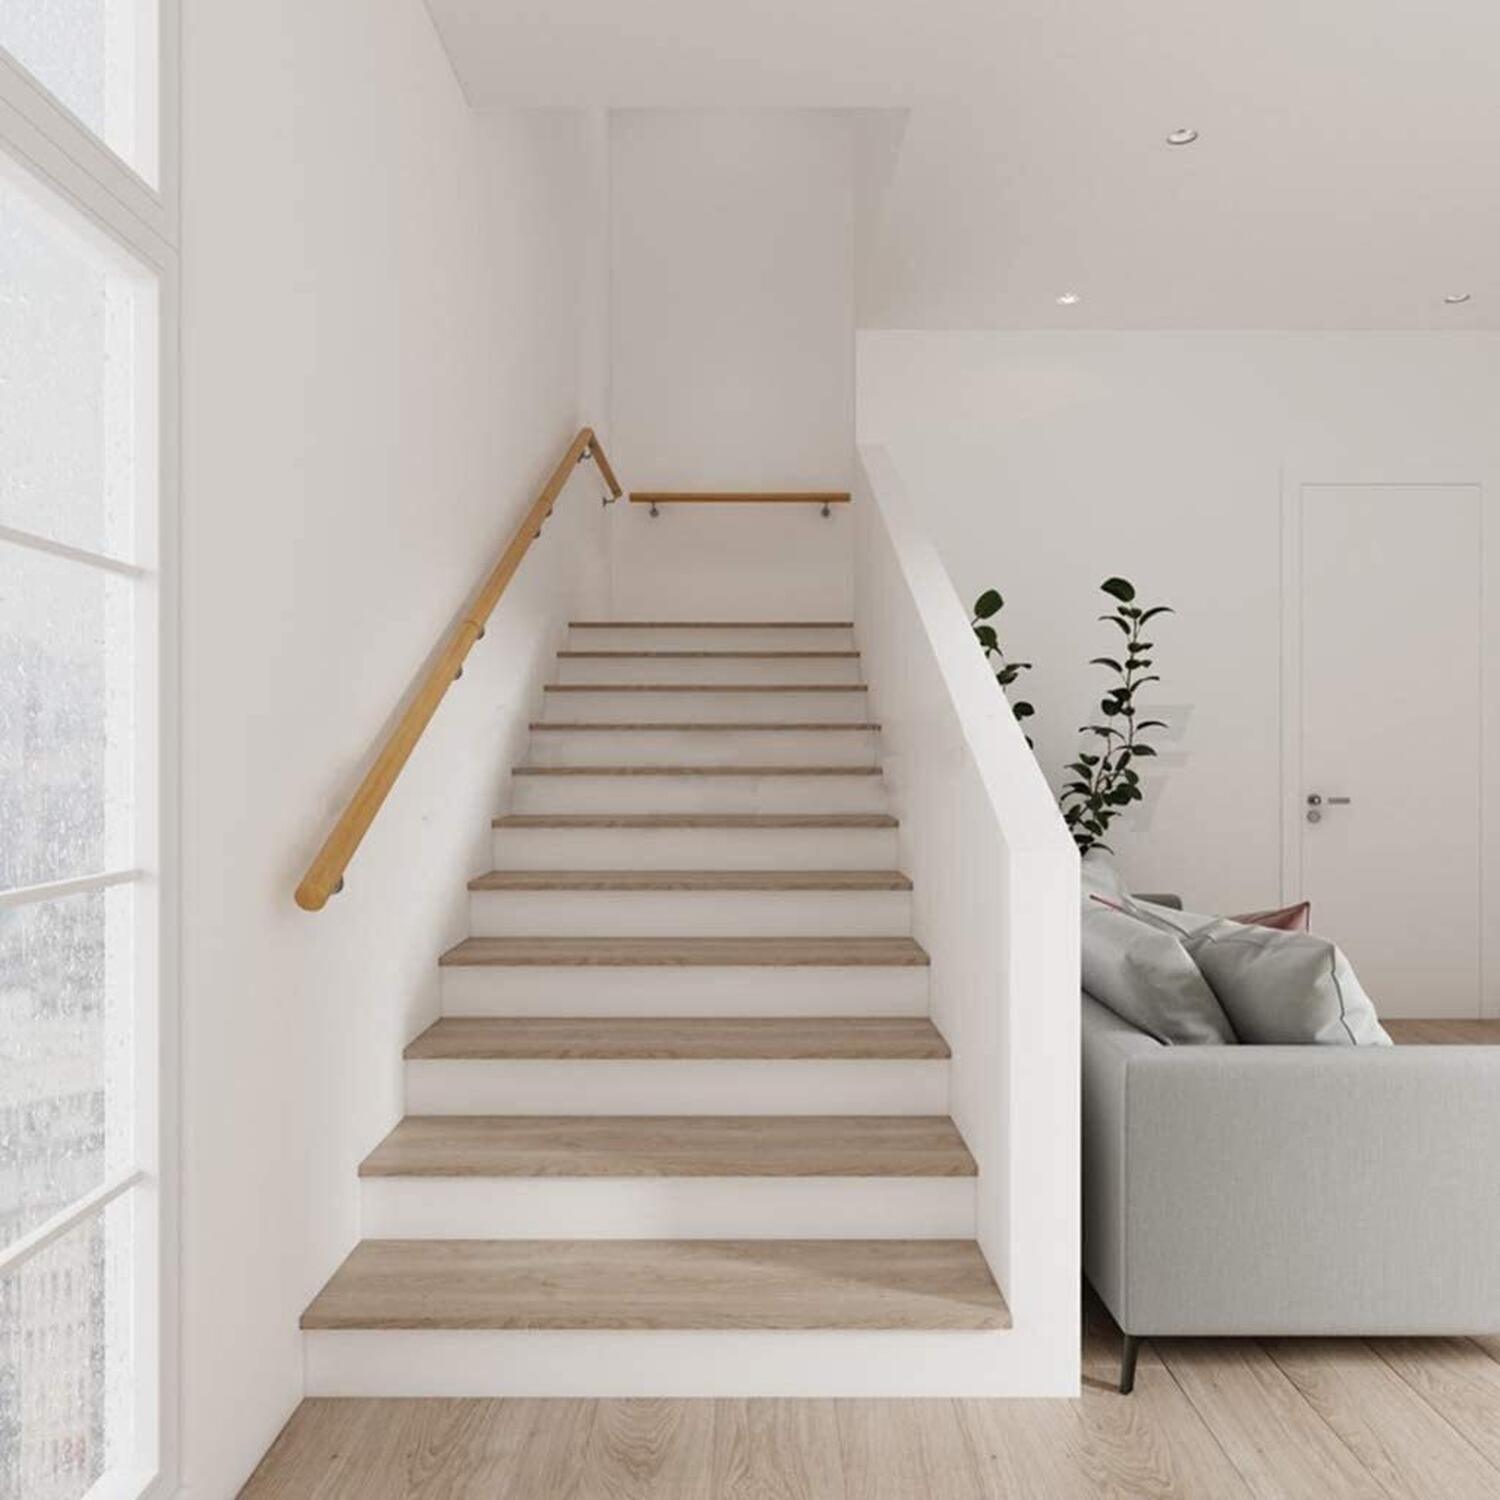
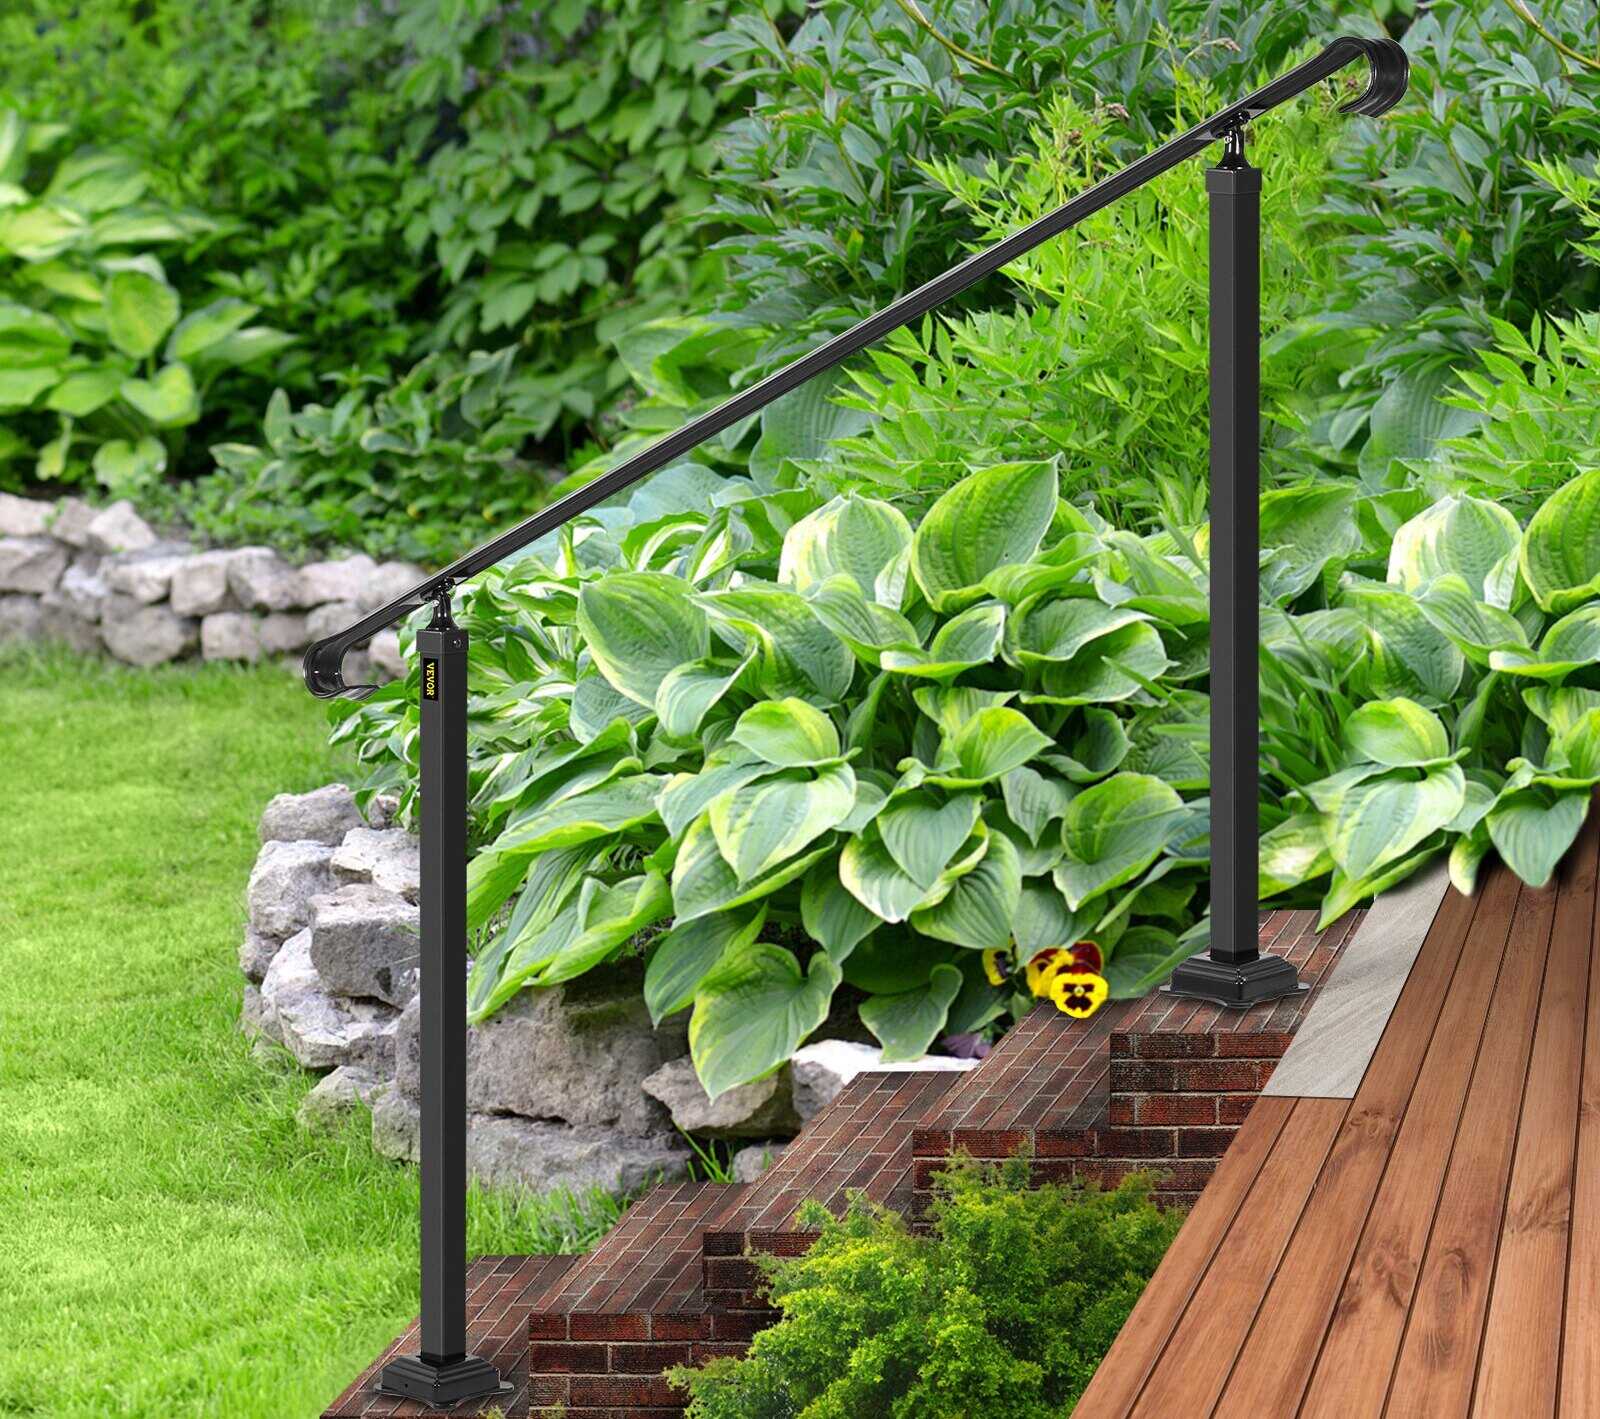
Step 2: Choosing the Handrail Style
Choosing the right style for your handrail is an essential step in creating a cohesive and visually pleasing staircase. The handrail style should complement the overall design aesthetic of your home. Here are some popular handrail styles to consider:
- Traditional: A traditional handrail features smooth, curved lines and is often made from wood. This style exudes elegance and is a timeless choice.
- Contemporary: For a more modern look, consider a contemporary handrail style. This could involve using metal materials or incorporating sleek and minimalist designs.
- Rustic: If you prefer a more rustic or farmhouse-inspired look, a handrail made from reclaimed wood or featuring natural textures could be the perfect choice.
- Industrial: An industrial-style handrail often incorporates metal materials, exposed hardware, and a raw, unfinished look.
- Custom: If you have a specific vision in mind or want to create a unique handrail design, opting for a custom-made handrail allows you to tailor it to your preferences.
Consider the existing decor and style of your home, as well as your personal taste, when selecting the handrail style. Remember that the handrail should harmonize with the overall theme of your staircase and not clash with the surrounding elements.
Once you have chosen the handrail style, you will be ready to move on to the next step of selecting the material for your handrail.
Step 3: Selecting the Handrail Material
Choosing the right material for your handrail is crucial for both its aesthetics and durability. There are various materials to consider, each with its own unique characteristics. Here are some common handrail materials:
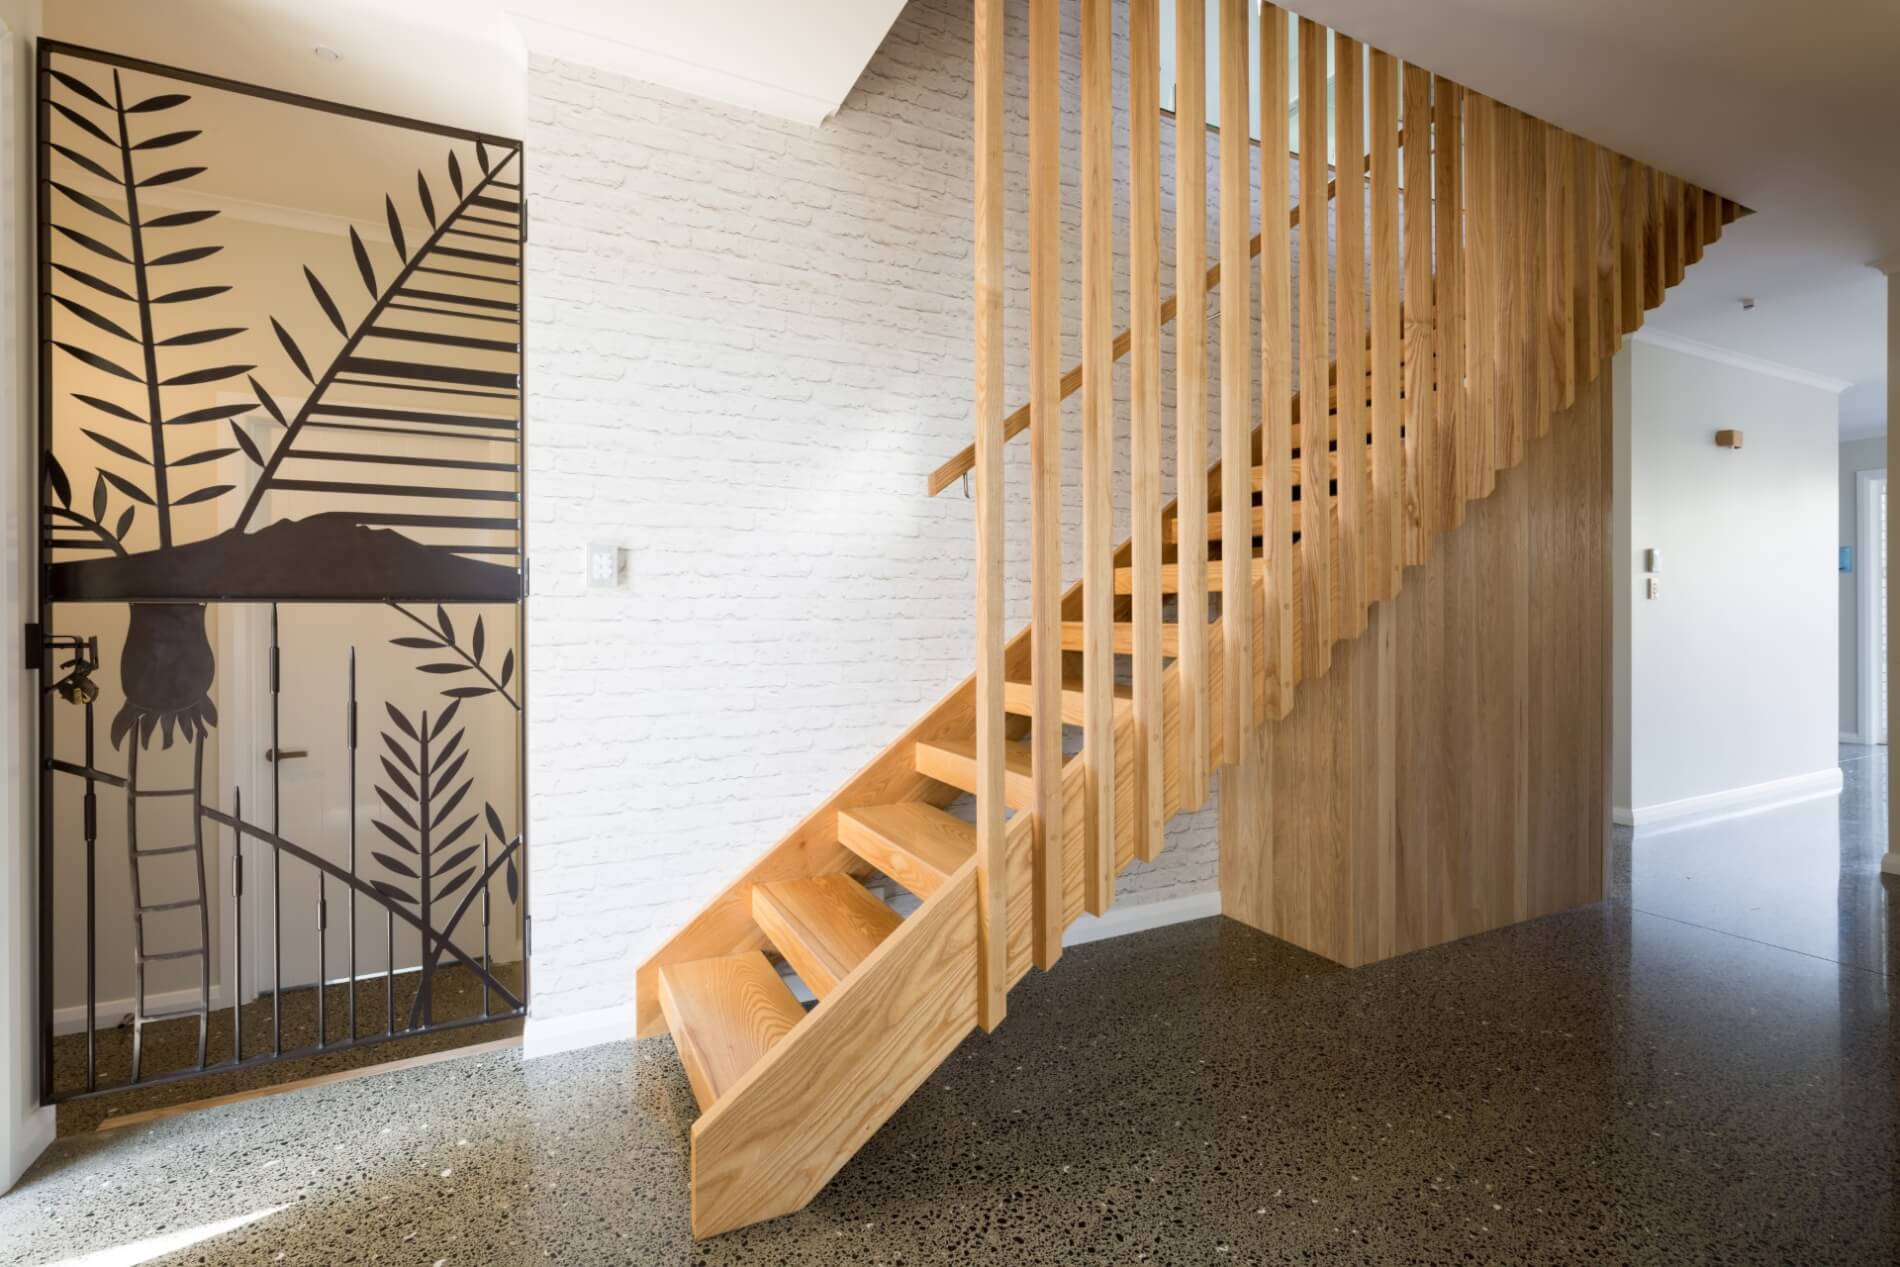
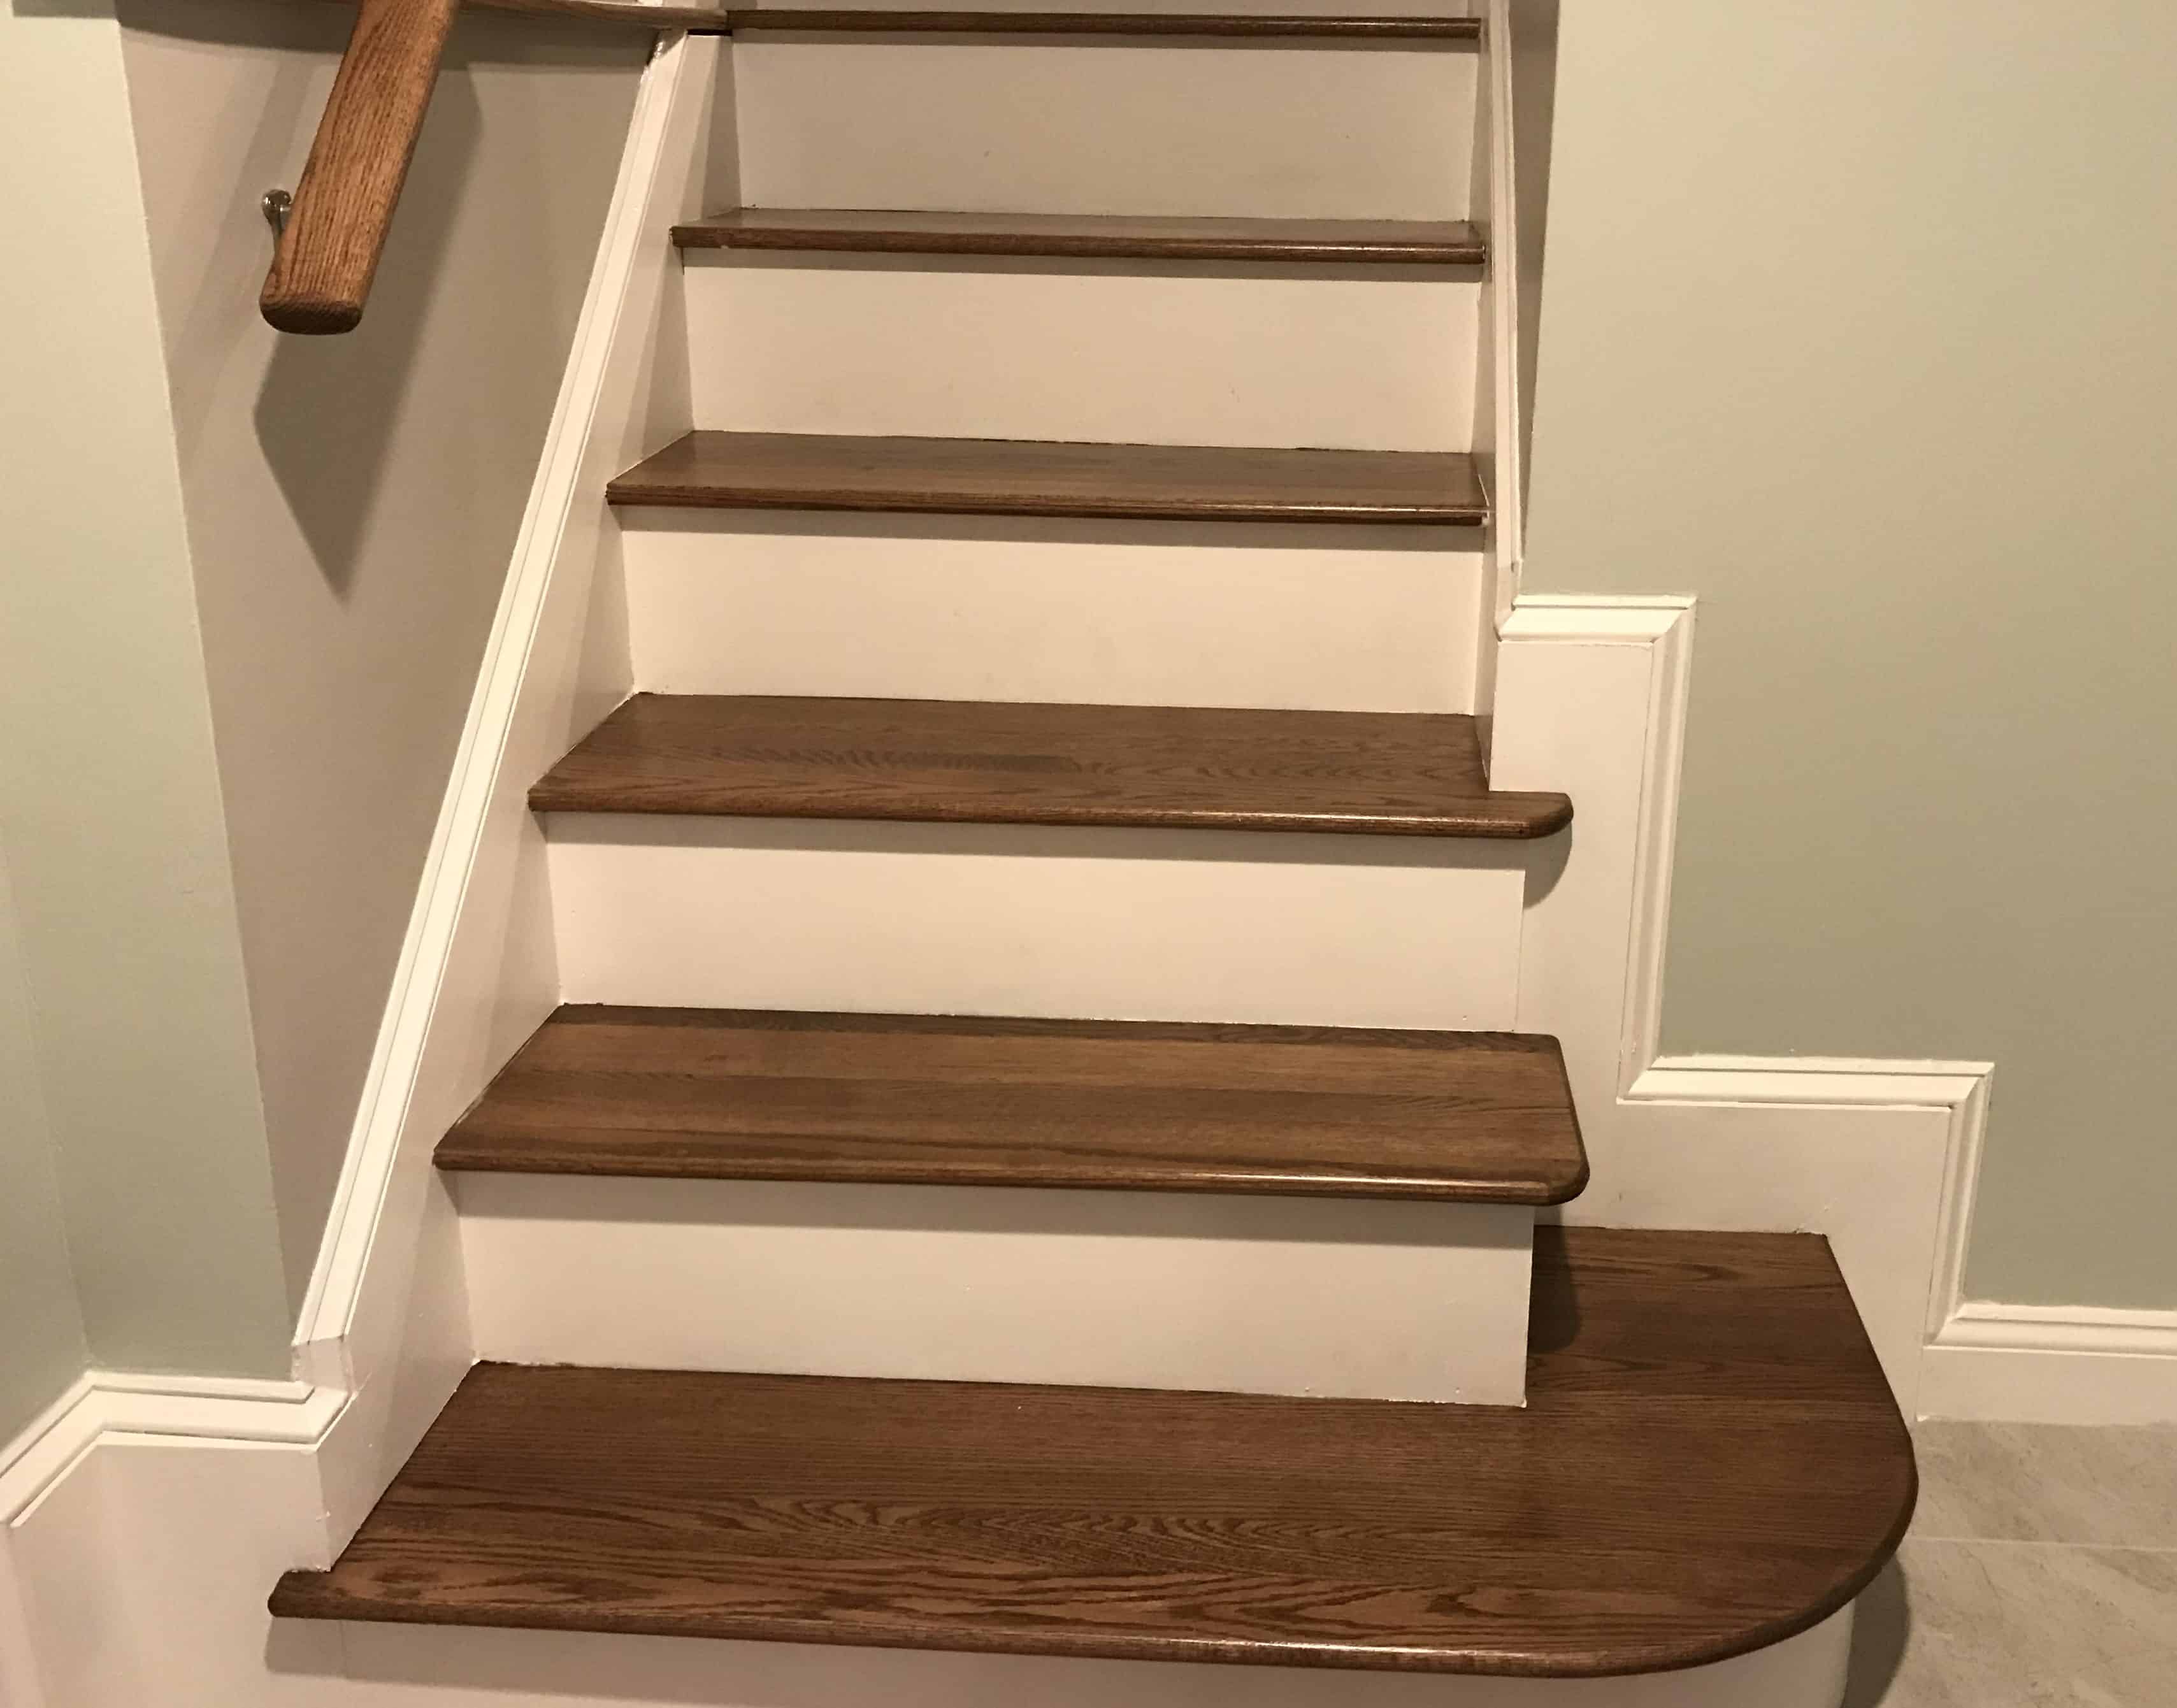
- Wood: Wood is a popular choice for handrails due to its versatility and natural beauty. It can be stained or painted to match your desired look and is available in different types of wood, such as oak, pine, or maple.
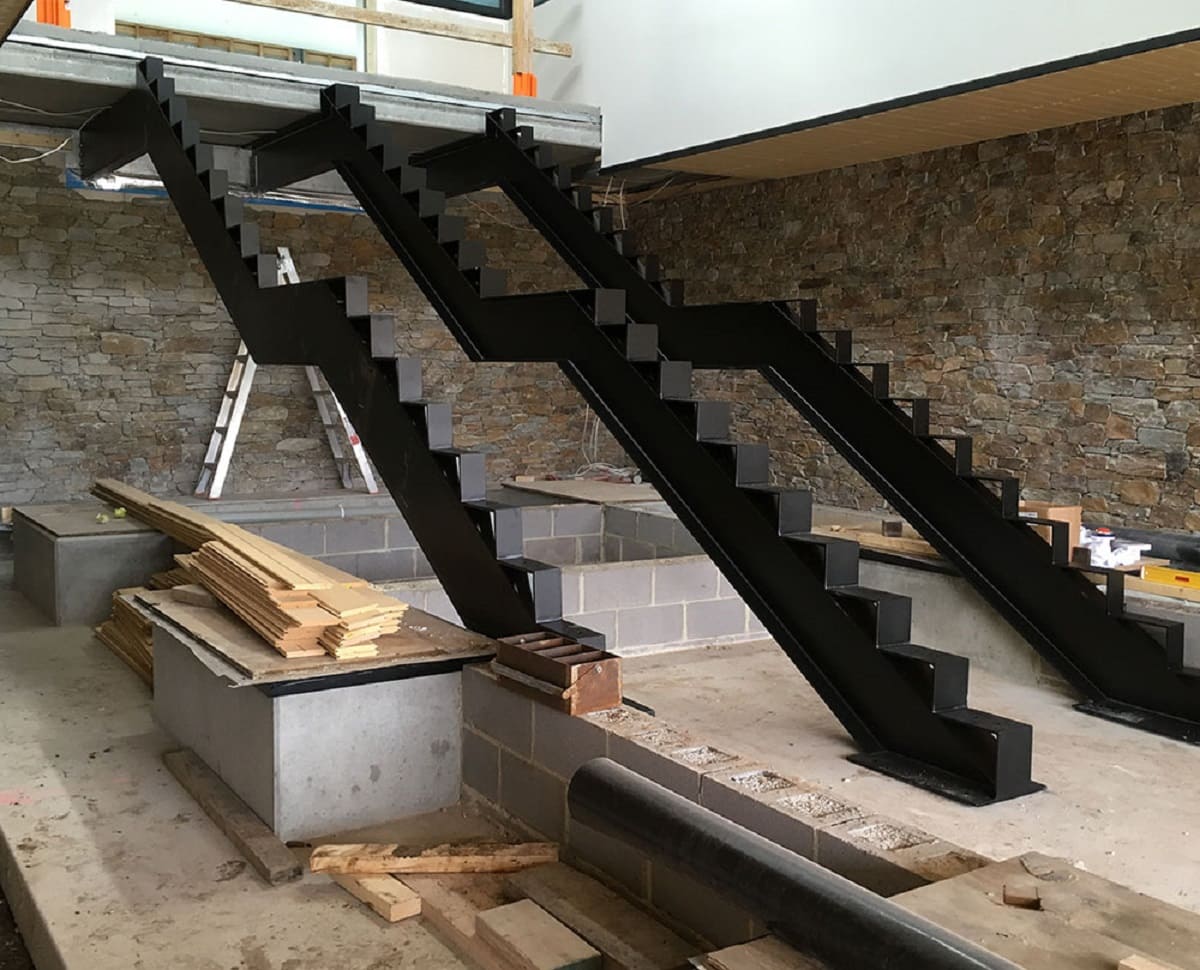
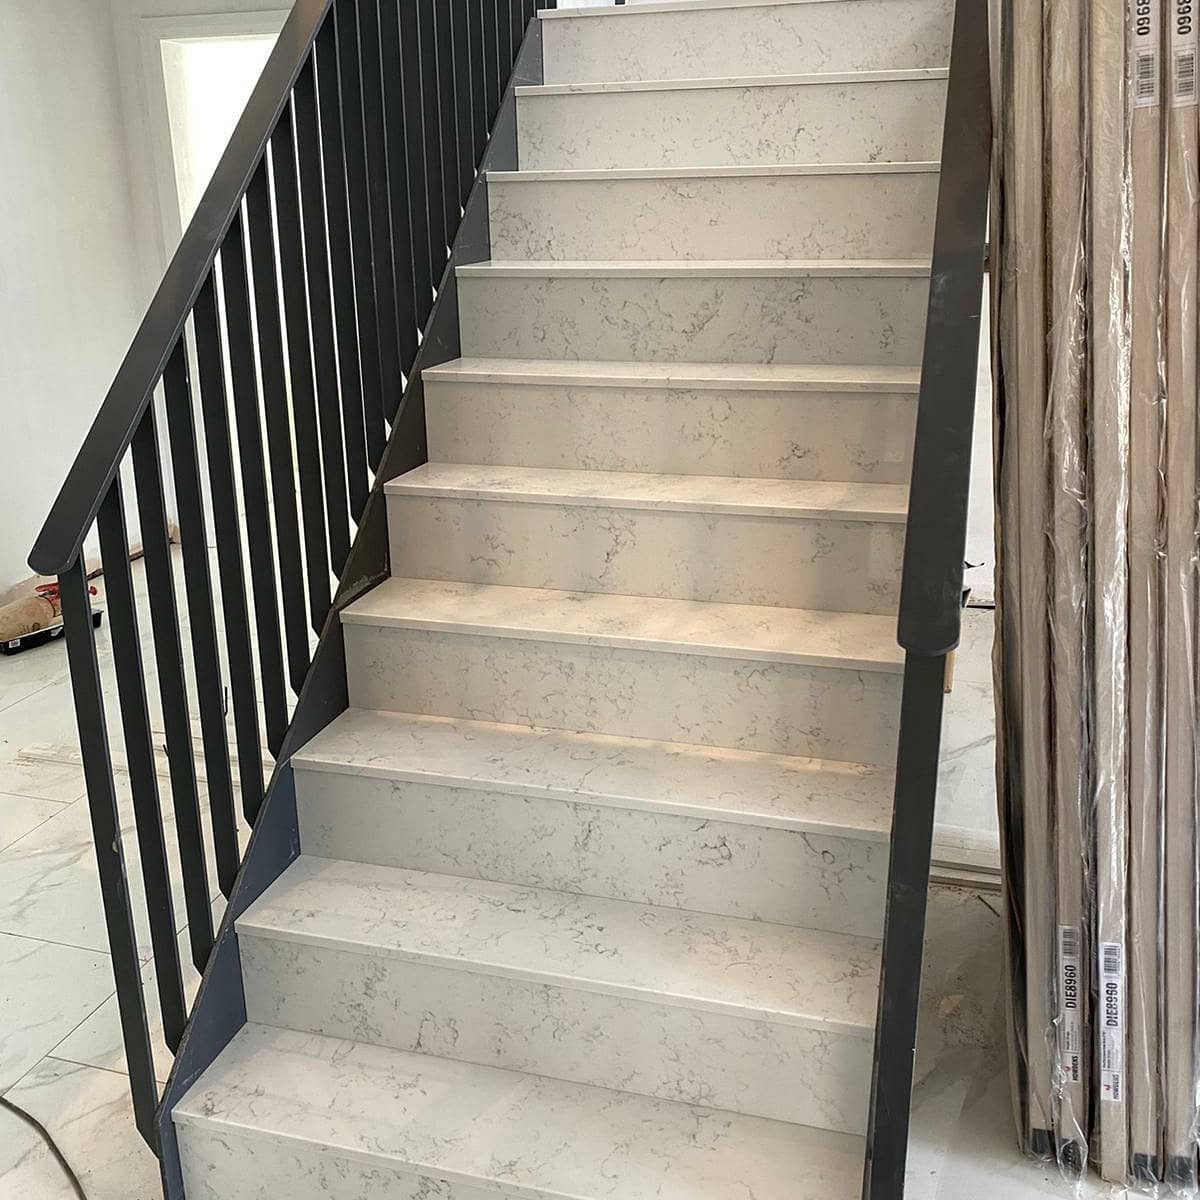
- Metal: Metal handrails offer a modern and sleek appearance, and they are highly durable. Common metal materials include steel and wrought iron, both of which can be painted or finished to suit your style.
- PVC: PVC handrails are known for their low maintenance requirements and resistance to moisture and decay. They are suitable for outdoor installations or areas prone to humidity.
- Glass: Glass handrails provide an elegant and contemporary look, allowing for unobstructed visibility of the staircase. Tempered or laminated glass is commonly used for safety reasons.
- Combination: You can also combine different materials to create a unique handrail. For instance, using a wooden handrail with metal or glass balusters can create a striking contrast.
Consider the style of your staircase, the overall design of your home, and your personal preferences when selecting the handrail material. Additionally, take into account factors such as maintenance requirements, durability, and budget.
Once you have chosen the handrail material, you can proceed to gather the necessary tools for the construction process.
Read more: How To Install Handrails On Stairs
Step 4: Gathering the Tools
Before you can start making the handrail, it’s important to gather all the necessary tools. Having the right tools on hand will make the process smoother and more efficient. Here are the essential tools you will need:
- Saw: Depending on the material and design of your handrail, you may need a circular saw, miter saw, or hand saw to cut the handrail to the desired length.
- Drill: A drill with appropriate drill bits and driver bits will be used to attach the handrail brackets and secure the handrail in place.
- Screwdriver: You will need a screwdriver to tighten screws and attach the handrail brackets to the wall or balusters.
- Sandpaper or sanding block: To smooth out any rough edges or imperfections on the handrail, you will need sandpaper or a sanding block.
- Measuring tape: Accurate measurements are crucial when making the handrail, so a measuring tape is essential.
- Pencil: A pencil will be used to mark measurements and guide your cuts.
- Level: A level will help ensure the handrail is installed straight and level.
- Stud finder: If you plan to attach the handrail to the wall, a stud finder will help locate the wall studs for secure mounting.
- Wood glue: If you are using wooden handrail components, wood glue can be used to strengthen the joints and add stability.
- Finishing materials: Depending on the material of your handrail, you may need stain, paint, or varnish to finish and protect the surface.
Having all these tools readily available will save you time and frustration during the construction process. Ensure that your tools are in good condition and properly maintained for optimal performance.
Now that you have gathered all the necessary tools, you can move on to the next step of preparing the handrail for assembly.
Step 5: Preparing the Handrail
Before you start cutting and shaping the handrail, it’s important to properly prepare the material for assembly. Here are the steps to follow:
- Inspect the handrail: Examine the handrail for any defects, cracks, or rough spots. Sand down any imperfections to ensure a smooth and even surface.
- Remove any existing finish: If you are working with a pre-finished handrail or reusing an old one, you may need to remove the existing finish before proceeding. Use sandpaper or a paint stripper to strip off the previous finish.
- Measure and mark: Make precise measurements for the length of the handrail and mark the areas where the brackets will be attached. This will ensure accurate cuts and proper placement of the handrail.
- Drill pilot holes: Use a drill with an appropriate drill bit to create pilot holes for the screws that will secure the brackets to the handrail.
- Prep for finishes: If you plan to stain or paint the handrail, now is the time to pre-finish the individual components before final assembly. This allows for easier application and ensures all surfaces are properly coated.
By following these steps, you will ensure that the handrail is well-prepared and ready for the next phase of cutting and shaping.
Ensure that you take your time during this step, as proper preparation will contribute to a high-quality end result.
When making handrails for stairs, ensure they are at a comfortable height (usually 34-38 inches) and securely attached to the wall or balusters for safety. Use a sturdy material like wood or metal for durability.
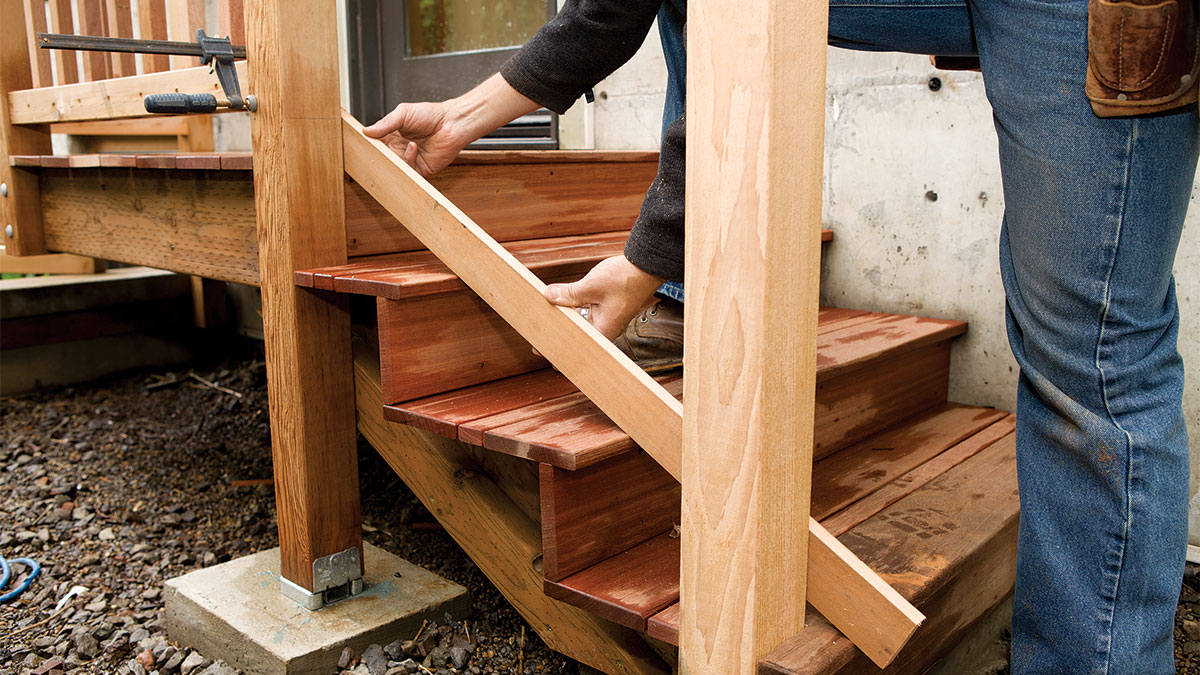
Step 6: Cutting and Shaping the Handrail
With the handrail prepared, it’s time to cut and shape it to fit your staircase. Here are the steps to follow:
- Refer to your measurements: Use the markings you made earlier to guide your cuts. Ensure that you double-check your measurements to ensure accuracy.
- Secure the handrail: Use clamps or a secure work surface to hold the handrail in place while cutting. This will help prevent any movement or slipping during the cutting process.
- Cut the handrail: Use a saw appropriate for your material (circular saw, miter saw, or hand saw) to carefully cut the handrail to the desired length. Take your time and make smooth, accurate cuts.
- Shape the handrail: If desired, use a router or hand tools to shape the edges of the handrail. This can add decorative elements and enhance the overall appearance.
- Sand the cut edges: After cutting and shaping the handrail, use sandpaper or a sanding block to smooth out any rough edges or imperfections. This will ensure a clean and polished finish.
During this step, precision and attention to detail are essential. Take your time and make sure your cuts are accurate to ensure a professional-looking handrail.
Once you have completed the cutting and shaping process, you will be ready to move on to the next step of installing the brackets.
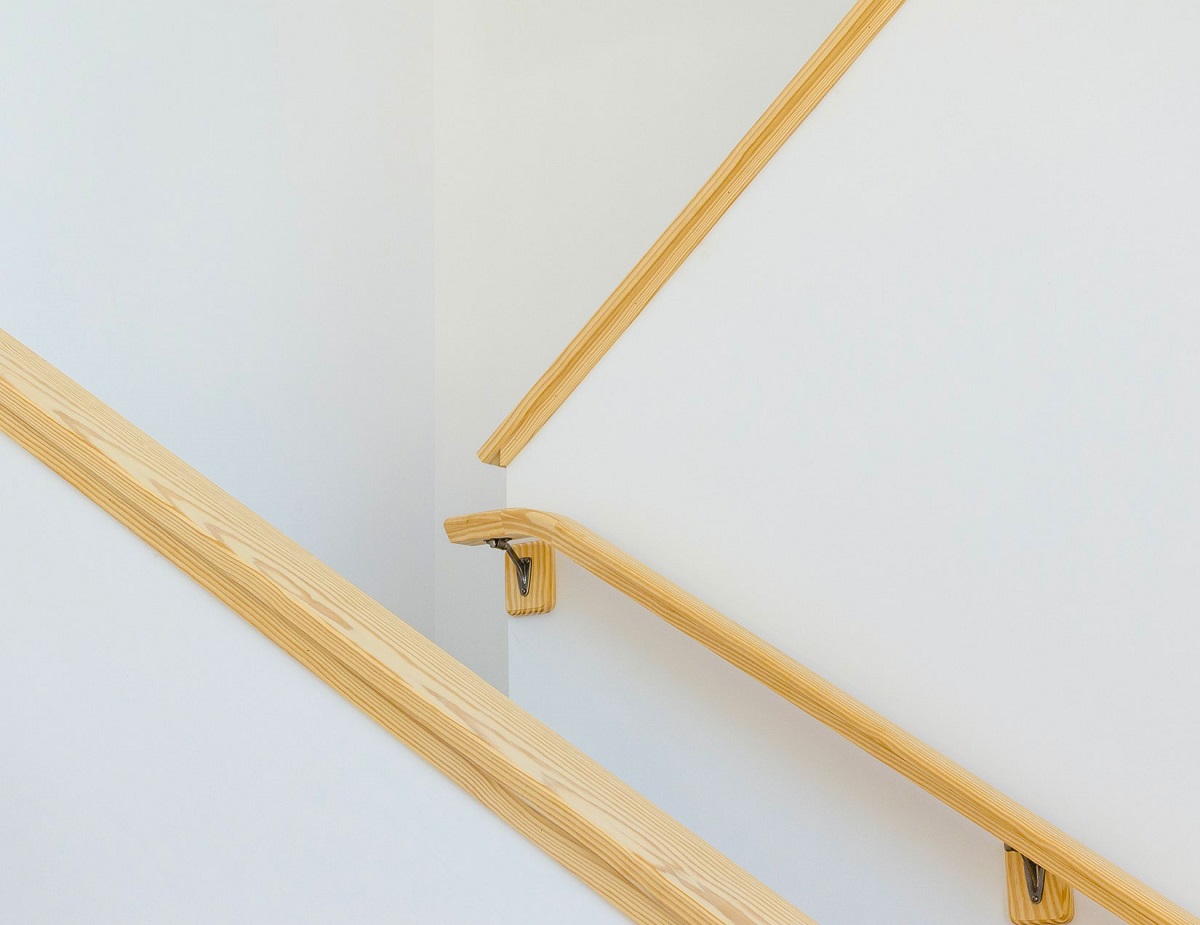
Step 7: Installing the Brackets
Installing the brackets is a crucial step in ensuring the stability and support of your handrail. Here is how you can install the brackets:
- Refer to your measurements: Use the markings on the handrail to guide the placement of the brackets. Ensure that the brackets are evenly spaced and aligned with the studs or balusters for maximum support.
- Attach the brackets to the handrail: Use the pilot holes you drilled in the handrail to secure the brackets in place using wood screws. Make sure the brackets are tightly and securely fastened.
- Align the brackets: Use a level to ensure that the brackets are aligned straight and level. Adjust as necessary, and tighten the screws to hold the brackets in place.
- Attach the brackets to the wall or balusters: If you are attaching the handrail to the wall, use a drill to secure the brackets into the wall studs. If you are attaching the handrail to balusters, use screws to fasten the brackets to the balusters.
- Double-check the stability: Once all brackets are installed, give the handrail a gentle shake to ensure that it is stable and securely attached. If any brackets feel loose, tighten them further for added stability.
Proper installation of the brackets is crucial for the safety and durability of the handrail. Take your time during this step to ensure that the brackets are securely attached and properly aligned.
Once the brackets are installed, you will be ready to move on to the next step of attaching the handrail to the brackets.
Read more: Which Side Of Stairs To Put Handrail
Step 8: Attaching the Handrail to the Brackets
Now that the brackets are securely installed, it’s time to attach the handrail to them. Here is how you can do it:
- Position the handrail: Carefully place the handrail onto the brackets, ensuring that it is centered and aligned properly.
- Secure the handrail: Using wood screws, attach the handrail to the brackets through the pre-drilled holes in the brackets. Make sure to tighten the screws securely, but be careful not to overtighten and damage the handrail or the brackets.
- Test the stability: Once the handrail is attached, give it a gentle shake to test its stability. Ensure that the brackets and screws are holding the handrail firmly in place.
- Make any necessary adjustments: If the handrail feels loose or unstable, double-check the screws and brackets. Tighten any loose screws and make any necessary adjustments to ensure a secure and stable handrail.
Properly attaching the handrail to the brackets is essential for the safety and functionality of the handrail. Ensure that the handrail is securely fastened and that it can support the weight of individuals using the staircase.
Once the handrail is securely attached, you are almost done. The next step involves sanding and finishing the handrail to give it a polished and professional look.
Step 9: Sanding and Finishing
Sanding and finishing the handrail will not only enhance its appearance but also protect it from wear and tear. Here is how you can achieve a smooth and polished finish:
- Sand the handrail: Use sandpaper or a sanding block to carefully sand the entire surface of the handrail. Start with a coarse grit sandpaper and gradually move to a finer grit for a smooth finish.
- Round the edges: If desired, use sandpaper or a router to round the edges of the handrail. This will give it a more comfortable and aesthetically pleasing look.
- Remove dust: After sanding, use a clean cloth or soft brush to remove any dust or debris from the handrail’s surface.
- Apply finishing materials: Depending on the material of the handrail, you can apply stain, paint, or varnish to achieve the desired finish. Follow the manufacturer’s instructions for application and drying times.
- Apply multiple coats: Depending on the level of protection and the desired look, you may need to apply multiple coats of the chosen finishing material. Allow each coat to dry completely before applying the next one.
- Buff and polish: Once the final coat of finish is dry, use a fine-grit sandpaper or a polishing compound to gently buff the surface of the handrail. This will give it a smooth and glossy finish.
Take your time during this step to ensure that the handrail is properly sanded and finished. A smooth and polished surface will not only enhance the appearance of the handrail but also prolong its lifespan.
Once you have completed the sanding and finishing process, you are almost done. The final step involves important maintenance and safety tips to ensure the longevity and well-being of your handrail.
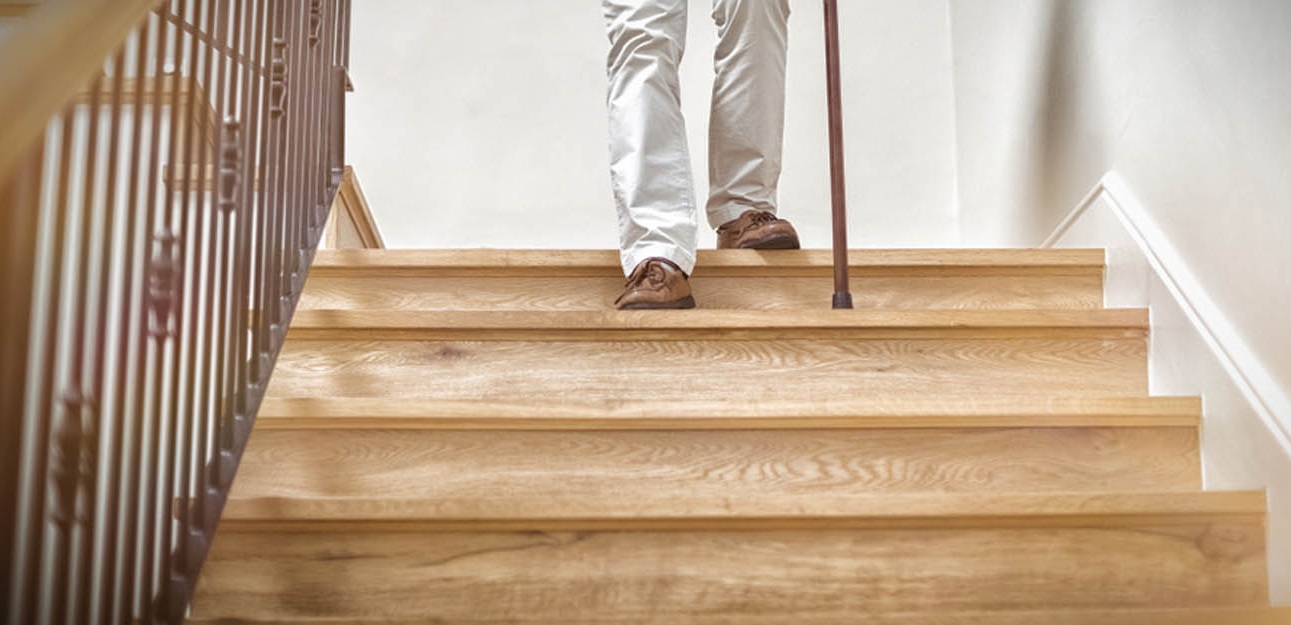
Step 10: Maintenance and Safety Tips
After completing the installation and finishing of your handrail, it’s important to maintain its functionality and safety. Here are some maintenance and safety tips to keep in mind:
- Regularly inspect the handrail for any signs of damage, such as cracks or loose brackets. Repair or replace any damaged components immediately.
- Keep the handrail clean by regularly dusting or wiping it down with a damp cloth. This will help remove dirt, dust, and other debris that may accumulate over time.
- Check the stability of the handrail periodically by giving it a gentle shake. If there is any wobbling or instability, tighten the screws or seek professional assistance to ensure it is secure.
- Consider refinishing the handrail every few years to maintain its appearance and protect it from wear and tear.
- Avoid placing heavy objects or putting excessive pressure on the handrail to prevent damage or structural issues.
- Ensure proper illumination of the staircase to aid visibility and minimize accidents. Install adequate lighting fixtures near the handrail, especially in areas with low natural light.
- Educate household members on the importance of using the handrail while going up or down the stairs for added safety.
- Follow local building codes and regulations to ensure compliance with safety standards for handrail height, spacing, and design.
By following these maintenance and safety tips, you can ensure that your handrail remains in good condition and continues to provide the necessary support and safety for anyone using the staircase.
Congratulations! You have successfully completed the process of making handrails for stairs. Take a step back and admire your work, knowing that you have not only improved the safety of your home but also added a beautiful and functional element to your staircase.
Conclusion
Creating handrails for stairs is a rewarding and worthwhile project that not only enhances the safety of your staircase but also adds a touch of style and elegance to your home. By following the steps outlined in this guide, you have learned how to measure, plan, select materials, gather tools, prepare, cut, shape, install brackets, attach the handrail, sand, finish, and maintain the handrail.
Throughout the process, attention to detail and proper execution are essential for achieving a sturdy, visually appealing, and functional handrail. Remember to take precise measurements, choose high-quality materials, and use the appropriate tools for each step. Take your time and follow the instructions carefully to ensure optimal results.
By incorporating your personal style and preferences, such as choosing a handrail style and selecting the right finish, you can create a handrail that perfectly complements the design of your staircase and home. Additionally, regular maintenance and adherence to safety guidelines will ensure the longevity and effectiveness of your handrail.
Now that you have acquired the knowledge and skills to make handrails for stairs, you can confidently tackle this project. Whether you are a seasoned woodworking enthusiast or a beginner, the end result will not only be functional but also a beautiful addition to your home.
So go ahead, measure, plan, and create a handrail that will provide safety, support, and elegance to your staircase for years to come.
Frequently Asked Questions about How To Make Handrails For Stairs
Was this page helpful?
At Storables.com, we guarantee accurate and reliable information. Our content, validated by Expert Board Contributors, is crafted following stringent Editorial Policies. We're committed to providing you with well-researched, expert-backed insights for all your informational needs.

0 thoughts on “How To Make Handrails For Stairs”